Los trabajos escolares no paran, y aunque suelo guardar las maquetas que hacemos porque
"en cualquier momento las puedo volver anecesitar", hace poco mi esposo
@rsanchez0308 estuvo haciendo una limpieza en el cuarto que estamos acondicionando para Miranda, y decidí botar algunas que ya tenían un tiempo en casa, lo que fue una muy mala decisión porque a los pocos días me escribió
@rsanchez0308 para preguntarme si aún tenía una maqueta que hicimos hace unos años para Arturo y Matías, porque César, su hijo menor necesitaba una igual, y por supuesto yo quería llorar, no solo porque Claudi necesitaba la maqueta, sino porque seguramente a Miranda se la van a pedir el próximo año escolar, ya que va para primer año.
En fln, me sentí culpable porque fue una maqueta que hicimos en equipo, y no debí botarla sin pensar en Claudi, así que estuve buscando en casa algo que pudiera servir, y recordé que tenía una casita que hice una vez para una actividsd de Miranda y como la maqueta era para señalar las partes de la casa, solo tenía que hacer algunas reformas y por aquí les muestro los resultados.
School work doesn't stop, and although I usually keep the models we make because
"at any moment I can need them again ", recently my husband
@rsanchez0308 was doing a cleaning in the room we are preparing for Miranda, and I decided to throw away some that had been at home for a while, which was a very bad decision because a few days later
@rsanchez0308 wrote me to ask me if I still had a model that we made a few years ago for Arturo and Matías, because César, her youngest son needed one just like it, and of course I wanted to cry, not only because Claudi needed the model, but also because Miranda will surely be asked for it next school year, since she is going to first grade.
In fact, I felt guilty because it was a model that we made as a team, and I shouldn't have thrown it away without thinking about Claudi, so I was looking for something at home that could be useful, and I remembered that I had a little house that I made once for one of Miranda's activities, and as the model was to point out the parts of the house, I only had to make some changes and here I show you the results.
La idea era señalar las partes externas de la casa, así que tenía que incorporar una base, para hacerle un jardín, garaje y un patio, y que hubiese mayor cantidad de cosas para señalar, y por supuesto modificar la casa que no estaba en buenas condiciones.
En fin, este fue un proyecto de reciclaje, porque no solo usé materiales de provecho para su elaboración, sino que utilicé dos maquetas que ya tenía para armar esta, así que vamos al paso a paso y los materiales, que básicamente son cosas que toda mami con niños en edad escolar tiene en casa.
The idea was to point out the external parts of the house, so I had to incorporate a base, to make a garden, garage and a patio, and that there were more things to point out, and of course modify the house that was not in good condition.
Anyway, this was a recycling project, because not only I used useful materials for its elaboration, but I also used two models that I already had to build this one, so let's go to the step by step and the materials, which are basically things that every mommy with school-age children has at home.
Materiales
Cartón
Recortes de cartulina de diferentes colores
Papel de seda verde
Palitos de altura
Pistola de silicón
Pega blanca
Tijera
Regla
Lápiz
Cutter
Materials
Cardboard
Cardboard cut-outs of different colors
Green tissue paper
Sticks
Silicone gun
White glue
Scissors
Ruler
Pencil
Cutter
Paso a paso/Step by step
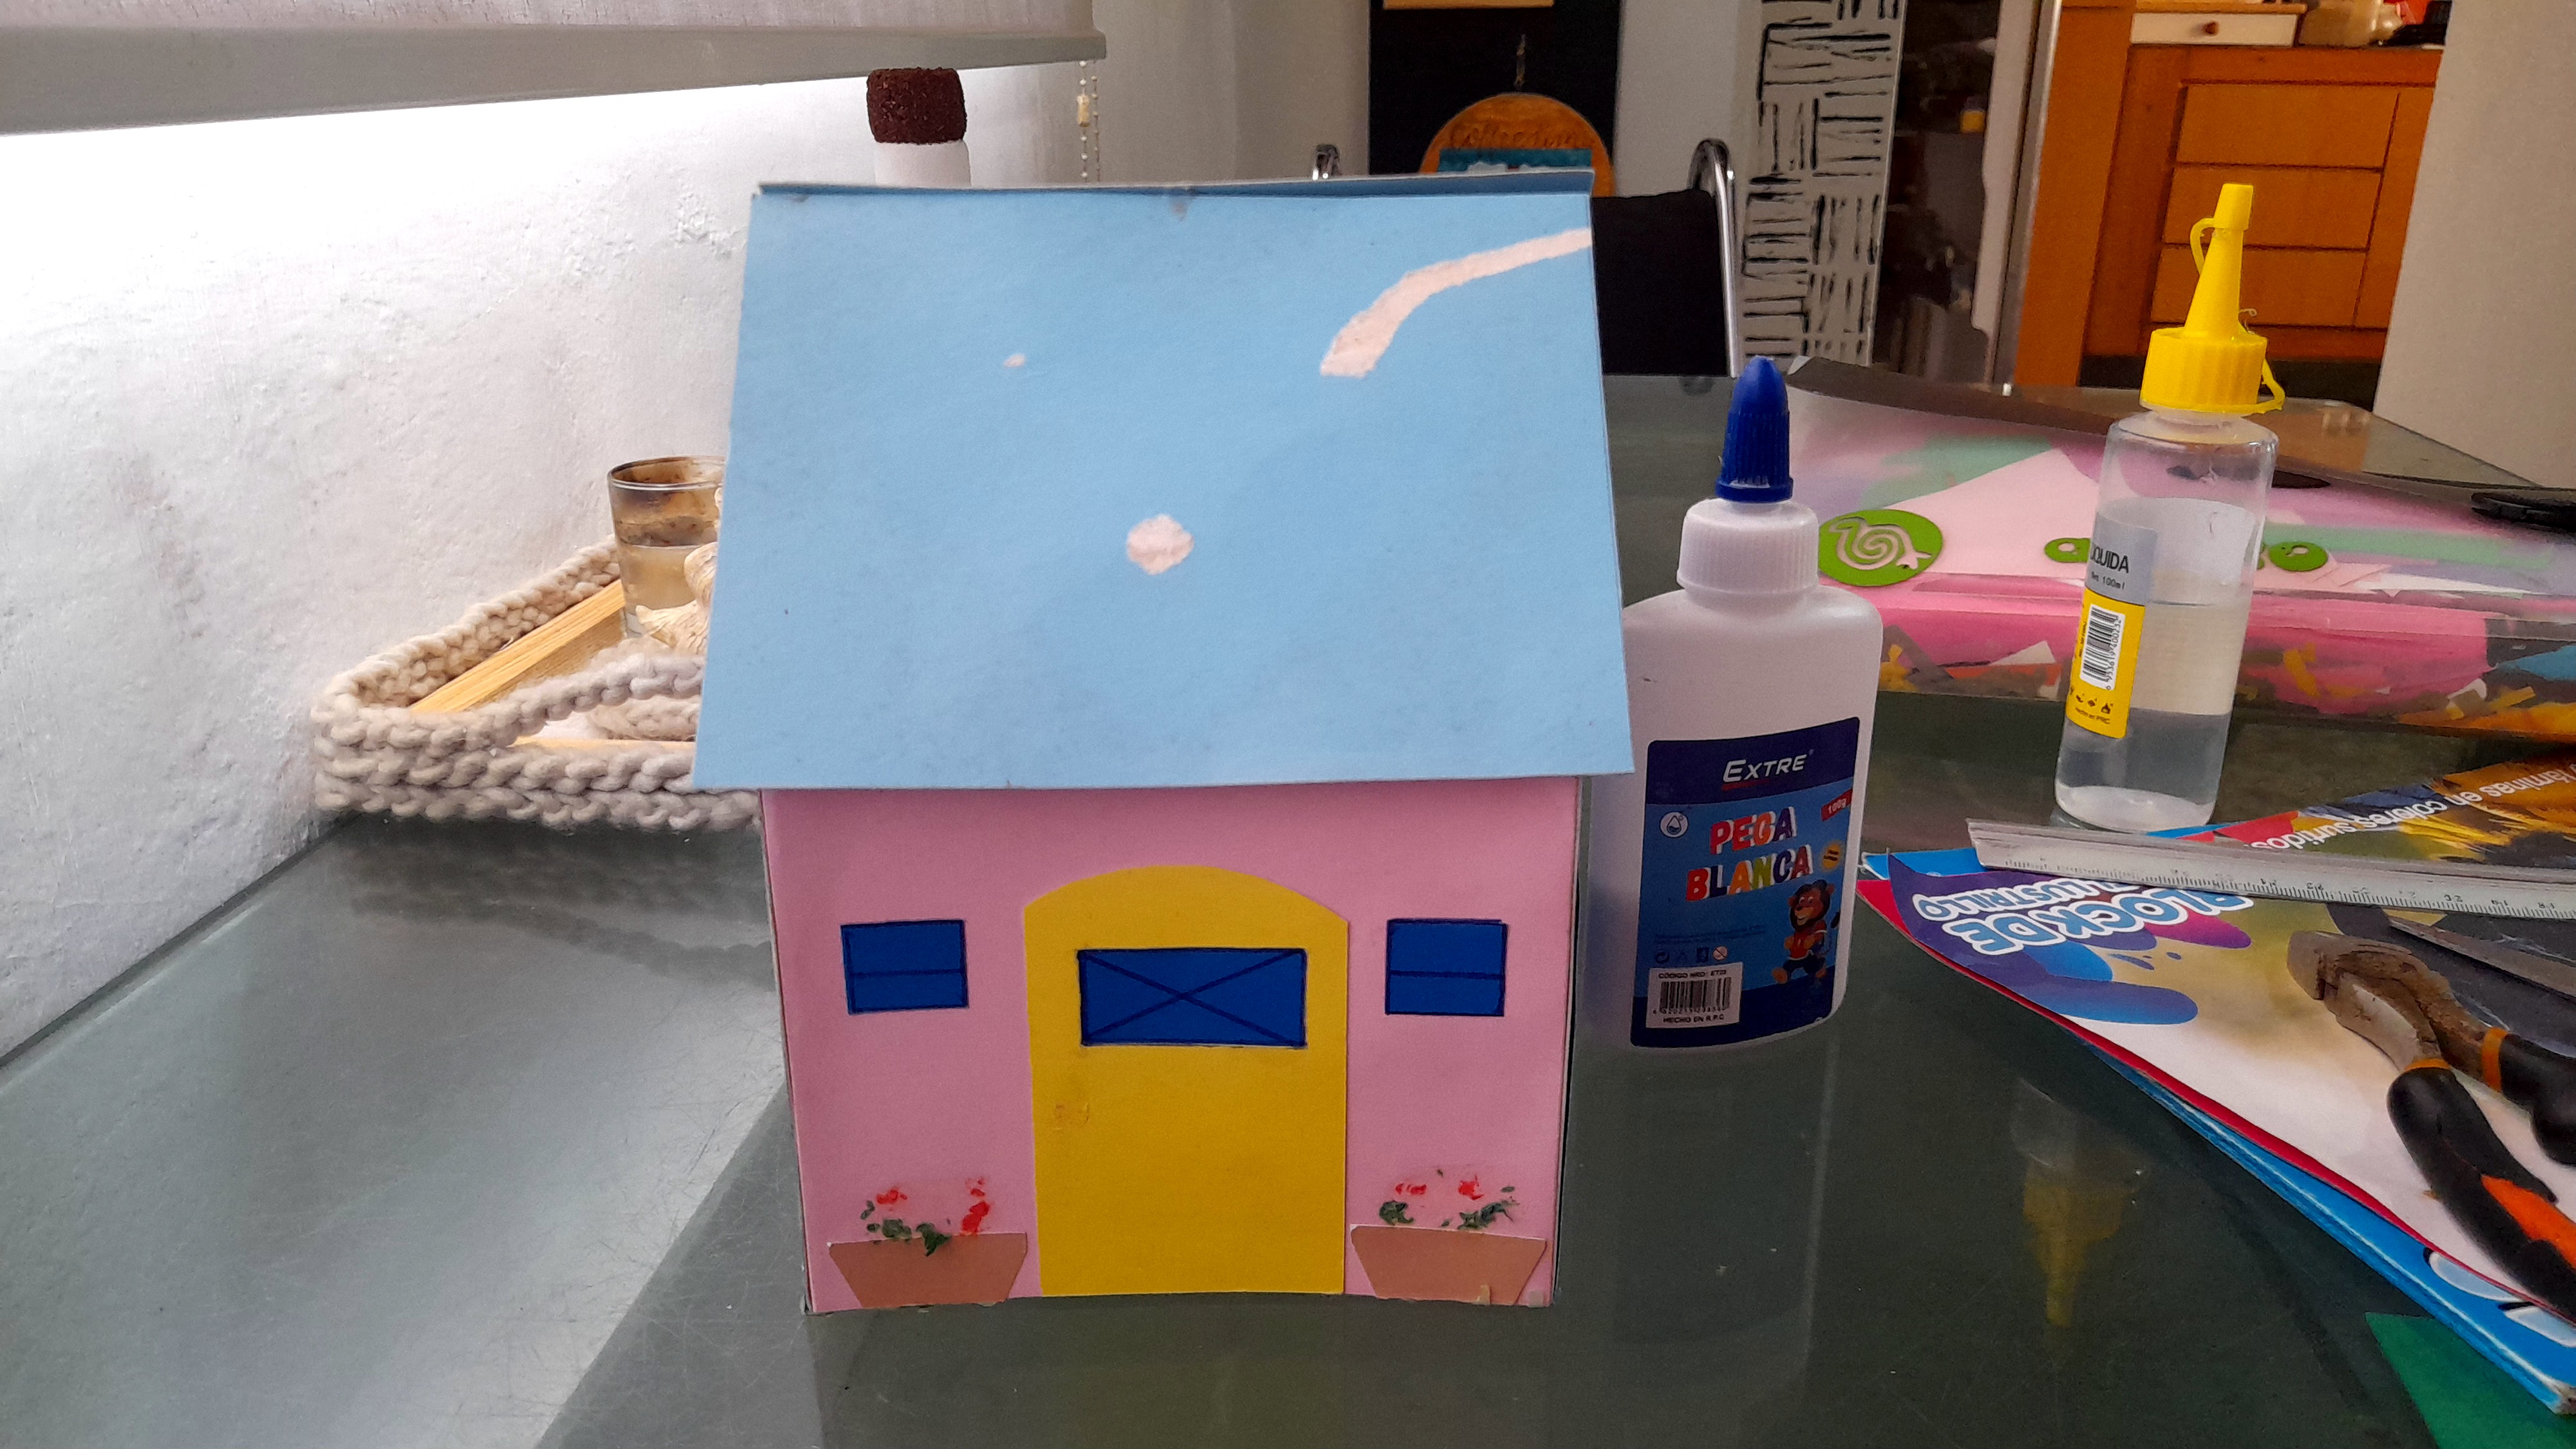
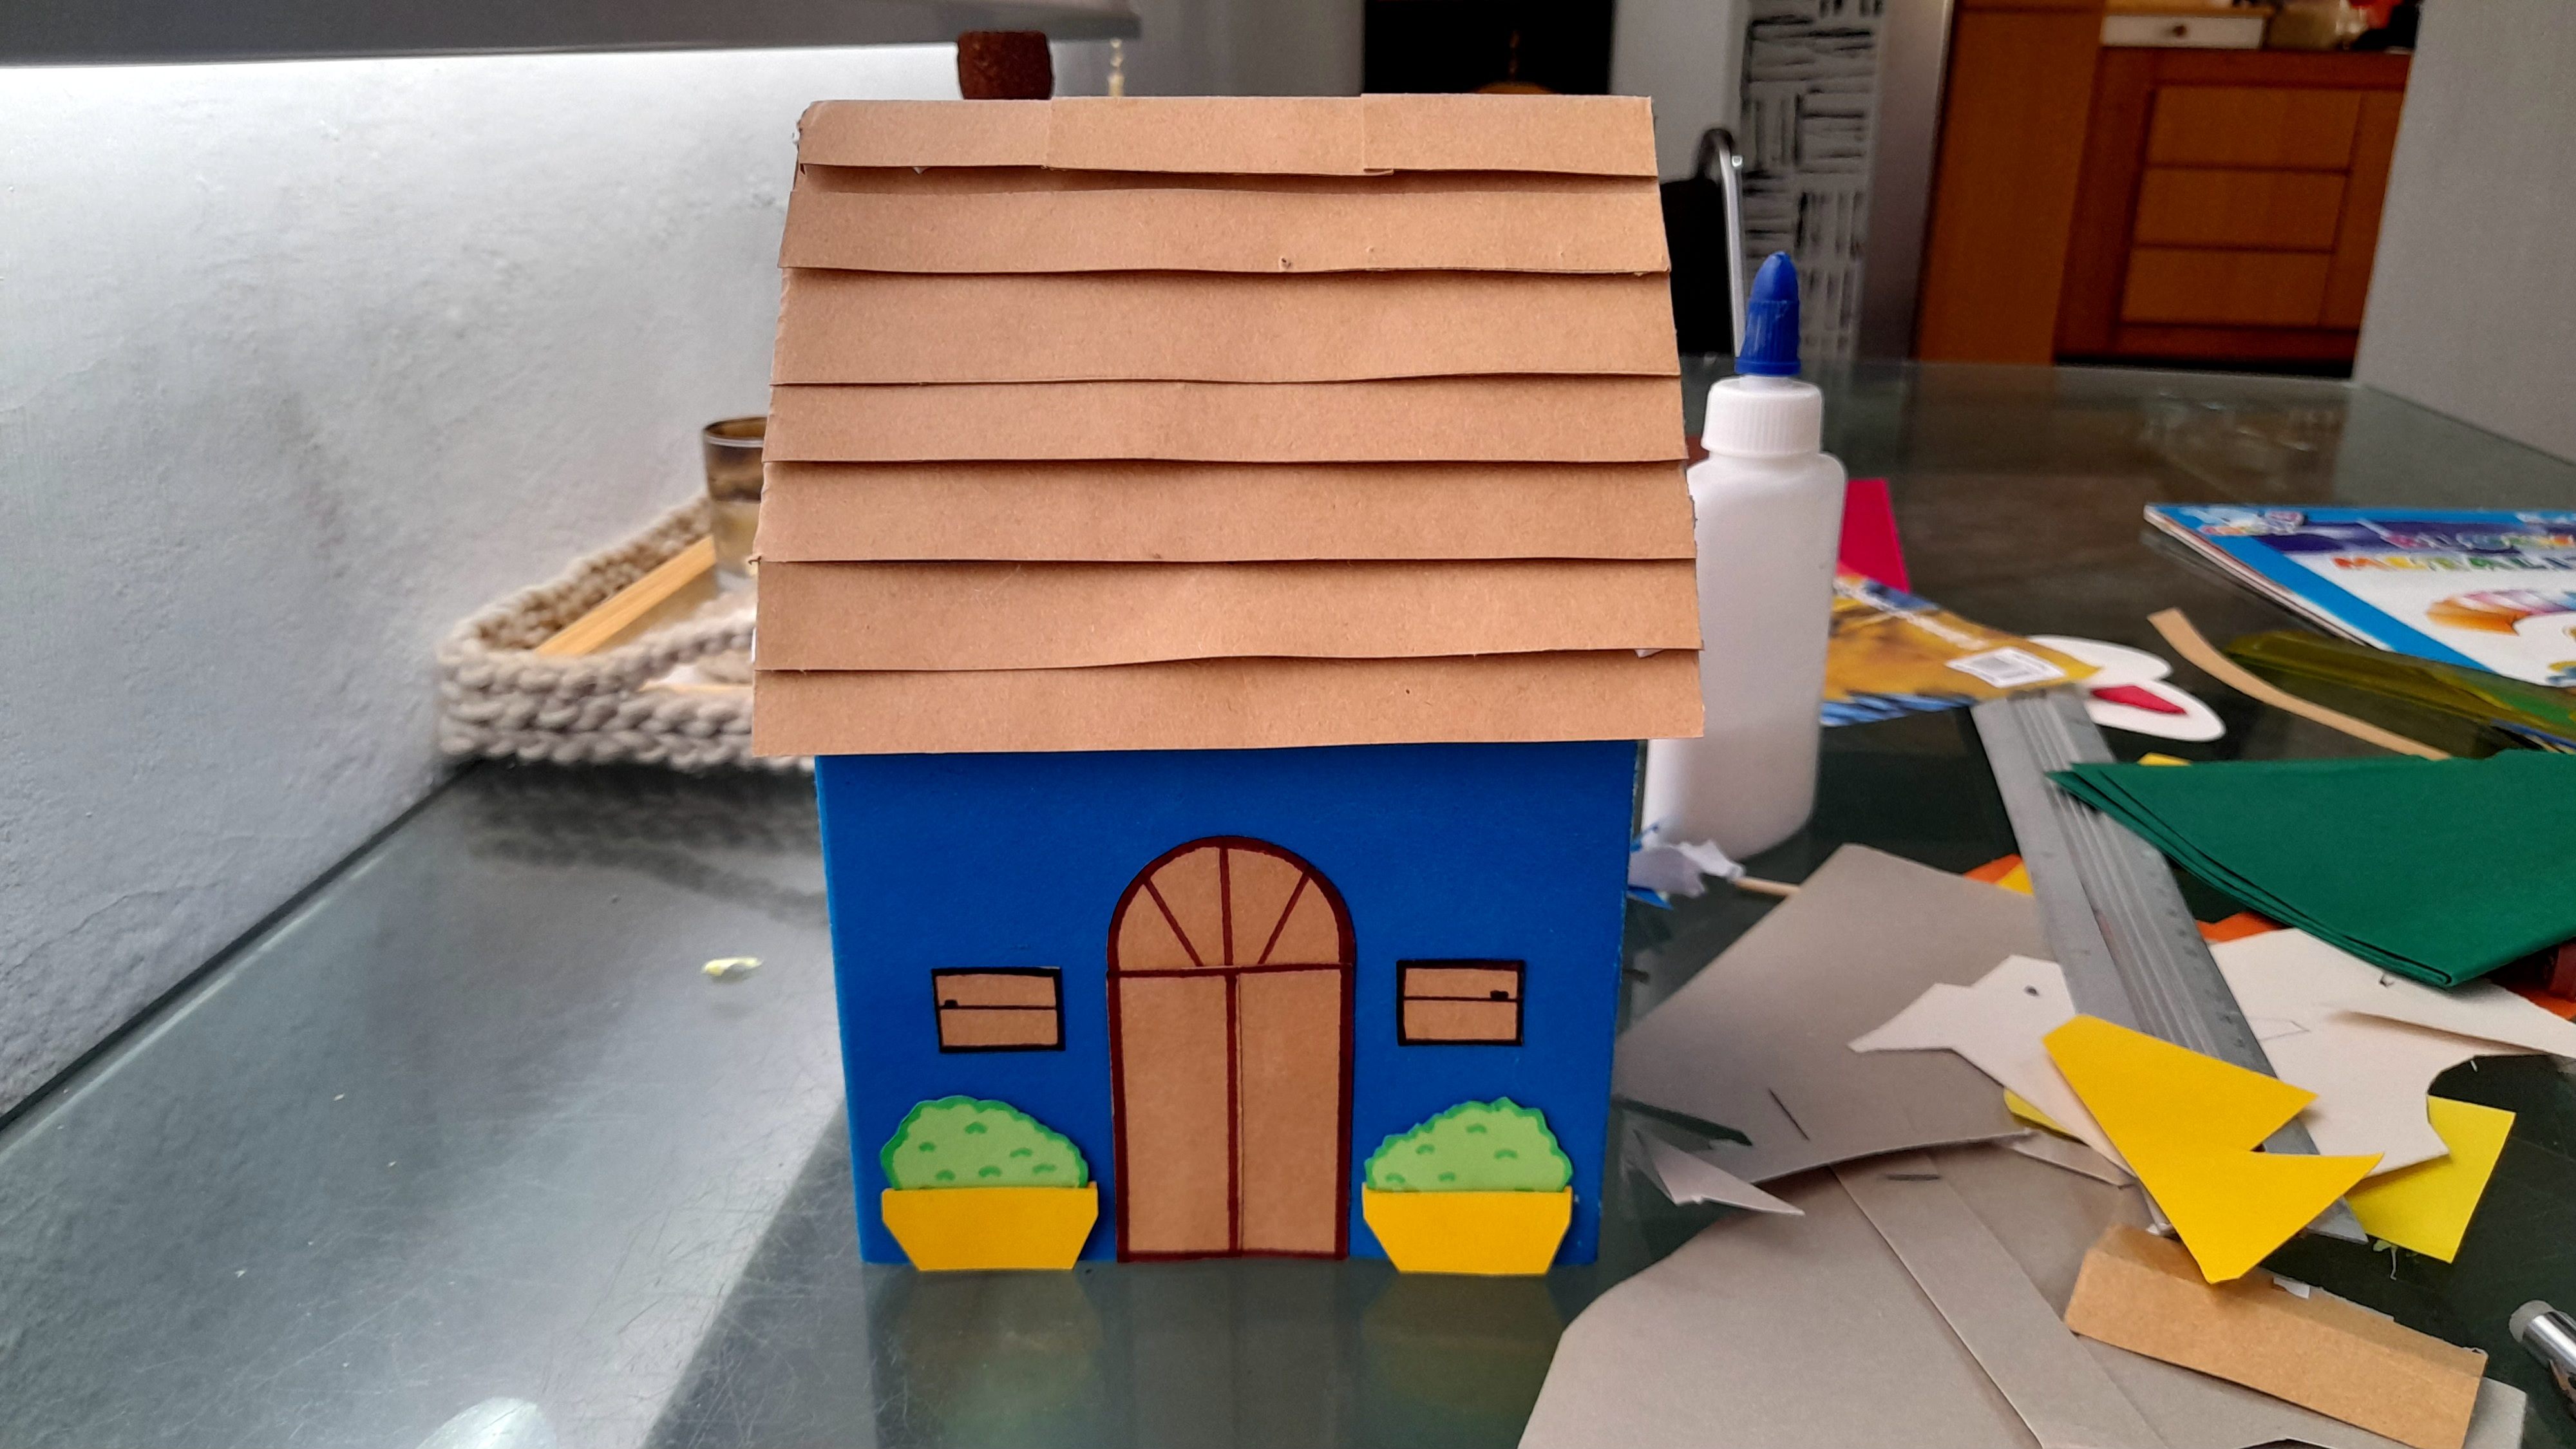
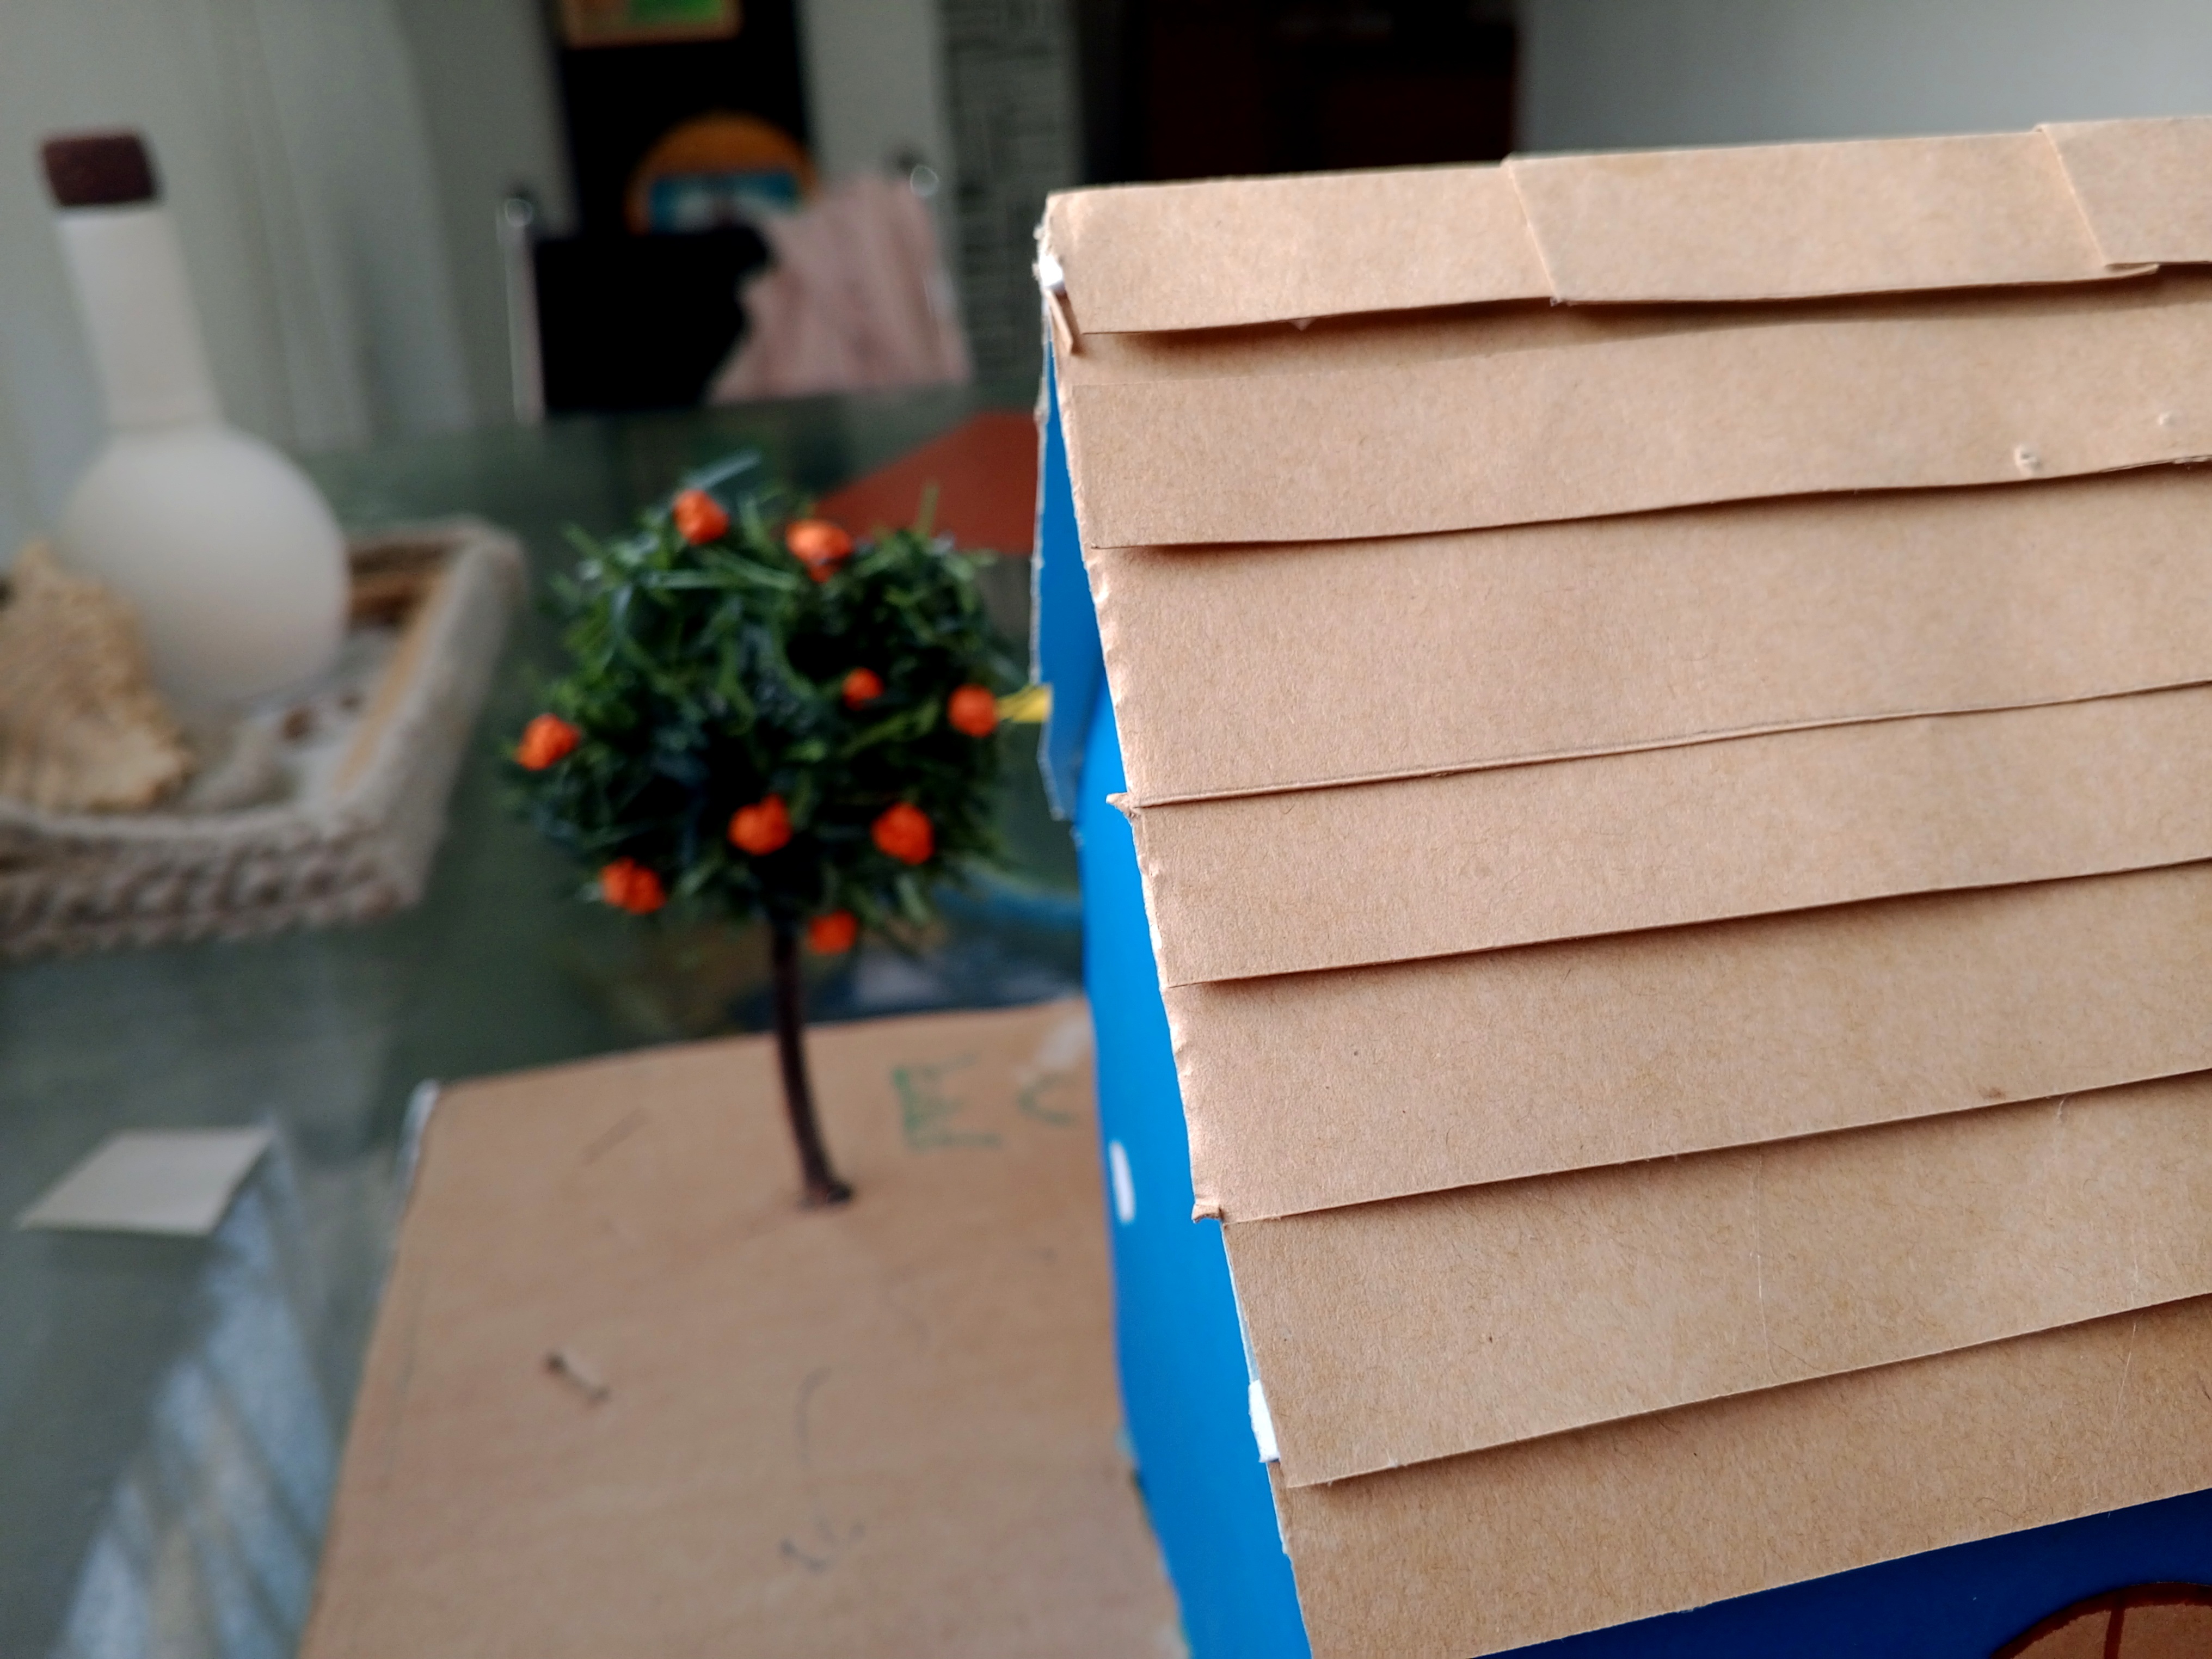
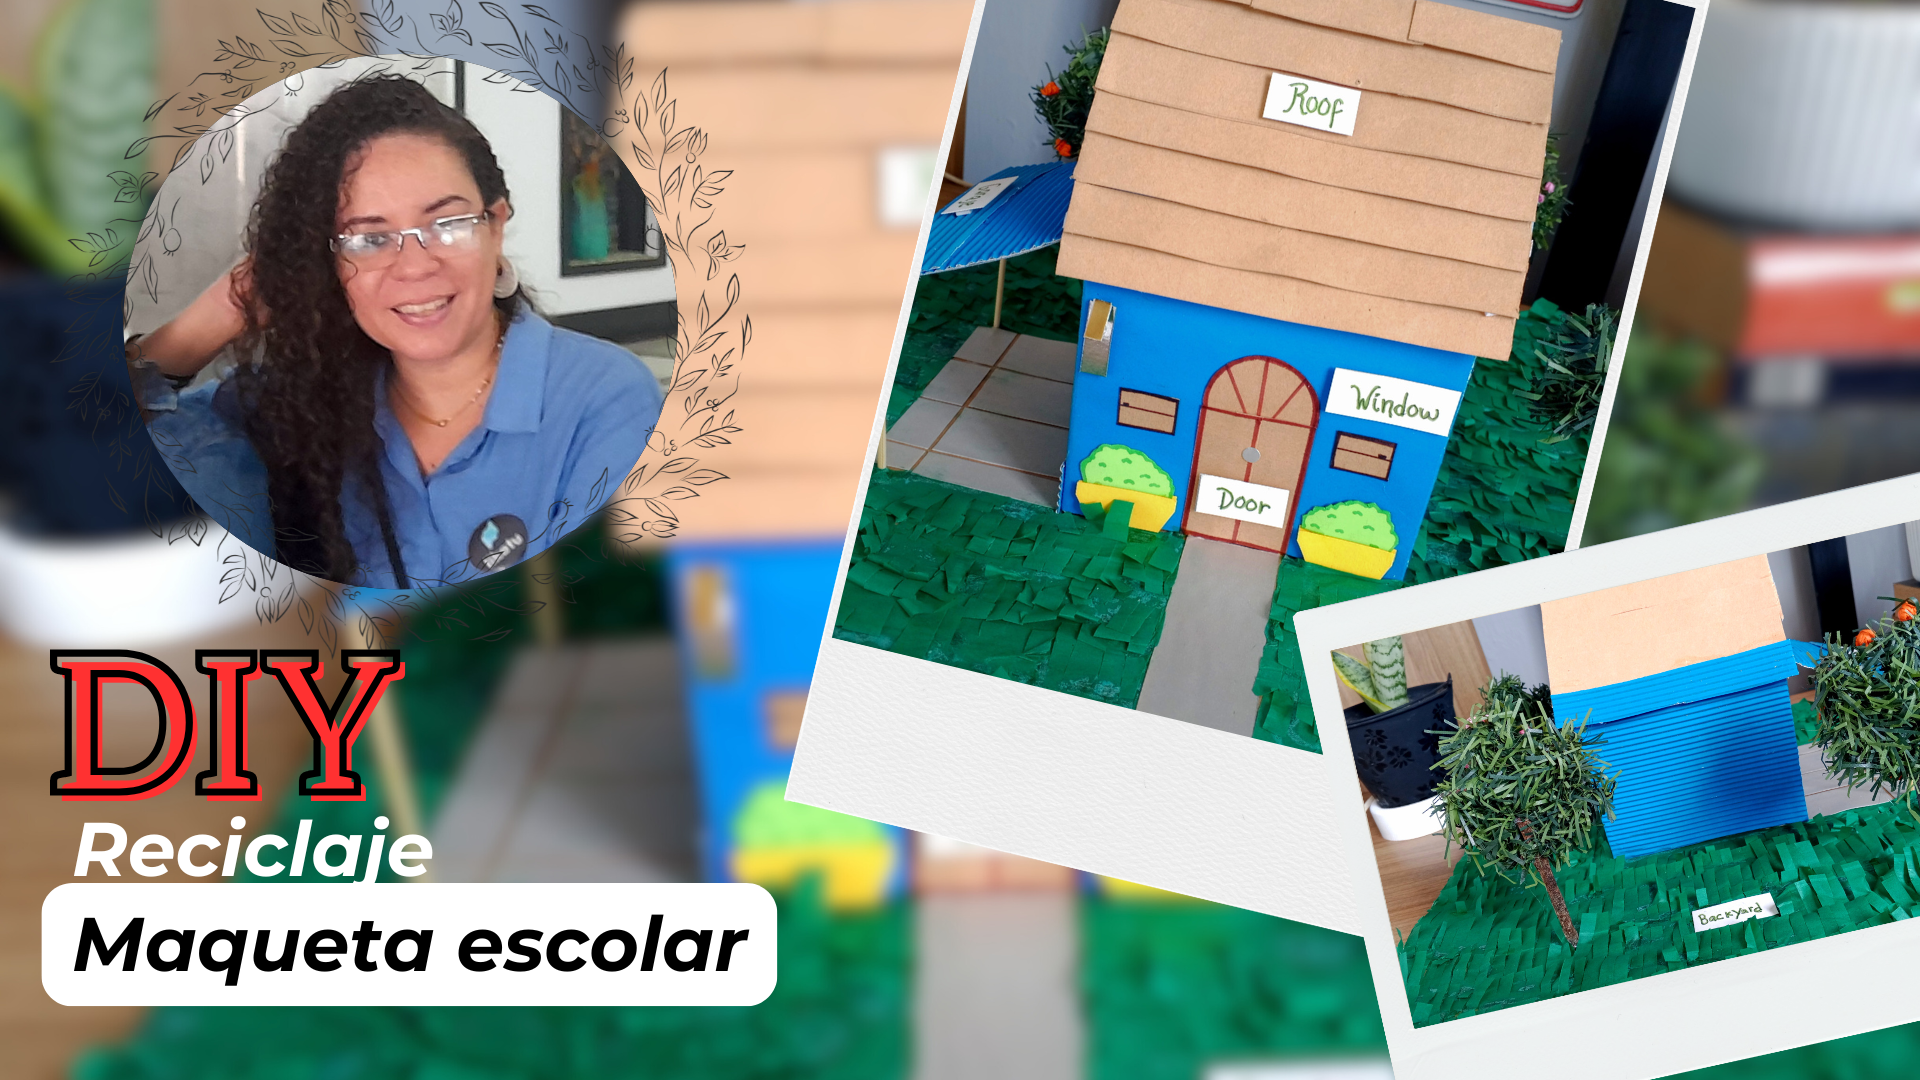
Lo primero que tenía que hacer era recuperar la casita manteniendo su estructura, y como era un equipo de niños, decidí que la casita fuese azul en su totalidad, así que retiré todo lo que estaba en la fachada rosada, para luego cubrirla con cartulina azul, y me dispuse a pegar bien el techo y hacerle una especie de tejado.
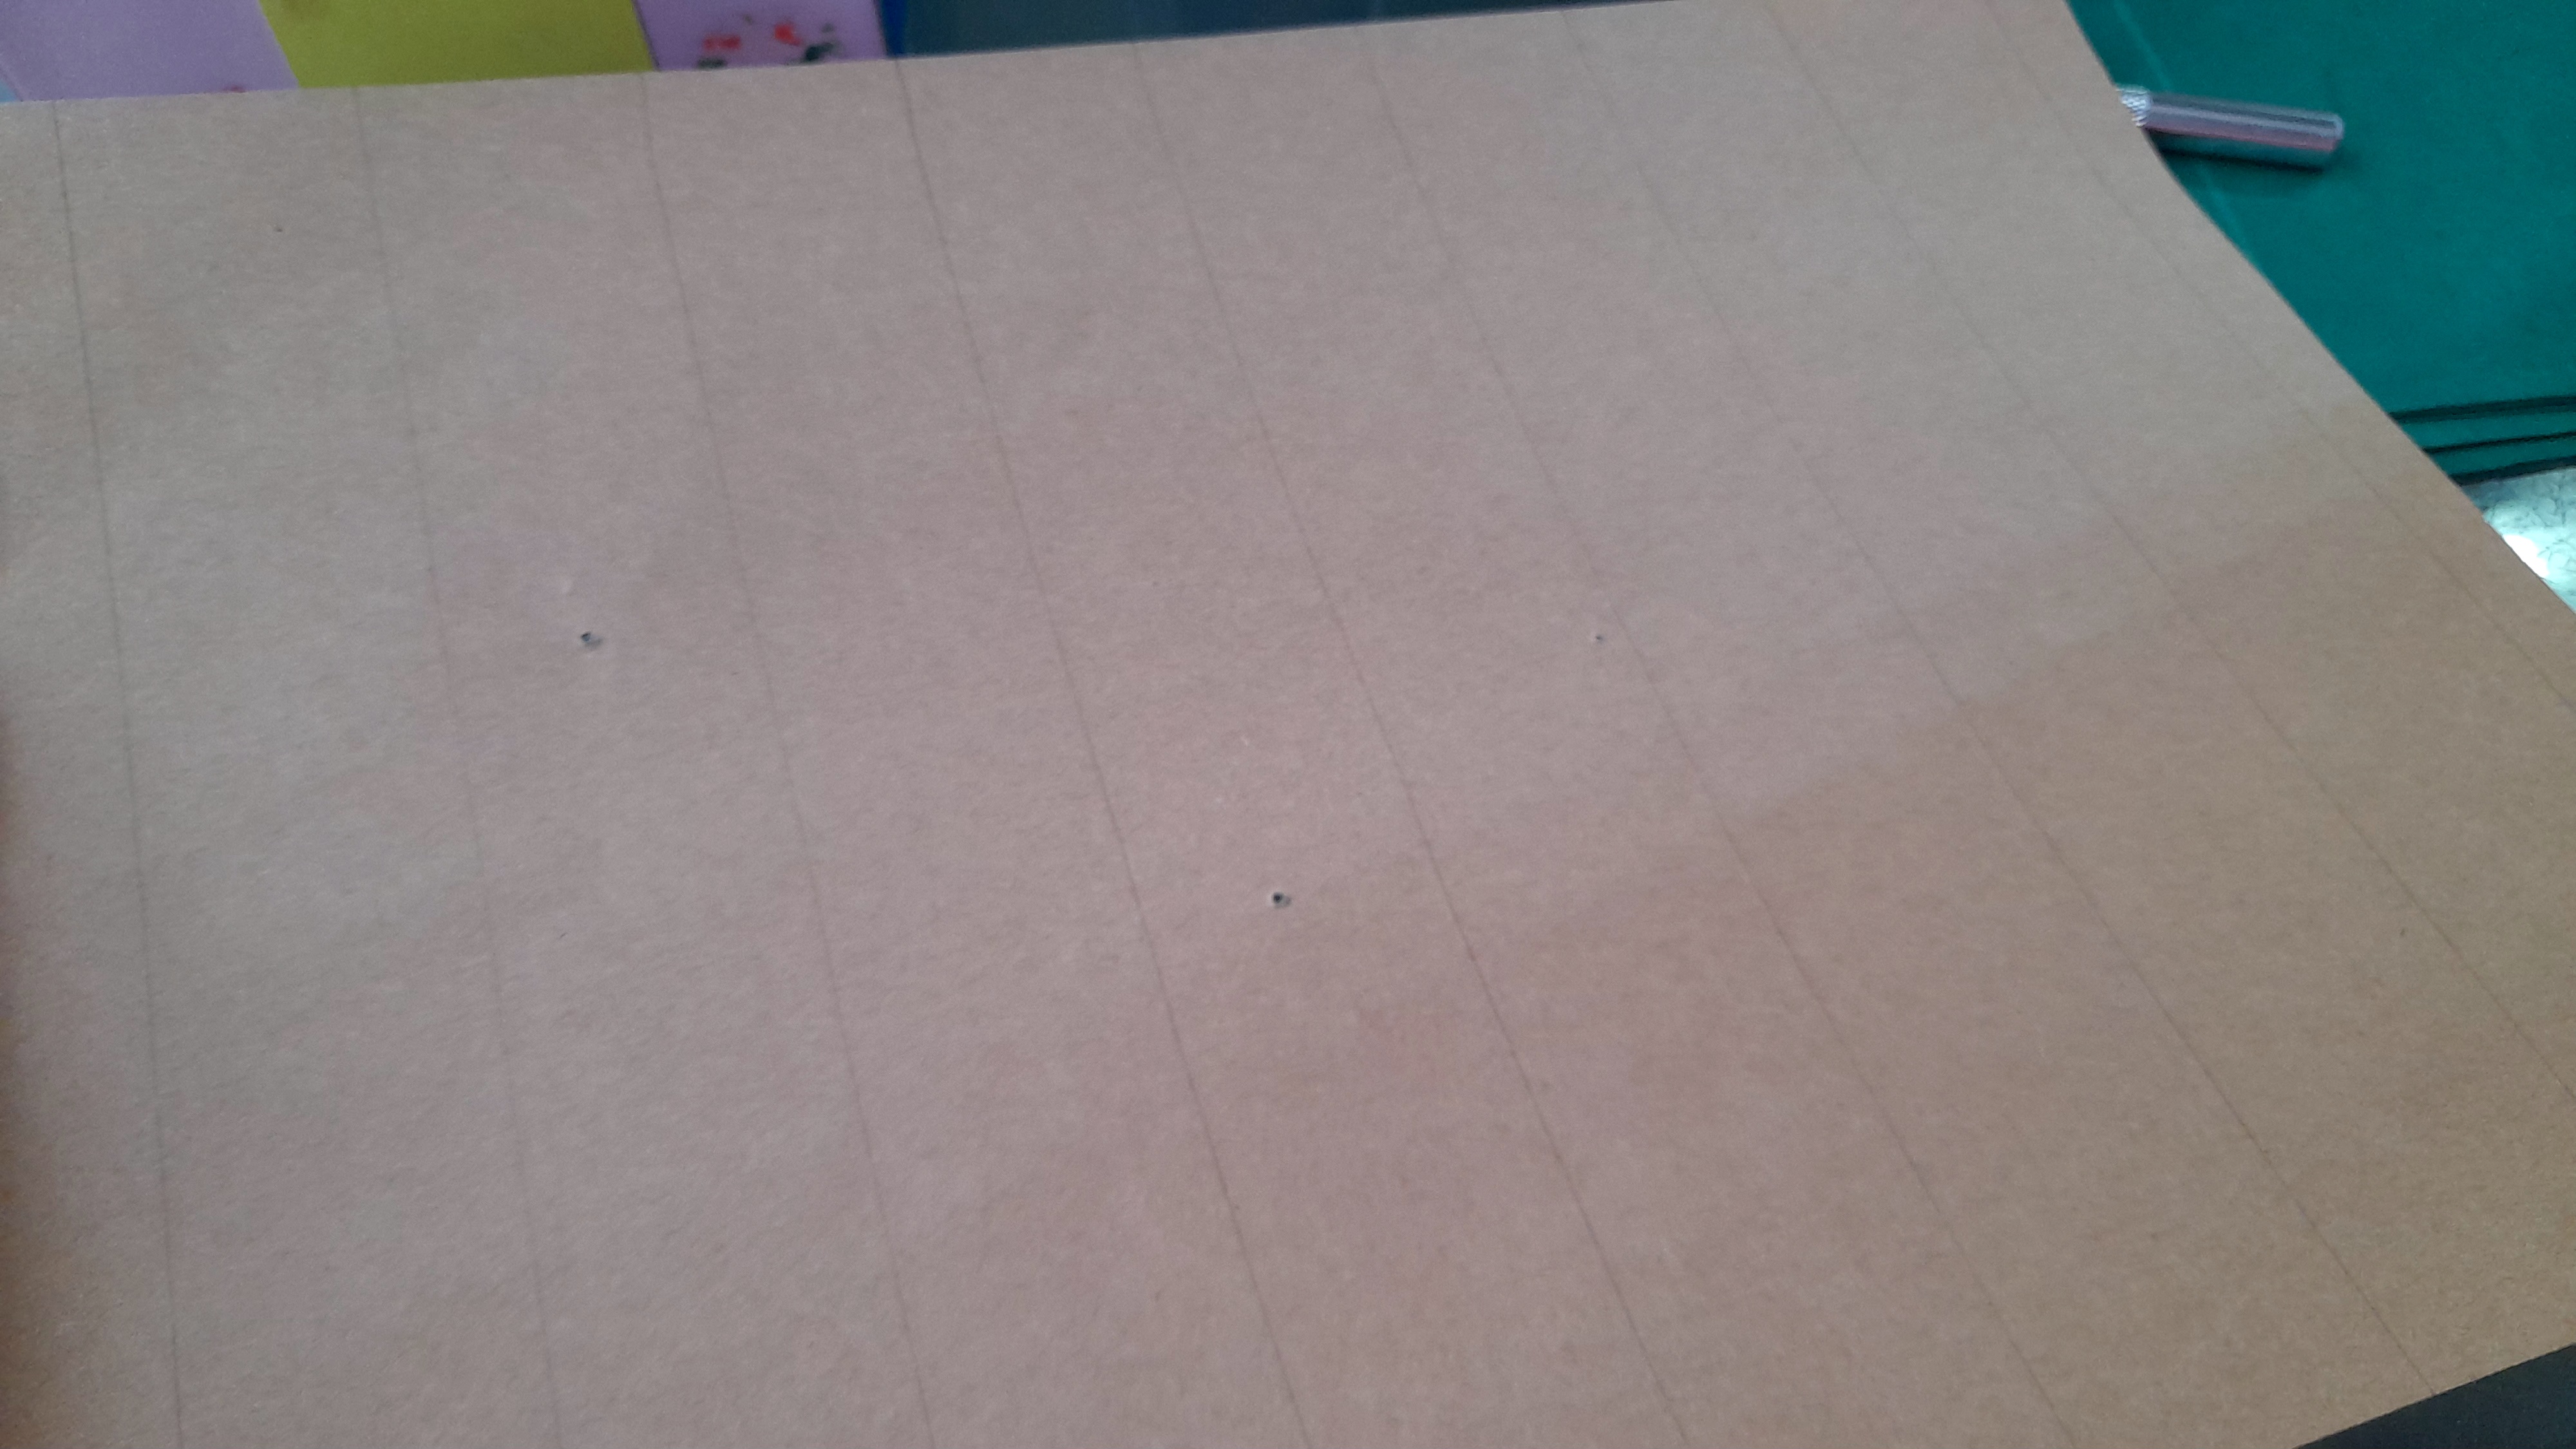
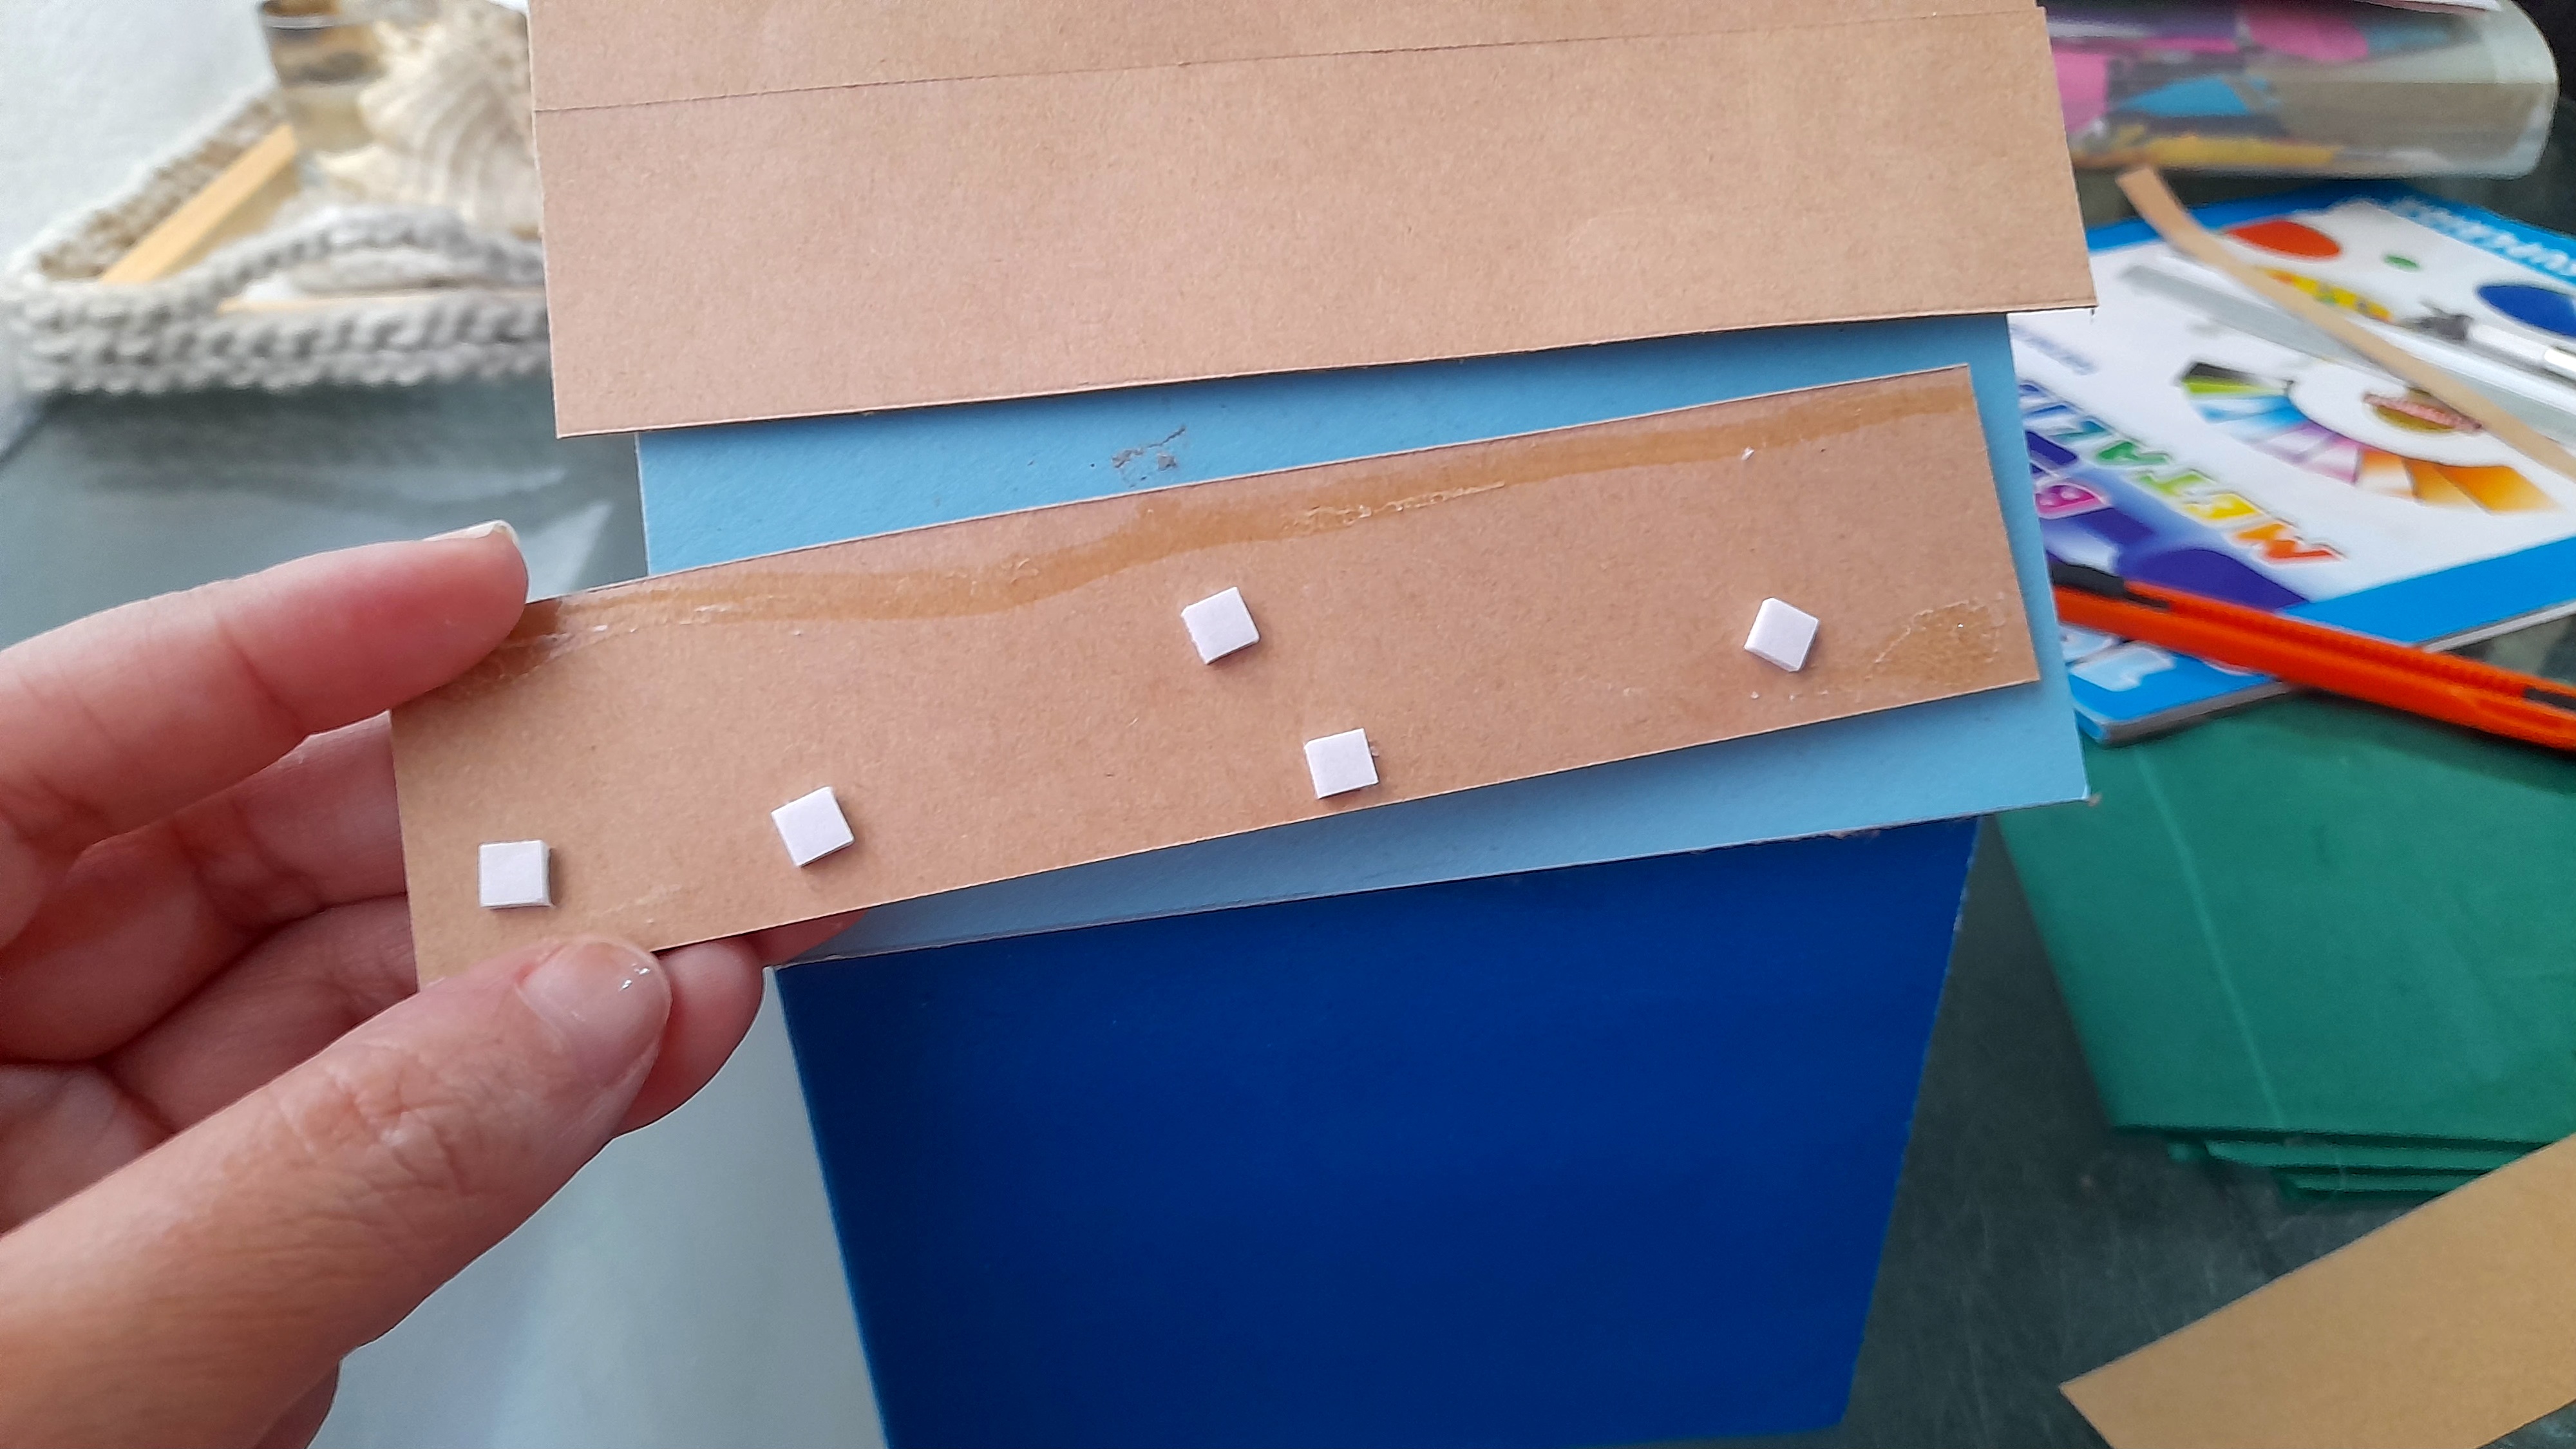
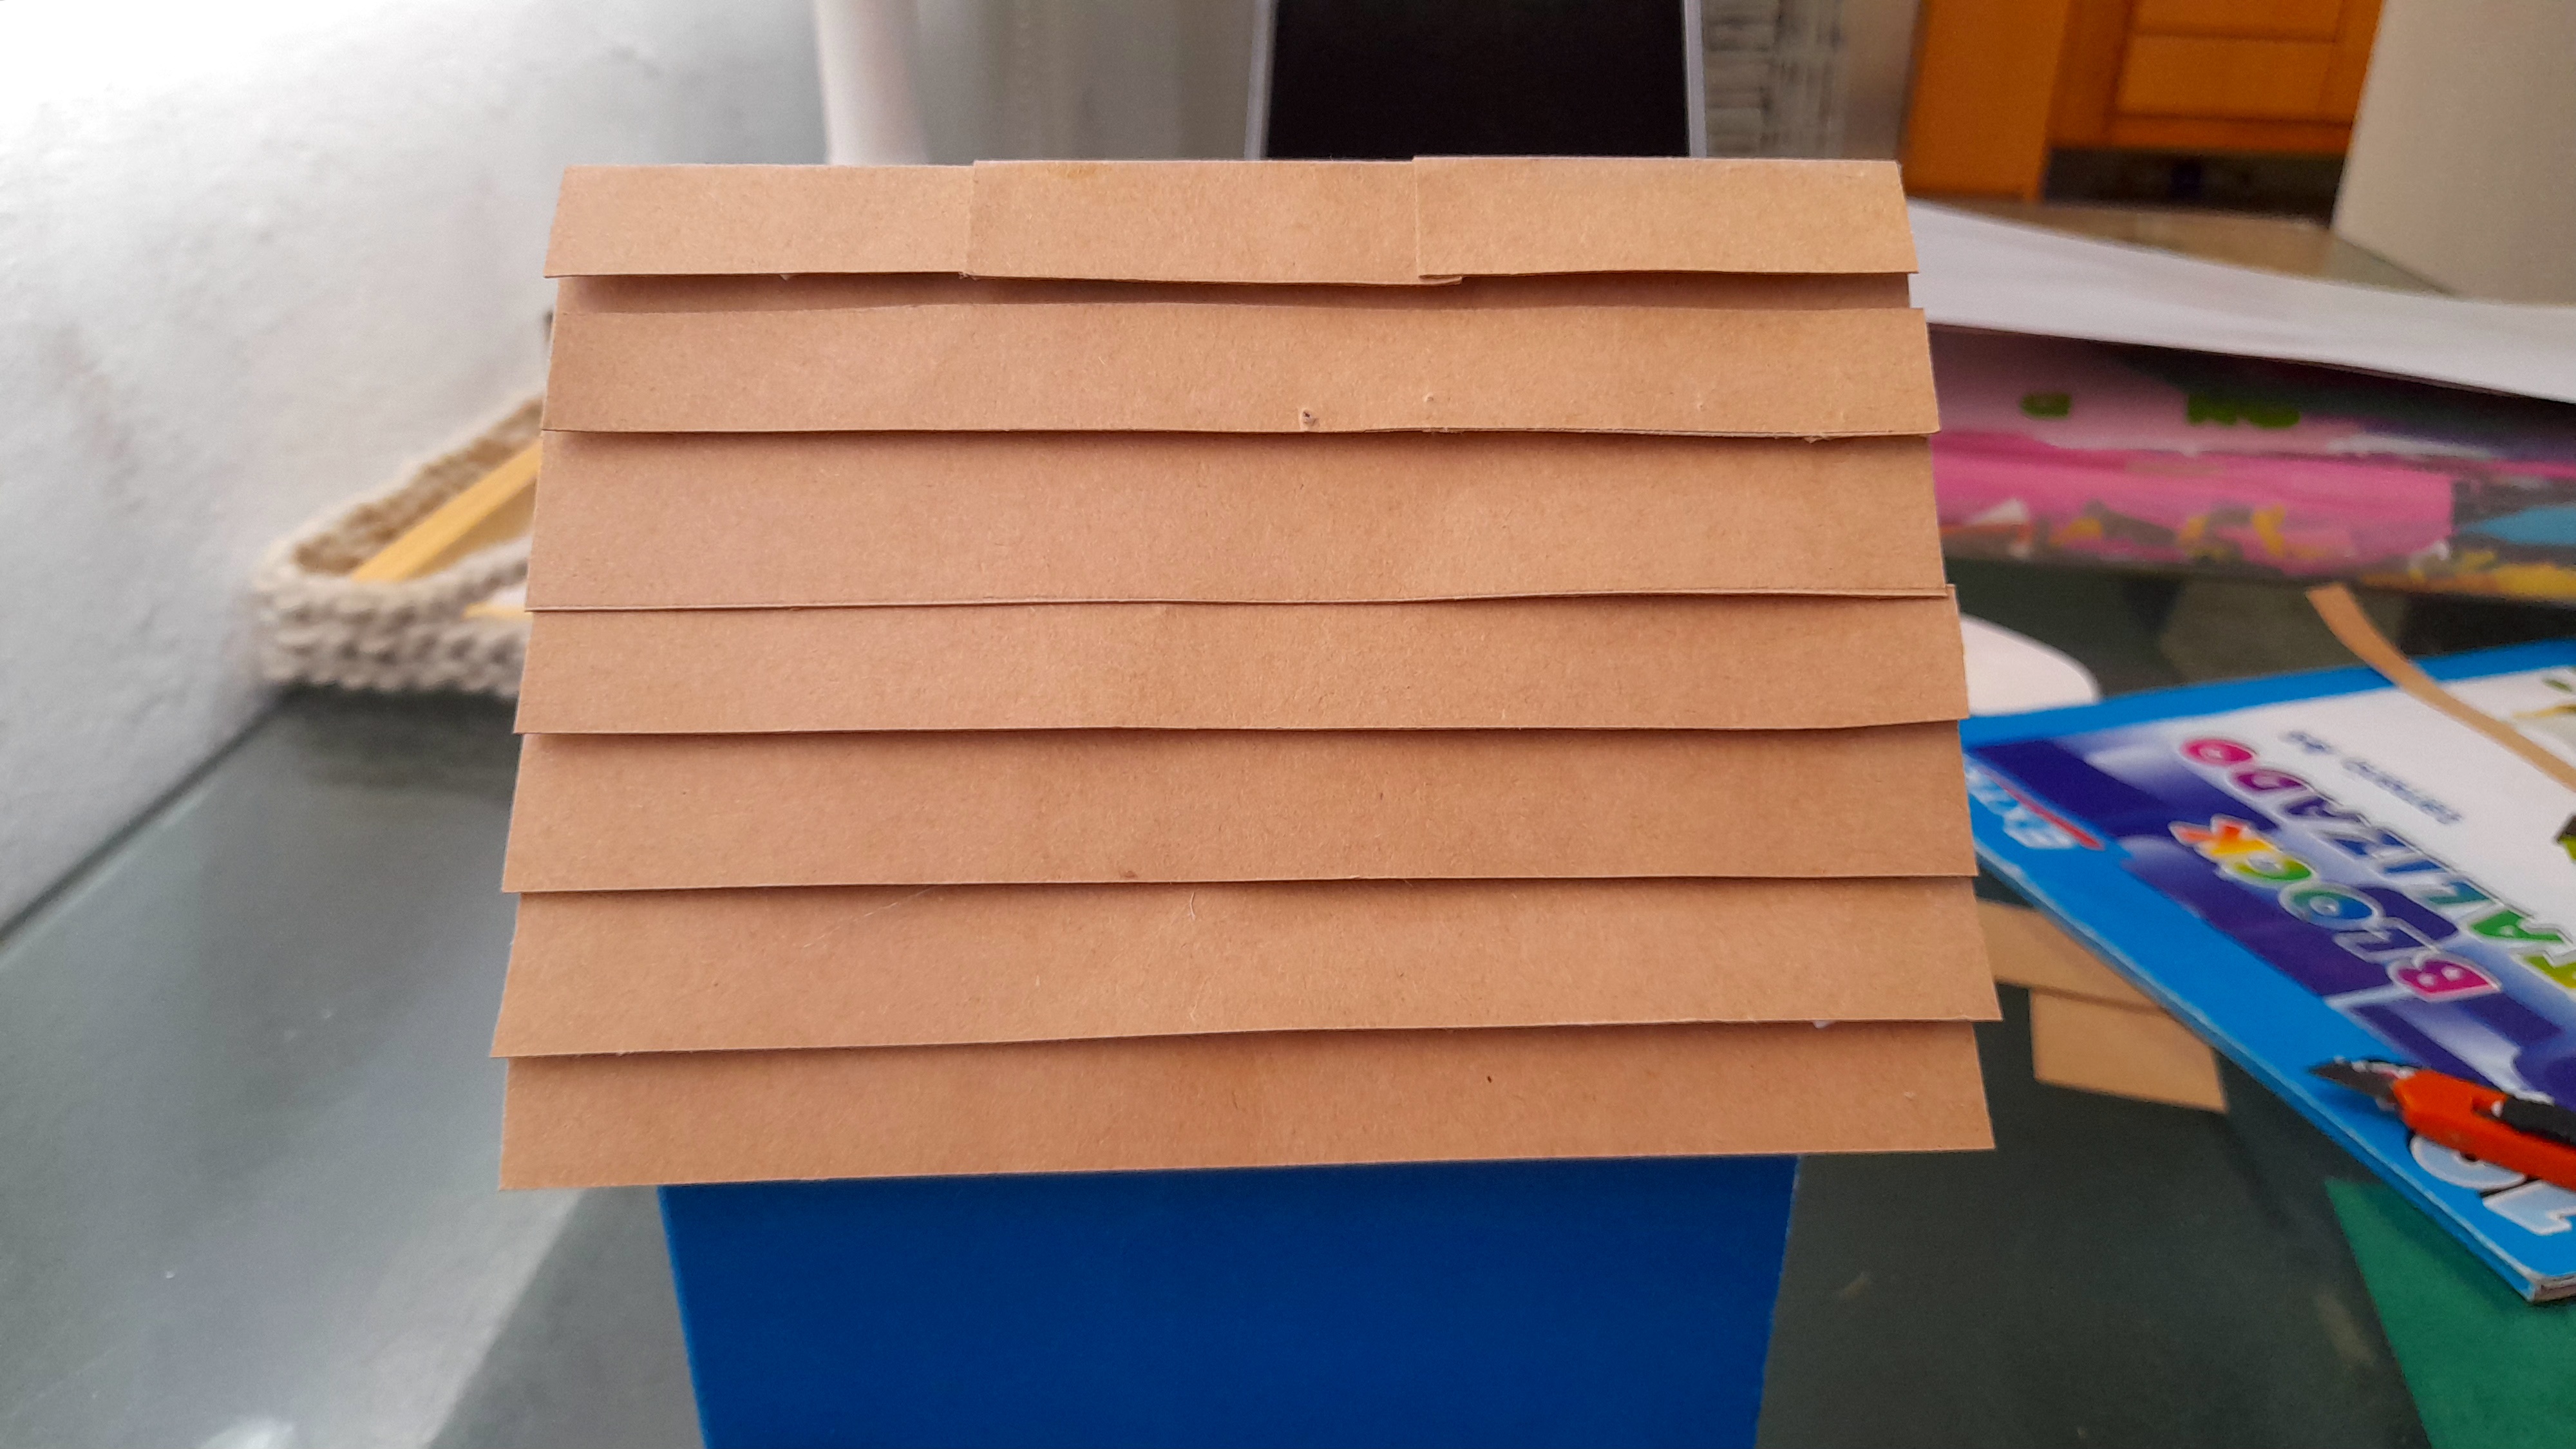
Para esto utilicé una cartulina similar al cartón, marqué y recorté listones, y para darle la apariencia de estar superpuestos como en un techo de madera, utilicé adhesivo doble faz, y quedó genial.
The first thing I had to do was to recover the house while maintaining its structure, and as it was a children's team, I decided to make the house blue in its entirety, so I removed everything that was on the pink facade, and then covered it with blue cardboard, and I set out to glue the roof well and make a kind of roof.
For this I used a cardboard similar to cardboard, I marked and cut out strips, and to give it the appearance of being superimposed as in a wooden roof, I used double-sided adhesive, and it looked great.
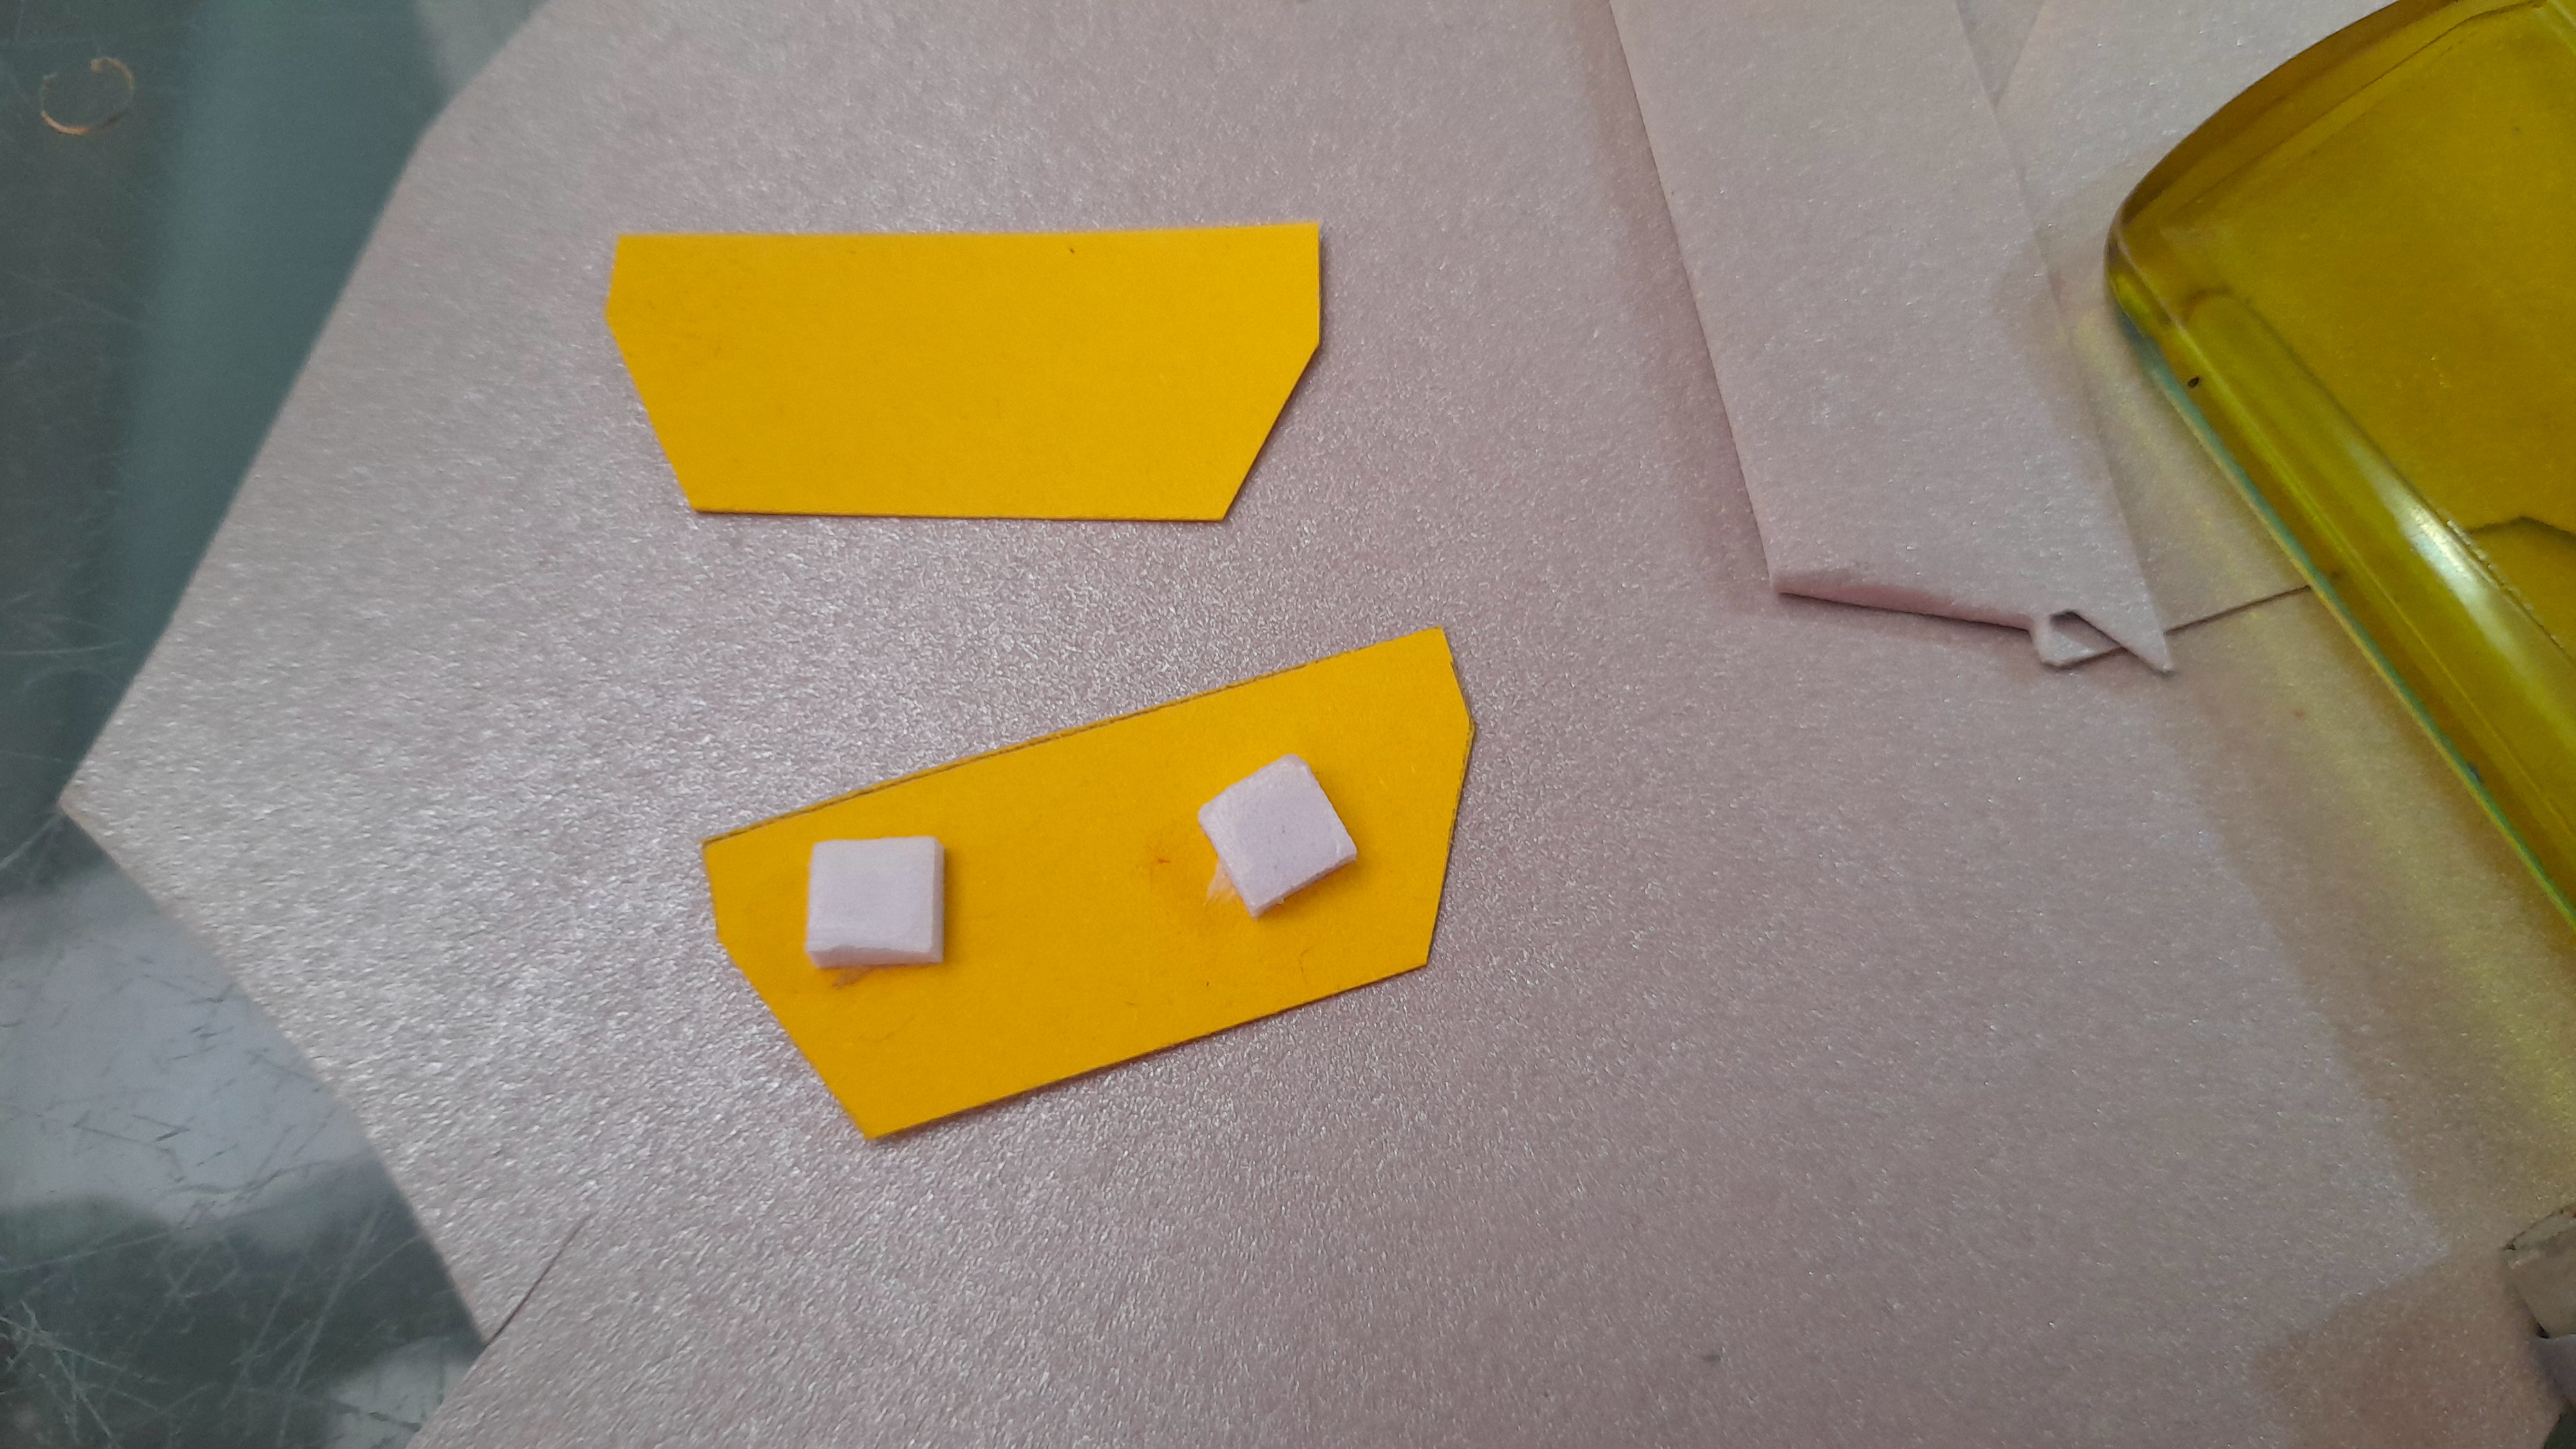
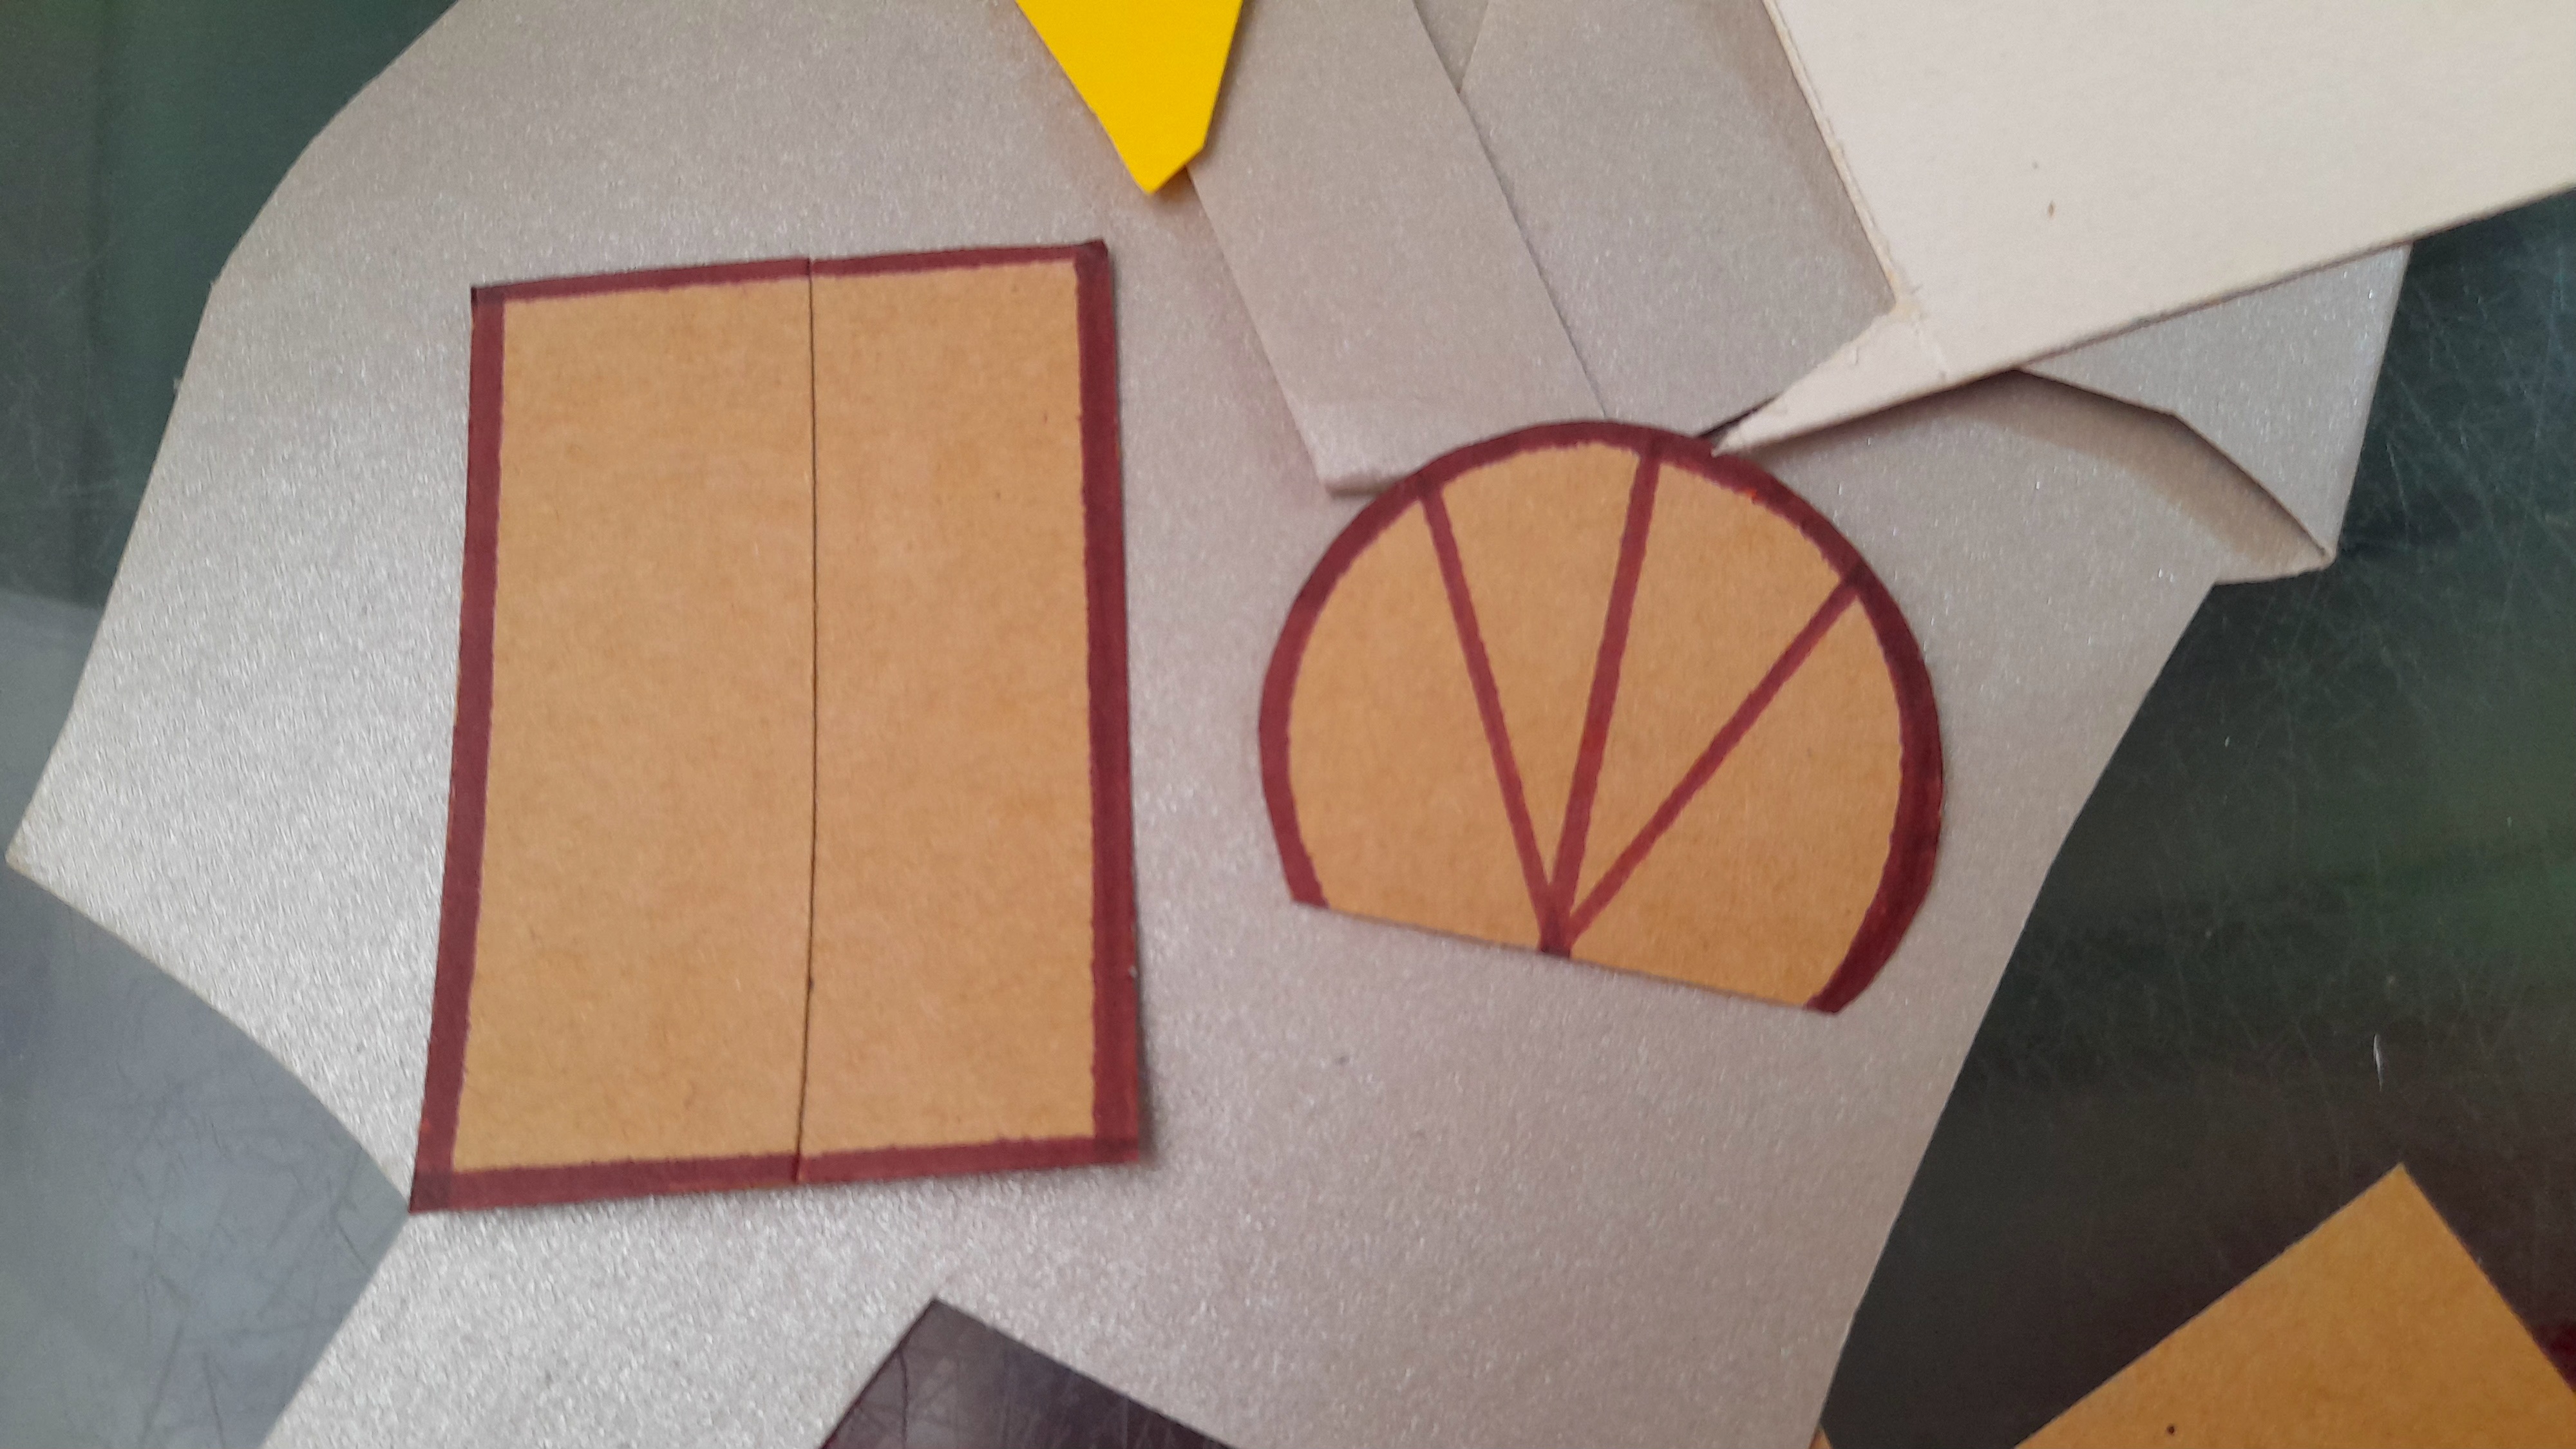
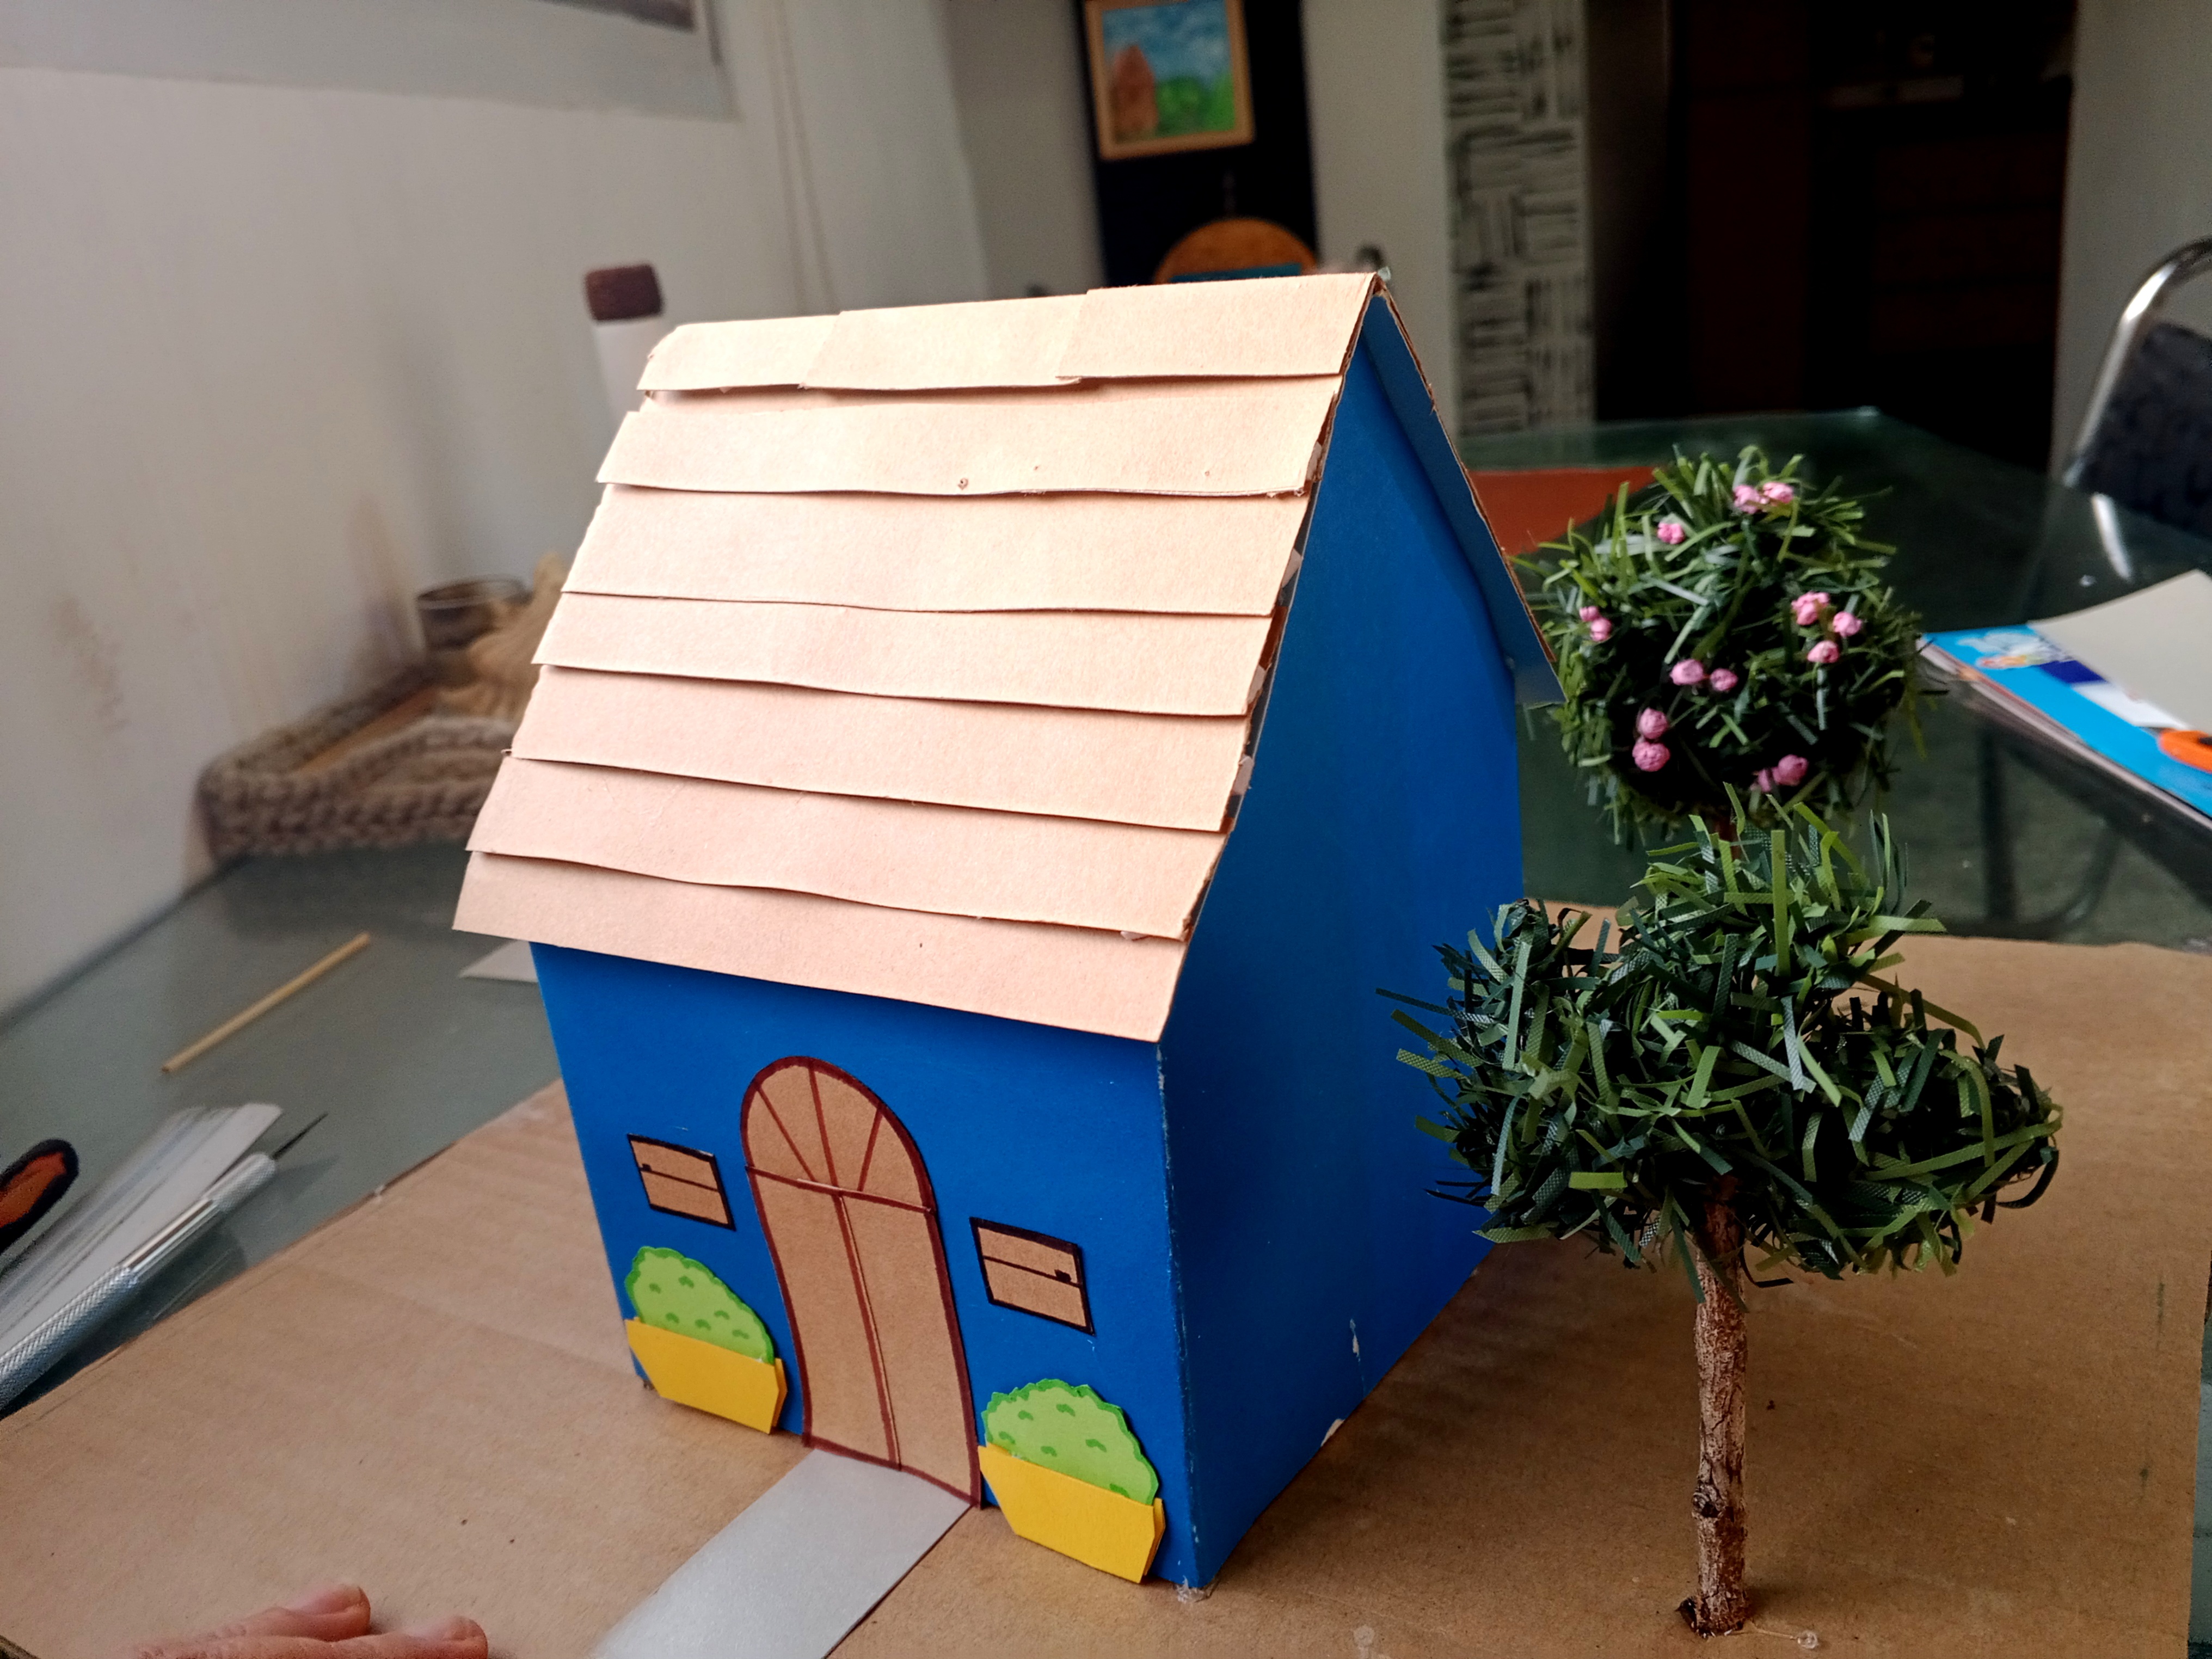
El siguiente paso fue trabajar en la fachada de la casa, así que tenía que incorporar una puerta, ventanas, y las jardineras, y para elaborarlas utilicé simplemente cartulina y marcadores.
En el caso de las jardineras hice dos piezas para cada una de ellas, y las uní con adhesivo doble faz, para crear un espacio donde introducir la plantita (también hecha con cartulina), y se viera mucho mas linda.
The next step was to work on the facade of the house, so I had to incorporate a door, windows, and planters, and to make them I simply used cardboard and markers.
In the case of the planters I made two pieces for each one of them, and I joined them with double-sided adhesive, to create a space where to introduce the little plant (also made with cardboard), and it would look much prettier.
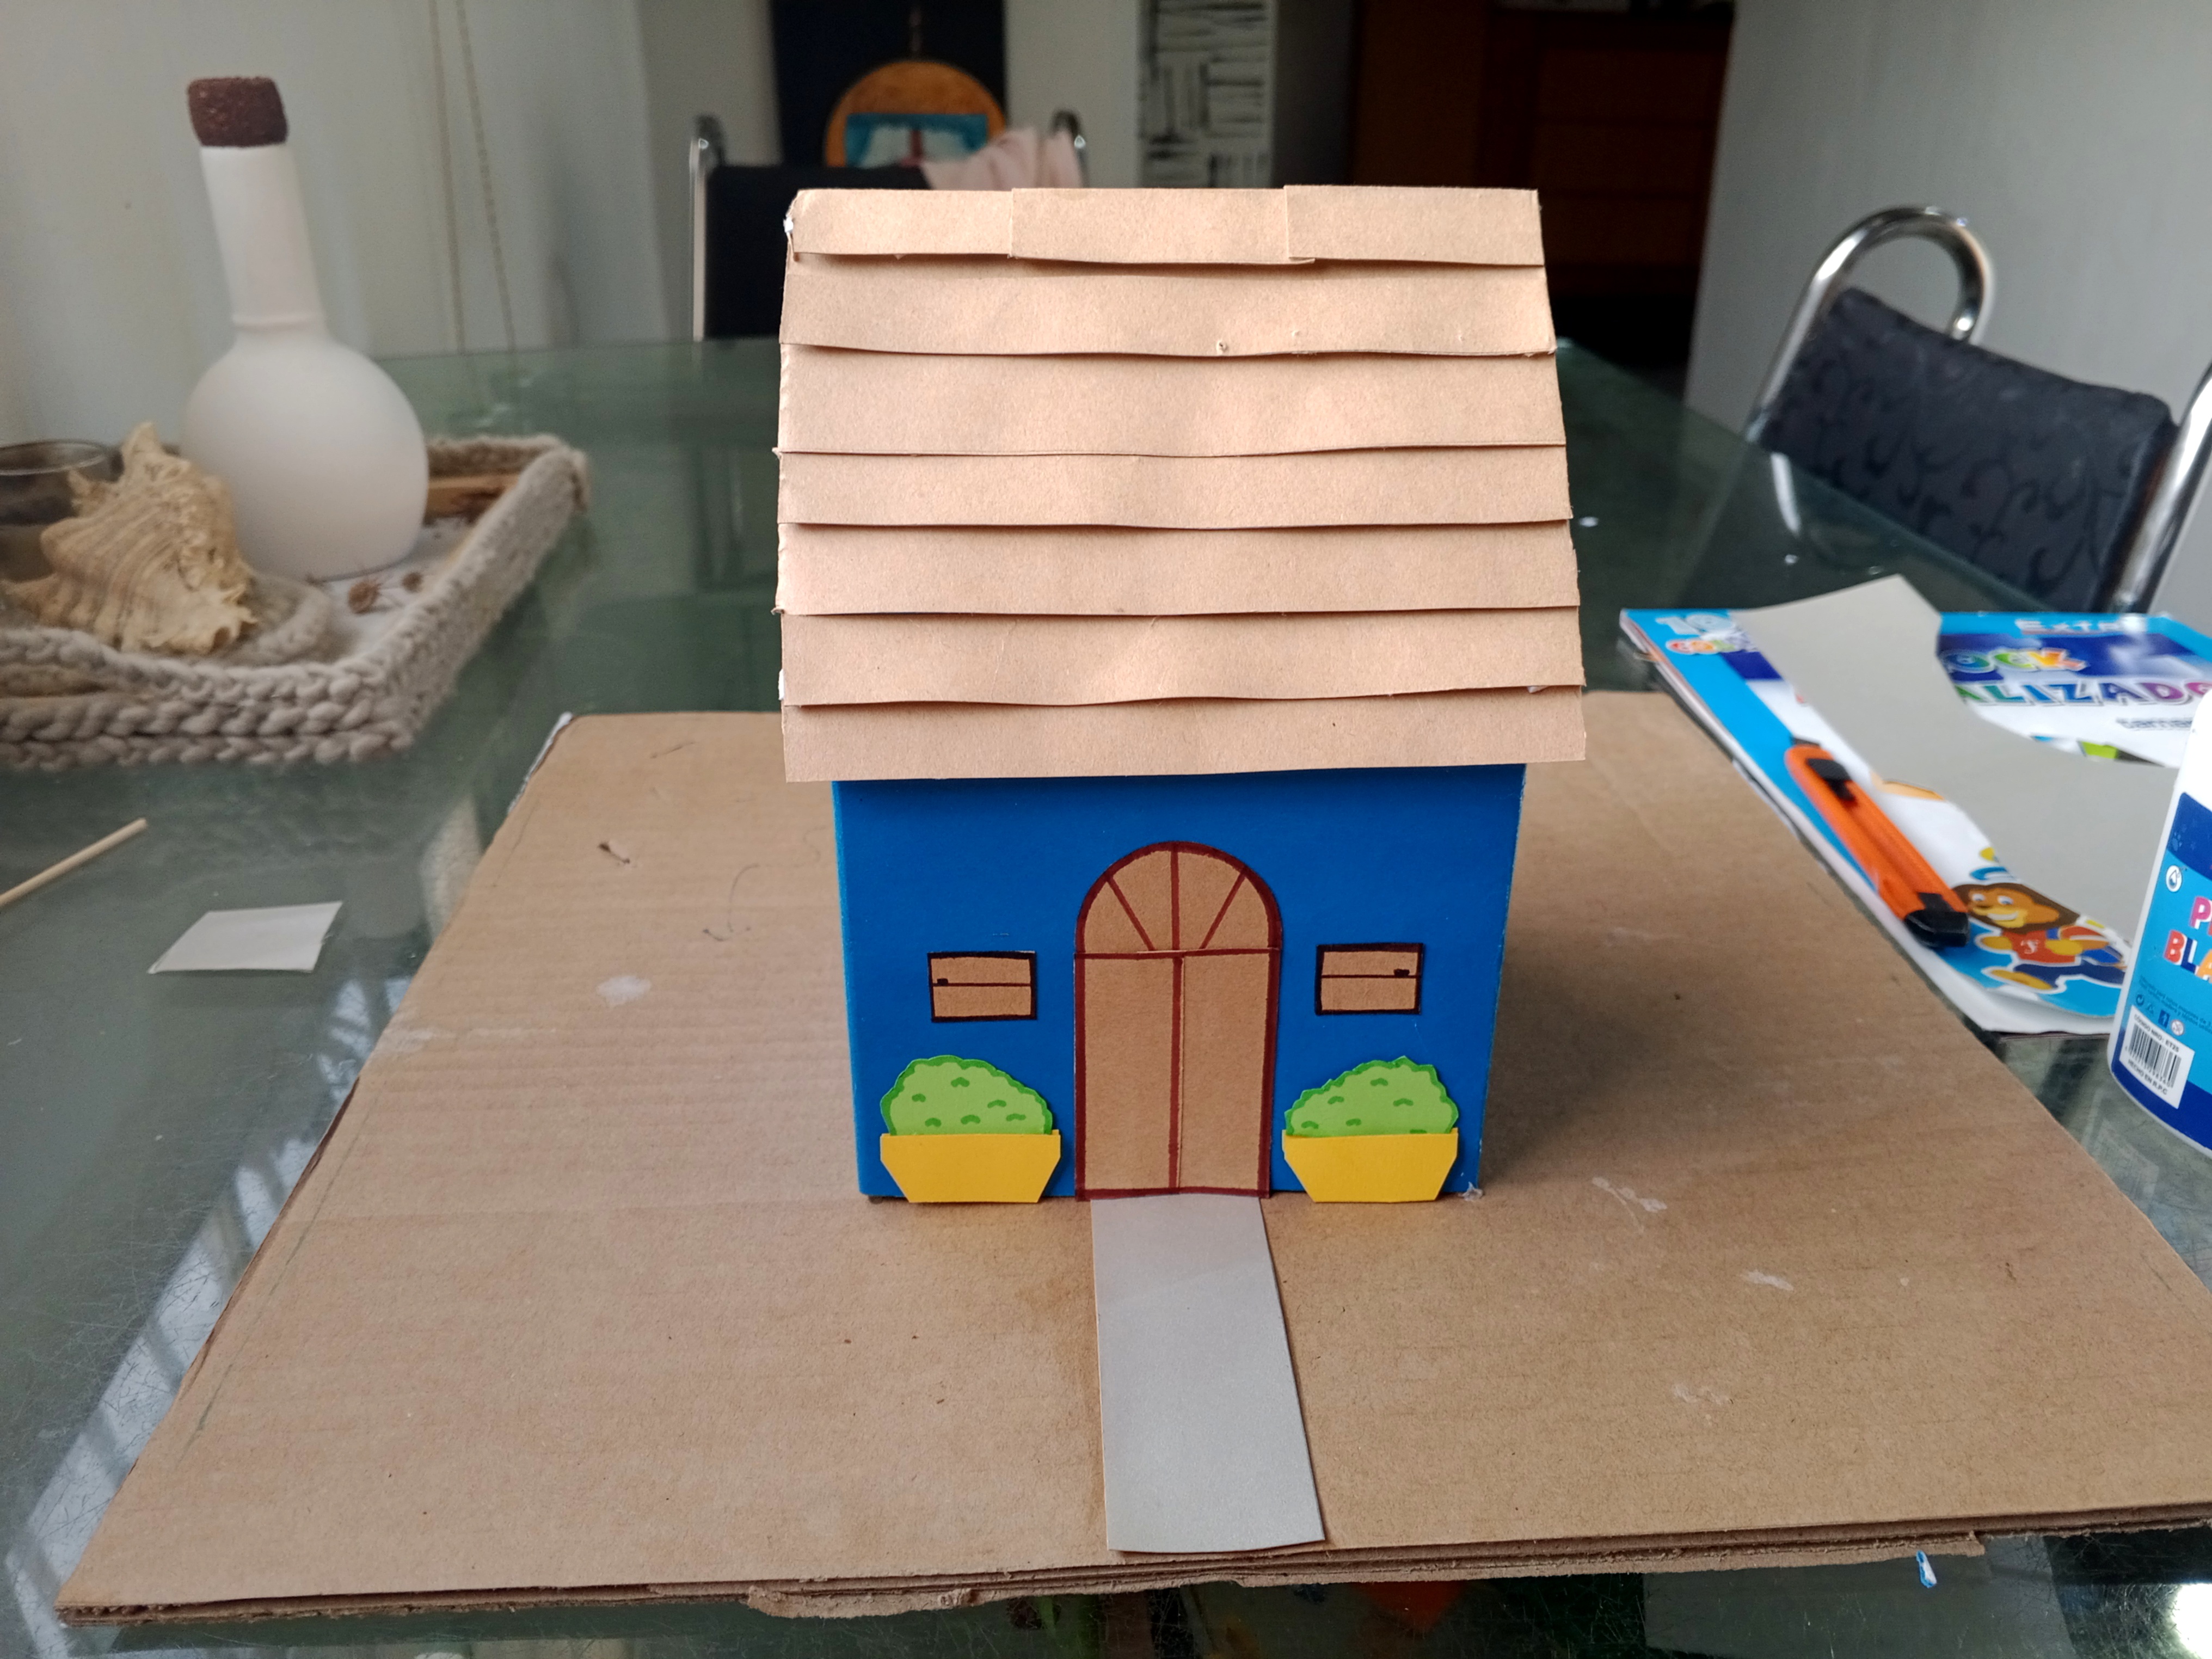
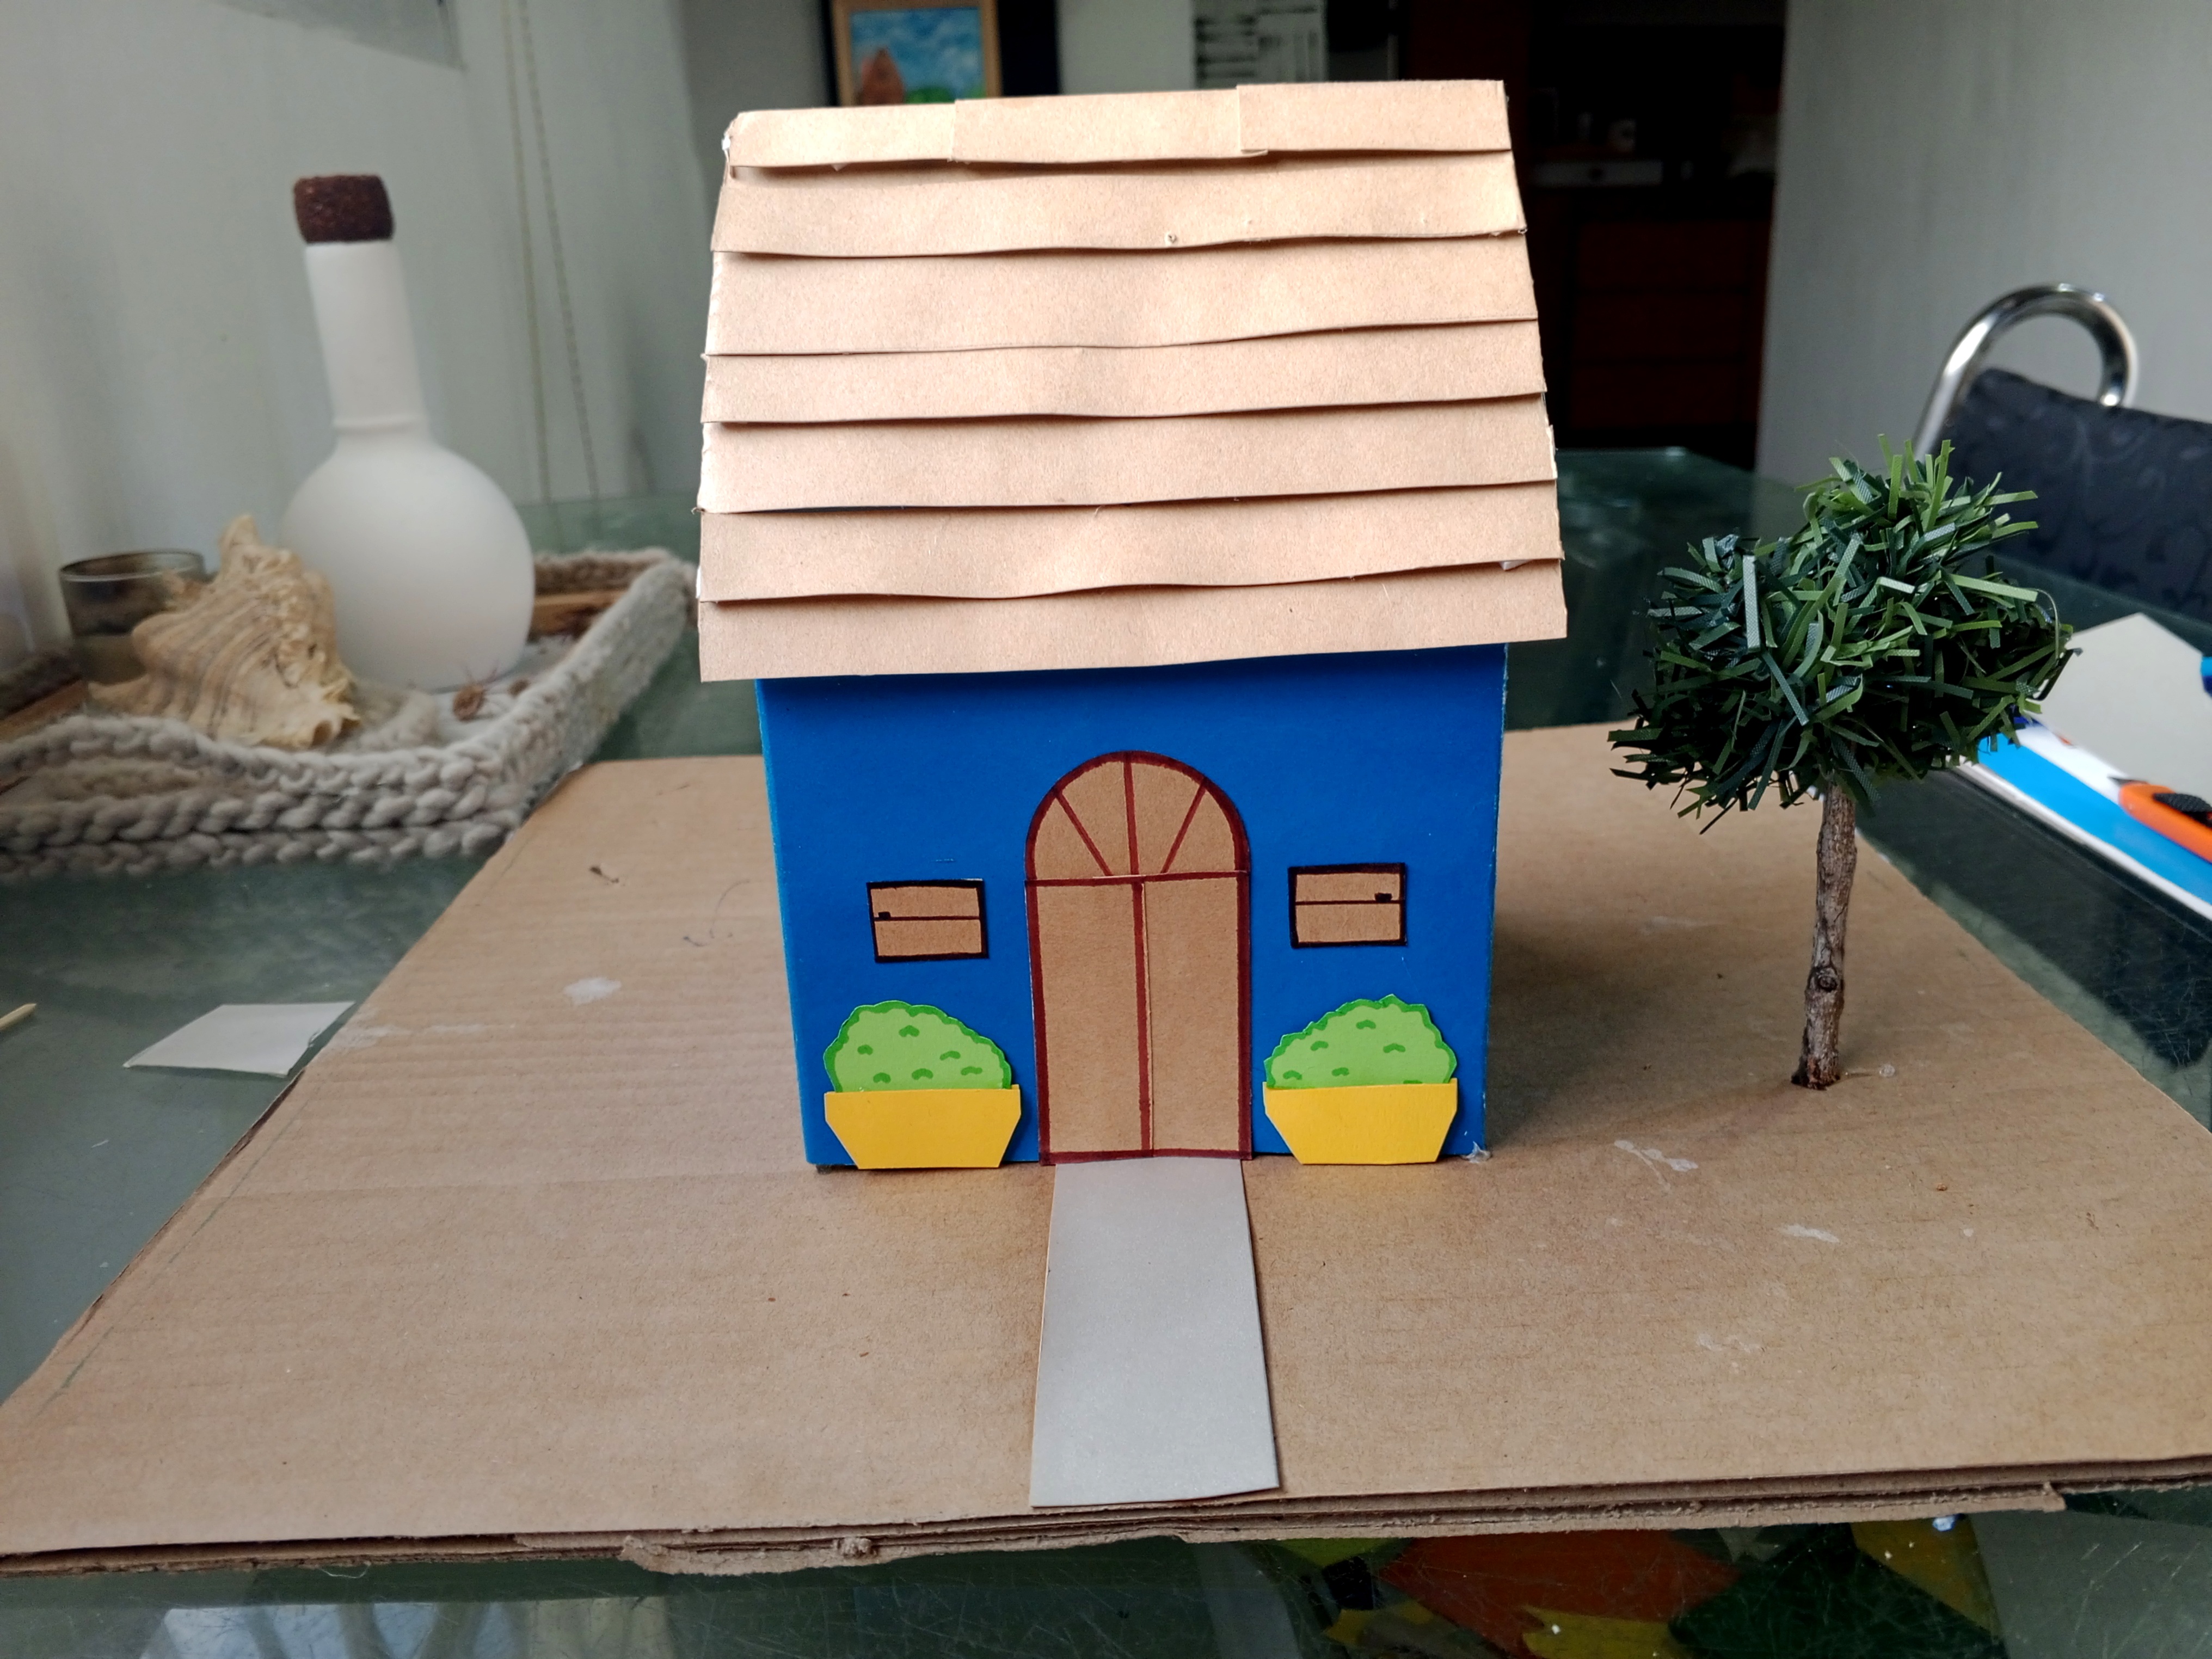
Para continuar tenía que incorporar la base, y para ello utilicé cartón grueso, de ese con que están hechas las cajas del súper donde vienen los productos, lo recorté del tamaño que necesitaba, y pegué la casita en el centro y le hice un pequeño camino con cartulina gris para que pareciera hecho de cemento.
To continue I had to incorporate the base, and for that I used thick cardboard, the kind used to make the boxes at the supermarket where the products come, I cut it to the size I needed, and glued the little house in the center and made a small path with gray cardboard to make it look like it was made of cement.
Como necesitaba árboles, para colocar en el patio y a un lado de la casa, decidí usar los que había hecho para la maqueta del
ciclo de vida de las plantas, así que solo las despegué, hice un pequeño agujero con una brocheta, agregué silicón caliente y pegué todos los arbolitos.
Since I needed trees, to place in the yard and on the side of the house, I decided to use the ones I had made for the [plant life cycle] model (
https://inleo.io/@rlathulerie/ciclo-de-vida-de-las-plantasmaqueta-espeng-jgu?referral=rlathulerie), so I just peeled them off, made a small hole with a skewer, added hot silicone and glued all the saplings.
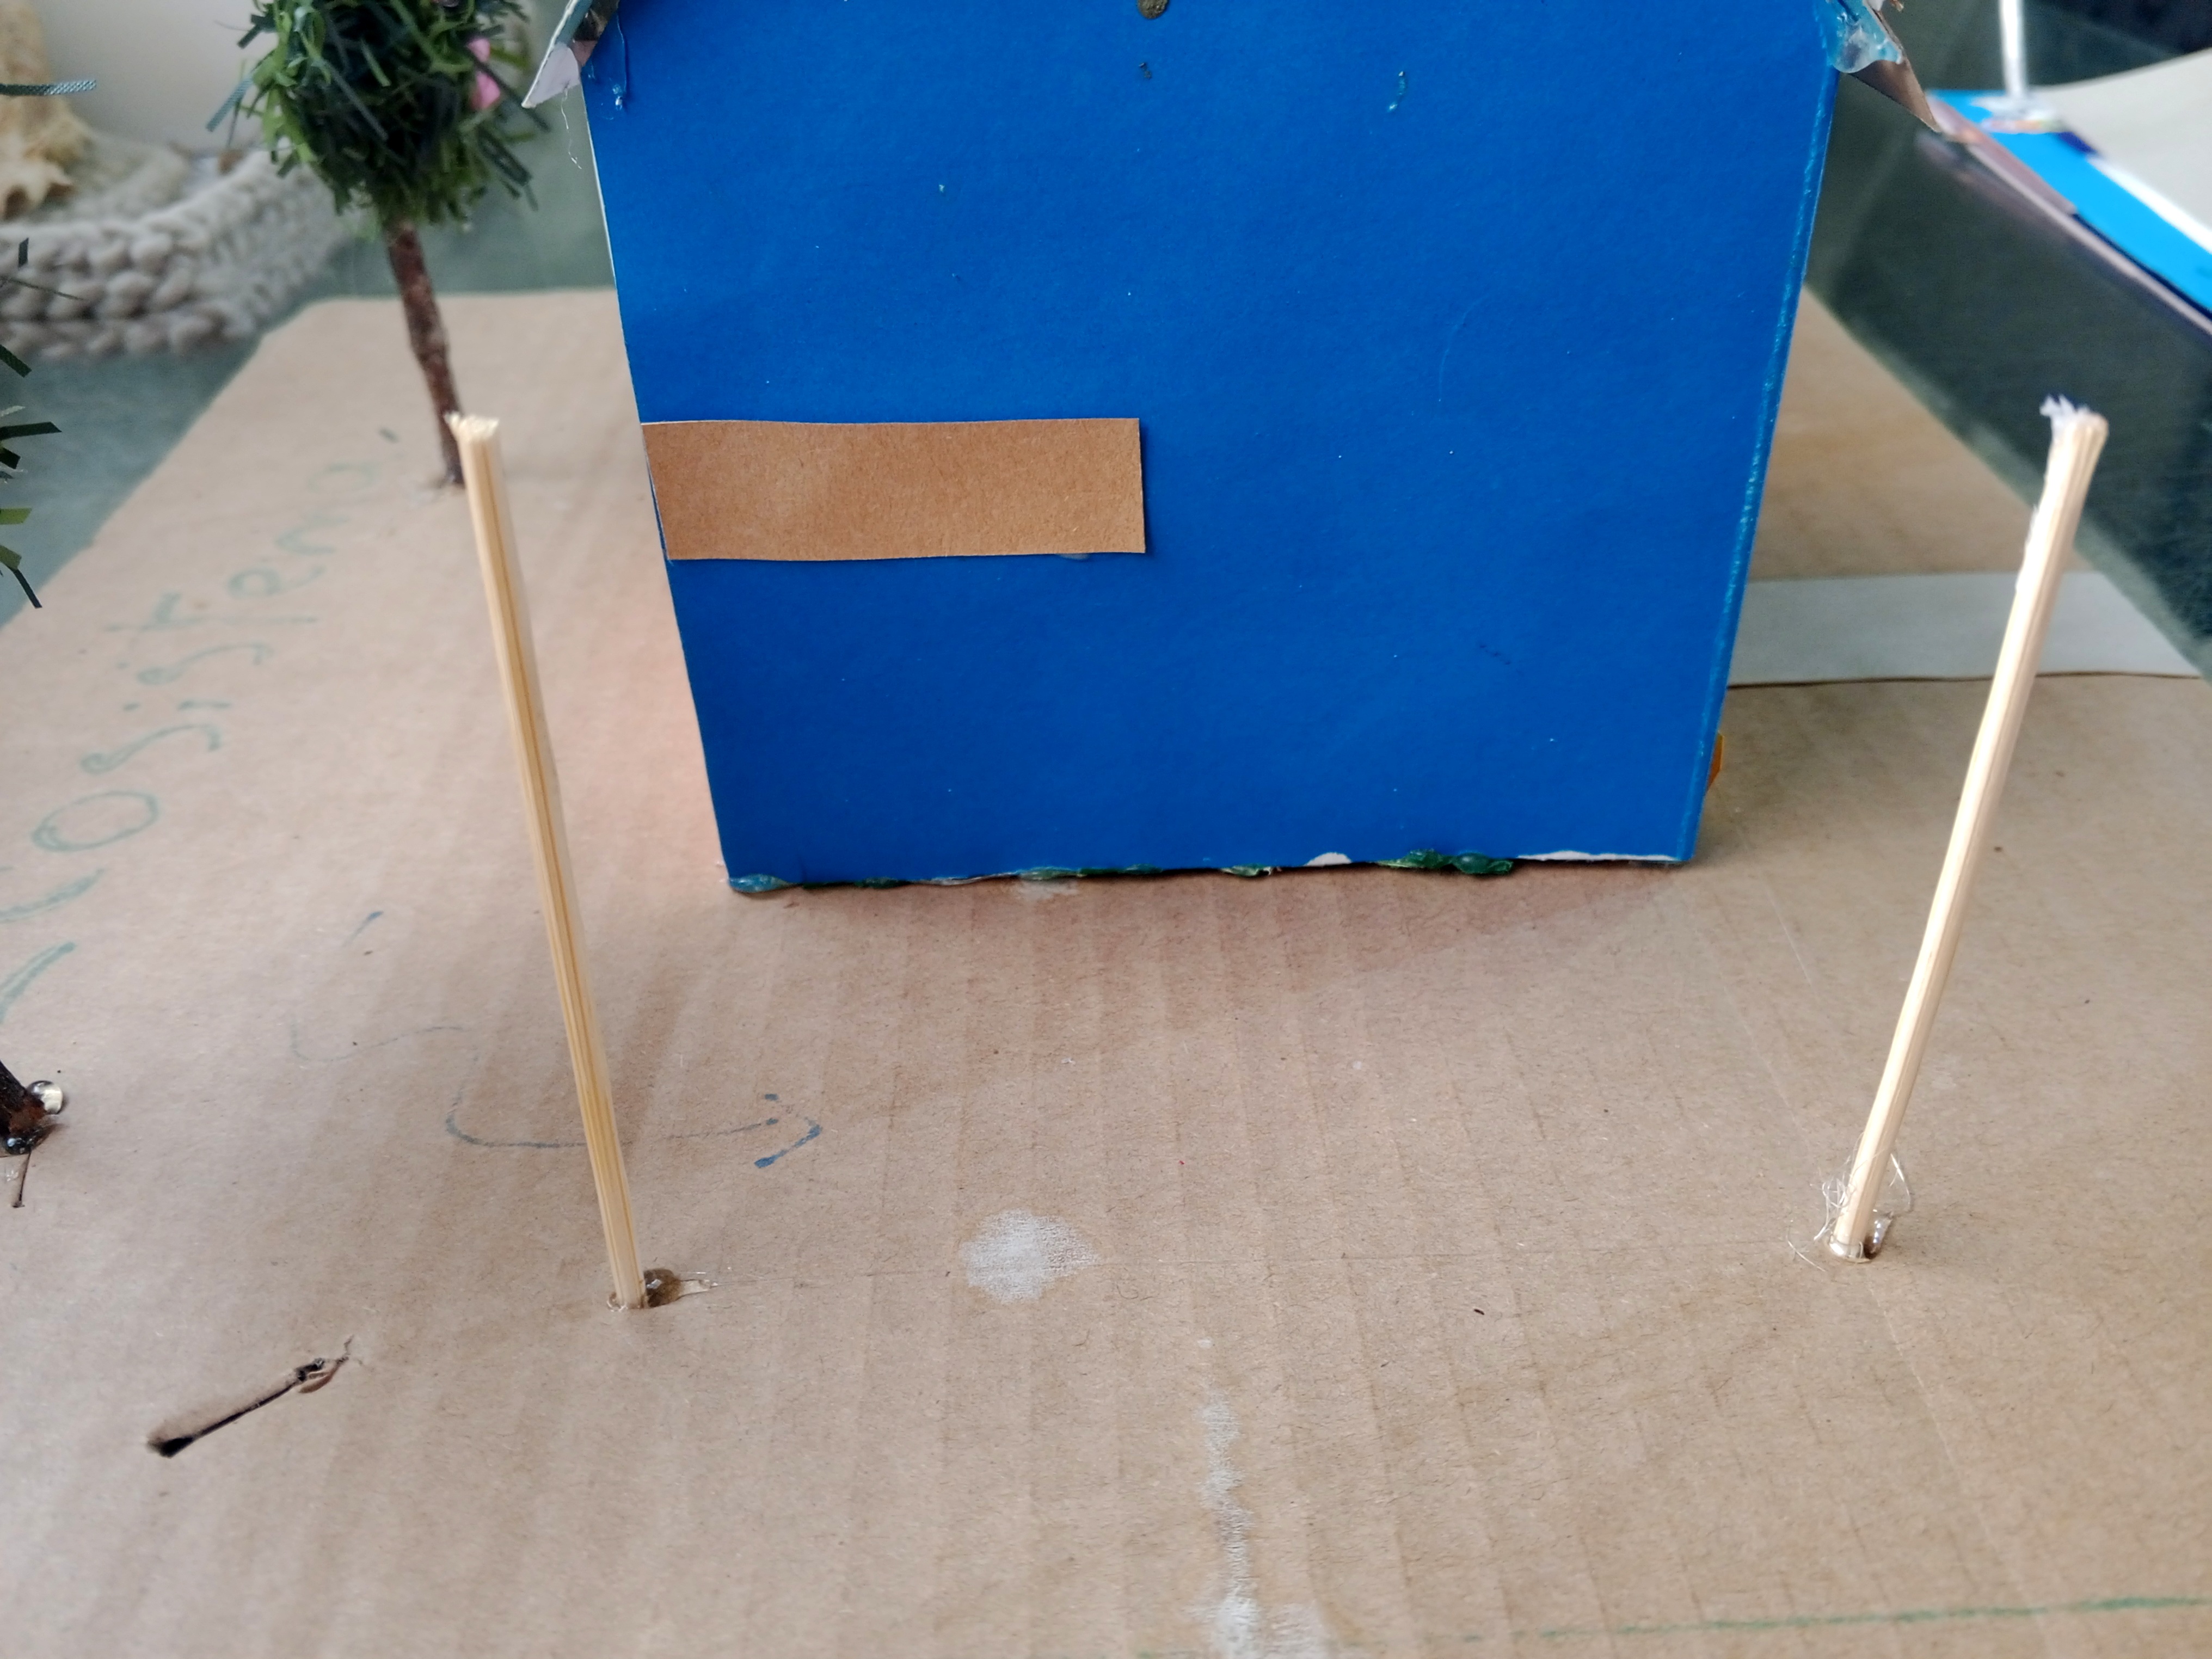
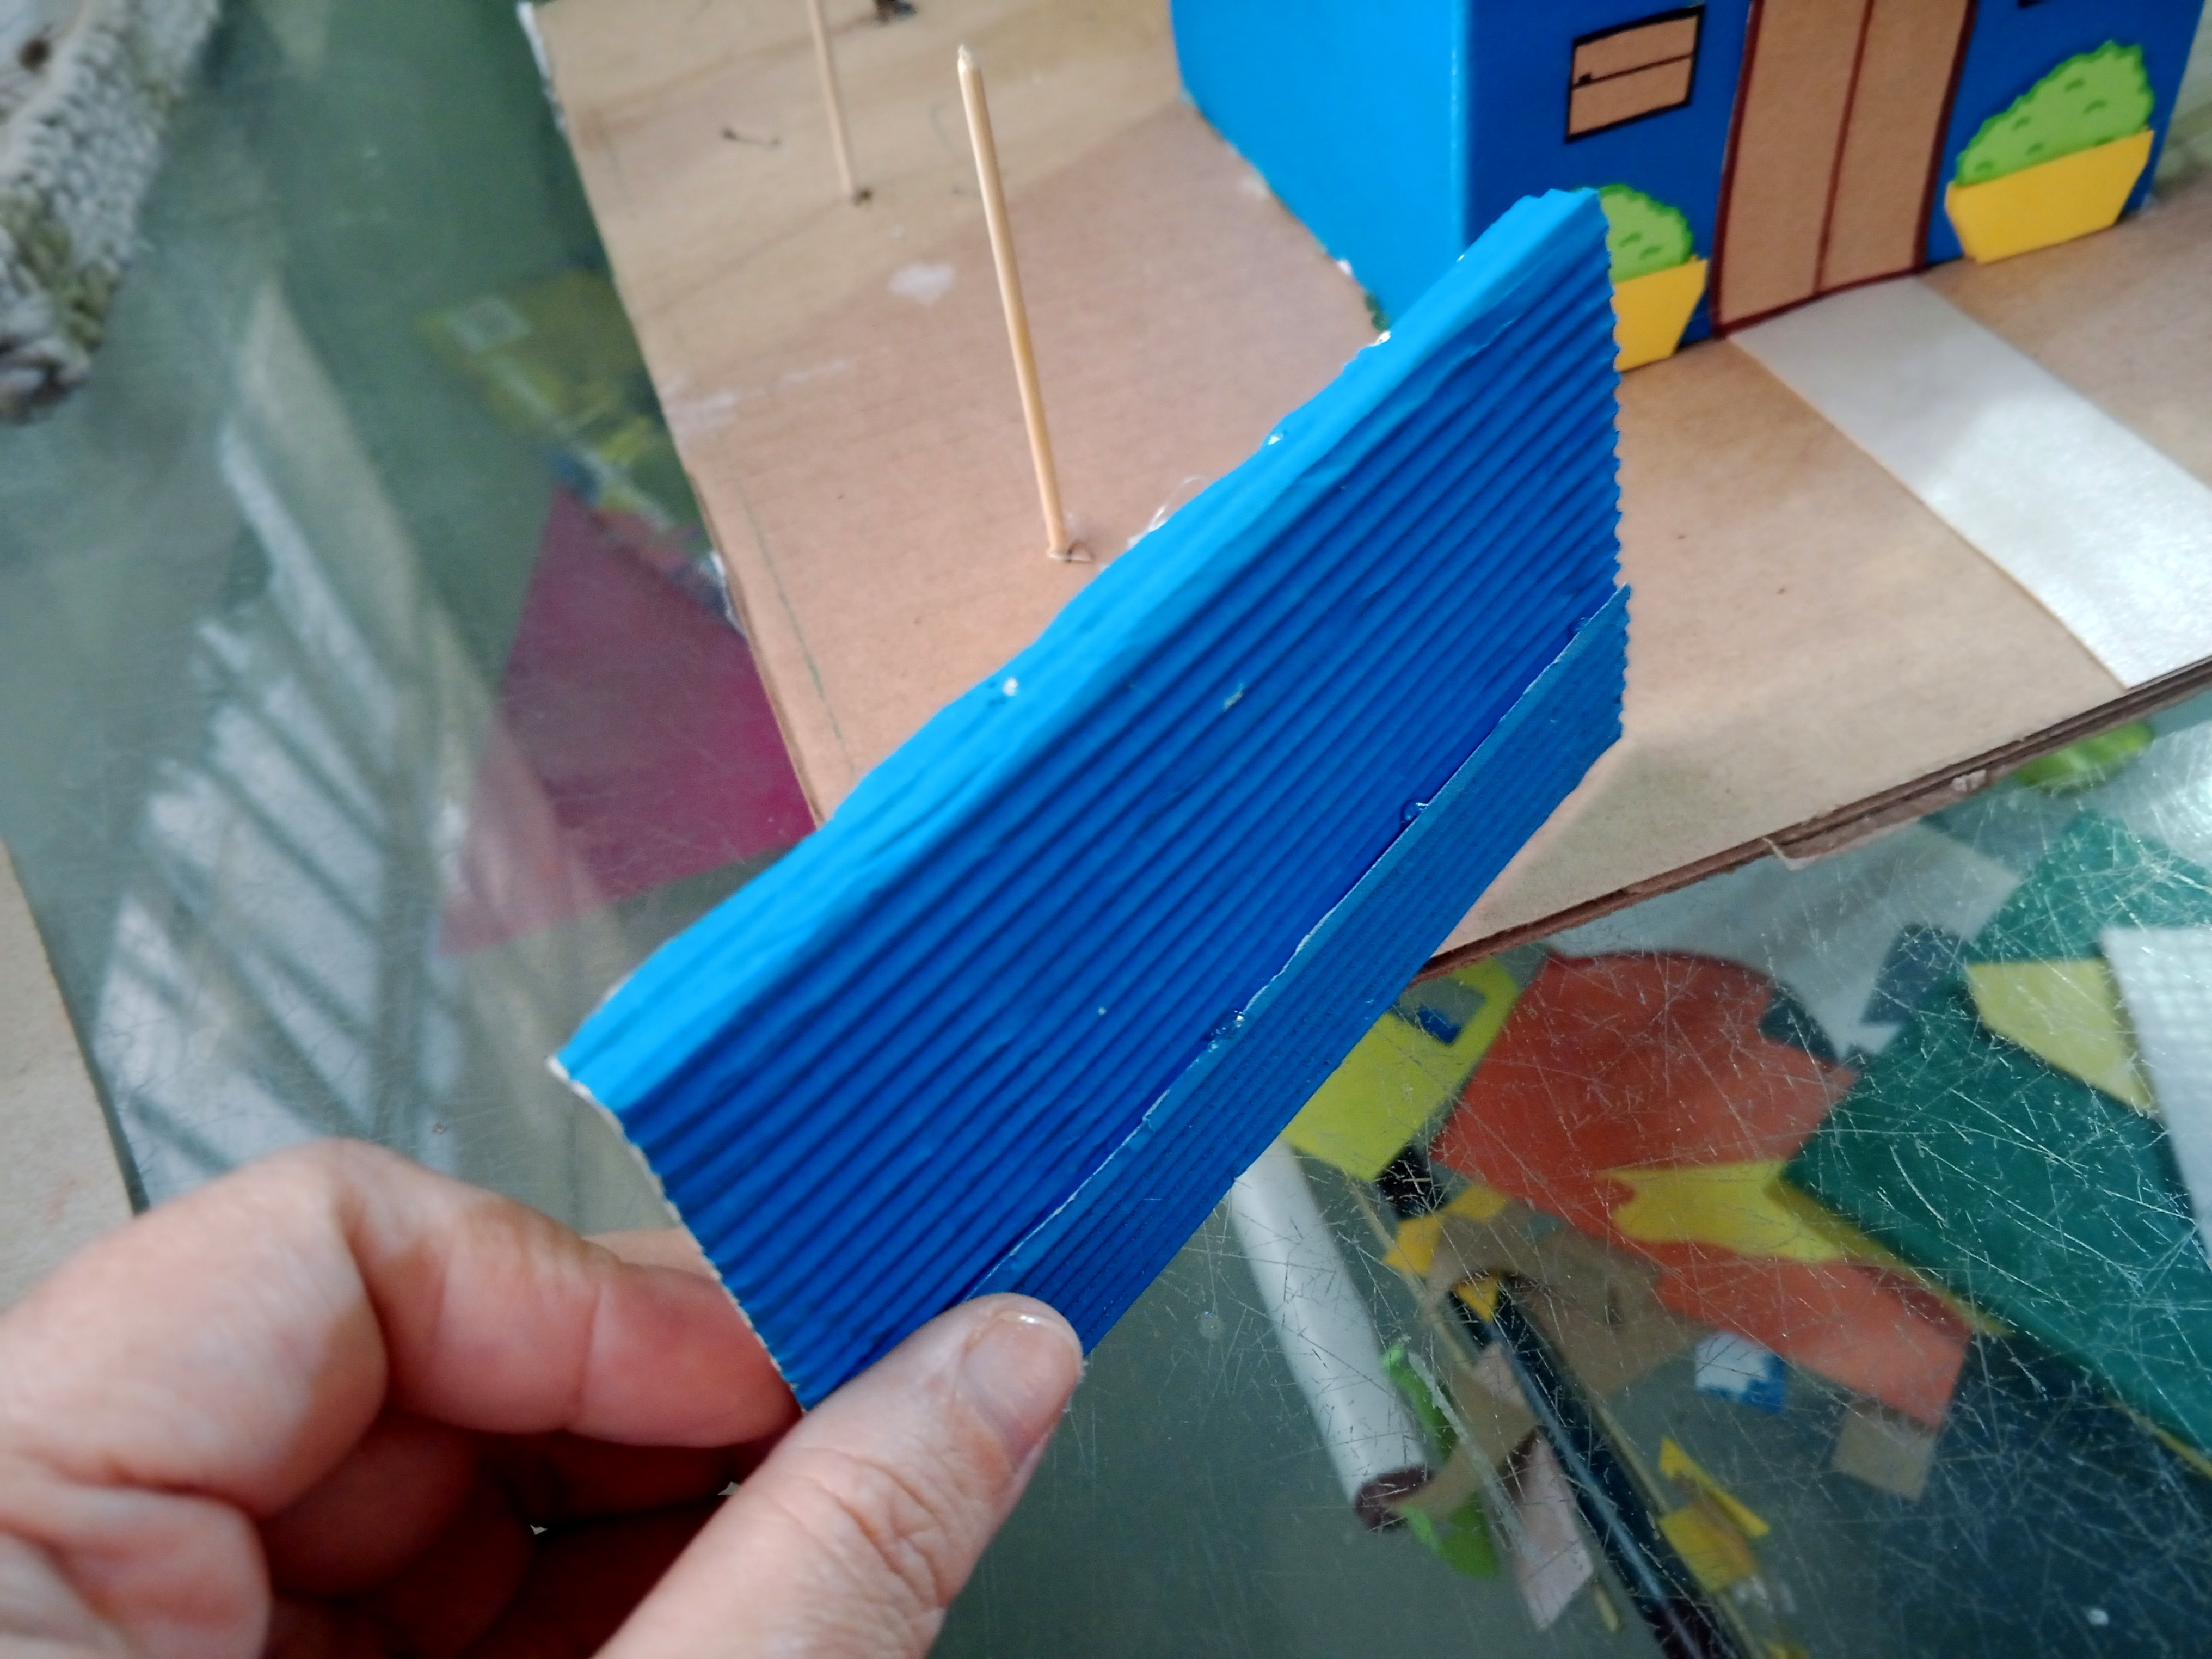
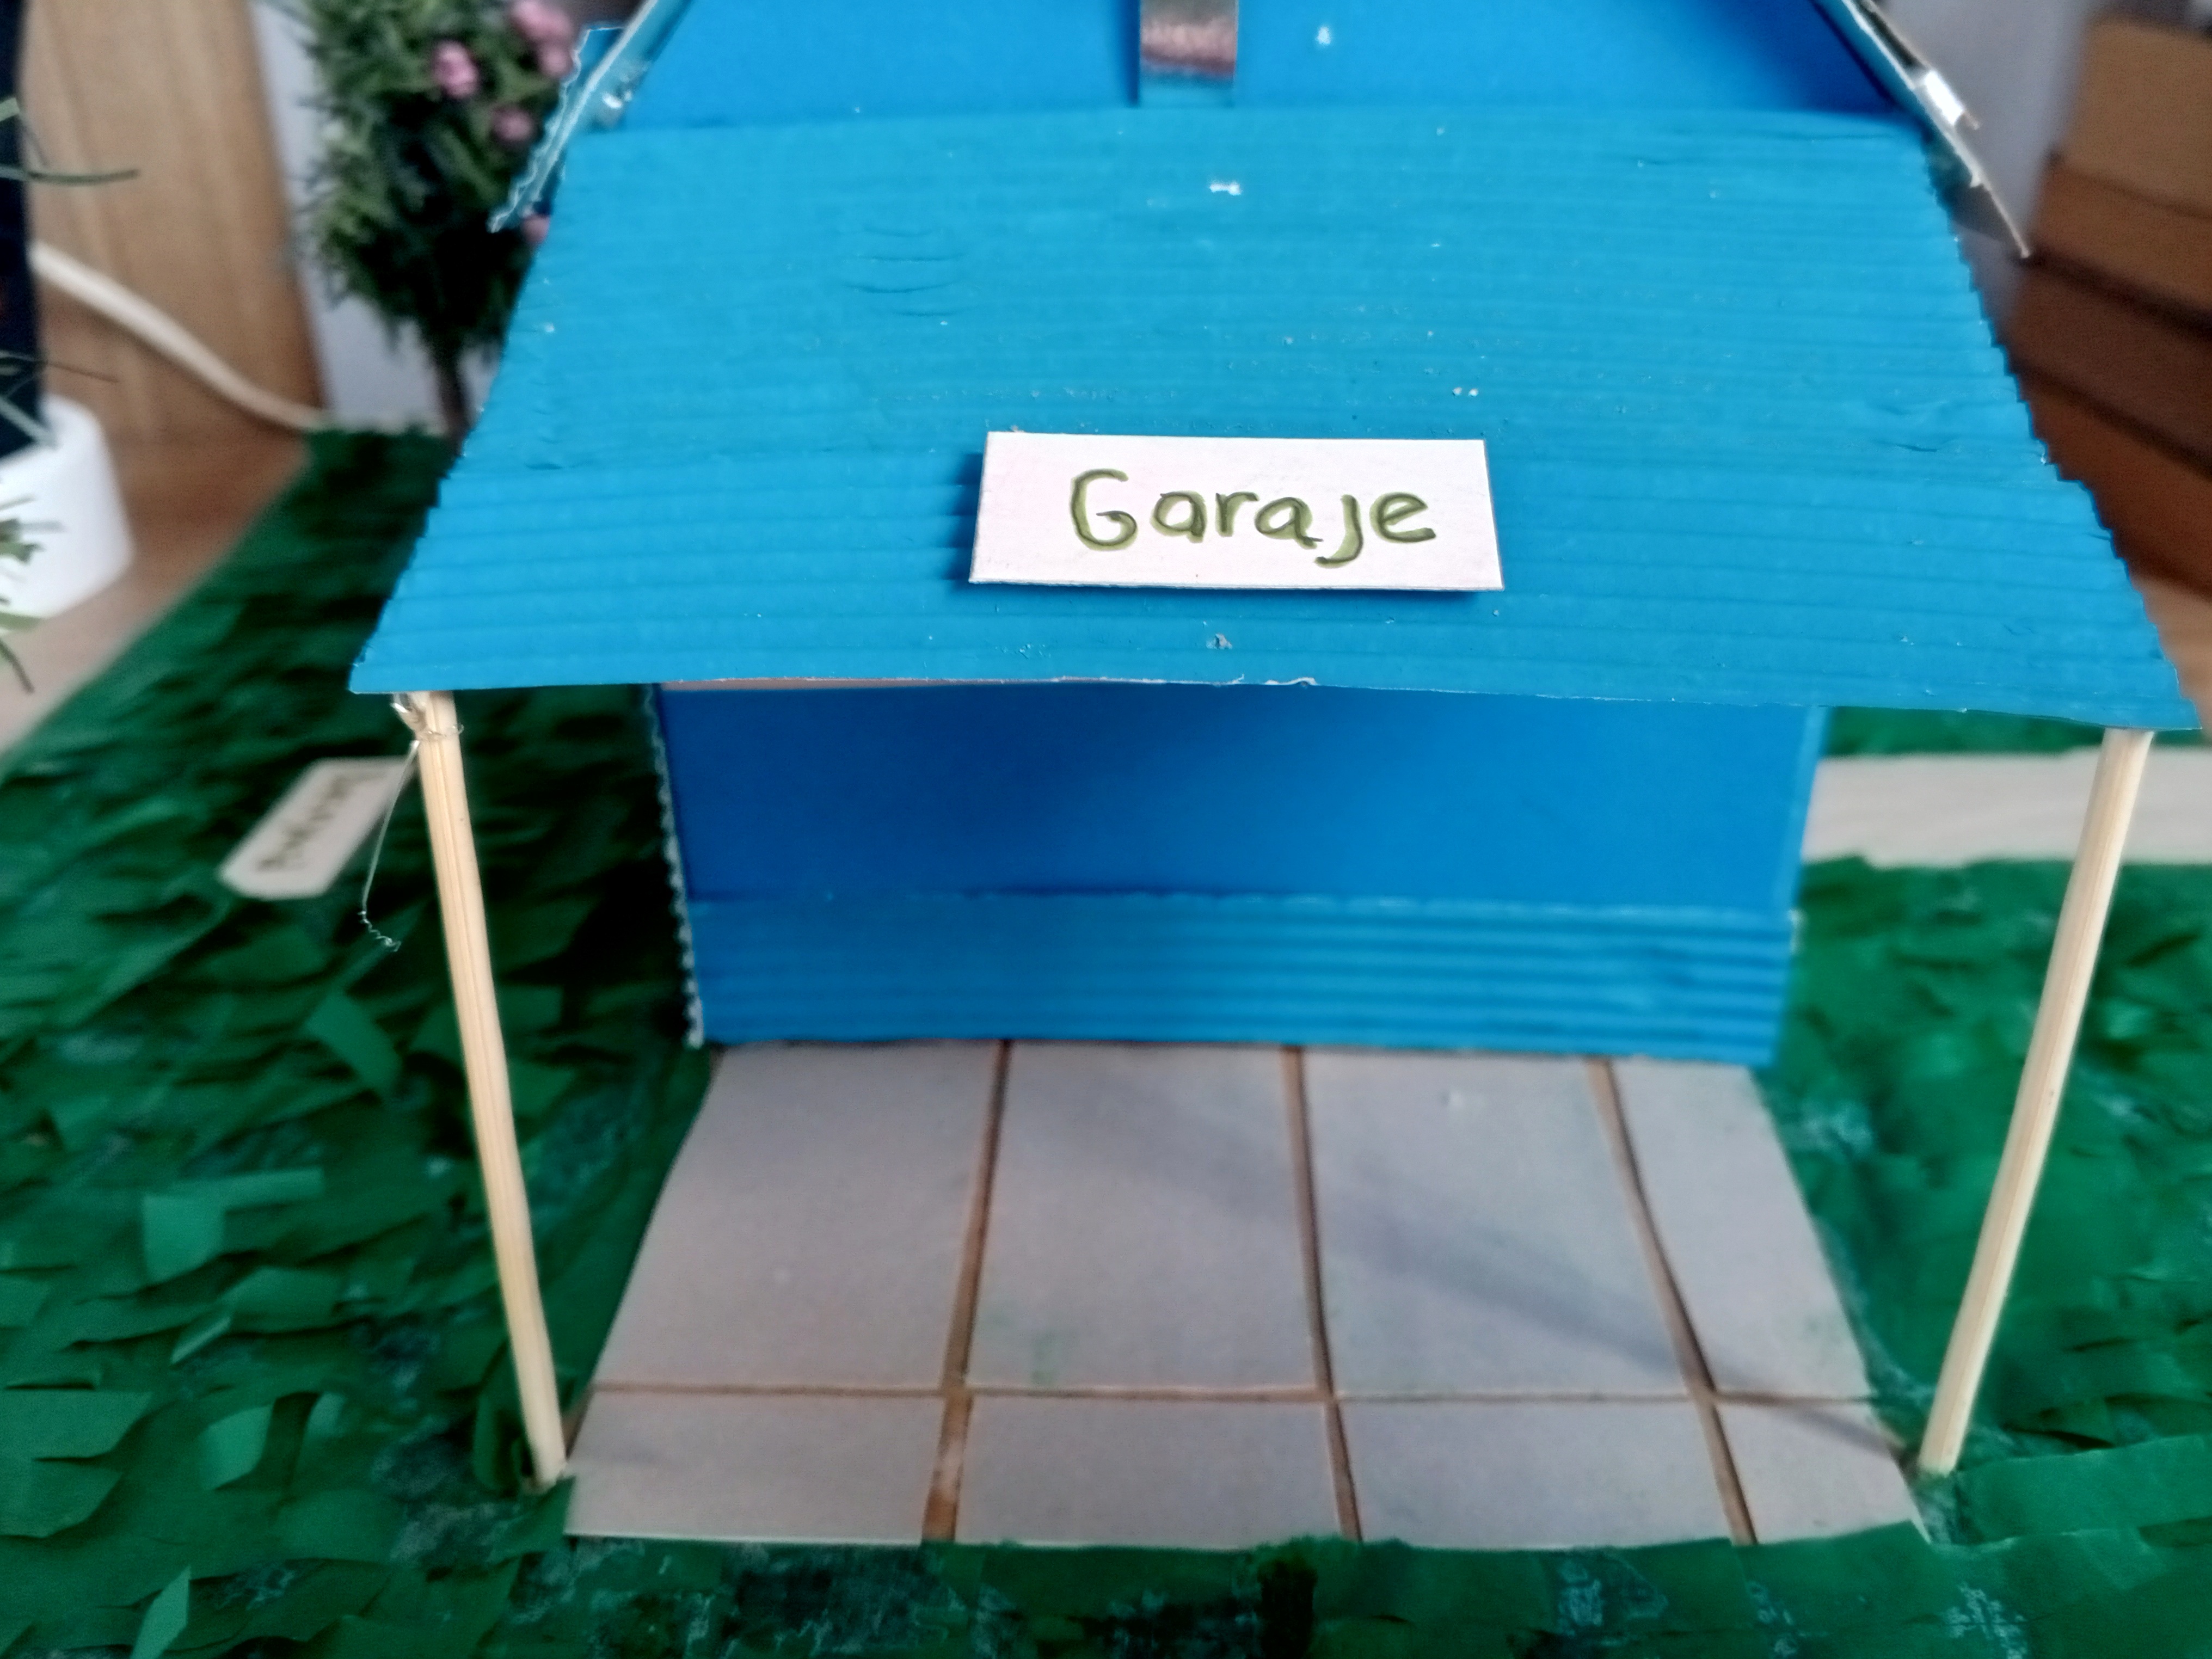
A continuación, tocó hacer el garaje que decidí hacerlo abierto, así que solo utilicé dos brochetas que recorté según el tamaño que necesitaba y las fijé al cartón, de la misma manera que fijé los árboles, y el techo decidí hacerlo con cartulina corrugada para aportar un poco de textura.
Lo fijé con silicón caliente dándole una pequeña caída y estuvo listo y muy lindo.
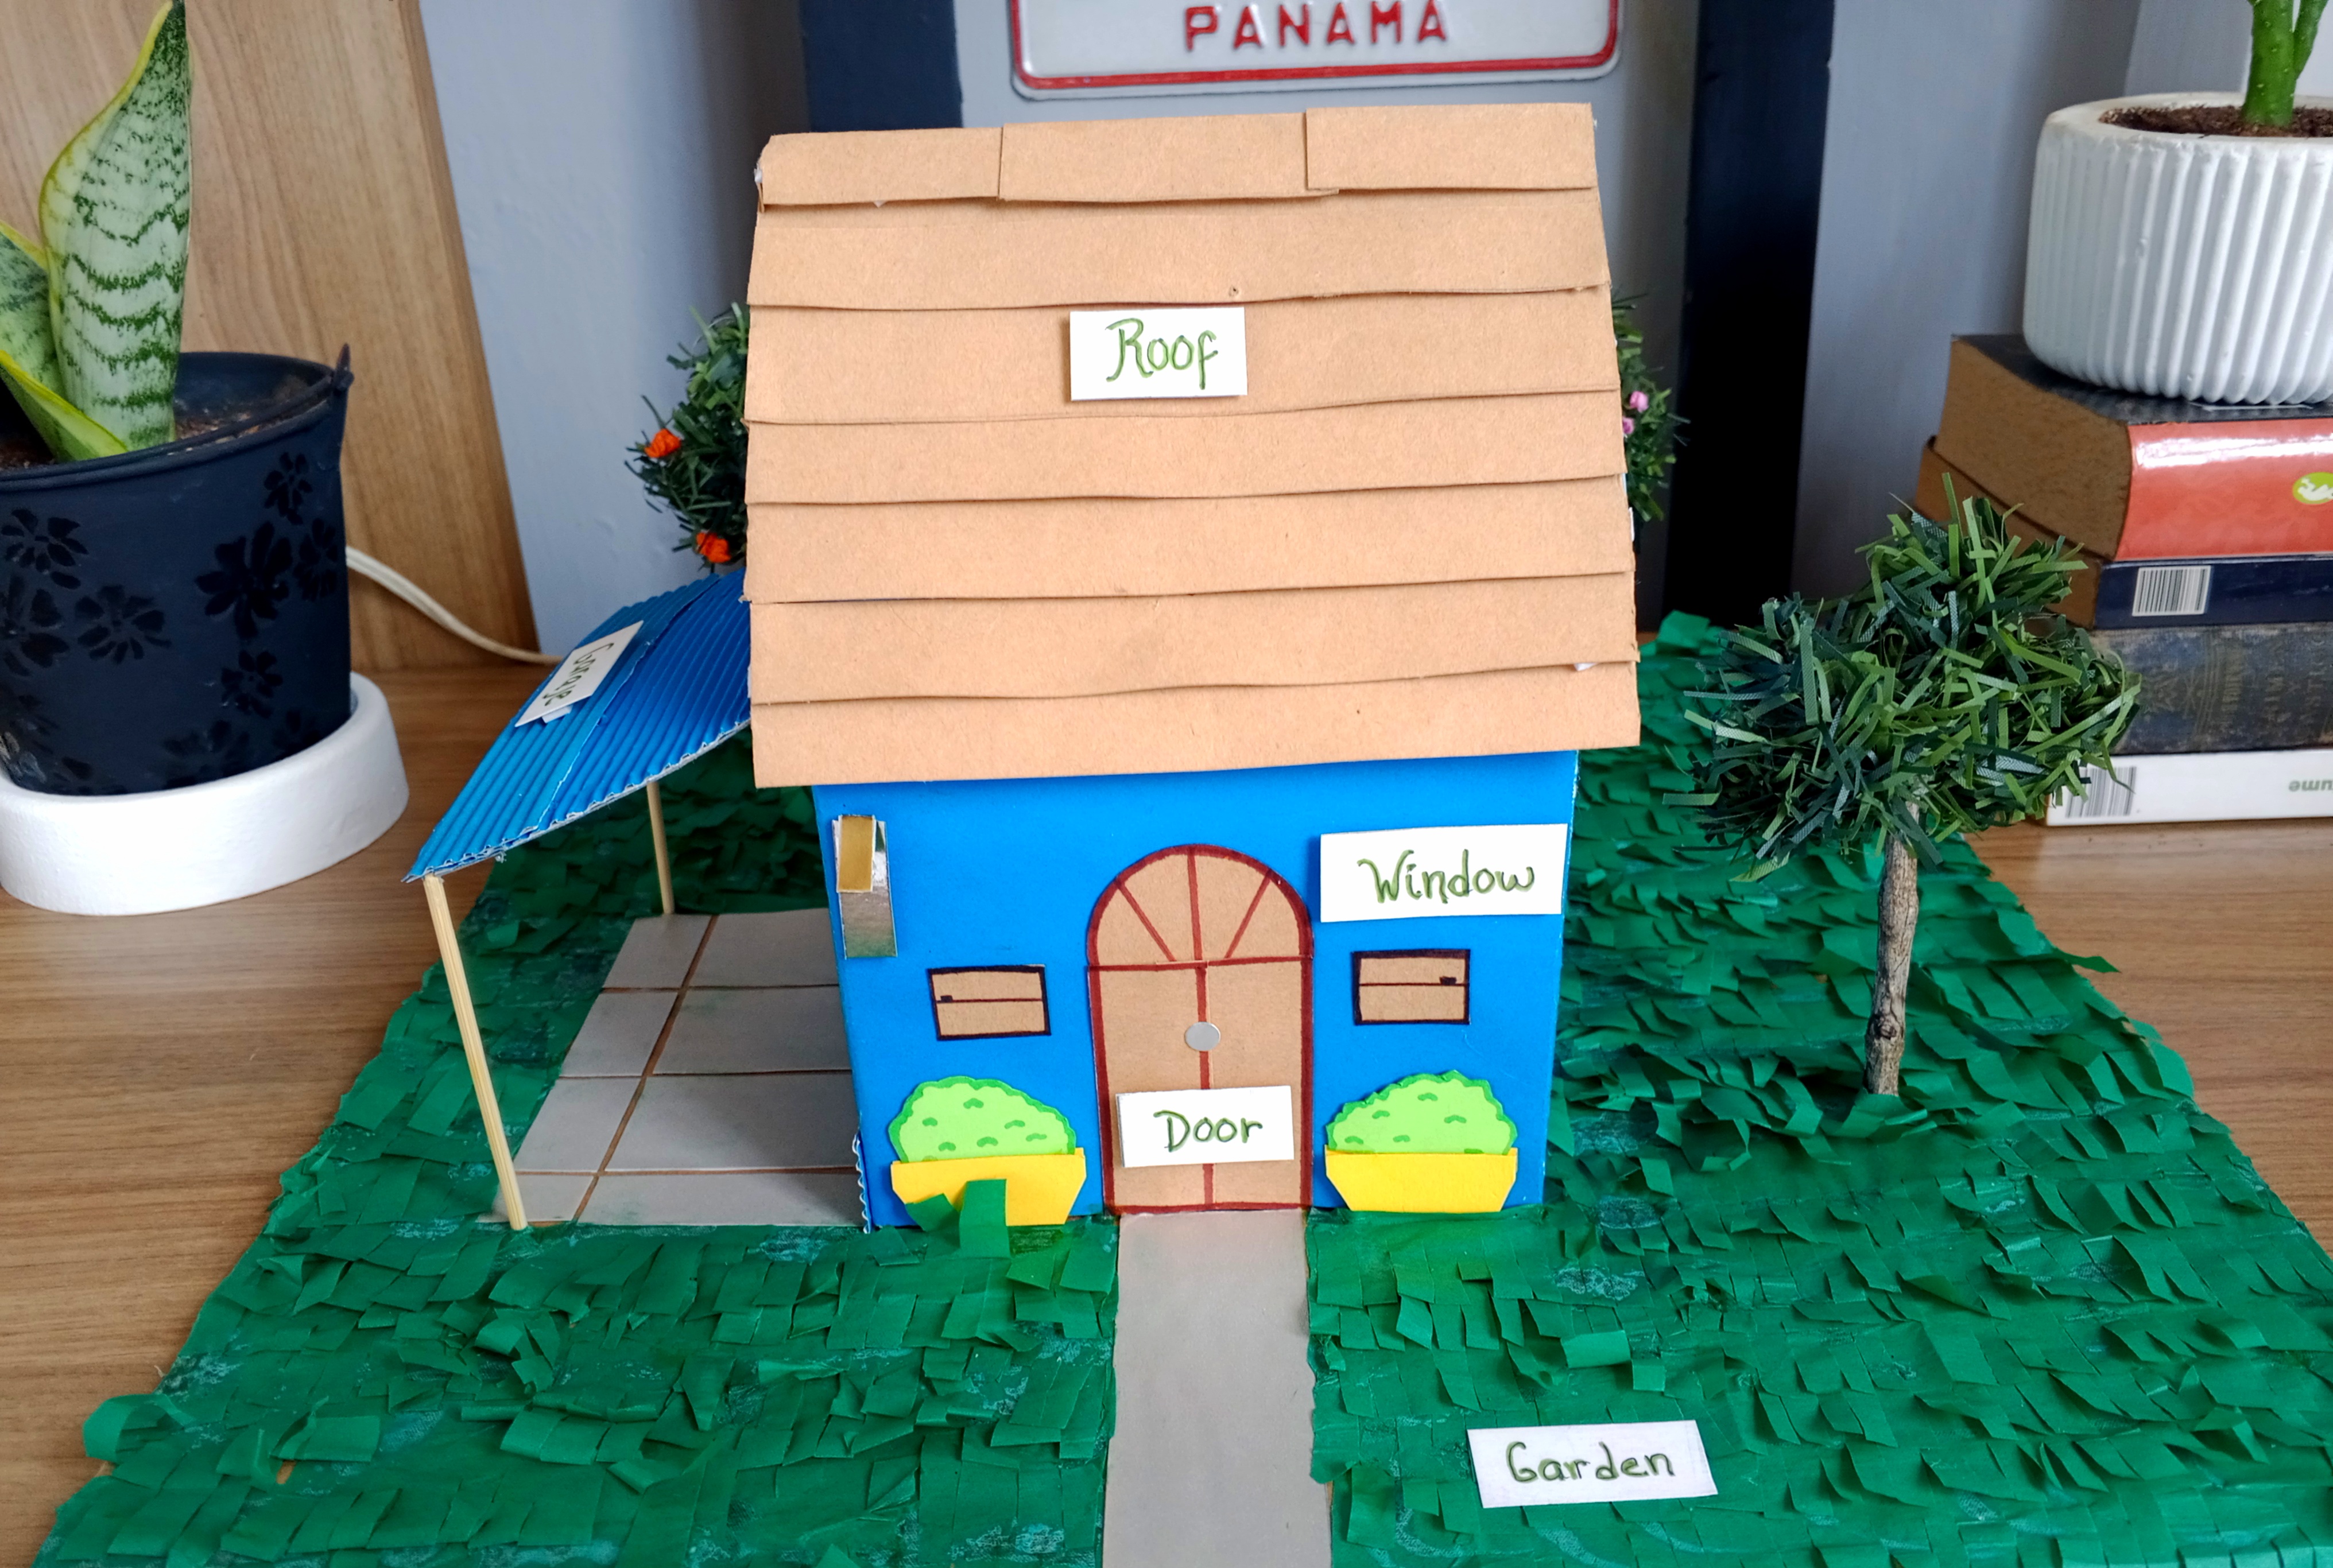
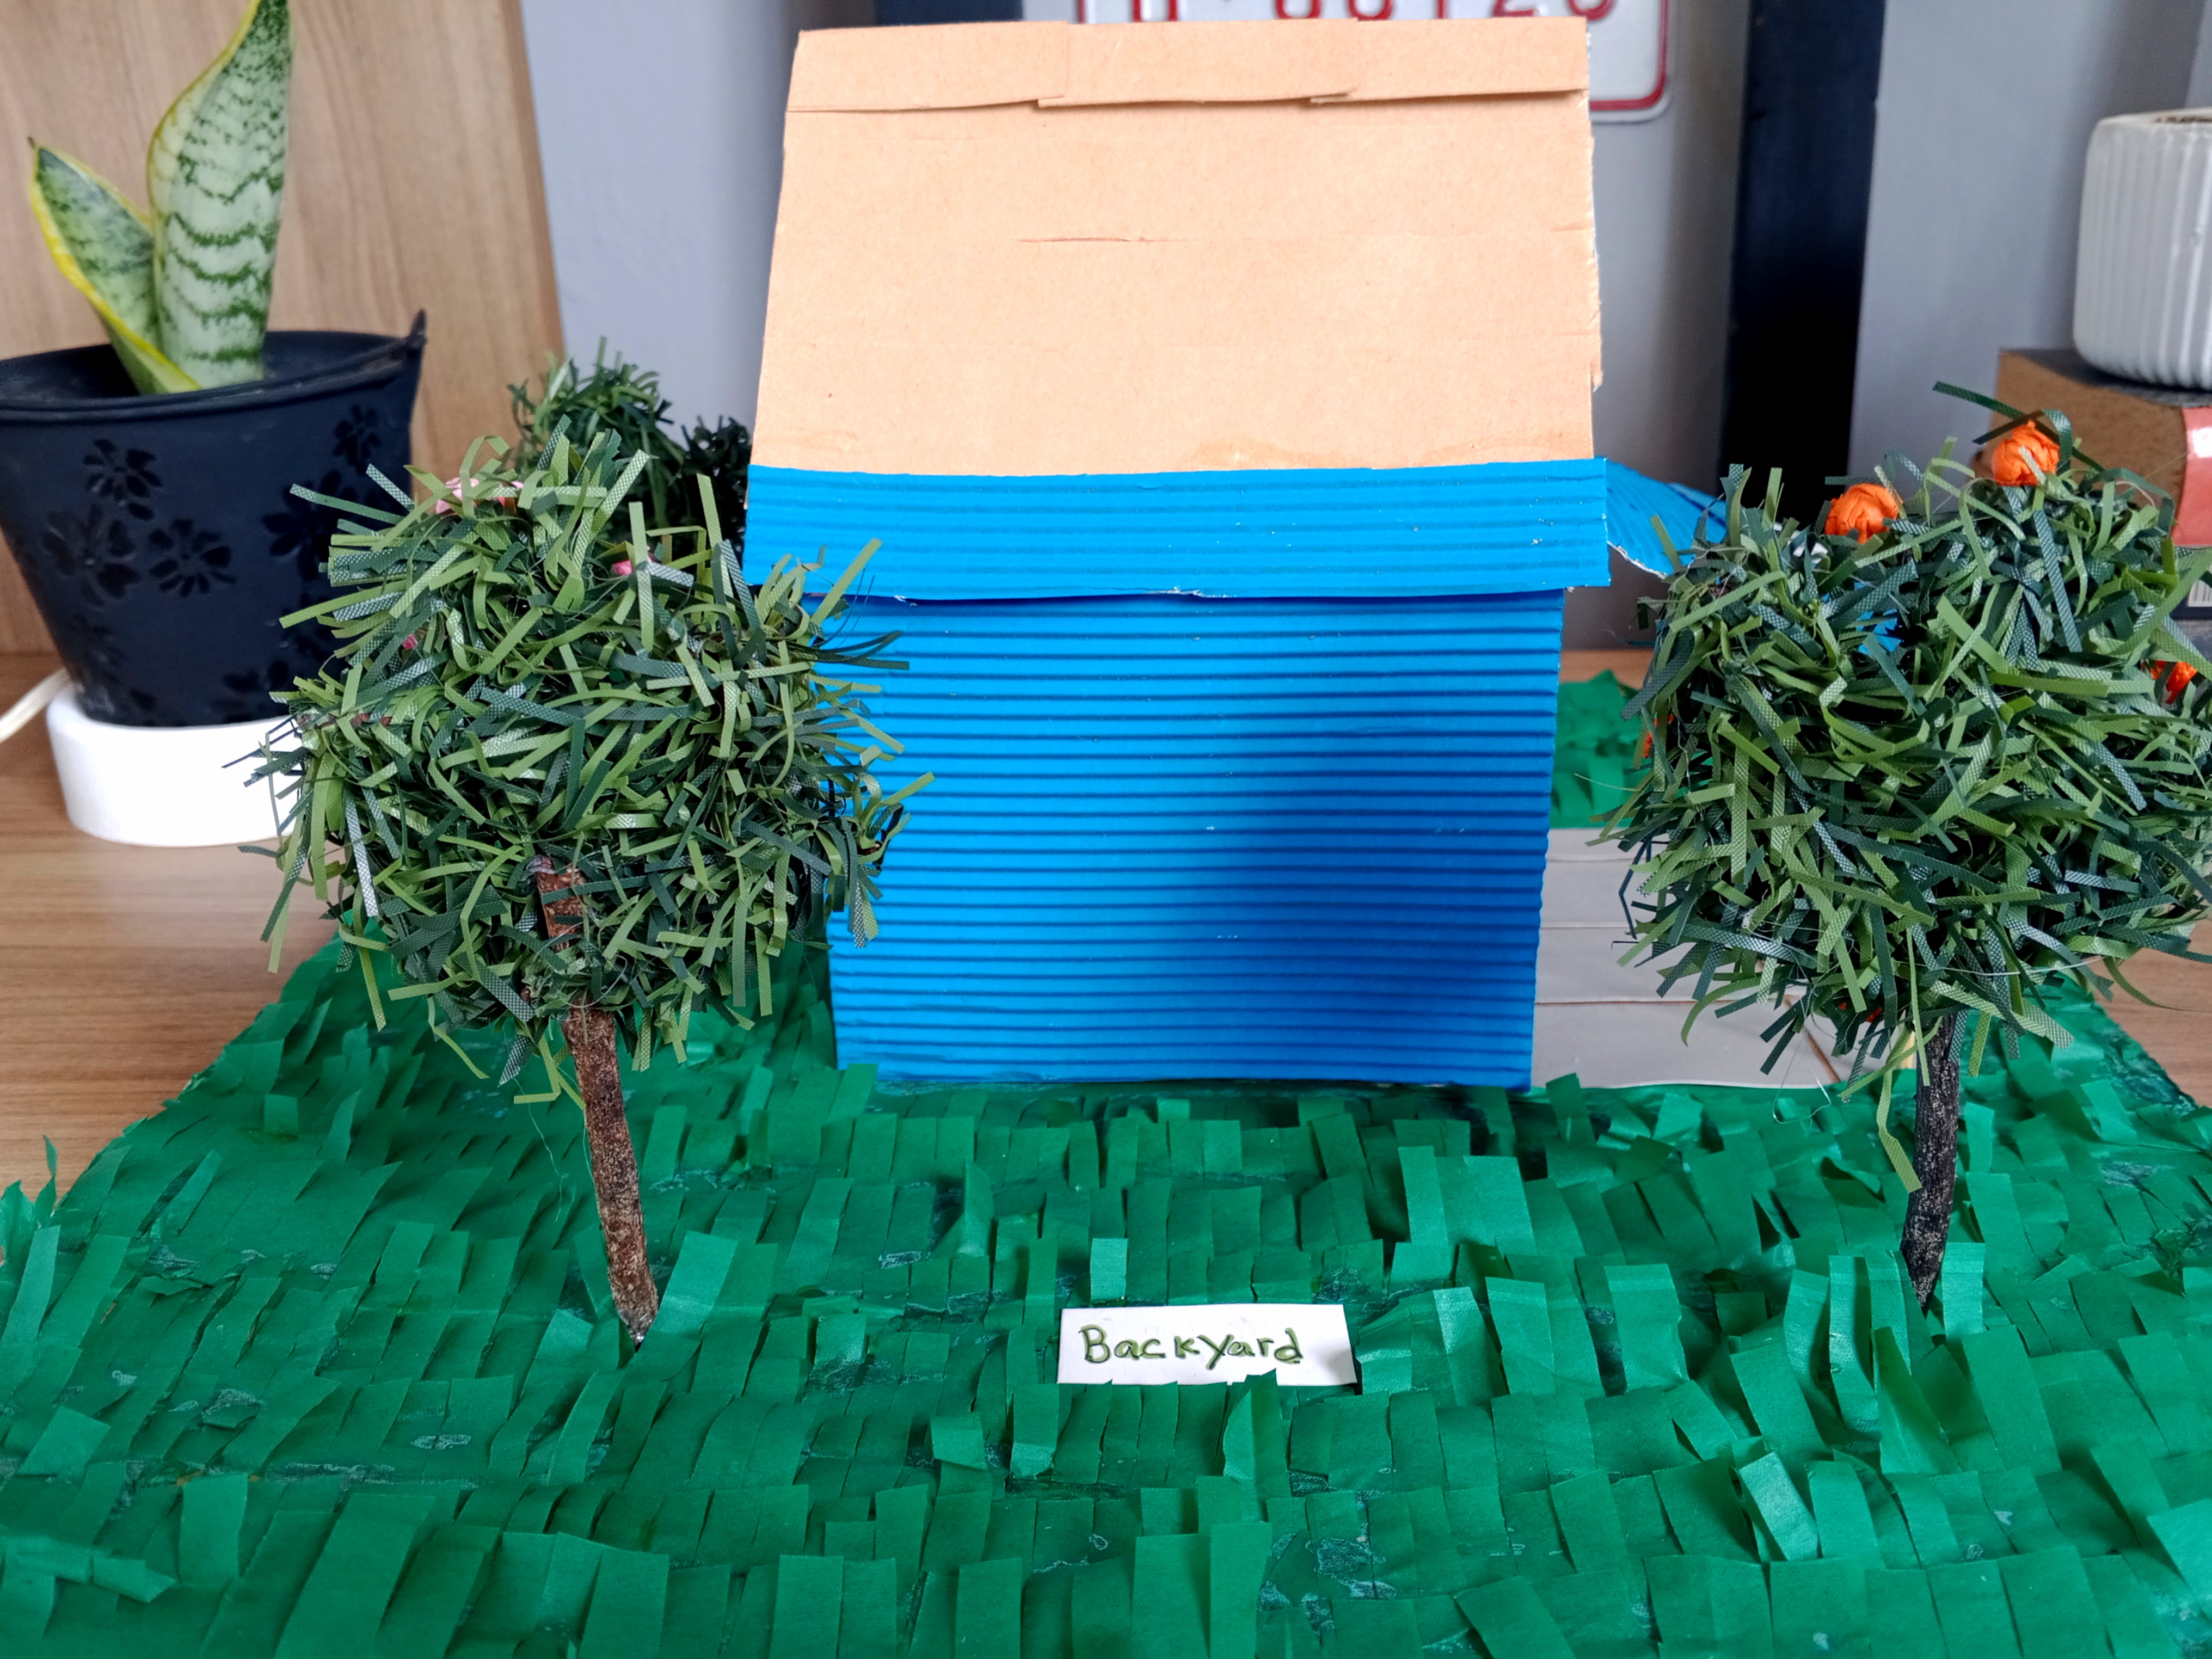
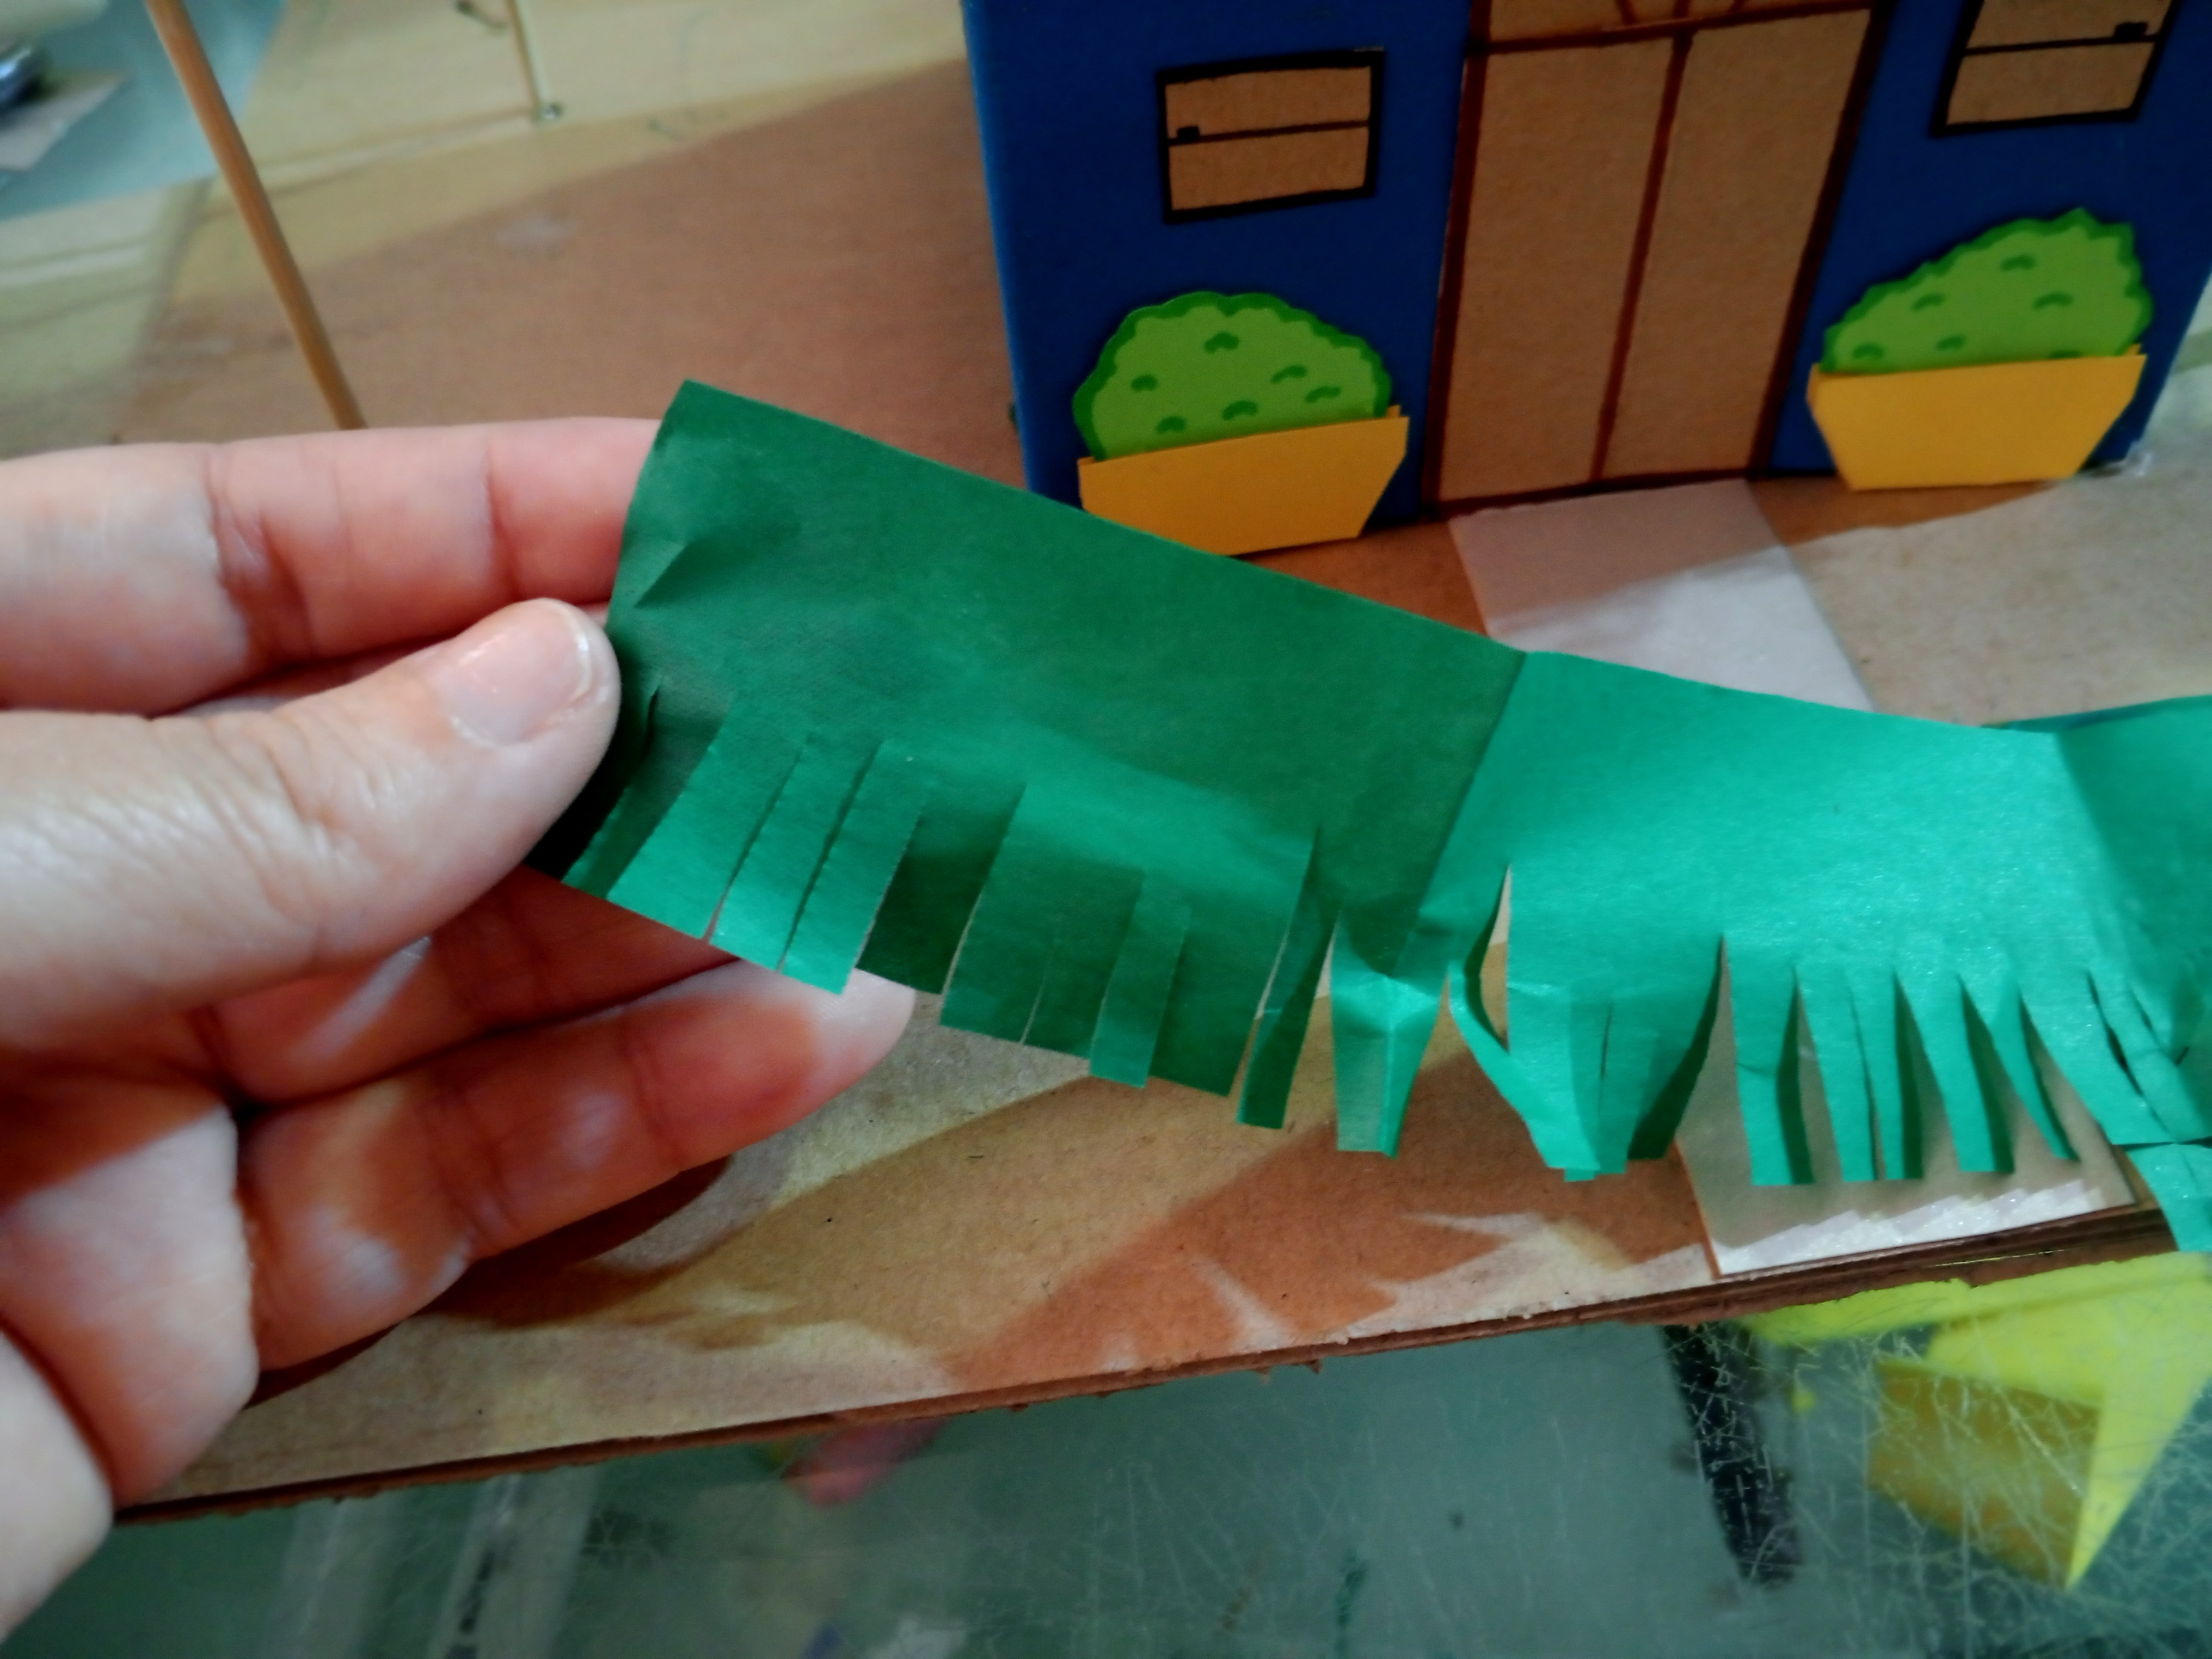
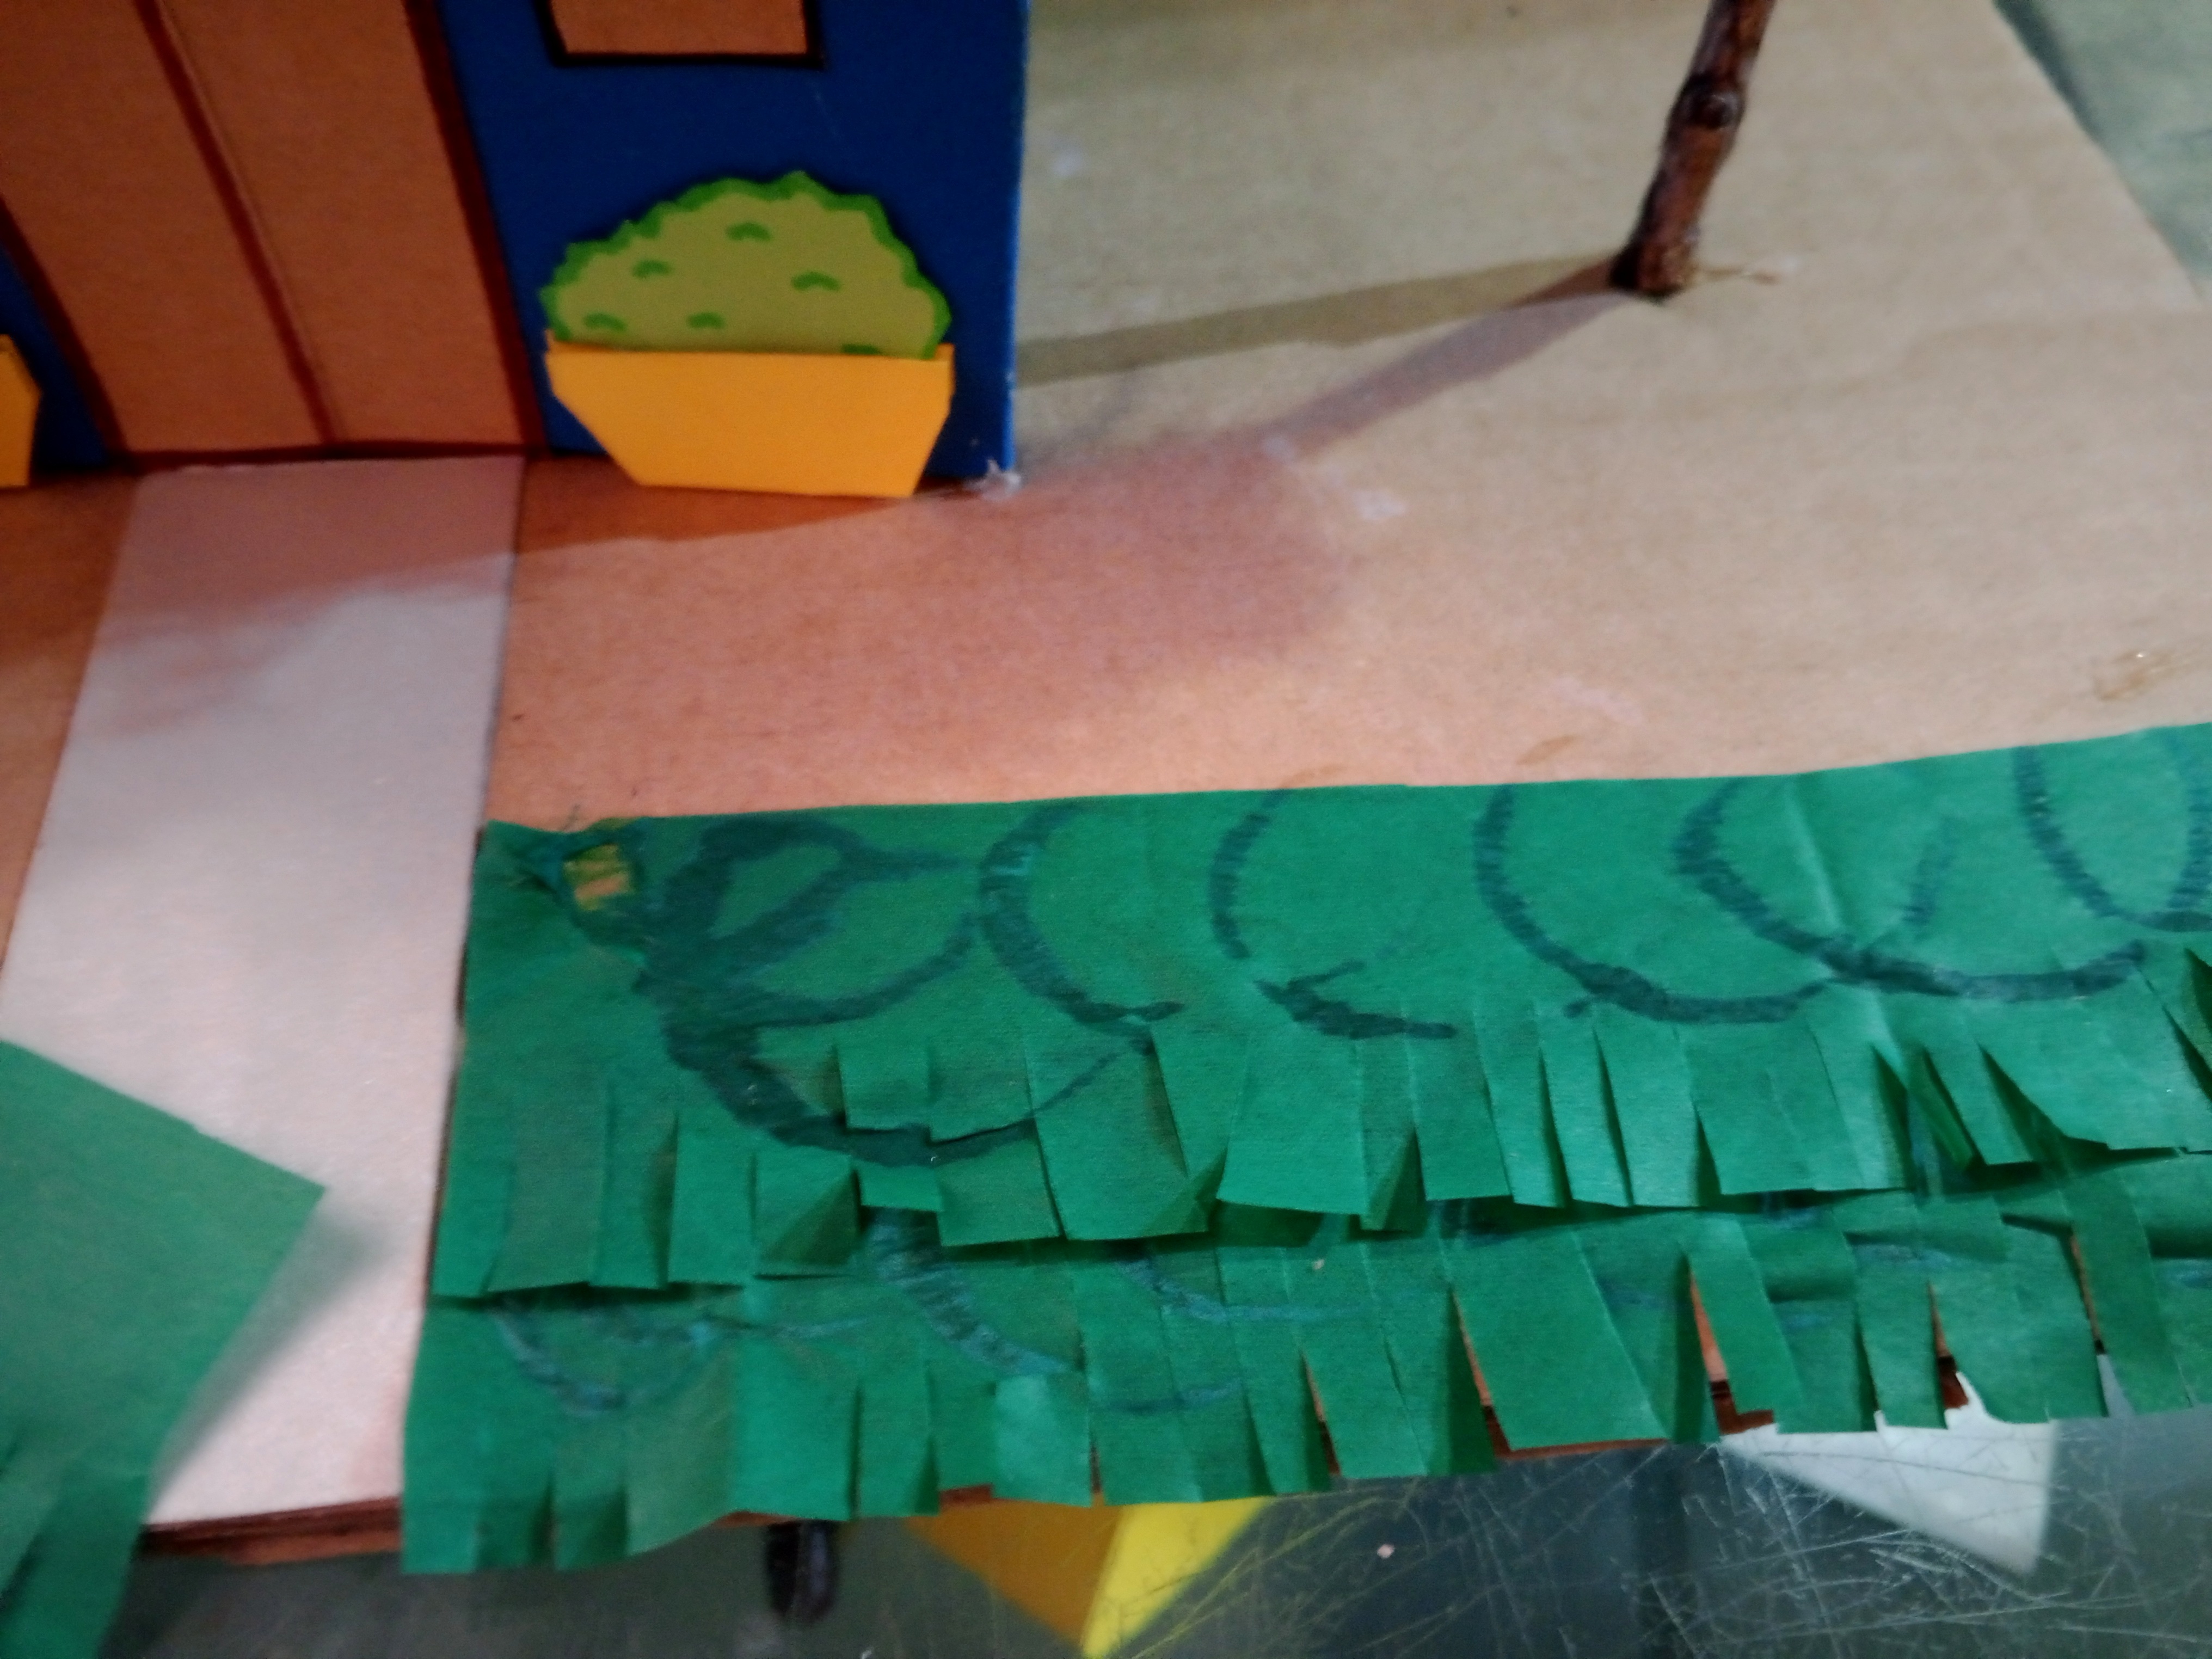
Seguidamente era el turno de incorporar la grama o césped, y seguramente se están preguntando por qué no lo hice al inicio, pues, les cuento que la primera vez que hice una maqueta usando césped con papel de seda, lo hice de esa forma, así que cubrí todo el cartón con listones con flecos en papel de seda, pero cuando pegué la casa esta no quedó firme pues los flecos del papel al estar despegados impedían que la casa se mantuviese fija, así que aprendí de mis errores, y aunque es más complicado hacerlo así, el resultado es mejor.
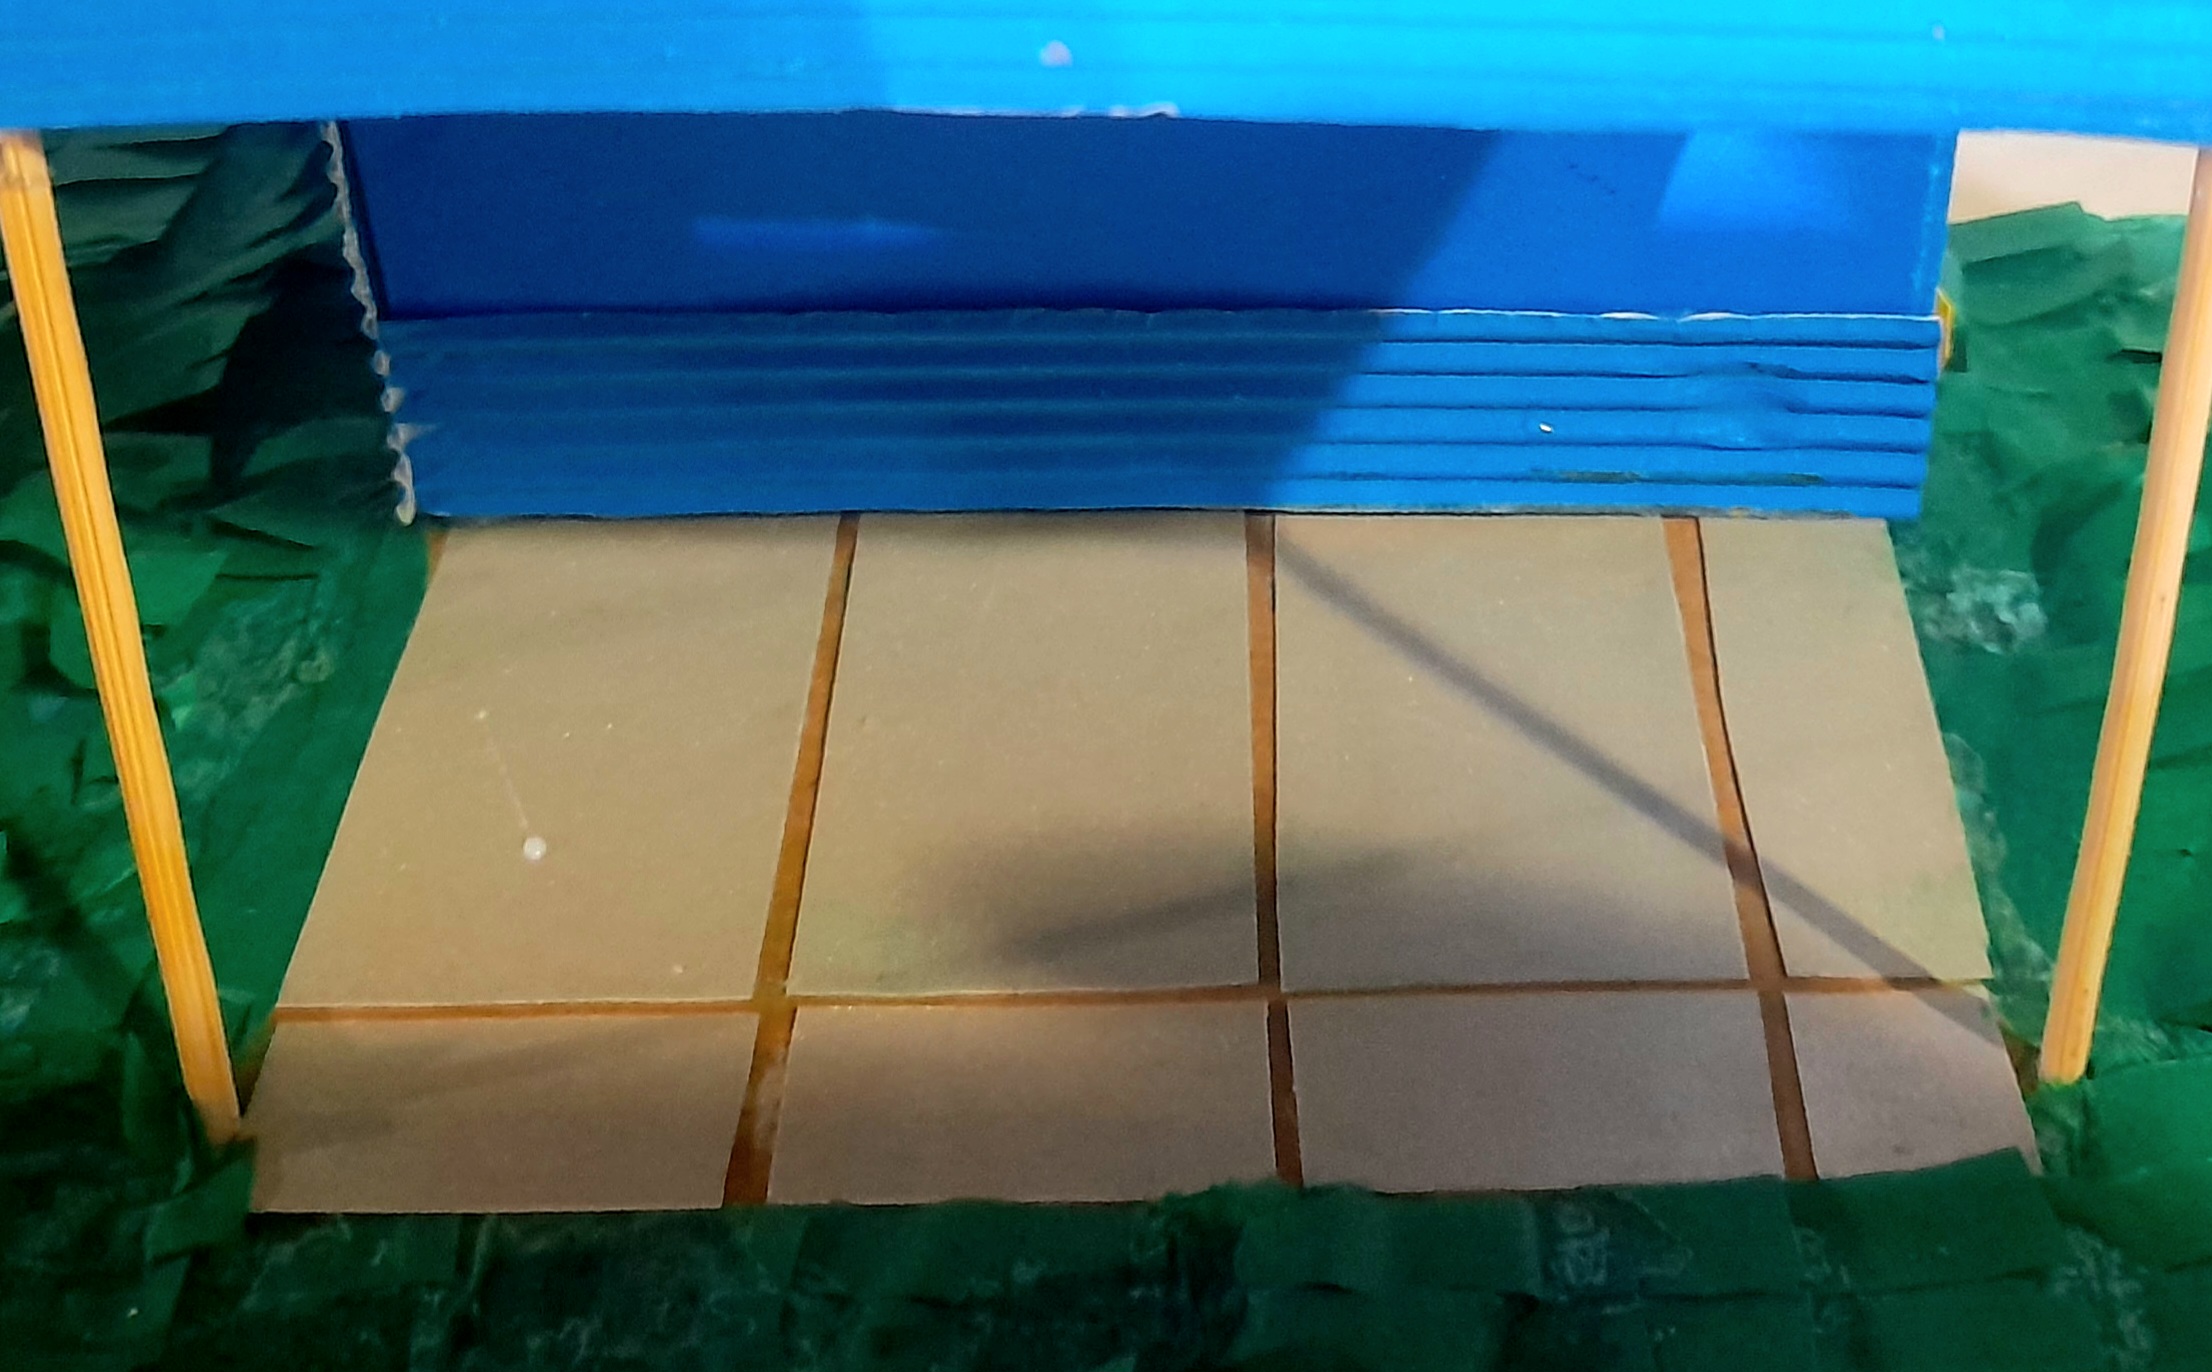
Así que hice listones en el papel de seda verde, hice flecos con la tijera y con pega blanca los fui fijando al cartón superponiendo las tiras de papel, y cubrí casi toda la base, dejando libre el espacio debajo del techo del garaje, donde decidí usar otra vez la cartulina gris para simular un piso de cemento con un pequeño diseño de piezas grandes.
Next it was the turn to incorporate the grass, and surely you are wondering why I did not do it at the beginning, well, I tell you that the first time I made a model using tissue paper grass, I did it that way, so I covered all the cardboard with strips with bangs in tissue paper, but when I glued the house it was not firm because the bangs of the paper to be unstuck prevented the house to stay fixed, so I learned from my mistakes, and although it is more complicated to do it this way, the result is better.
So I made strips in the green tissue paper, I made bangs with the scissors and with white glue I fixed them to the cardboard overlapping the paper strips, and I covered almost the entire base, leaving free the space under the garage roof, where I decided to use again the gray cardboard to simulate a cement floor with a small design of large pieces.
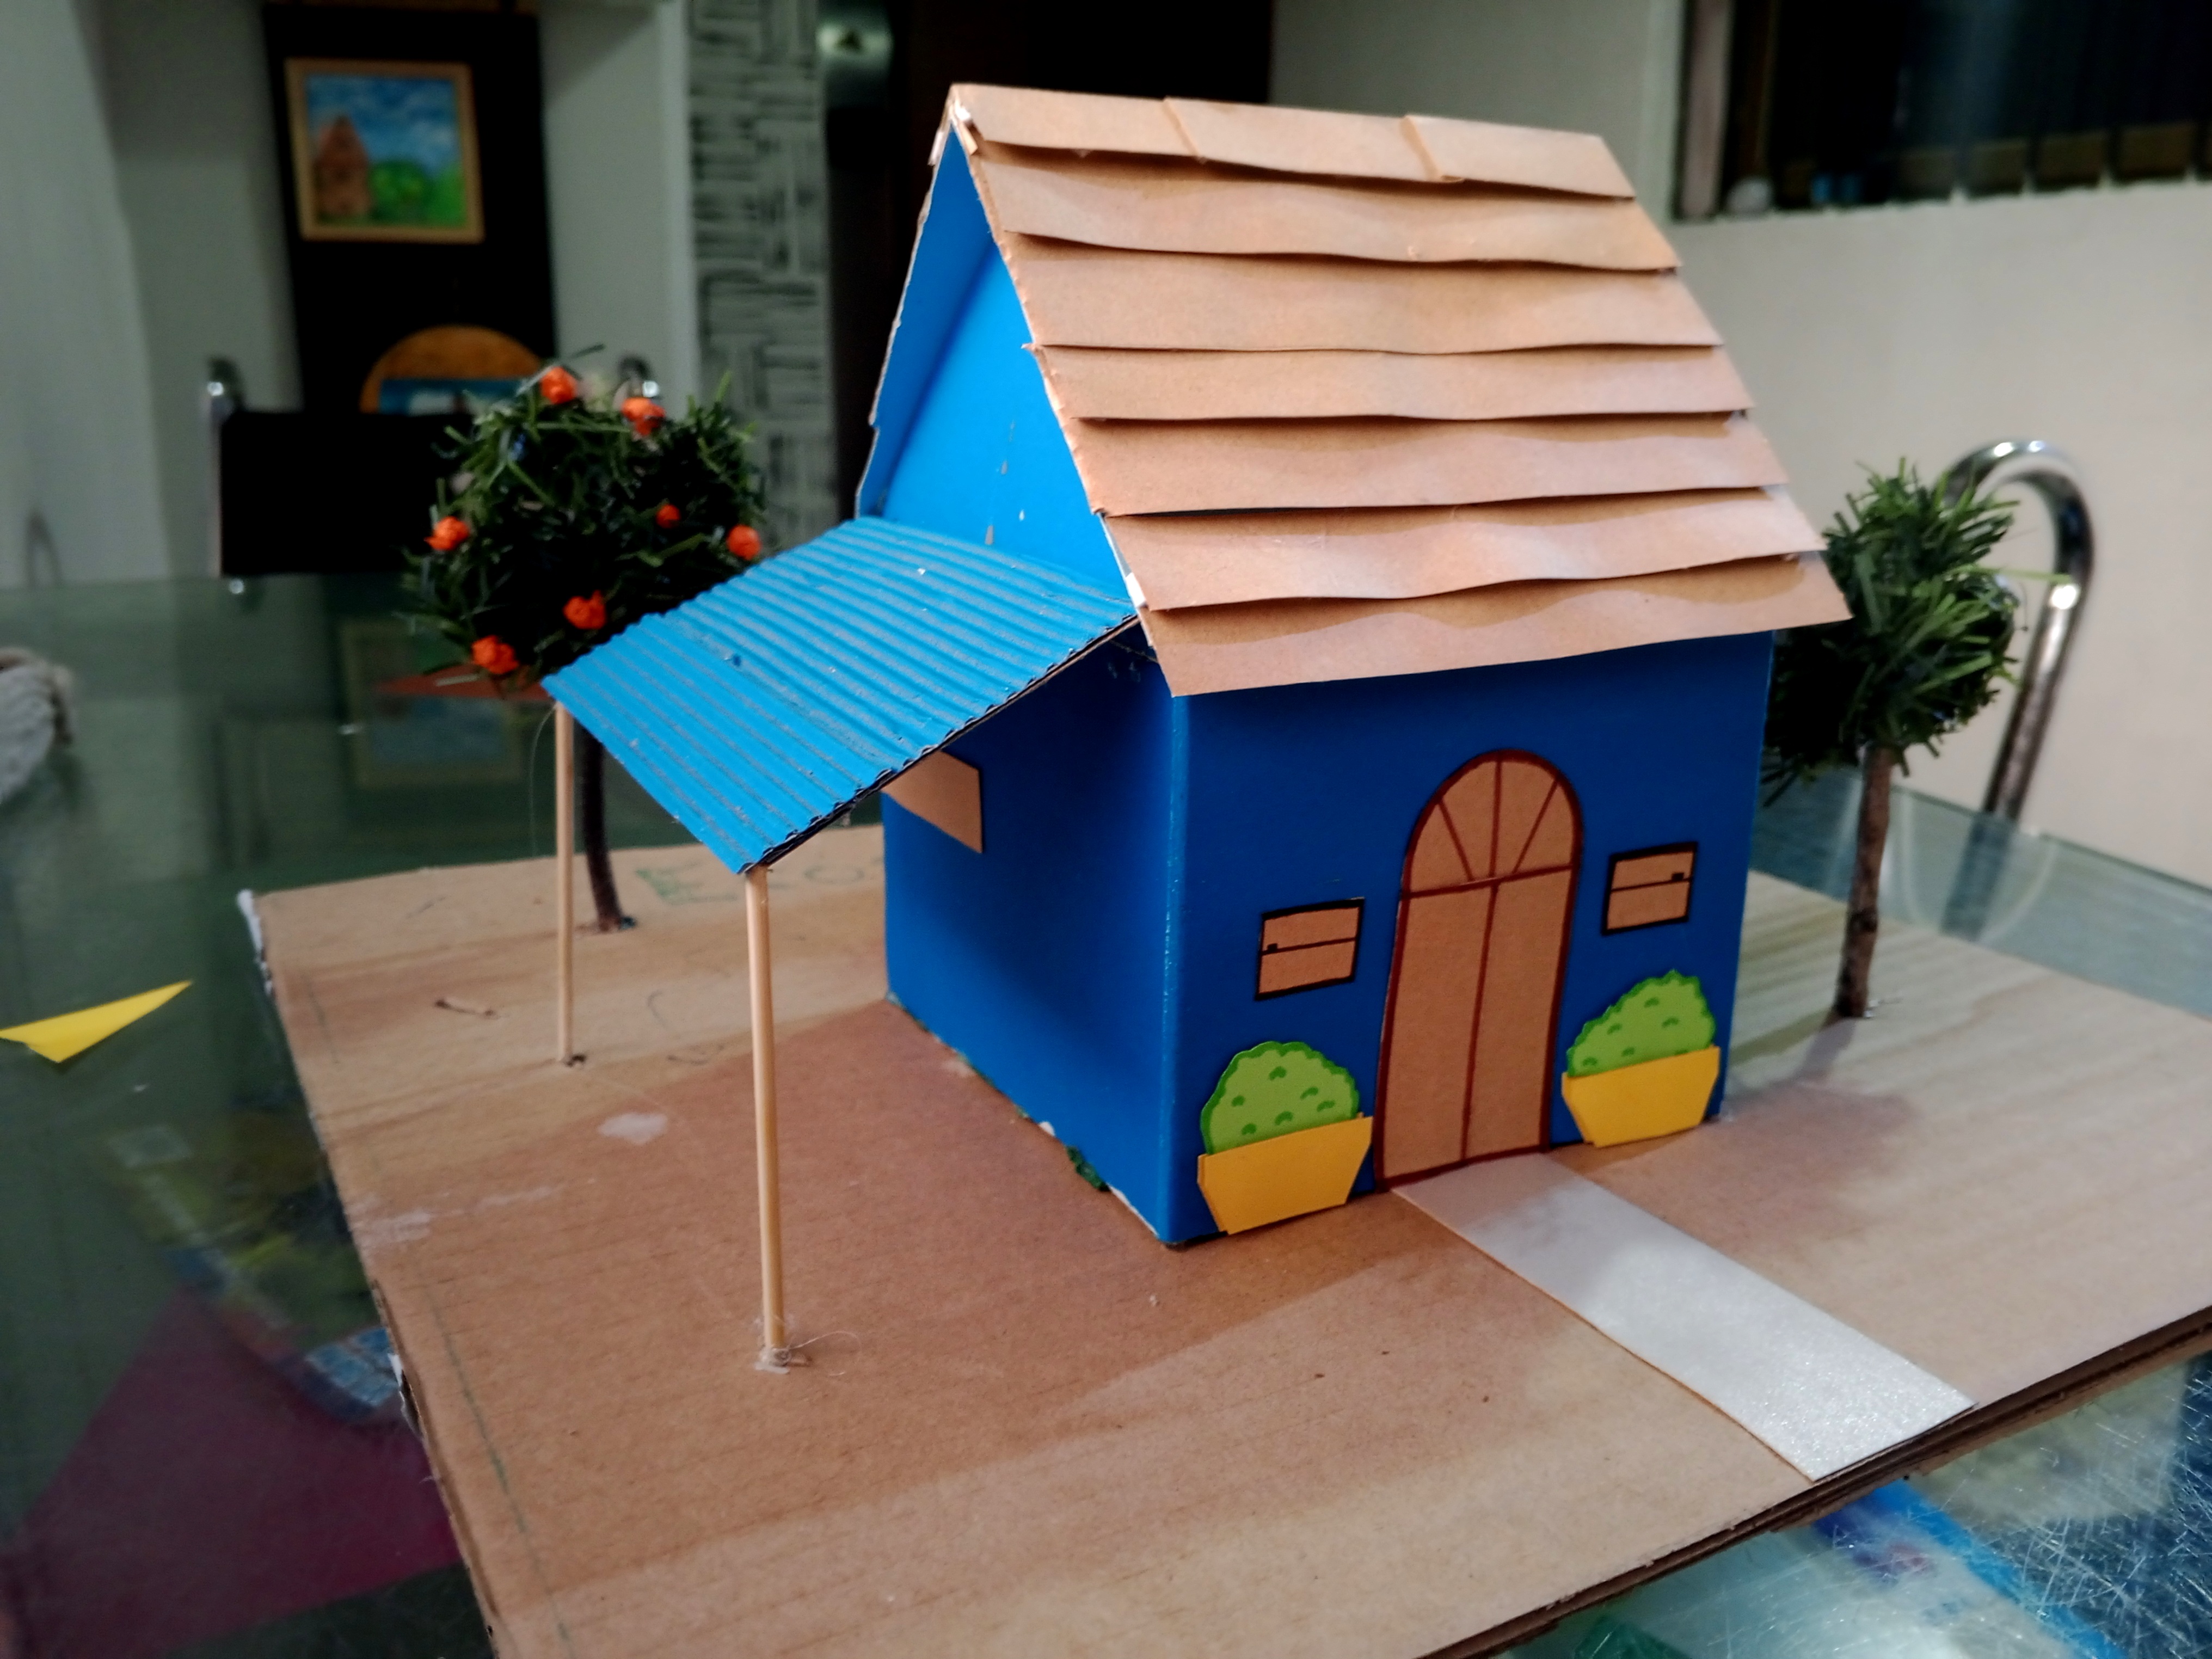
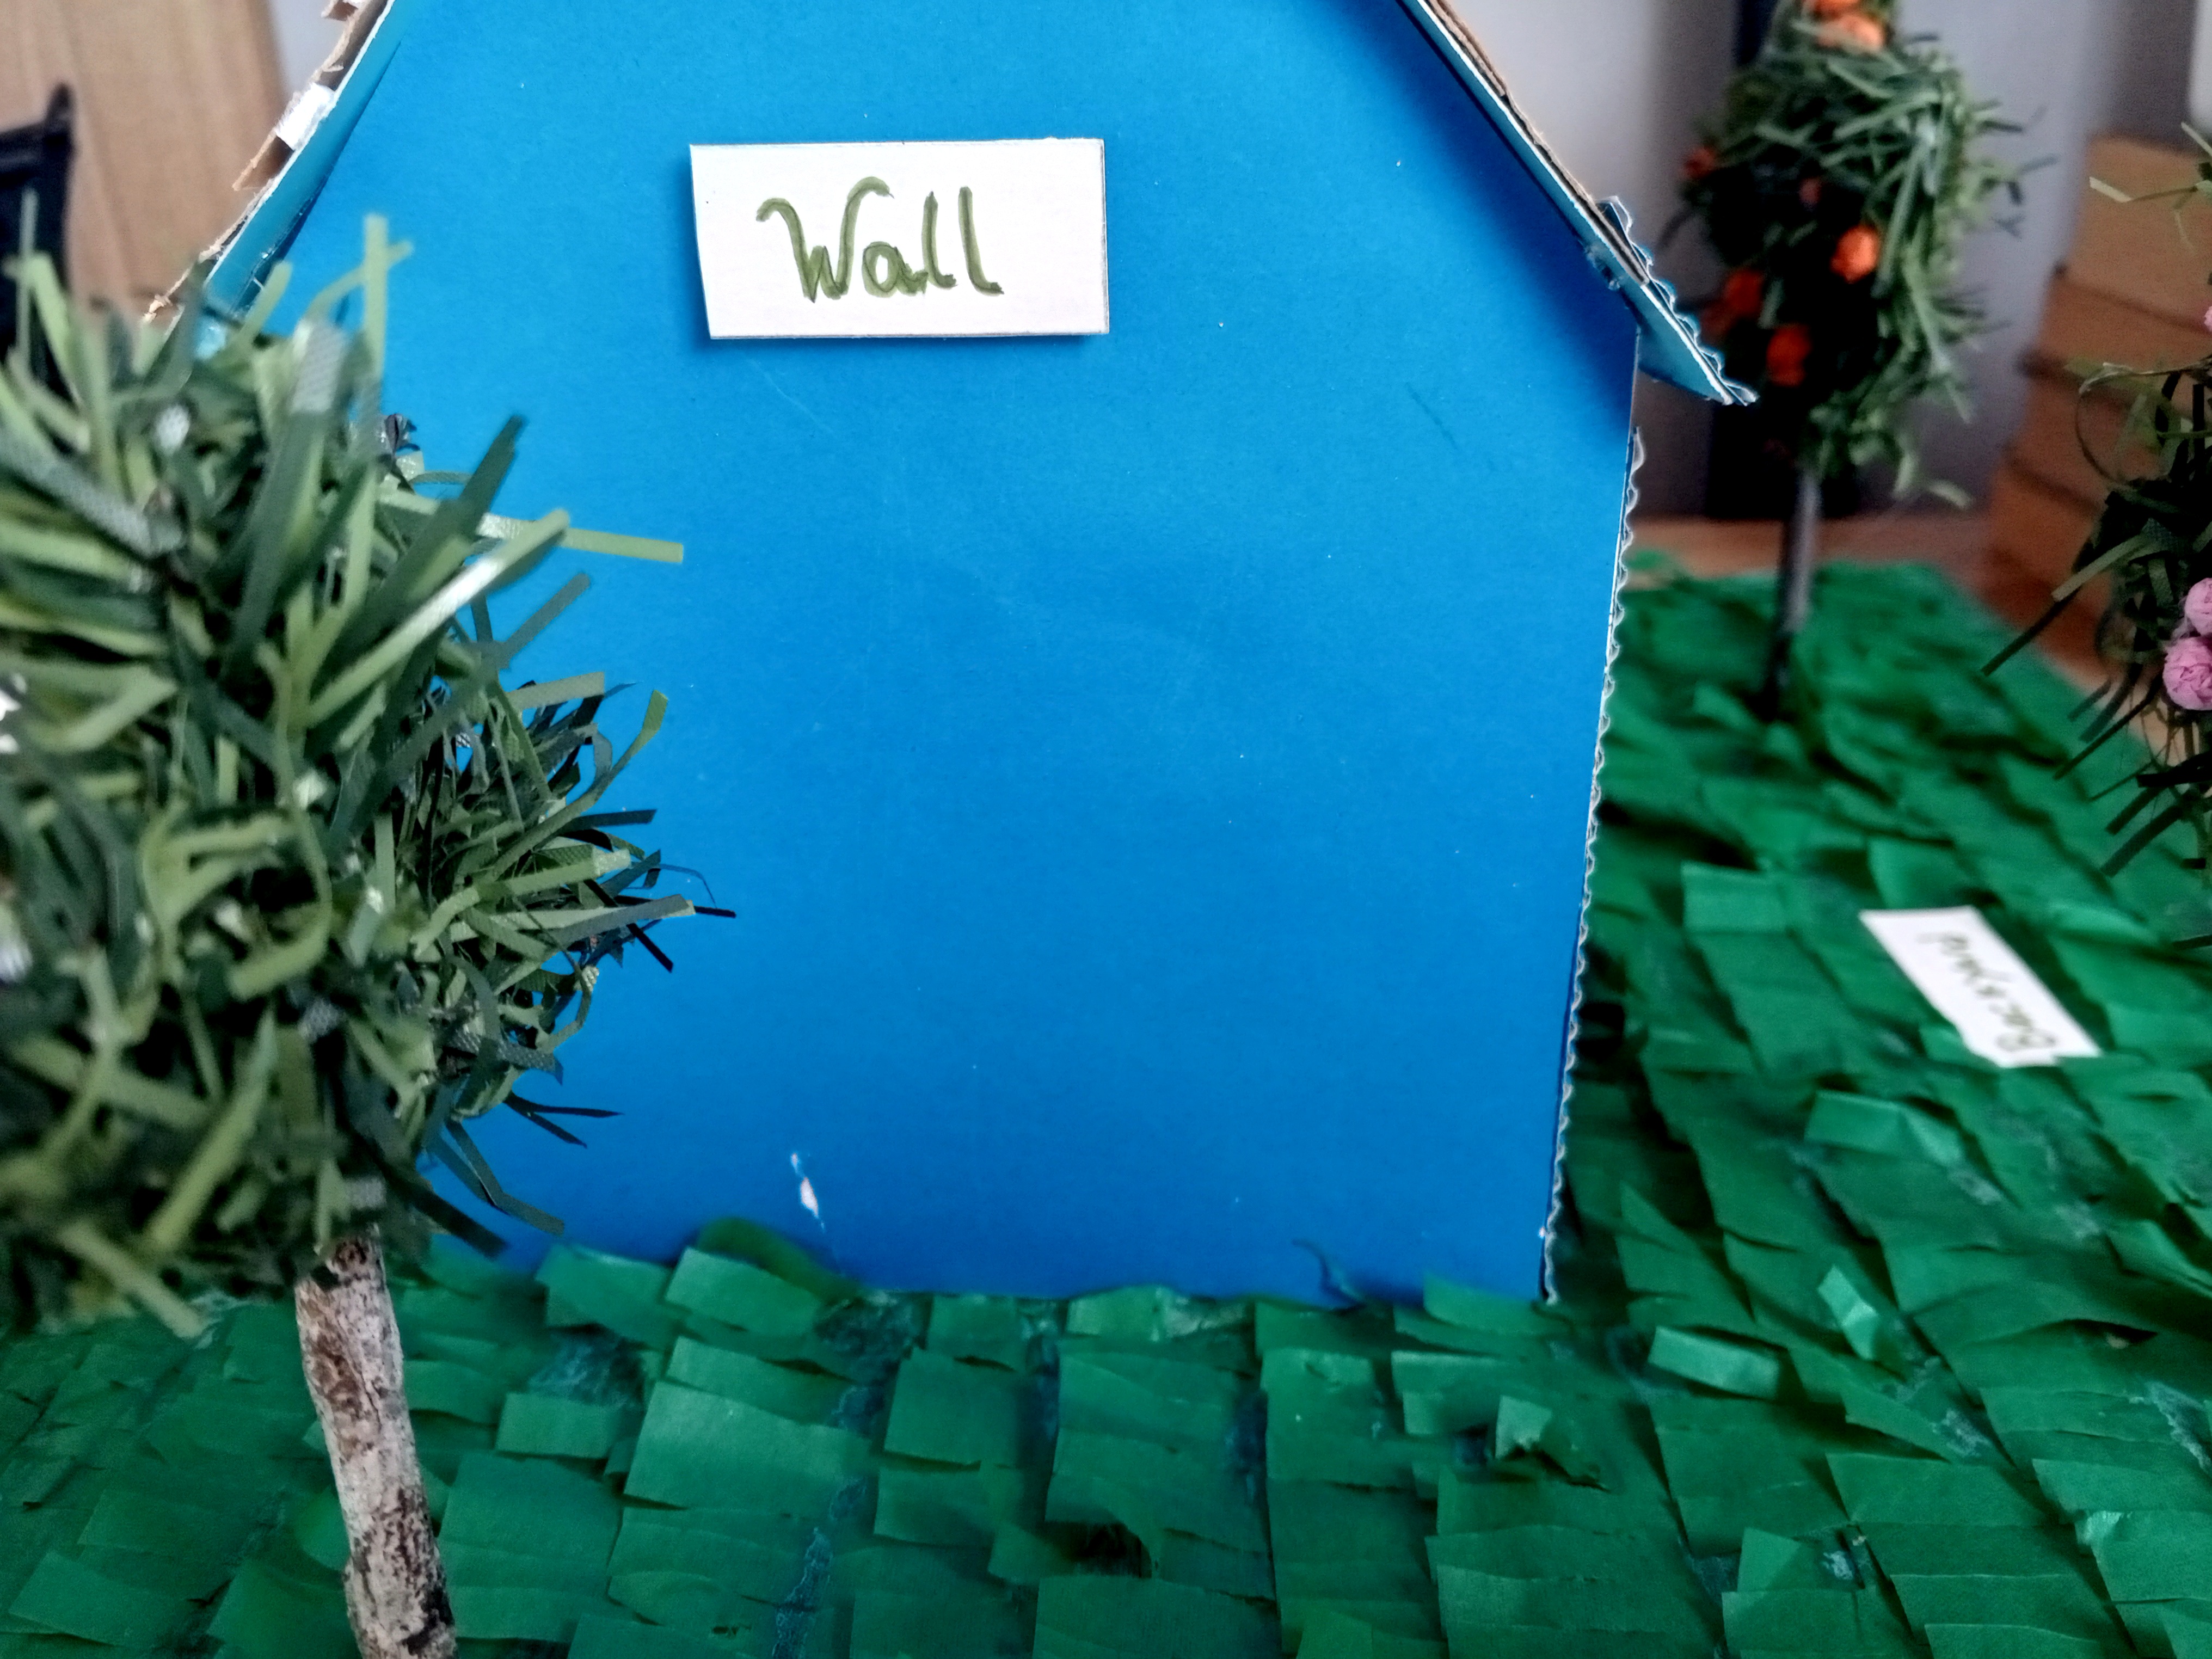
Finalmente solo hice pequeños habladores con el nombre en inglés de las partes de la casa, y a última hora decidí incorporar unas lamparitas que hice con cartulina metalizada dorada y plateada y estuvo lista la maqueta.
De esta forma pude hacer esta maqueta partiendo de otra, con material reciclado, ¡así que este proyecto, fue reciclaje x3!
This way I was able to make this model from another one, with recycled material, so this project was recycling x3!