Greetings to the entire #Holozing and #Hive community! ✌️
After some days absent, I'm finally back. These last few days I've spent some time playing a videogame, the truth is I've had a good time, but still whenever I can I'm doing some practices to not lose the habit of drawing. Today I decided to do a simple illustration, because when I spend some days away from the PC I don't like to start a very complex project, so for this occasion I chose to represent the character
Miu Miu, but unlike doing something very similar to the reference, I chose to distort everything and create a very fat version of the character, as well as a pet that is usually very gluttonous XD! Before I start, I apologize to Mr.
@acidyo for modifying his pet in such a way, I hope you like this version and without further ado, I leave you with my process!
Hola a toda la comunidad de #Holozing y #Hive! ✌️Después de algunos días ausente, finalmente he vuelto. Estos últimos días me la he pasado algo viciado con un videojuego, la verdad me la he pasado bastante bien, pero aún así siempre que puedo voy haciendo algunas prácticas para no perder el hábito de dibujar. El día de hoy he decidido realizar una ilustración sencilla, ya que cuando paso algunos días fuera del PC no me gusta comenzar un proyecto muy complejo, por lo que para esta ocasión he elegido representar al personaje
Miu Miu, pero a diferencia de hacer algo muy parecido a la referencia, opté por distorsionar todo y crear una versión muy gorda del personaje, así como una mascota que suele ser muy glotona XD! Antes de empezar, le pido disculpas al señor
@acidyo por modificar de tal manera a su mascota. ¡Espero que les guste esta versión y sin más, los dejo con mi proceso!
Creative Process | Proceso Creativo📘✏️
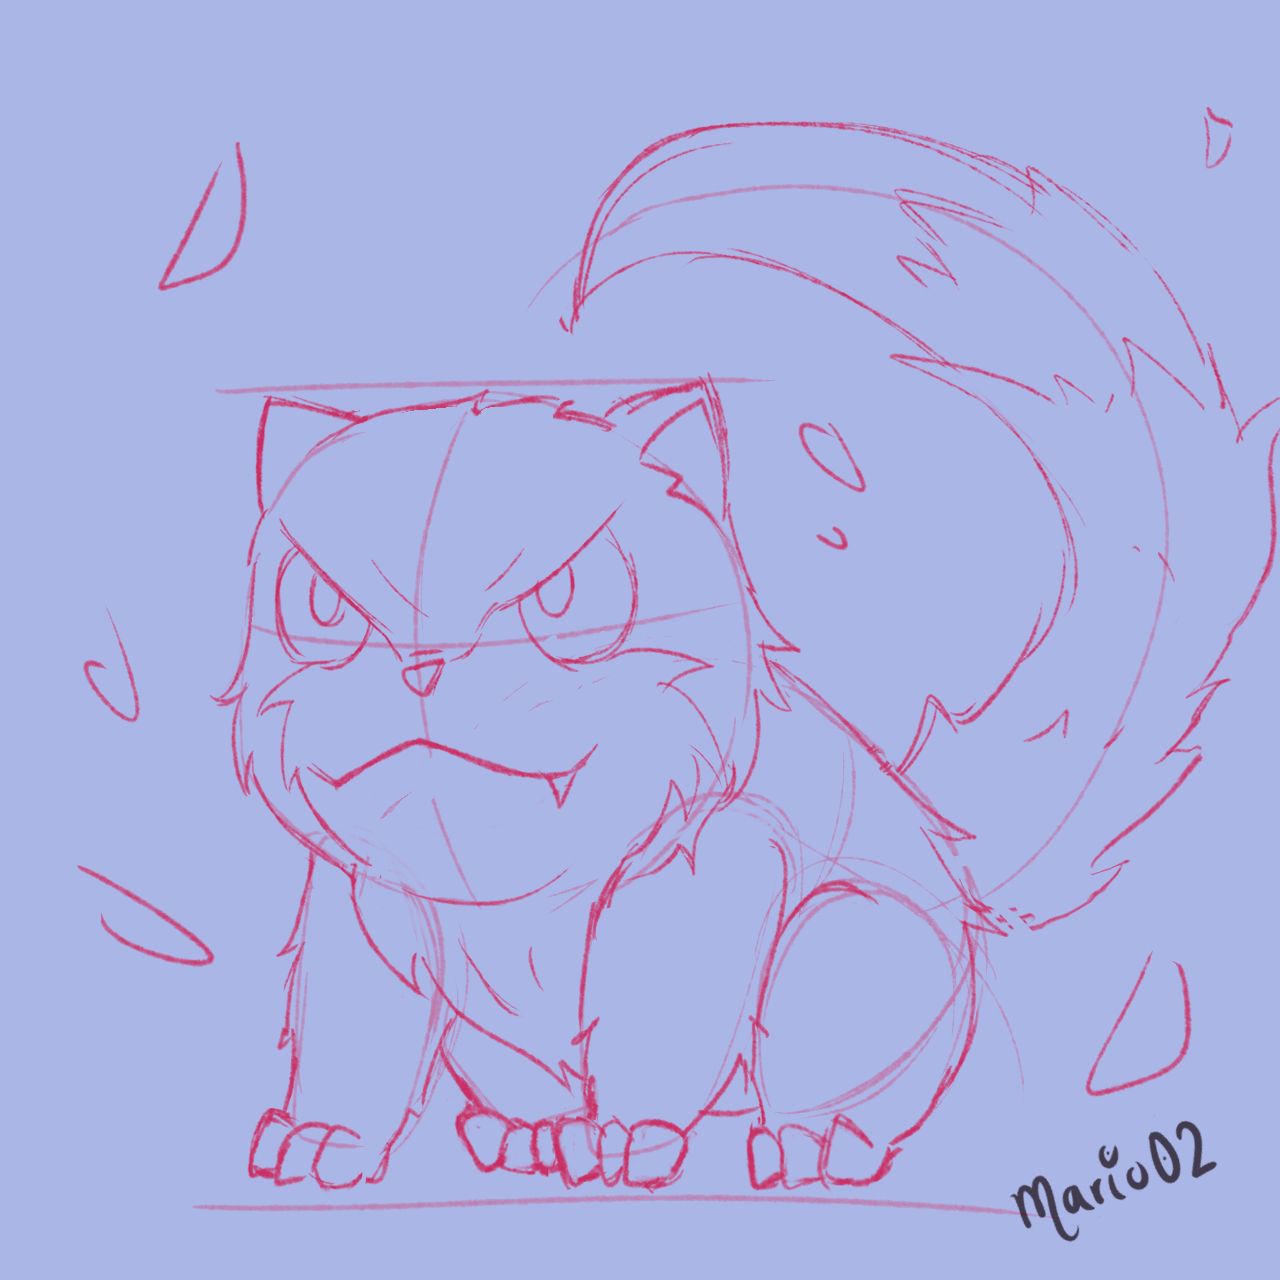
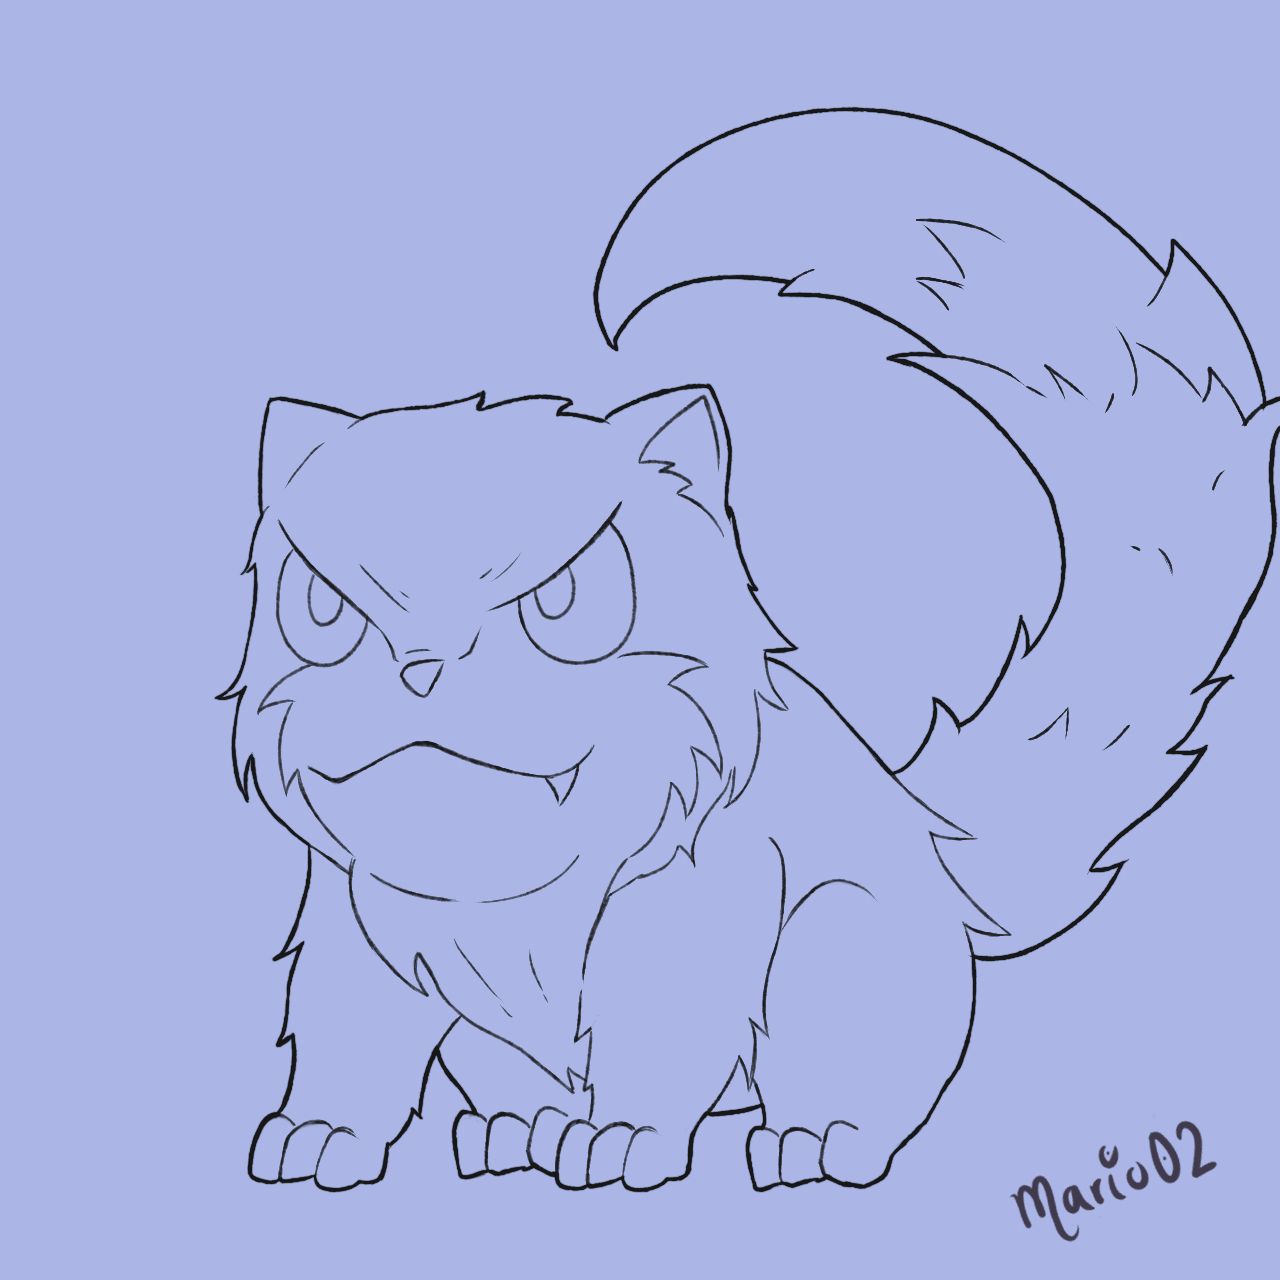
My process started by creating a small thumbnail sketch which helped me to shape a bigger and cleaner sketch. As I mentioned in the beginning my idea was to make a fat version of the character, so I used many circular shapes to create and shape the character. Then with a very thin pencil brush I made a loose lineart, making the outline bigger than the inside.
Mi proceso comenzó creando un pequeño sketch tipo thumbnail, el cual me sirvió para dar forma a un boceto más grande y limpio. Como mencioné en el inicio, mi idea era realizar una versión gorda del personaje, por lo que utilicé muchas formas circulares para crear y dar forma al personaje. Luego con un pincel tipo lápiz muy delgado hice un lineart suelto, haciendo el contorno más grande que el interior.
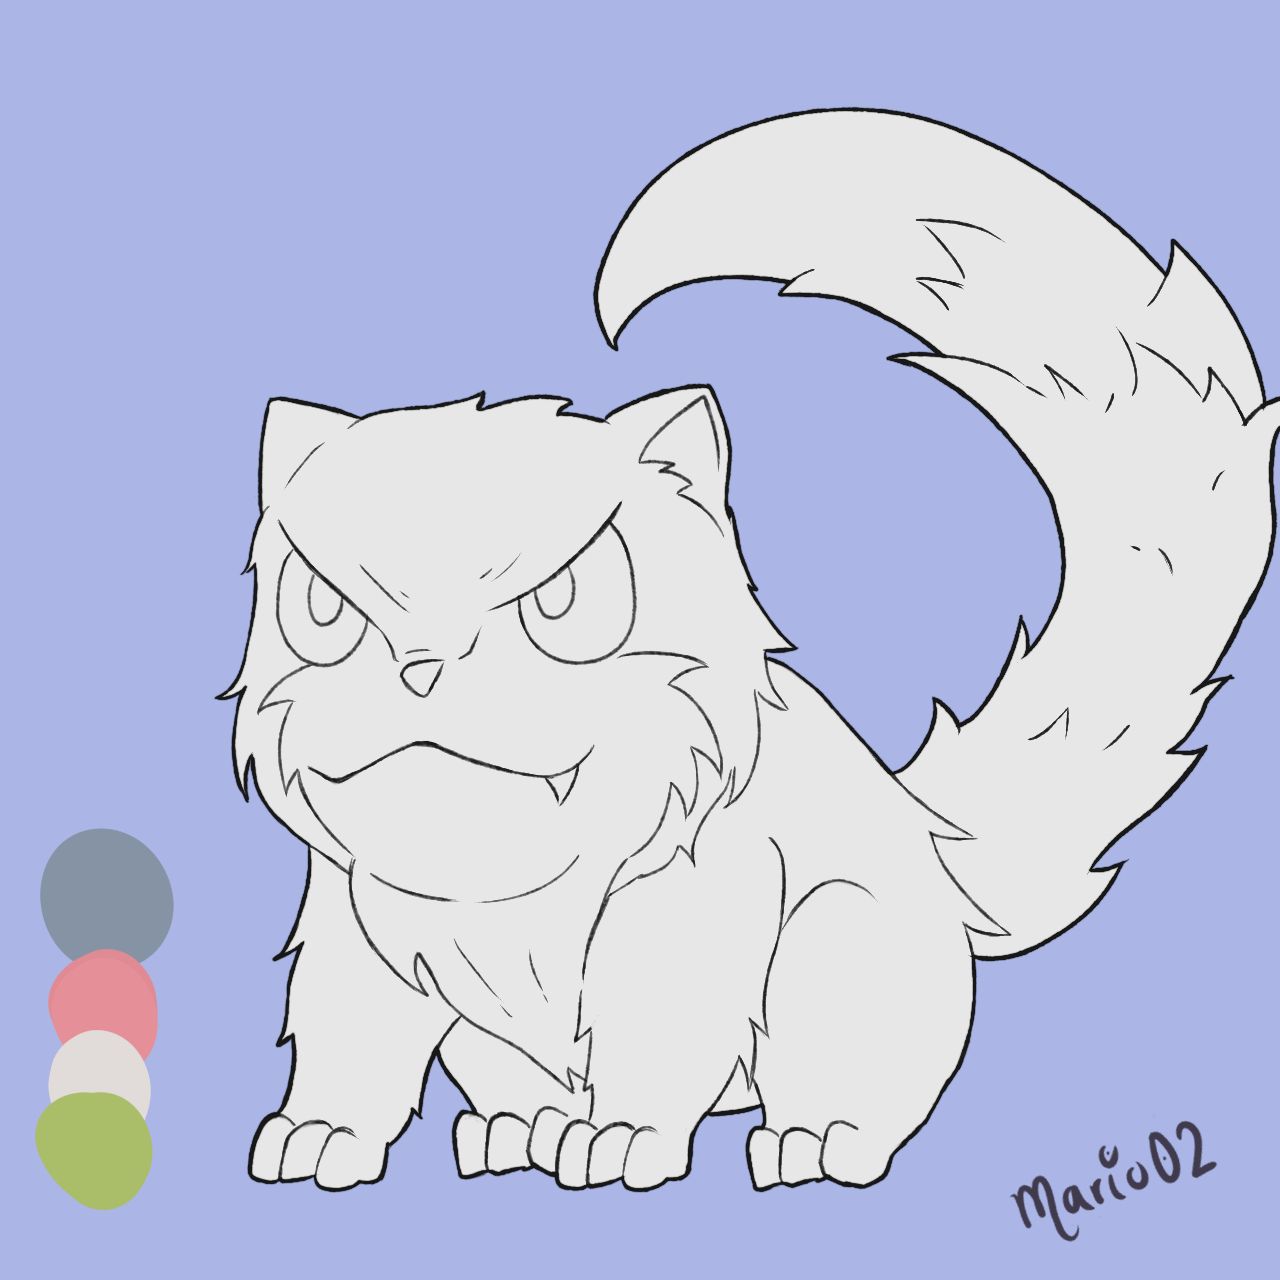
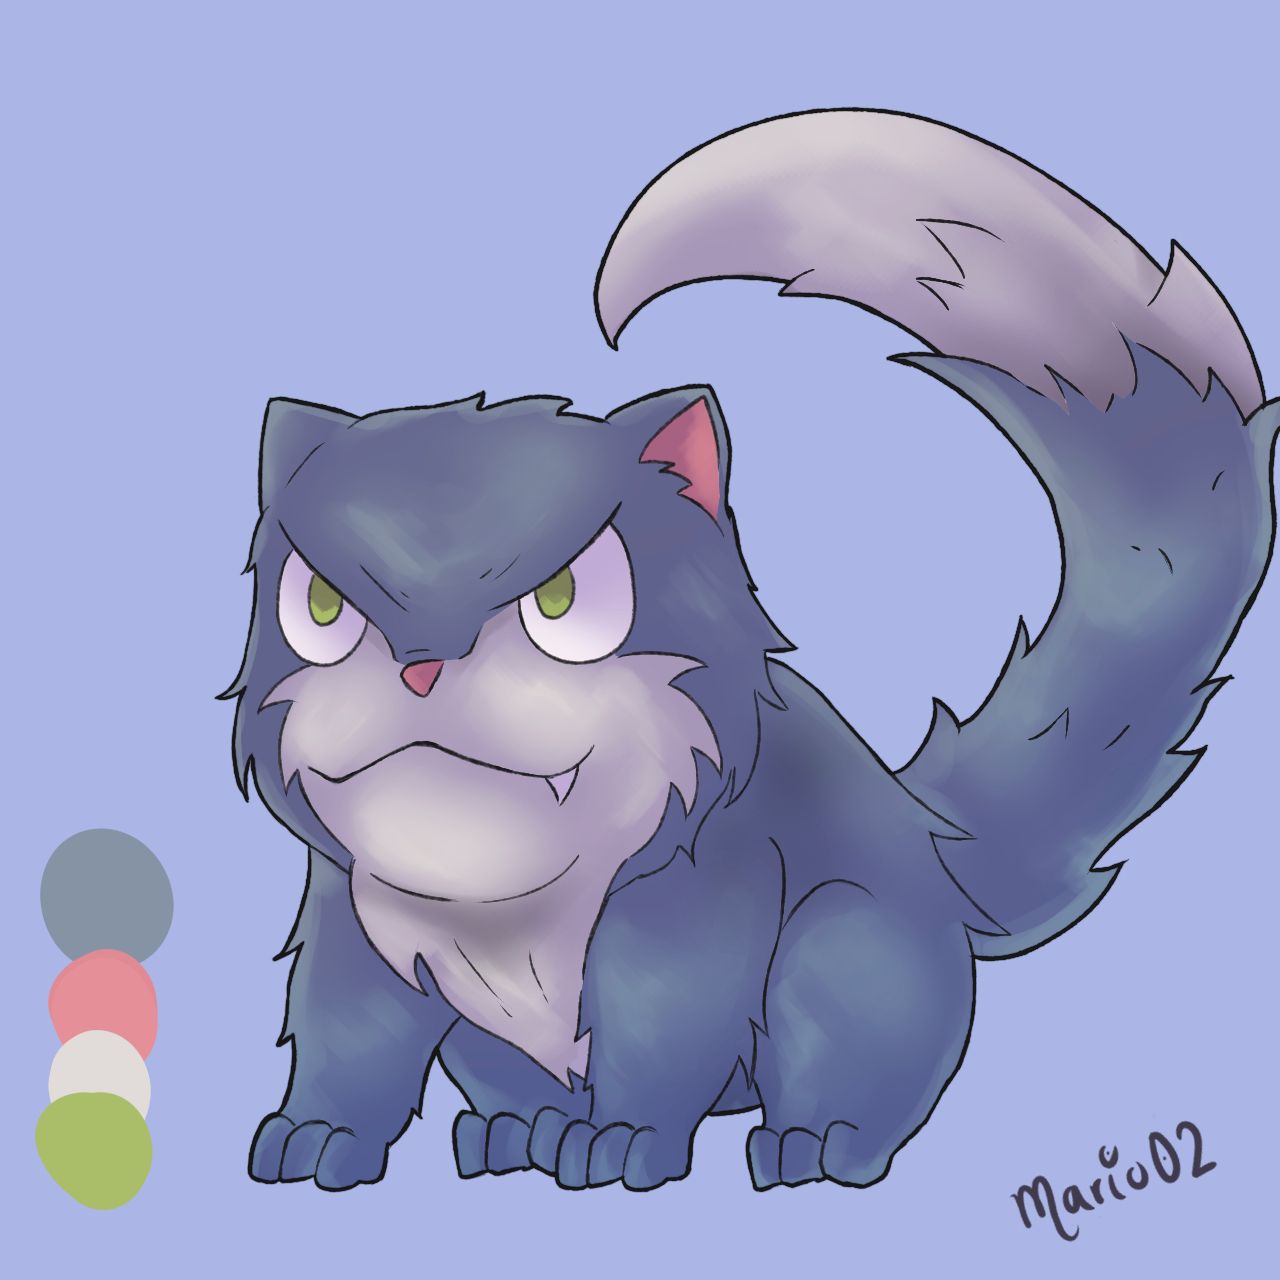
Apply the base colors on the character, using the reference color palette to make it look very similar.
Apliqué los colores base en el personaje, usando la paleta de color de la referencia para que se viera muy similar.
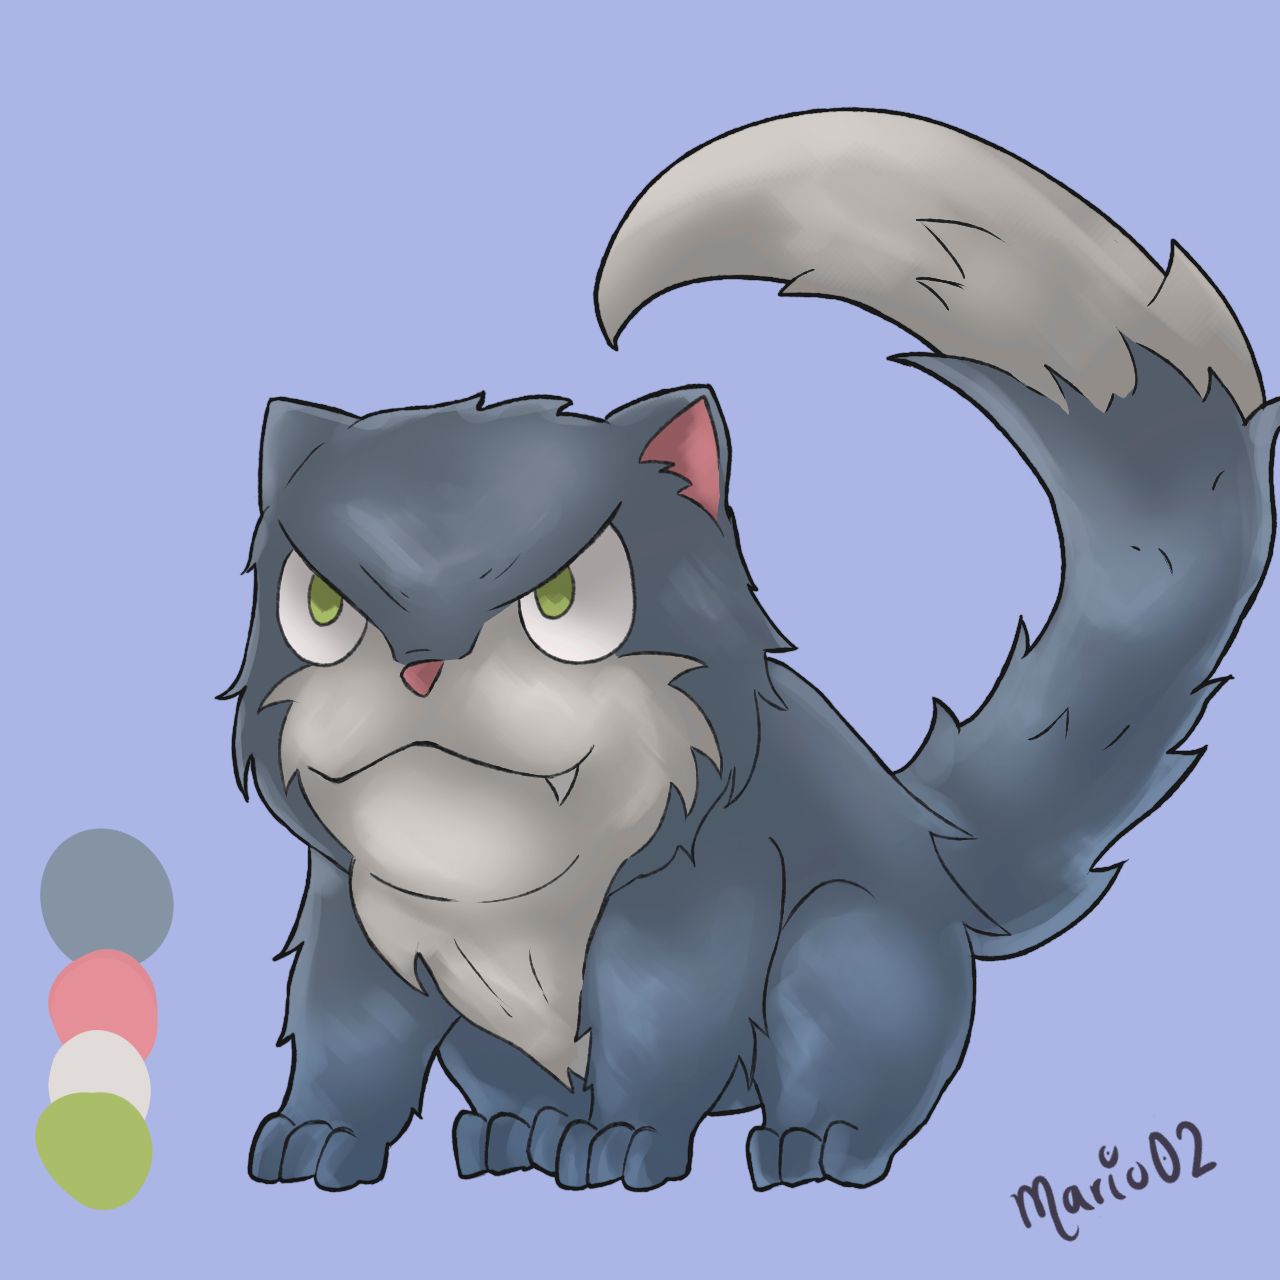
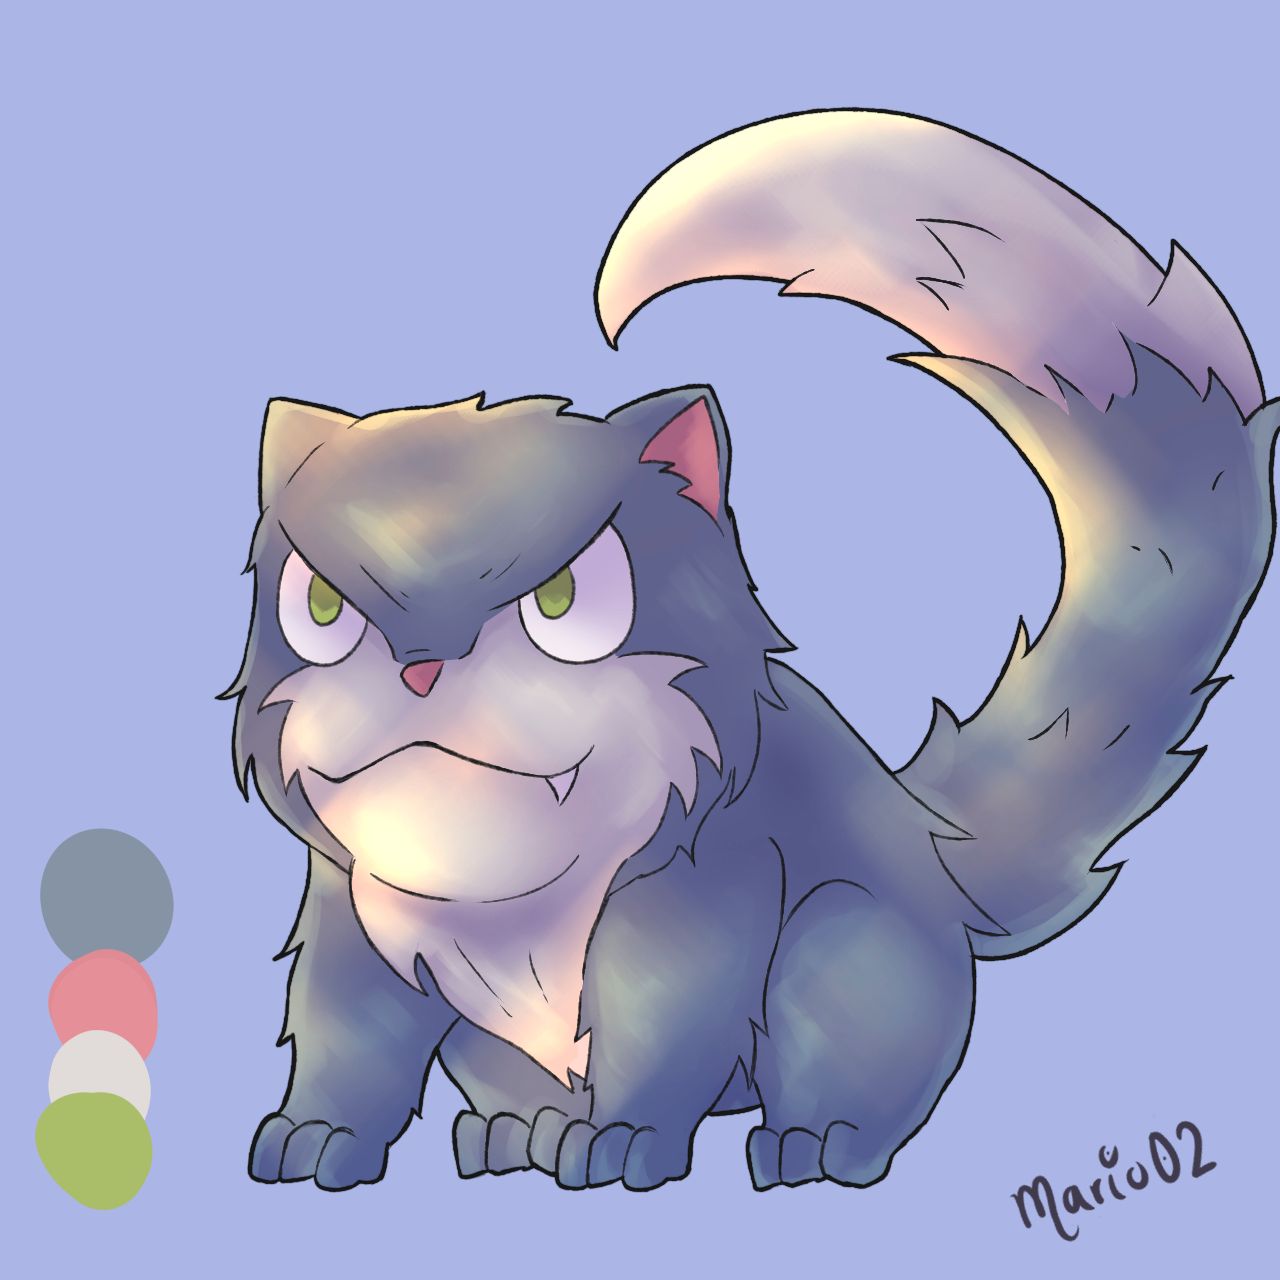
Then I started the volume process, here I didn't know if I should use cell shading or something softer. As I didn't want to get too complicated, I chose to do something more experimental, with the excuse of trying some new brushes, I applied shadow to the whole character and with a low opacity brush I was erasing and shaping the shadows, then I changed the color to integrate them better with the character and applied a second layer of very subtle shadows.
Luego comencé el proceso de volumen, aquí no sabía si usar el coloreado tipo cell shading o algo mas suave. Como no quería complicarme demasiado, opté por hacer algo mas experimental, con la excusa de probar algunos nuevos pinceles, apliqué sombra a todo el personaje y con un pincel de baja opacidad fui borrando y dando forma a las sombras, después les cambié el color para integrarlas mejor con el personaje y apliqué una segunda capa de sombras muy sutil.
Finally, I added the illuminations to the character, which was what was going to help me to highlight it a little bit, here I used a simple light giving that daylight effect. Then I changed the background to white and with a low opacity brush I made some shapes to give some texture and atmosphere to the illustration.
Para finalizar, agregué las iluminaciones al personaje, lo cual era lo que me iba a ayudar a destacarlo un poco, aquí utilicé una luz sencilla dando ese efecto como de luz de día. Luego cambié el fondo a color blanco y con un pincel de baja opacidad hice algunas formas para dar algo de textura y ambiente a la ilustración.
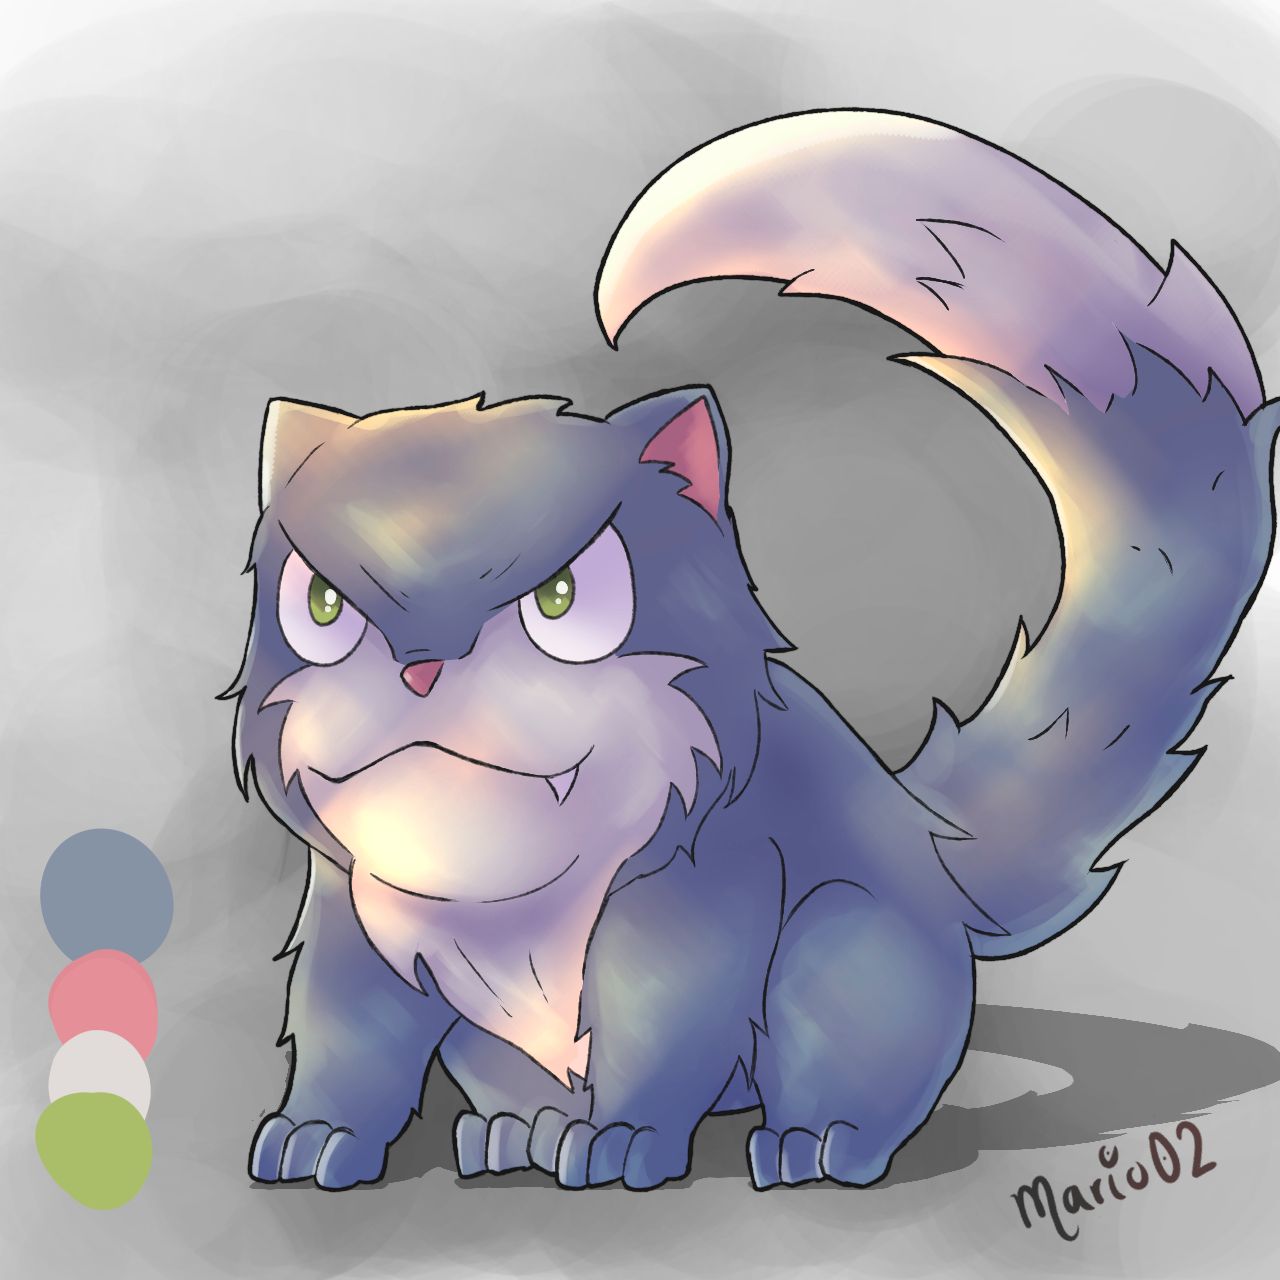
Final Art | Arte Final😉🎨
Lastly, I used a dot motif brush, which I applied all around the character, allowing me to unify the light tone on the character a bit, as well as create a more fun finish to the illustration.
Por último, utilicé un pincel de motivo de puntos, el cual apliqué en todo el alrededor del personaje, permitiéndome unificar un poco el tono de luz en el personaje, así como también crear un acabado más divertido en la ilustración.
Thank you very much for reading!
See you in a future publication! 🙏
¡Muchas gracias por leer!
¡Nos vemos en una próxima publicación! 🙏
##### [Join Here!](https://holozing.com?ref=mario02)
Tools Used | Herramientas Utilizadas:
- Photoshop CC versión 64 bits
- Clip Studio Paint
- Tablet Huion H610 PRO V2

Discord: marioart02
##### ***The illustration and separators used in the post are my property.***
Translated with
DeepL (
free versión)