A few weeks ago, HiveFest10 was announced, and I have to say – Yes! We’re finally going back to Asia! This time to Kuala Lumpur. I was in Bangkok back in 2019, and since then, I’ve become a huge fan of traveling in Asia!
After the initial hype faded, I wanted to do something for the community – for everyone who will be traveling to Asia and spending an unforgettable week in Malaysia. I know that during events like this, a lot of photos are taken – whether with phones or digital cameras. And, of course, everyone blogs about their experiences in Asia.
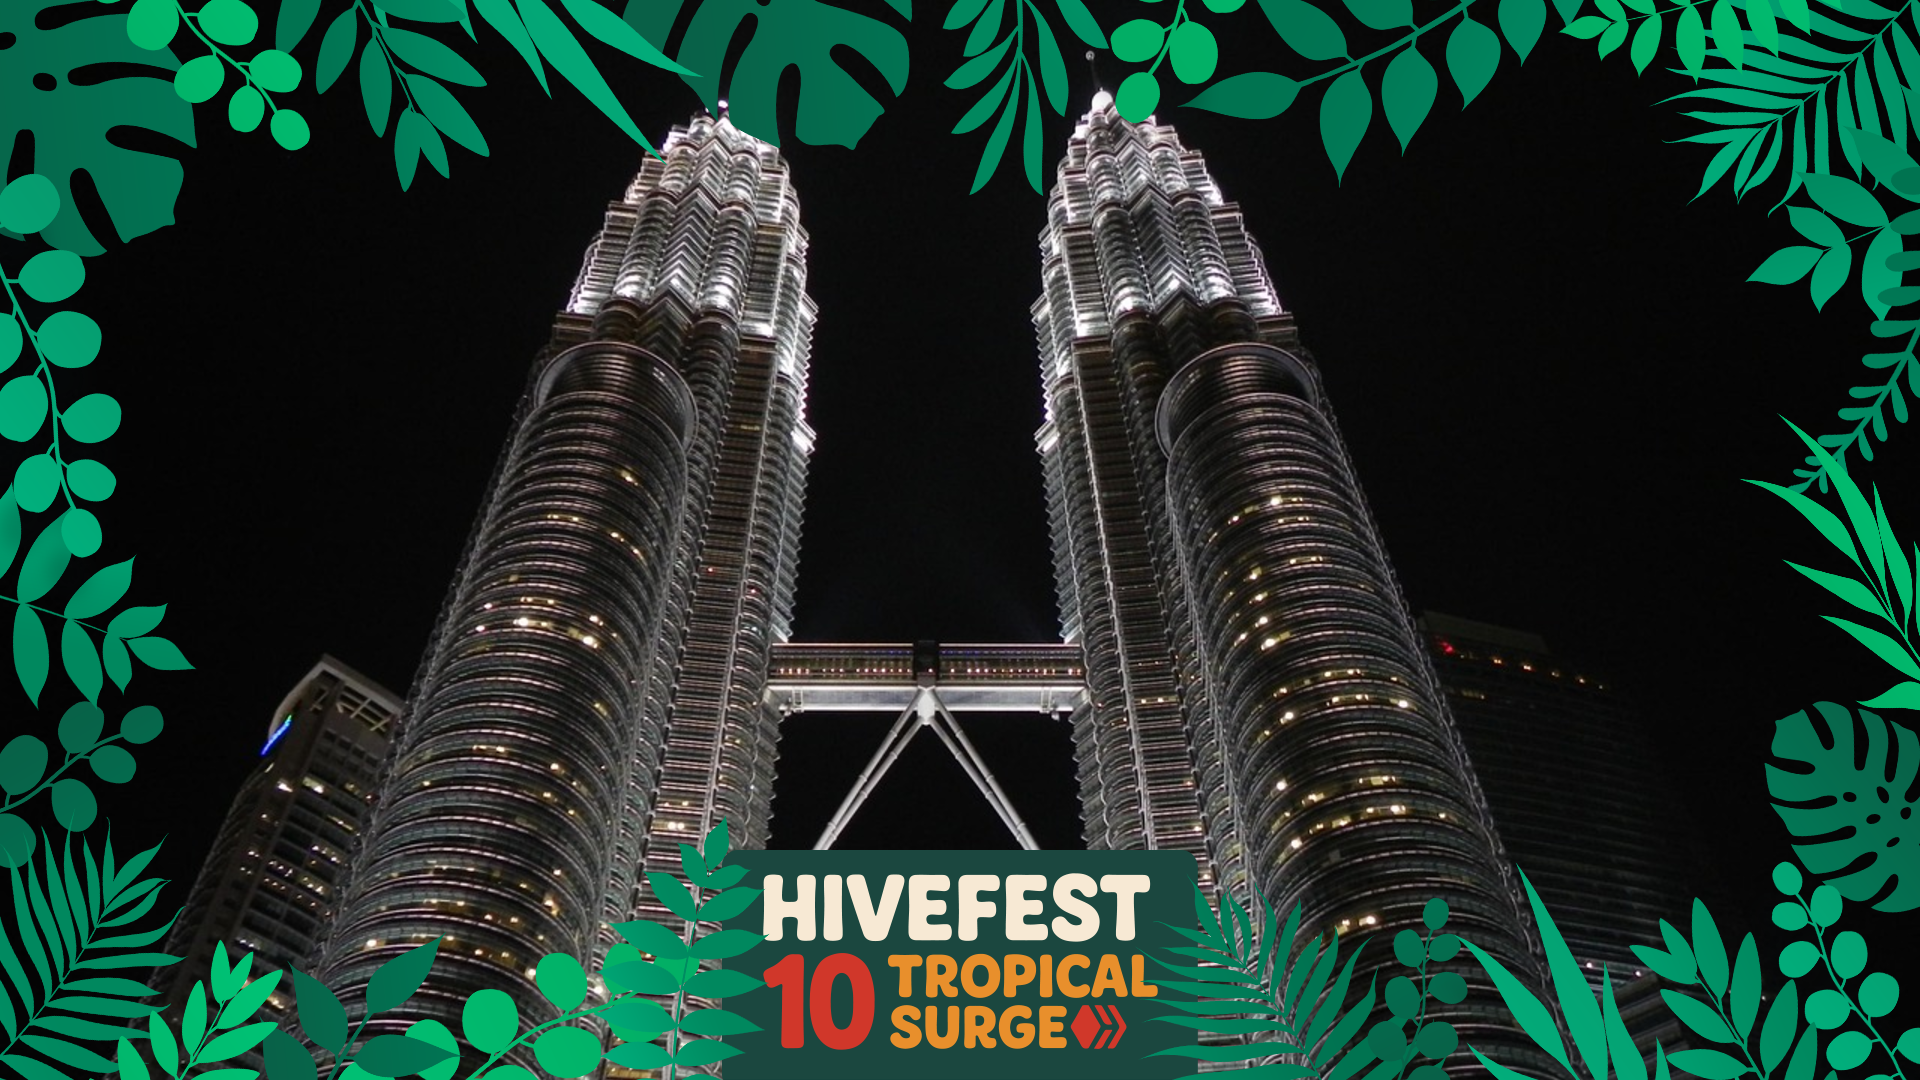
So, I thought, why not create something that could help people when making their posts? A short time later, I created the first prototype – a simple tool that places .PNG frames over your photos.
Thanks to
@roelandp, who did a great job turning the graphics on
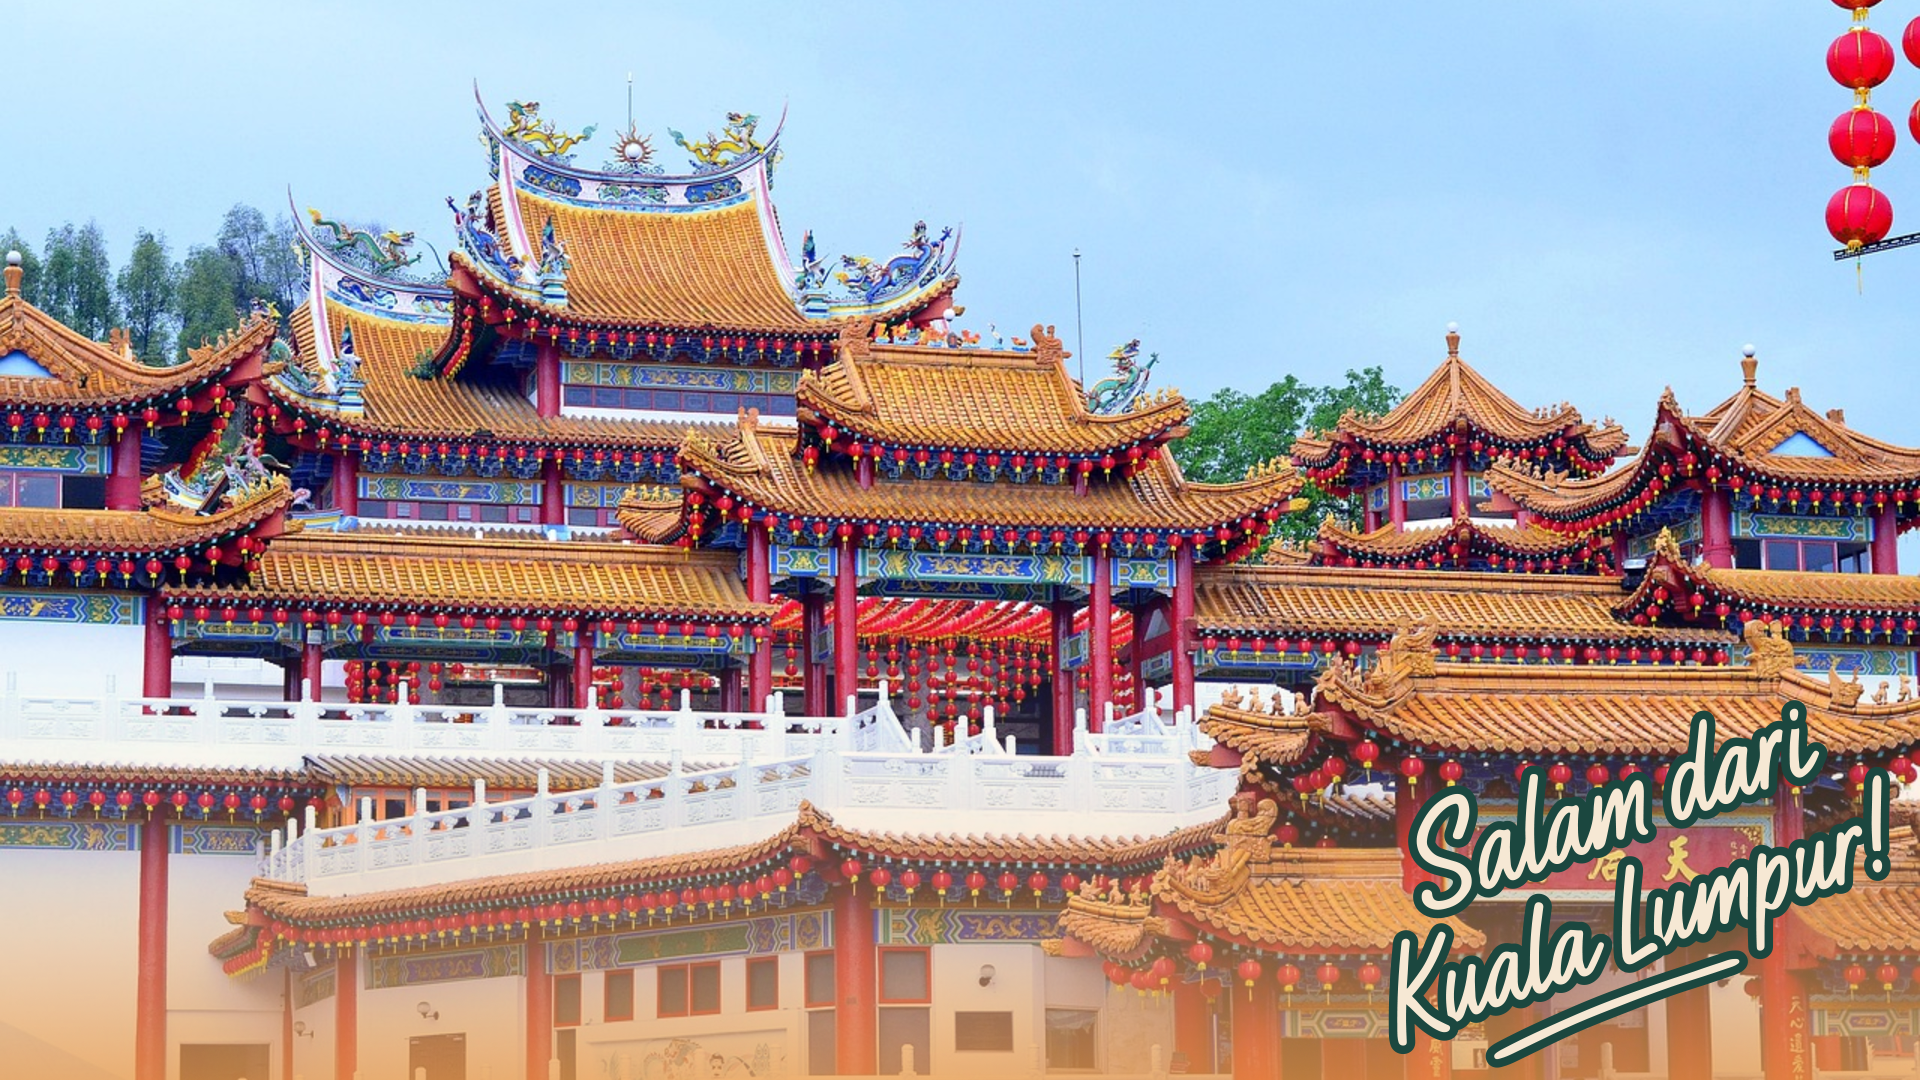
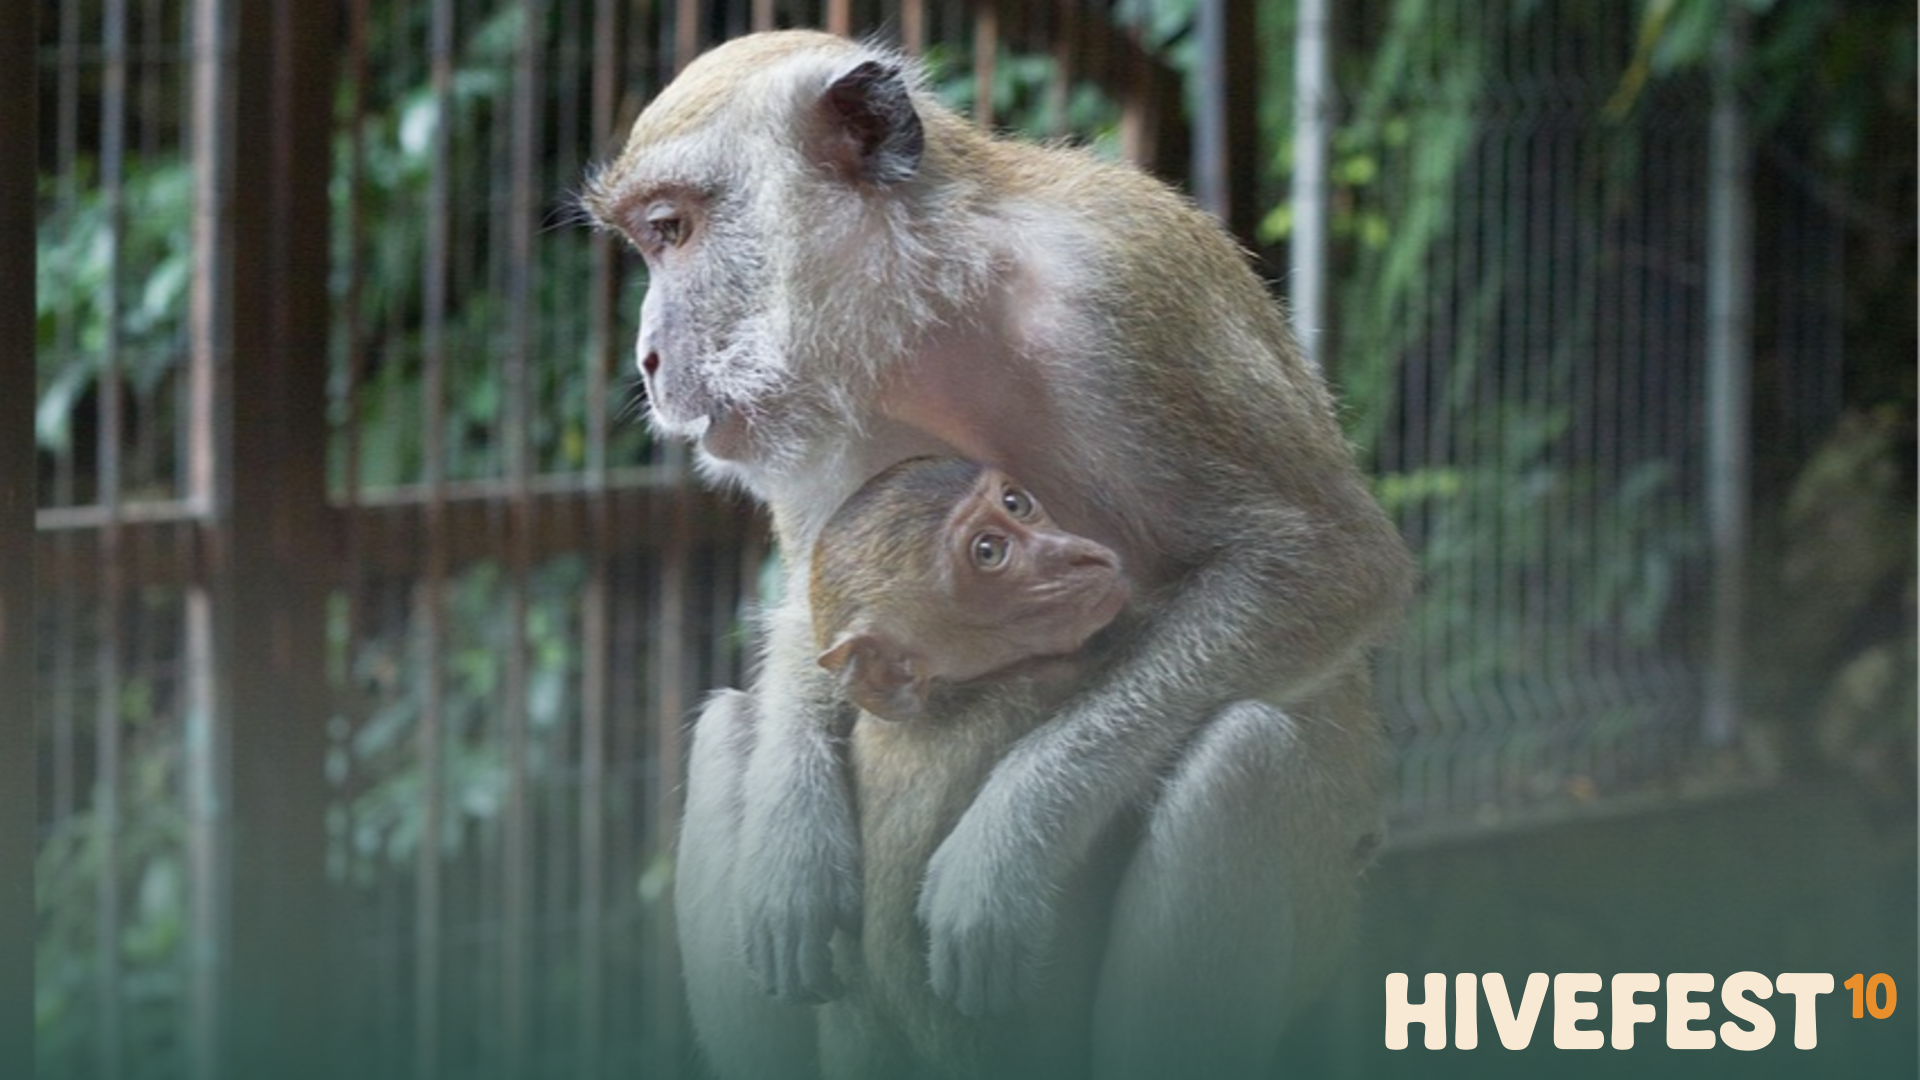
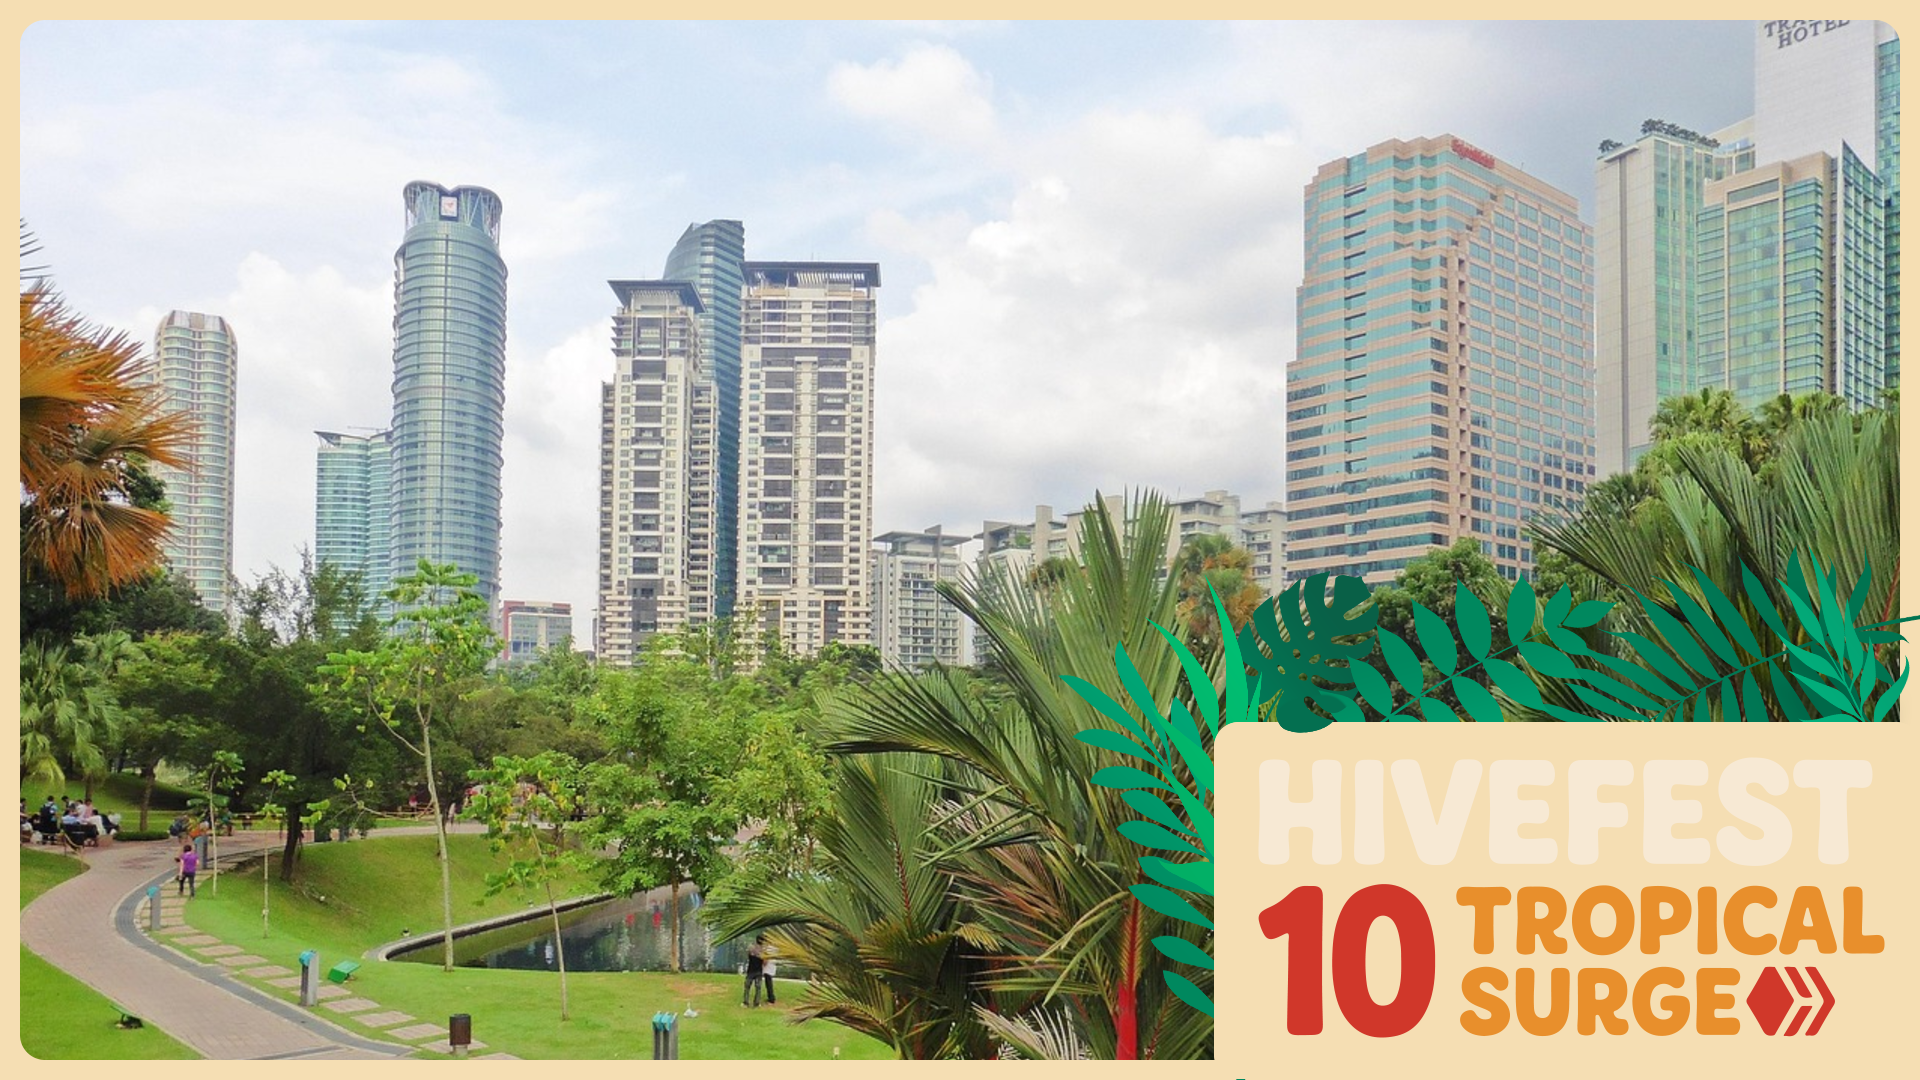
https://hivefe.st into scalable vector files, it made it easier for me to create the frames for everyone. Below, you’ll find some demo images I grabbed from Pixabay and used in my tool. Also, I’ve included a temporary link to the tool along with a small guide on how it works.
I plan to add more frames over the coming weeks and months, as time allows. But for now, check out the results and give the tool a try!
How to Create Custom HiveFest¹⁰ Images - A Simple Guide
What is the HiveFest10 Image Generator?
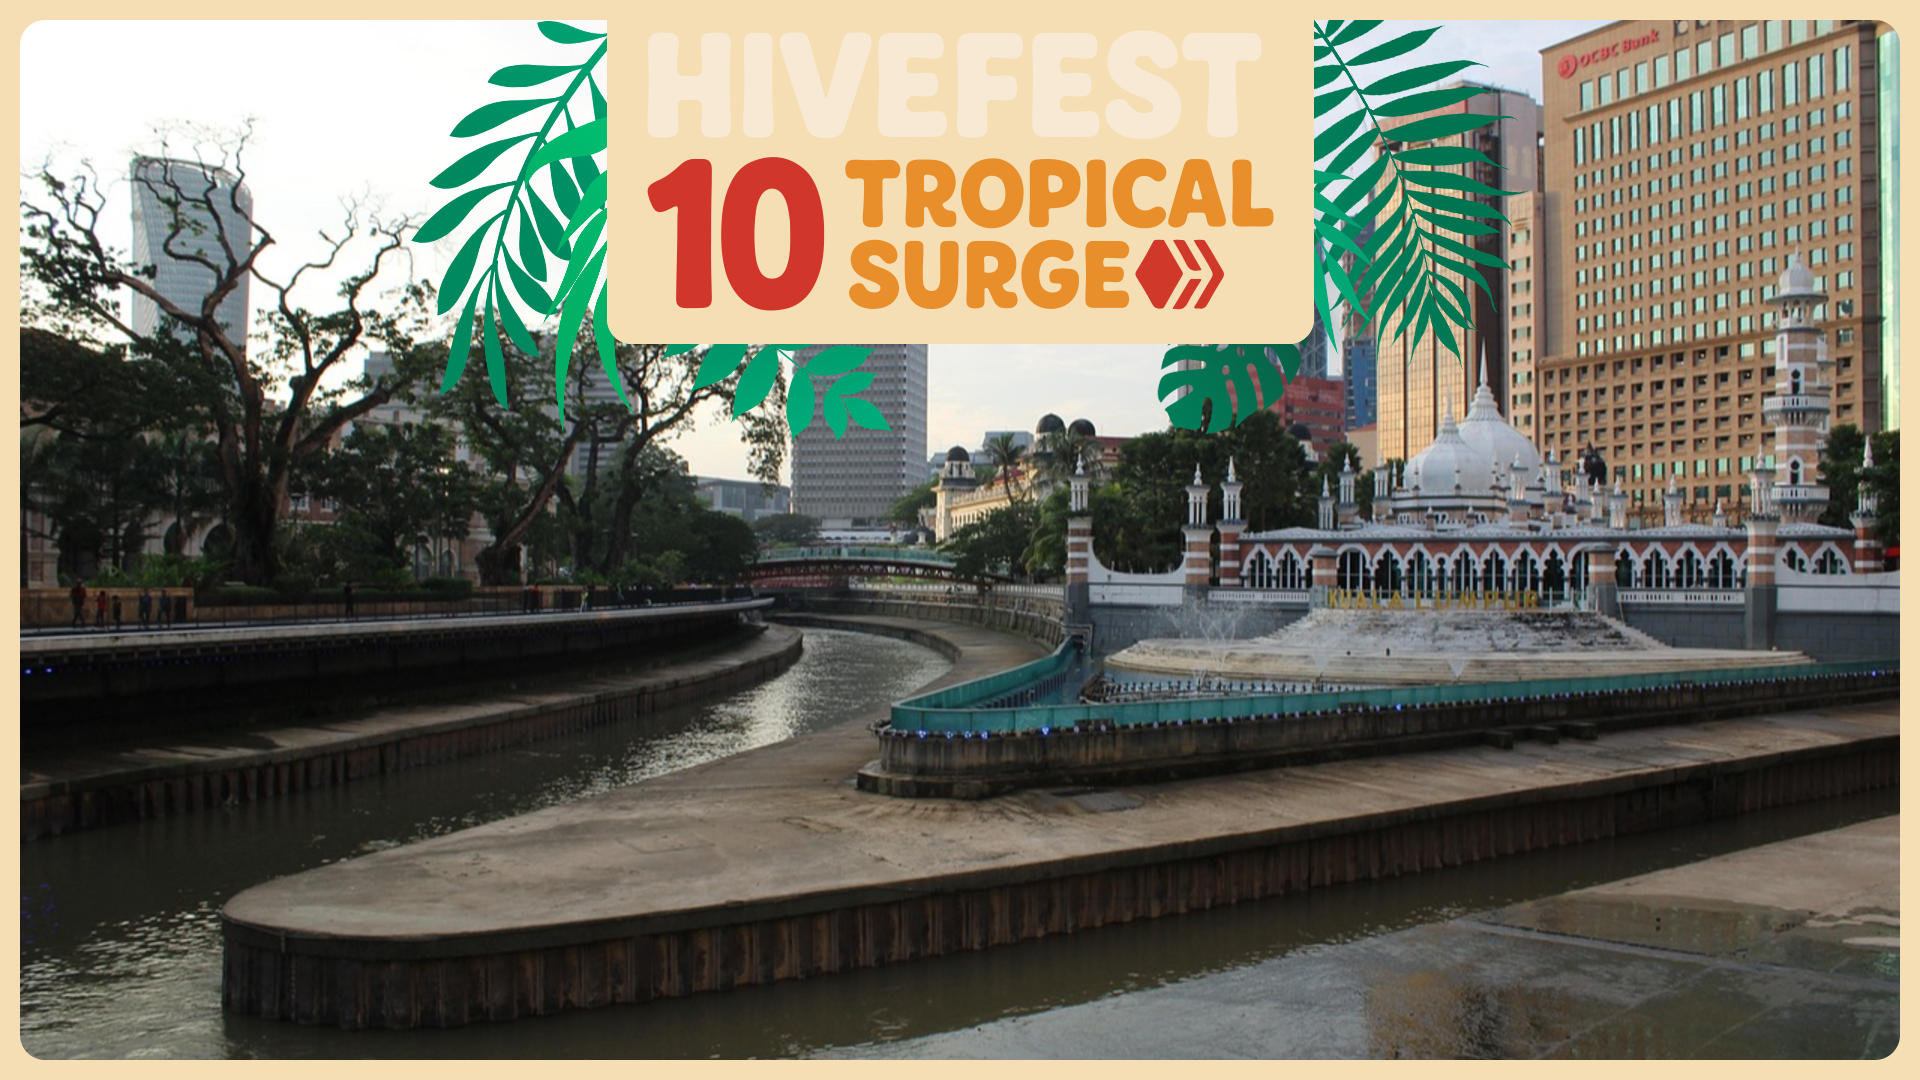
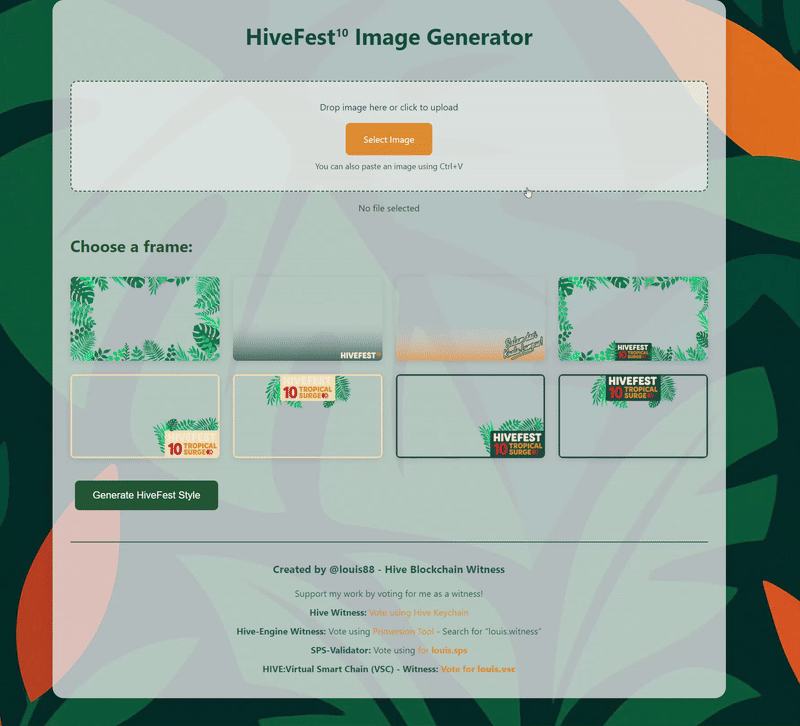
The HiveFest10 Image Generator is a user-friendly web tool that lets you add beautiful HiveFest-themed frames to your images. Perfect for creating social media posts or memories from HiveFest!
For the initial release of the tool, I uploaded my files to Github and used Githack to create a URL for you to access. So you can test it, try it out and leave me some feedback. Here is a video animation with a picture of the Buddha statue at the Batu Caves - which we hope to visit in October ;)
Step 1: Upload Your Image
There are three easy ways to create your image:
- Drag and drop an image file onto the upload area.
- Click the "Select Image" button to choose a file.
- Simply paste an image using Ctrl+V (or Cmd+V on Mac).
Step 2: Crop Your Image
Once uploaded, you'll see a cropping tool.
Adjust the crop area to focus on the important parts of your image.
The Image creation tool maintains a 16:9 aspect ratio for perfect framing.
Click "Finish Cropping" when you're happy with the result.
Step 3: Choose Your Frame
Browse through 8 different frame options. (More are coming - Please provide Feedback!)
Click on any frame to select it.
Each frame has a unique tropical or HiveFest theme.
The selected frame will have a red border around it when selected.
Step 4: Generate Your Image
Click the "Generate HiveFest Style" button.
Your image will appear with the selected frame overlay.
The result will be displayed on screen.
Step 5: Save Your Image!
You have two options to save your image:
- Click "Download Image" to save it to your device
- Click "Copy to Clipboard" to paste it directly into social media posts here on hive, x or somewhere else :)
4 Pro Tips
For best results, use high-quality images.
The final image will be in 1920x1080 resolution (16:9 Ratio)
The frames are designed to work with both light and dark images
If a frame doesn't load, try selecting a different one and let me know in the Comments.
SupportThis tool is created by me
@louis88, a longterm Hive User and blockchain witness. You can support me and my projects by:
- Using and sharing the tool with others!
- Providing feedback and suggestions for improvements!
- Supporting my Witness <3
Happy image creating! 🌴🎉