Somewhere in the middle of the map is a bunch of land mass I seem to be missing out on. It became rather apparent when I was checking out regions I had already been in such as A, B, E, and F. It made me wonder what happened to the C and D regions?
It turns out I just needed to have water walking and go from a C region into the area. Since none of the starting characters I had could learn water walking you can’t seem that far across. I ended up not discovering these locations for the most part.
Other than the zone the last town was in Blistering Heights which was in D3. I had missed them all. So, I ended up going back to the first town of Fountain Head. Casted water walk with the druid and just pressed on the forward key facing east.
As it would turn out a bunch of these missing areas of the game I've yet to discover. Would end up being a bunch of different islands. Some of these islands I could not even get onto from the sea.
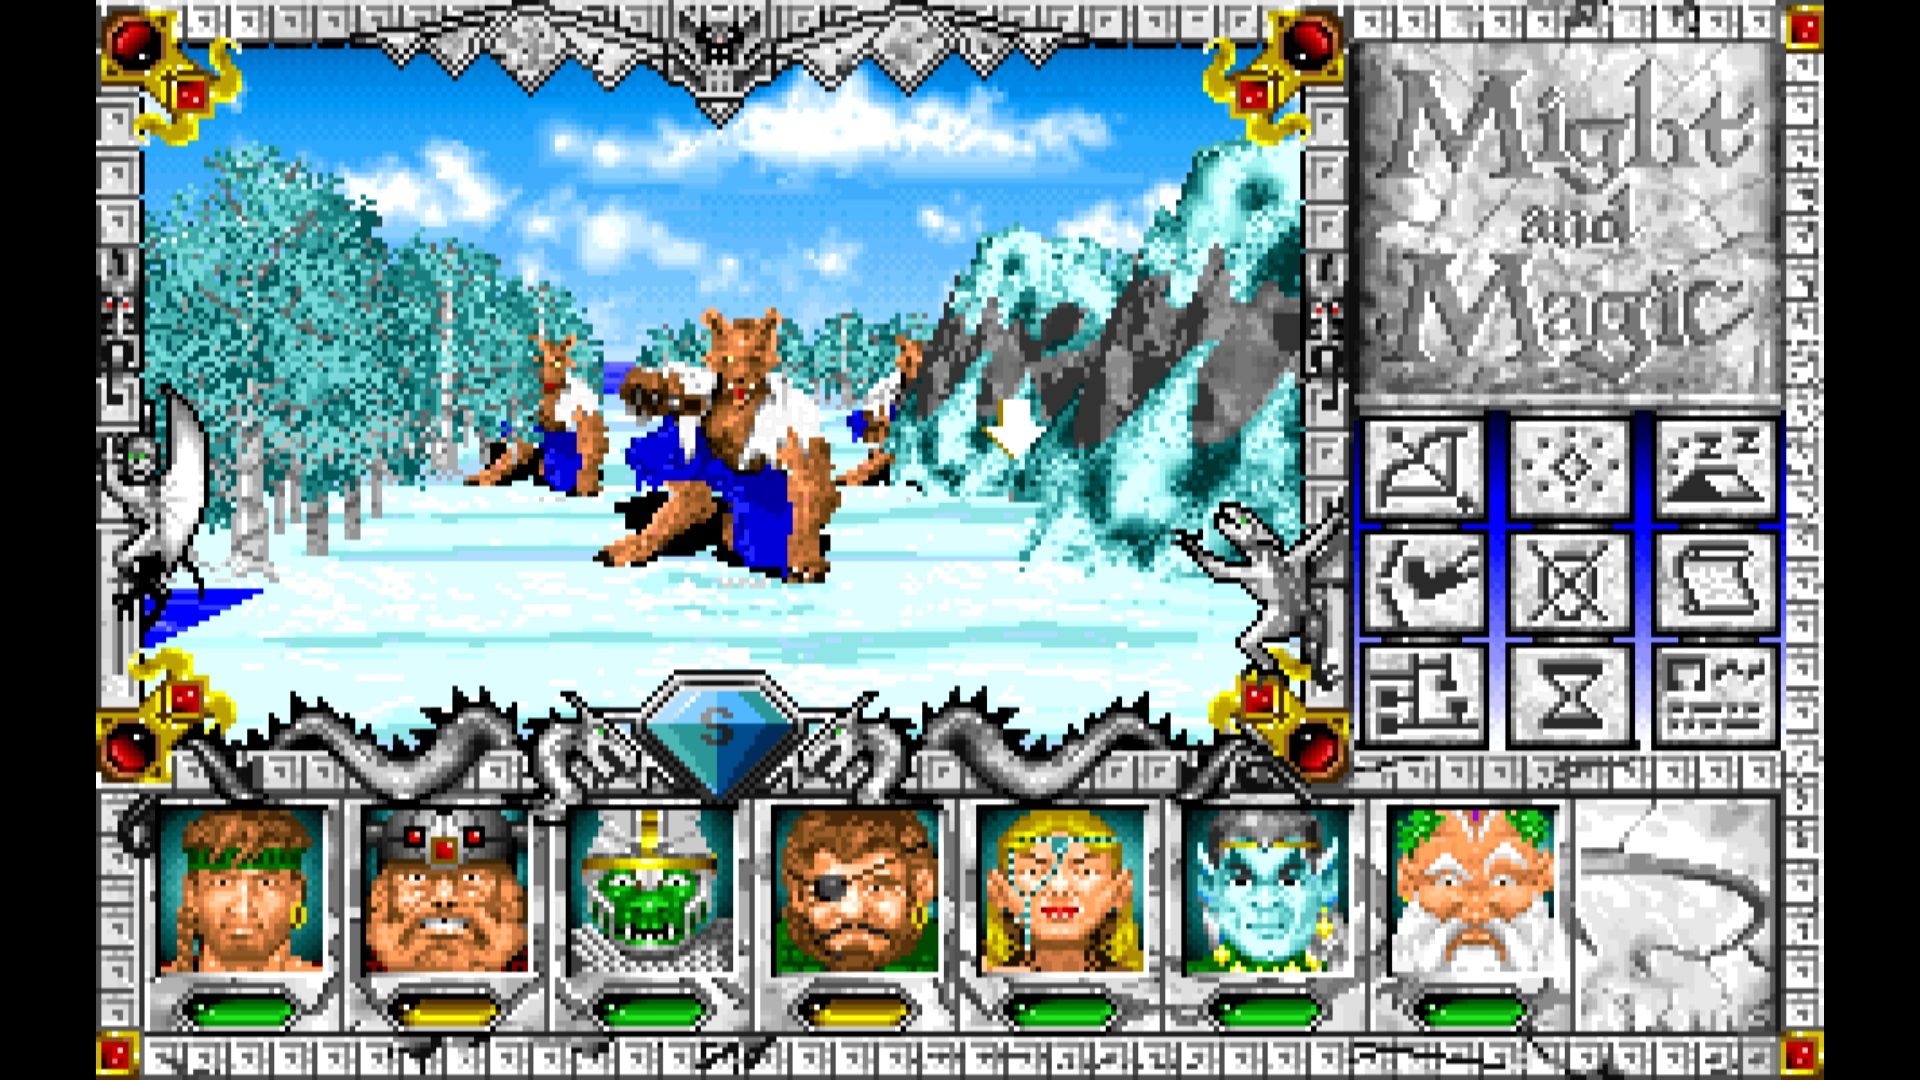
The first area I ended up finding had two islands. With me landing on the biggest island first. It was covered in werewolves and cyclopes. That was a rather strange mix of creatures.
While these creatures were not any challenge for me. They felt more challenging than the things I was fighting off in the swamp region. Things here also seemed to be decently rewarding as well.
This first area I ended up discovering had three different lairs for each of the types of creatures here. I would end up netting almost a million experiences rather quickly just from taking them out.
One of the lairs ended up being a trap. I had werewolf spawn on all sides of me. Thankfully a bunch spawned on the other side of the mountain. So, they were stuck there till I decided I was good and ready to fight them.
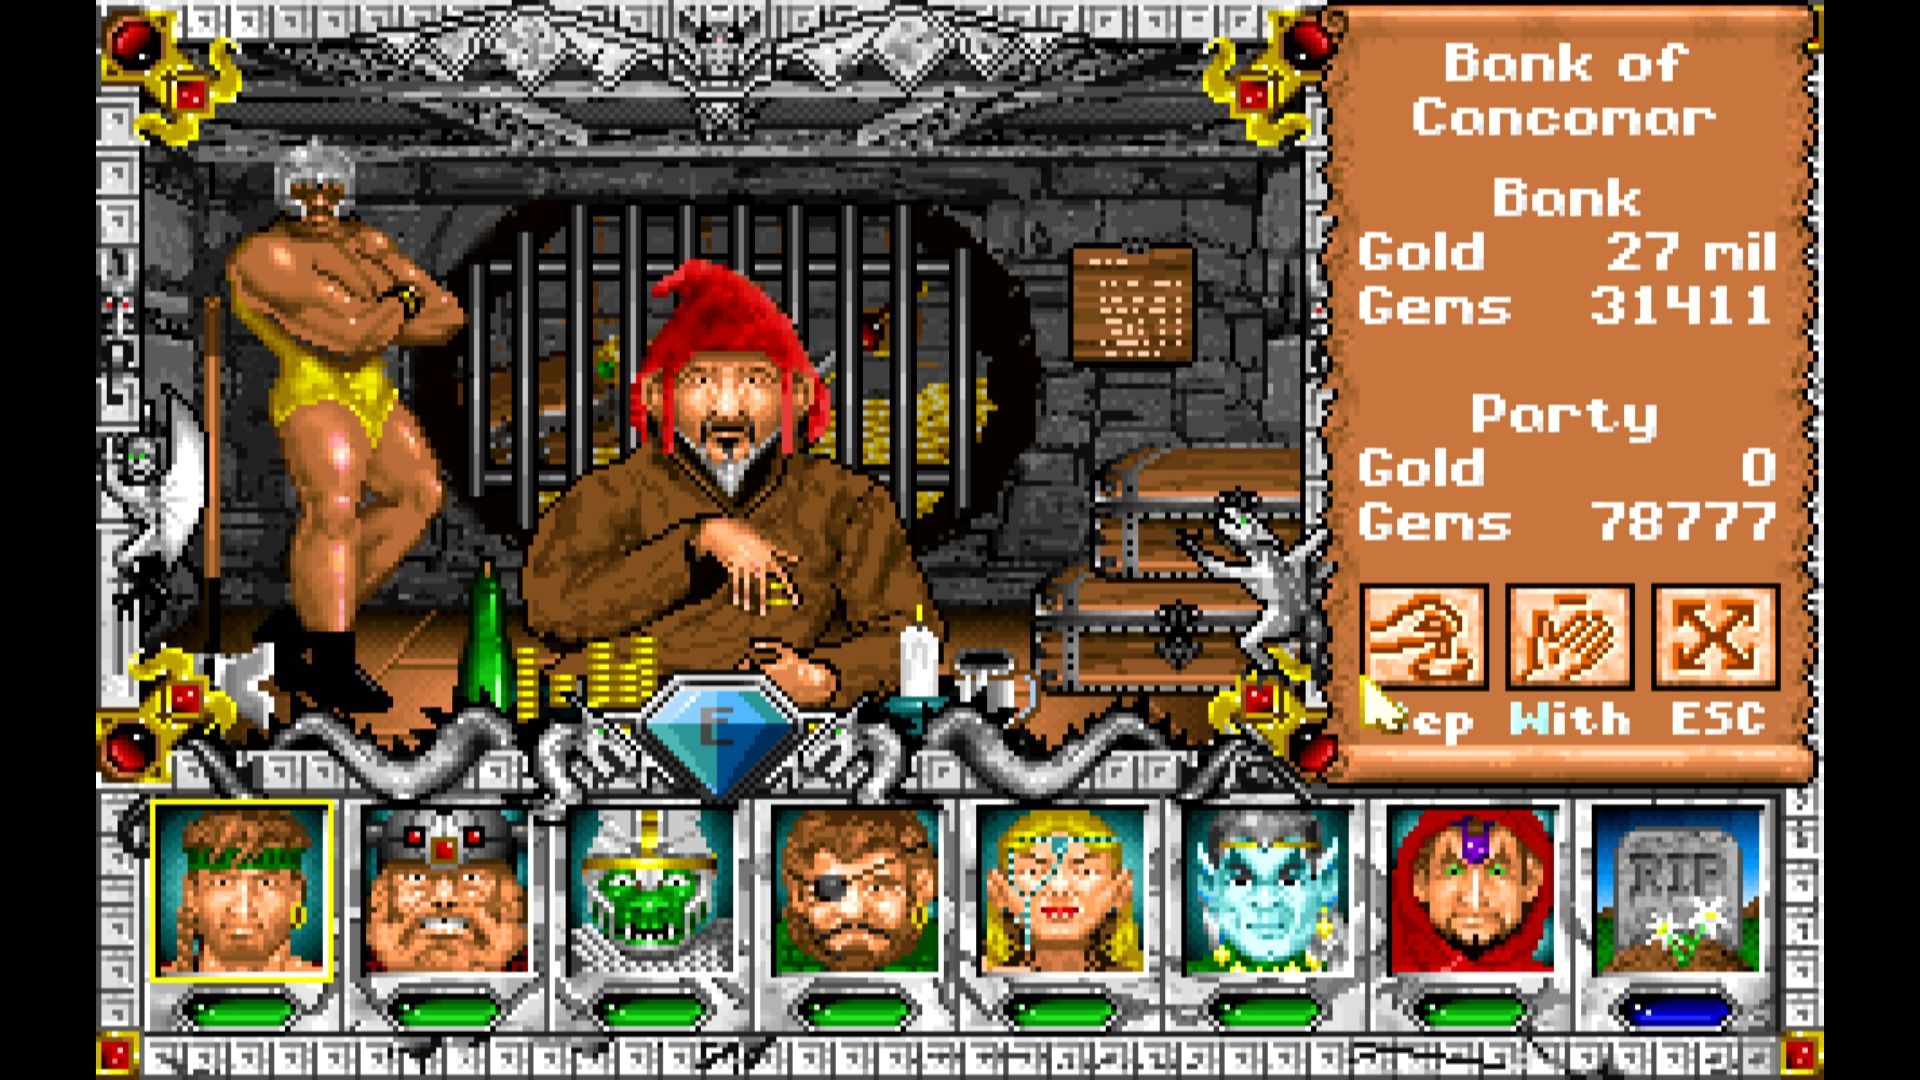
I ended up having to make a run to the blacksmith to offload some loot. Many of the chests I'd discover in this new region would have quite a few items in them. They were not that amazing for the most part. They were however some quick gold. There would also sometimes be small upgrades but bigger enough to spend the time that they were worth finding a character who needed an upgrade with it. With as many characters as I have. I'll be shocked the day none of them have some piece of trash gear from the early game on them that I've been overlooking time and time again.
I then came across an area where I could not enter. It looked like a hellish landscape. With mountains that I could not cross over. There was also clearly lava on the ground. The area must have been connected to the town of Blistering Heights as it has quite the same theme.
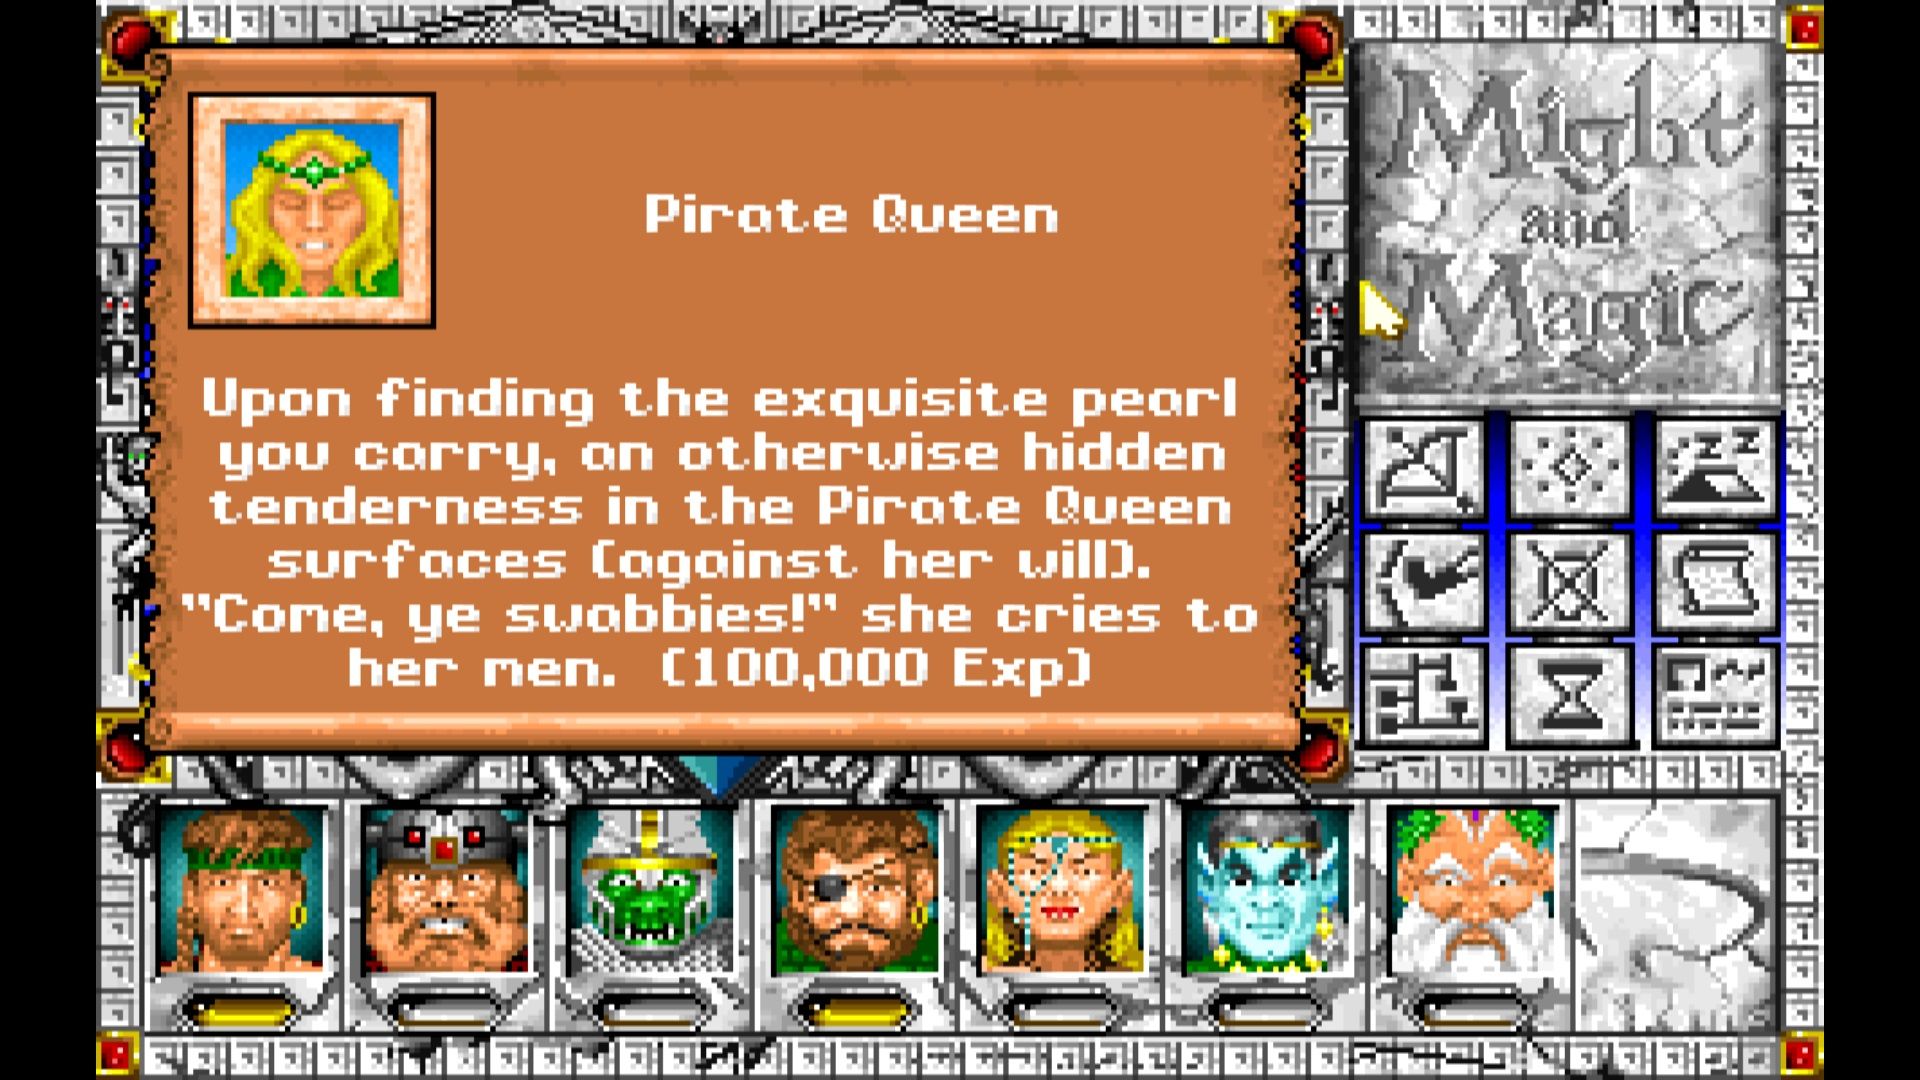
I however did not need to go far. While out on the water I was overtaken by the Pirate Queen. It turns out I've been on the hunt for here for quite some time and did not even know it. She was the one who would take the massive pile of pearls that had been taking up lots of inventory space.
The catch was she would only accept one at a time. Once I was rewarded for turning one in to her. I’d wake up having washed up in the swamp. I’d then have to make my way back and make another run for a turn-in. I’d end up setting up a Llyod’s Beacon so I could get back to her quicker.
I also learned once I ran out of tokens. That she was a true pirate. She stole all the gold I had on me. It looks like the tokens I had were a payment to not get robbed. I however welcome the million or so experiences I ended up gaining over my many encounters with her.
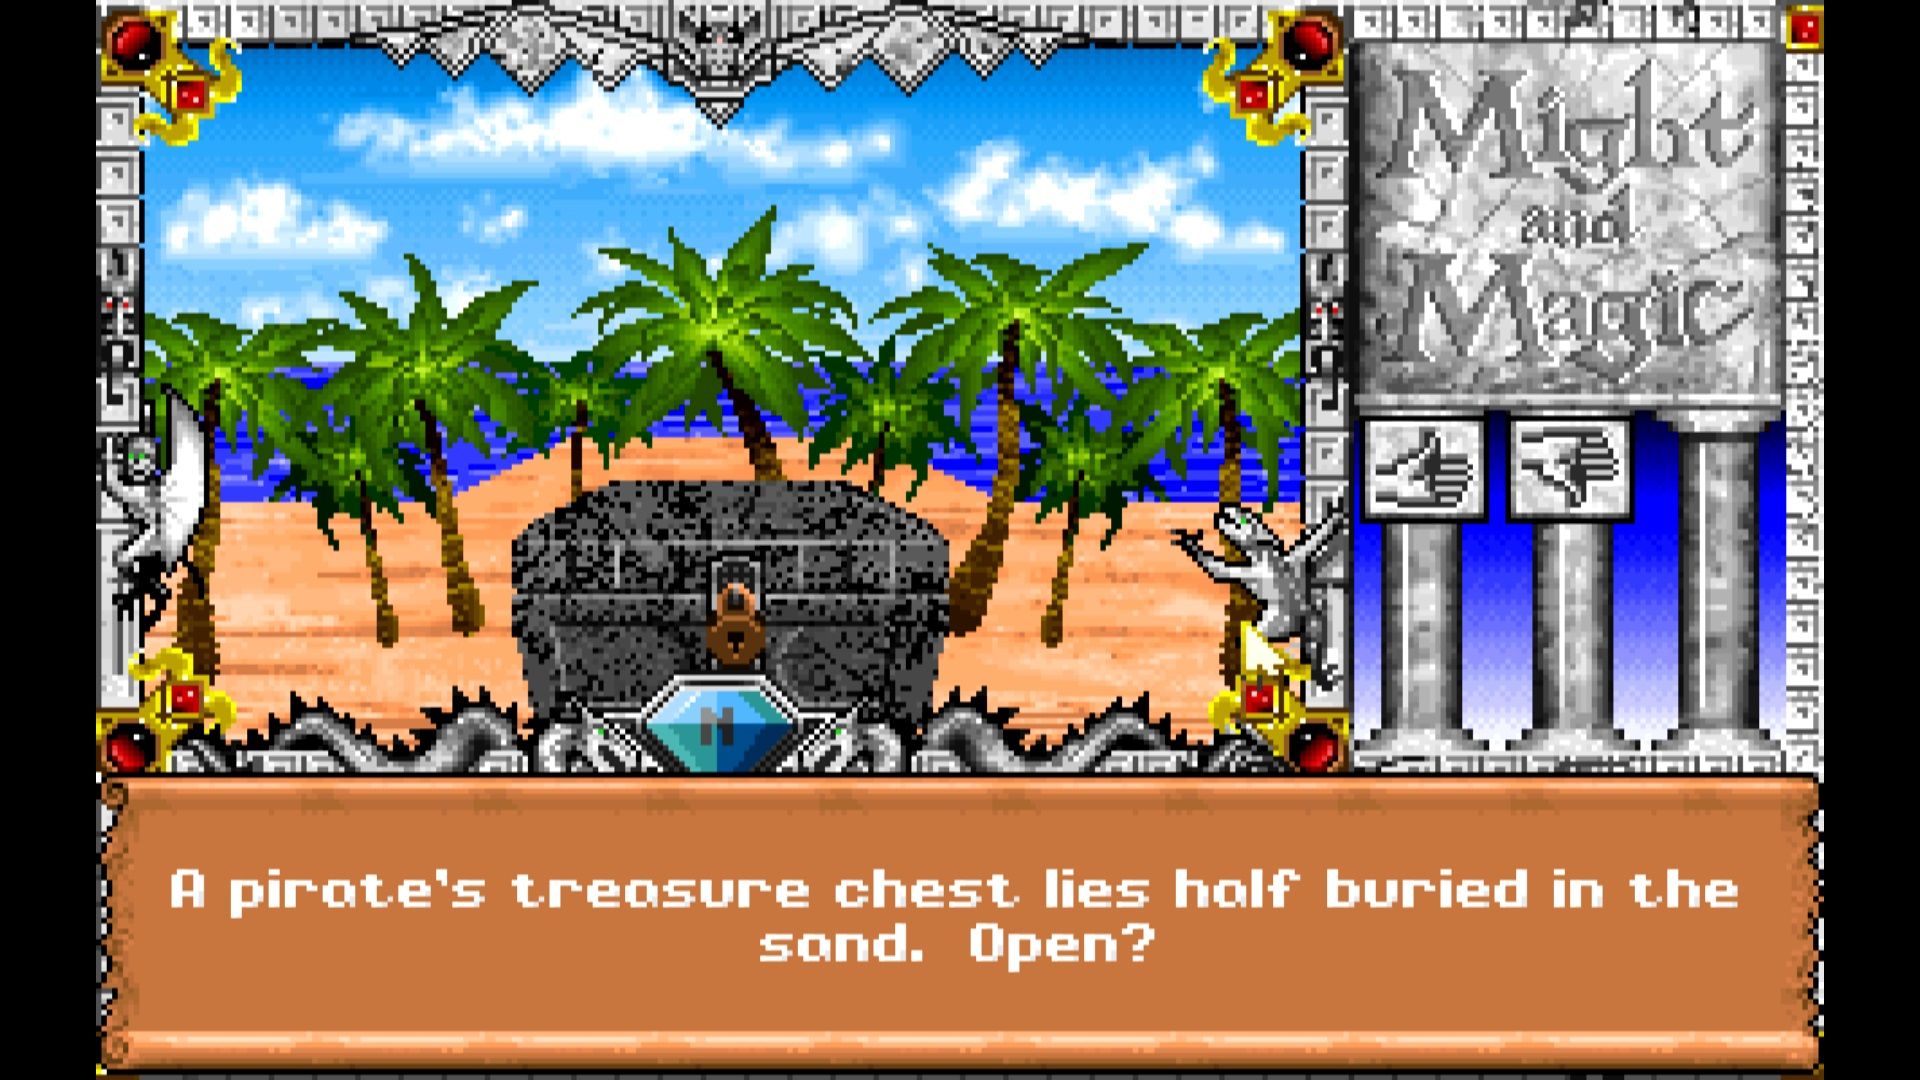
At one point after crossing more of the ocean the icy waters and frozen landscape faded away into a nice beach paradise. Expect it was anything but a paradise. There were loads of pirate treasure chests but none of them were real. Every time I'd attempt to open one it would just fade away.
These lands would mostly be filled with cobra fiends and plasmoids. Since the plasmoids look like giant Jello's I was not expecting to see them here. As one would assume they would melt. Either way, I blasted everything rather quickly with arrows. As I was saving my magic in case, I ended up coming across anything that was truly terrifying.
I ended up discovering some dungeons as well. For the most part, I'd hold off on running for another day. I wanted to get a decent search of the area. I did end up dropping a Lloyd’s Beacon next to one of them.
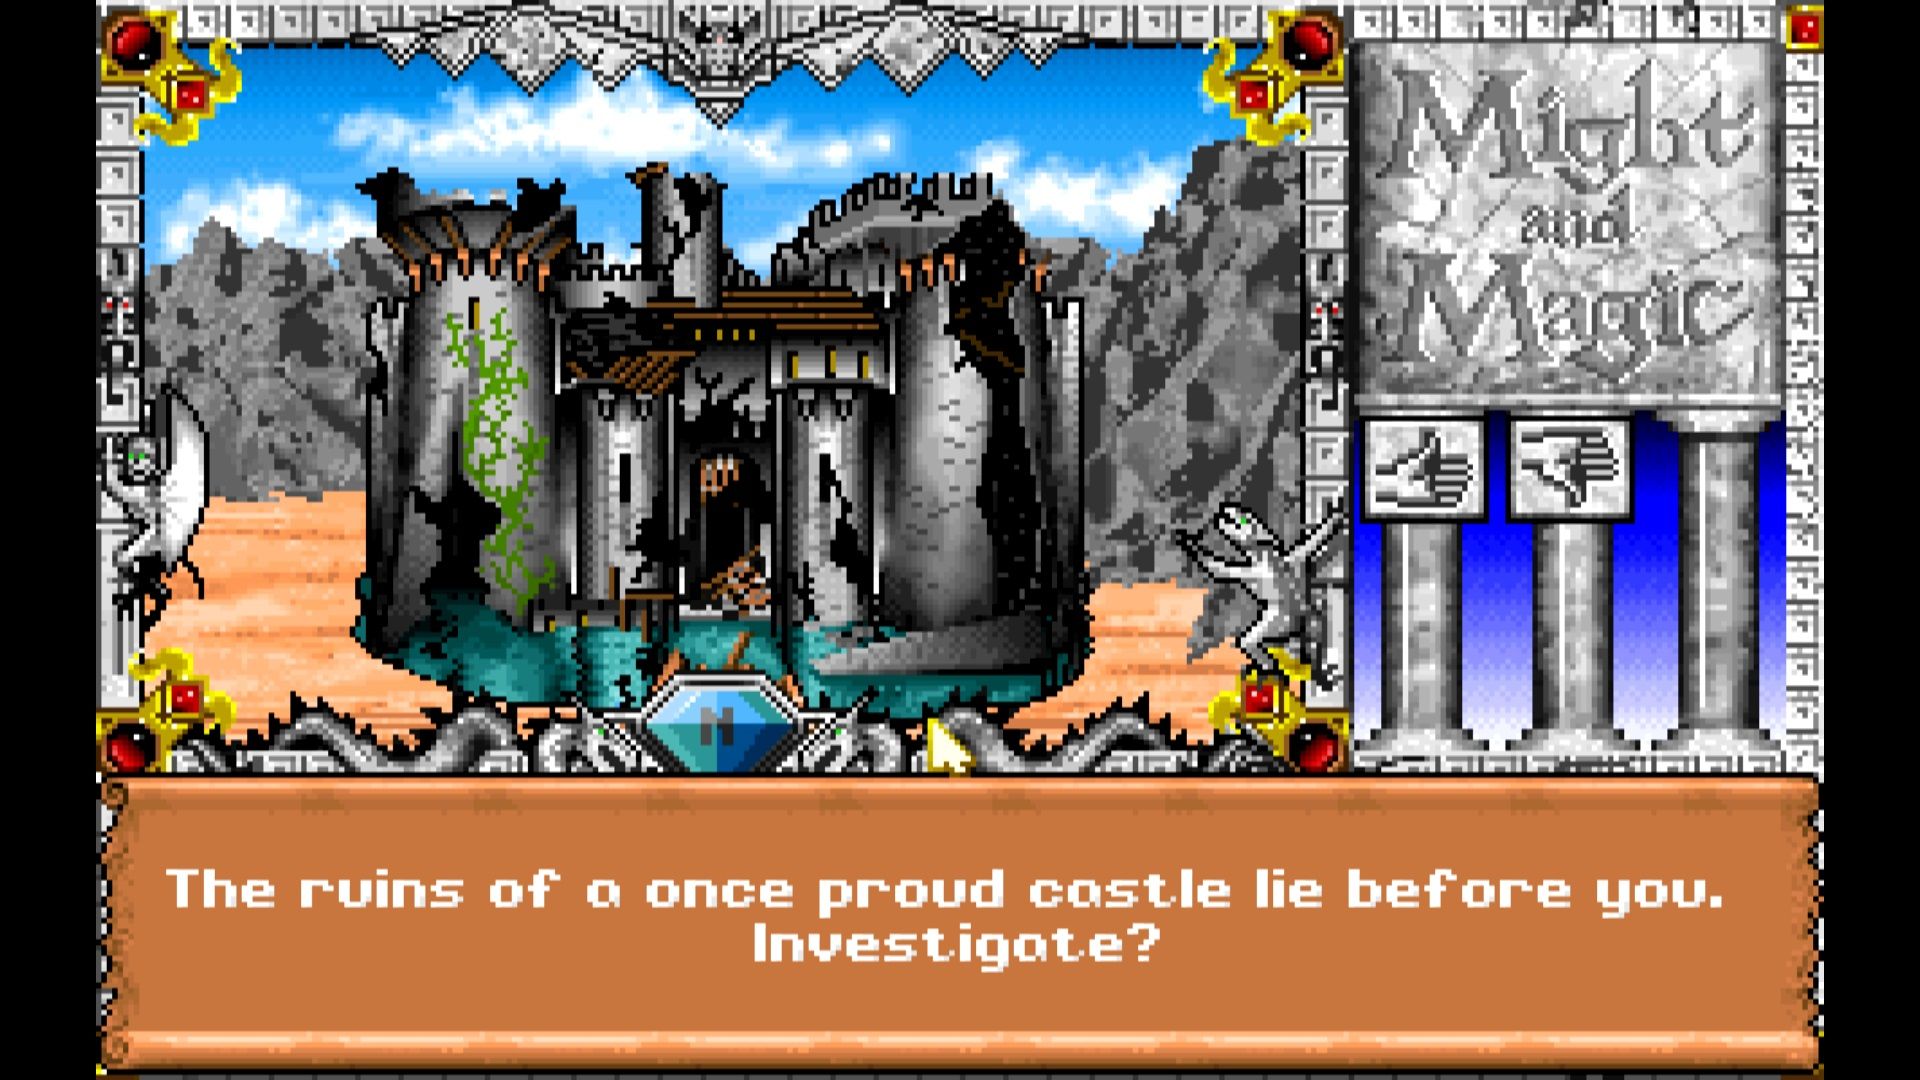
I however could not say no one I ended up coming across not just one castle but two in this area. These were the last two castles out of the five total I was looking for. Unlike the first three, these were in ruins.
Both kings were trapped. They were more or less just sprites at this point. I can only assume the other three kings had defeated them at some point. Each castle was filled with traps and lots of creatures to kill.
I also ended up expiring around each castle looking for clues on how to solve each of the issues these castles were facing. The first one ended up being Castle Blackwind.
The dungeon below was quite a pain to travel though. There were endless invisible teleports all over the place. Sometimes I'd get teleported to the other side of the dungeon. Other times I'd get sent back to the start.
For the most part, I just used jump or even teleport myself to try and make it around the place. I ended up discovering while down there three statues. One wanted gold, another gems, and a final one blood by killing one of my members. Since I could just revive anyone who got killed and had a pile of gold and gems, I happily made the payments.
The at was enough to break the curse and free the spirit. I ended up returning to the castle. It seems my reward was a rather cryptic puzzle of an answer. I have no clue what the numbers I was given are even for. I however wrote them down and went on my way.
After exploring a few other areas, I ended up coming across my second ruined castle. Like the first castle, it was ruined, filled with traps, and had a king that was trapped. This time he gave me a hint on how to solve the puzzle that I felt was not helpful whatsoever.
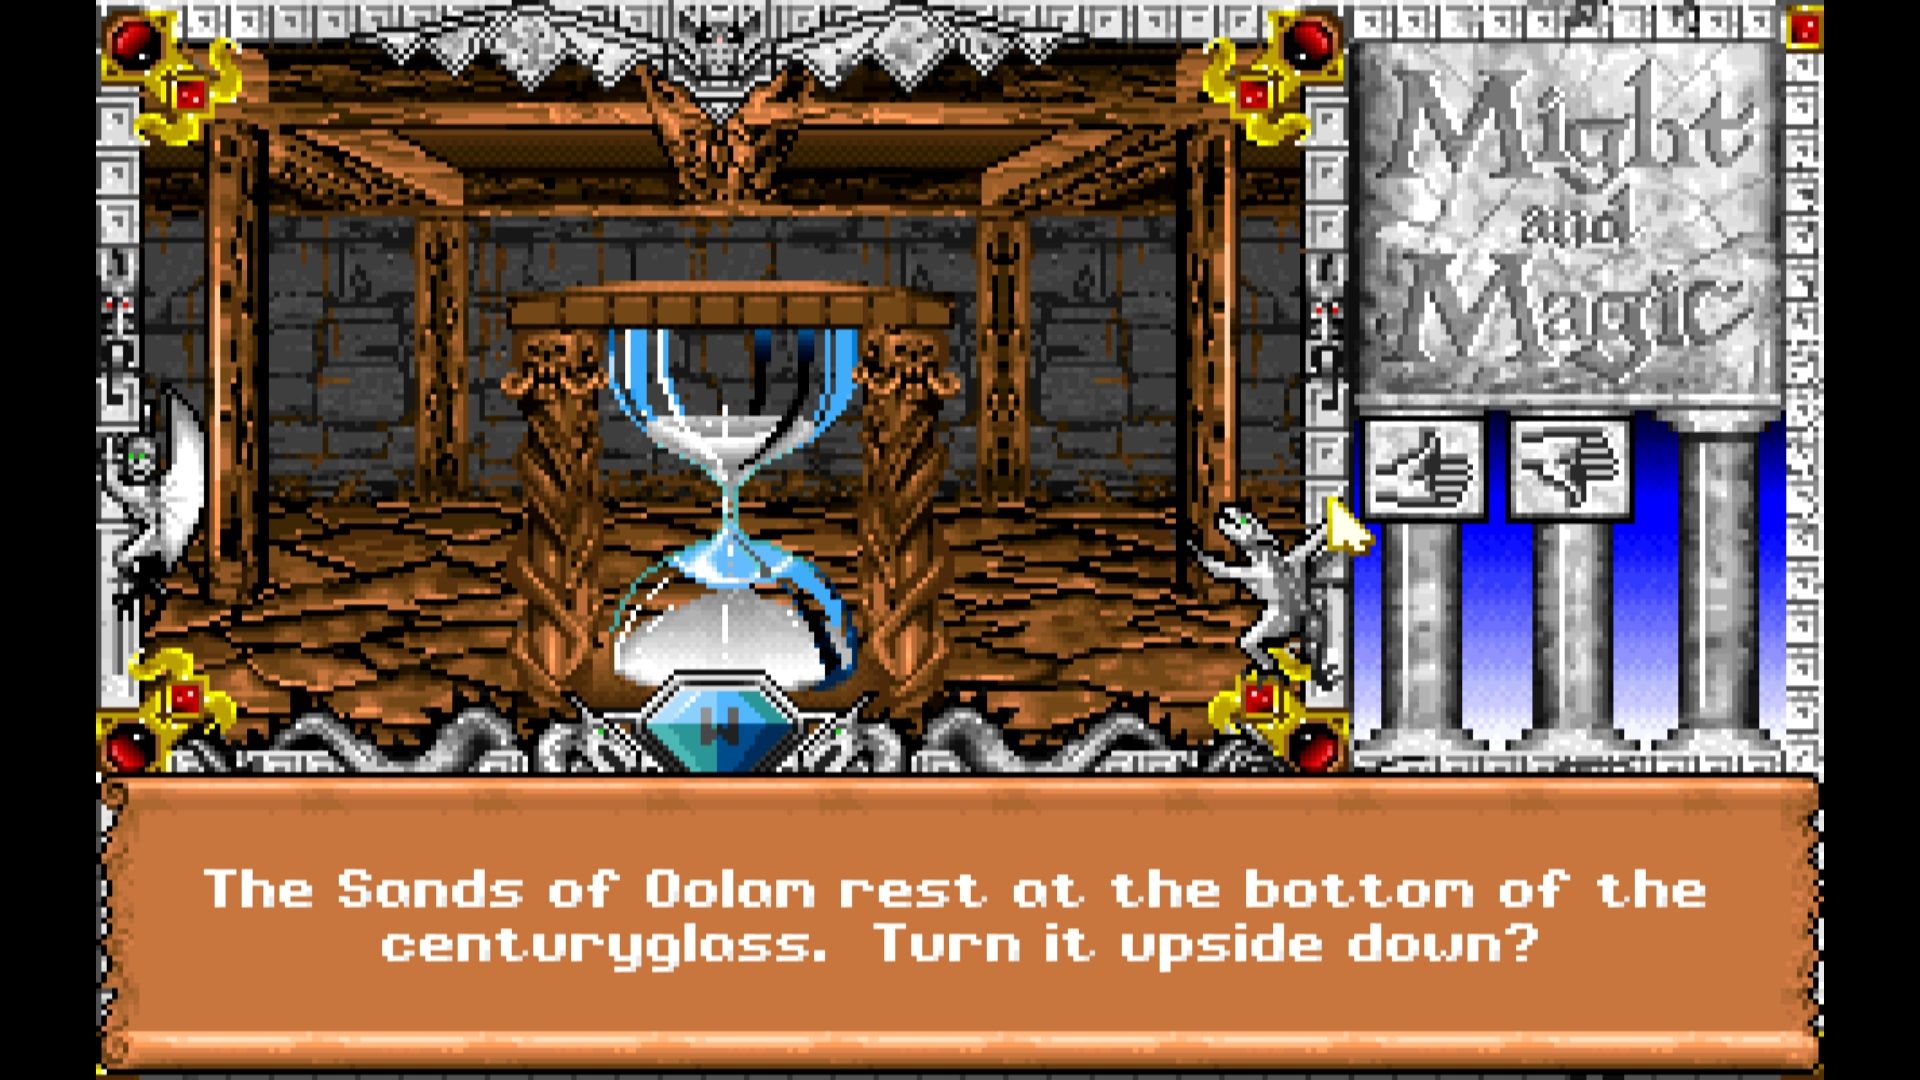
In the Greywind dungeon, I'd end up finding lots of death snakes, fake piles of gold, and these strange Sands of Oolam century glasses. I ended up restarting them all. Then I found a gong to hit. After it hit it returned to the castle of Greywind.
The trapped king however told me I had not finished the task being asked of me. I ended up fully exploring the castle and the dungeon. While I ended up learning the tragic lore of the Greywinds. It did not seem to help any.
At one point I just started going up to all-the-century glasses and flipping them over. Hitting the gong. Then repeating this a couple of times. By some stupid luck, this ended up being the solution and I had set free another trapped spirit of a king. This I was quite thankful for as I was about to give up and just move on to further exploring. Like the first king, he gave some rather cryptic answers to a puzzle I had no idea about.
Final Thoughts
This exploration trip ended up being quite an interesting one. Before I had embarked on it I had thought I had explored most of the game. Only to discover there was a massive chunk in the middle of it left to discover.
I have no idea what the real impact of freeing any of the kings I found trapped was. If even any experience as a reward. Other than the numbers they gave me. At least I had found some further dungeons to run.
Information
Screenshots were taken and content was written by
@Enjar about Might And Magic III.