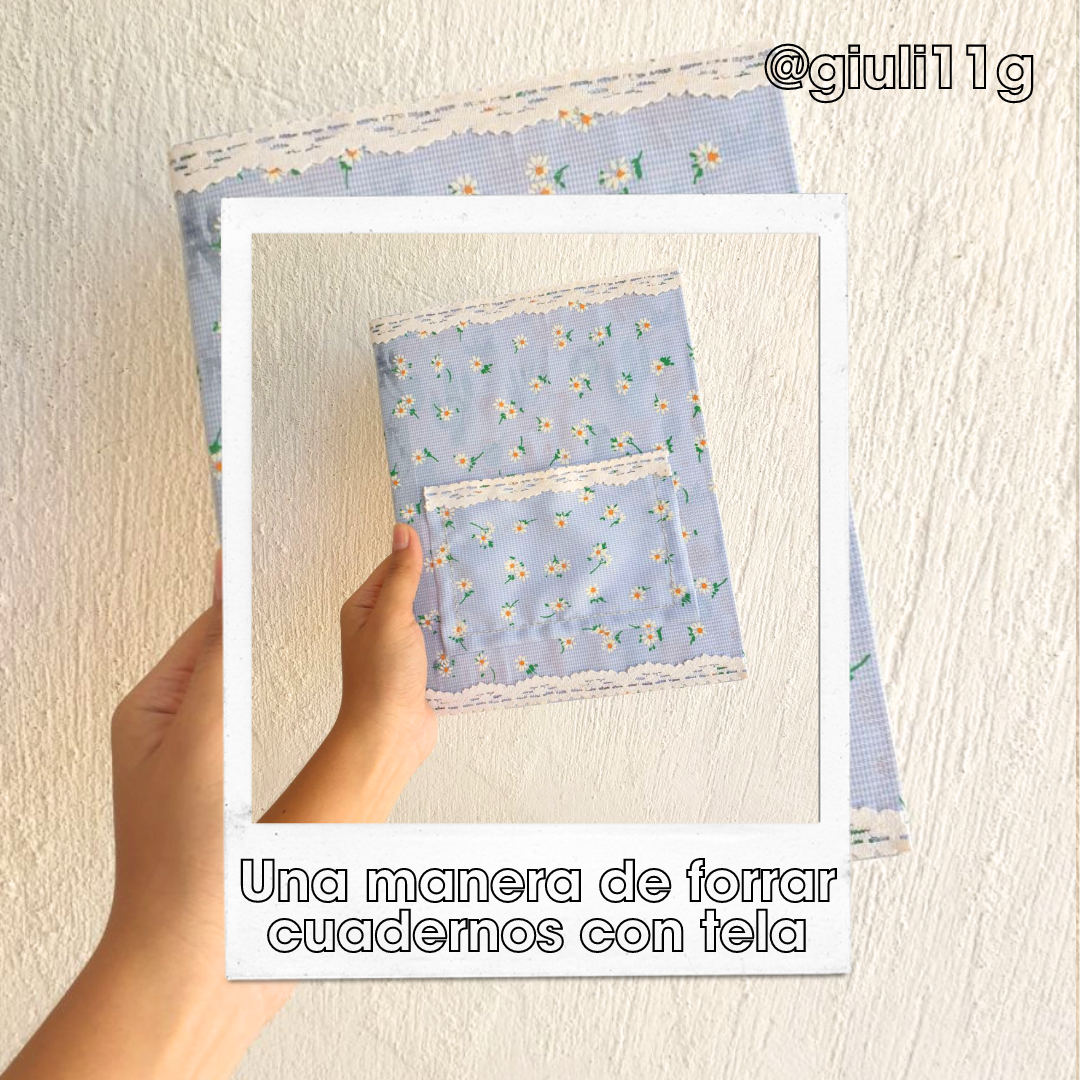
¡Hola Amigos de Hive DIY!, un gusto poder compartir nuevamente mis creaciones con ustedes, el día de hoy les muestro como forré un cuaderno con Tela, voy a empezar mi proceso de pasantía y es importante tener un cuaderno donde pueda anotar toda la información necesaria para ese tiempo, por eso decidí forrarlo para que tenga mas duración y firmeza, y sea personalizado.
Hello Hive DIY friends, it's a pleasure to share my creations with you again, today I show you how I lined a notebook with fabric, I will start my internship process and it is important to have a notebook where I can write down all the necessary information for that time, so I decided to line it to have more durability and firmness, and it is personalized.
¡COMENCEMOS!/LET'S GET STARTED!
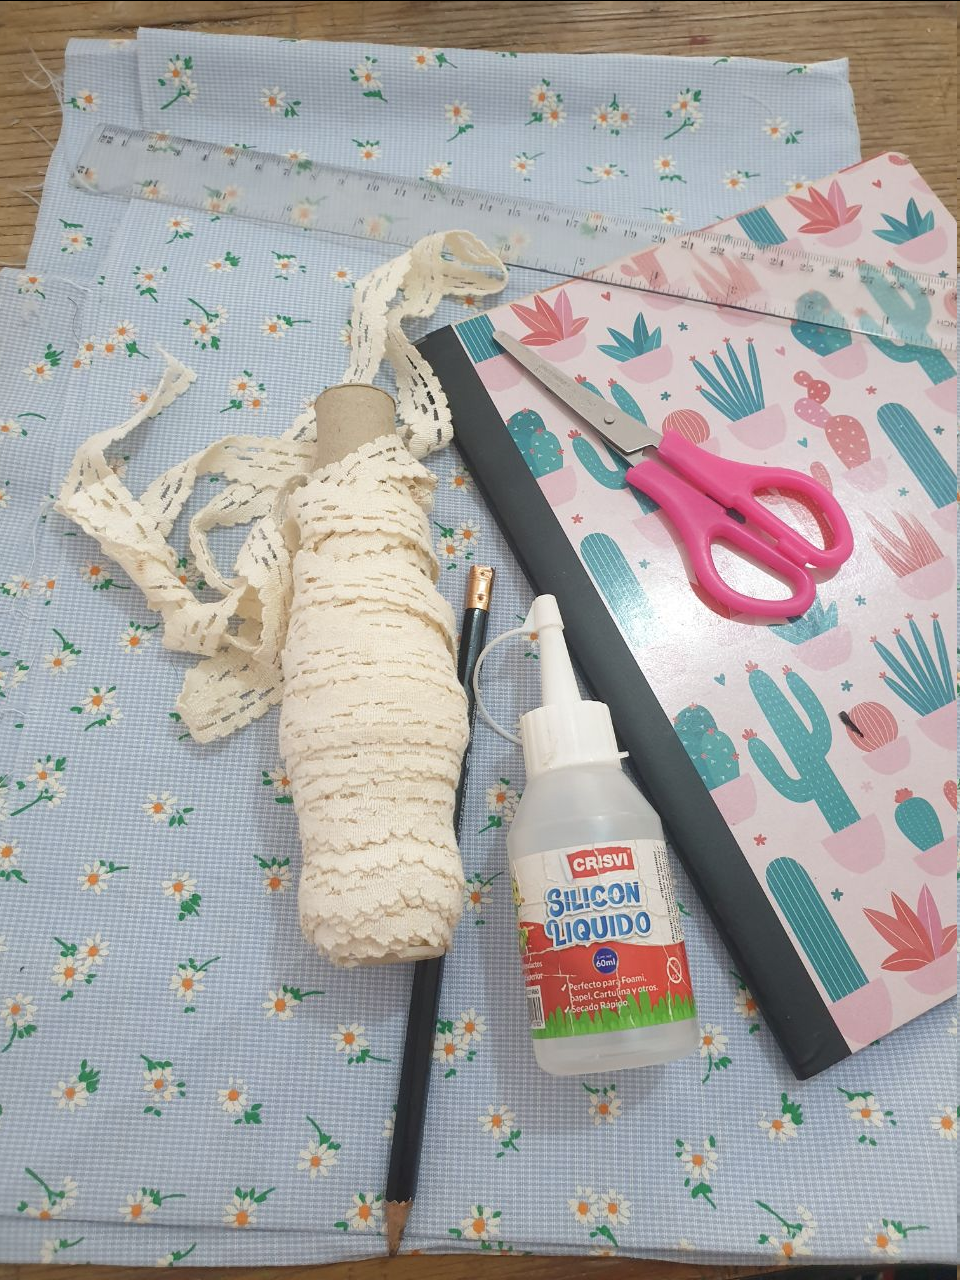
Usé los siguientes materiales:
Trozo de tela
Tijeras
Silicona Fría
Regla
Aguja e hilo
Encaje
Cuaderno de una línea
I used the following materials:
Piece of fabric
Scissors
Cold Silicone
Ruler
Needle and thread
Lace
One-line notebook
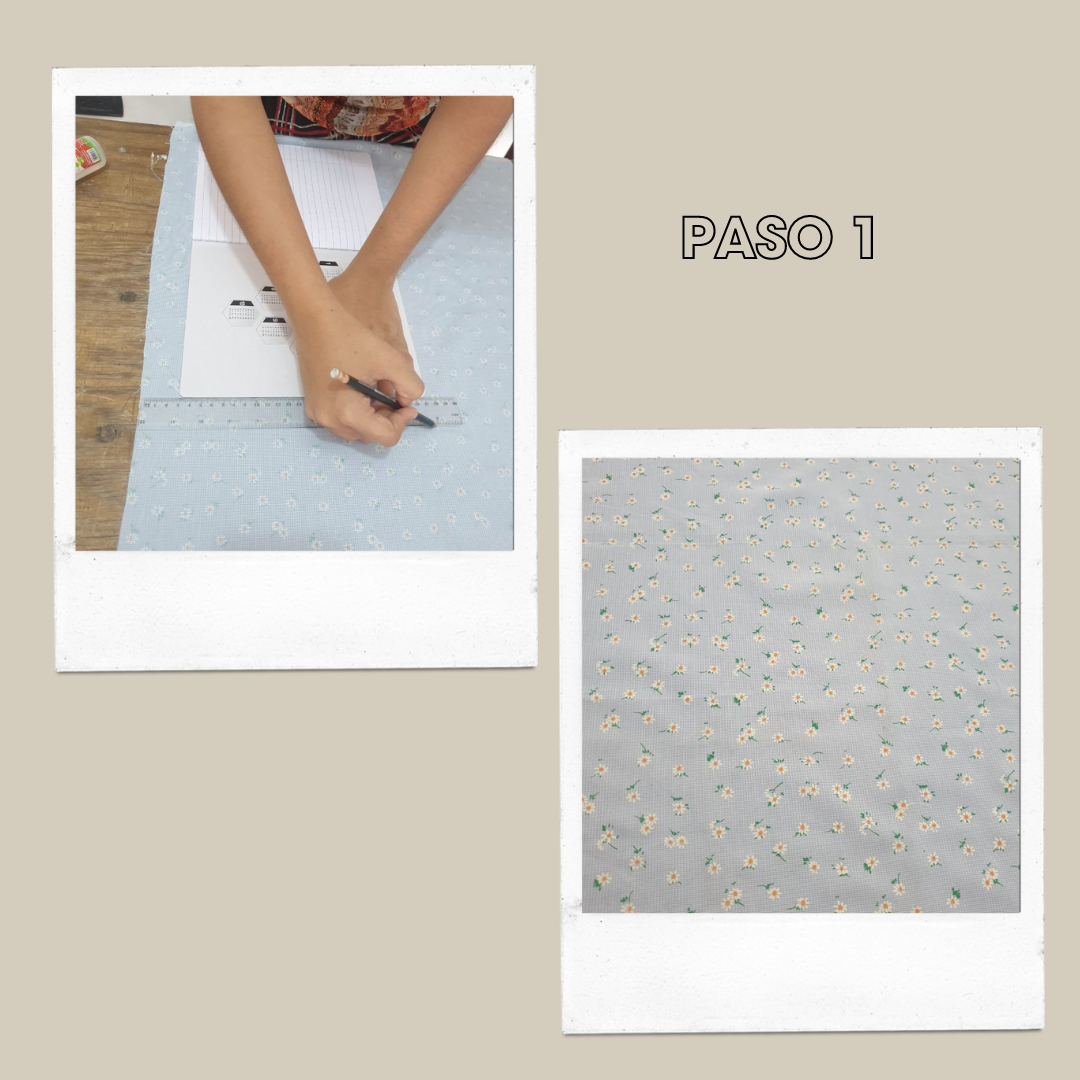
PASO 1
El primer paso que no muestro en las imágenes es planchar la tela, este es un paso muy importante para que la tela se estire perfectamente y quede del tamaño deseado y posterior a esto la coloque al revés y marque alrededor de 4 centímetros más del tamaño del cuaderno y corté.
STEP 1
The first step that I do not show in the images is to iron the fabric, this is a very important step so that the fabric stretches perfectly and is the desired size and after this place it upside down and mark about 4 centimeters more than the size of the notebook and cut.
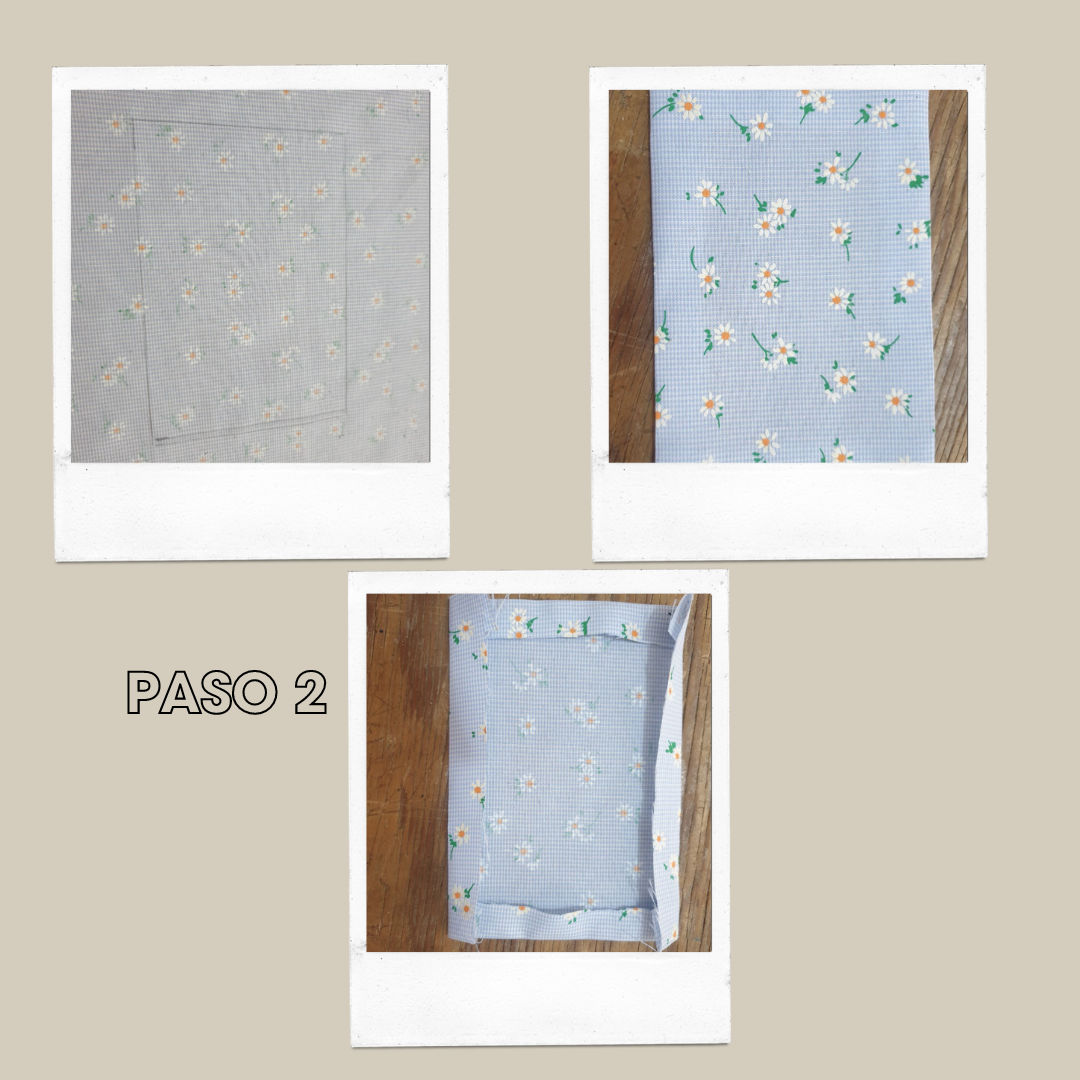
PASO 2
También corté otro trozo de tela, el cual será el bolsillo de la parte delantera del cuaderno, le hice unas marcas que doblaré hacia adentro y con ayuda de la plancha los doble hacia adentro para tener una mejor terminación.
STEP 2
I also cut another piece of fabric, which will be the pocket on the front of the notebook, I made some marks that I will fold inwards and with the help of the iron I folded them inwards to have a better finish.
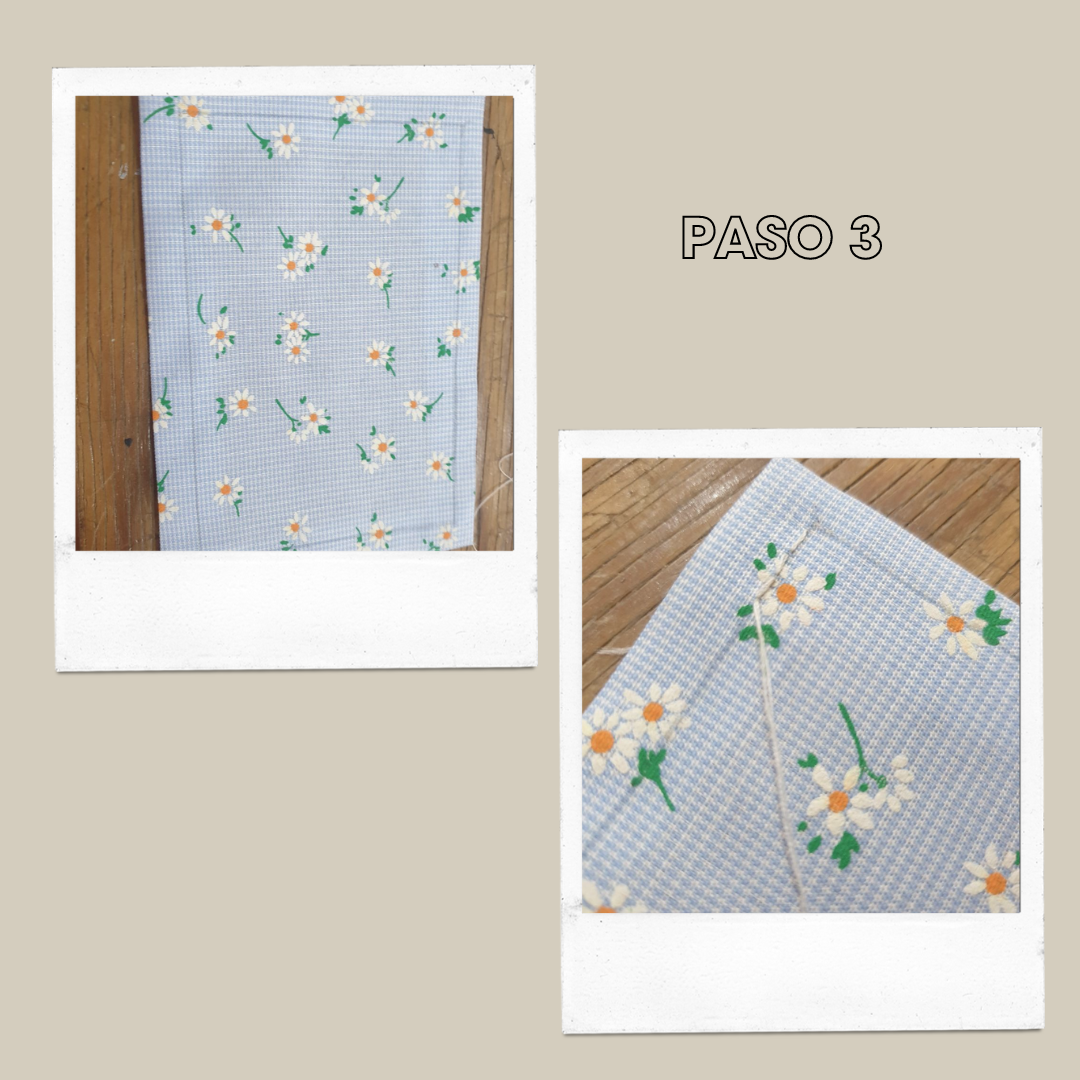
PASO 3
Posteriormente marqué el bolsillo y con el aguja e hilo, hice unas puntadas por todo el borde del bolsillo para darle una mejor terminación.
STEP 3
Then I marked the pocket and with the needle and thread, I made some stitches all around the edge of the pocket to give it a better finish.
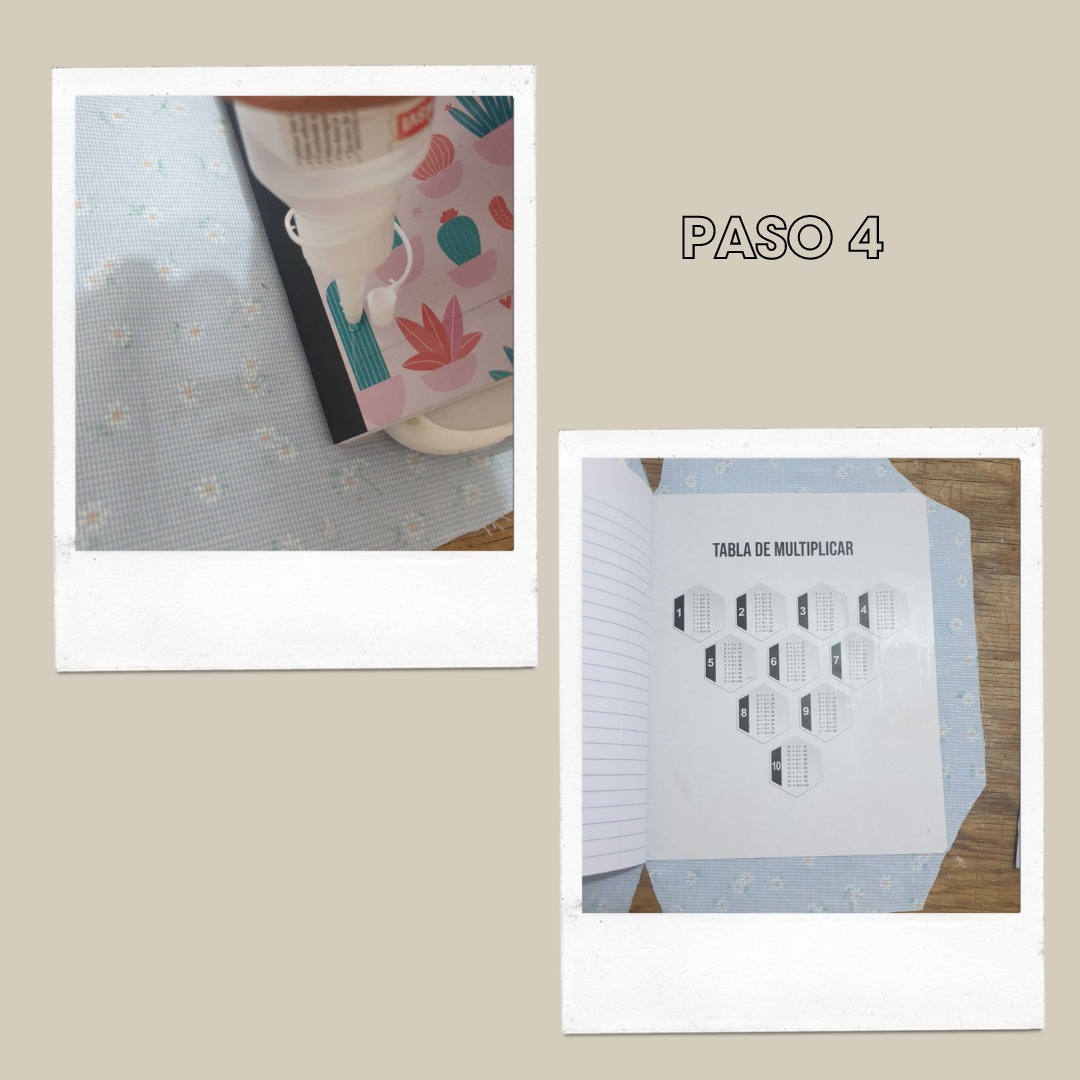
PASO 4
Luego de tener todas las partes listas, viene la hora de pegar, comencé pegando una parte del cuaderno primero a la tela y haciendo unos cortes en diagonal en cada esquina
STEP 4
After having all the parts ready, it's time to glue, I started by gluing a part of the notebook first to the fabric and making some diagonal cuts in each corner.
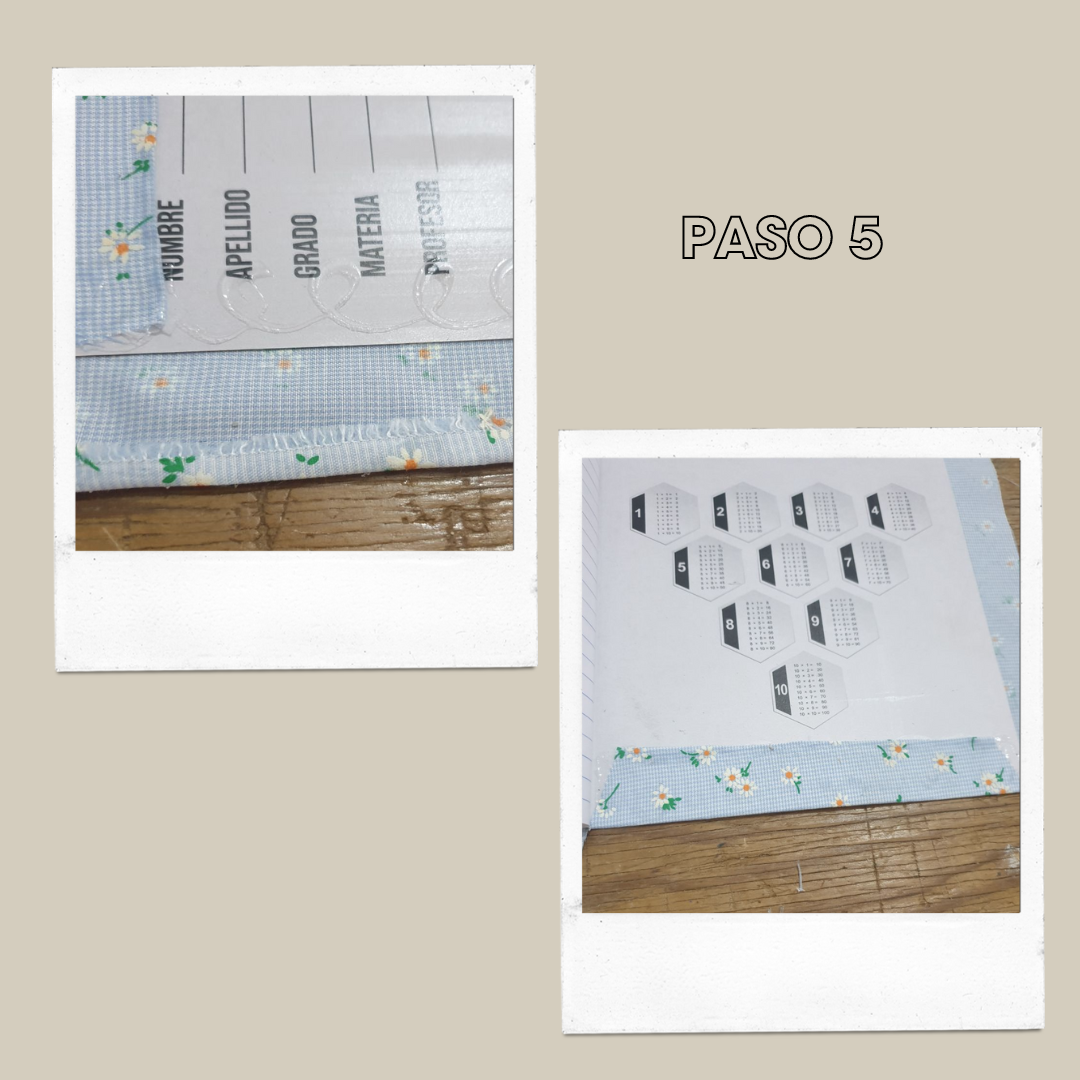
PASO 5
Pegue cada pestaña estirando bien la tela y doblando los bordes hacia dentro para que la tela no se deshile ,así mismo hice del otro lado
STEP 5
Glue each tab stretching the fabric well and folding the edges inwards so that the fabric does not unravel, I did the same on the other side.
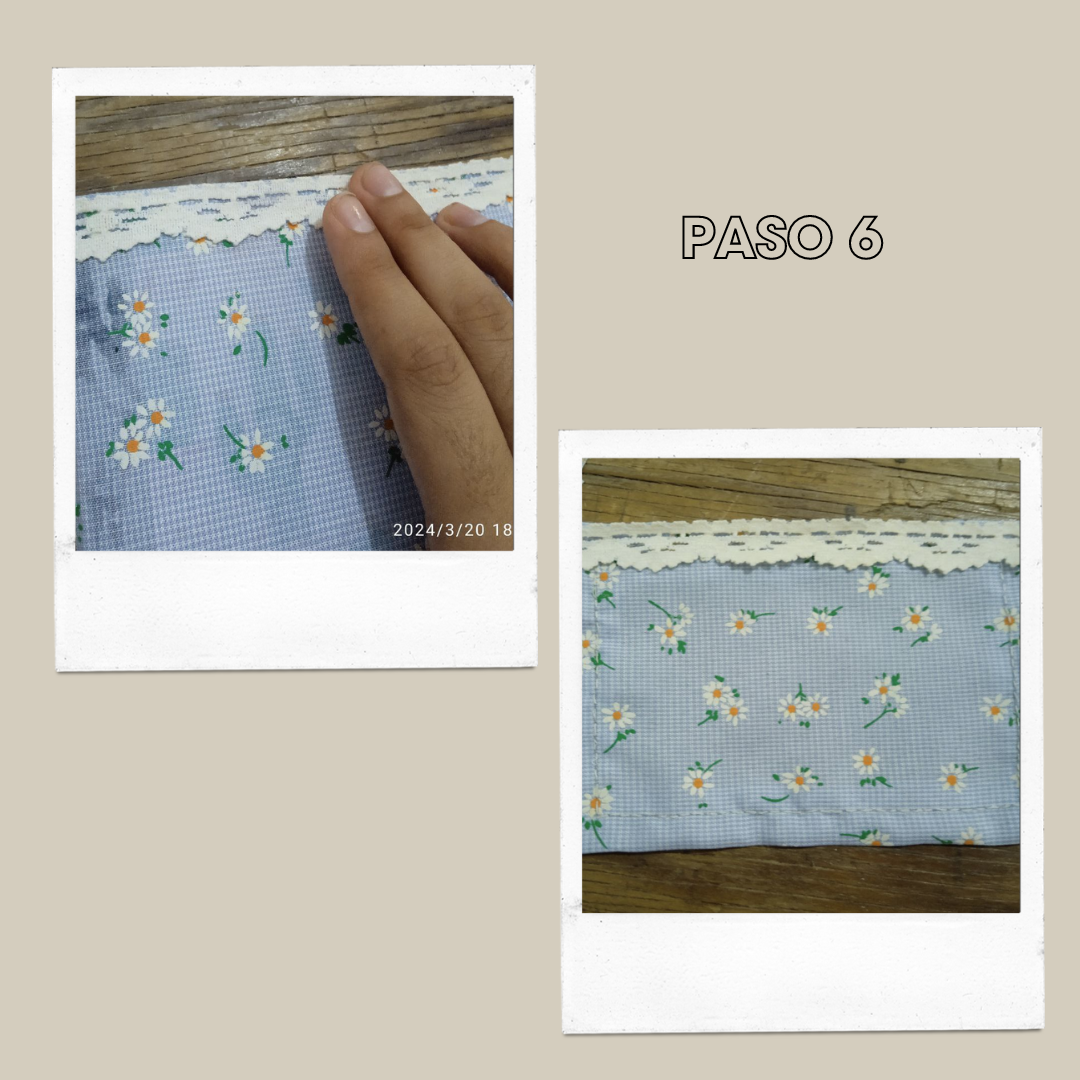
PASO 6
Le pegue en los bordes superiores e inferiores encaje blanco y un poco al bolsillo
STEP 6
Glue on the top and bottom edges white lace and a little bit of it to the pocket.
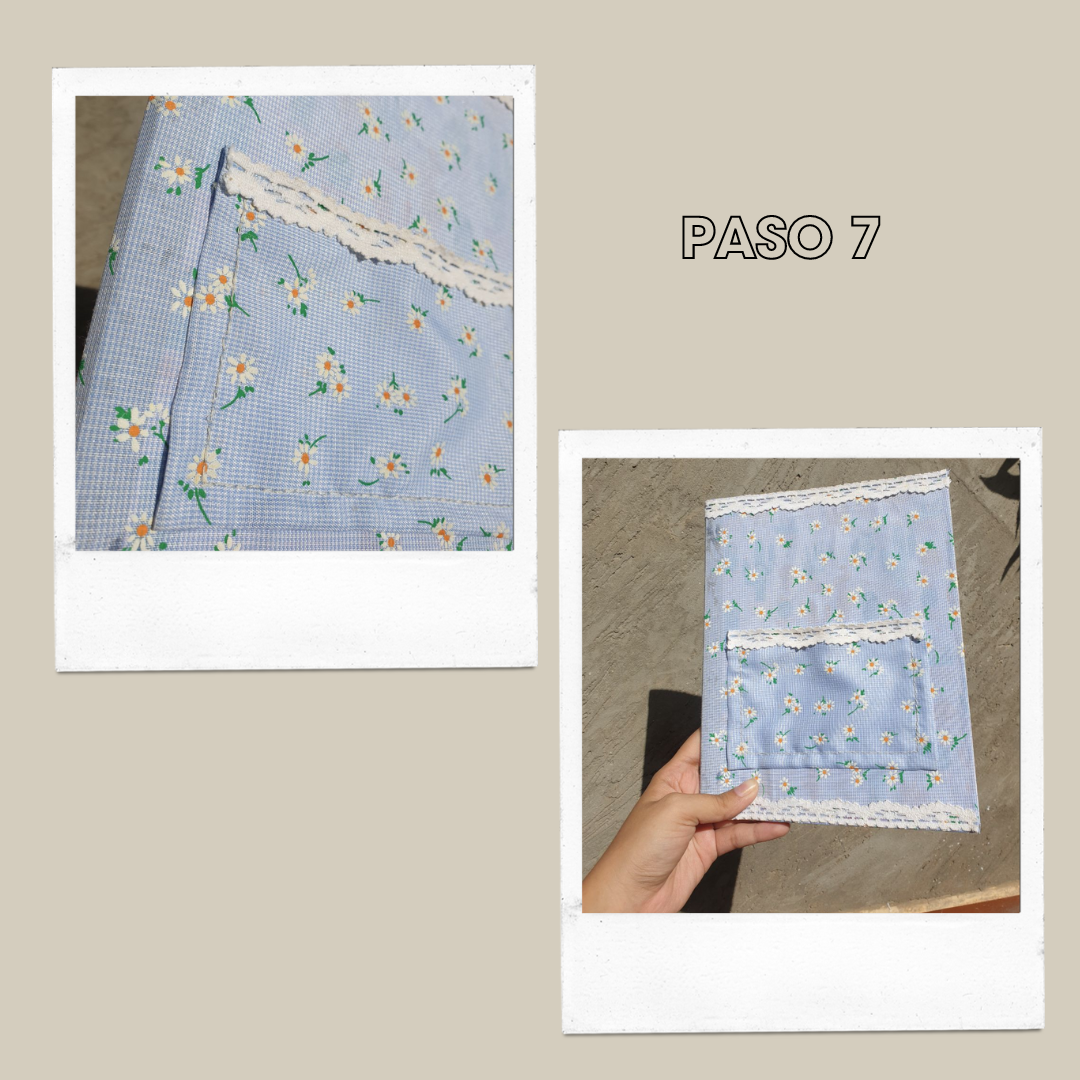
PASO 7
Y por ultimo pegué el bolsillo en la parte delantera, y así damos por culminado el forrado de este cuaderno, espero te haya gustado esta idea y puedas realizarla.
STEP 7
And finally I glued the pocket on the front, and so we have finished the lining of this notebook, I hope you liked this idea and you can make it.
¡NOS VEMOS EN EL PROXIMO BLOG!
Todas las fotos fueron tomadas con el Samsung Galaxy 9 Plus y Redmi 9A
SEE YOU IN THE NEXT BLOG!
All photos were taken with the Samsung Galaxy 9 Plus and Redmi 9A.