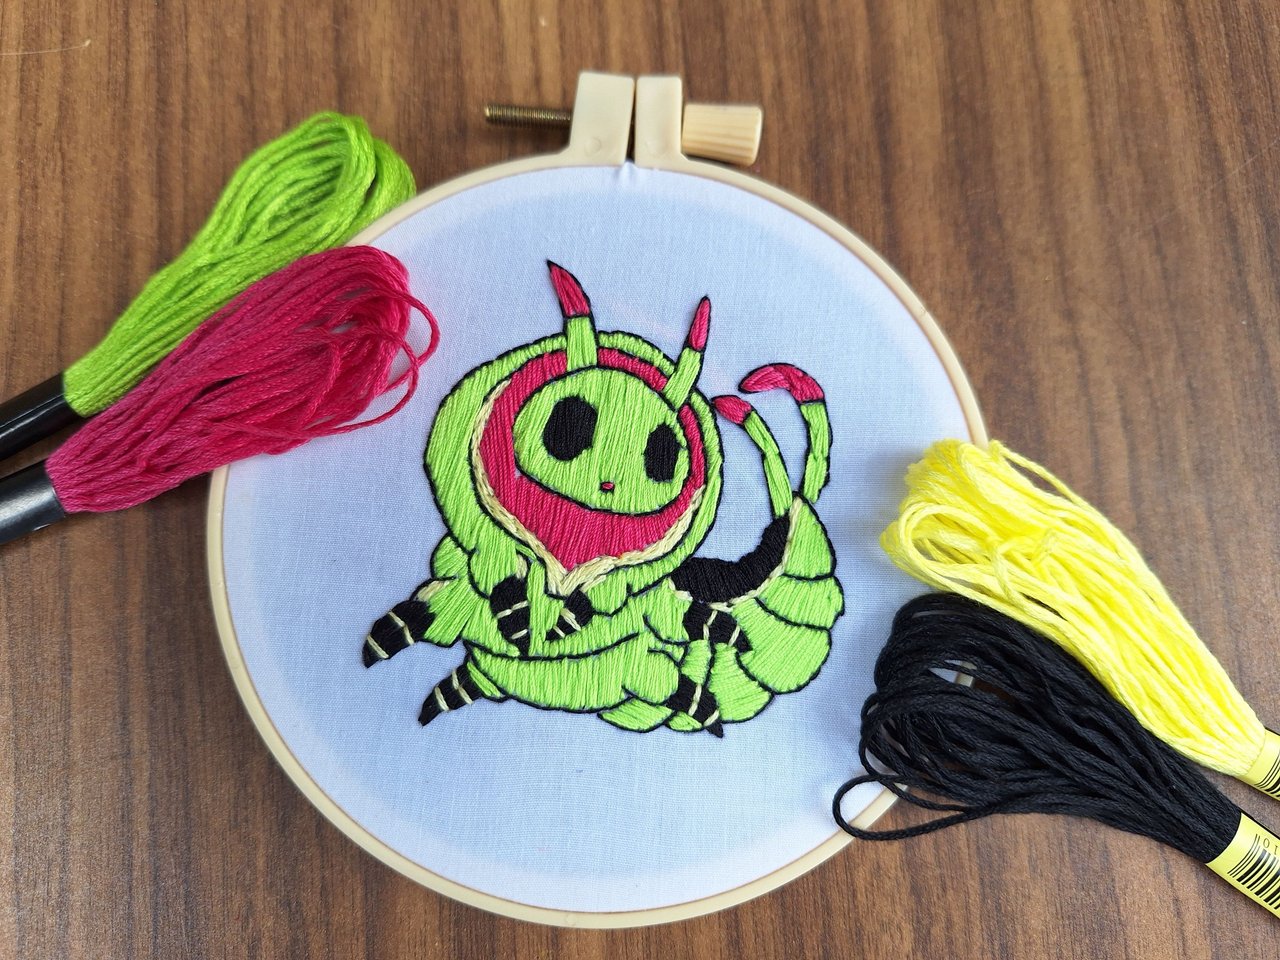
For the realization of this embroidery I used only 4 colors of thread, using only 2 strands so that the stitches would be finer and more delicate. I hope you like it. Below, I show you all the materials I used and the step by step of the creative process.
Hola, comunidad de Holozing, una vez más por aquí para mostrarte mi nuevo fanart. El día de hoy quiero enseñarles el paso a paso de cómo bordar a Larvie, la tierna oruga de este gran ecosistema. Al principio quería hacerla como la gran mayoría de las veces que bordó, usando la aguja mágica, ya que es mucho más fácil. Pero cuando comencé a bordar todo el delineado del contorno con la aguja de mano para obtener un mejor resultado en cuanto a las curvas del cuerpo, cambié totalmente de opinión. Este personaje lo haría completamente con la aguja de mano, aunque me demorara mucho más y en verdad que me demoré un montón, hasta me arrepentí cuando iba por la mitad, pero, ni modo, tenía que acabarlo.
Para la realización de este bordado utilicé solo 4 colores de hilo, usando solo 2 hebras para que las puntadas quedaran más finas y delicadas. Espero que les guste. A continuación, te muestro todos los materiales que utilicé y el paso a paso del proceso creativo.
🐛Materials // Materiales🐛
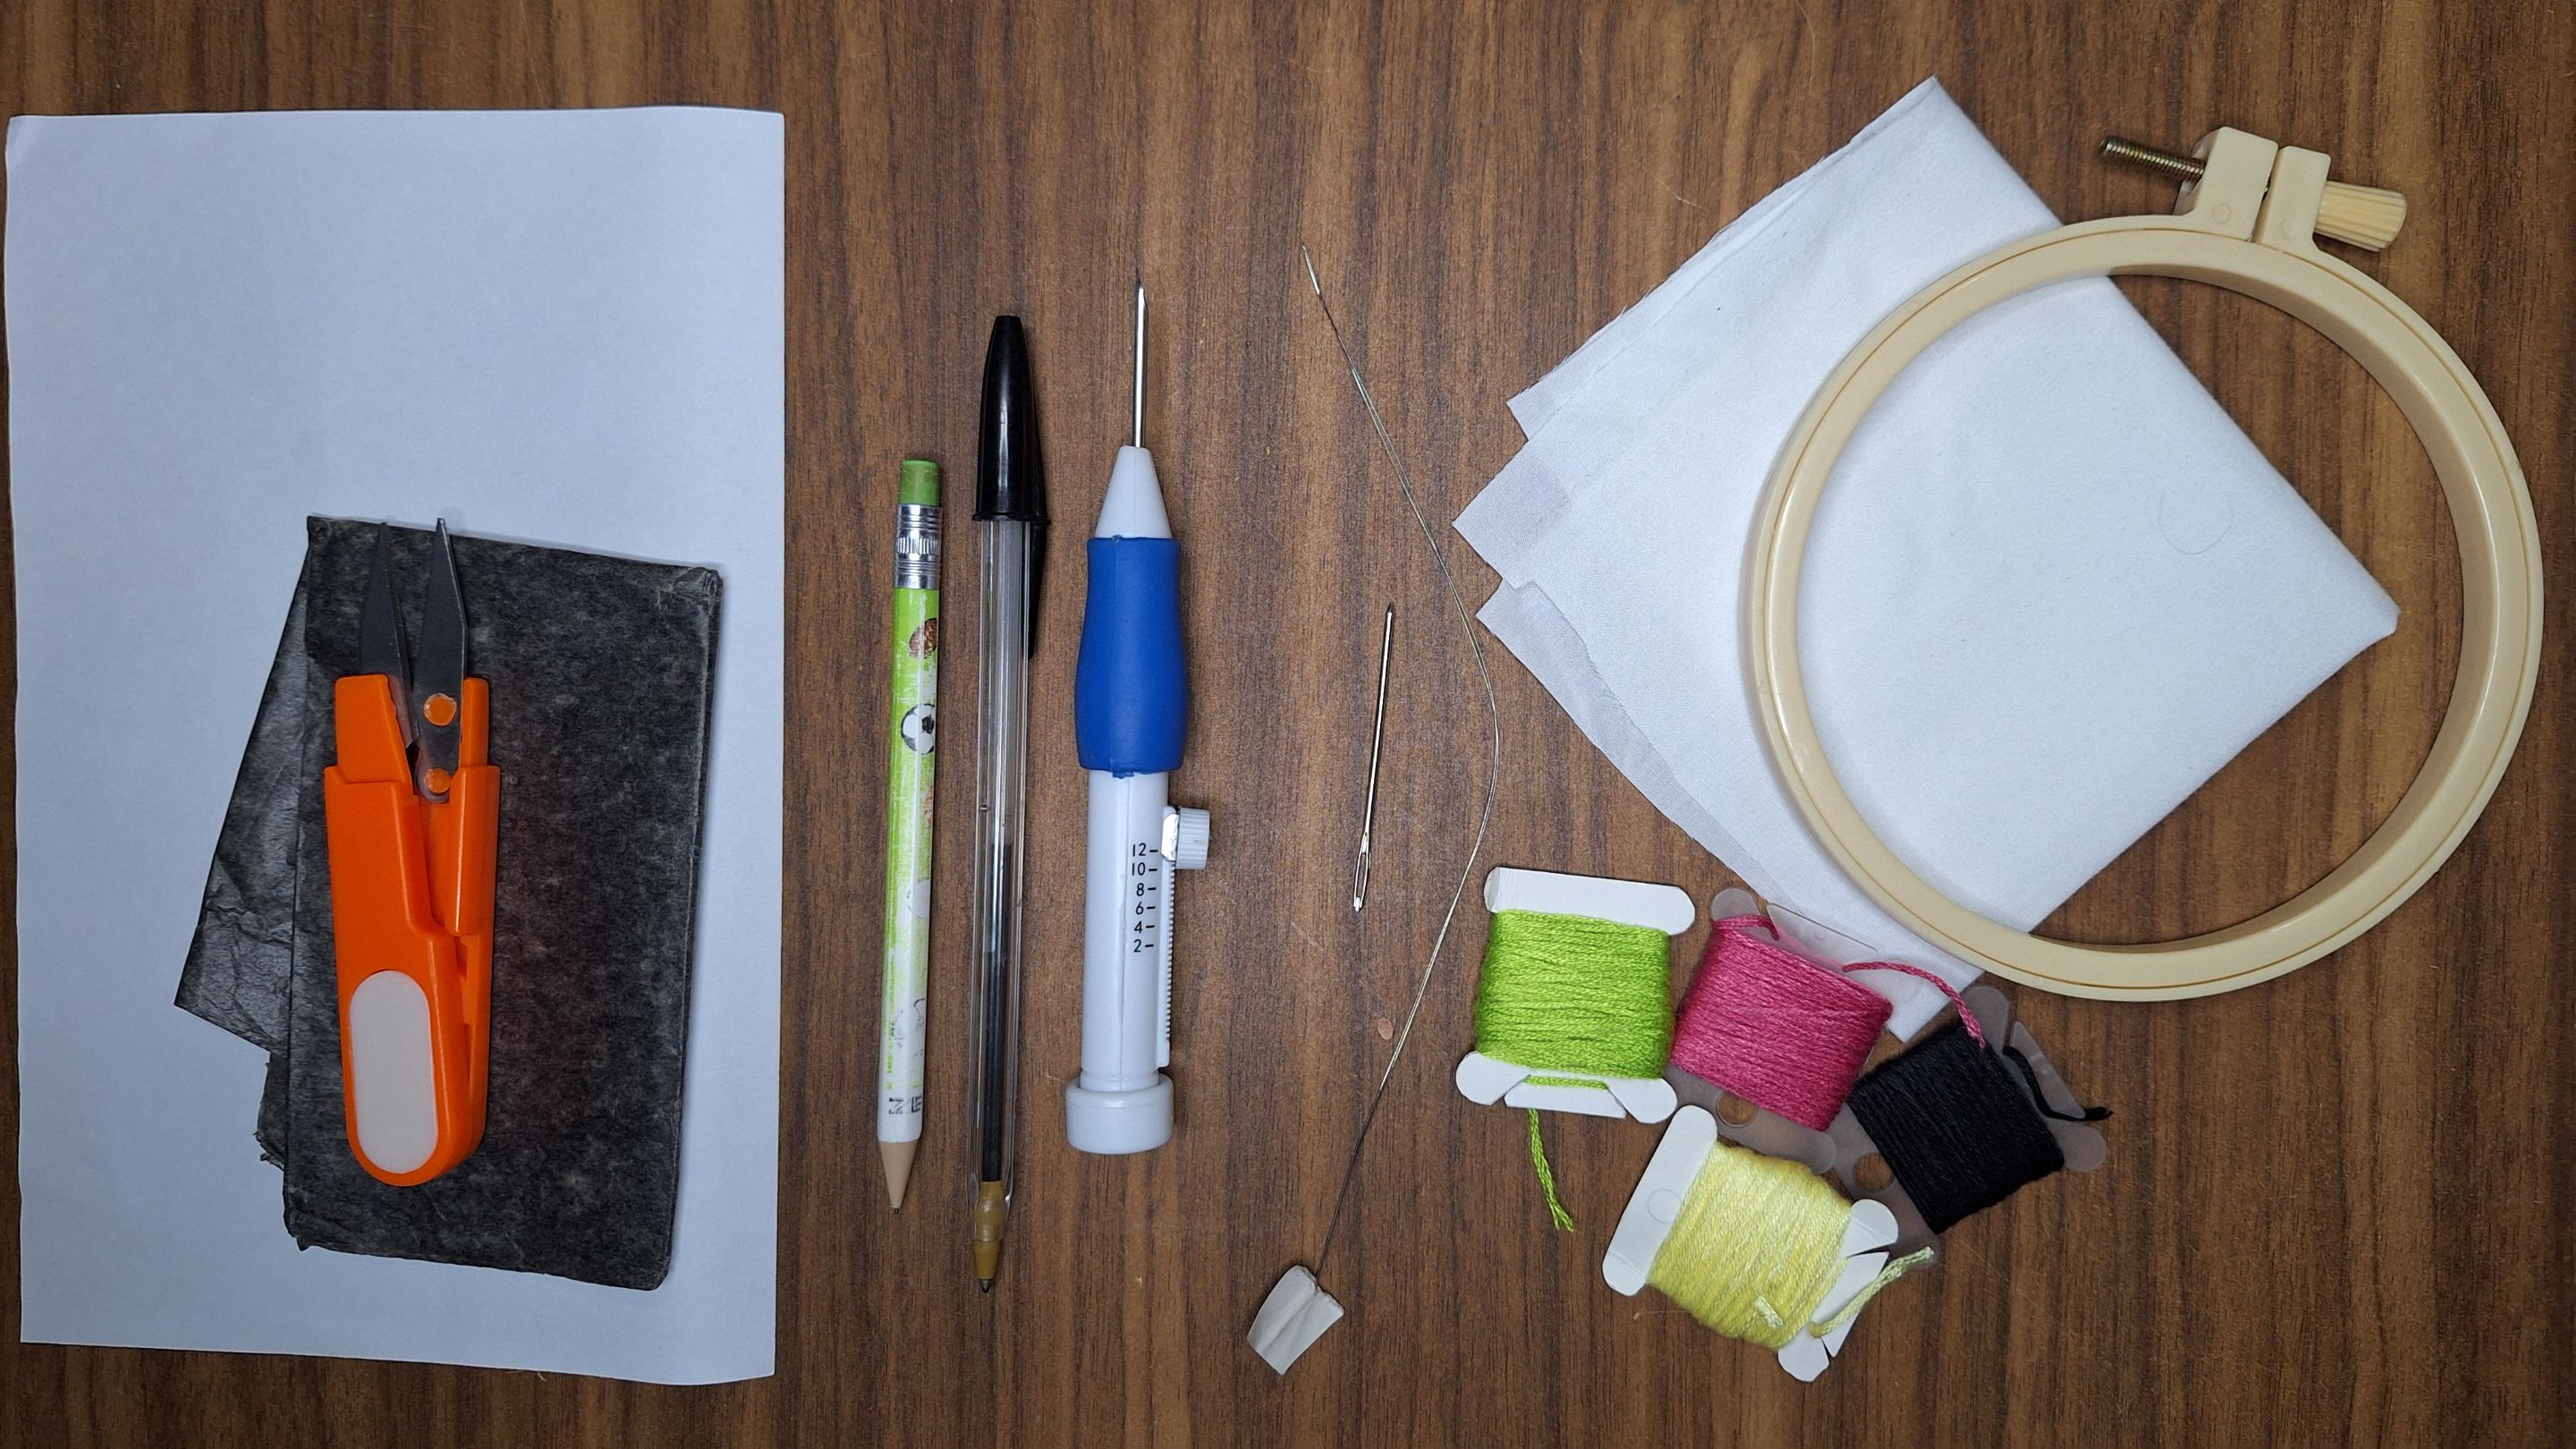
- Cloth / Tela
- Magic needle / Aguja mágica
- Hand needle / Aguja de mano
- Embroidery thread / Hilo de bordar
- Embroidery hoop / Aro de bordar
- Threader / Enhebrador
- Paper sheet / Hoja de papel
- Carbon paper / Papel carbón
- Scissors / Tijera
- Pencil / Lápiz
- Water soluble marker / Marcador soluble en agua
🐛Step by step // Paso a paso🐛
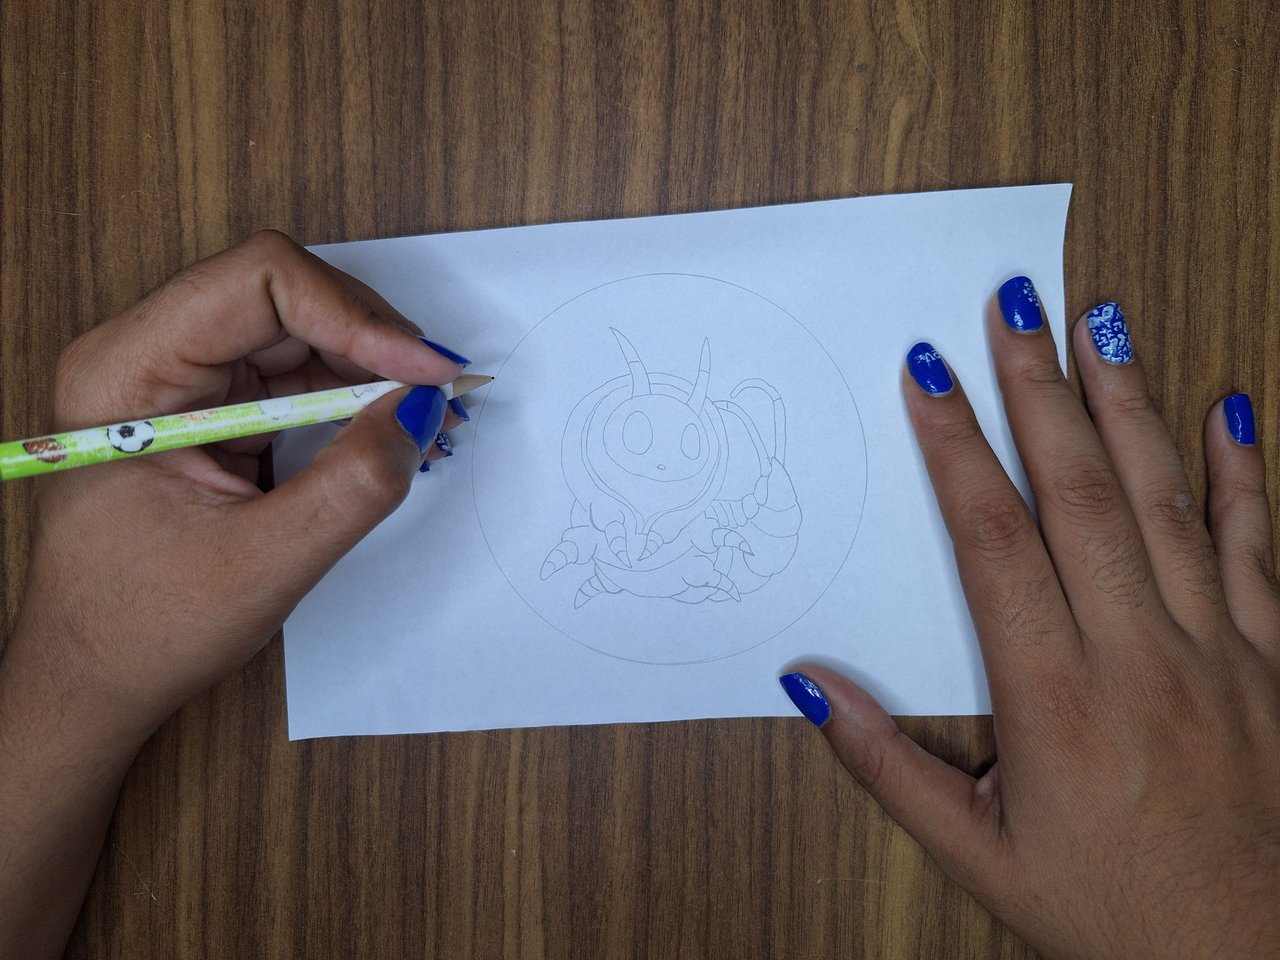
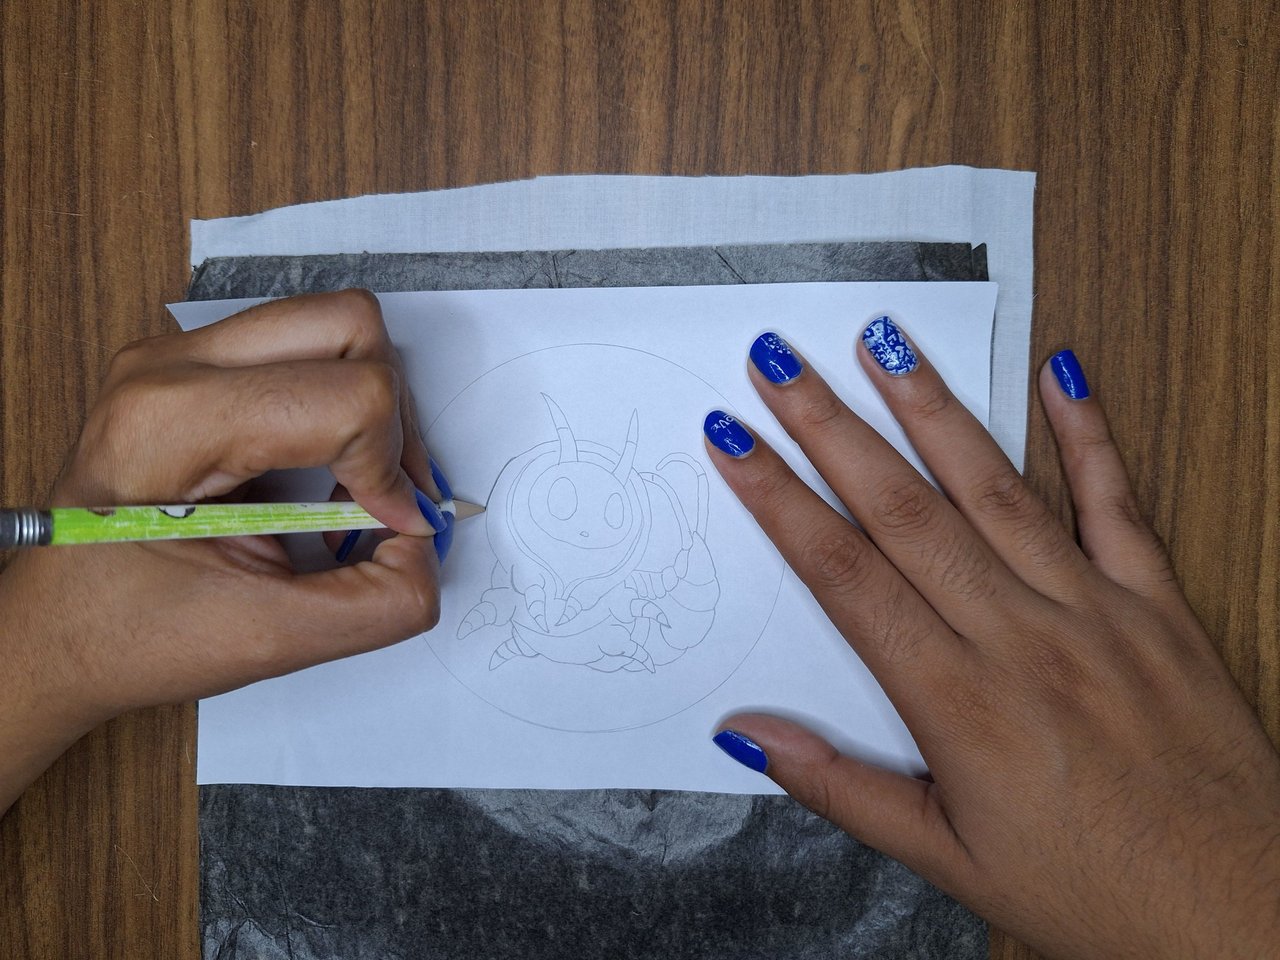
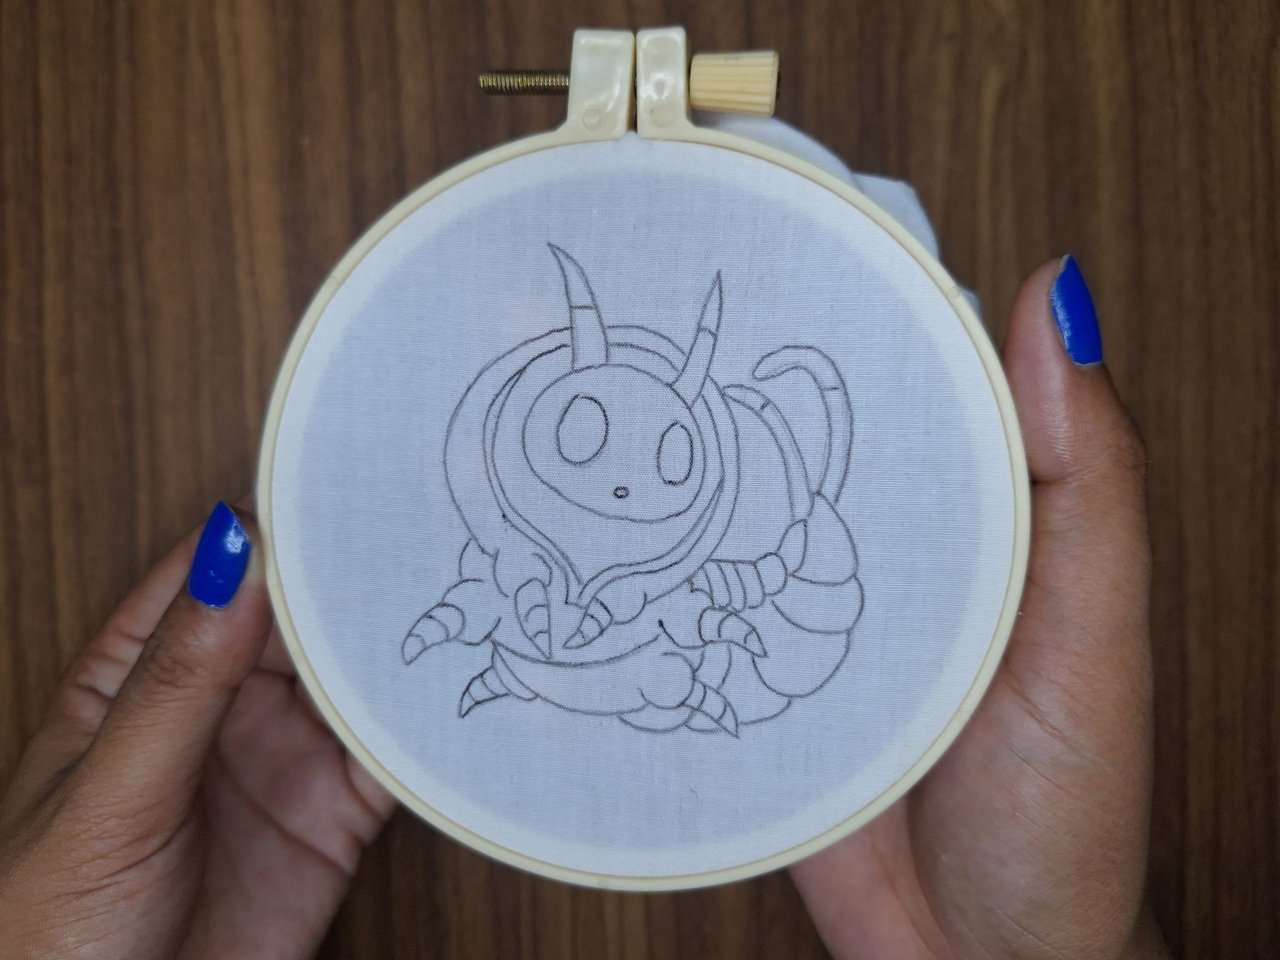
The first thing I did was to mark the outline of the embroidery hoop on a sheet of paper to know the exact space I had to draw the character. When I had the drawing ready, I placed on top of the fabric a piece of carbon paper and the paper with the drawing and going over all the lines, I transferred the drawing to the fabric. As it looked a little clear on the fabric, so that it would not be erased with the manipulation of my hands and to have a better visualization, with a pen, I went over all the lines of the drawing.
Lo primero que hice fue marcar el contorno del aro de bordar en una hoja de papel para saber el espacio exacto que tenía para dibujar el personaje. Cuando ya tenía el dibujo listo, coloqué encima de la tela un papel carbón y el papel con el dibujo y repasando todas las líneas, transferí el dibujo a la tela. Como se veía un poco claro en la tela, para que no se borrara con la manipulación de mis manos y para tener una mejor visualización, con un bolígrafo, repasé todas las líneas del dibujo.
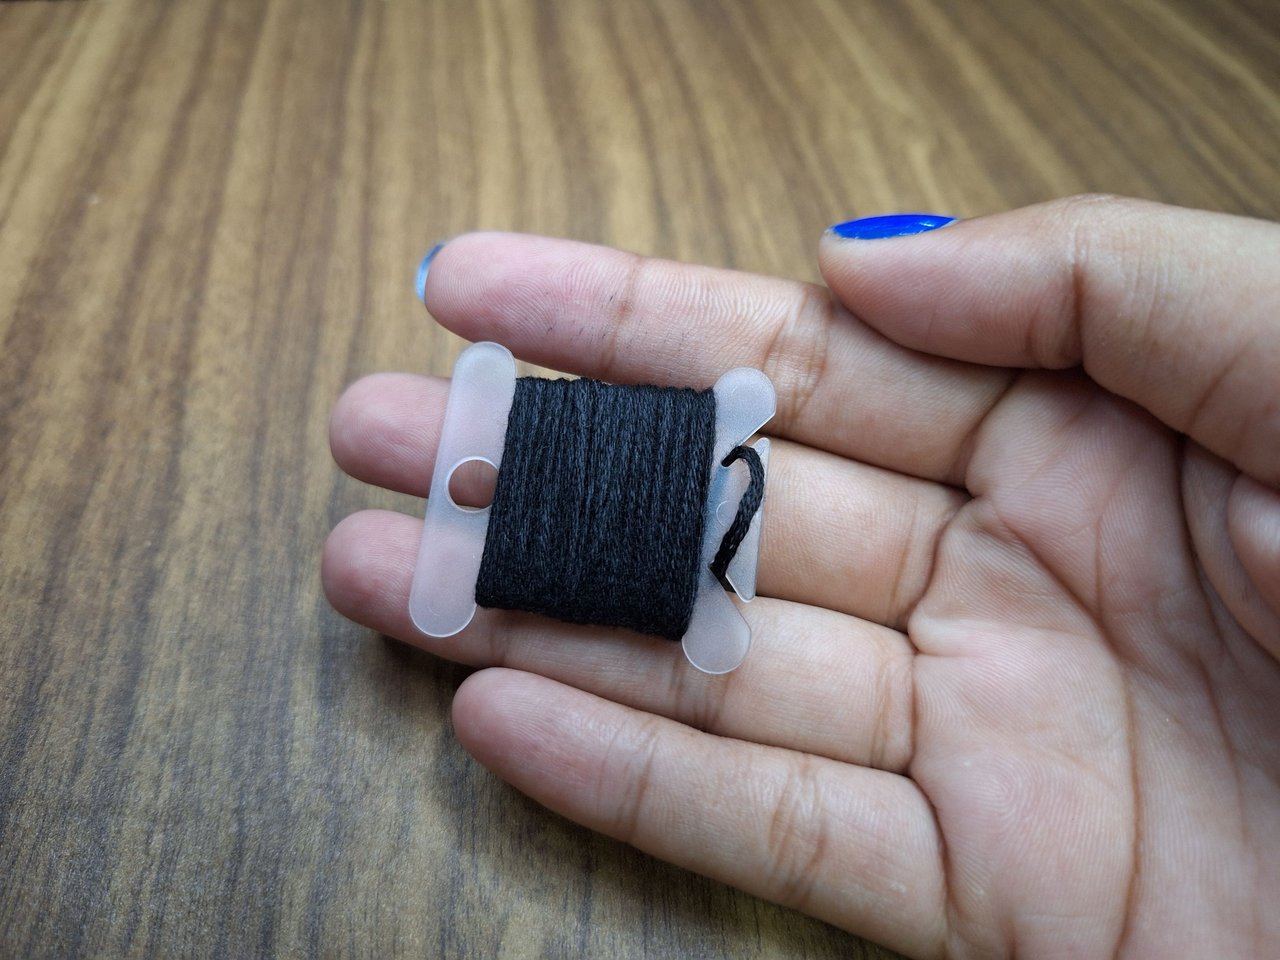
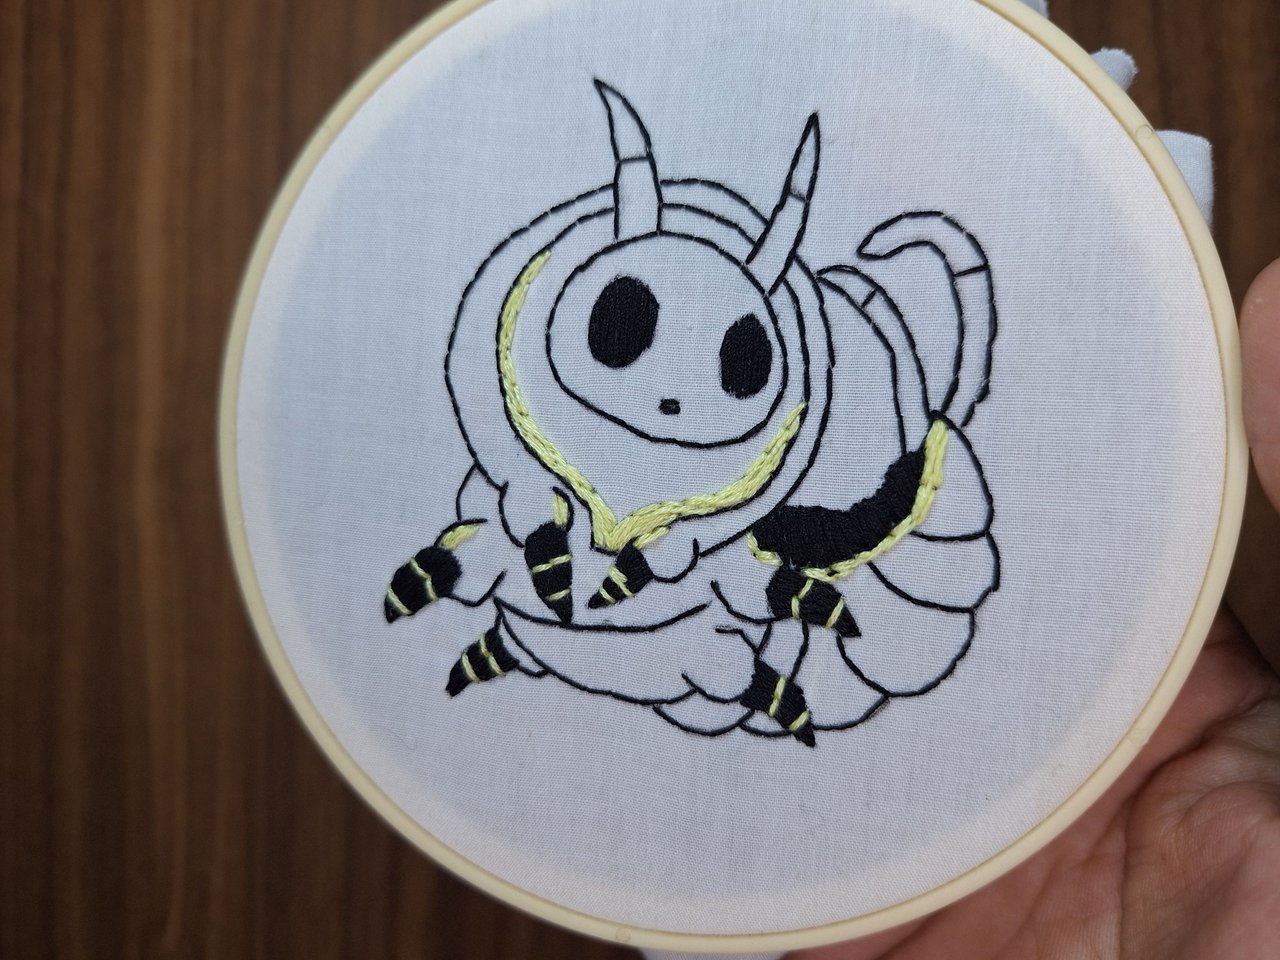
With the black thread and using two strands I embroidered all the lines and curves of the drawing with the step back stitch, which allowed me to make the stitches thinner and smaller and in any direction. To finish, with the black thread I filled in the eyes and the tip of the legs.
With a light yellow thread, I made some illuminations that the character has on the lower part of the head and on the sides of the legs, as well as some lines on the tip of the paws.
Con el hilo negro y utilizando dos hebras bordé todas las líneas y curvas del dibujo con la puntada paso atrás, la cual me permitía hacer las puntadas más finas y pequeñas y en cualquier dirección. Para terminar, con el hilo negro rellené los ojos y la punta de sus patas.
Con un hilo de un tono amarillo claro, hice como unas iluminaciones que tiene el personaje en la parte baja de la cabeza y en los costados de las patas, así como unas líneas que tiene en la punta de las patitas.
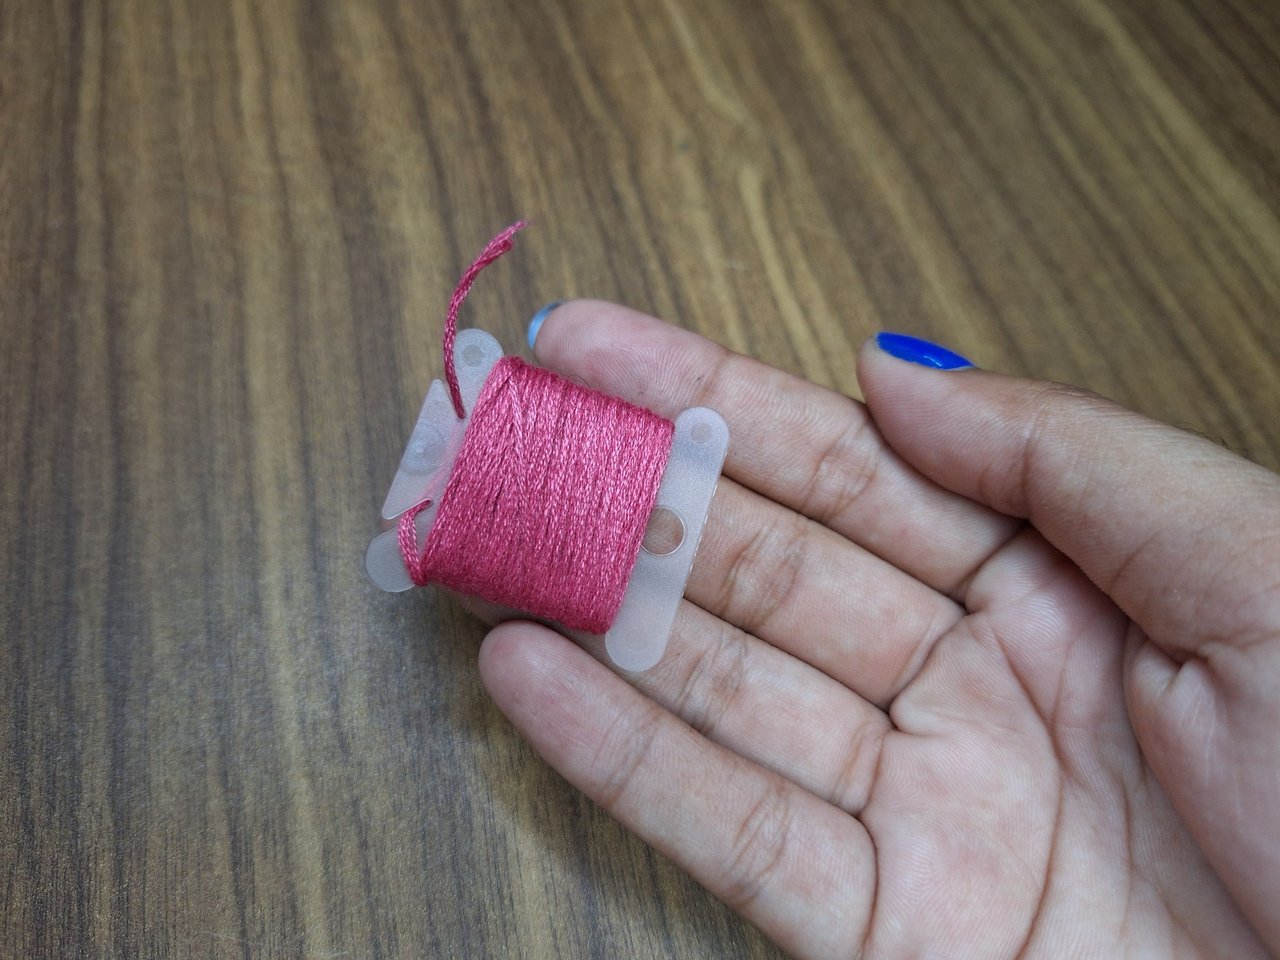
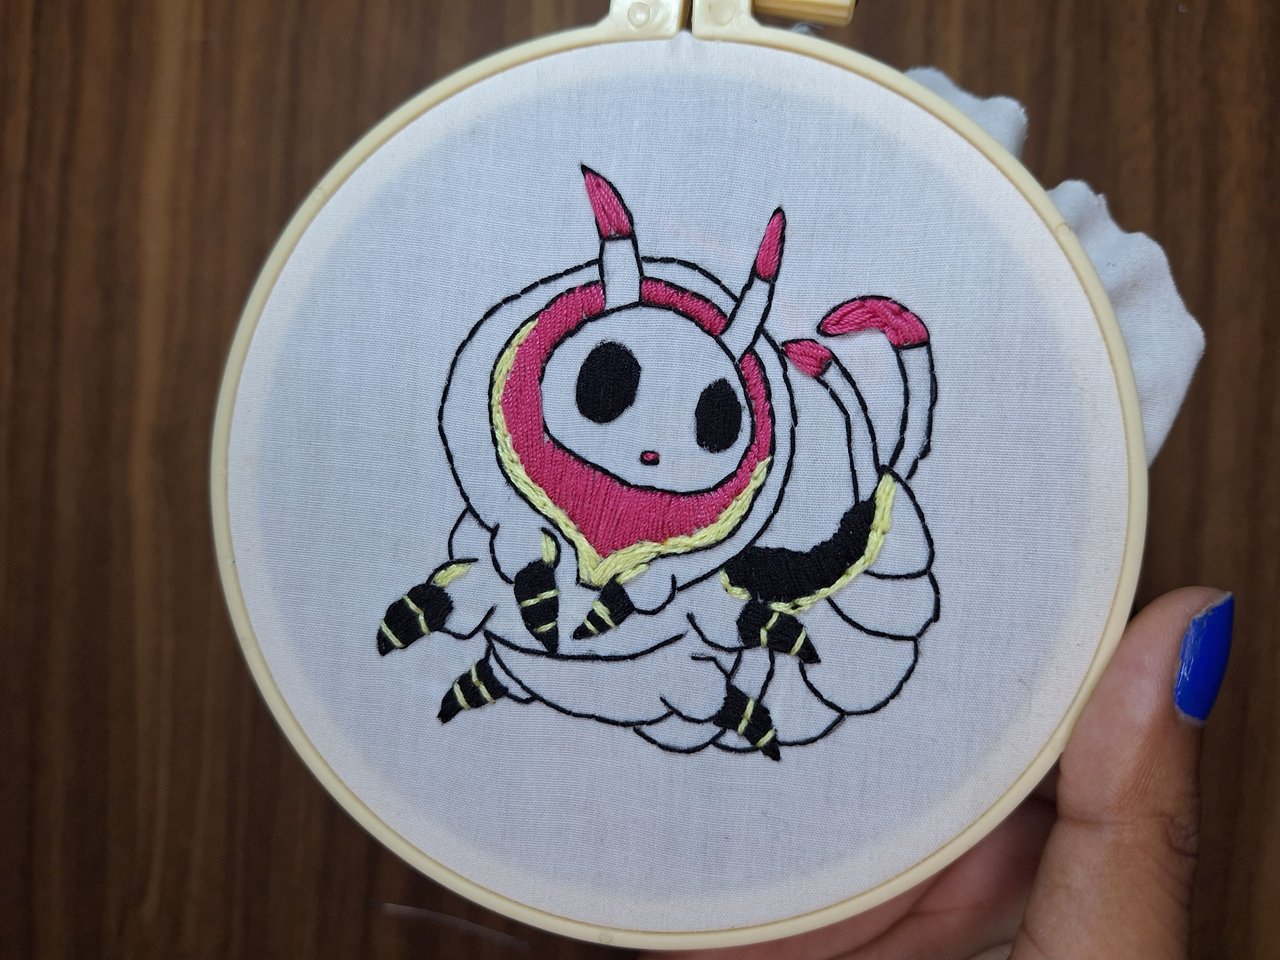
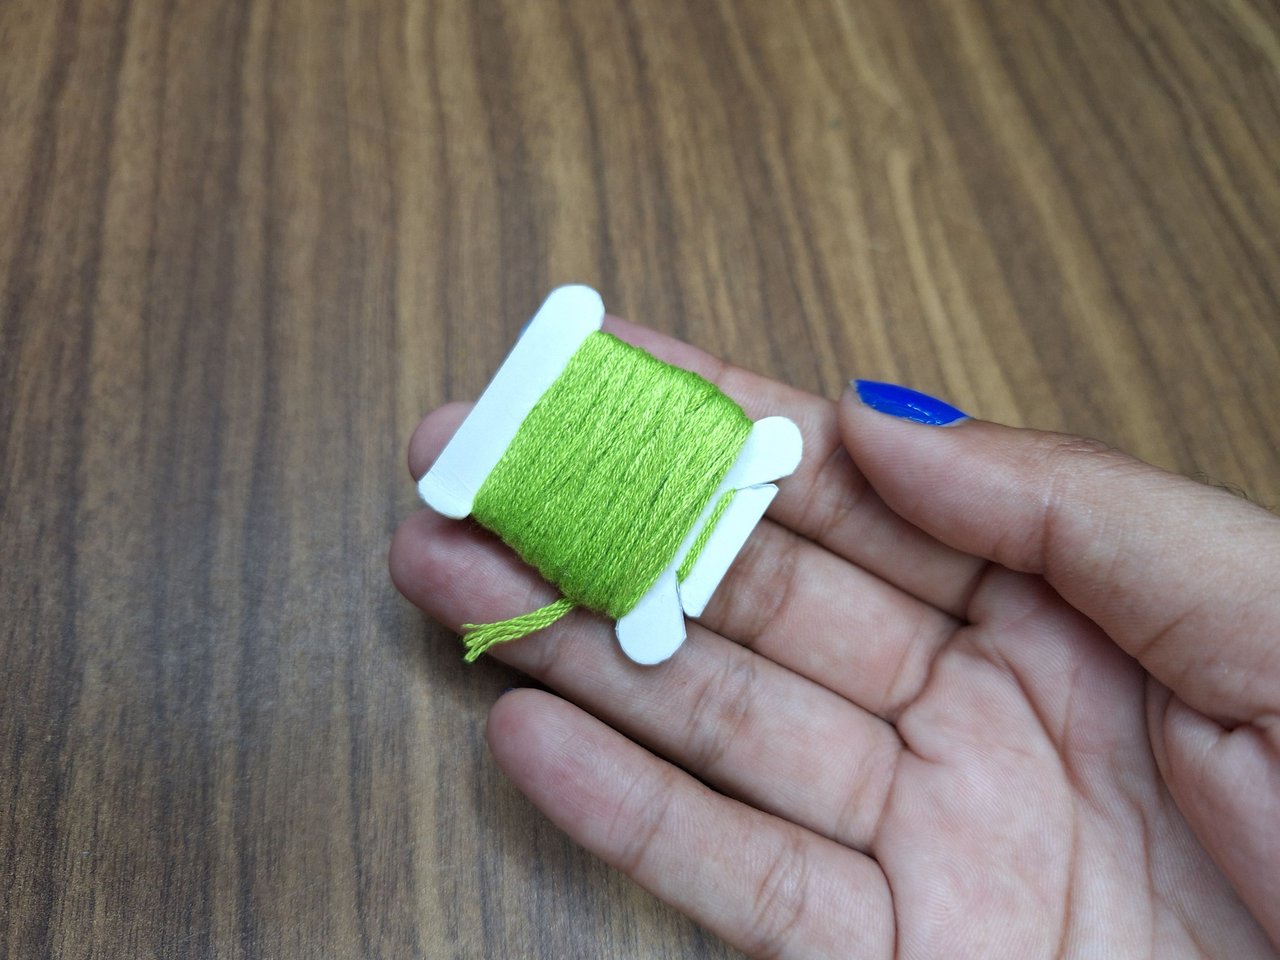
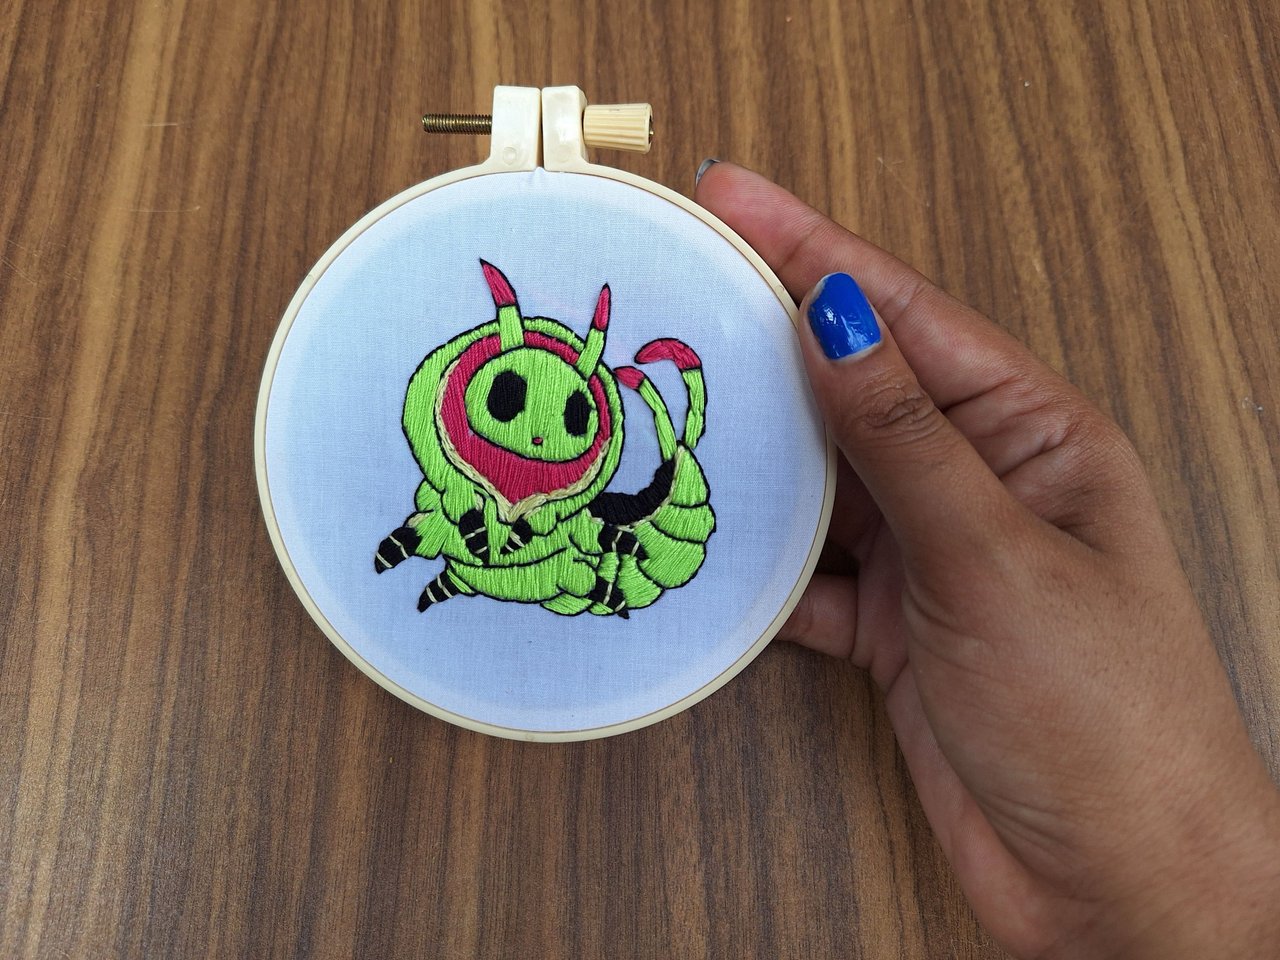
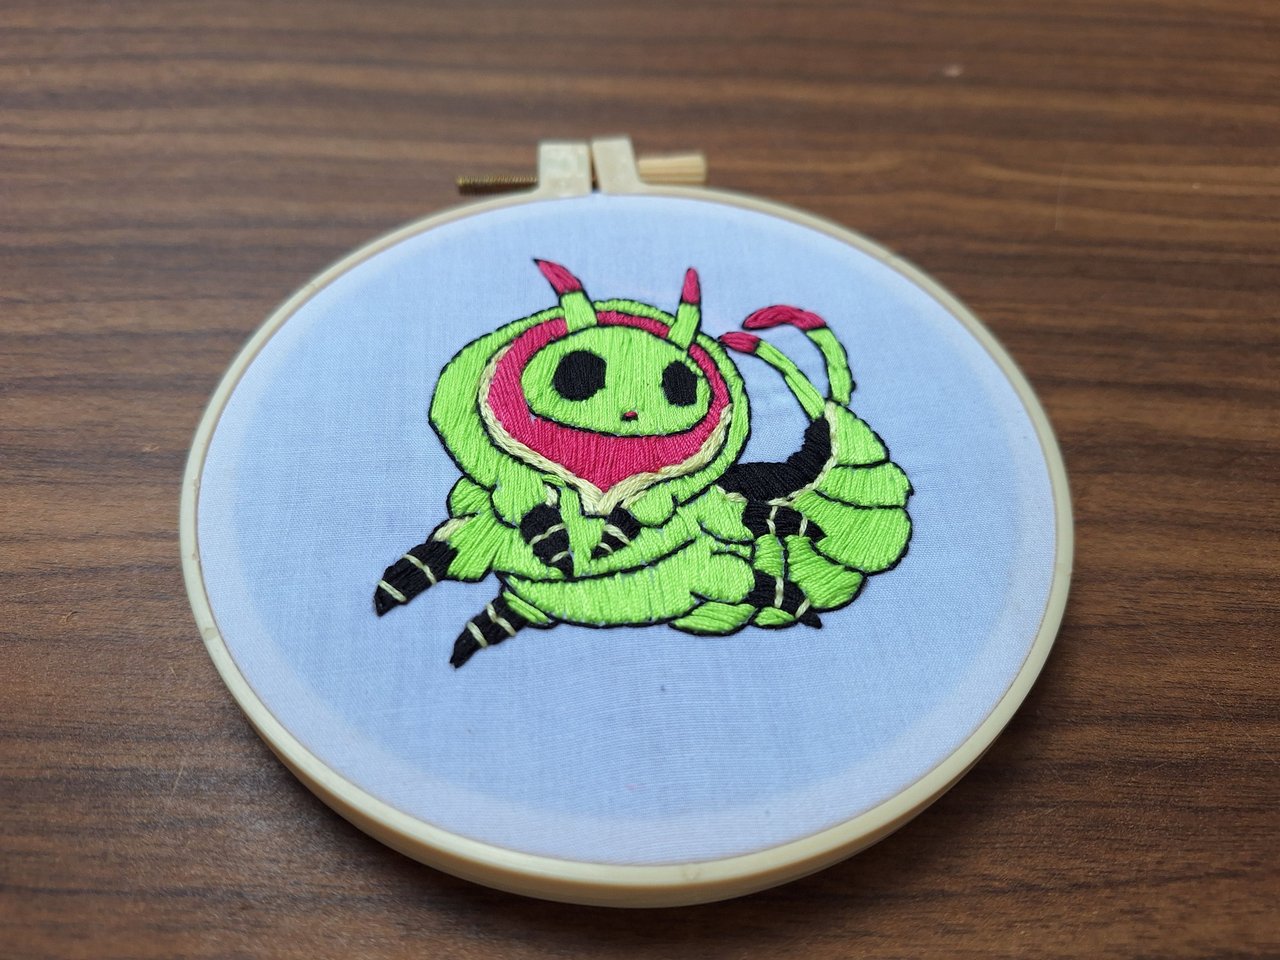
With pink thread I embroidered the tip of the antennae and the tail and all the part around the head, leaving all the green parts at the end. This is the largest part and is divided by several sections, so I had to embroider piece by piece being very careful not to cover the dividing lines.
Con hilo de color rosa bordé la punta de las antenas y la cola y toda la parte de alrededor de la cabeza, dejando por último todas las partes de color verde. Esta es la parte más amplia y está dividida por varias secciones, así que tuve que bordar pedazo a pedazo con mucho cuidado de no tapar las líneas divisorias.
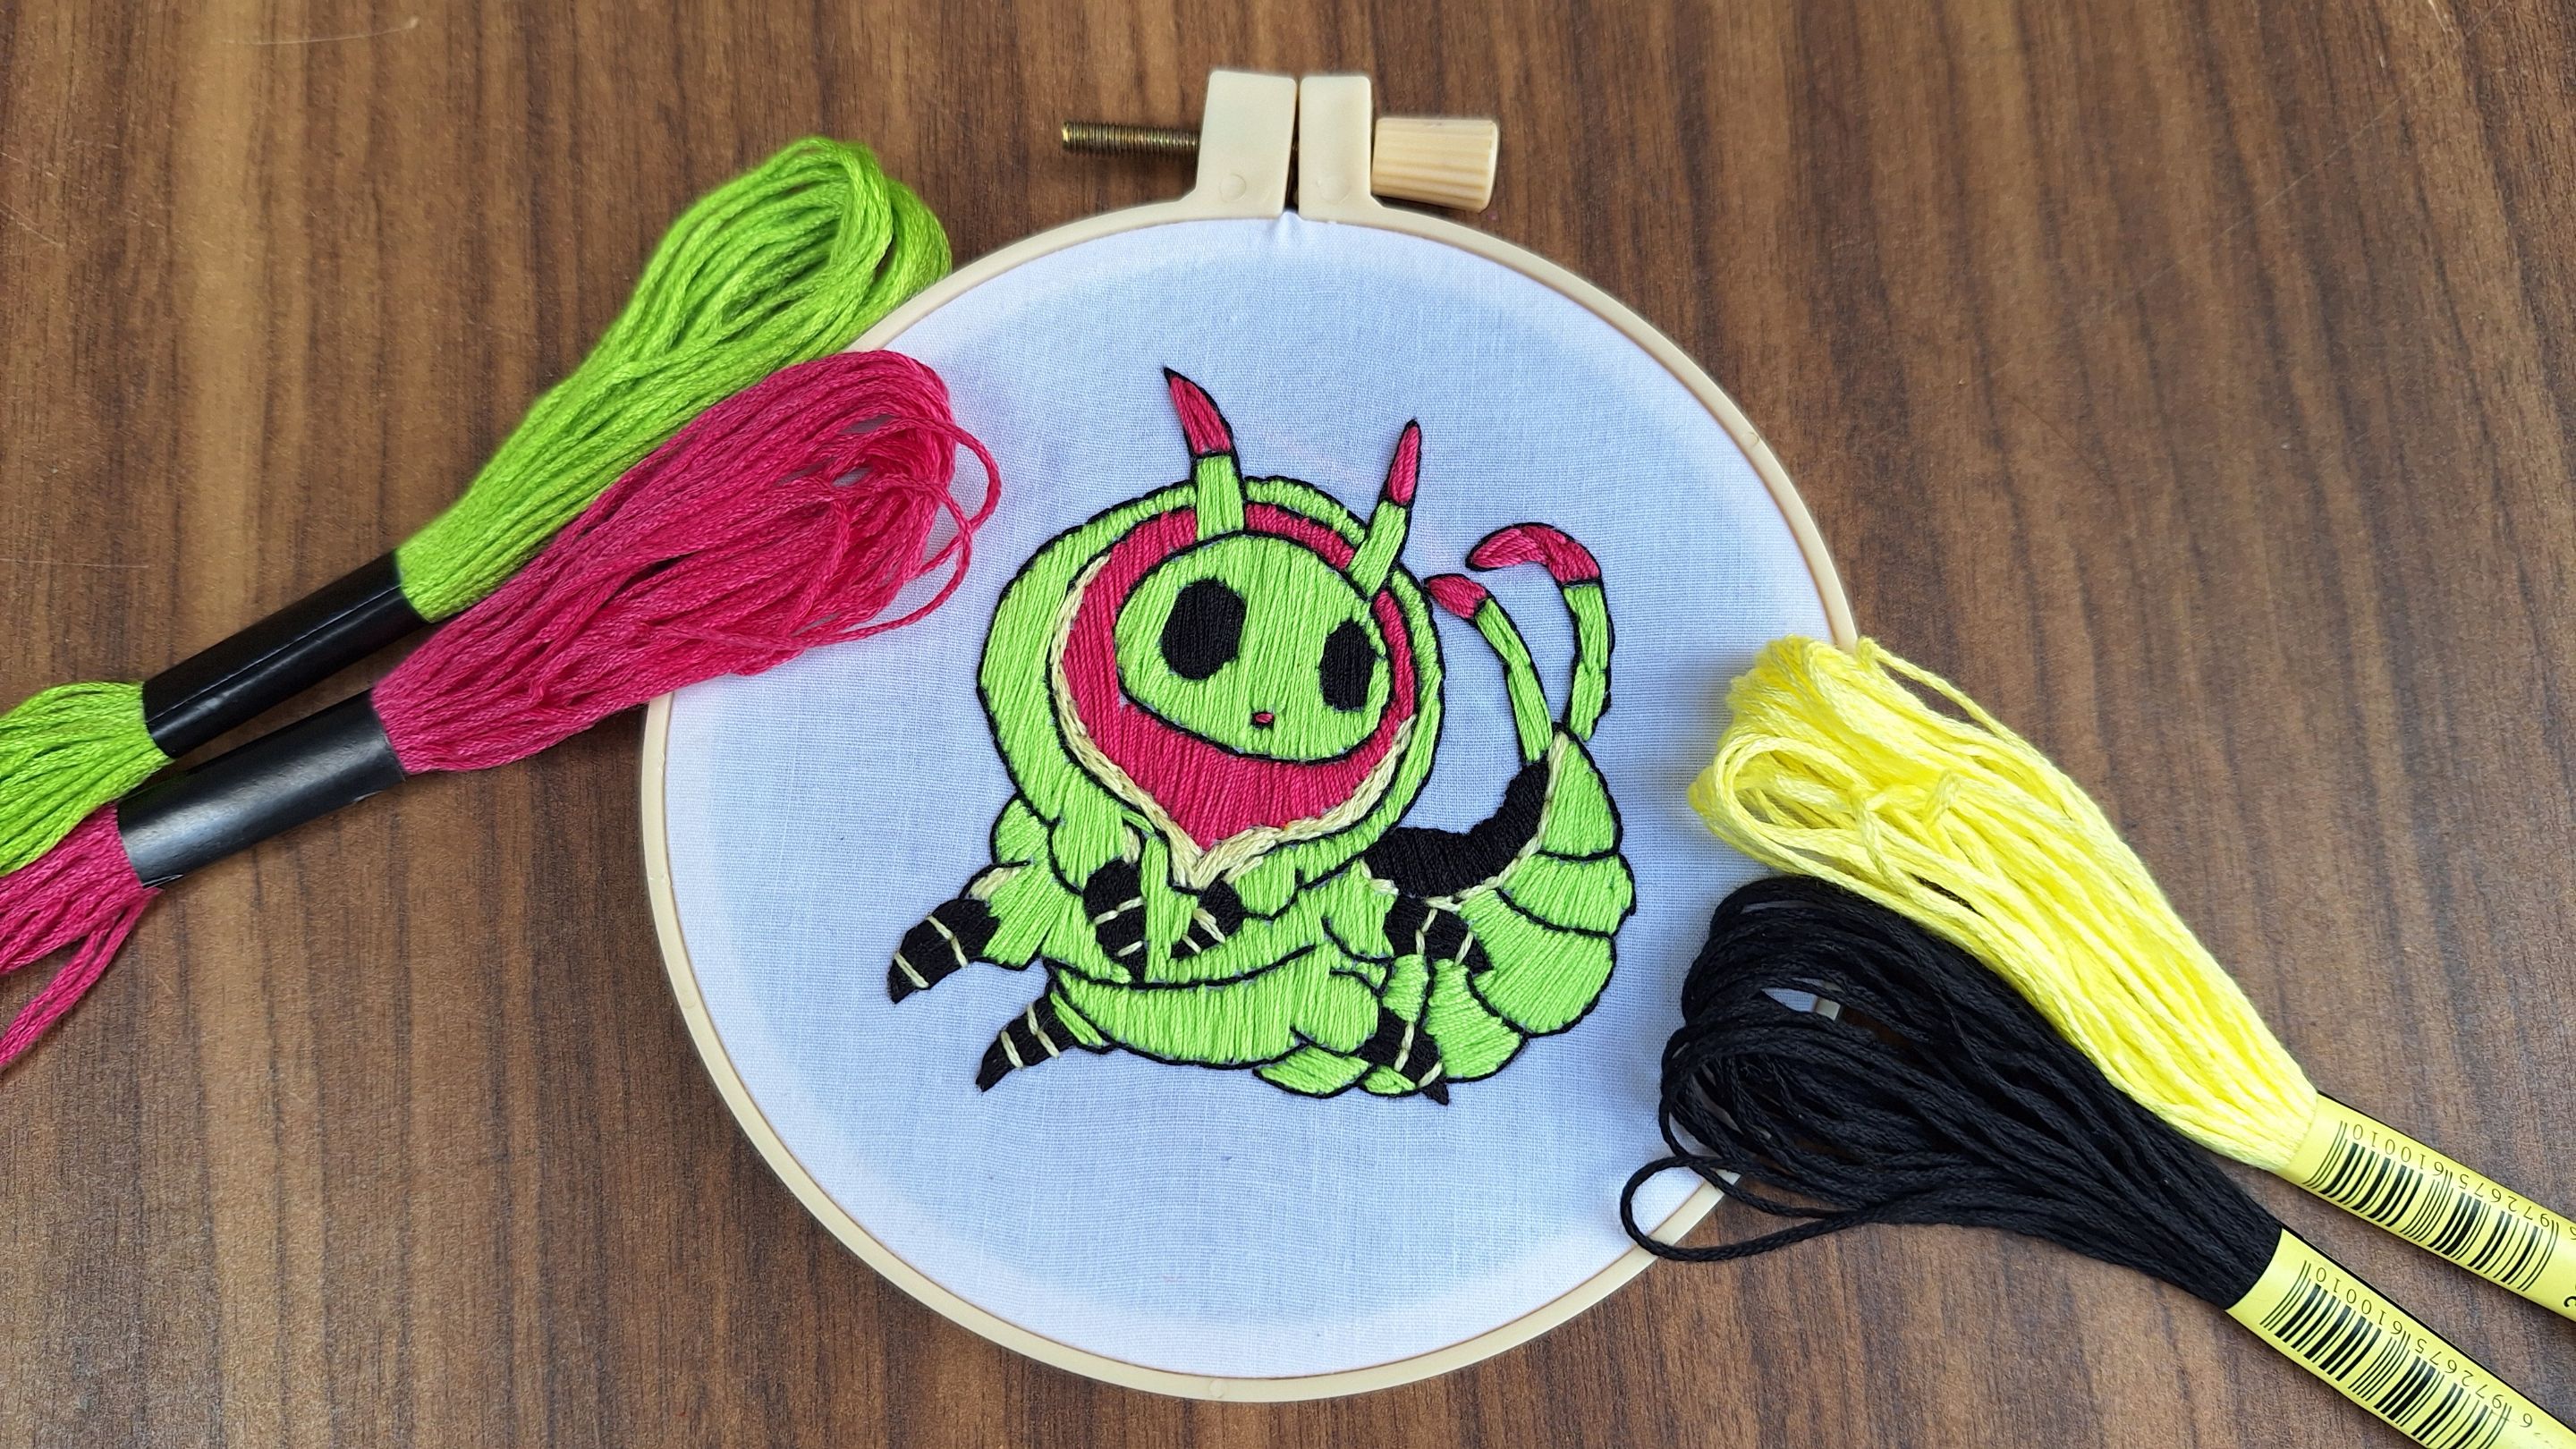
And thus is finished this embroidery, dedicated this time to the character Larvie. I hope you liked it, leave me in the comments what you thought and new suggestions. Best regards.
Y de esta forma se encuentra terminado este bordado, dedicado esta vez al personaje Larvie. Espero que te haya gustado, déjame en los comentarios qué te pareció y nuevas sugerencias. Un saludo.
• • •⊰🐛⊱•⊰🐛⊱•⊰🐛⊱•⊰🐛⊱• •
***Photos of my property taken with the phone
Cover made in Canva
English is not my native language, translated by*** [DeepL](https://www.deepl.com)
• • •⊰🐛⊱•⊰🐛⊱•⊰🐛⊱•⊰🐛⊱• •