Hello, dear friends who love art and crafts, today I come to show you how to make a miniature water well using recycled materials. Water is one of the most important natural elements for our existence, so we must take care of it and not waste it. This month's contest is dedicated to this, because as every year, March 22nd is celebrated as World Water Day, with the aim of raising awareness about the crisis and advocate the importance of knowing how to manage the sustainability of such a precious resource, vital for the life of all.
Wanting to be part of this contest and pay tribute to this day, I made this beautiful well, using a can, paper and polystyrene as main materials, turning what some might call garbage into a decorative object for our homes. I hope you like it. Below, I show you all the materials I used and the step by step of the creative process.
Hola, queridos amigos amantes del arte y las manualidades, hoy vengo a mostrarles cómo hacer un pozo de agua en miniatura utilizando materiales reciclados. El agua es uno de los elementos naturales más importantes para nuestra existencia, por lo que debemos cuidarla y no derrocharla. El concurso de este mes está dedicado a esta, pues como cada año, el día 22 de marzo se celebra el día mundial del agua, con el objetivo de concientizar sobre la crisis y abogar por la importancia de saber gestionar la sostenibilidad de tan preciado recurso, vital para la vida de todos.
Queriendo ser partícipe de este concurso y homenajear a este día, elaboré este hermoso pozo, utilizando una lata, papel y poliespuma como materiales principales, convirtiendo lo que algunos podrían llamar basura en un objeto decorativo para nuestros hogares. Espero que les guste. A continuación, te muestro todos los materiales que utilicé y el paso a paso del proceso creativo.
💦Materials // Materiales💦
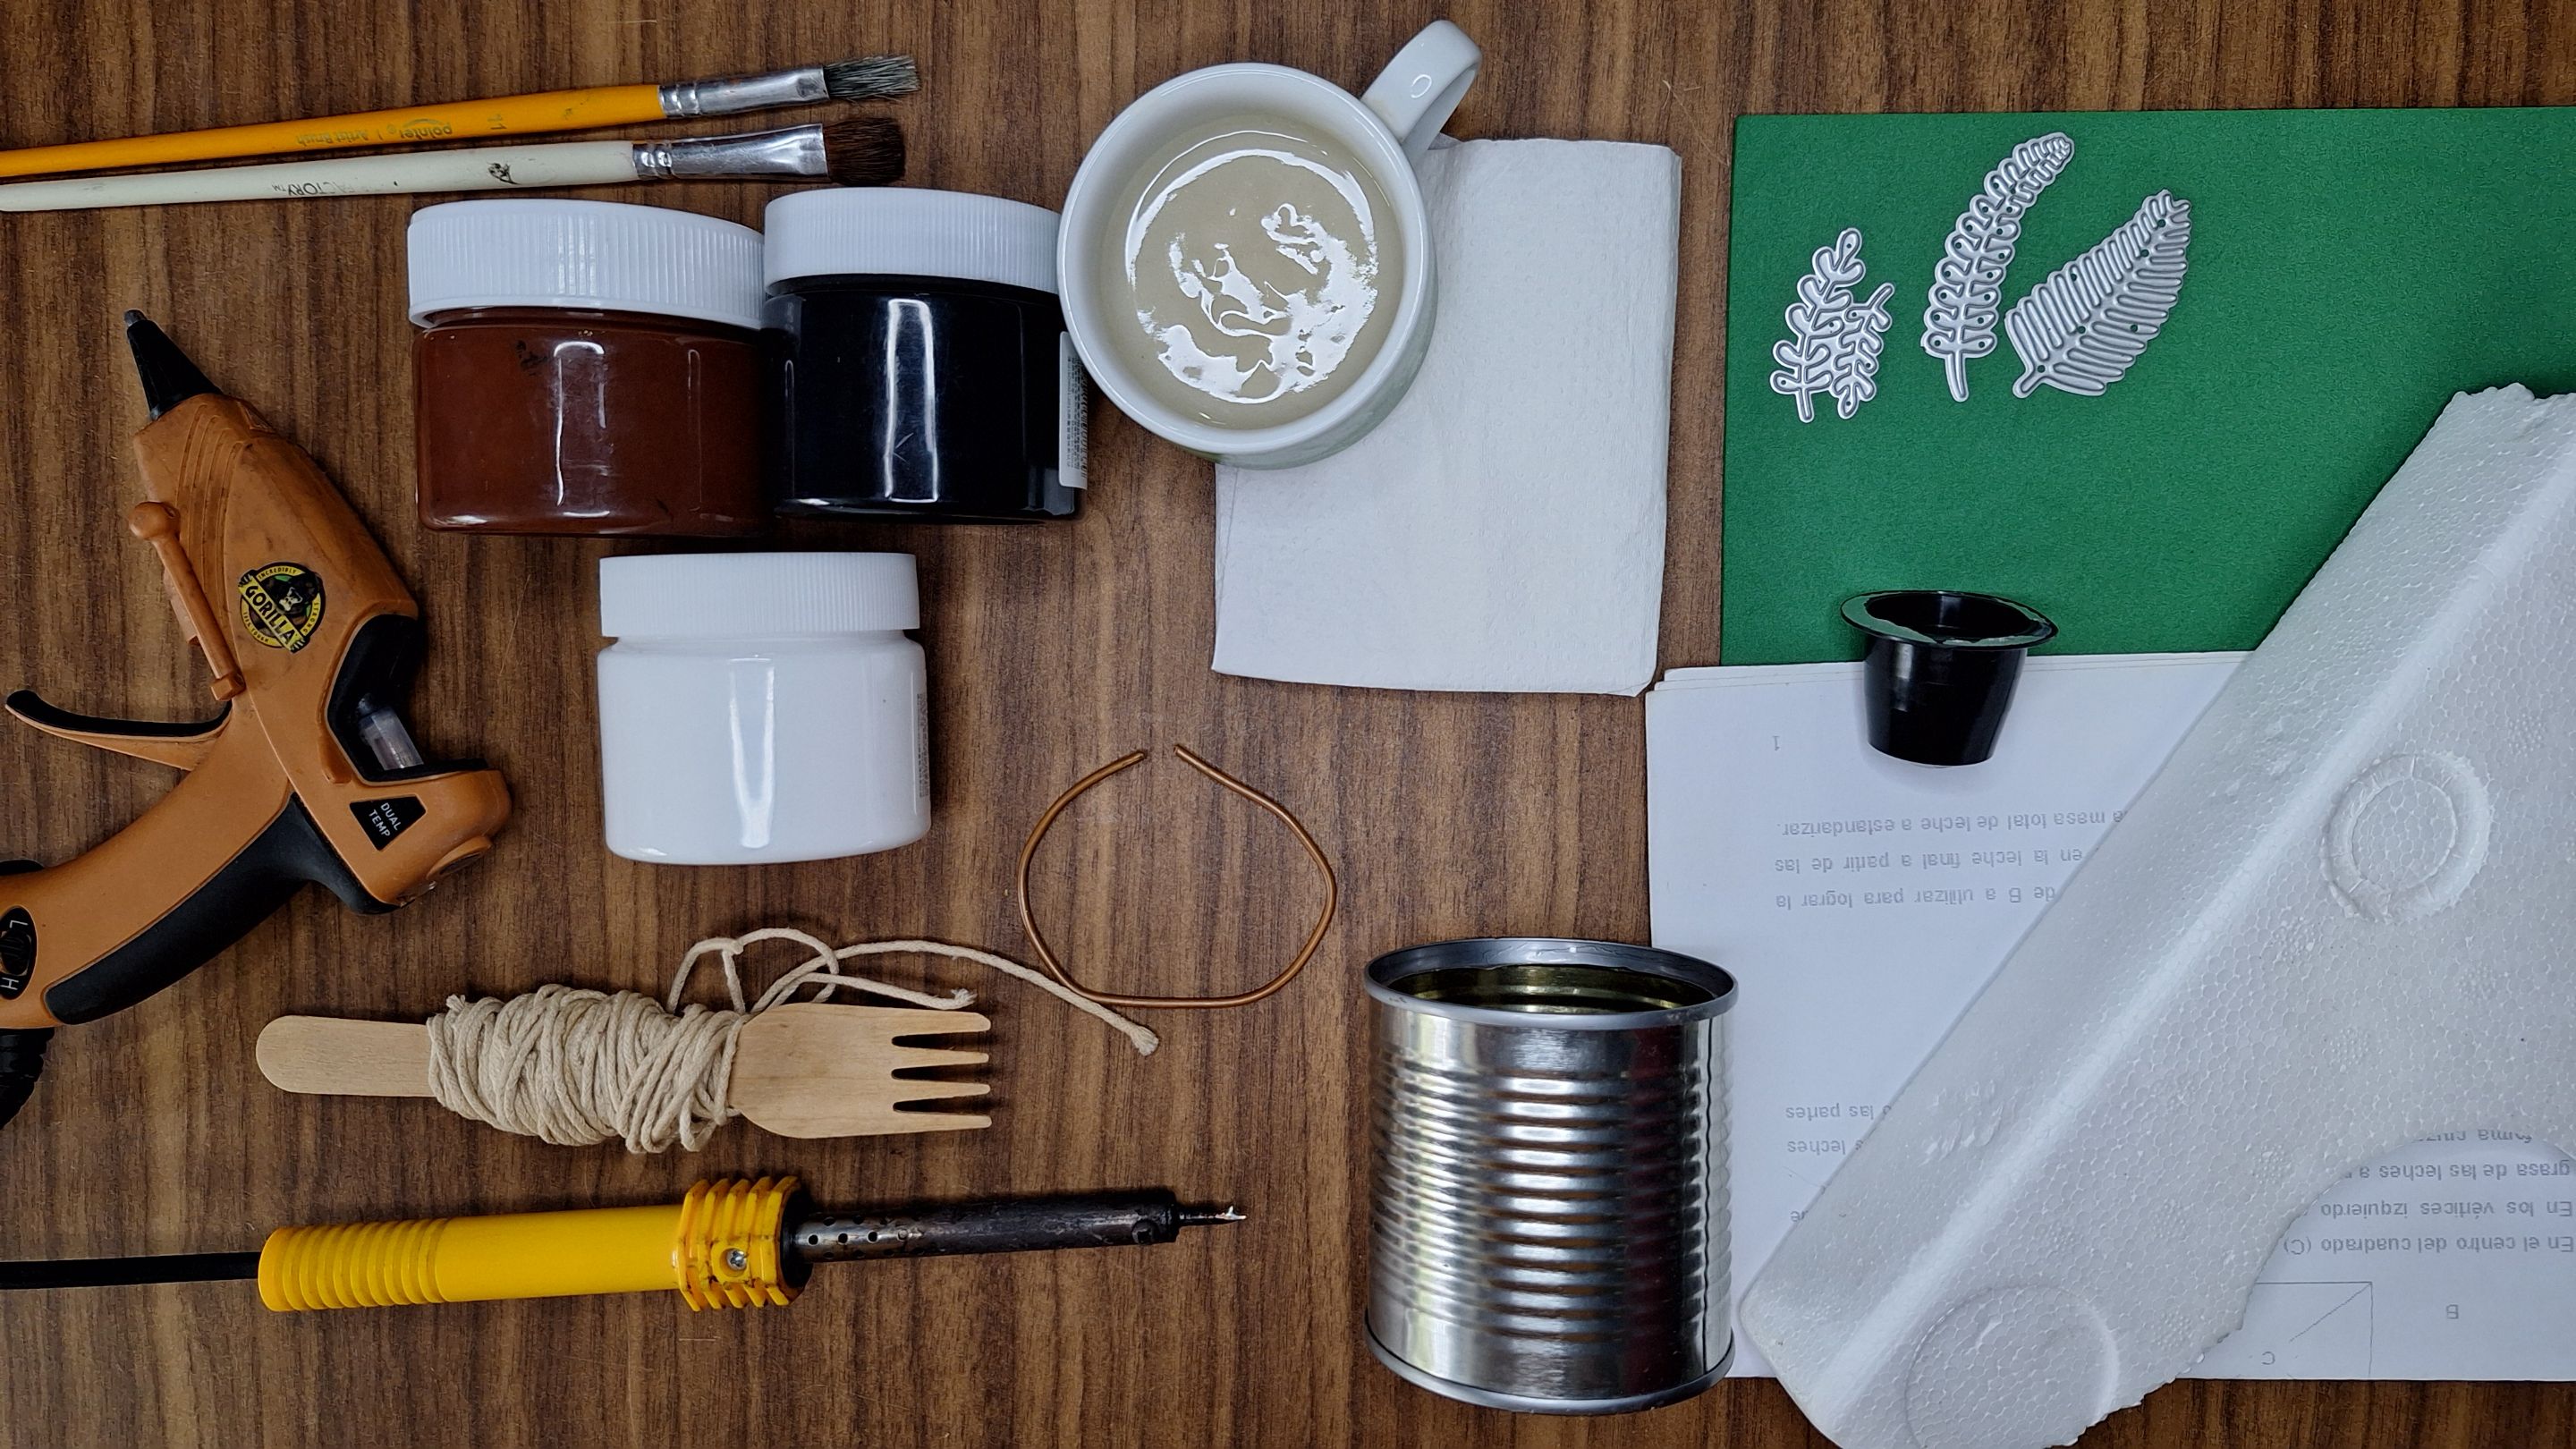
- 1 can / 1 lata
- Polyfoam / Poliespuma
- Paper / Papel
- Green Foami / Foami verde
- Leaf-shaped cutting dies / Troqueles de corte con forma de hojas
- Liquid glue / Pegamento líquido
- Kitchen paper / Papel de cocina
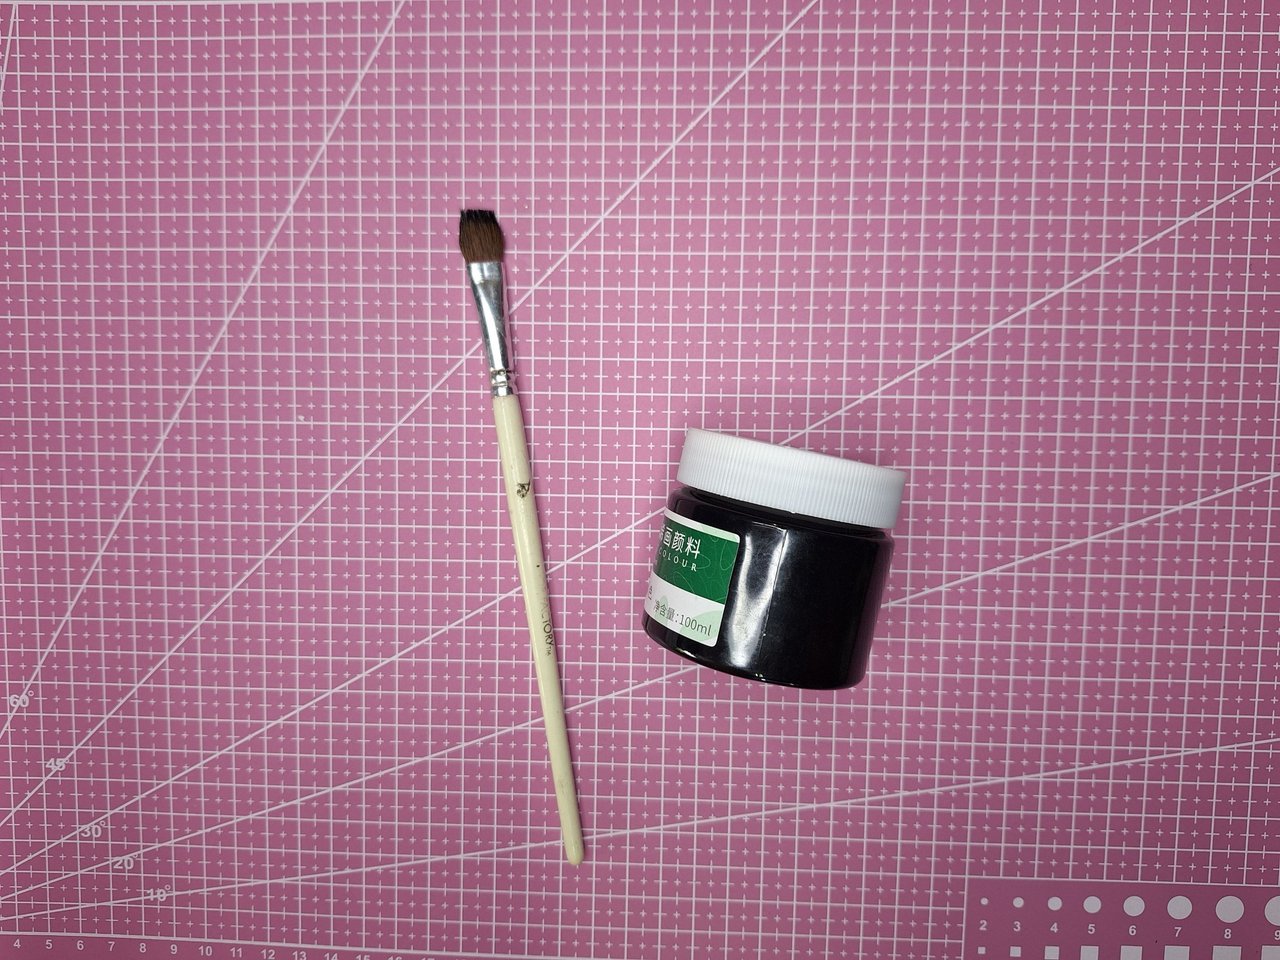
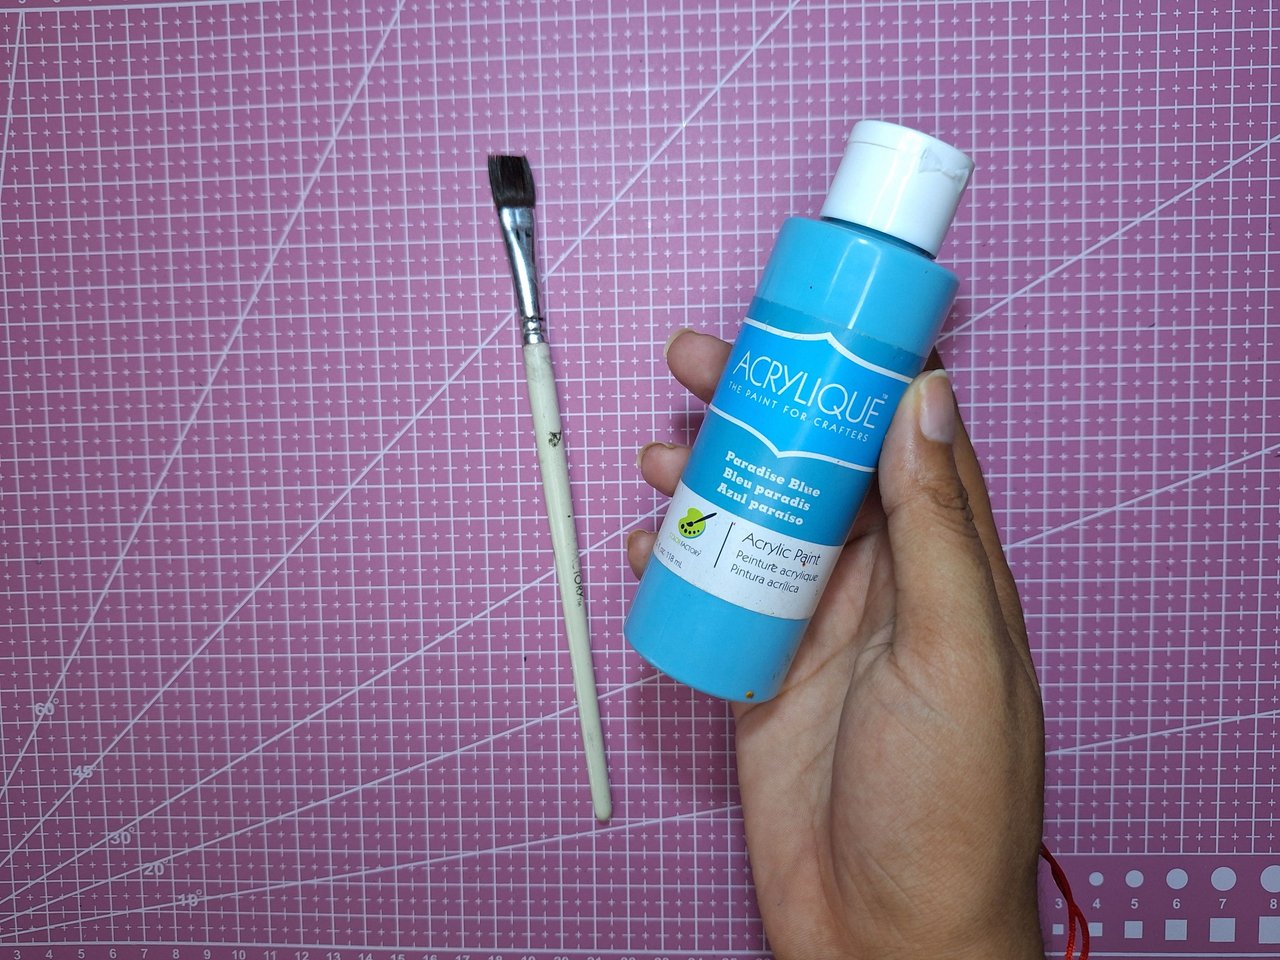
- Black, white, brown and blue paint / Pintura negra, blanca, marrón y azul
- Brushes / Pinceles
- Silicone / Silicona
- Thick wire / Alambre grueso
- Thick wire / Hilo grueso
- Cautin / Cautín
- Coffee can or small container lid / Envase de café o tapa pequeña de un recipiente
💦Step by step // Paso a paso💦
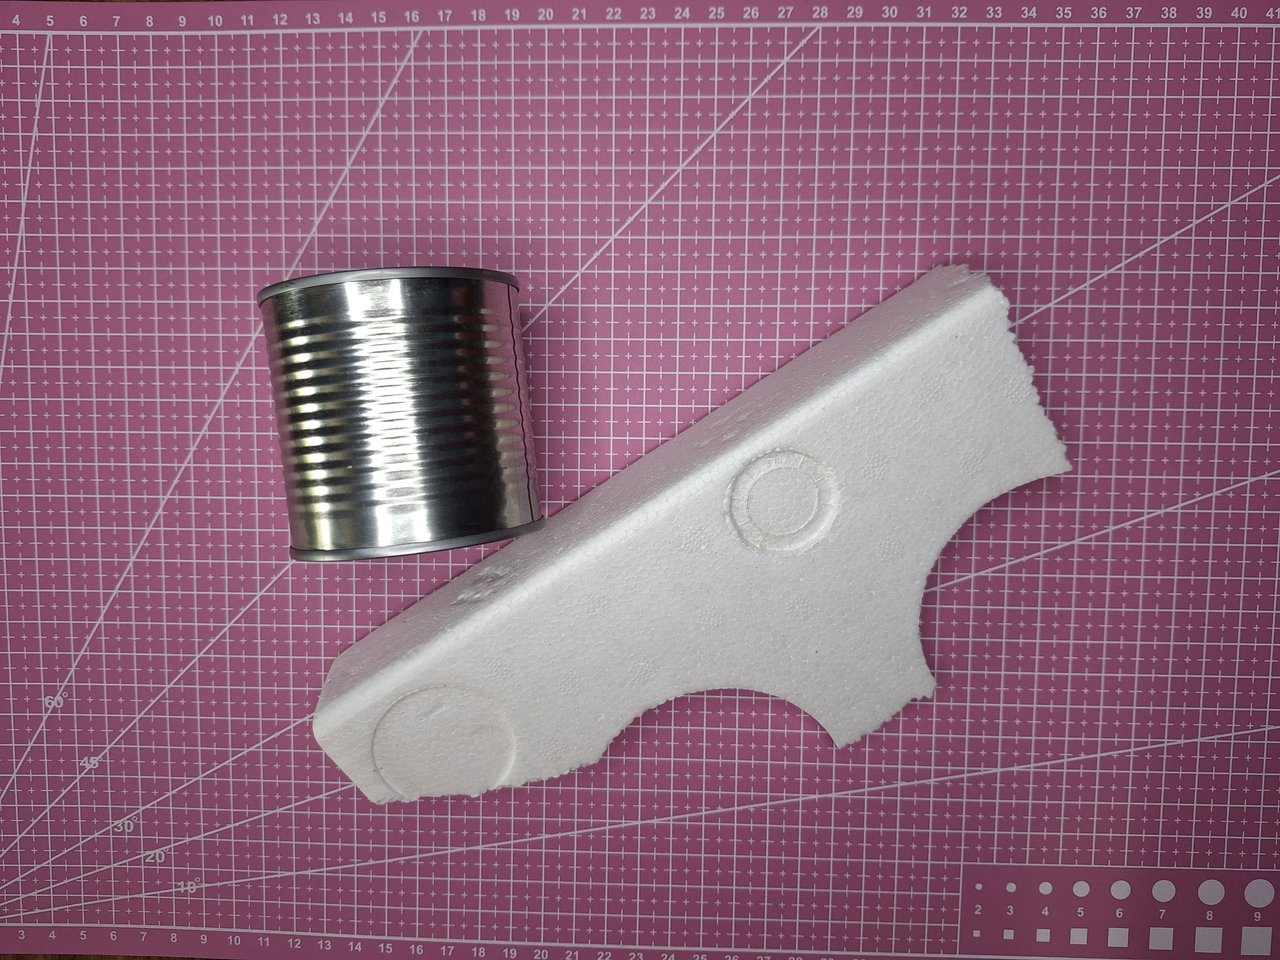
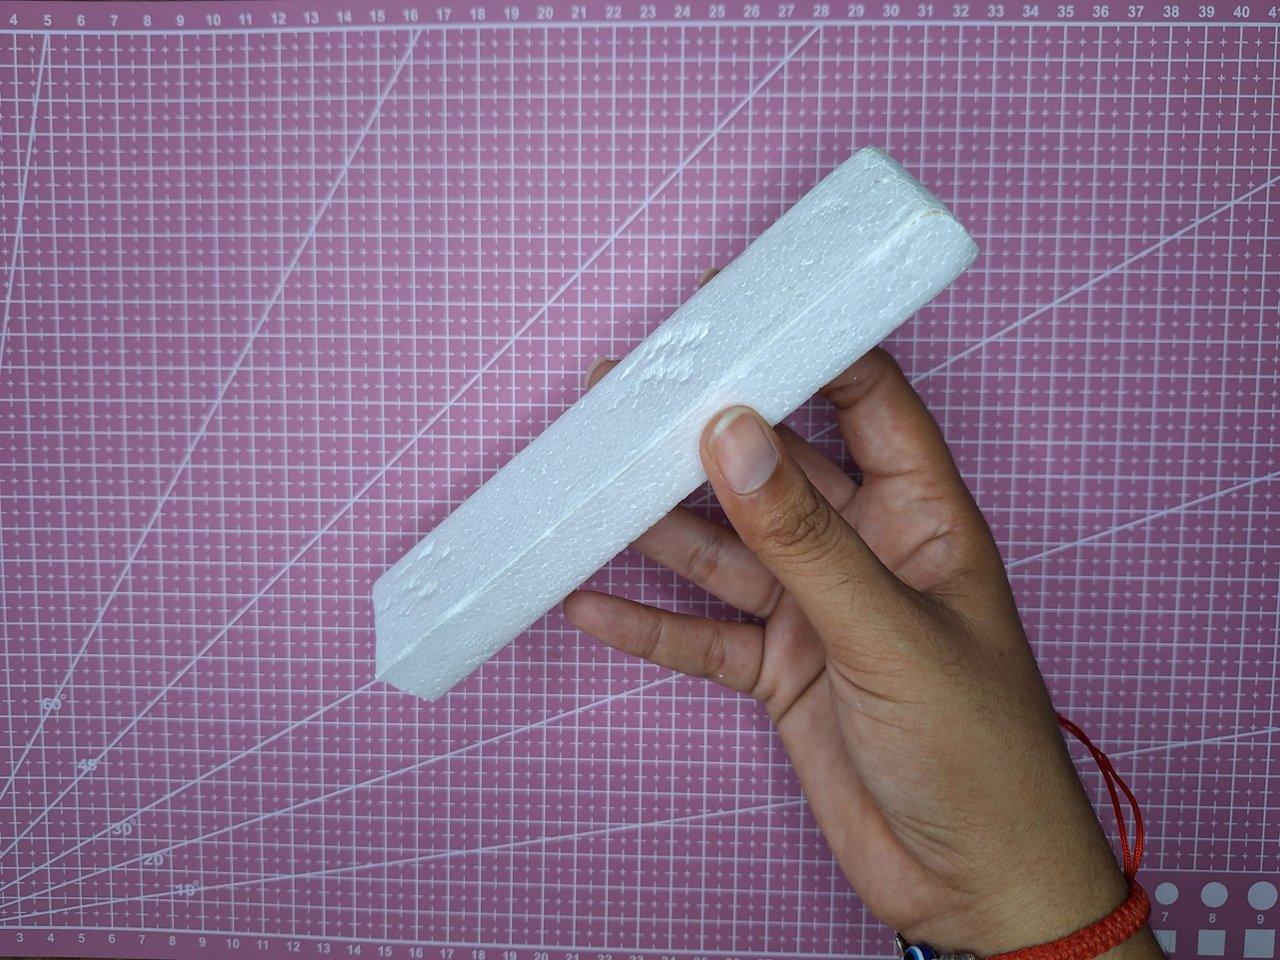
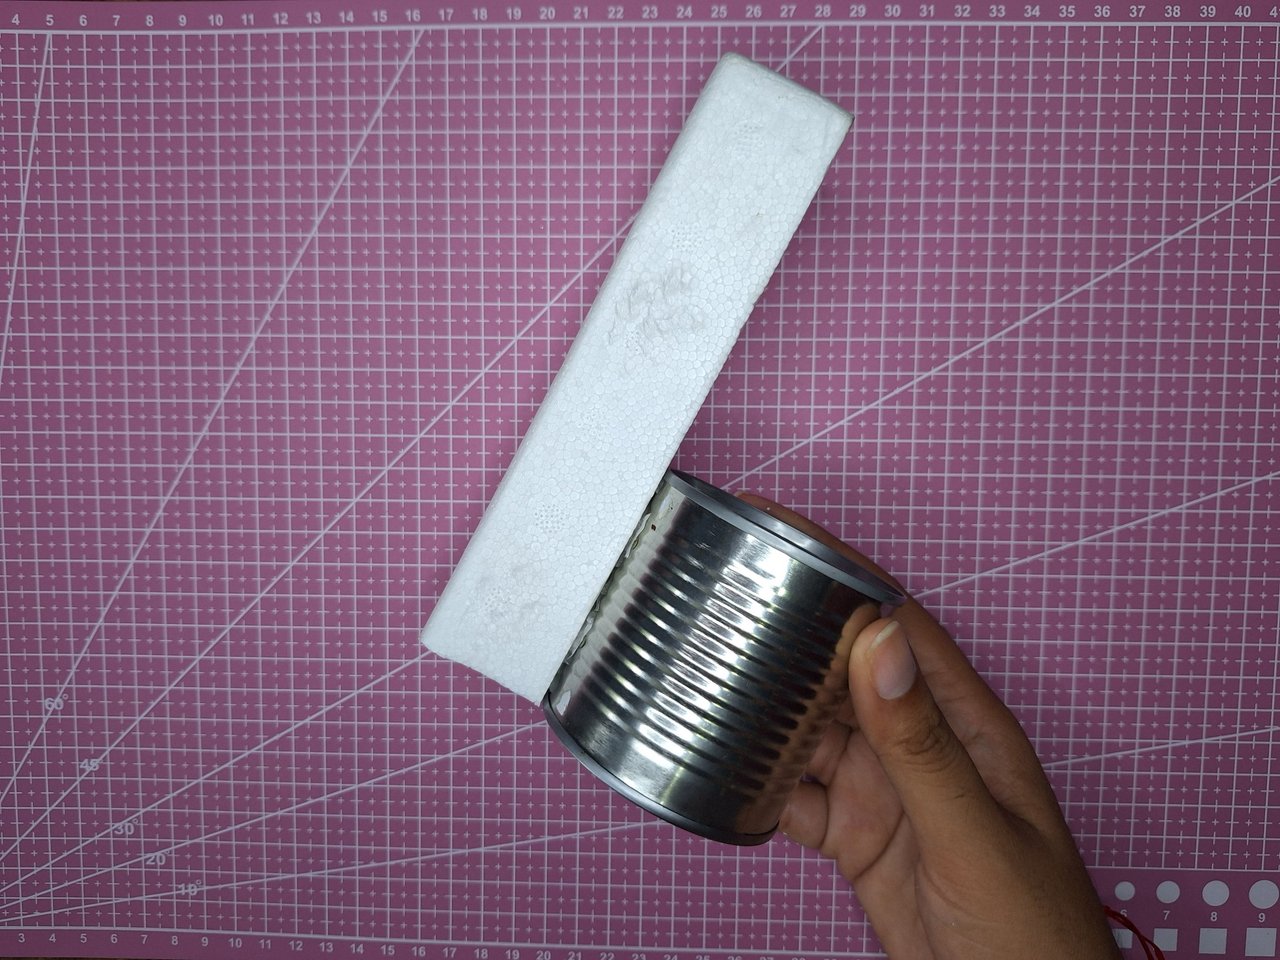
To form the base of the well I used a recycled can and a piece of polyfoam. I cut the latter into a rectangular shape so that it would work as a column. It is then glued to the side of the can.
Para conformar la base del pozo utilicé una lata reciclada y un pedazo de poliespuma. Este último lo corté dándole una forma rectangular para que funcionara como una columna. Luego se pega a un costado de la lata.
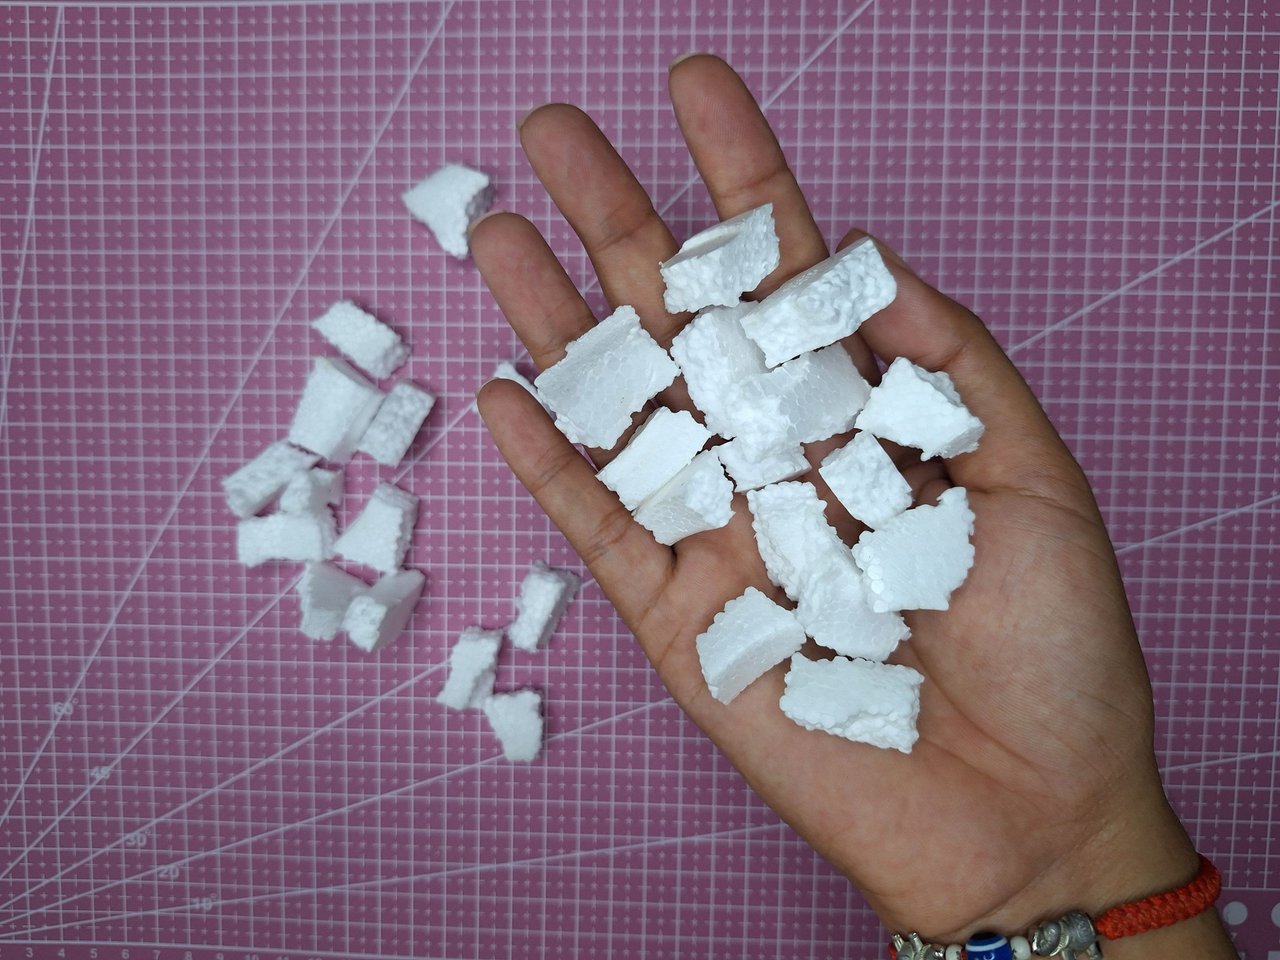
Another piece of polystyrene is cut into small pieces, with the hands, so that they are irregularly shaped. These are placed all over the surface of the can trying to cover all the spaces. Then I cut polyfoam squares, these I did with a cutter so that they would be neat, as I would place them on the top edge of the can as if they were bricks.
Otro pedazo de poliespuma se corta en piezas pequeñas, con las manos, para que queden con formas irregulares. Estas se colocan por toda la superficie de la lata tratando de cubrir todos los espacios. Luego corté cuadros de poliespuma, esos sí los hice con un cúter para que quedaran prolijos, pues los colocaría en el borde superior de la lata como si fuesen ladrillos.
With the help of a soldering iron, I marked all the sides of the column like slab stones and then I rounded the pieces of polystyrene that covered the can, giving it a rounder shape as if they were stones.
Con la ayuda de un cautín, marqué por todos los laterales de la columna como piedras de lajas y luego fui redondeando los pedazos de poliespuma que cubrían la lata, dándole una forma más redonda como si fuesen piedras.
I took two sheets of paper and twisted them into the shape shown here. I cut it into three pieces and glued them to the top of the column. With kitchen paper and liquid glue I papered the twisted paper so that it would have a better texture, then I let it dry for a few minutes.
Tomé dos hojas de papel y las torcí para que quedara de esta forma que aquí les muestro. La corté en tres piezas y las pegué en la parte superior de la columna. Con papel de cocina y pegamento líquido empapelé el papel torcido para que quedara con una mejor textura, luego dejé secar por unos minutos.
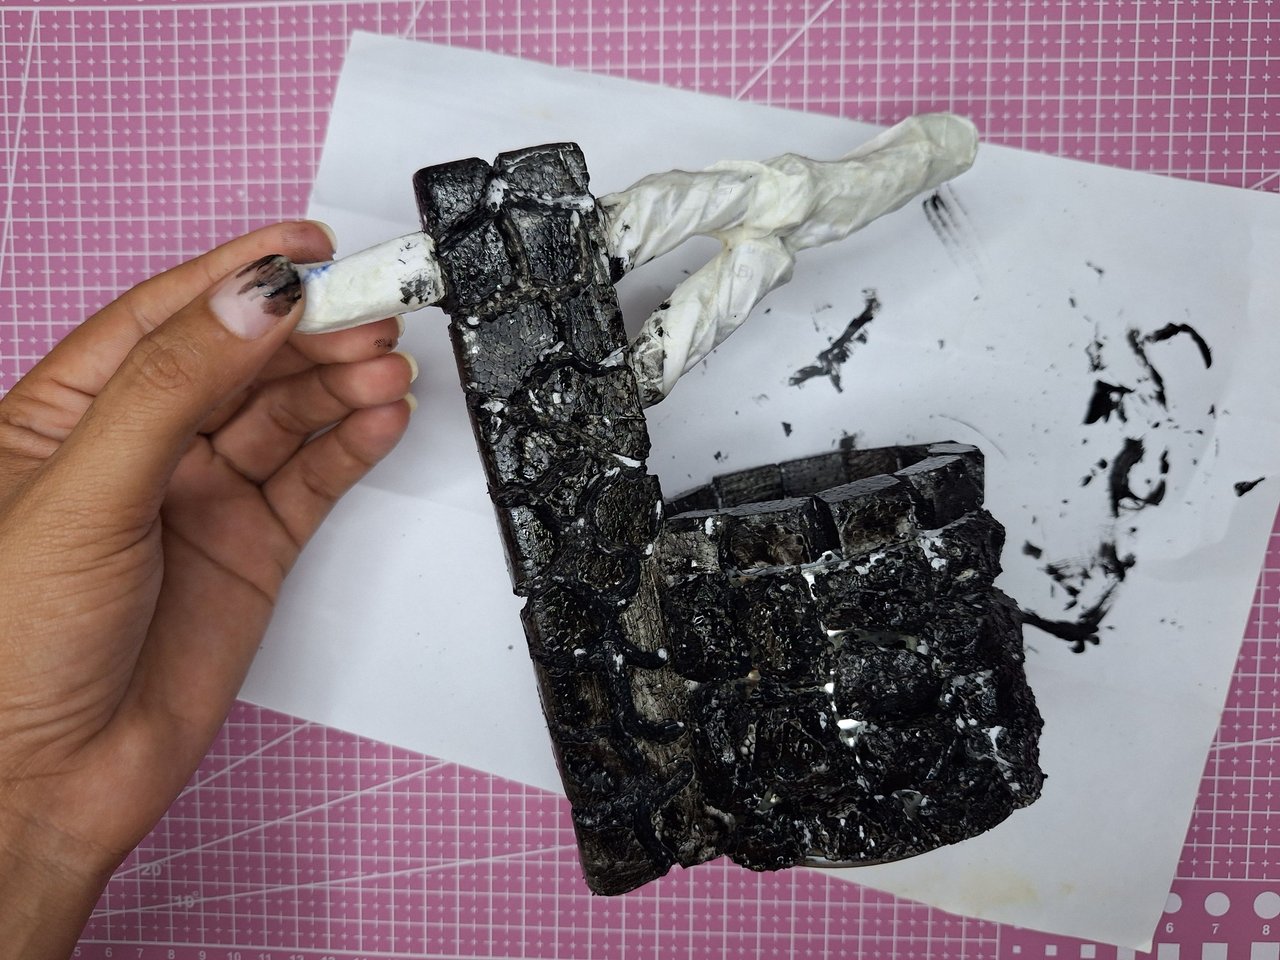
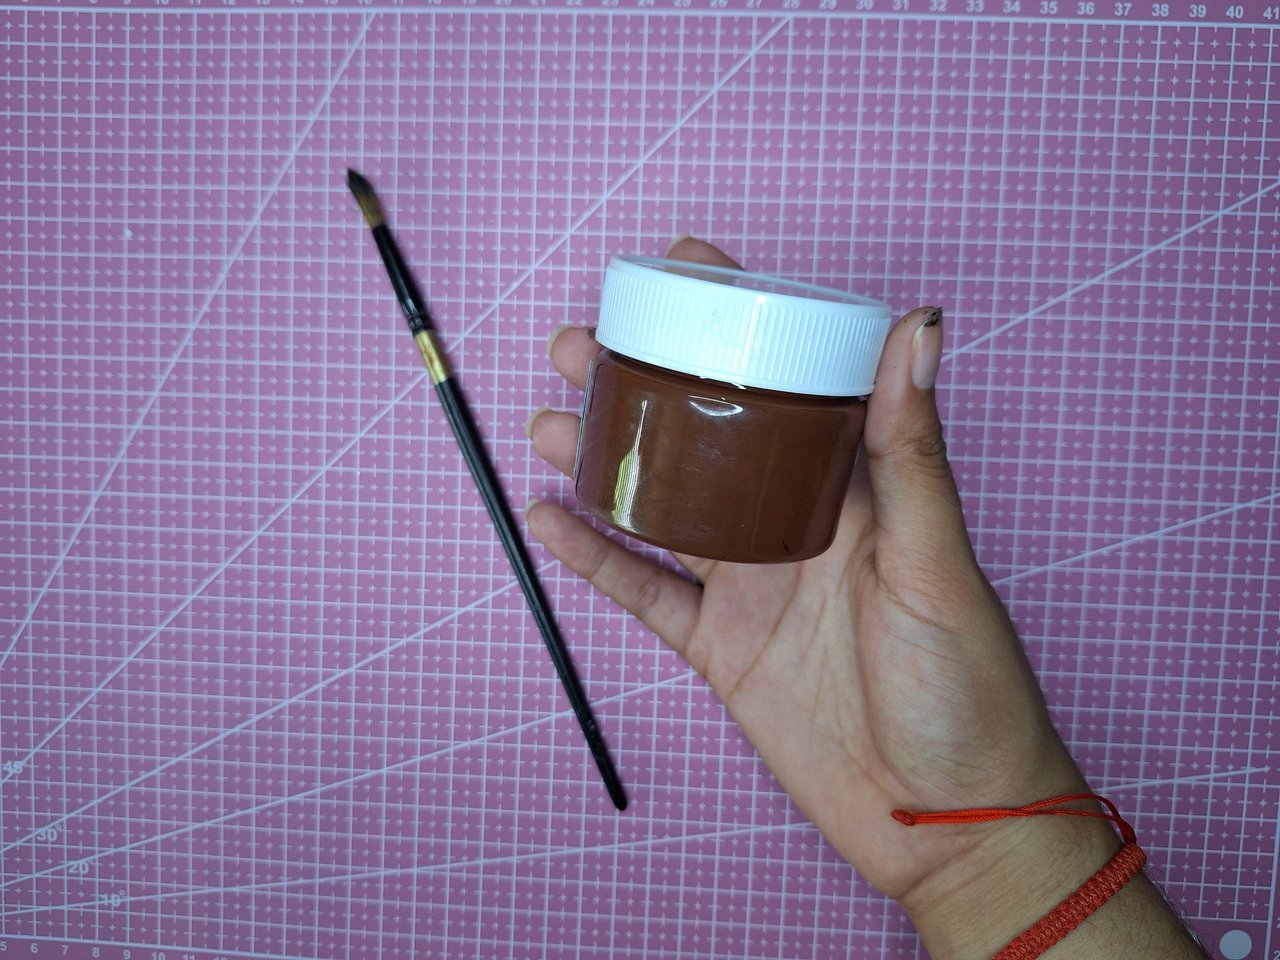
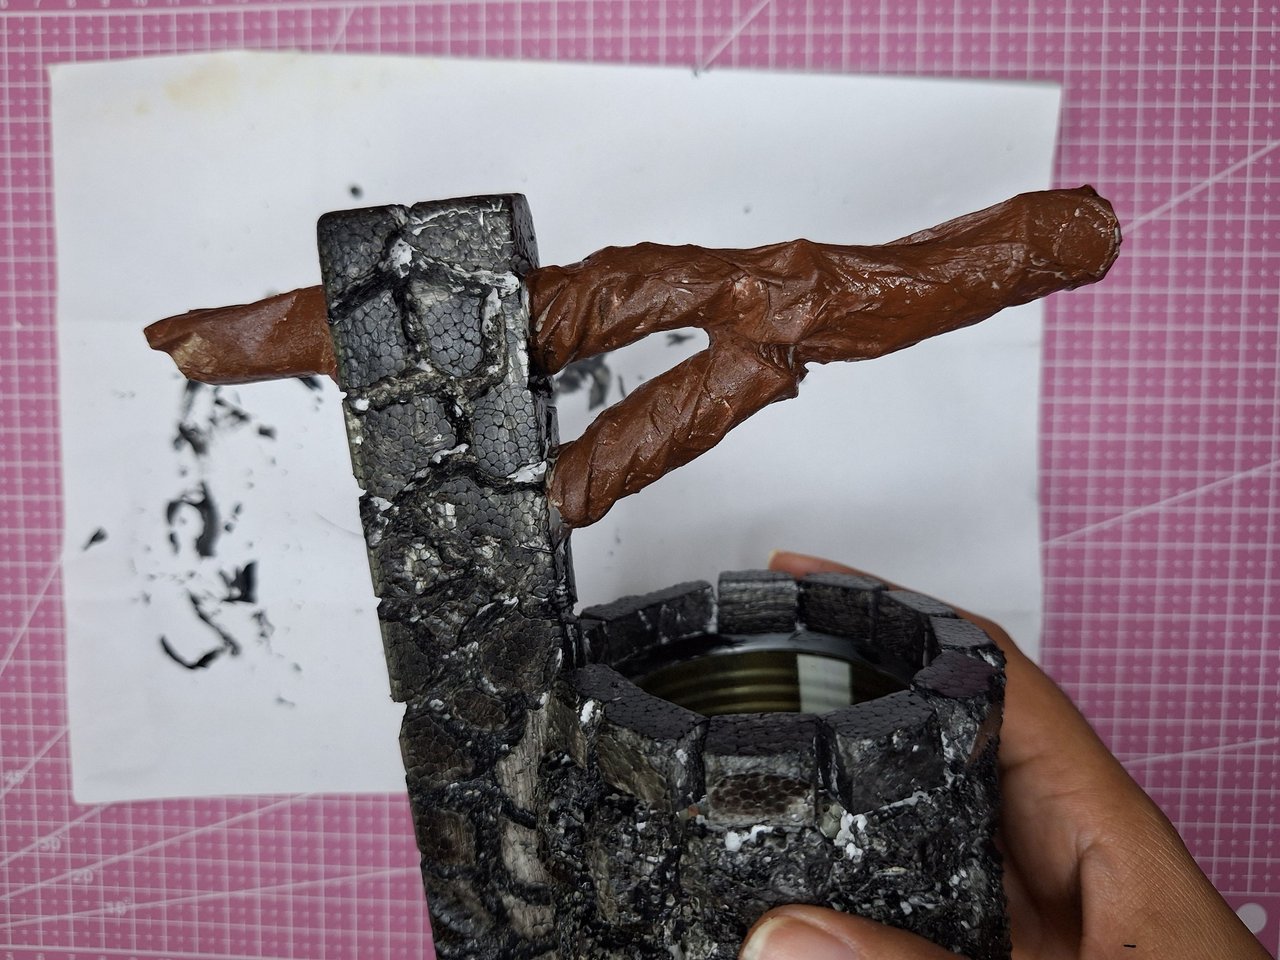
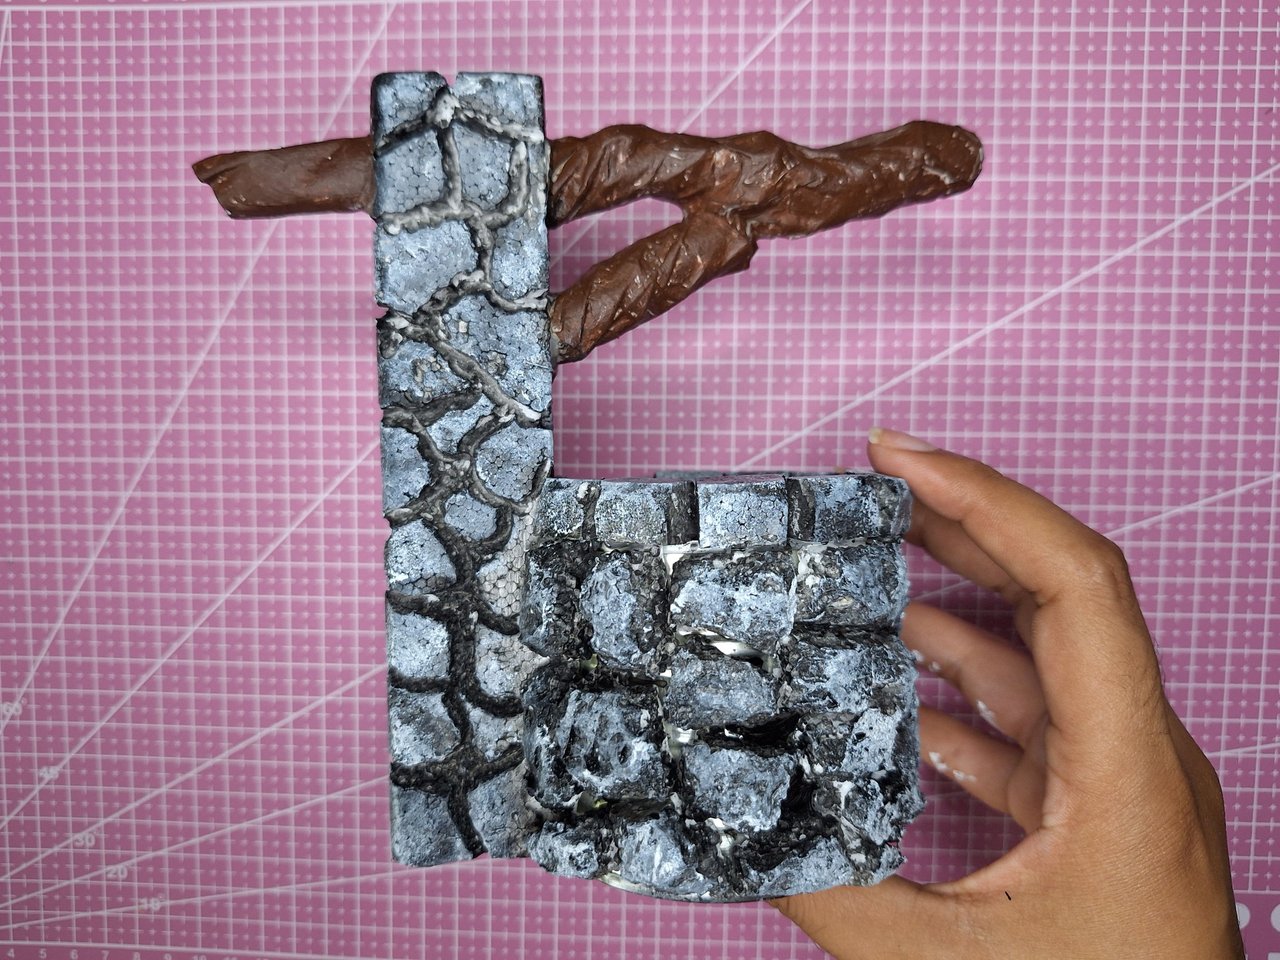
With black paint I gave a base to the whole part of the column and the well, while with brown paint I painted the twisted paper that would become a trunk.
Con pintura negra le di una base a toda la parte de la columna y del pozo, mientras que con la pintura marrón pinté el papel torcido que se convertiría en un tronco.
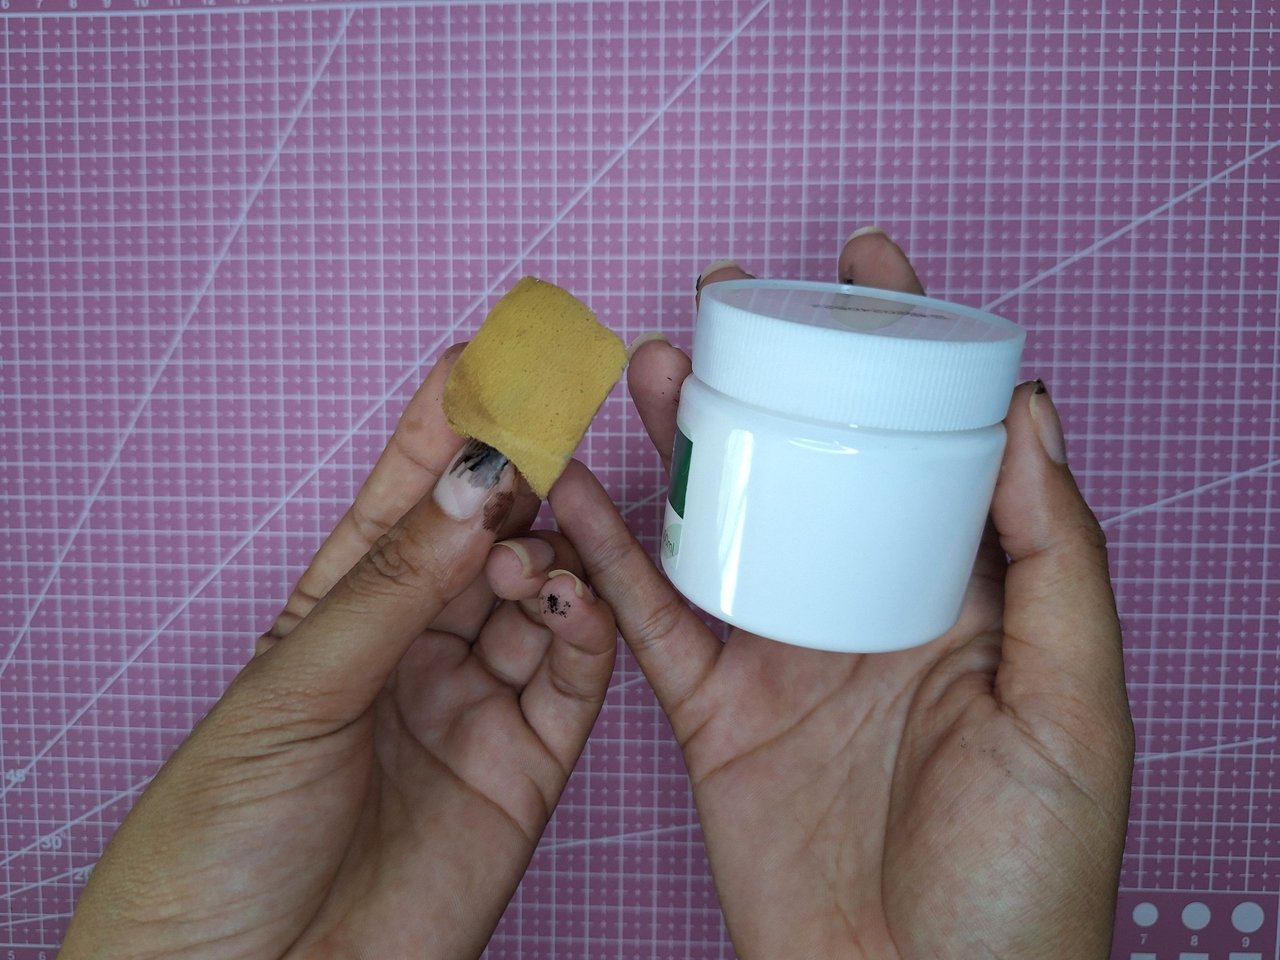
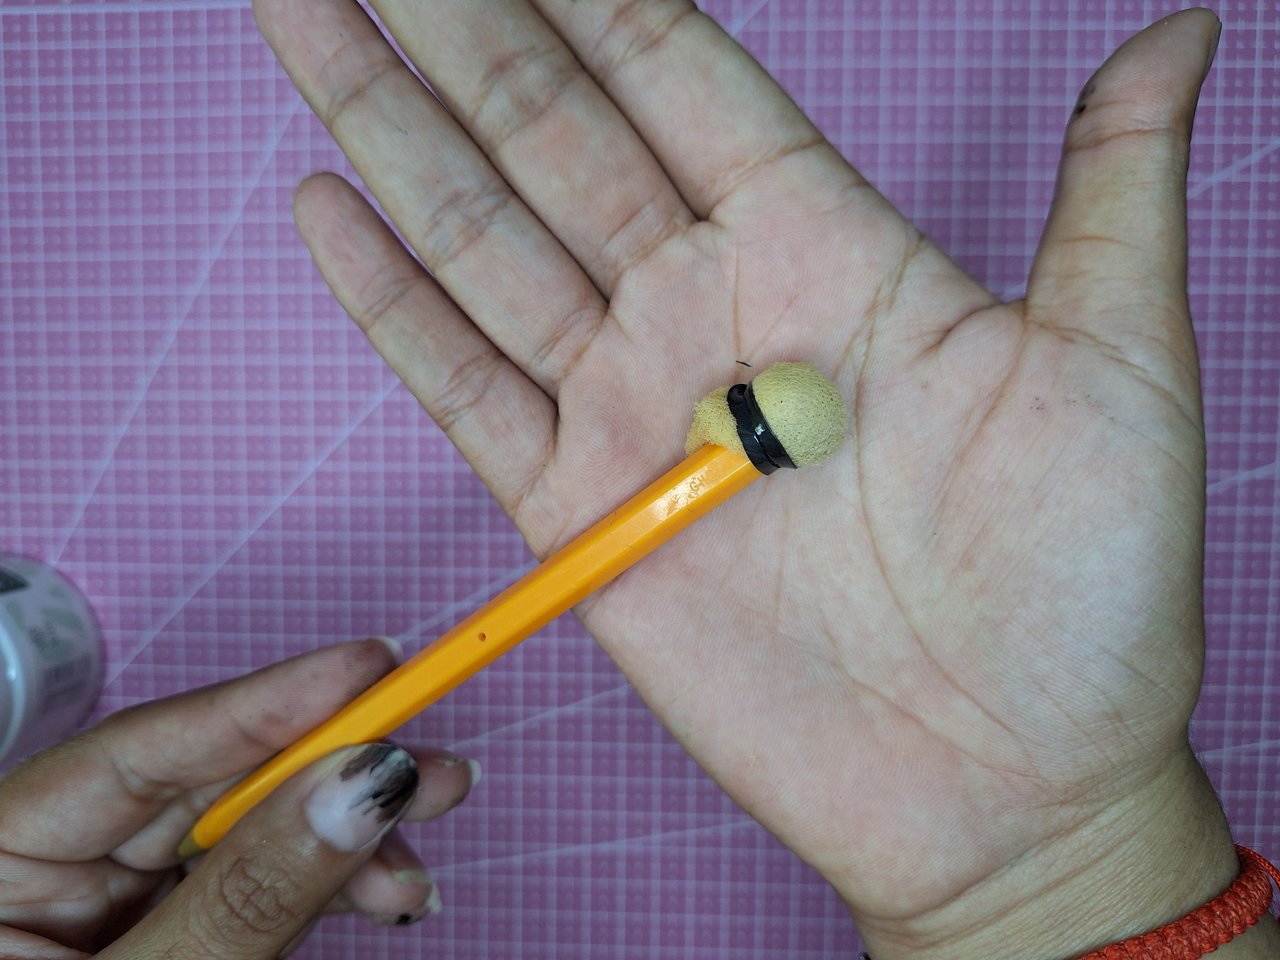
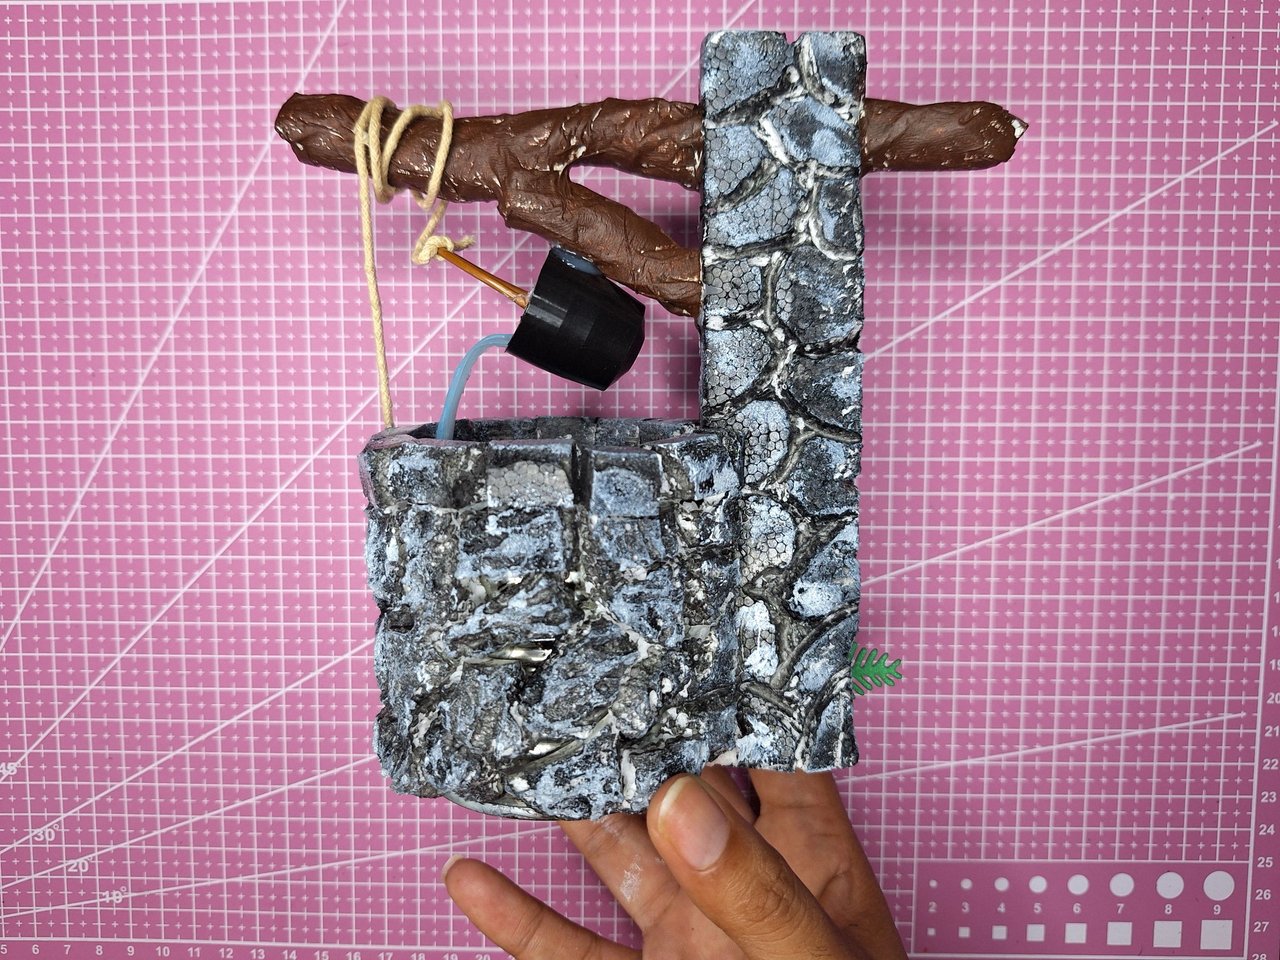
With white paint I would highlight the relief of the stones, I love this effect. I always use a piece of sponge or a brush with hard hairs using the half dry brush technique, but this time I took the sponge, put it on the tip of a pen and tied it with a rubber band, so I wouldn't paint my fingers any more than I already had.
Con pintura blanca resaltaría el relieve de las piedras, me encanta este efecto. Siempre suelo utilizar un pedazo de esponja o un pincel de pelos duros haciendo la técnica del pincel medio seco, pero en esta ocasión tomé la esponja, la coloqué en la punta de un bolígrafo y la amarré con una liga, así no me pintaría más los dedos de los que ya lo tenía.
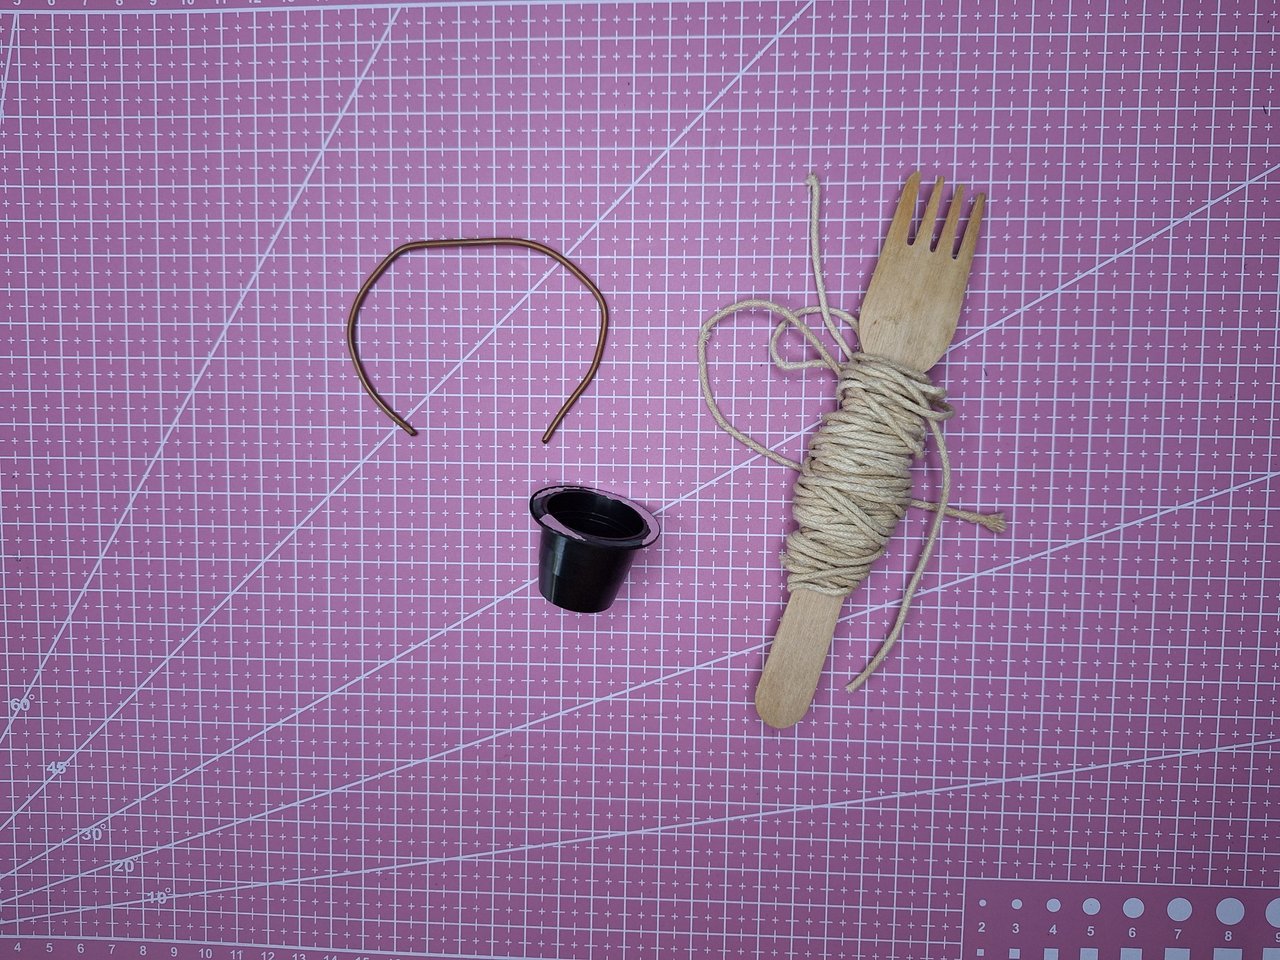
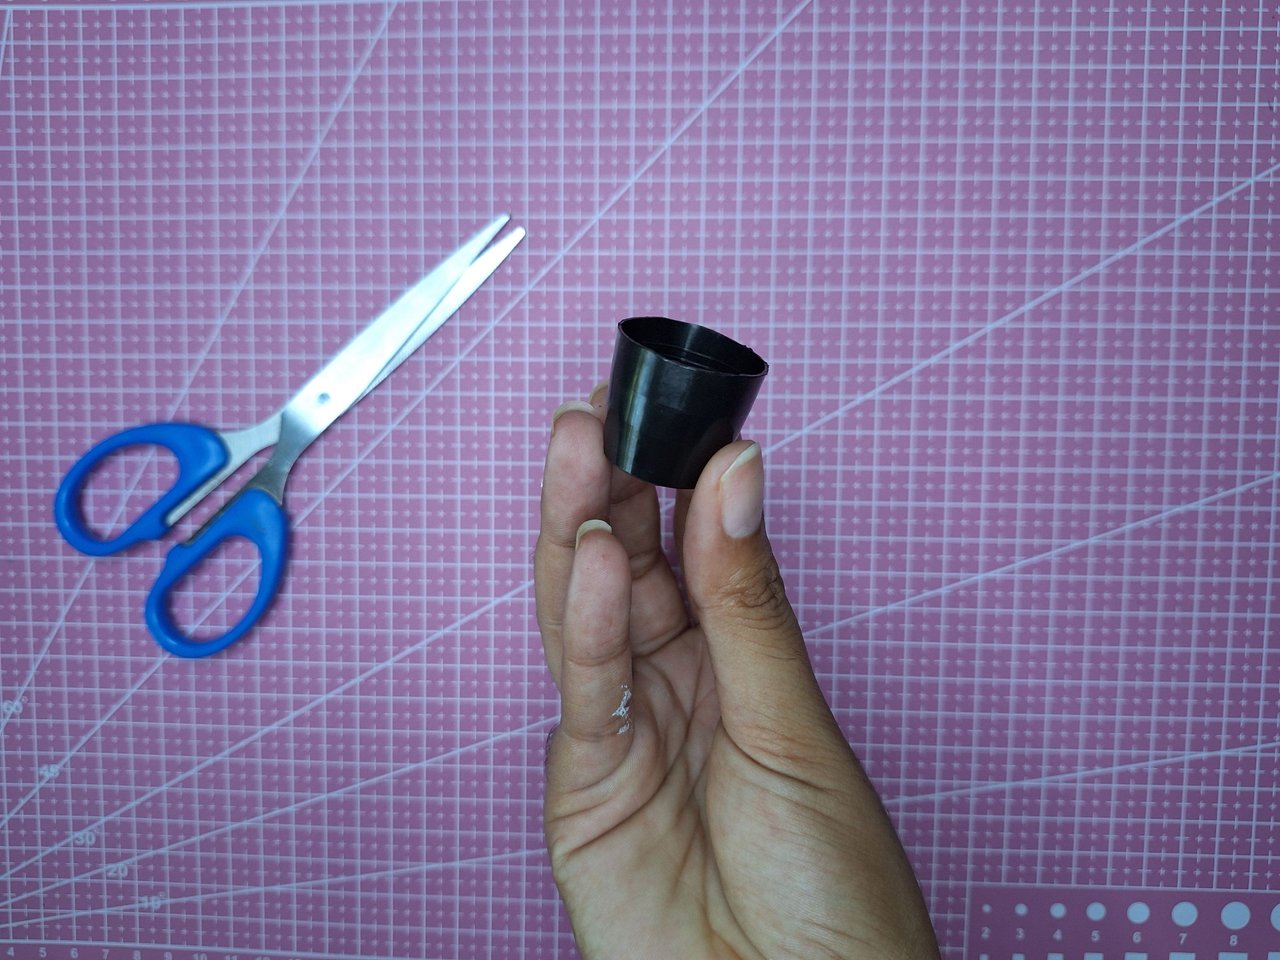
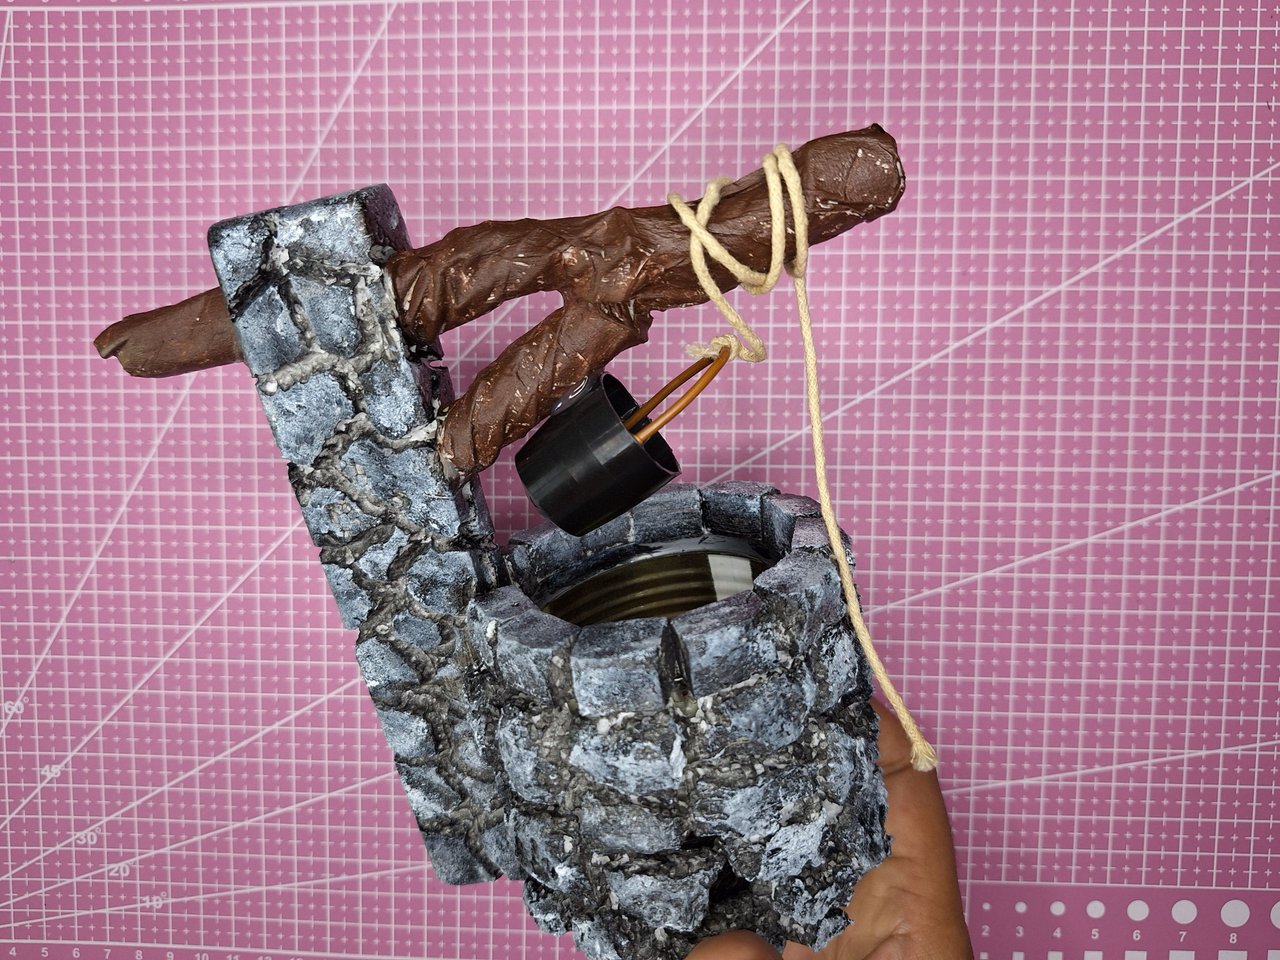
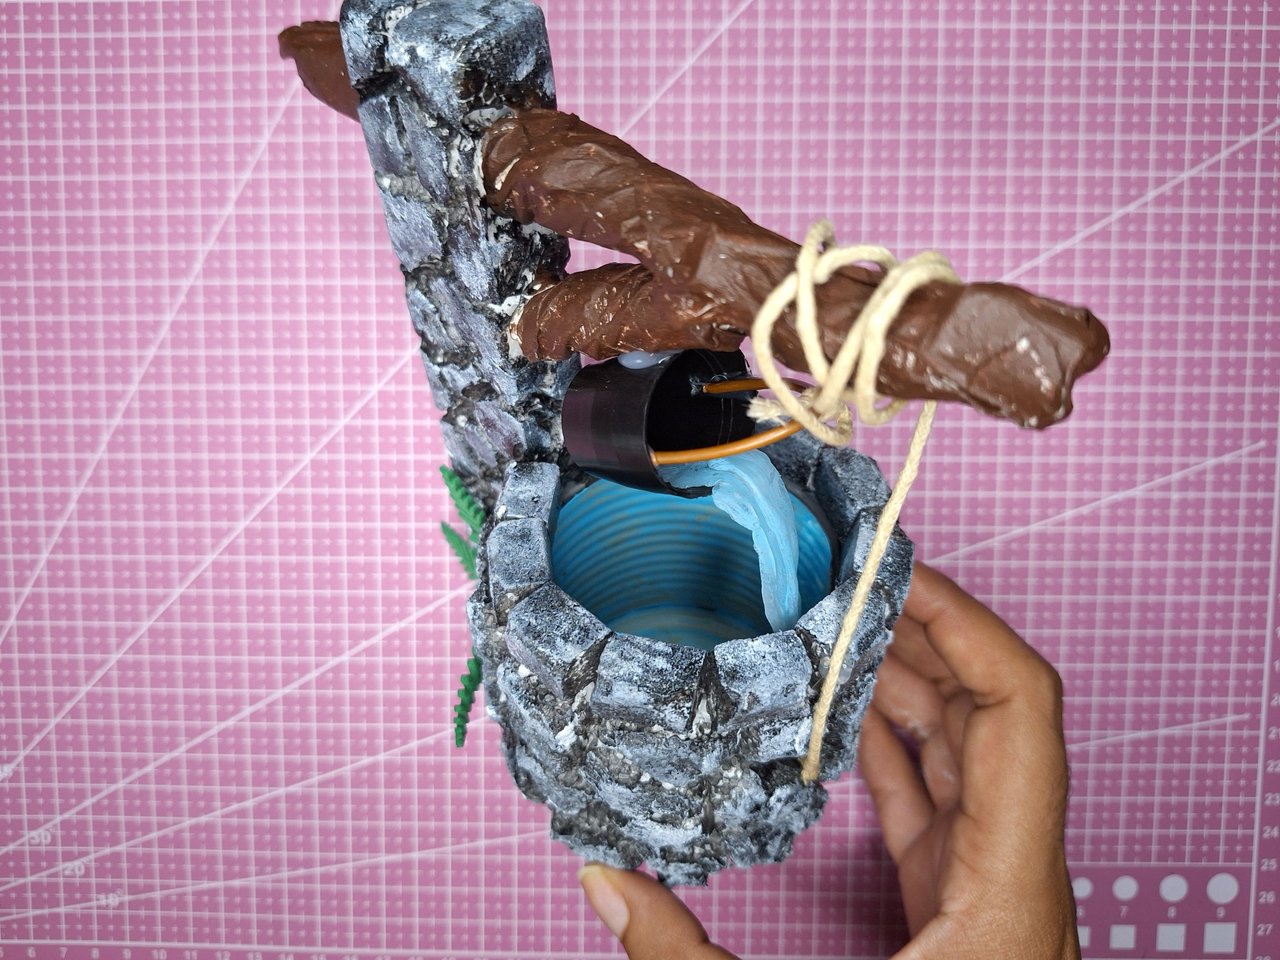
To make the bucket I used a coffee machine container and cut out the entire edge. I glued the wire inside to be the handle and the thread would be the rope, which I wound several times around the trunk and one end I attached to the handle making a knot.
Para hacer el cubo utilicé un recipiente de café de máquina y recorté todo el borde. Pegué el alambre por dentro para que fuese el asa y el hilo sería la soga, la cual enrollé varias veces en el tronco y un extremo lo uní al asa haciendo un nudo.
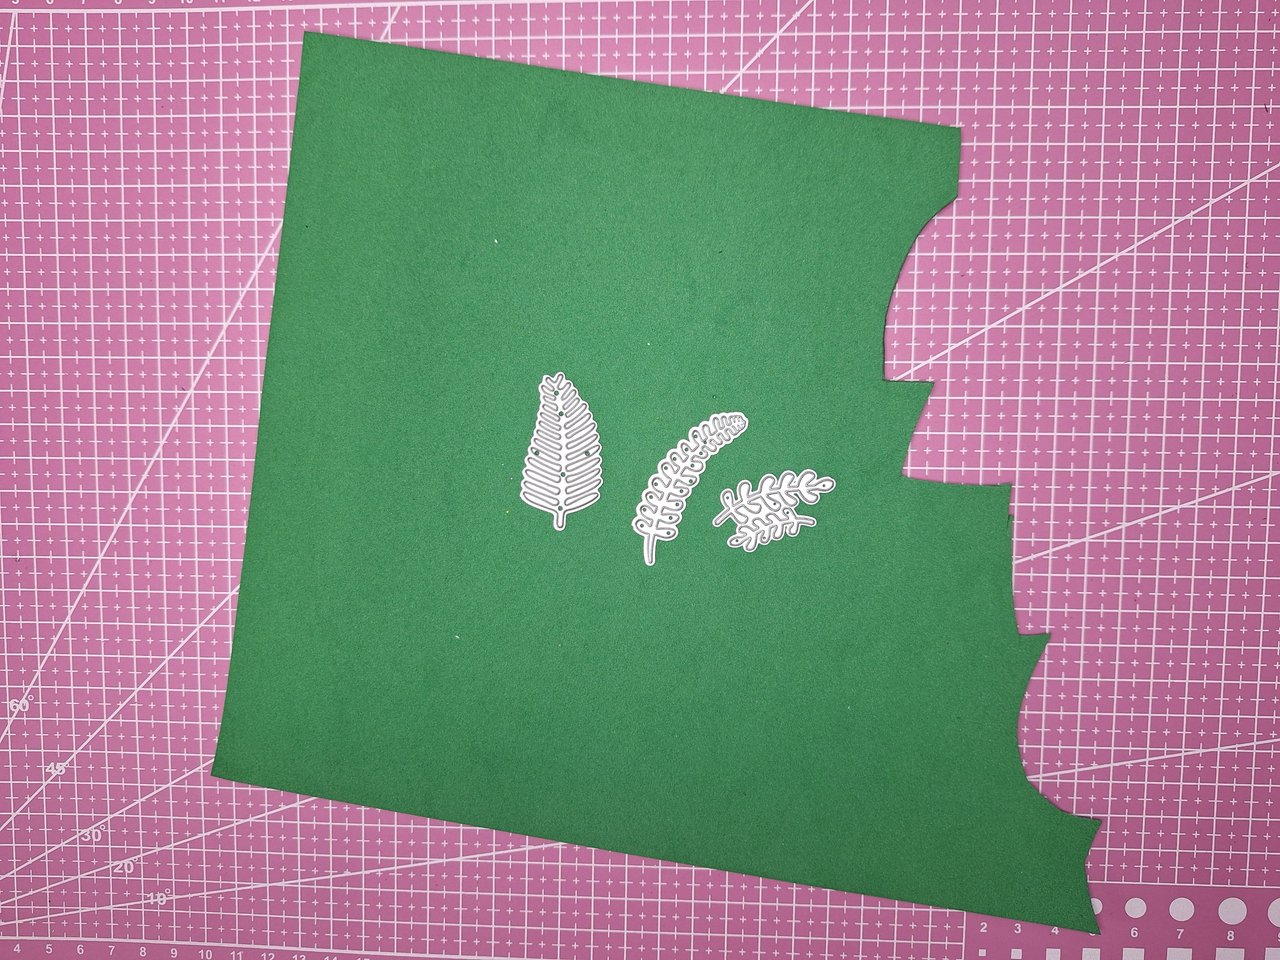
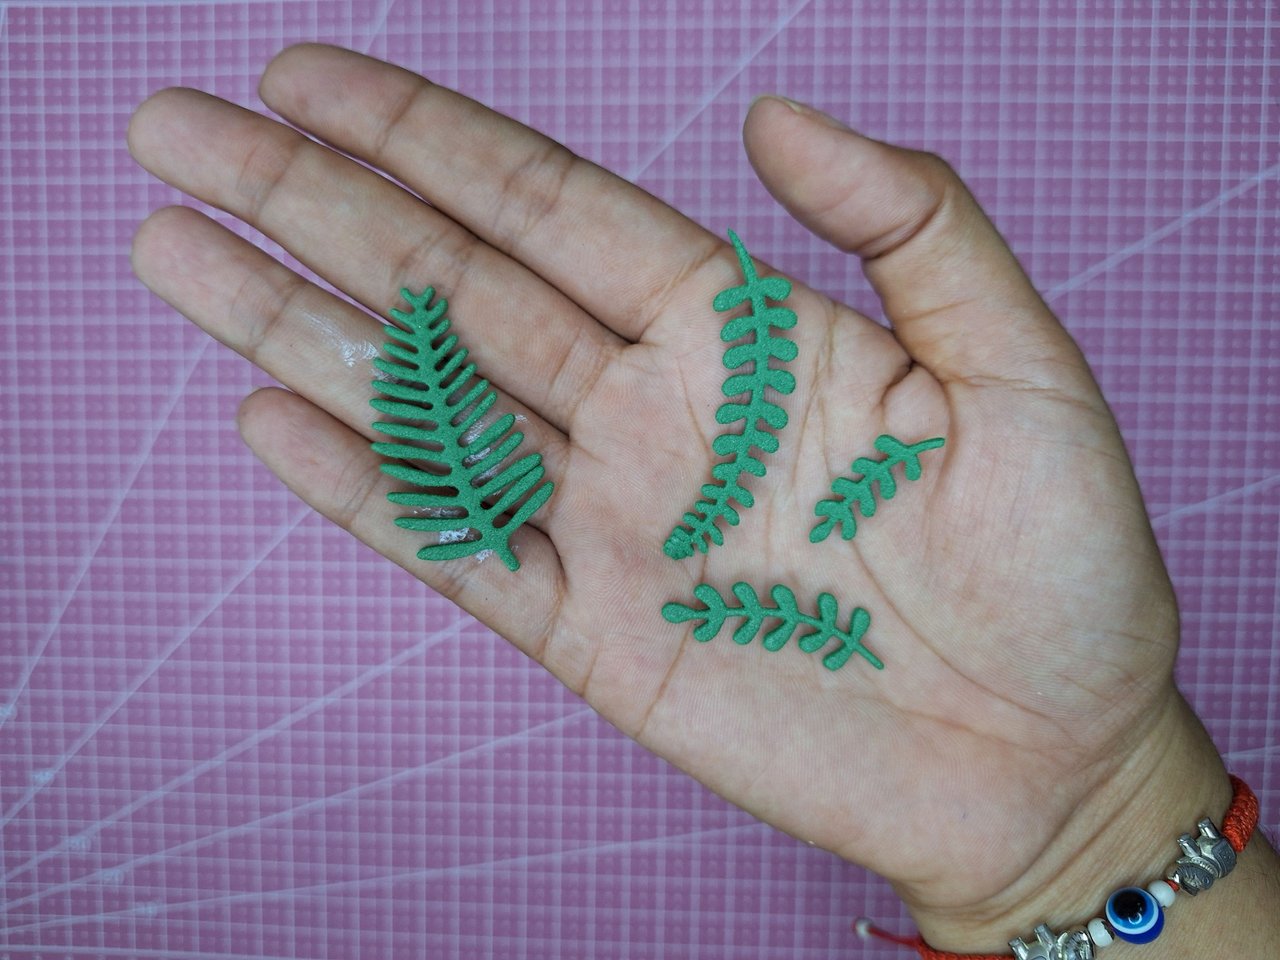
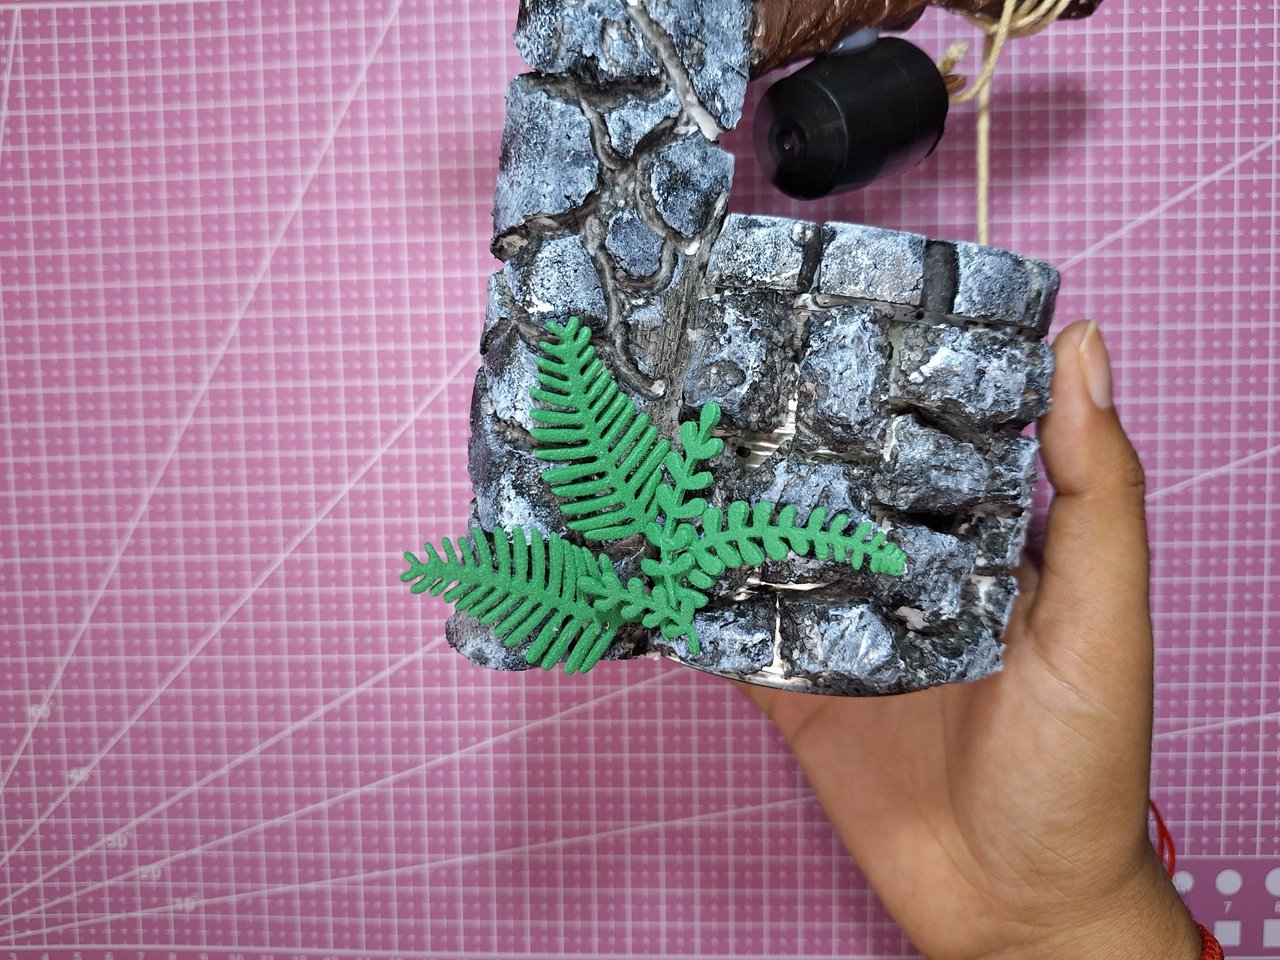
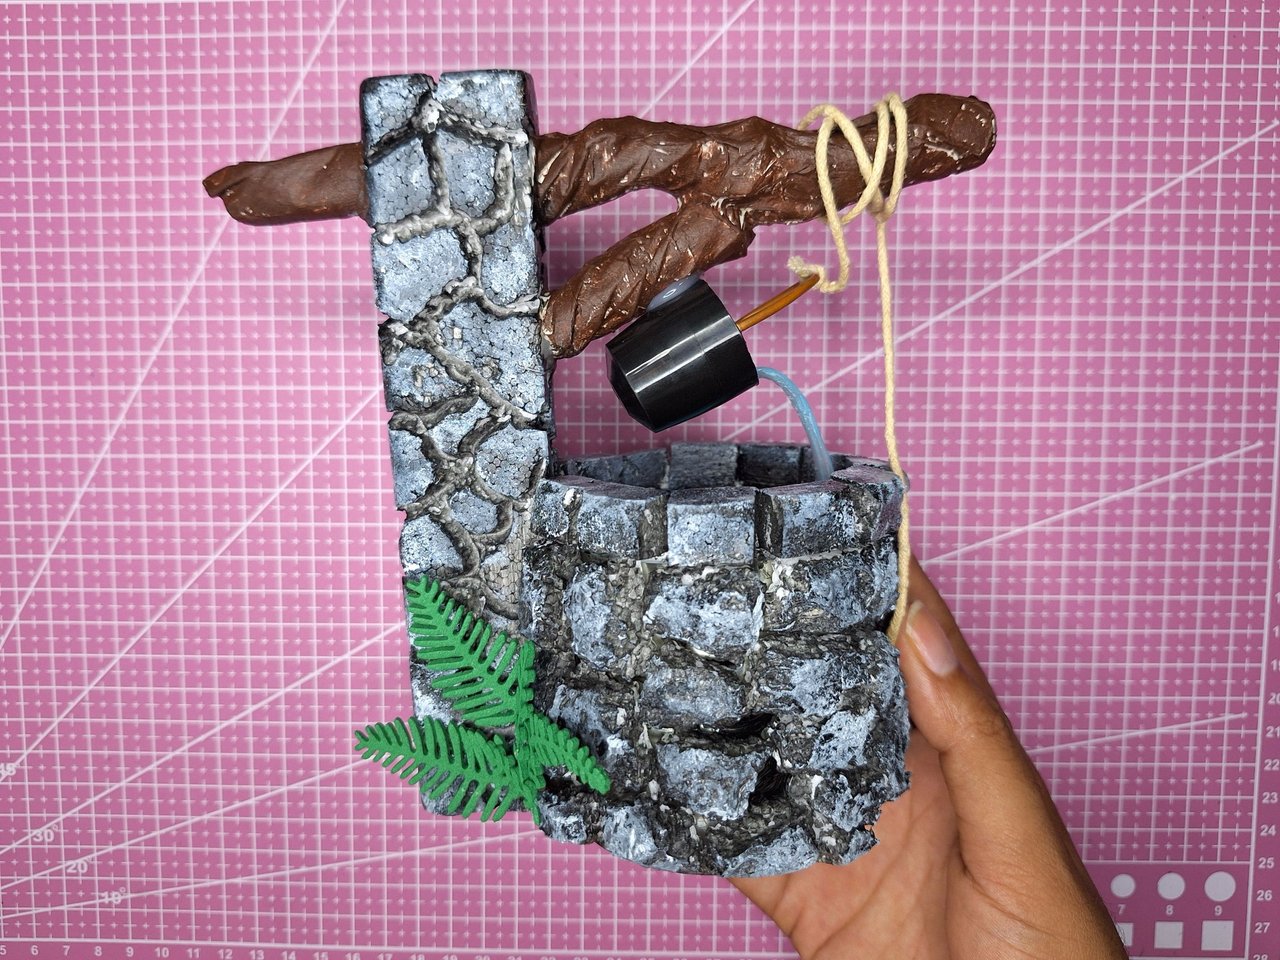
With green foami and some leaf-shaped dies, I made some leaves that I placed in the lower part of the well, like ferns that usually come out due to humidity.
Con foami verde y unos troqueles con forma de hoja, hice algunas hojas que coloqué en la parte baja del pozo, como helechos que habitualmente salen por la humedad.
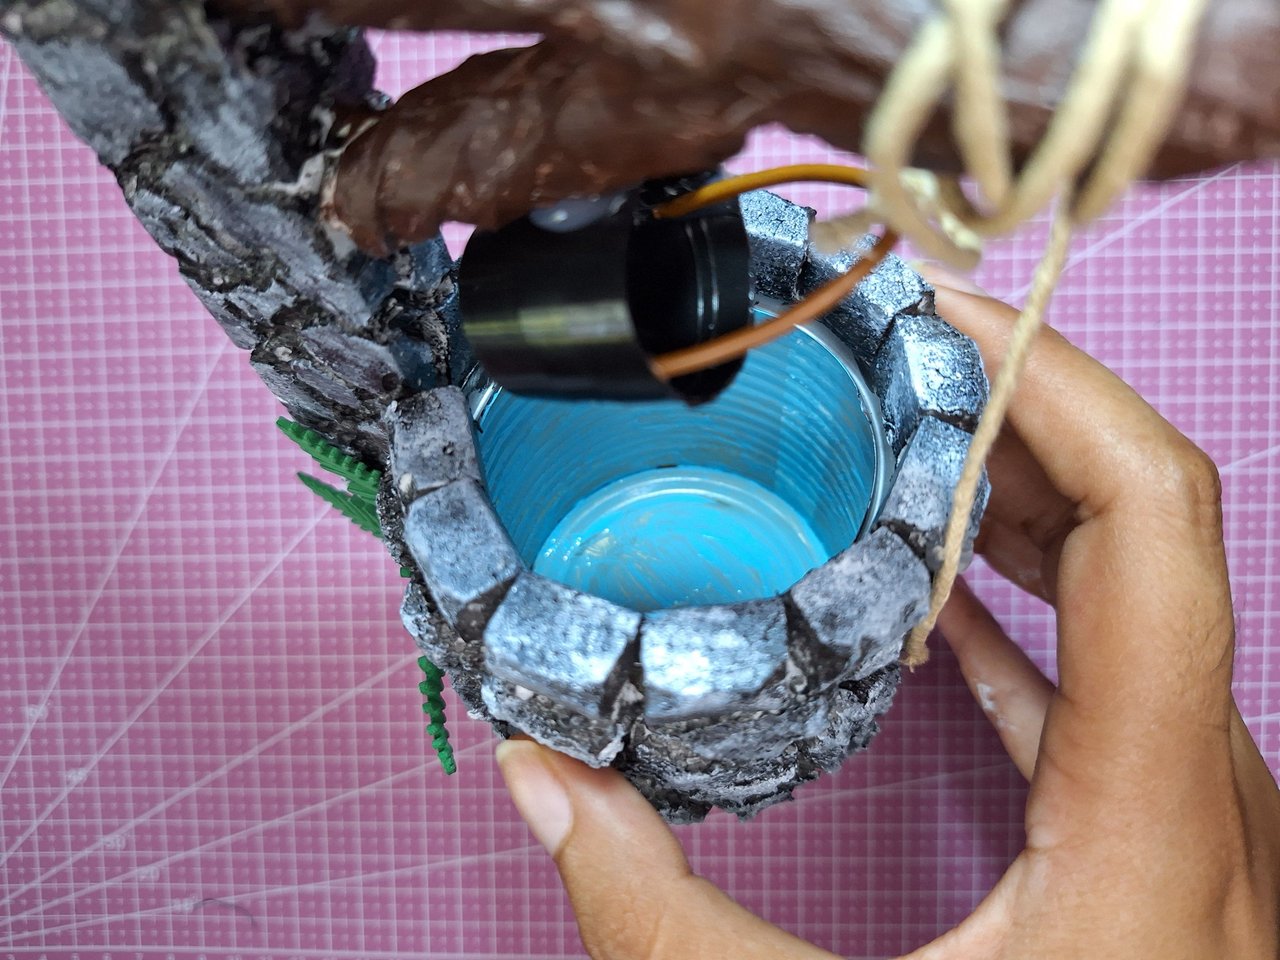
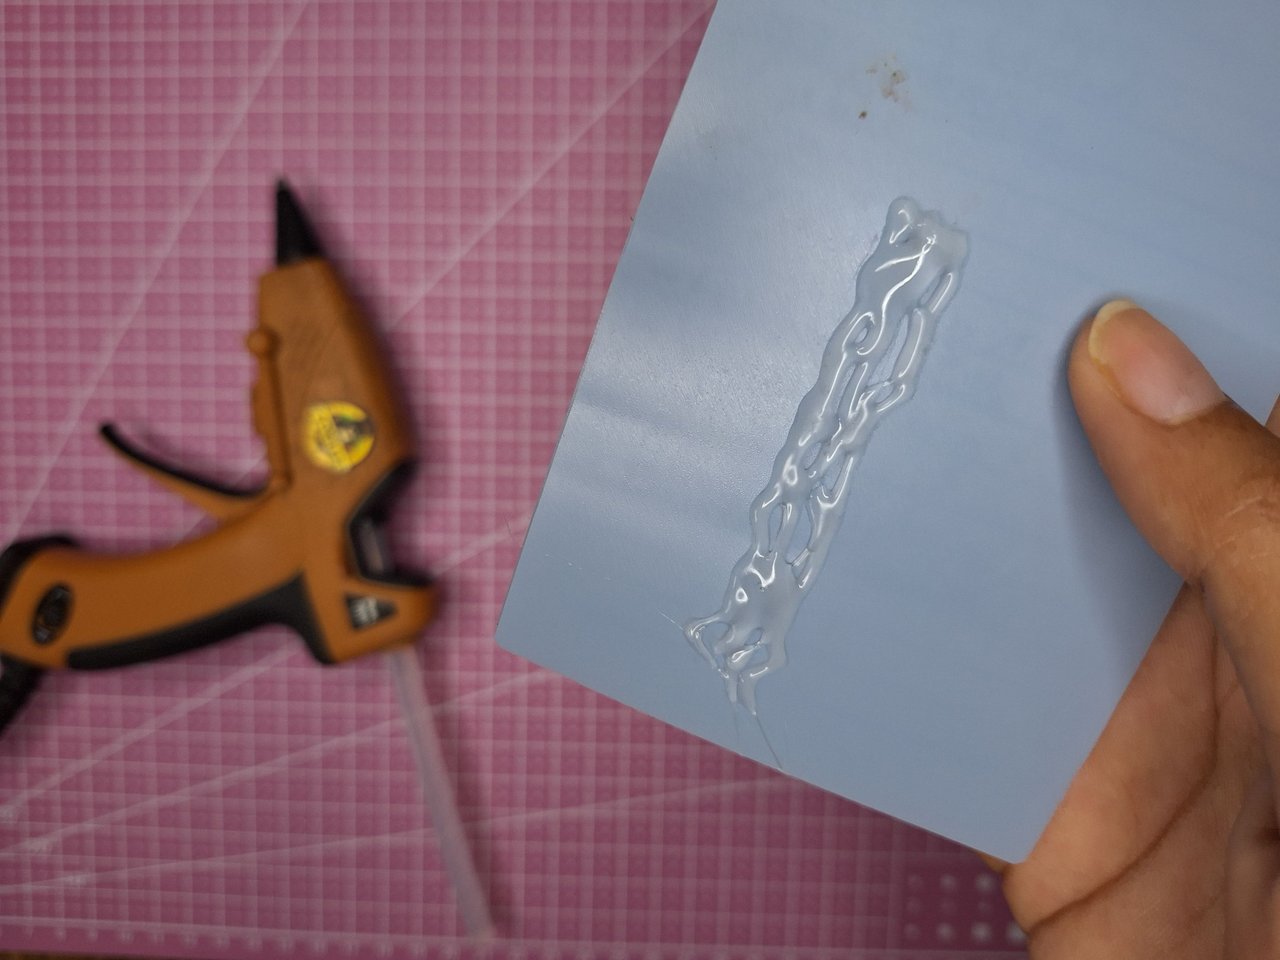
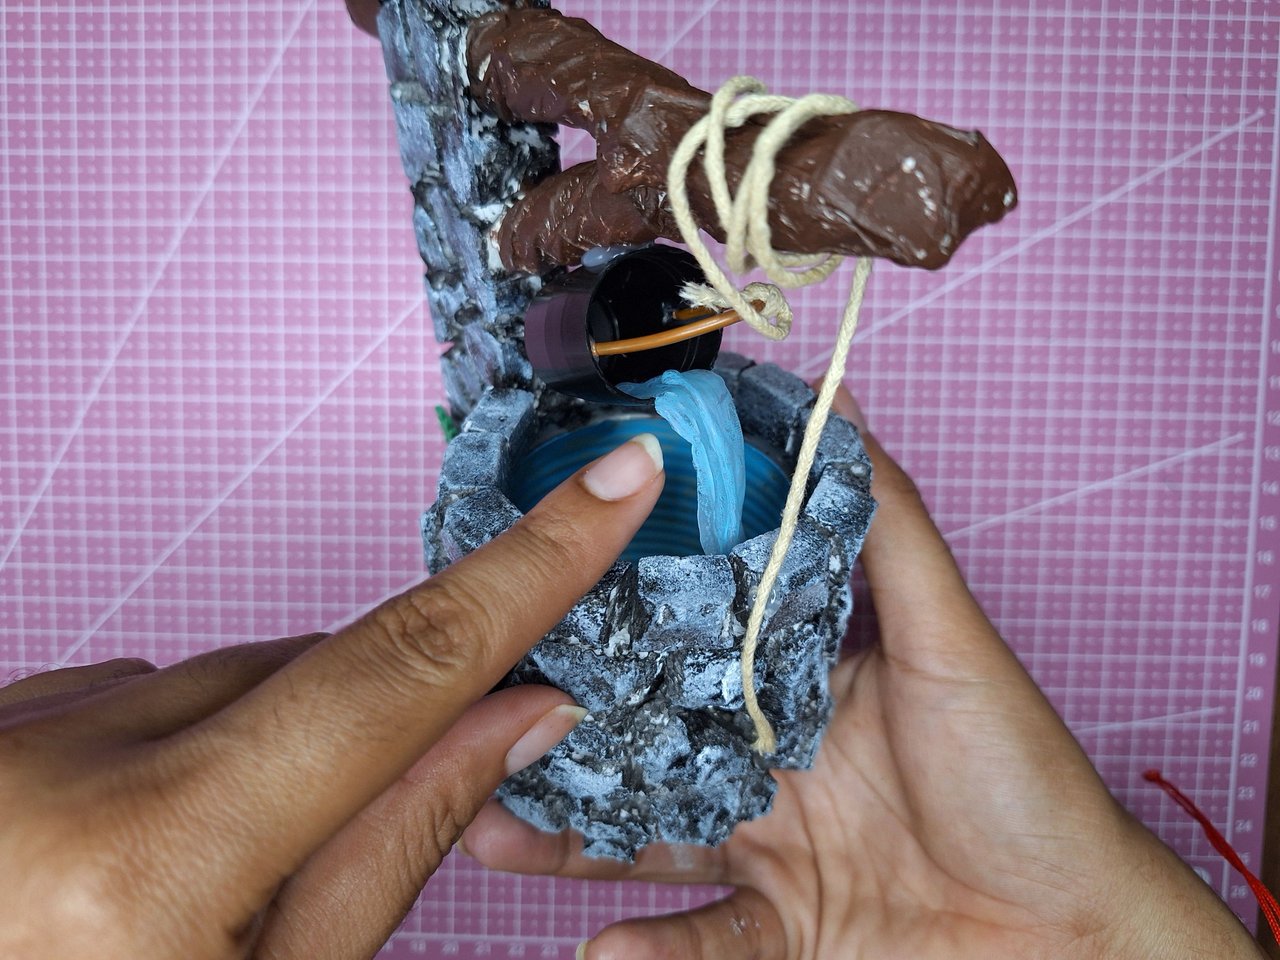
With blue paint I painted the inside of the well to make it look like it had water and on a plastic plate I made silicone lines that I then painted light blue to make it look like a stream of water. I then glued it from the bucket and folded it down as if it were falling.
Con pintura azul pinté el interior del pozo para hacer parecer que tenía agua y sobre una placa de plástico hice líneas de silicona que luego pinté de azul claro para que fuera un chorro de agua. Luego la pegué desde el cubo y la doble hacia abajo como si cayera.
And thus is finished this beautiful miniature water well to decorate any corner of our homes or offices. It occurs to me that it can be used as a pencil holder, as some can be placed inside the well. With the realization of this project I want to honor this precious liquid, so important for all living beings in general, because the wells provide us with drinking water that we consume every day. I hope you liked it, leave me in the comments what you thought and new suggestions. Best regards.
Y de esta forma se encuentra terminado este hermoso pozo de agua en miniatura para decorar cualquier rincón de nuestros hogares u oficinas. Se me ocurre que se puede utilizar como portalápiz, pues se pueden colocar algunos en el interior del pozo. Con la realización de este proyecto quiero honrar este preciado líquido, tan importante para todos los seres vivos en general, pues los pozos nos brindan el agua potable que consumimos día a día. Espero que les haya gustado, déjame en los comentarios qué te pareció y nuevas sugerencias. Un saludo.
• • •⊰💦⊱•⊰💦⊱•⊰💦⊱•⊰💦⊱• •
***Photos of my property taken with the phone
Cover made in Canva
English is not my native language, translated by*** [DeepL](https://www.deepl.com)
• • •⊰💦⊱•⊰💦⊱•⊰💦⊱•⊰💦⊱• •