**For each subject I have a different notebook, that system helps me to be more efficient and orderly.**
Today I have finished the sheets of my "notebook for Hive" and I have to prepare a new one (っ ˘з (˘⌣˘) ♡

✨ 🍓 🌸 🍥 🌸 🍓 ✨
« 𝕋 𝕆 𝕆 𝕃 𝕊 • 𝔸 ℕ 𝔻 • 𝕄 𝔸 𝕋 𝔼 ℝ 𝕀 𝔸 𝕃 𝕊 »
✨ 🍓 🌸 🍥 🌸 🍓 ✨
« Let's turn a regular notebook into something special! »

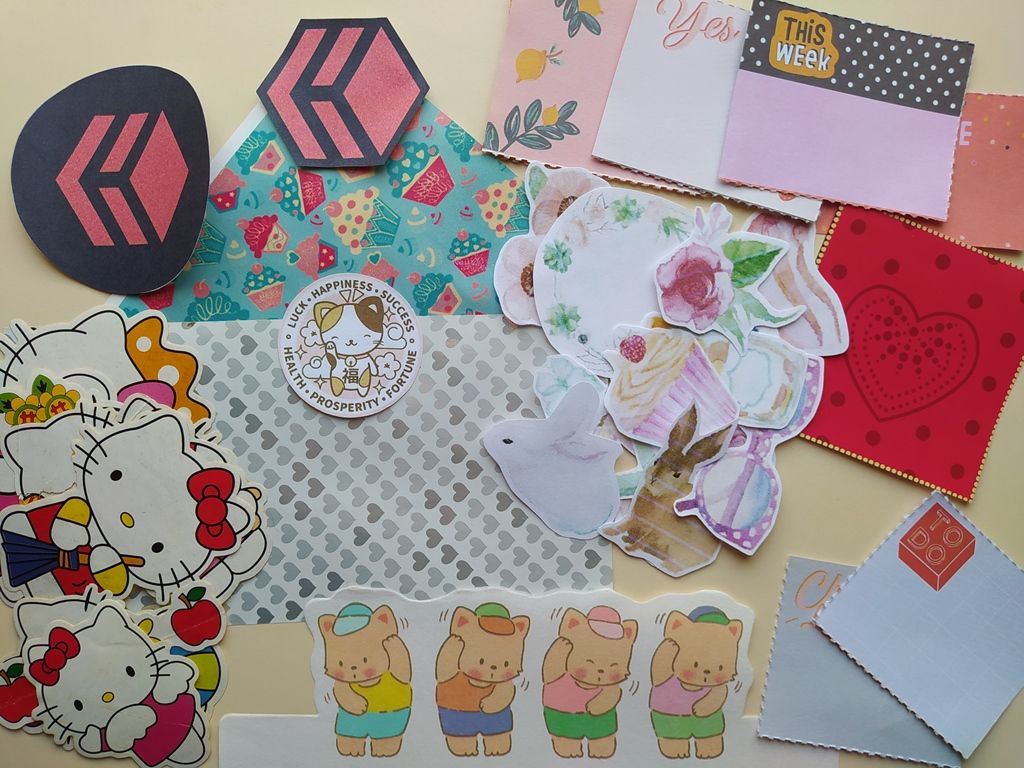
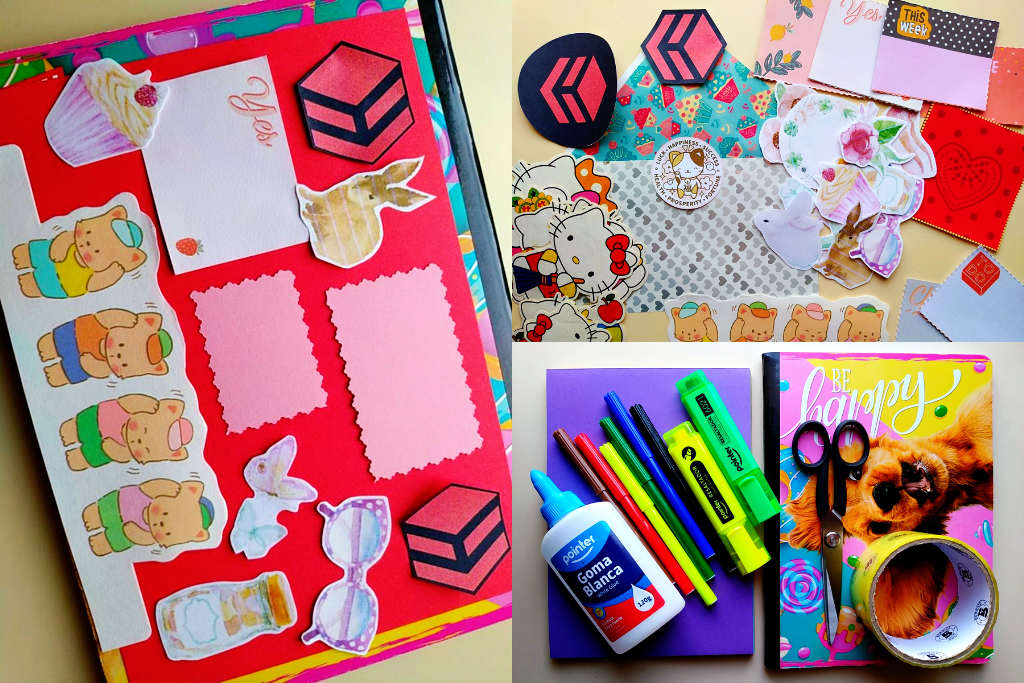
【 PASO 1 】 El primer paso es recortar y reunir distintos tipos de imágenes pequeñas que te gusten. Pueden ser viejos stickers, recortes de papel de regalo, o imágenes impresas que hayas pre seleccionado.
【 STEP 1 】 The first step is to cut out and gather different types of small images that you like. They can be old stickers, gift wrap clippings, or printed images that you have pre-selected.
✨ 🍓 🌸 🍥 🌸 🍓 ✨
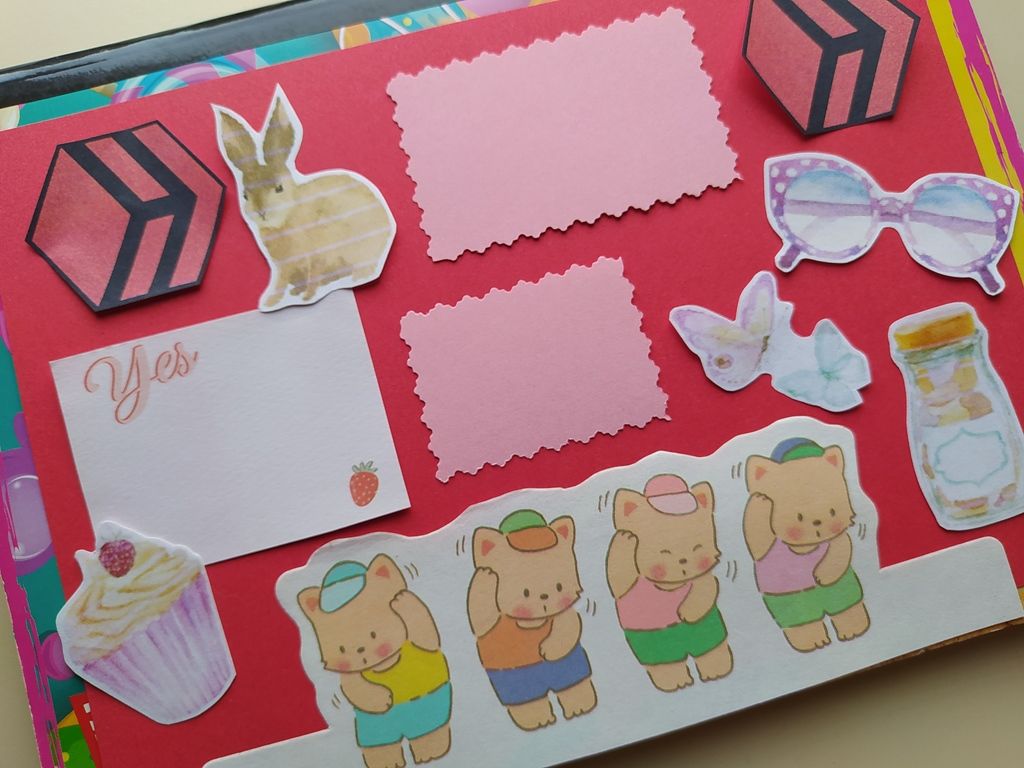
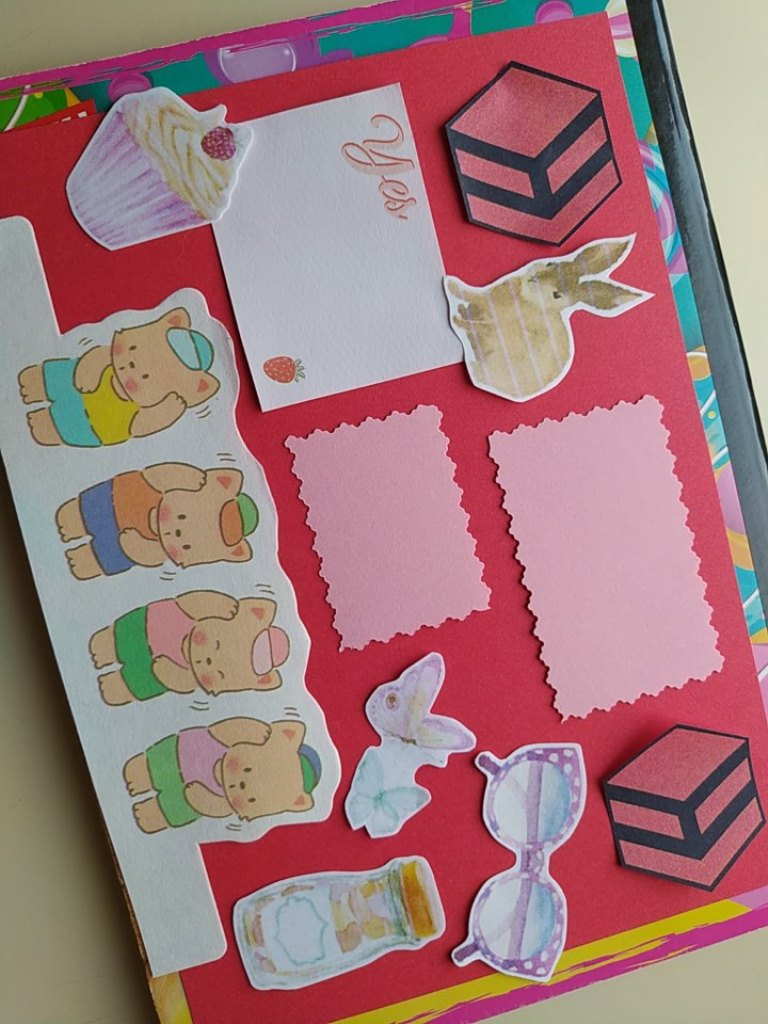
【 PASO 2 】 A continuación juega con el orden y configuración de los recortes de papel sobre la portada del cuaderno, hasta encontrar una secuencia que te guste (¡tómale una foto con tu celular para que no se te olvide el orden y lugar de cada cosa!).
【 STEP 2 】 Then play with the order and configuration of the paper cut-outs on the cover of the notebook, until you find a sequence that you like (take a picture with your cell phone so you don't forget the order and place of each item!).
✨ 🍓 🌸 🍥 🌸 🍓 ✨

【 PASO 3 】 Con mucho cuidado pega una a una cada pieza de papel; recomiendo utilizar una baja cantidad de pegamento para evitar excesiva humedad en el collage.
【 STEP 3 】 Carefully glue each piece of paper one by one; I recommend using a low amount of glue to avoid excessive humidity in the collage.
✨ 🍓 🌸 🍥 🌸 🍓 ✨
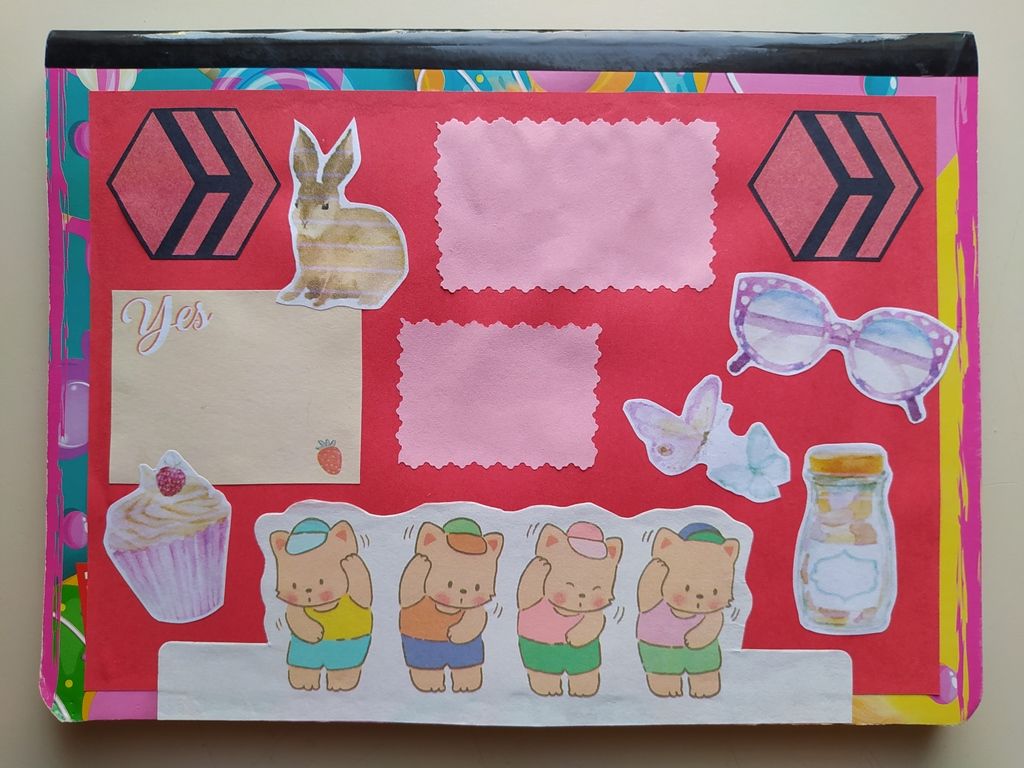
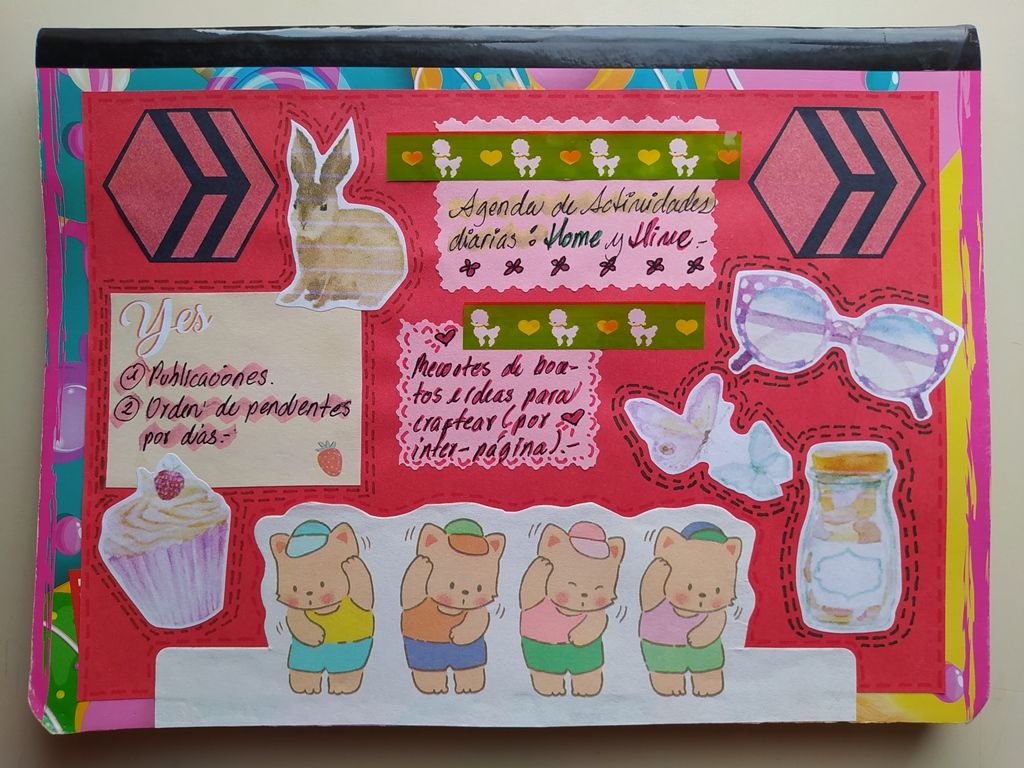
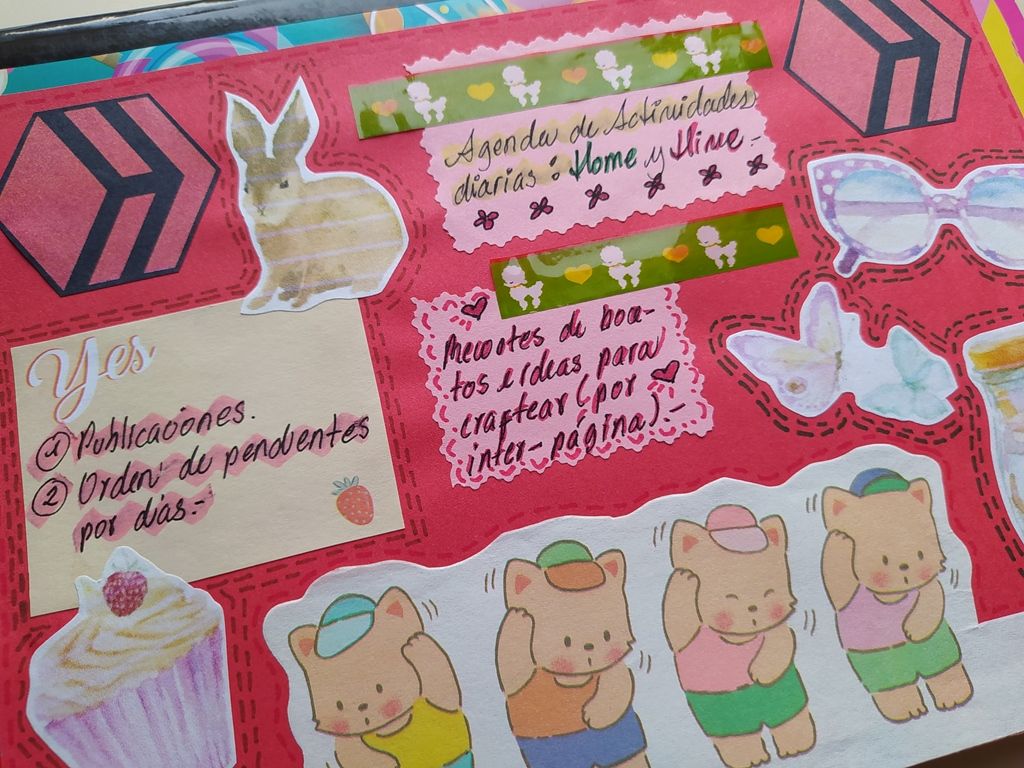
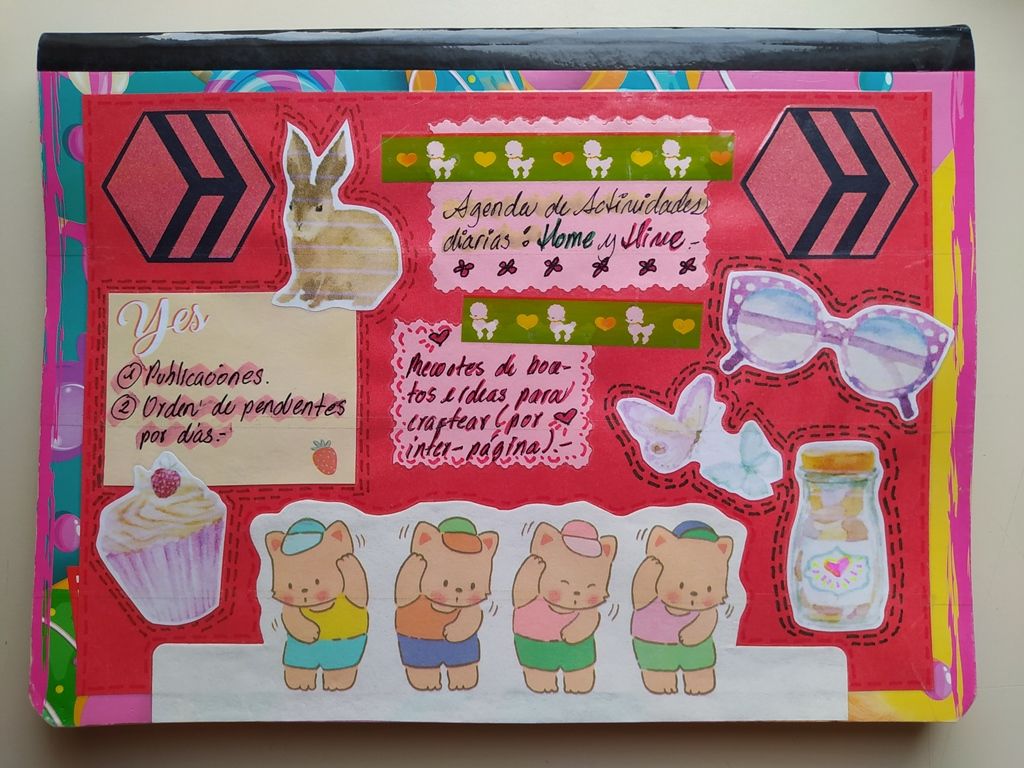
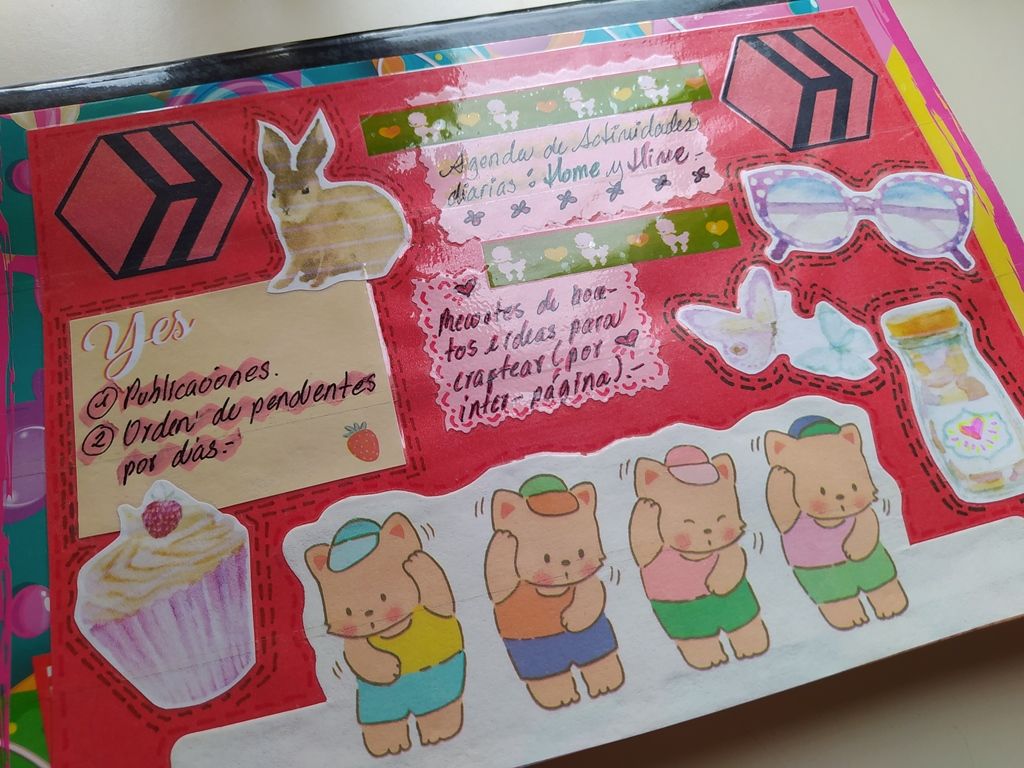
【 PASO 4 】 Escribe algunas anotaciones cortas que te recuerden los temas que contendrá el cuaderno, y finalmente plastifica toda la portada con la cinta adhesiva gruesa.
【 STEP 4 】 Write some short notes that remind you of the topics that the notebook will contain, and finally laminate the entire cover with the thick adhesive tape.
✨ 🍓 🌸 🍥 🌸 🍓 ✨
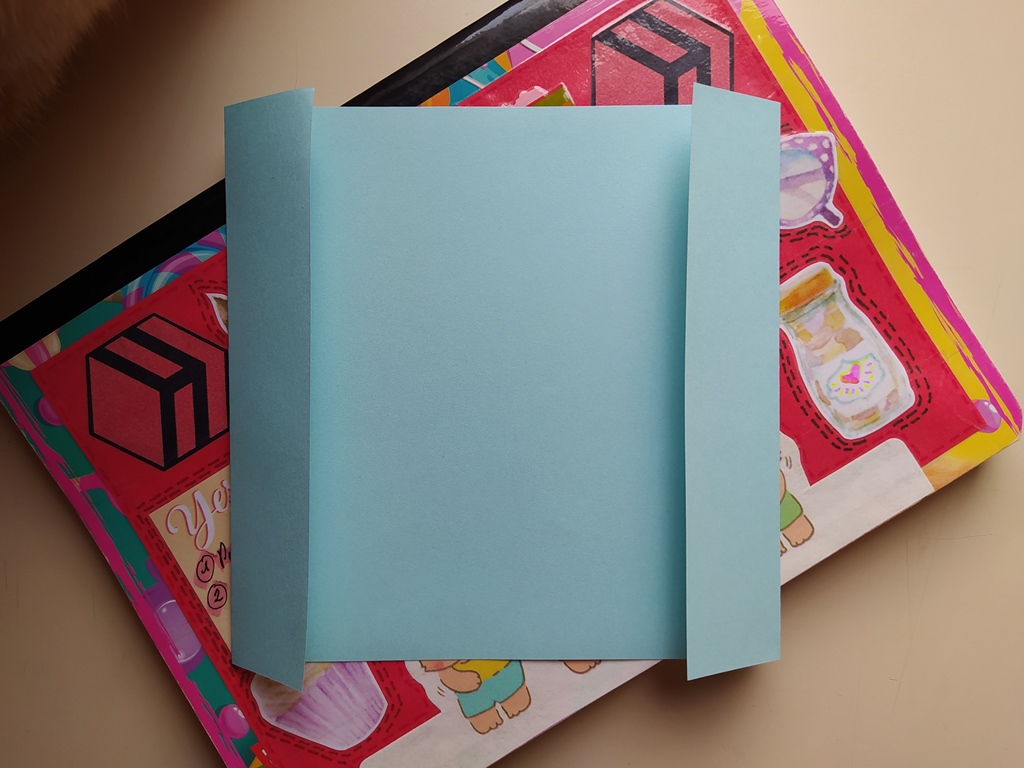
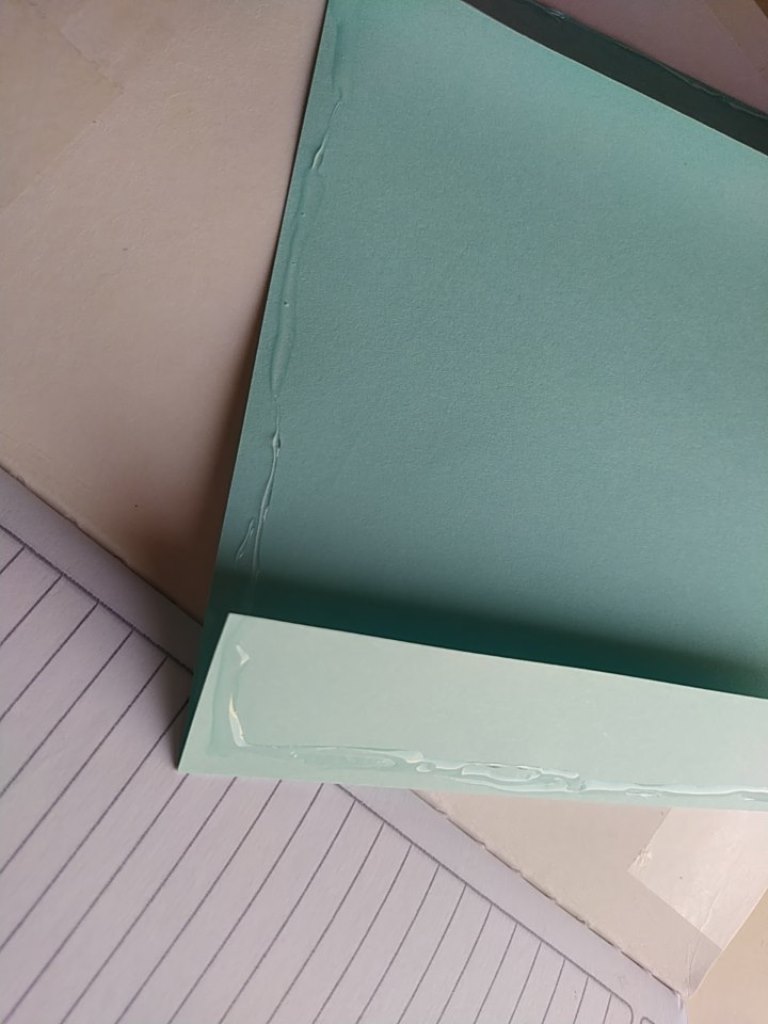
【 PASO 5 】 Y para terminar, mi parte favorita: Elabora en la contra portada un bolsillo con el papel de colores. YO AMO ESTOS BOLSILLOS, me permiten guardar algún documento extra o factura importante, a veces tambien dejo dinero guardado allí para una meta en concreto. Solo toma una hoja de papel, dobla sus esquinas por sus lados mas largos, agrega pegamento en forma de "U", pega y decora.
【 STEP 5 】 And to finish, my favorite part: On the back cover, make a pocket with the colored paper. I LOVE THESE POCKETS, they allow me to keep some extra documents or important bills, sometimes I also keep money in there for a specific goal. Just take a sheet of paper, fold its corners along its longest sides, add glue in a “U” shape, glue and decorate.

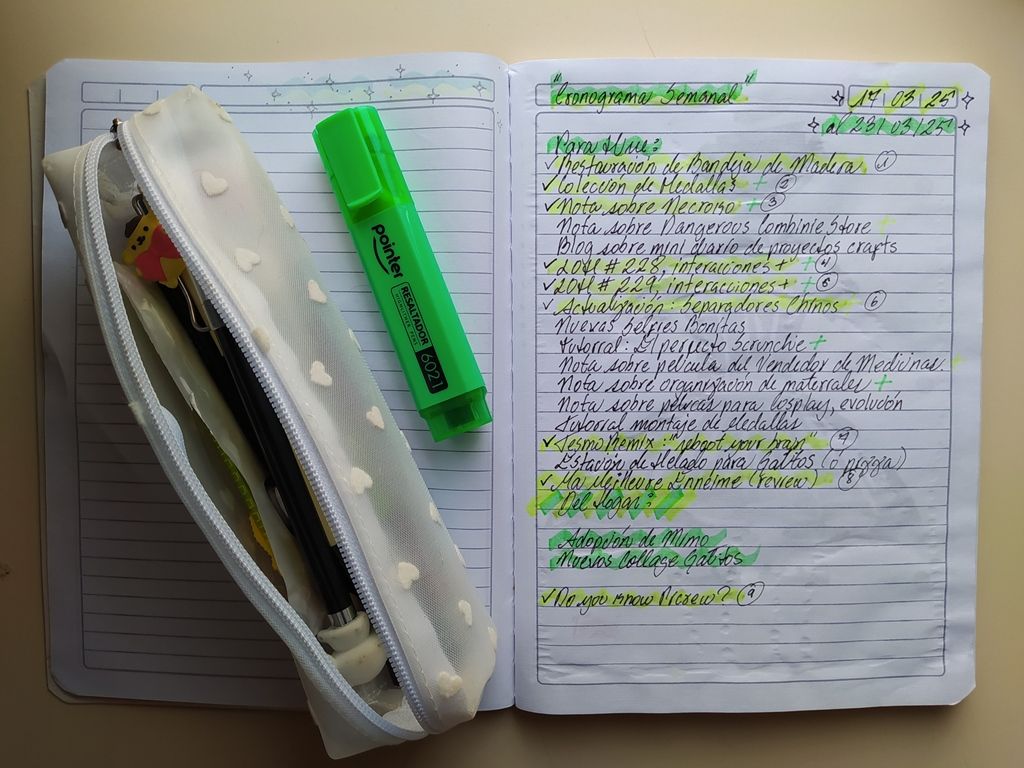 _✦ Here's a past example of what my work lists look like, at least for the Hive posts I want to write or finish editing that week ✦_
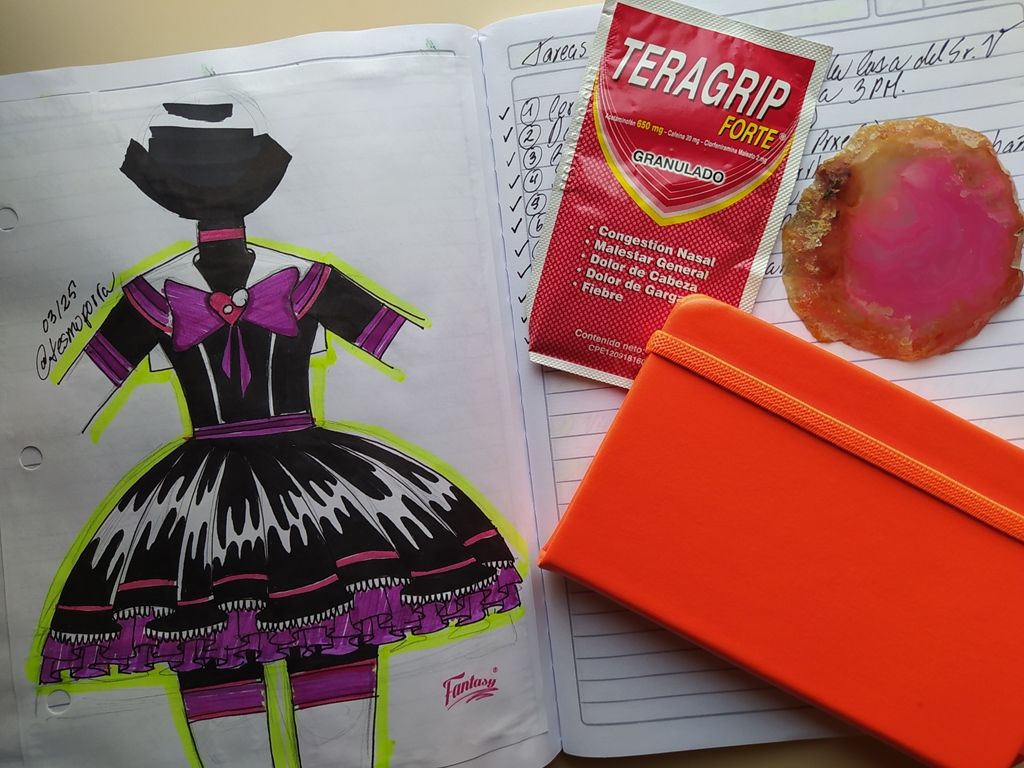 _✦ I also like to write in one direction only, and in the opposite direction of the pages I usually paste clippings of important information or sketches of projects, also silly or important drawings that I don't want to lose ✦_
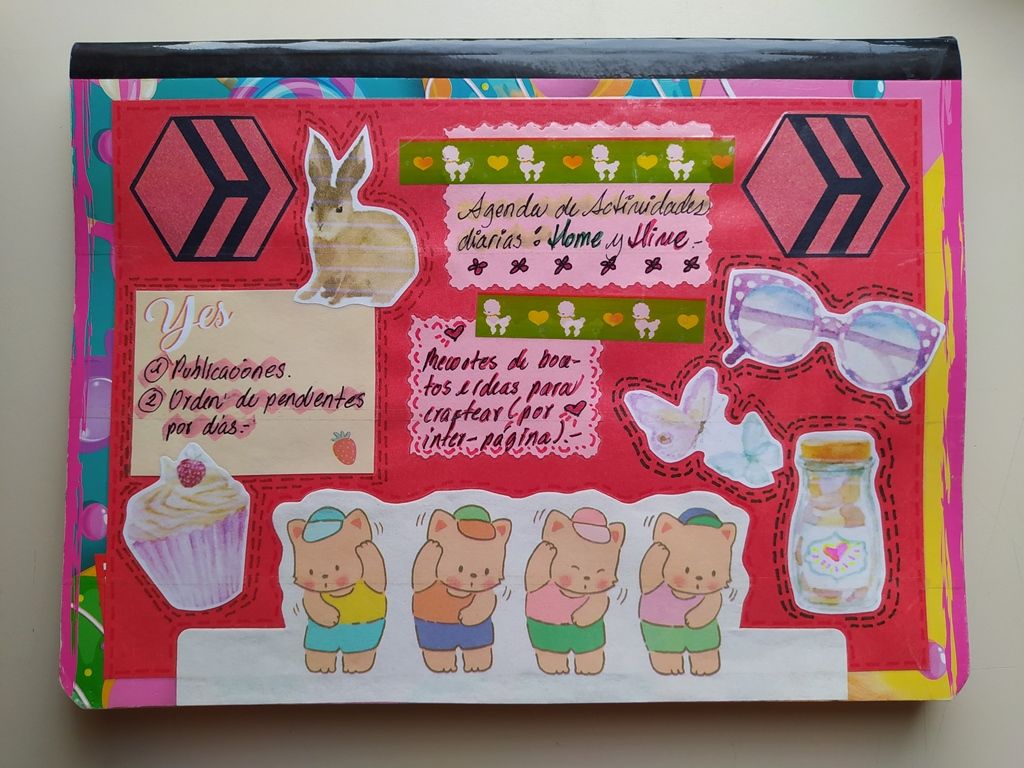 _✦ Here is my new workbook for Hive, I estimate it will last until mid-May if I don't get too excited 9 (◕‿◕) 6 ✦_
✨ 🍓 🌸 🍥 🌸 🍓 ✨
_✦ Here is my new workbook for Hive, I estimate it will last until mid-May if I don't get too excited 9 (◕‿◕) 6 ✦_
✨ 🍓 🌸 🍥 🌸 🍓 ✨
⏳ Tiempo: ⭐⭐/ 5.
🚀 Dificultad: ⭐/ 5.
🪙 Costo aproximado: ⭐/ 5.