⏳ Time: ⭐⭐/ 5.
🚀 Difficulty: ⭐⭐/ 5.
🪙 Approximate cost: ⭐⭐/ 5.

« 𝕋 𝕆 𝕆 𝕃 𝕊 • 𝔸 ℕ 𝔻 • 𝕄 𝔸 𝕋 𝔼 ℝ 𝕀 𝔸 𝕃 𝕊 »
• Amateur-friendly •
_« With glue and care we will finish a beaded embroidery »_


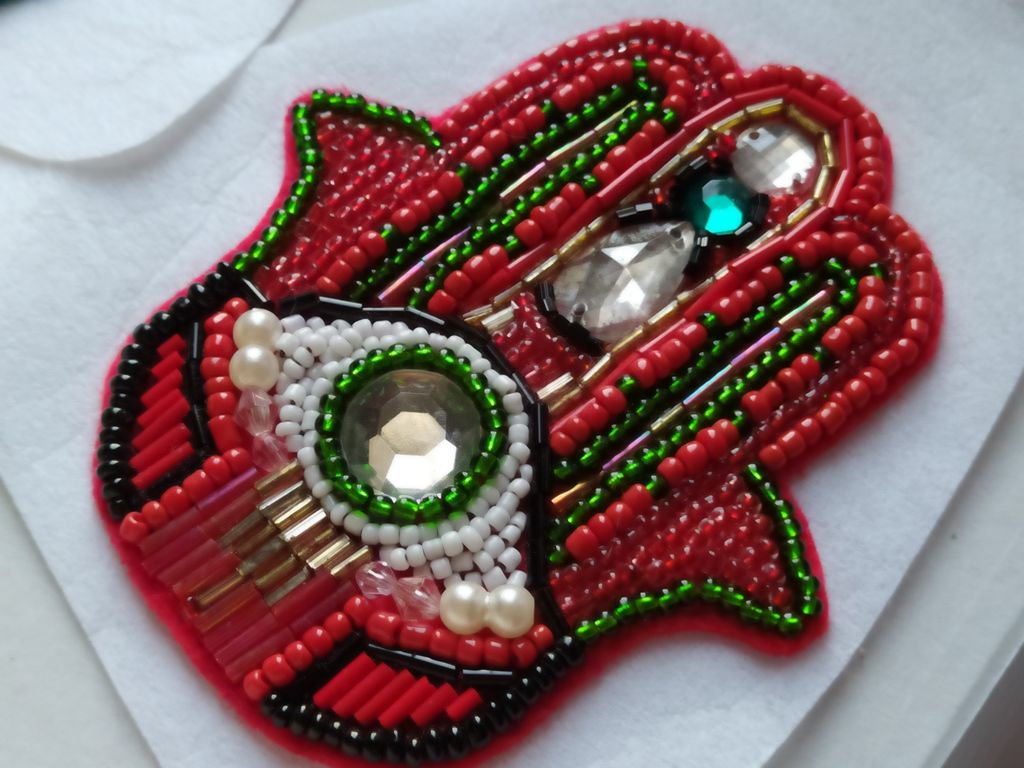
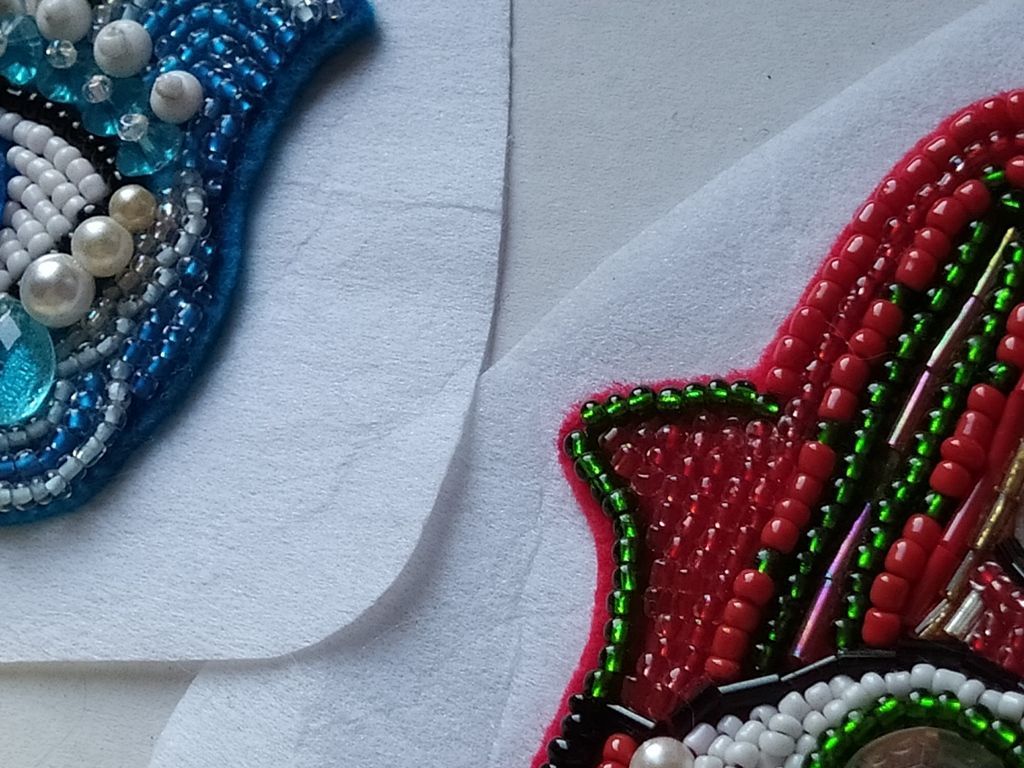
【 PASO 1 】 El primer paso es retirar cualquier hilo suelto, pelusa o suciedad de toda la superficie de ambos bordados. Tambien verificar que la tela base donde están fijados tenga suficiente margen exterior.
【 STEP 1 】 The first step is to remove any loose threads, lint or dirt from the entire surface of both embroideries. Also check that the base fabric on which they are attached has sufficient outside seam allowance.
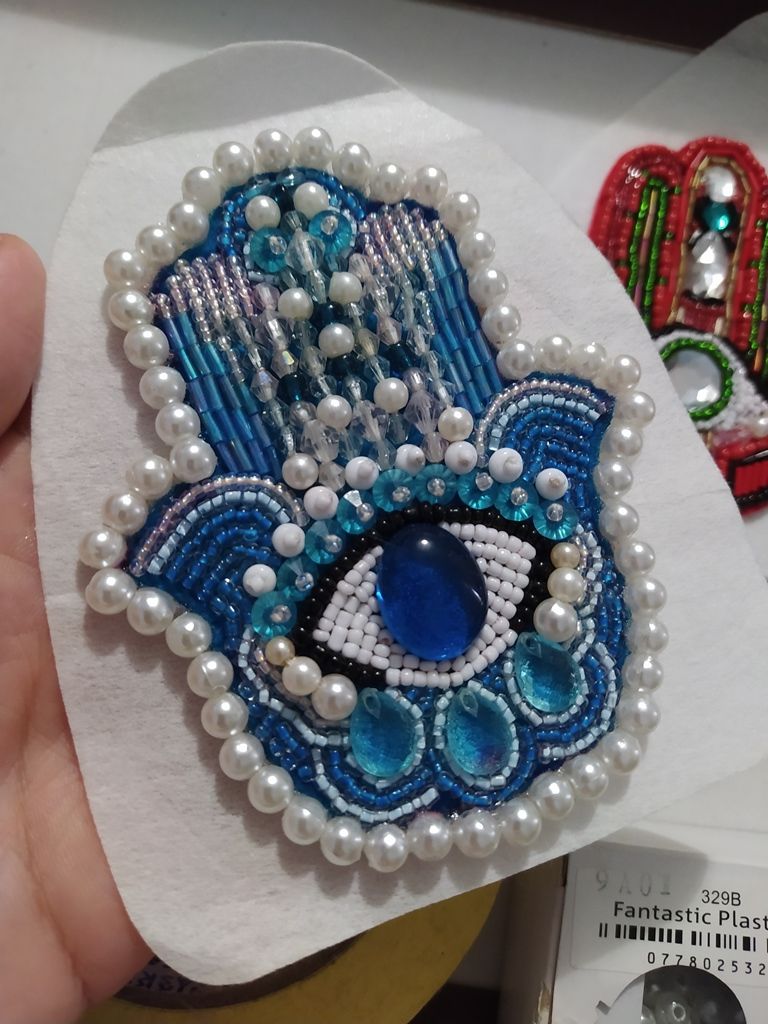
【 PASO 2 】 Selecciona las cuentas de plástico que quieres fijar en todo el borde de los broches, y verifica que todas estén en buen estado.
【 STEP 2 】 Select the plastic beads that you want to attach all around the edge of the brooches, and check that they are all in good condition.
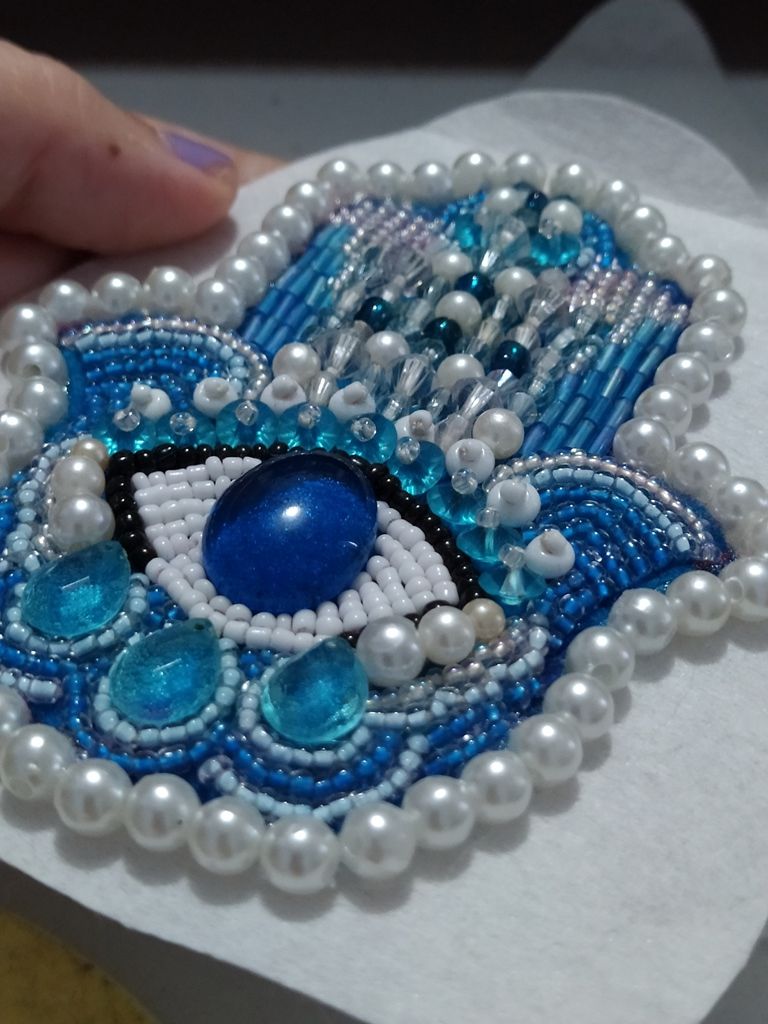
【 PASO 3 】 Agrega una franja de pegamento silicón liquido en todo el borde de la primera Hamsa, una cantidad generosa pero sin exagerar, espera 1 minuto, y despues comienza a colocar las cuentas de plástico 1 a 1 con ayuda de las pinzas.
【 STEP 3 】 Add a strip of liquid silicone glue all around the edge of the first Hamsa, a generous but not exaggerated amount, wait 1 minute, and then start placing the plastic beads 1 by 1 with the help of the tweezers.
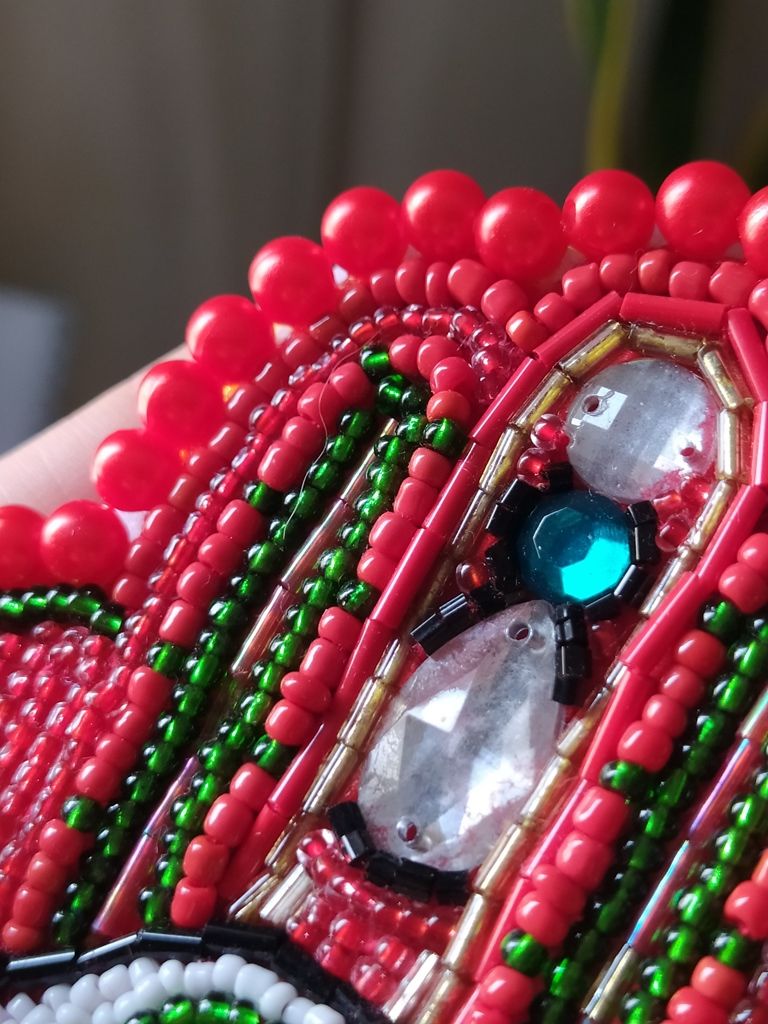
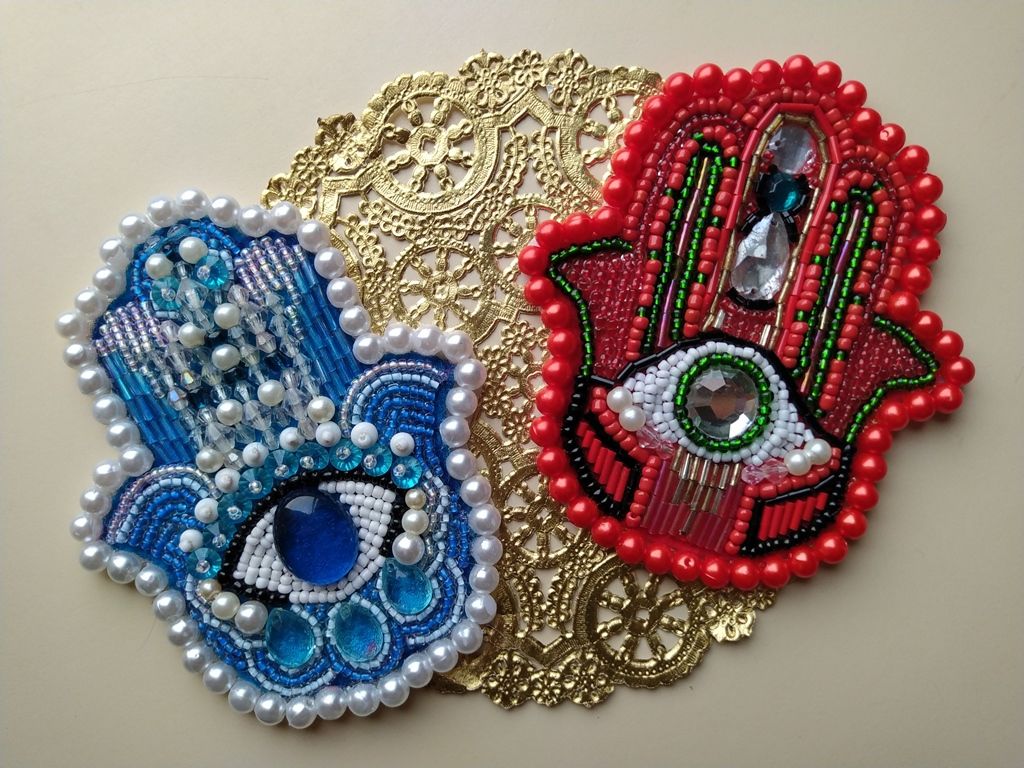
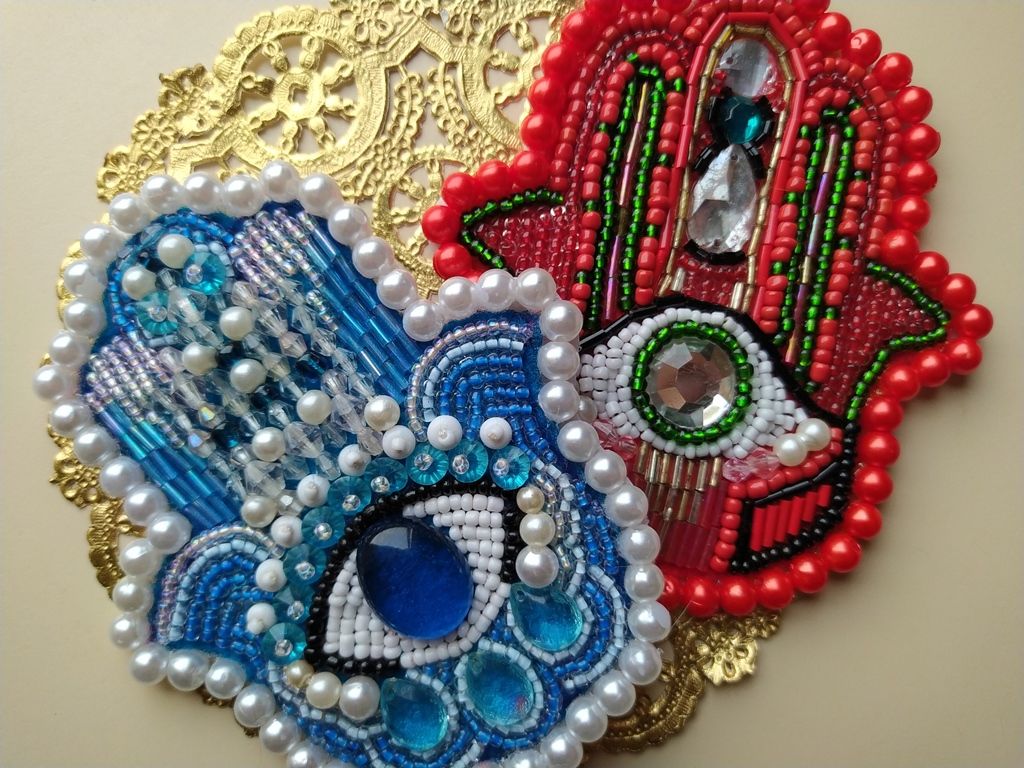
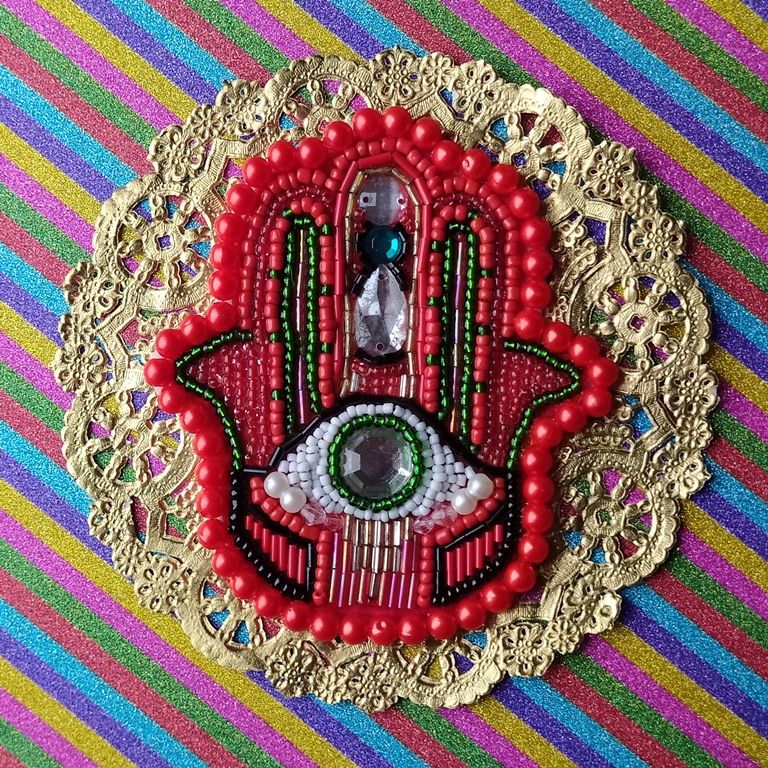
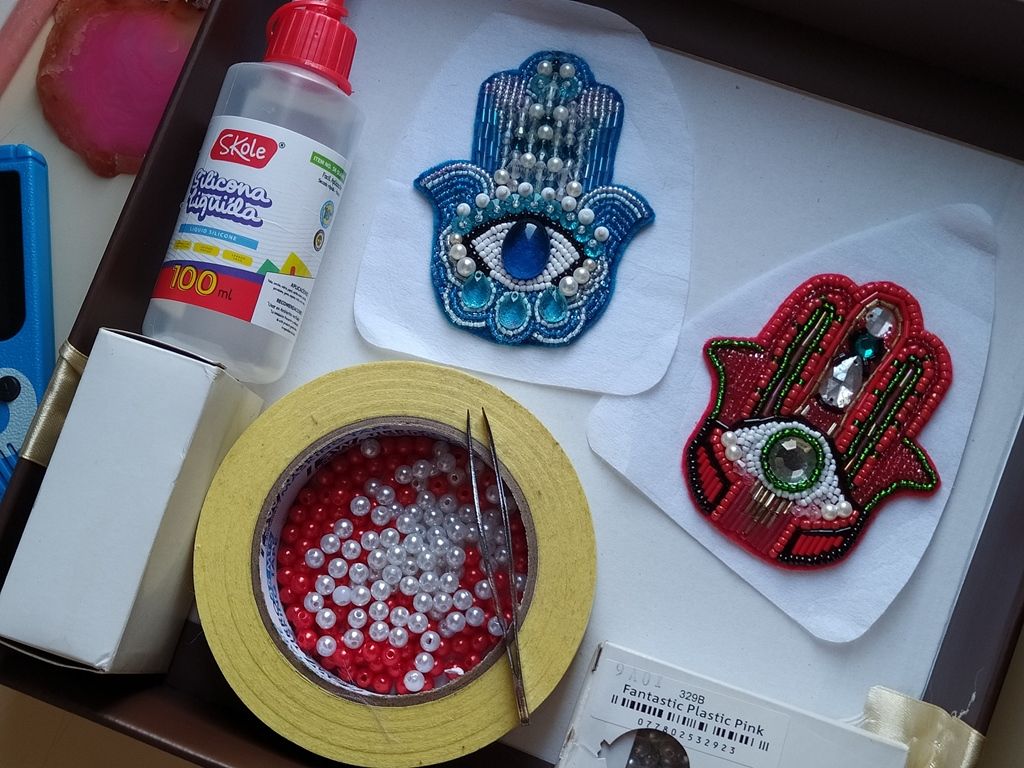
【 PASO 4 】 Repite el proceso en la segunda Hamsa, deja descansar ambos piezas 30 min, y después recorta con mucho cuidado el excedente de la tela base.
【 STEP 4 】 Repeat the process on the second Hamsa, let both pieces rest for 30 min, and then carefully trim the excess from the base fabric.
【 PASO 5 】 Repite el paso con la segunda Hamsa, y no te preocupes por recortar todo el excedente de tela en un solo corte. Tomate tu tiempo y retira poco a poco la tela sobrante, ayúdate con la punta de la tijera y recortando desde diferentes angulos.
【 STEP 5 】 Repeat the step with the second Hamsa, and don't worry about trimming off all the excess fabric in one cut. Take your time and remove the excess fabric little by little, using the tip of the scissors and trimming from different angles.
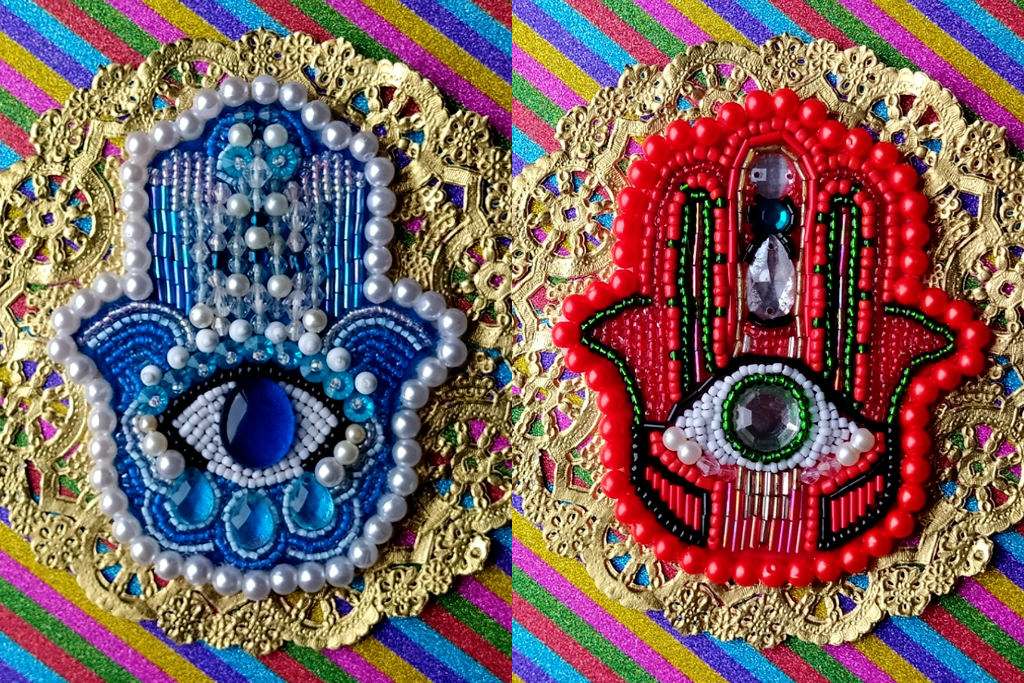
_« Finished beaded brooches, no stitching, and great results. »_