Hey dear photo community, today there is another post from my little home studio. As usual, all the pictures were taken with moving light in front of the camera. No subsequent manipulation on the computer. Have fun reading!
Hey liebe Fotogemeinde, heute gibt es von mir einen weiteren Beitrag aus meinem kleinen Heimstudio. Wie gewohnt, sind alle Bilder mit bewegtem Licht vor der Kamera entstanden. Keine nachträgliche Manipulation am Computer. Viel Spaß beim lesen!
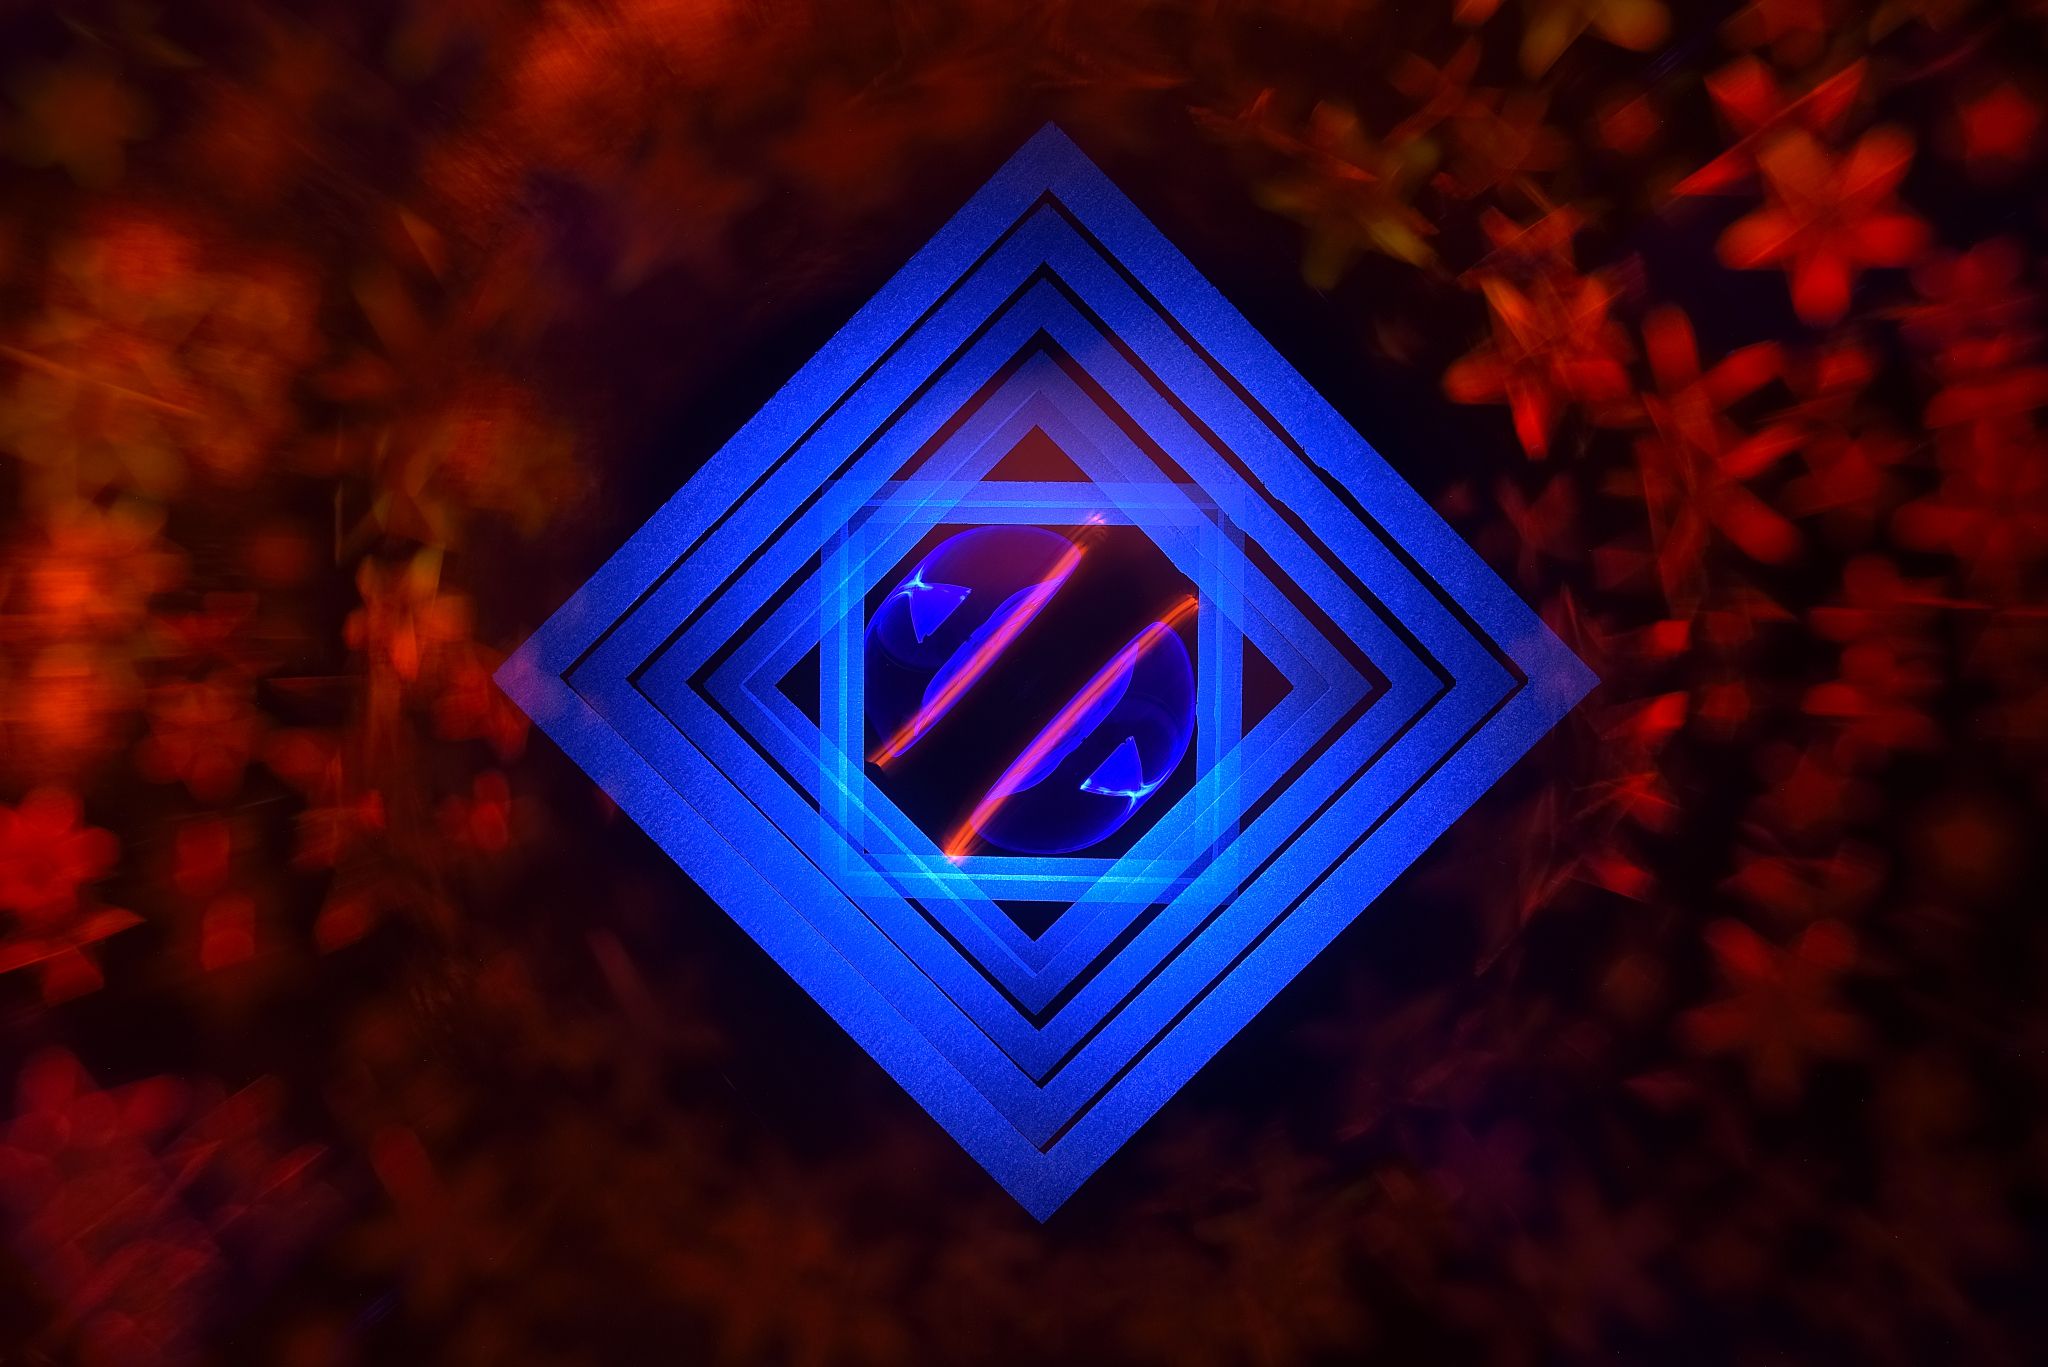
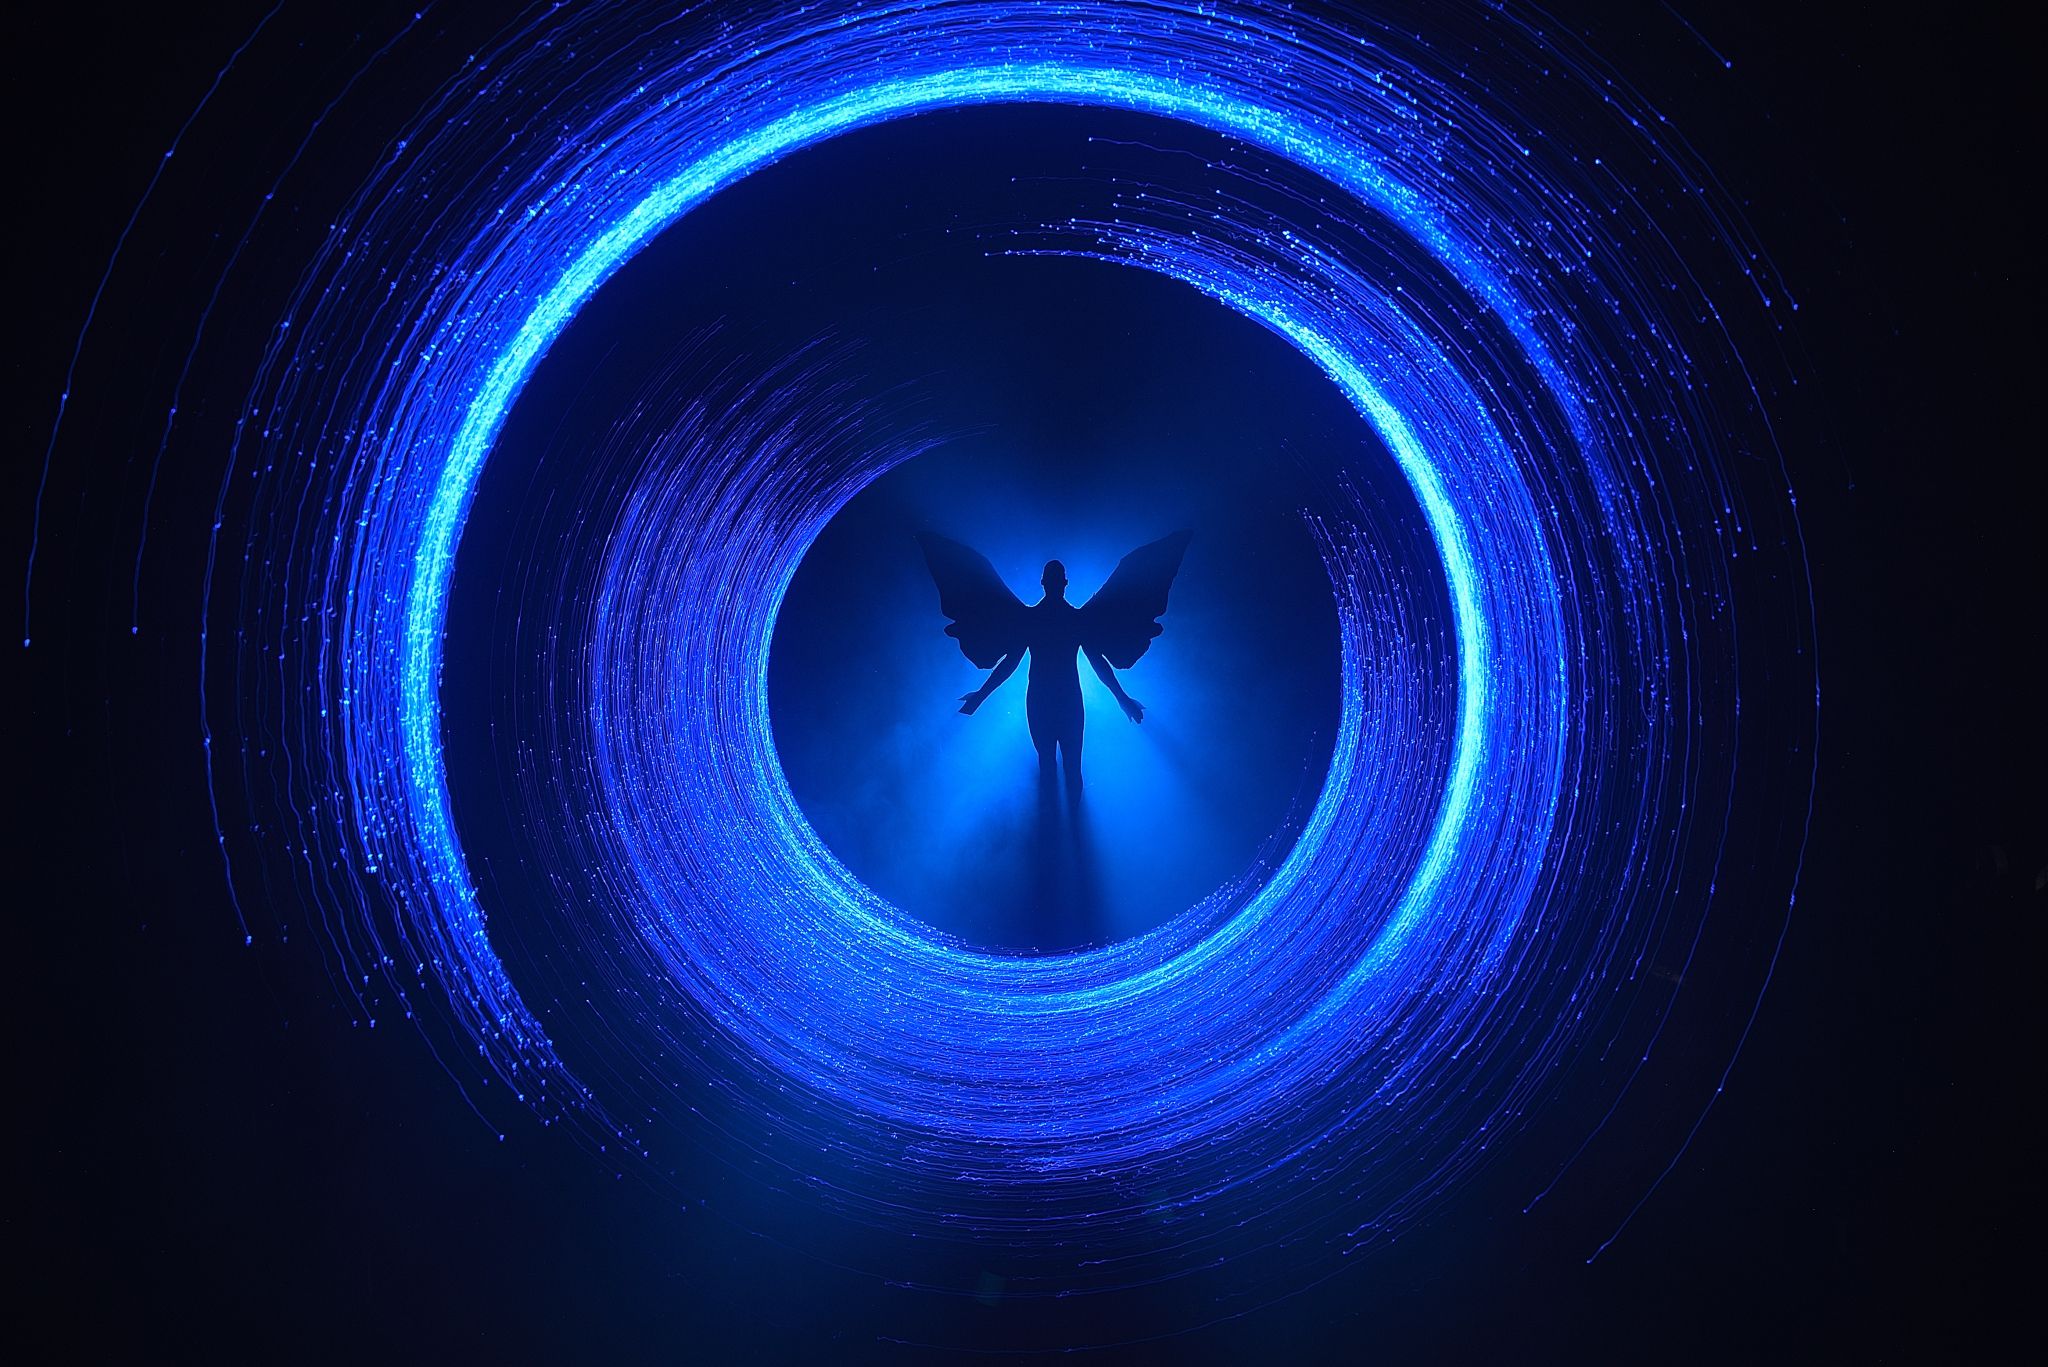 Nikon D750 | ISO 100 | Sigma 28-70 mm @f/16 | 274 sec. exposure time
In my last post there was already a first insight into my experiments with light and shadow (missed it? click here to read it --> ).
In meinem letzten Beitrag gab es ja schon einen ersten Einblick in meine Experimente mit Licht und Schatten.(verpasst? hier klicken zum nachlesen --> )
 Behind the Scenes
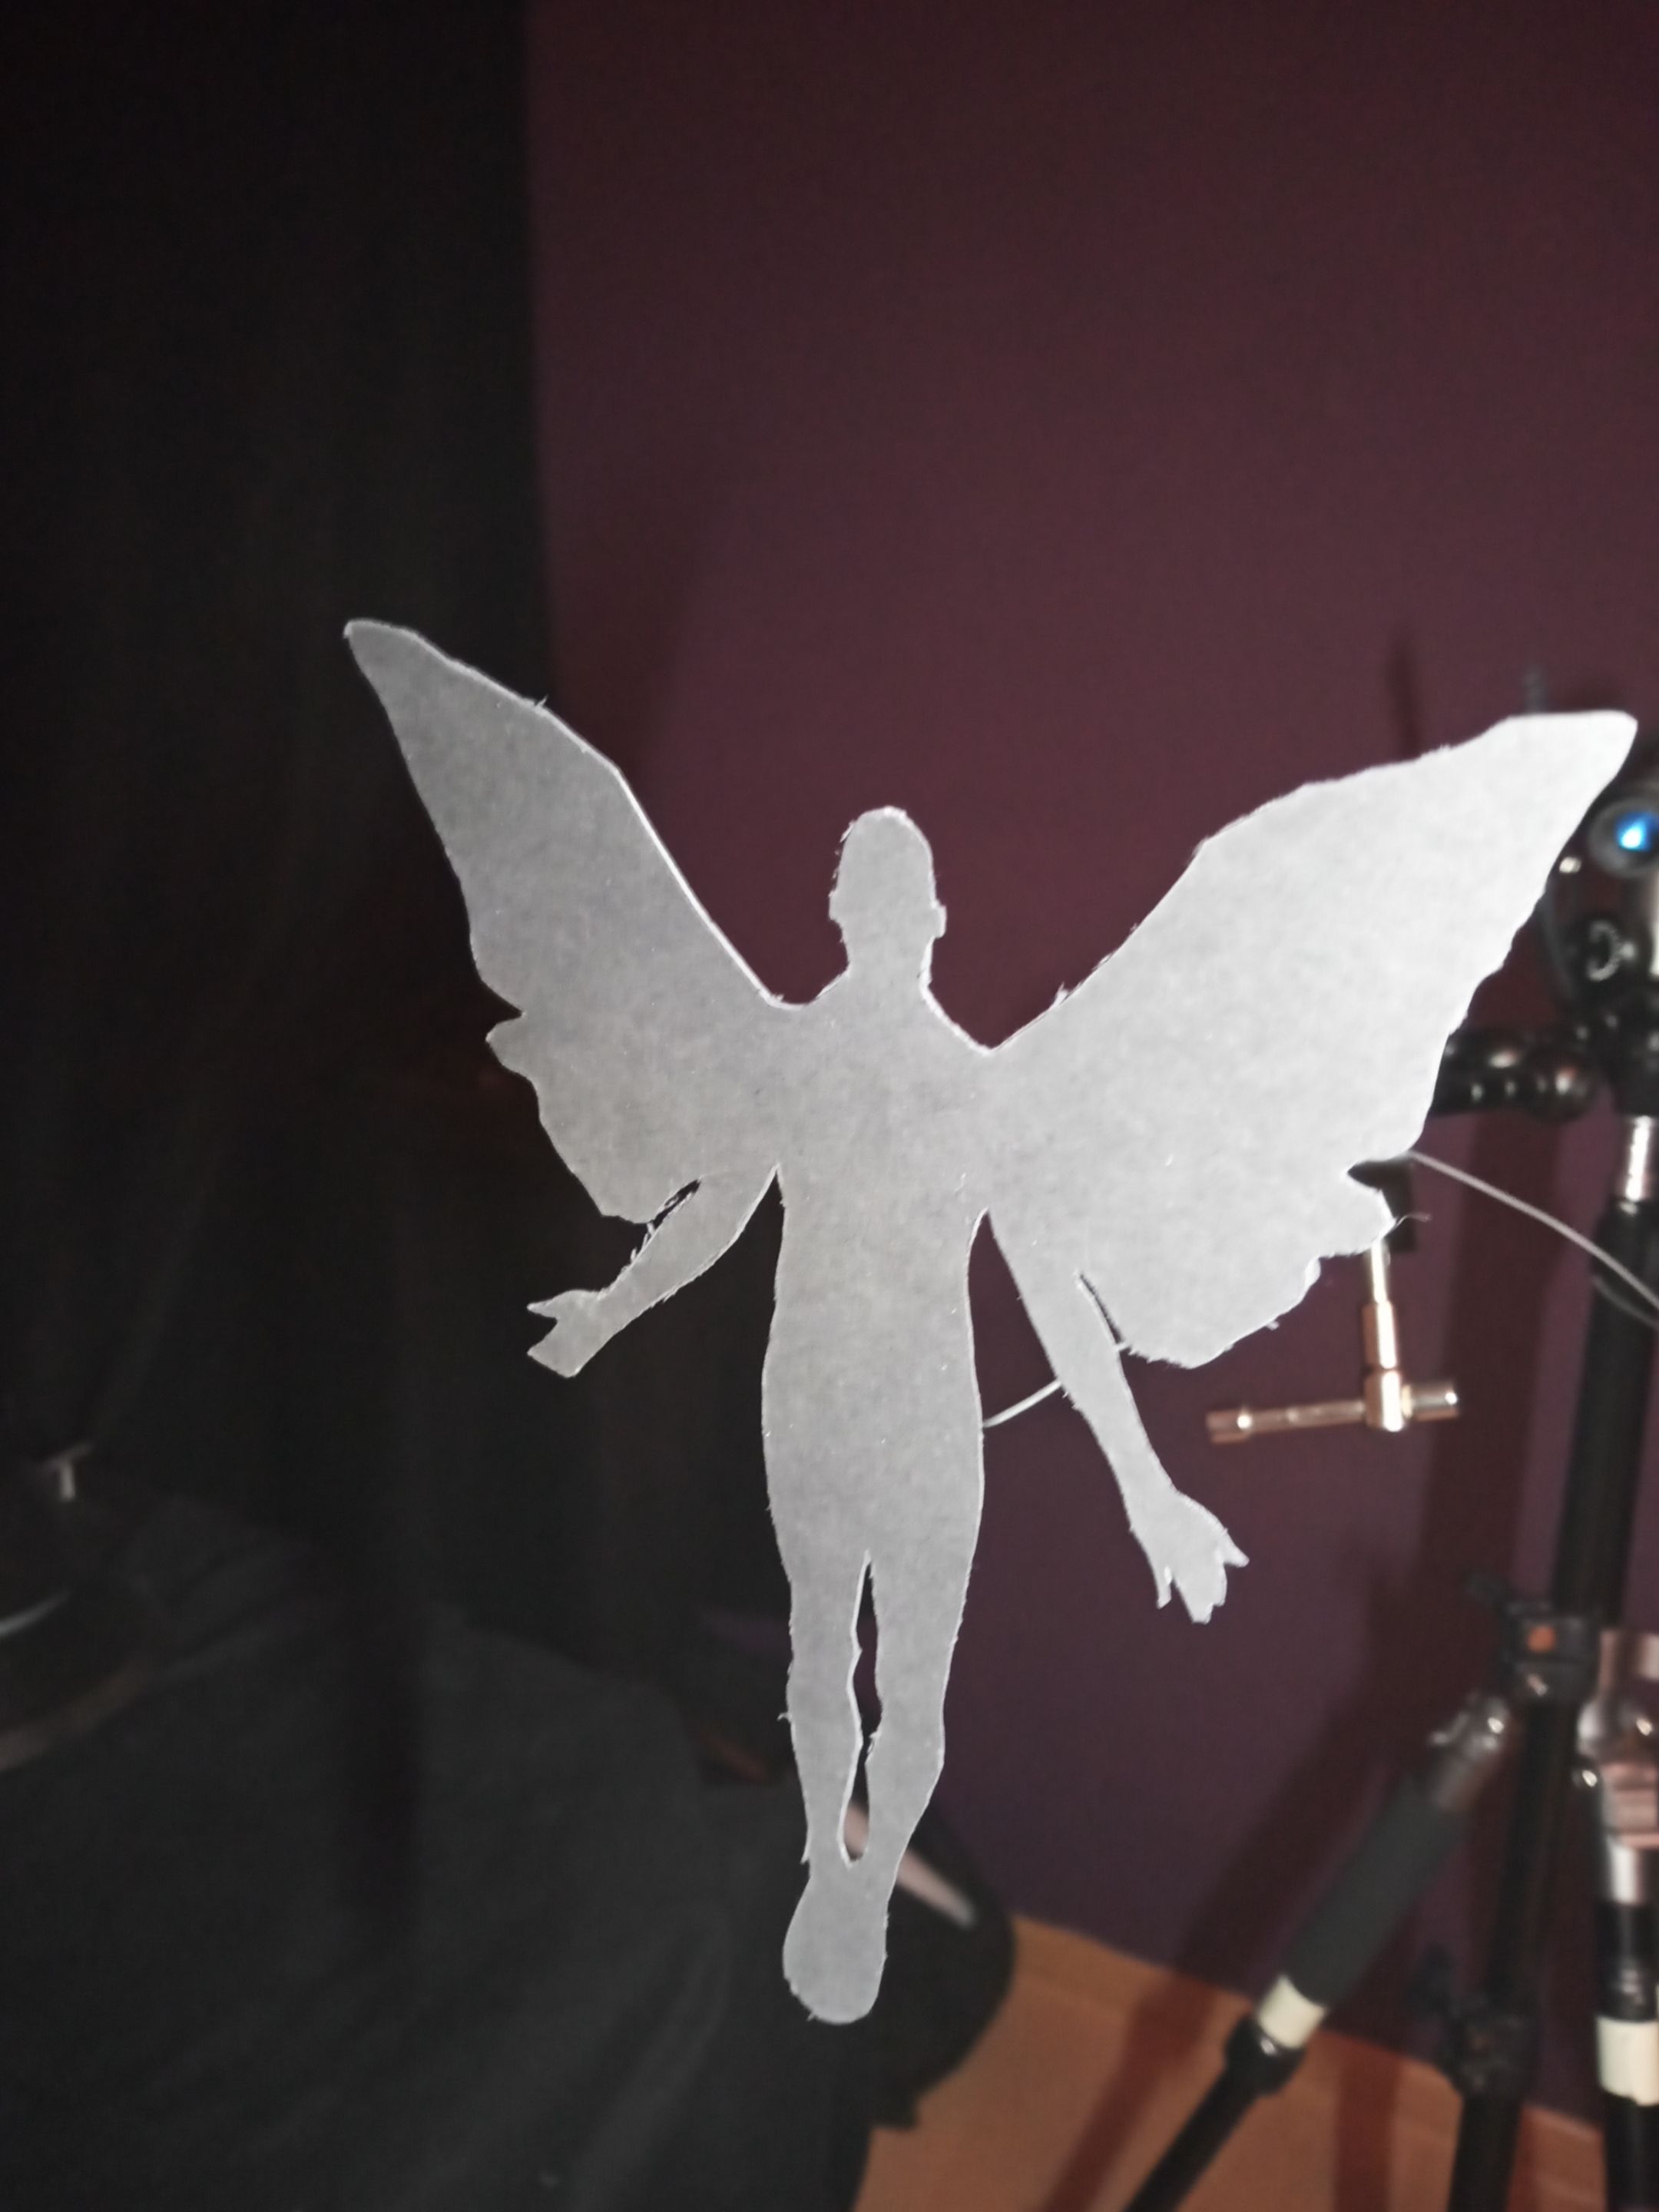
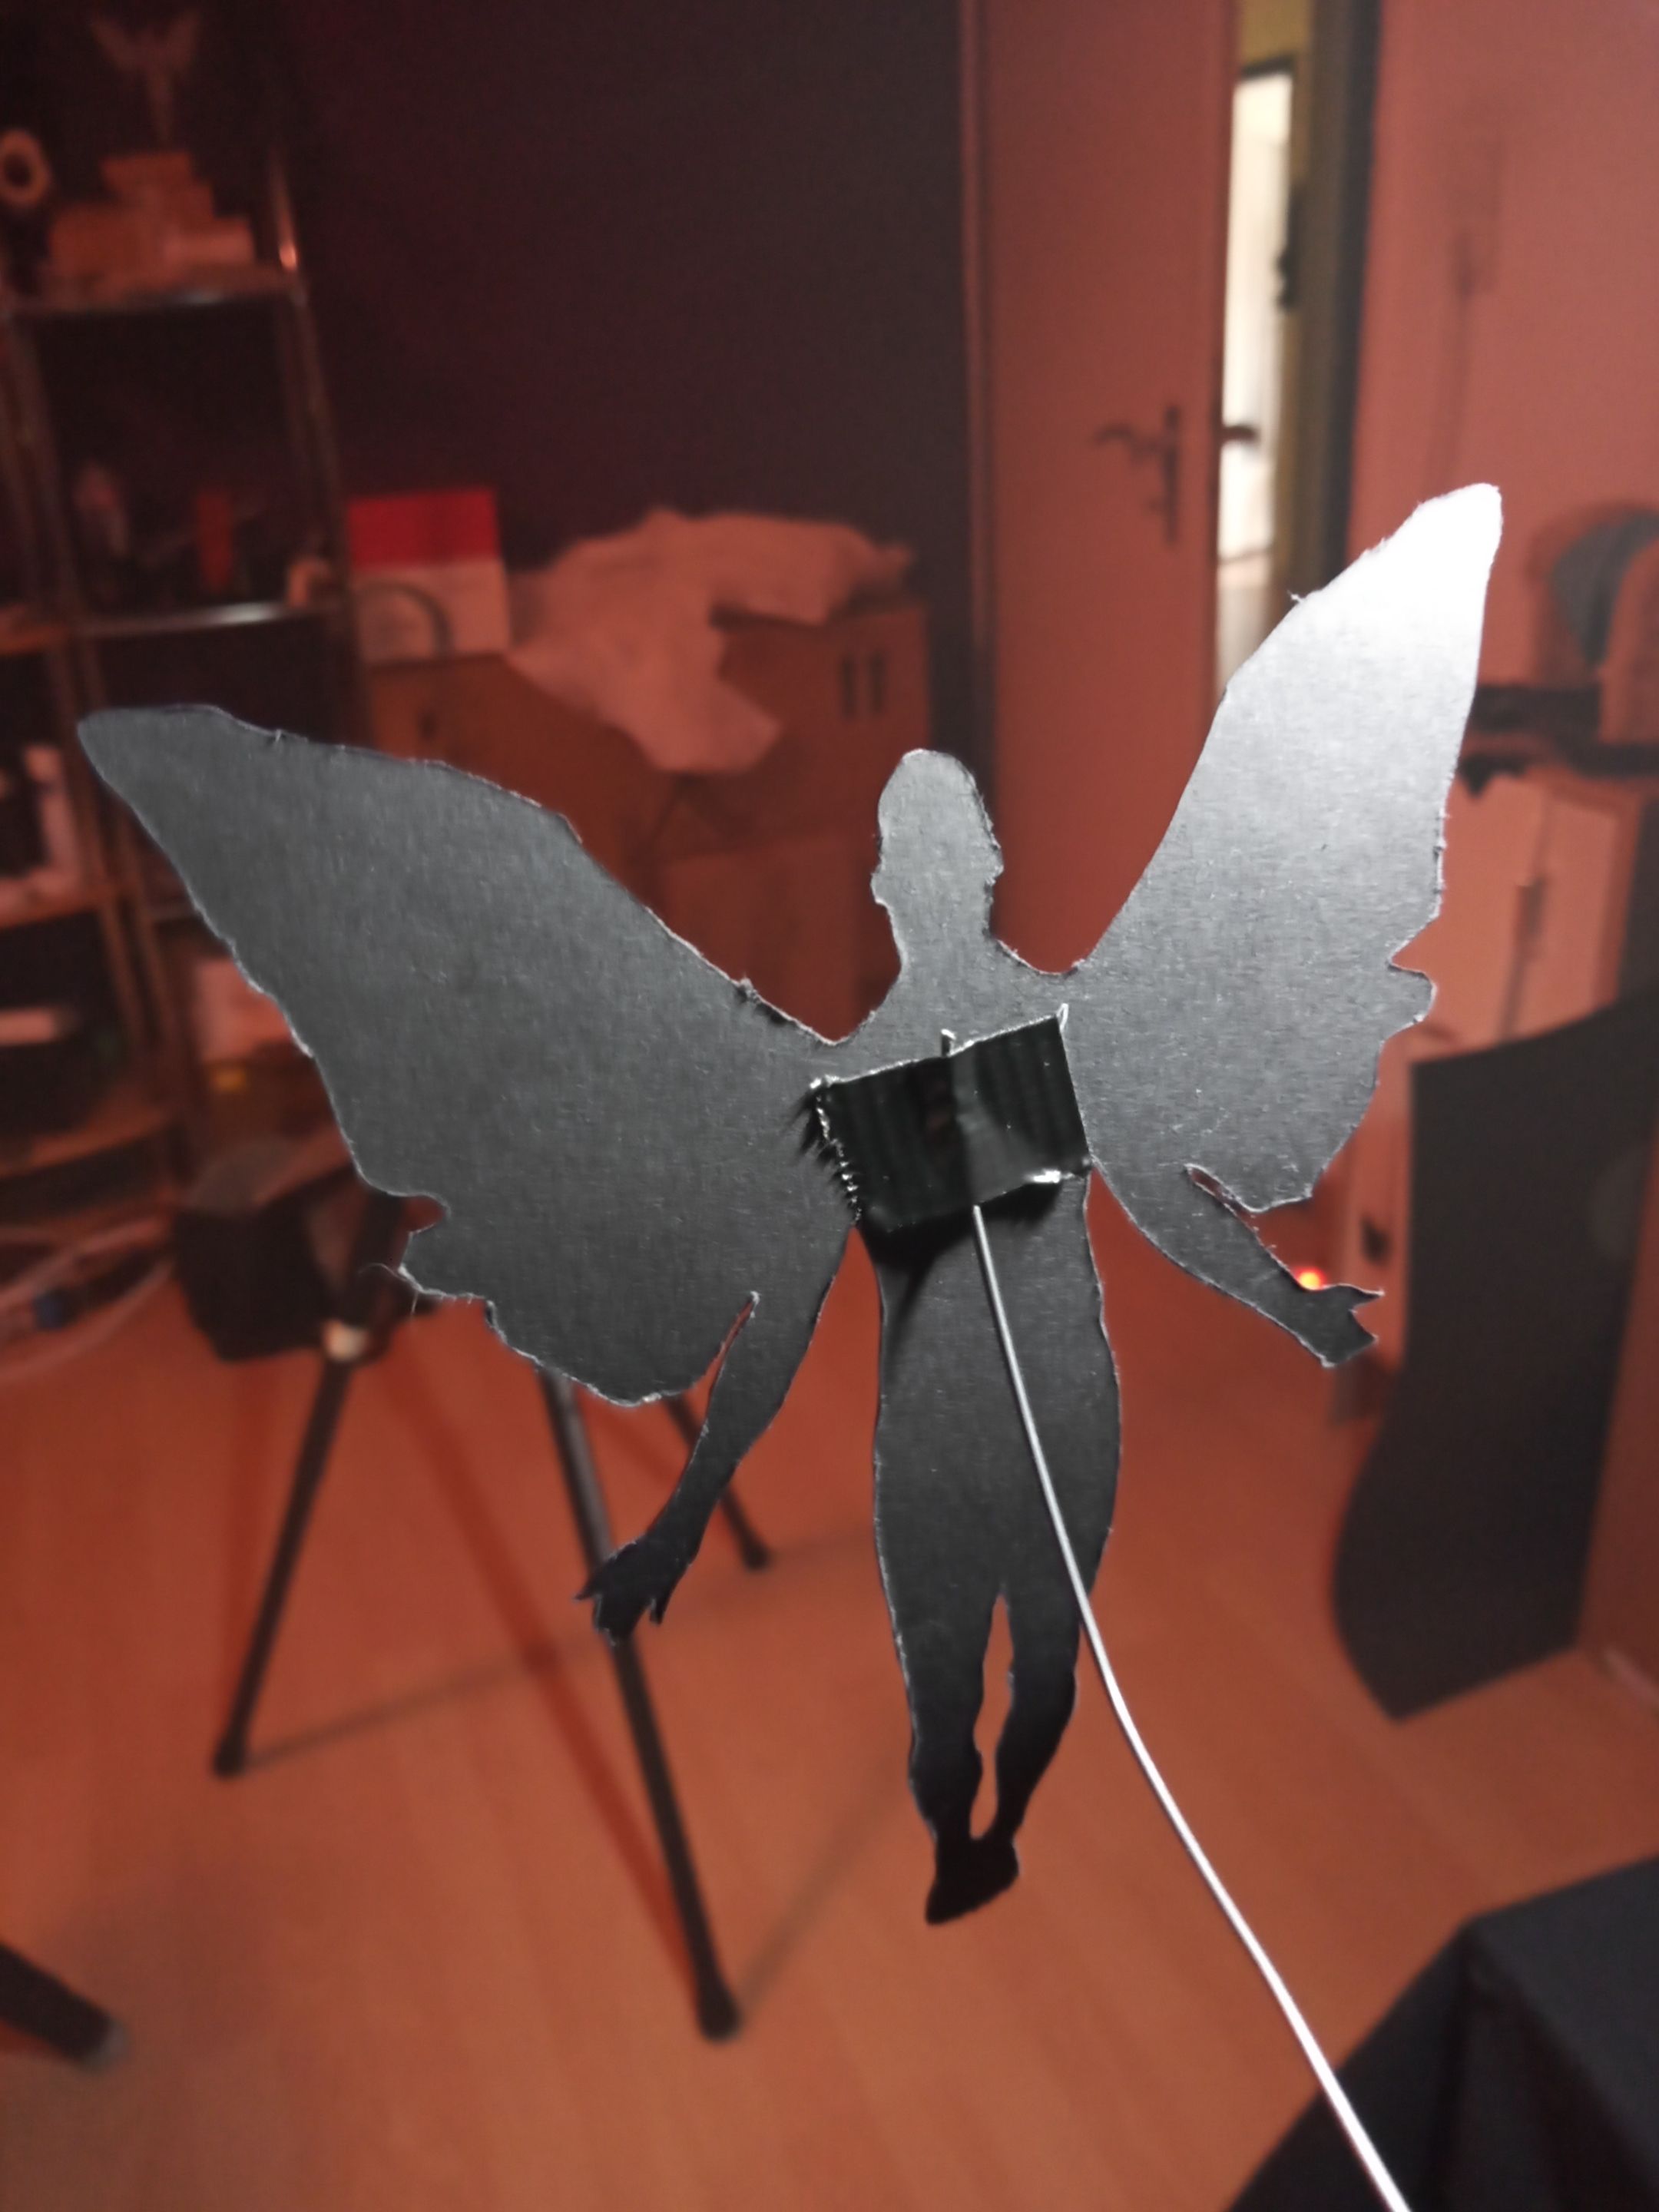
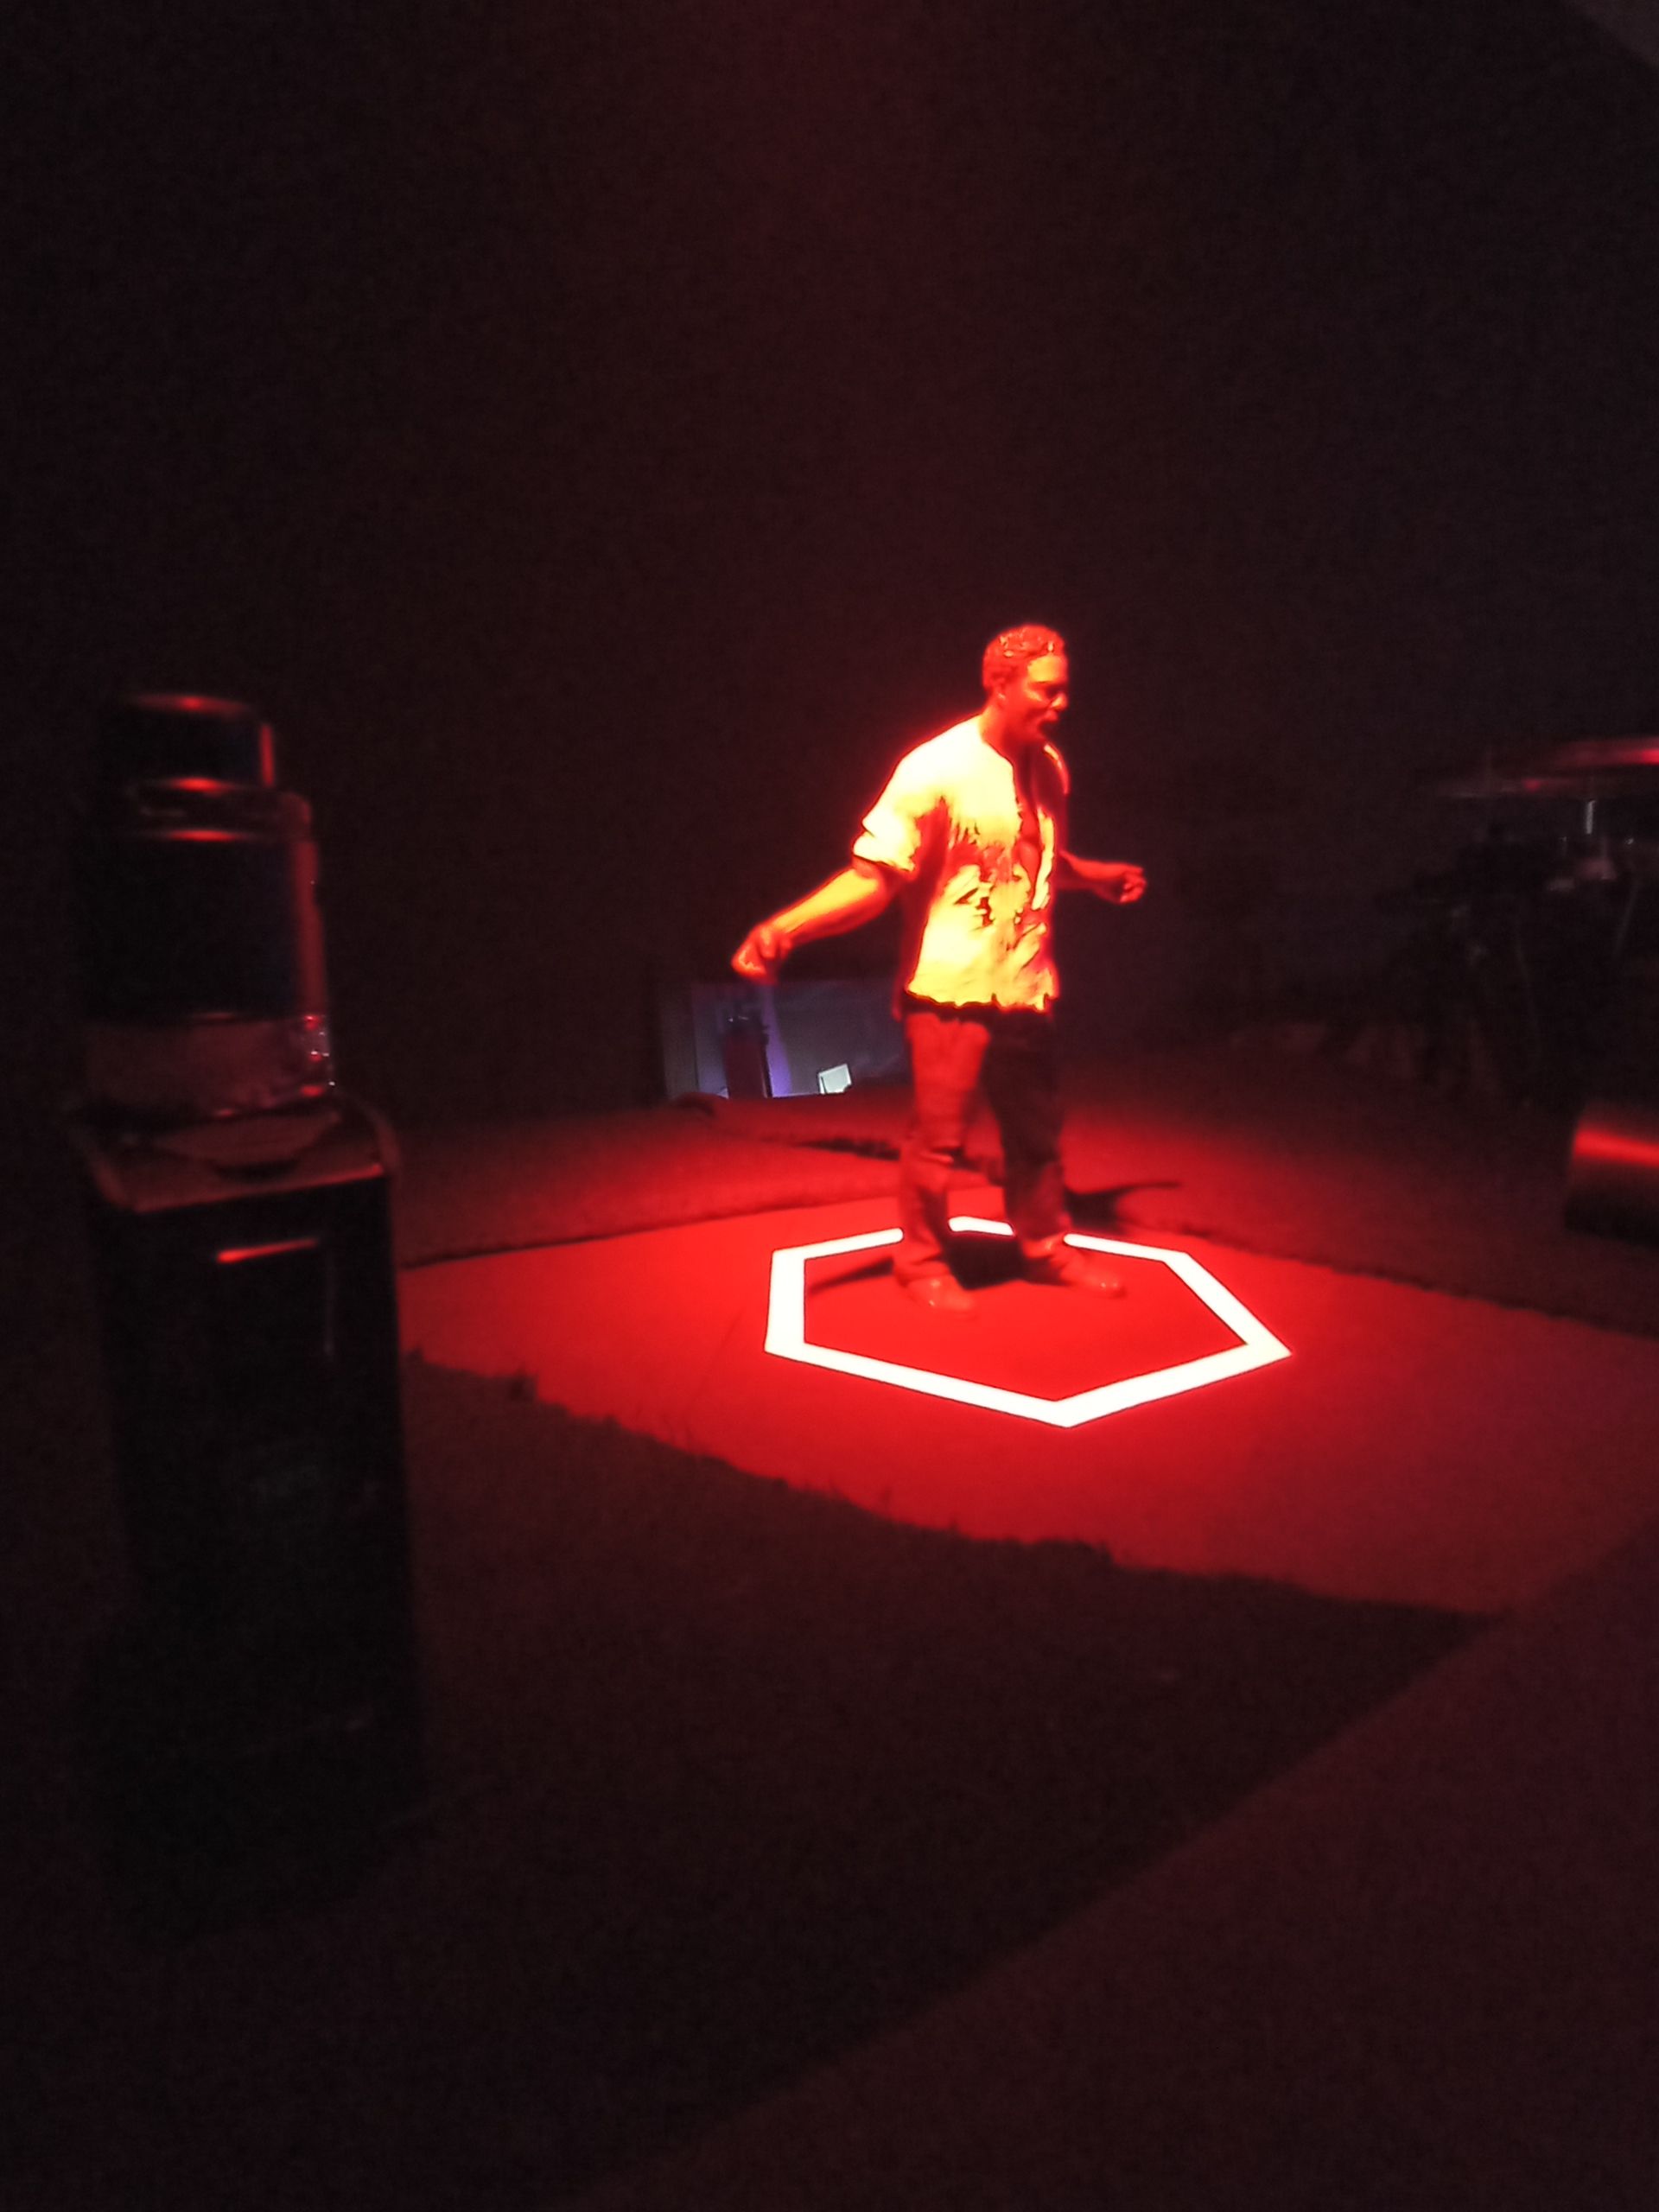
Here are two pictures of how I fixed the stencil in my set in front of the camera. This way I can shine a torch and smoke behind the stencil towards the camera and the light surrounds the stencil reasonably evenly.
Hier seht Ihr zwei Bilder, wie ich die Schablone in meinem Set vor der Kamera befestigt habe. So kann ich hinter der Schablone mit einer Taschenlampe und Rauch in Richtung Kamera leuchten und das Licht umgibt die Schablone einigermaßen gleichmäßig.
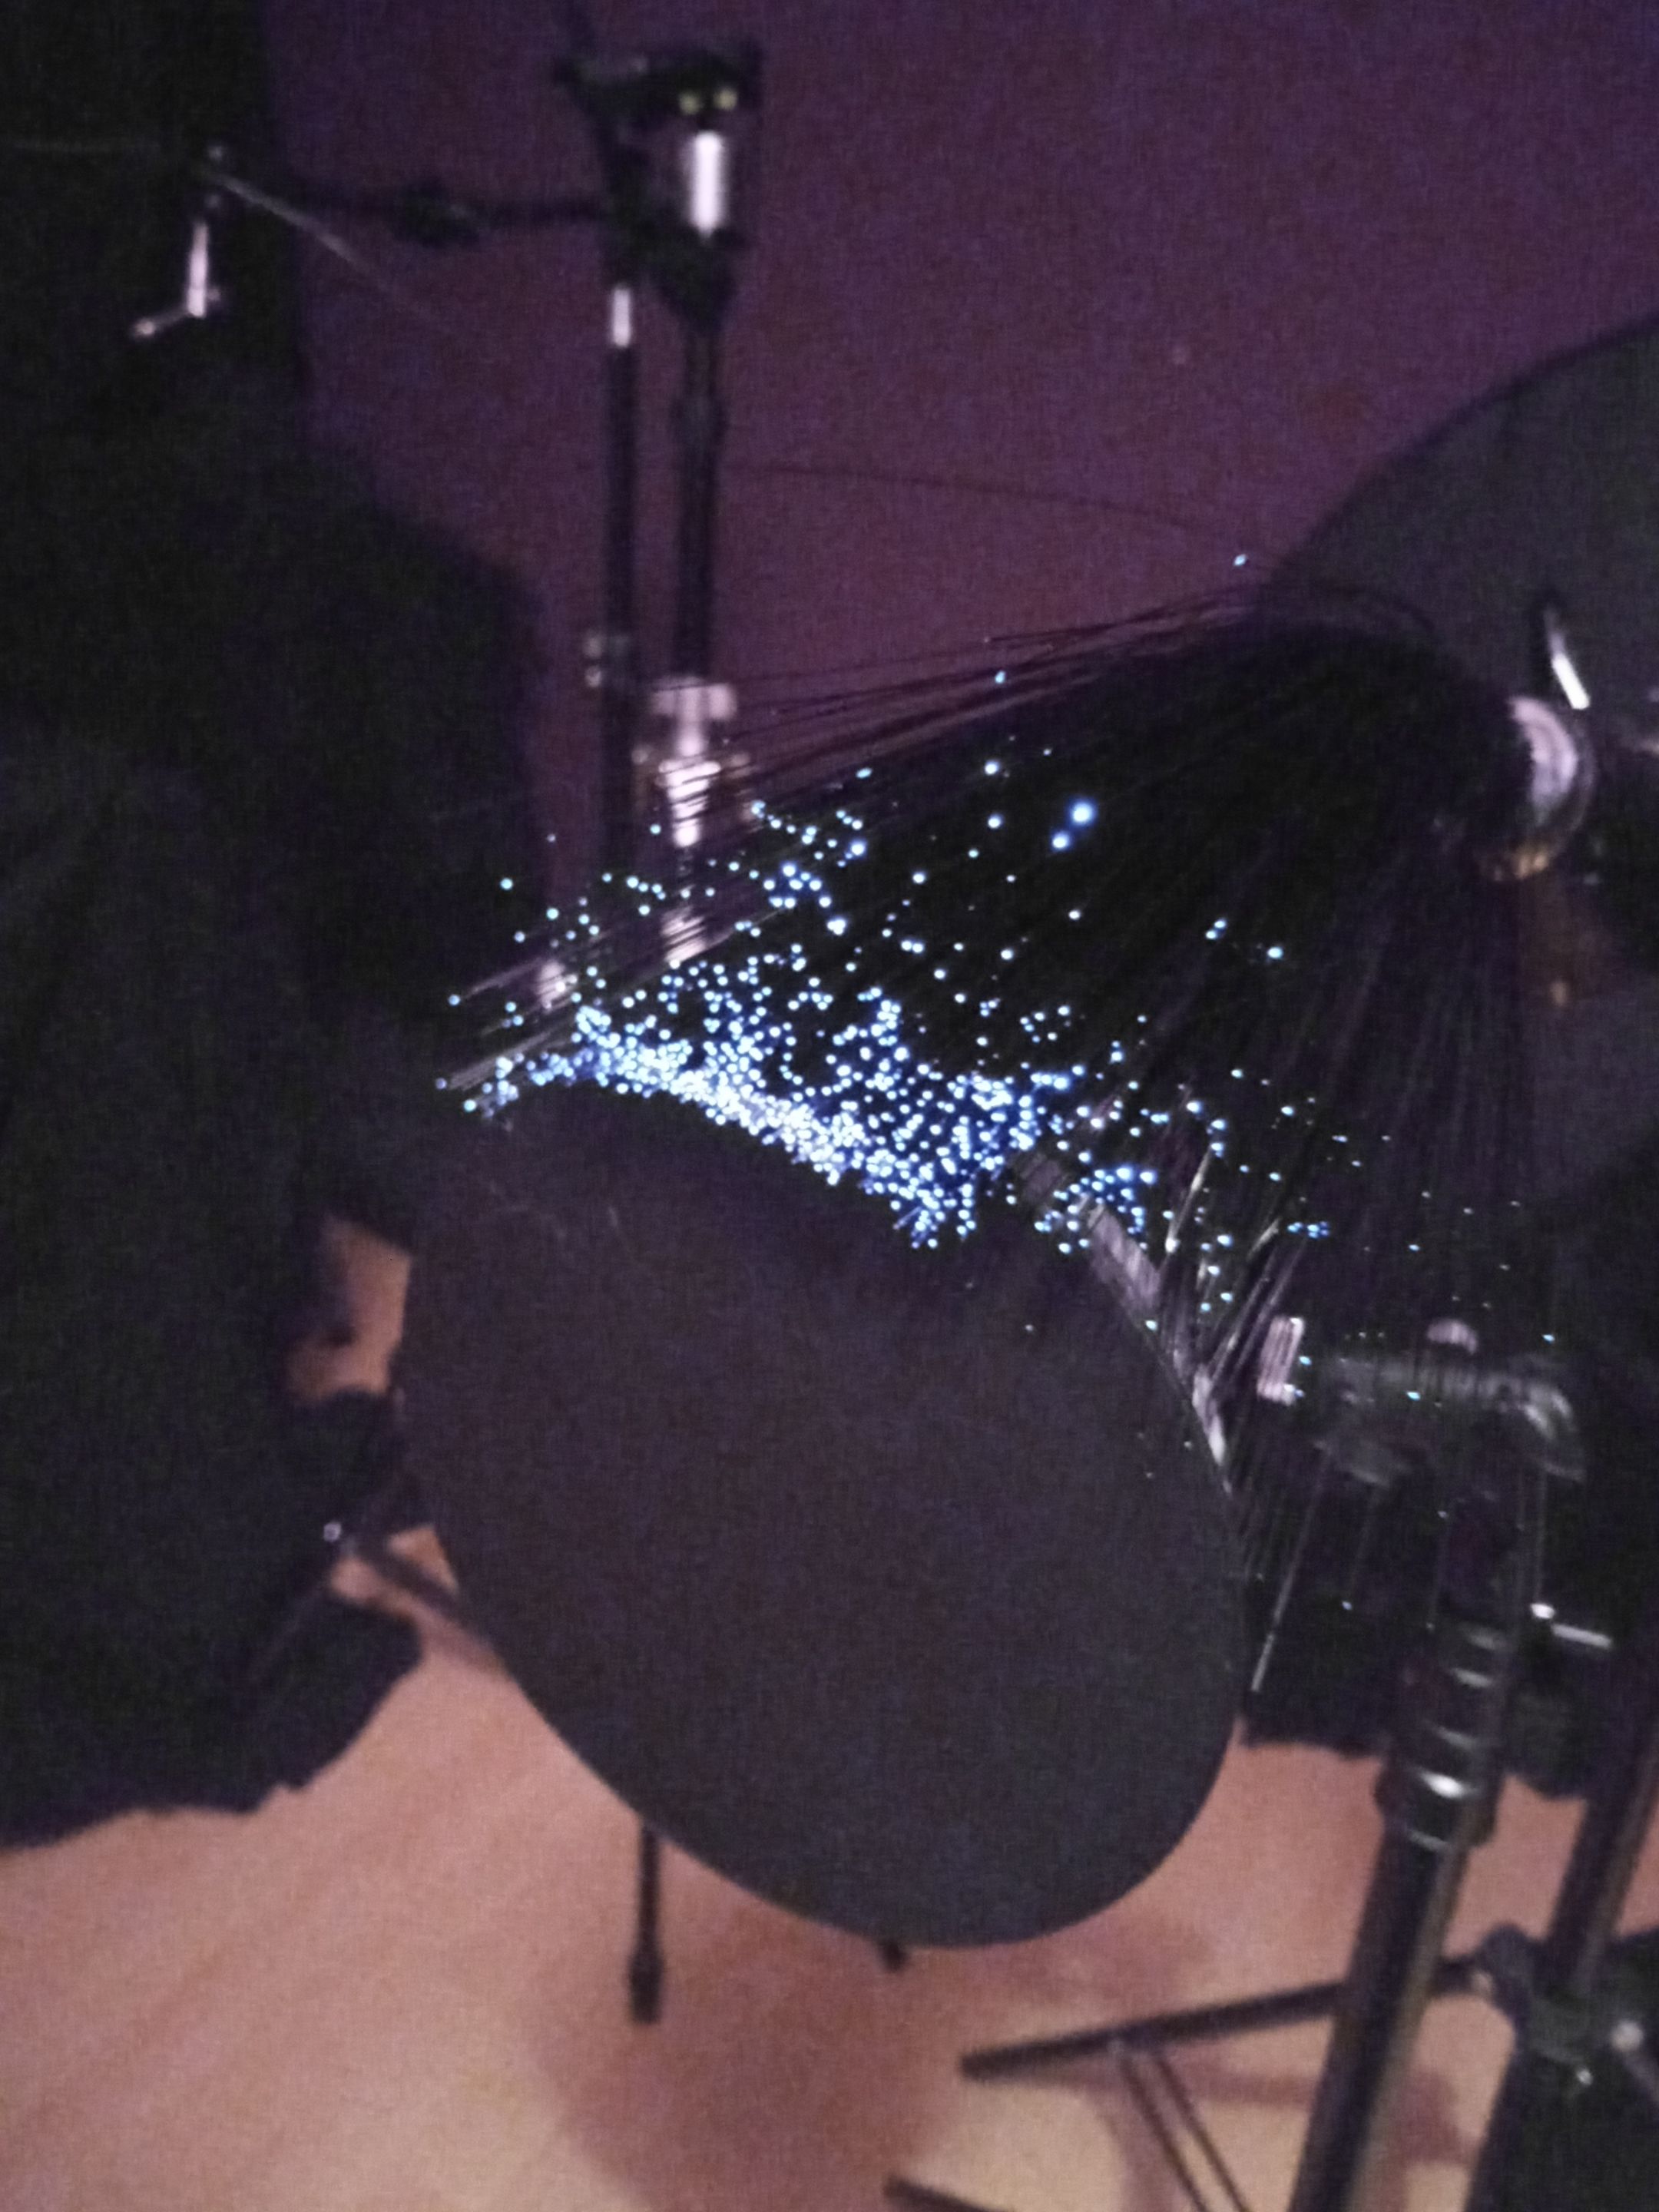
As I mentioned before, I made the area around the "angel" with a fibreglass duster. To fix this "bouquet" of glass fibre and make it controllable, I placed the glass fibre duster on my backlightscanner. The traces in the final image were made by rotating the camera. I mounted my camera on my Camera Rotation Tool (CRT) for this purpose. The glass fibre duster was illuminated with a blue torch.
Wie ich bereits erwähnte, habe ich den Bereich um den "Engel" mit mit einem Glasfaserwedel gemacht. Um diesen "Strauß" von Glaserfaser zu fixieren und steuerbar zu machen, habe ich den Glasfaserwedel auf meinem Backlightscanner gelegt. Die Spuren im fertigen Bild sind durch Drehung der Kamera entstanden. Meine Kamera habe ich dazu auf meinem Camera Rotation Tool (CRT) montiert. Der Glasfaserwedel wurde mit einer blauen Taschenlampe beleuchtet.
This shot was also taken in one of my Sunday studio sessions.
Dieses Bild entstand ebenfalls in einer meiner sonntäglichen Studio-Sessions.
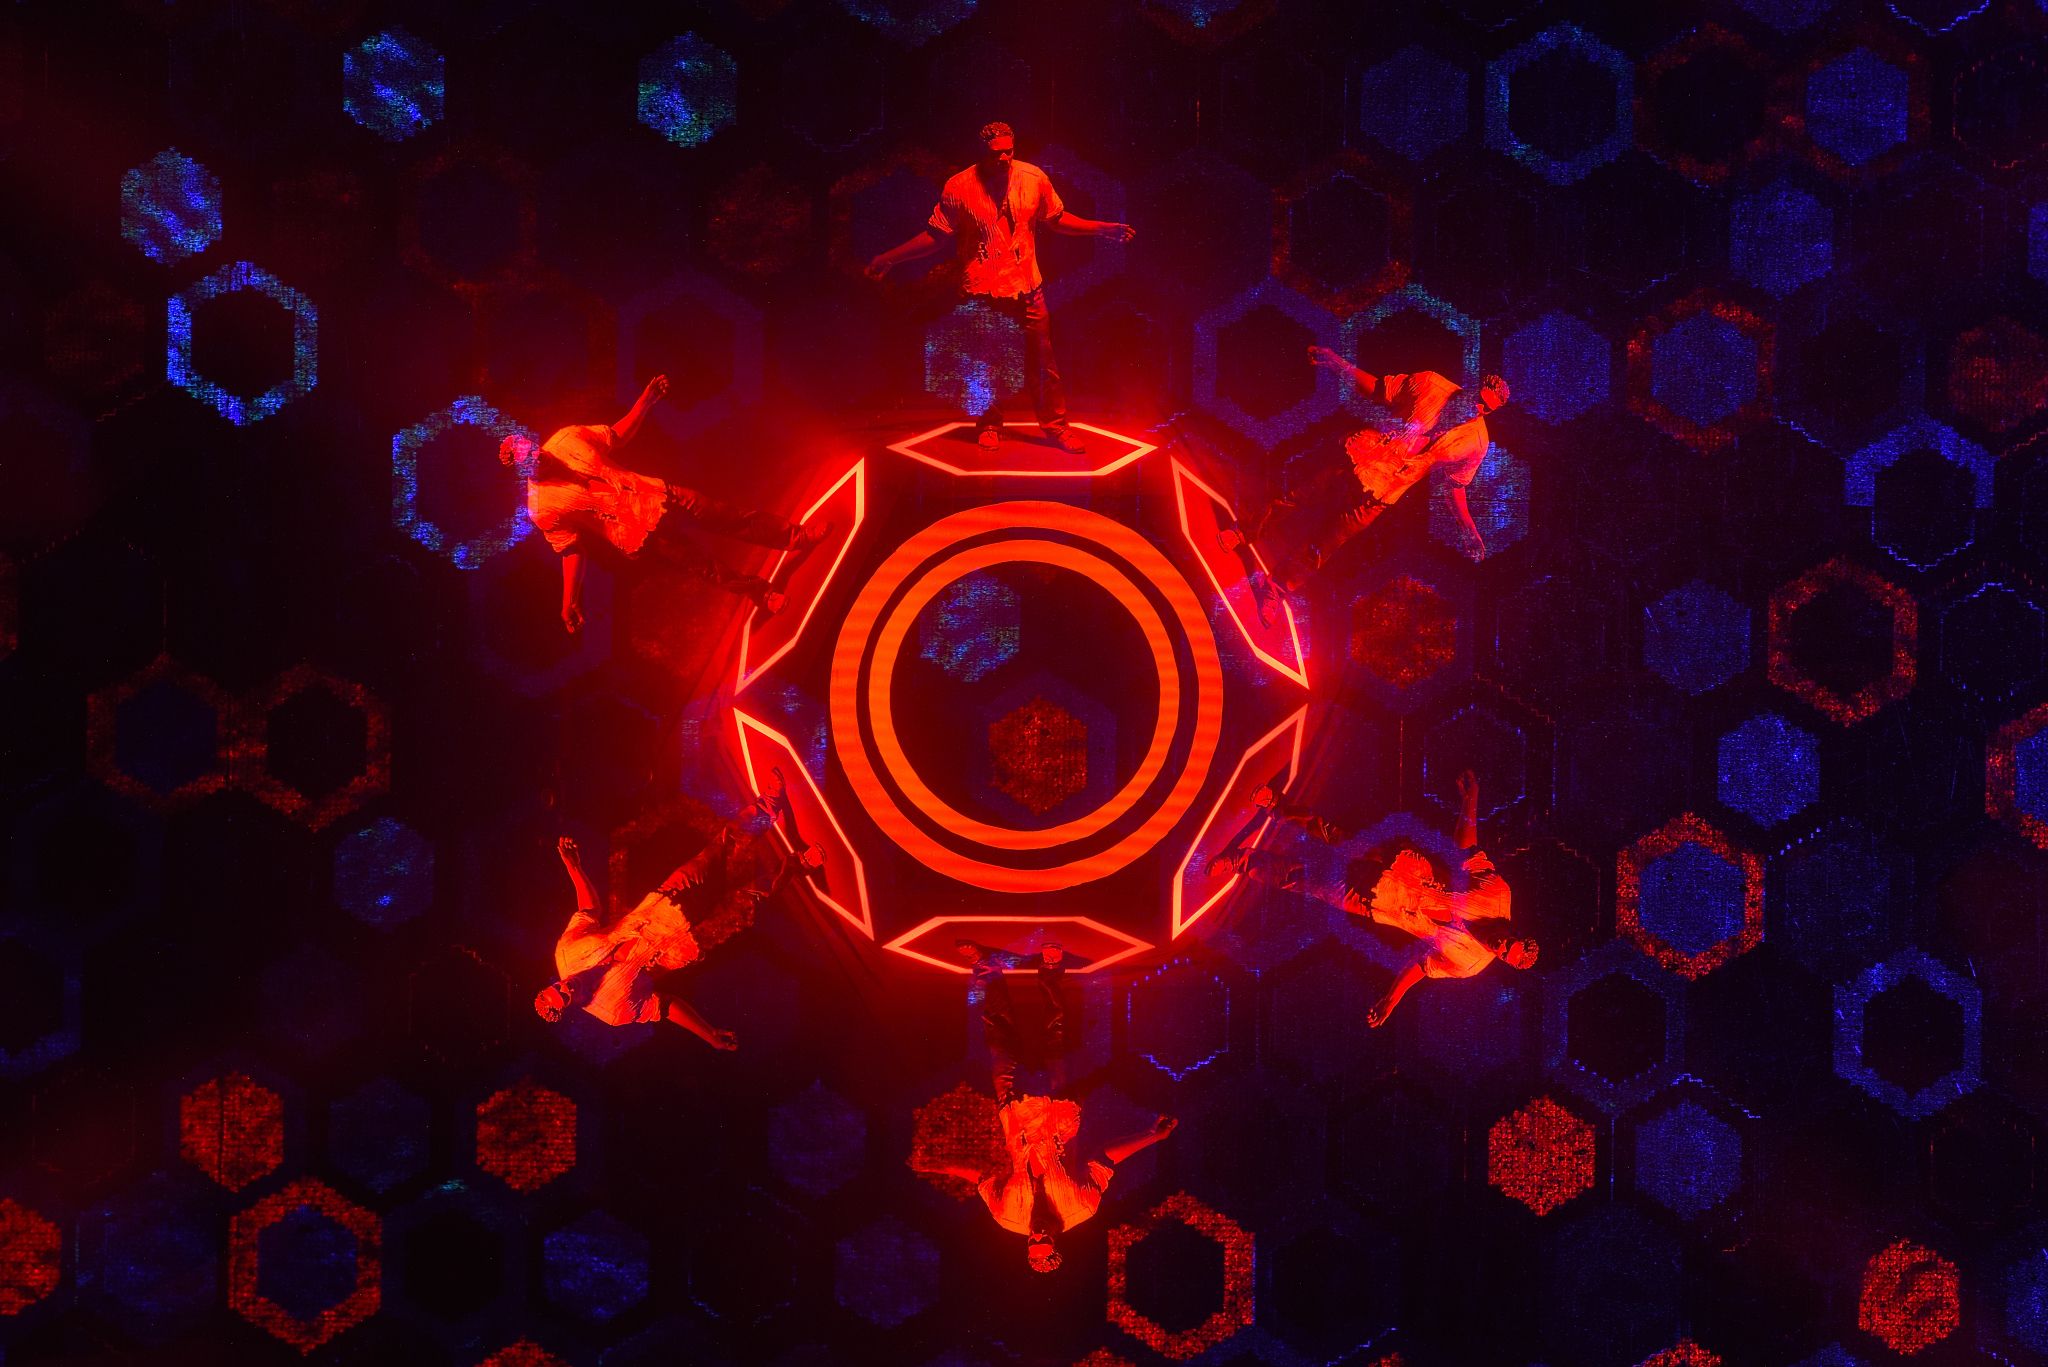 Nikon D750 | ISO 100 | Sigma 28-70 mm & Laowa 100 mm Macro (mid-exposure lens swap)| 496 sec. exposure time
On this day, I had no plan at all at the beginning what exactly I wanted to do. I only had in mind that I wanted to do something with my geometric stencils. A model was also supposed to be there. Unfortunately, no one of flesh and blood was present. Being a model in front of the camera when you also have to handle the light and camera is not really fun and was out of the question on that day. I looked for and found one of my figures (about 20 cm tall). Working with this kind of model is very pleasant. The model stays exactly where she was placed and keeps her mouth shut during the whole session.
An diesem Tag hatte ich anfangs überhaupt keinen Plan, was ich genau machen möchte. Ich hatte lediglich im Kopf, dass ich etwas mit meinen geometrischen Schablonen machen möchte. Ein Model sollte auch dabei sein. Leider war aus Fleisch und Blut niemand anwesend. Selber als Model vor der Kamera zu stehen, wenn man auch noch Licht und Kamera bedienen muss, ist nicht wirklich lustig und kam an diesem Tag auch nicht in Frage. Ich suchte und fand einer meiner Figuren (ca. 20 cm groß). Mit dieser Art von Model zu arbeiten, ist sehr angenehm. Das Model bleibt exakt da stehen, wo es plaziert wurde und hält auch während der gesammten Session die Klappe.
Three tripods were used again for the sequence. My 100 mm macro lens was used on tripod one. The background with the "honeycombs" was created with effect paper. I used tripod two for the rotation of the model on the hexagon template. And I used the third tripod for the two circles in the middle. If I have aligned everything correctly beforehand and don't make any mistakes during the exposure, the first attempt is also perfect here.
Für den Ablauf kamen wieder drei Stative zum Einsatz. Auf Stativ eins kam mein 100 mm Makro-Objektiv zum Einsatz. Der Hintergrund mit den "Waben" ist mit Effektpapier entstanden. Stativ zwei nutzte ich für die Rotation von Model auf der Sechseck-Schablone. Und das dritte Stativ habe ich für die beiden Kreise in der Mitte genutzt. Wenn ich im Vorfeld alles korrekt ausgerichtet habe und keine Fehler während der Belichtung mache, sitzt auch hier der erste Versuch.
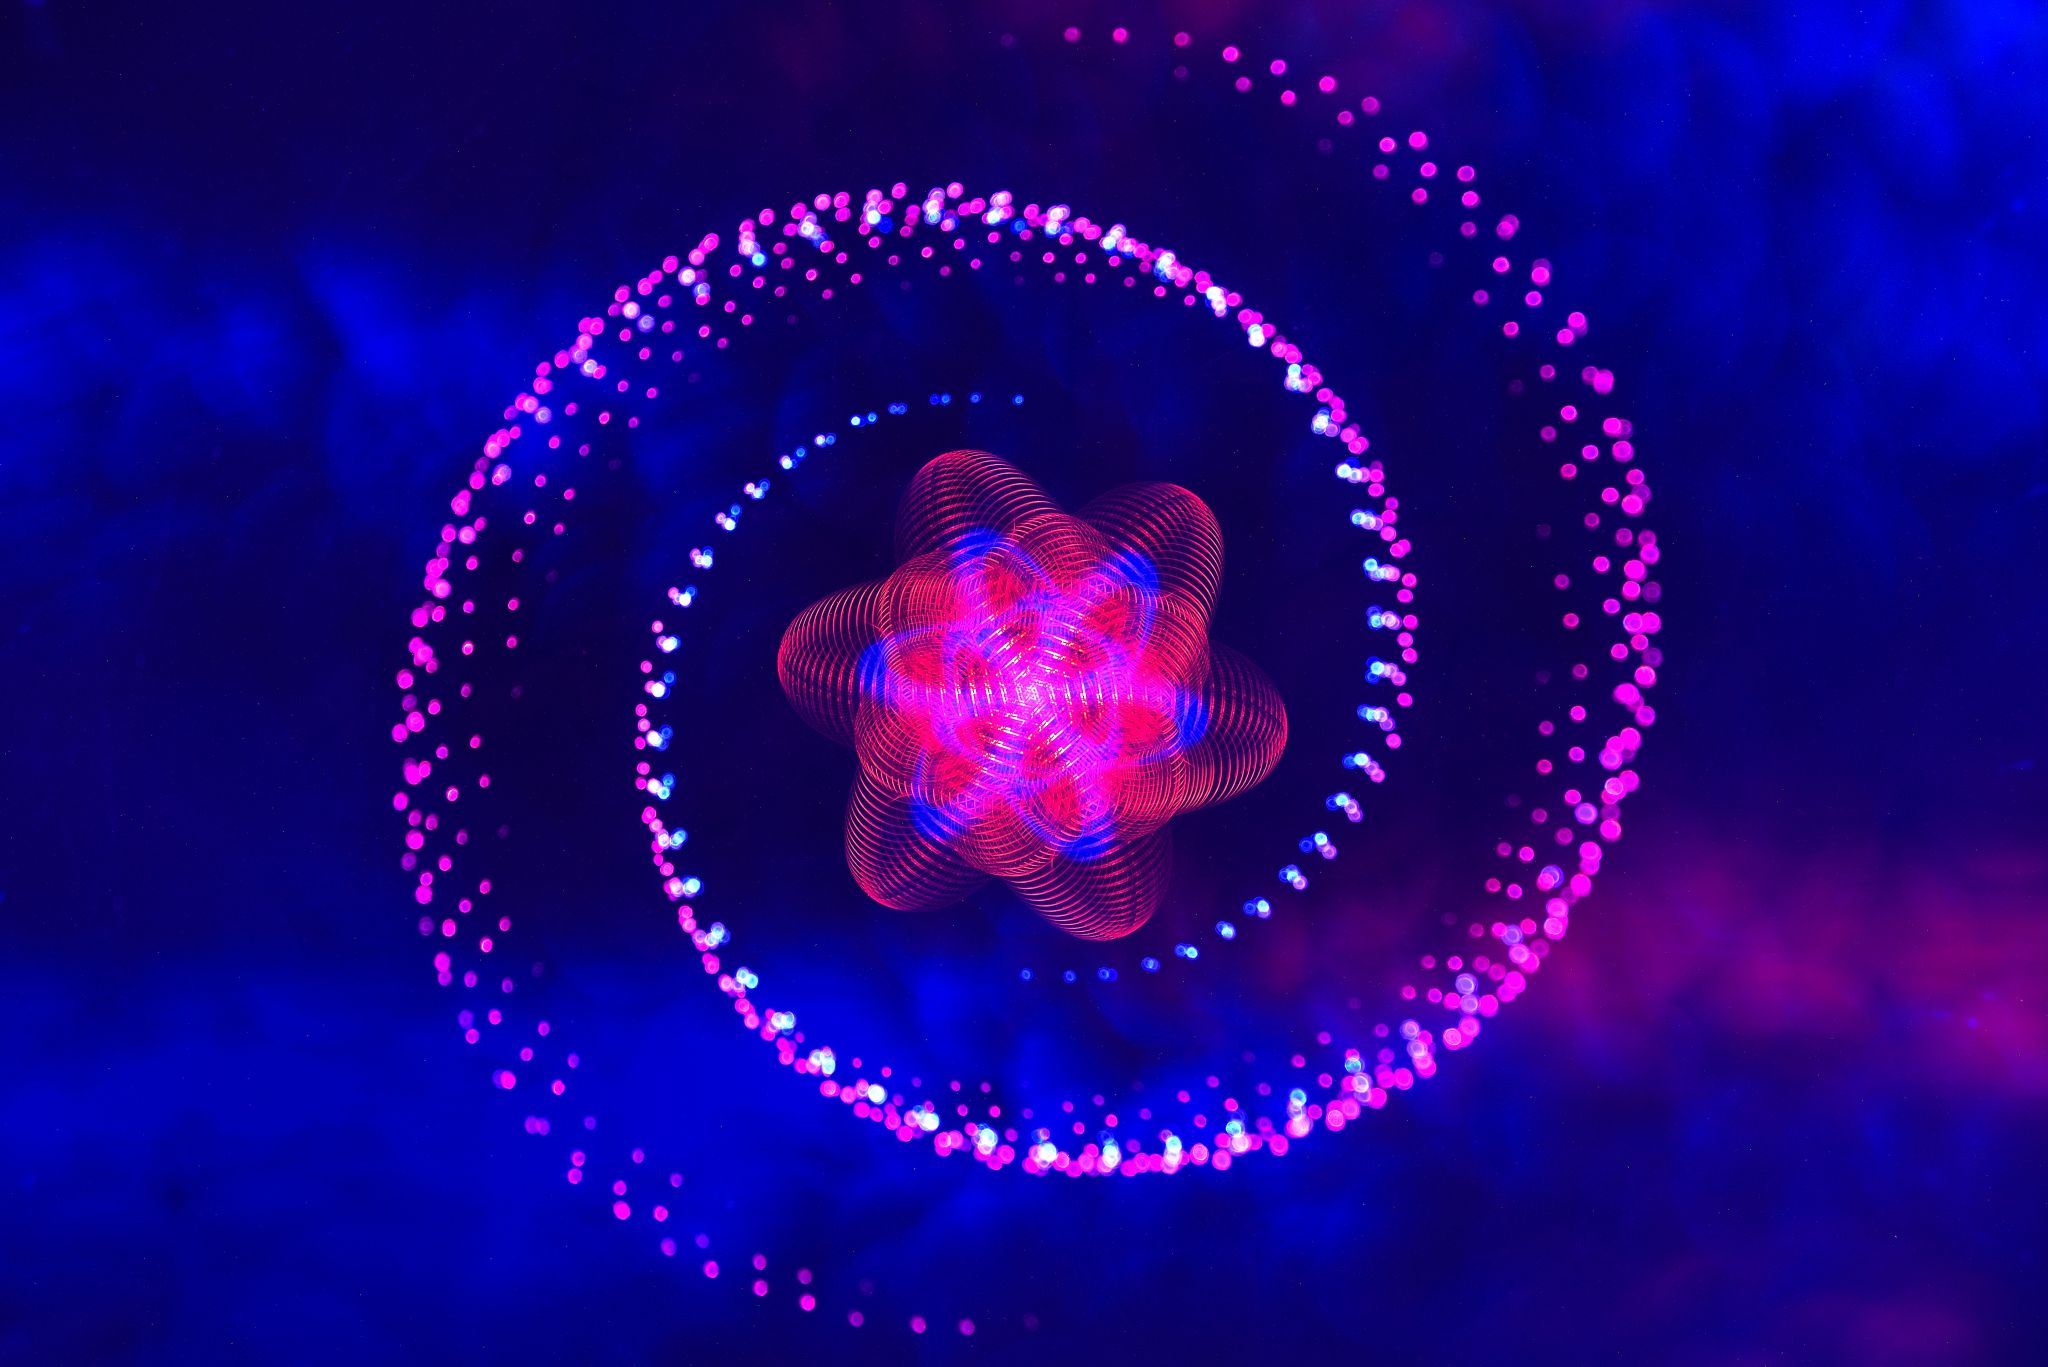 Nikon D750 | ISO 100 | Sigma 28-70 mm & Laowa 12 mm (mid-exposure lens swap) | 712 sec. exposure time
The last shot of today's post was taken with the same technique as the picture in my last post. (Link above)
Das letzte Bild des heutigen Beitrags, ist mit der gleichen Technik entstanden, wie das Bild in meinem letzten Beitrags.

And that brings me to the end of today's post. Thank you for reading! My next post will be about scary, a little horror and blood. After all, it's Halloween 🎃. But if you're expecting cheesy pictures with pumpkins and stuff like that, you'll be disappointed. It's going to be a little different....
Und schon bin ich am Ende meines heutigen Beitrags. Ich bedanke mich für´s lesen ! In meinem nächsten Beitrag geht es dann um Grusel, ein wenig Horror und Blut. Ist ja schließlich Halloween 🎃. Wer jetzt allerdings kitschige Bilder mit Kürbissen und so ein Zeugs erwartet, den muss ich enttäuschen. Es wird etwas anders....