Hello Hive community, after a long creative break, I am now motivated again for new adventures in the world of light art.
Hallo Hive-Community, nach einer längeren schöpferischen Pause, bin ich nun wieder motiviert für neue Abenteuer in der Welt der Lichtkunst.
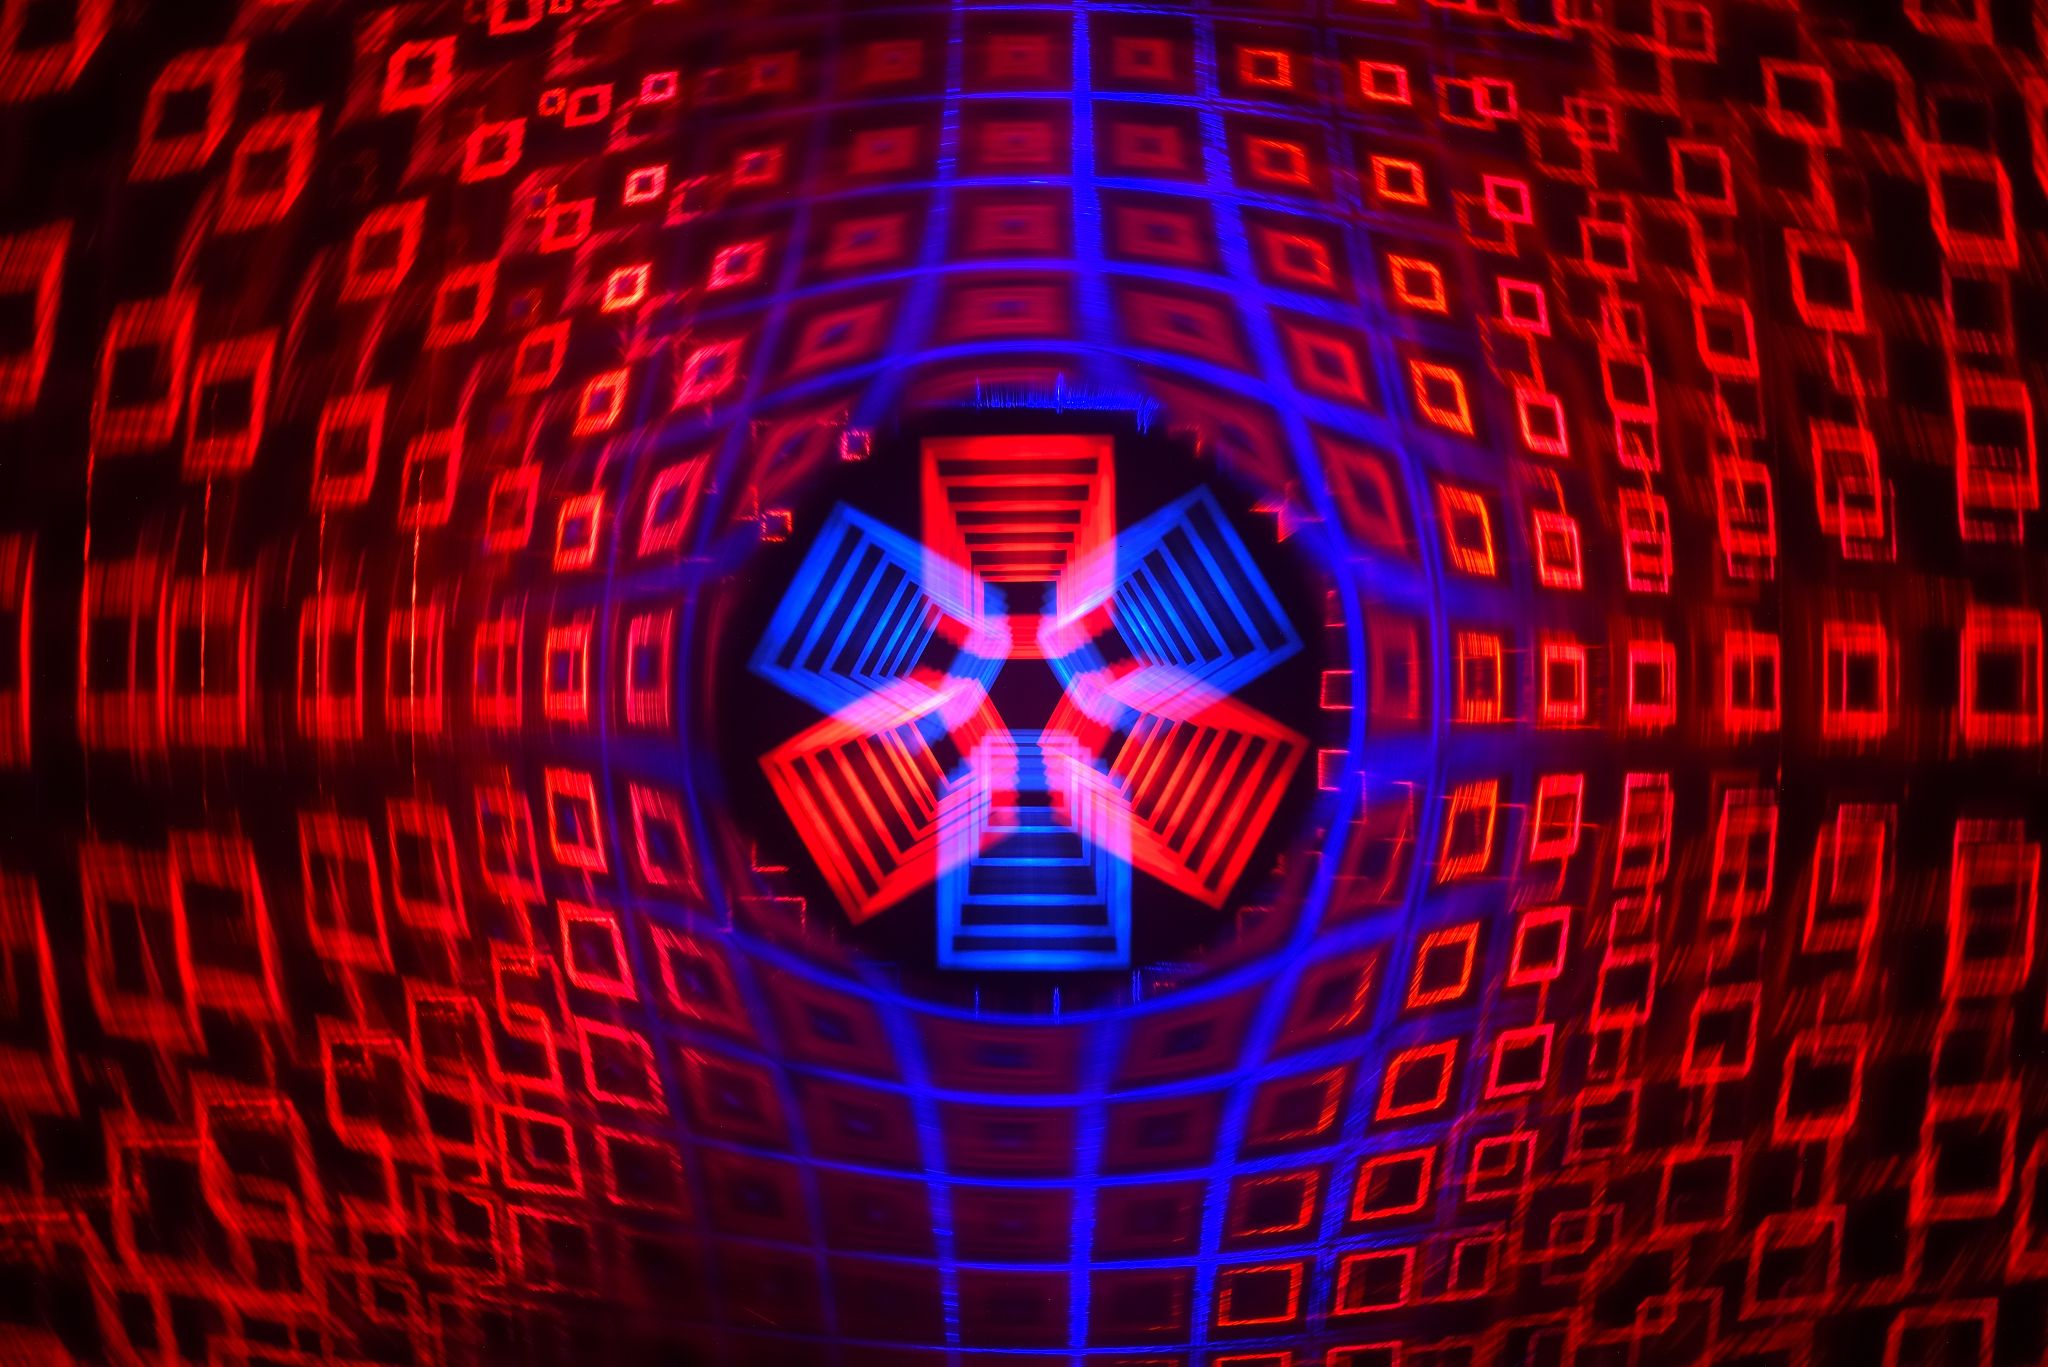
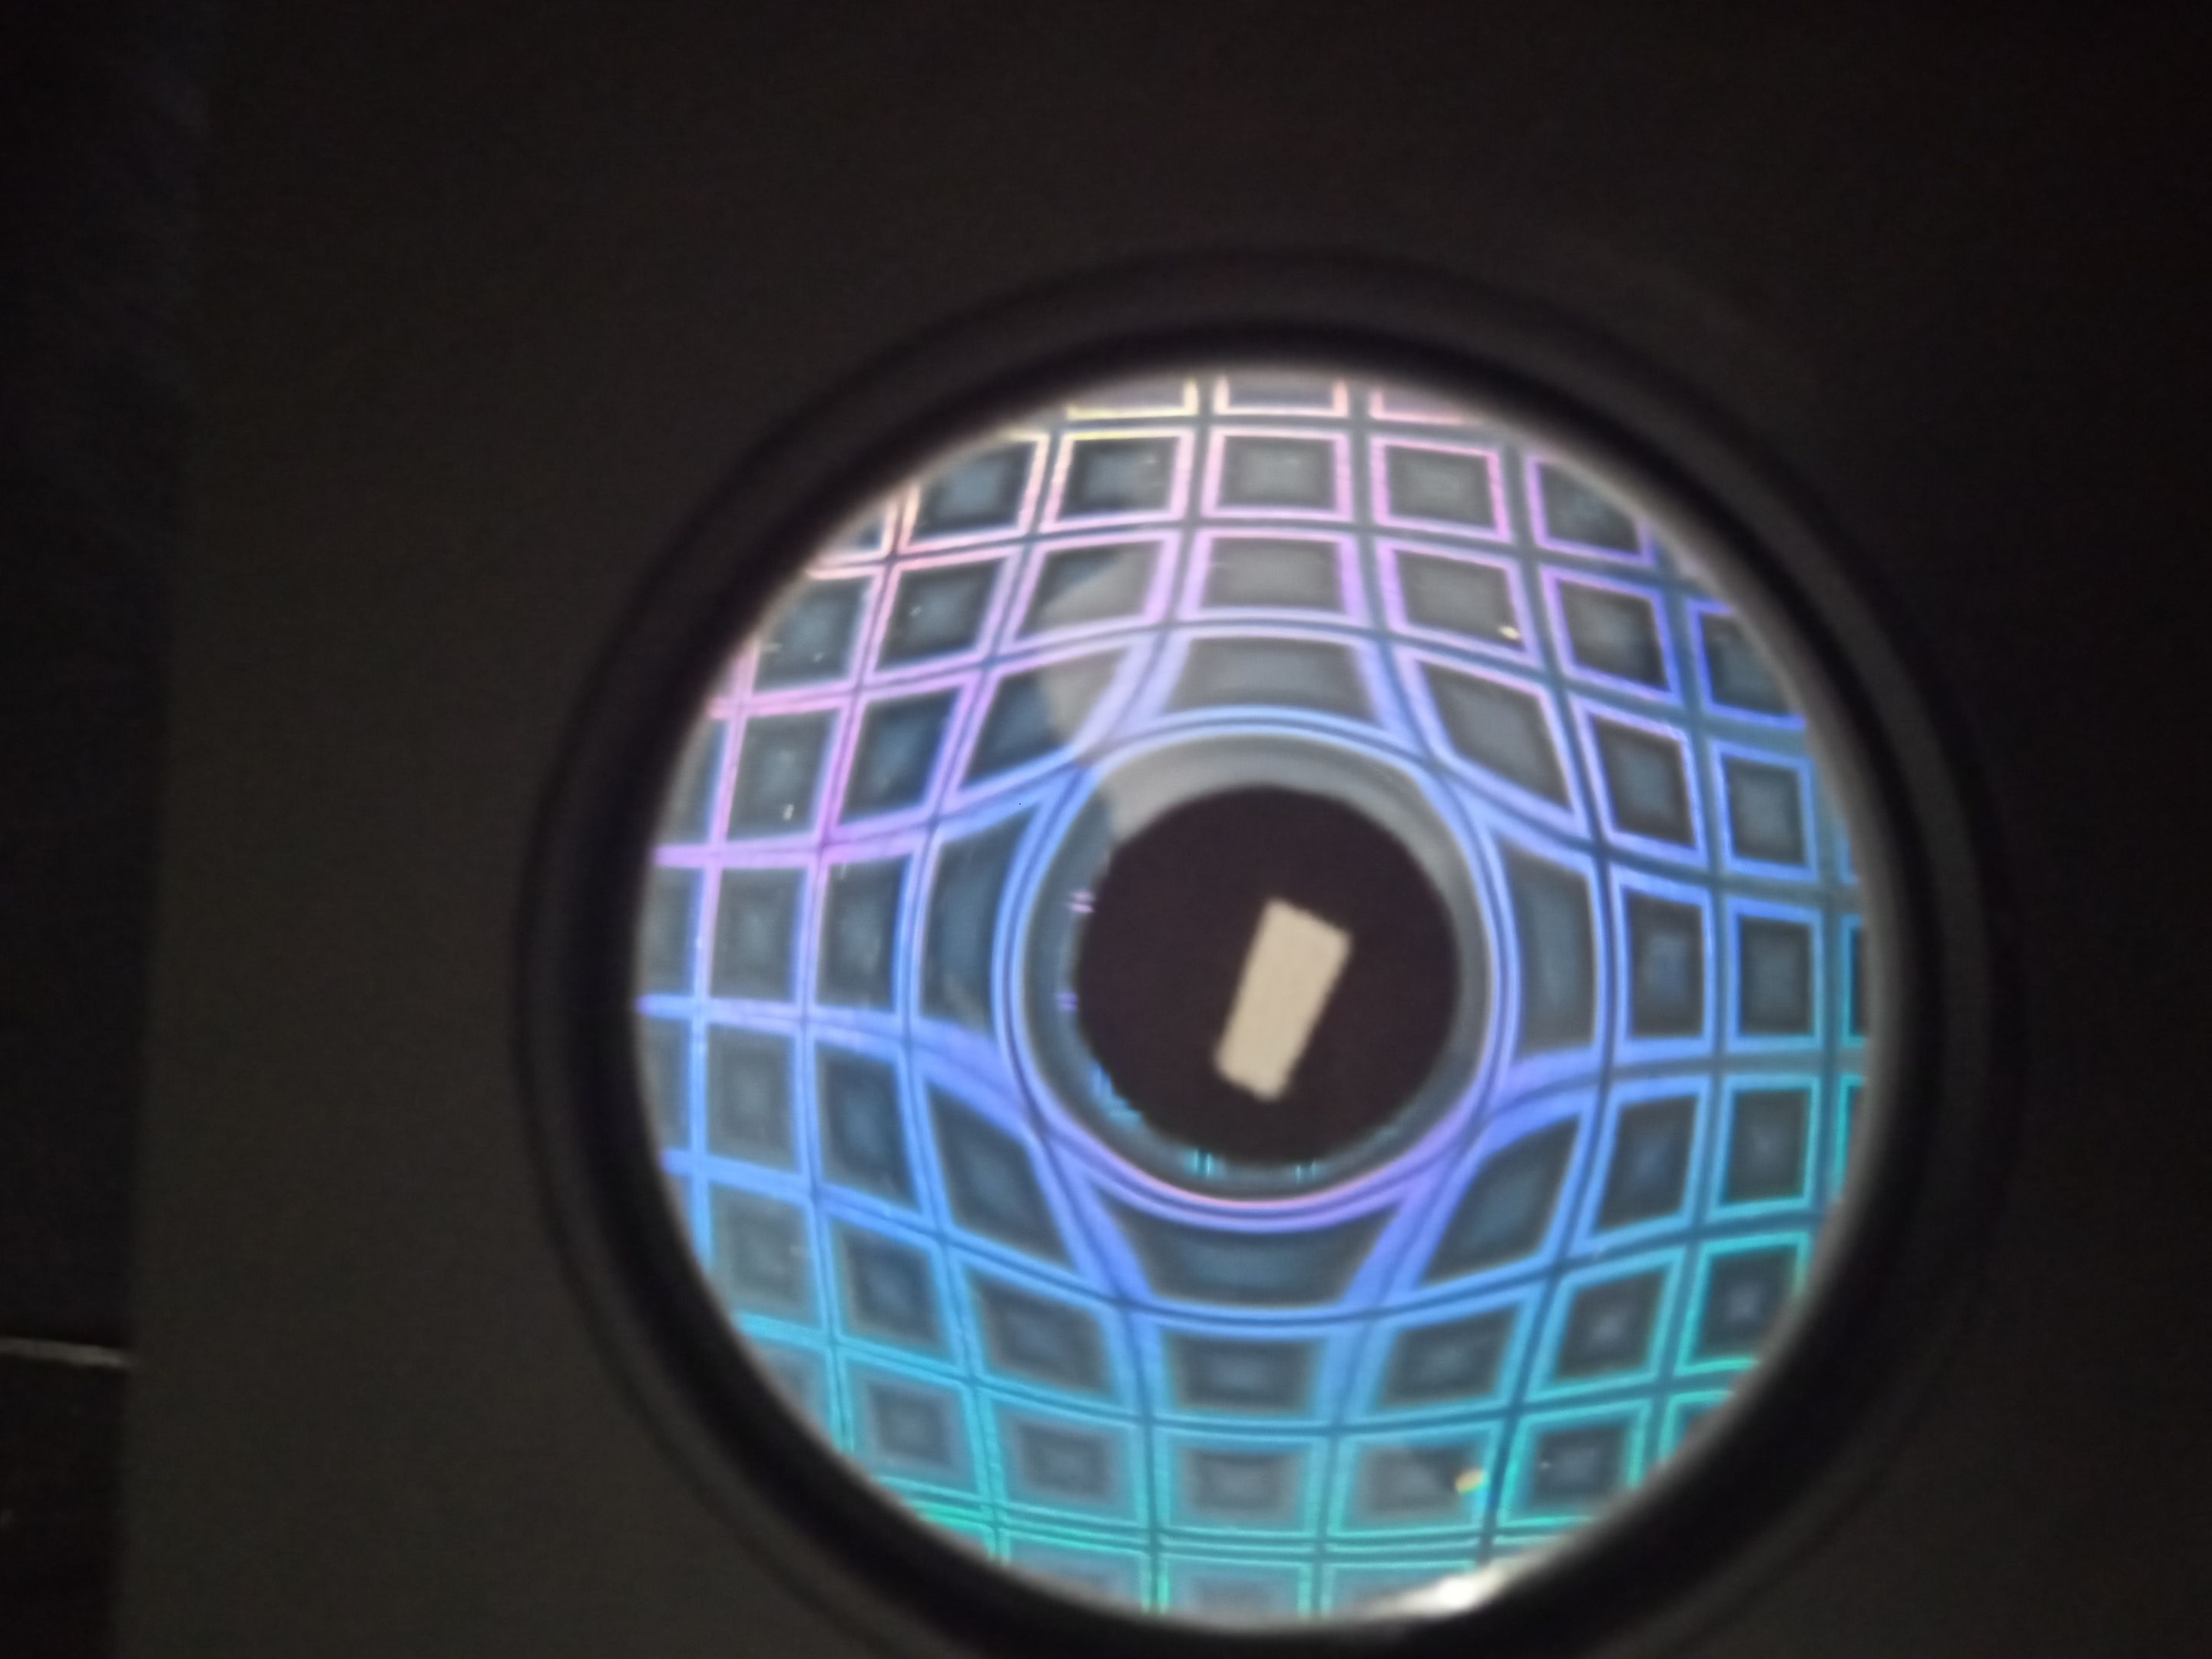
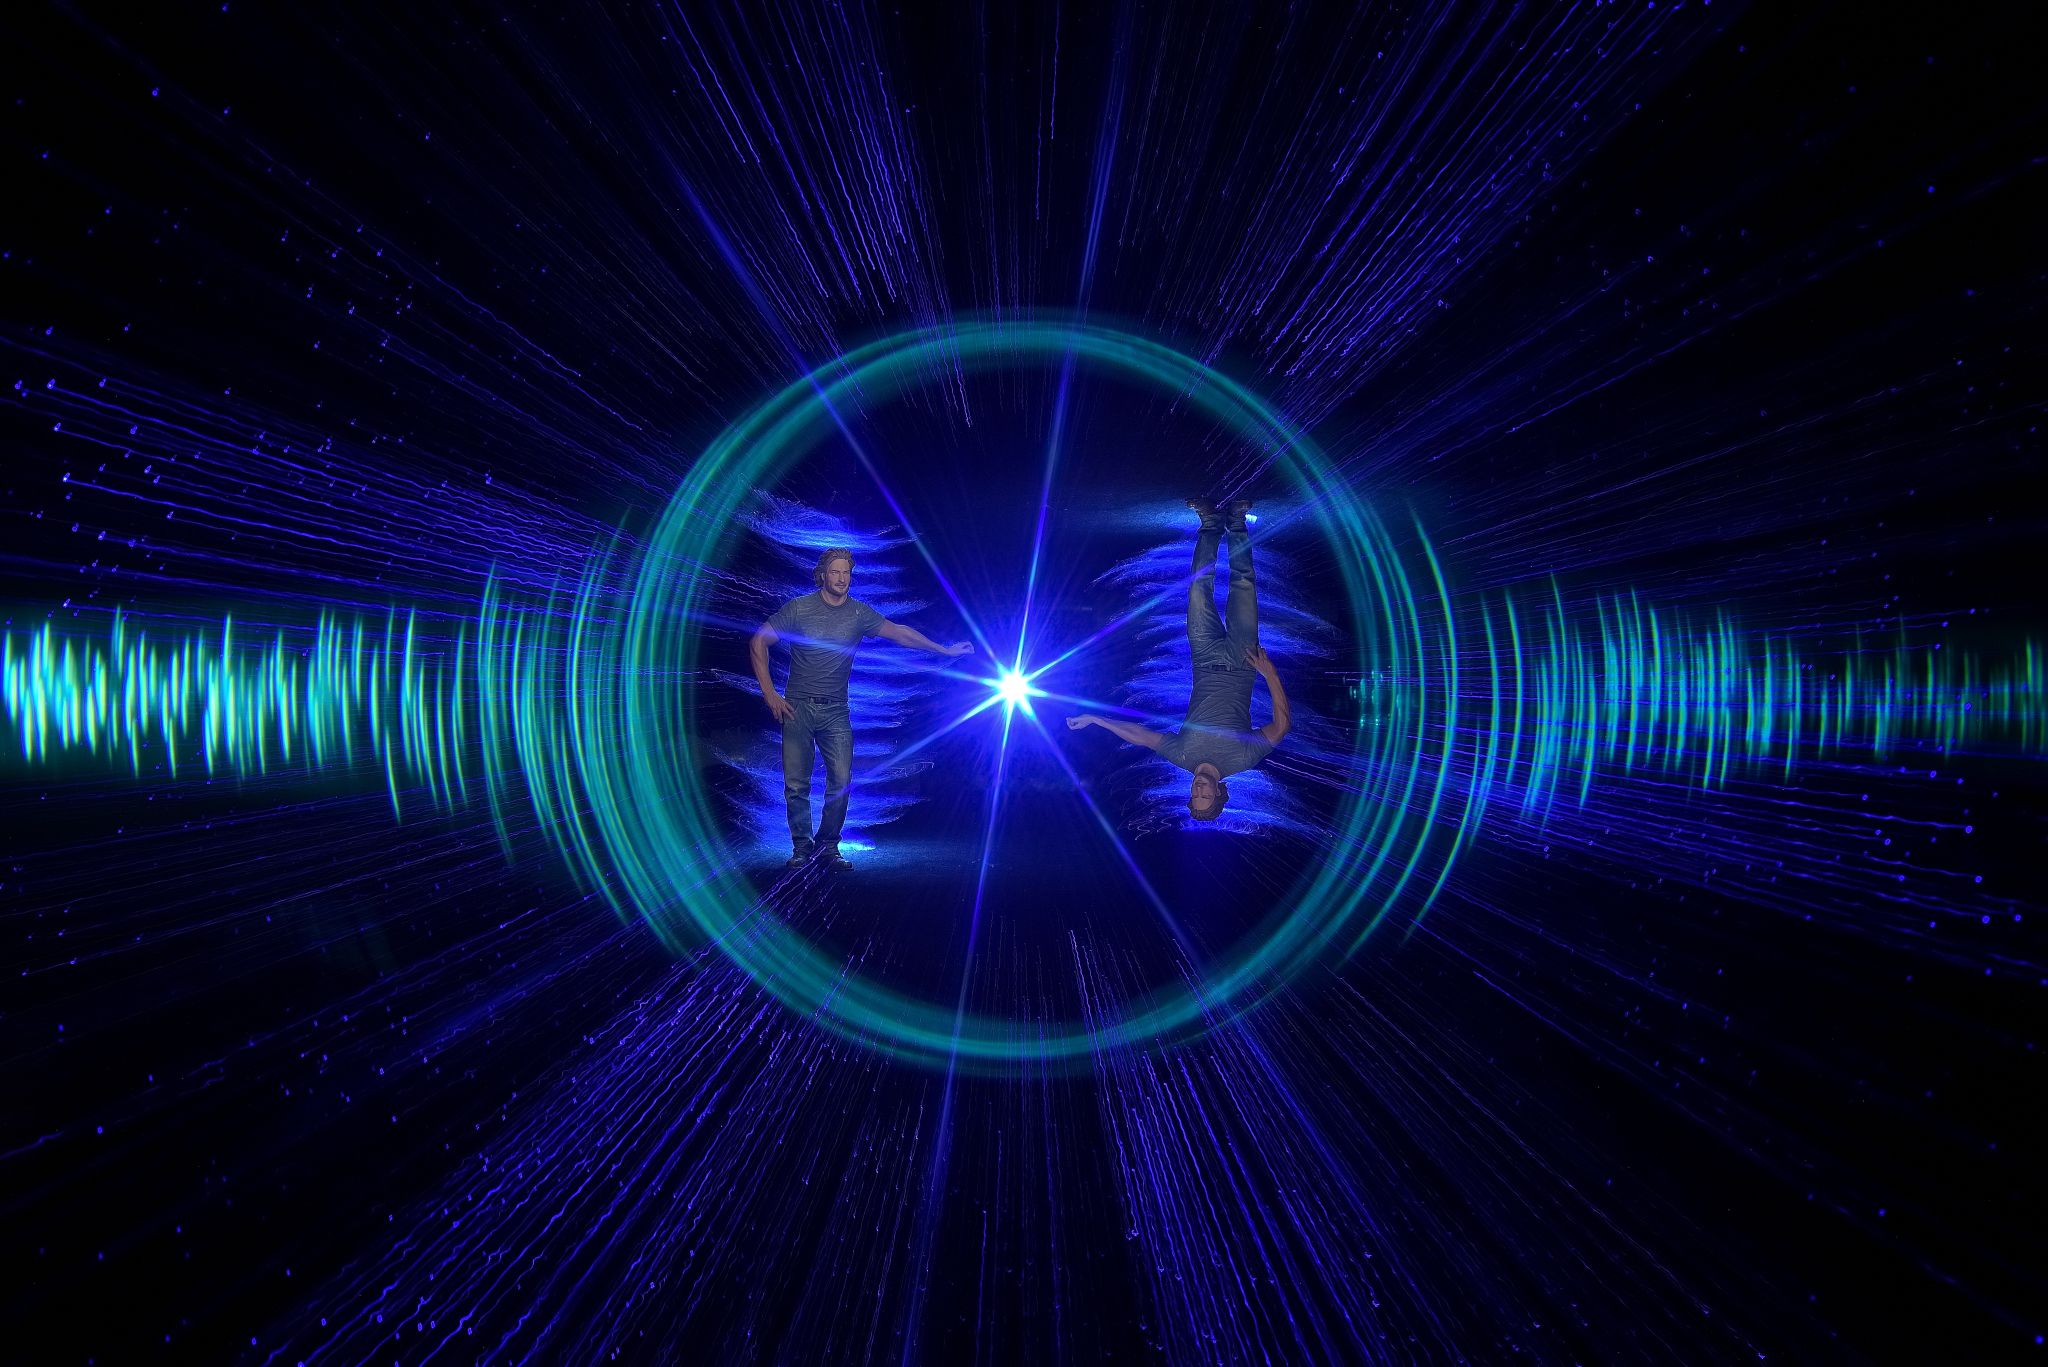
Let's start with the cover picture, which was created in my small studio at home. In the first step, I placed effect paper (A4) in front of the camera and a holder with the "halo prism" between the camera and the effect paper. The holder was 3D printed for me by my esteemed buddy @lichtkunstfoto. This means that I don't have to screw the prism firmly onto the lens, but can place the holder freely in front of the camera. Depending on the effect that the prism creates in the image. I glued a piece of black photo card to the centre of the prism, as this is where the "light figure" should appear in the second step.
Los geht es mit dem Titelbild, welches in meinem kleinen Studio zu Hause entstanden ist. Im ersten Schritt habe ich vor der Kamera Effektpapier (A4) platziert und zwischen Kamera und Effektpapier eine Halterung mit dem "Halo-Prisma". Die Halterung hat mir der geschätzte Kollege @lichtkunstfoto im 3D-Druck erstellt. Dadurch muss ich das Prisma nicht fest auf das Objektiv schrauben, sondern kann die Halterung frei vor der Kamera platzieren. Je nach dem welchen Effekt, den das Prisma erzeugt, im Bild haben möchte. Die Mitte im Prisma habe ich mit einem Stück schwarzen Fotokarton zu geklebt, denn dort sollte im zweiten Schritt die "Lichtfigur" erscheinen.
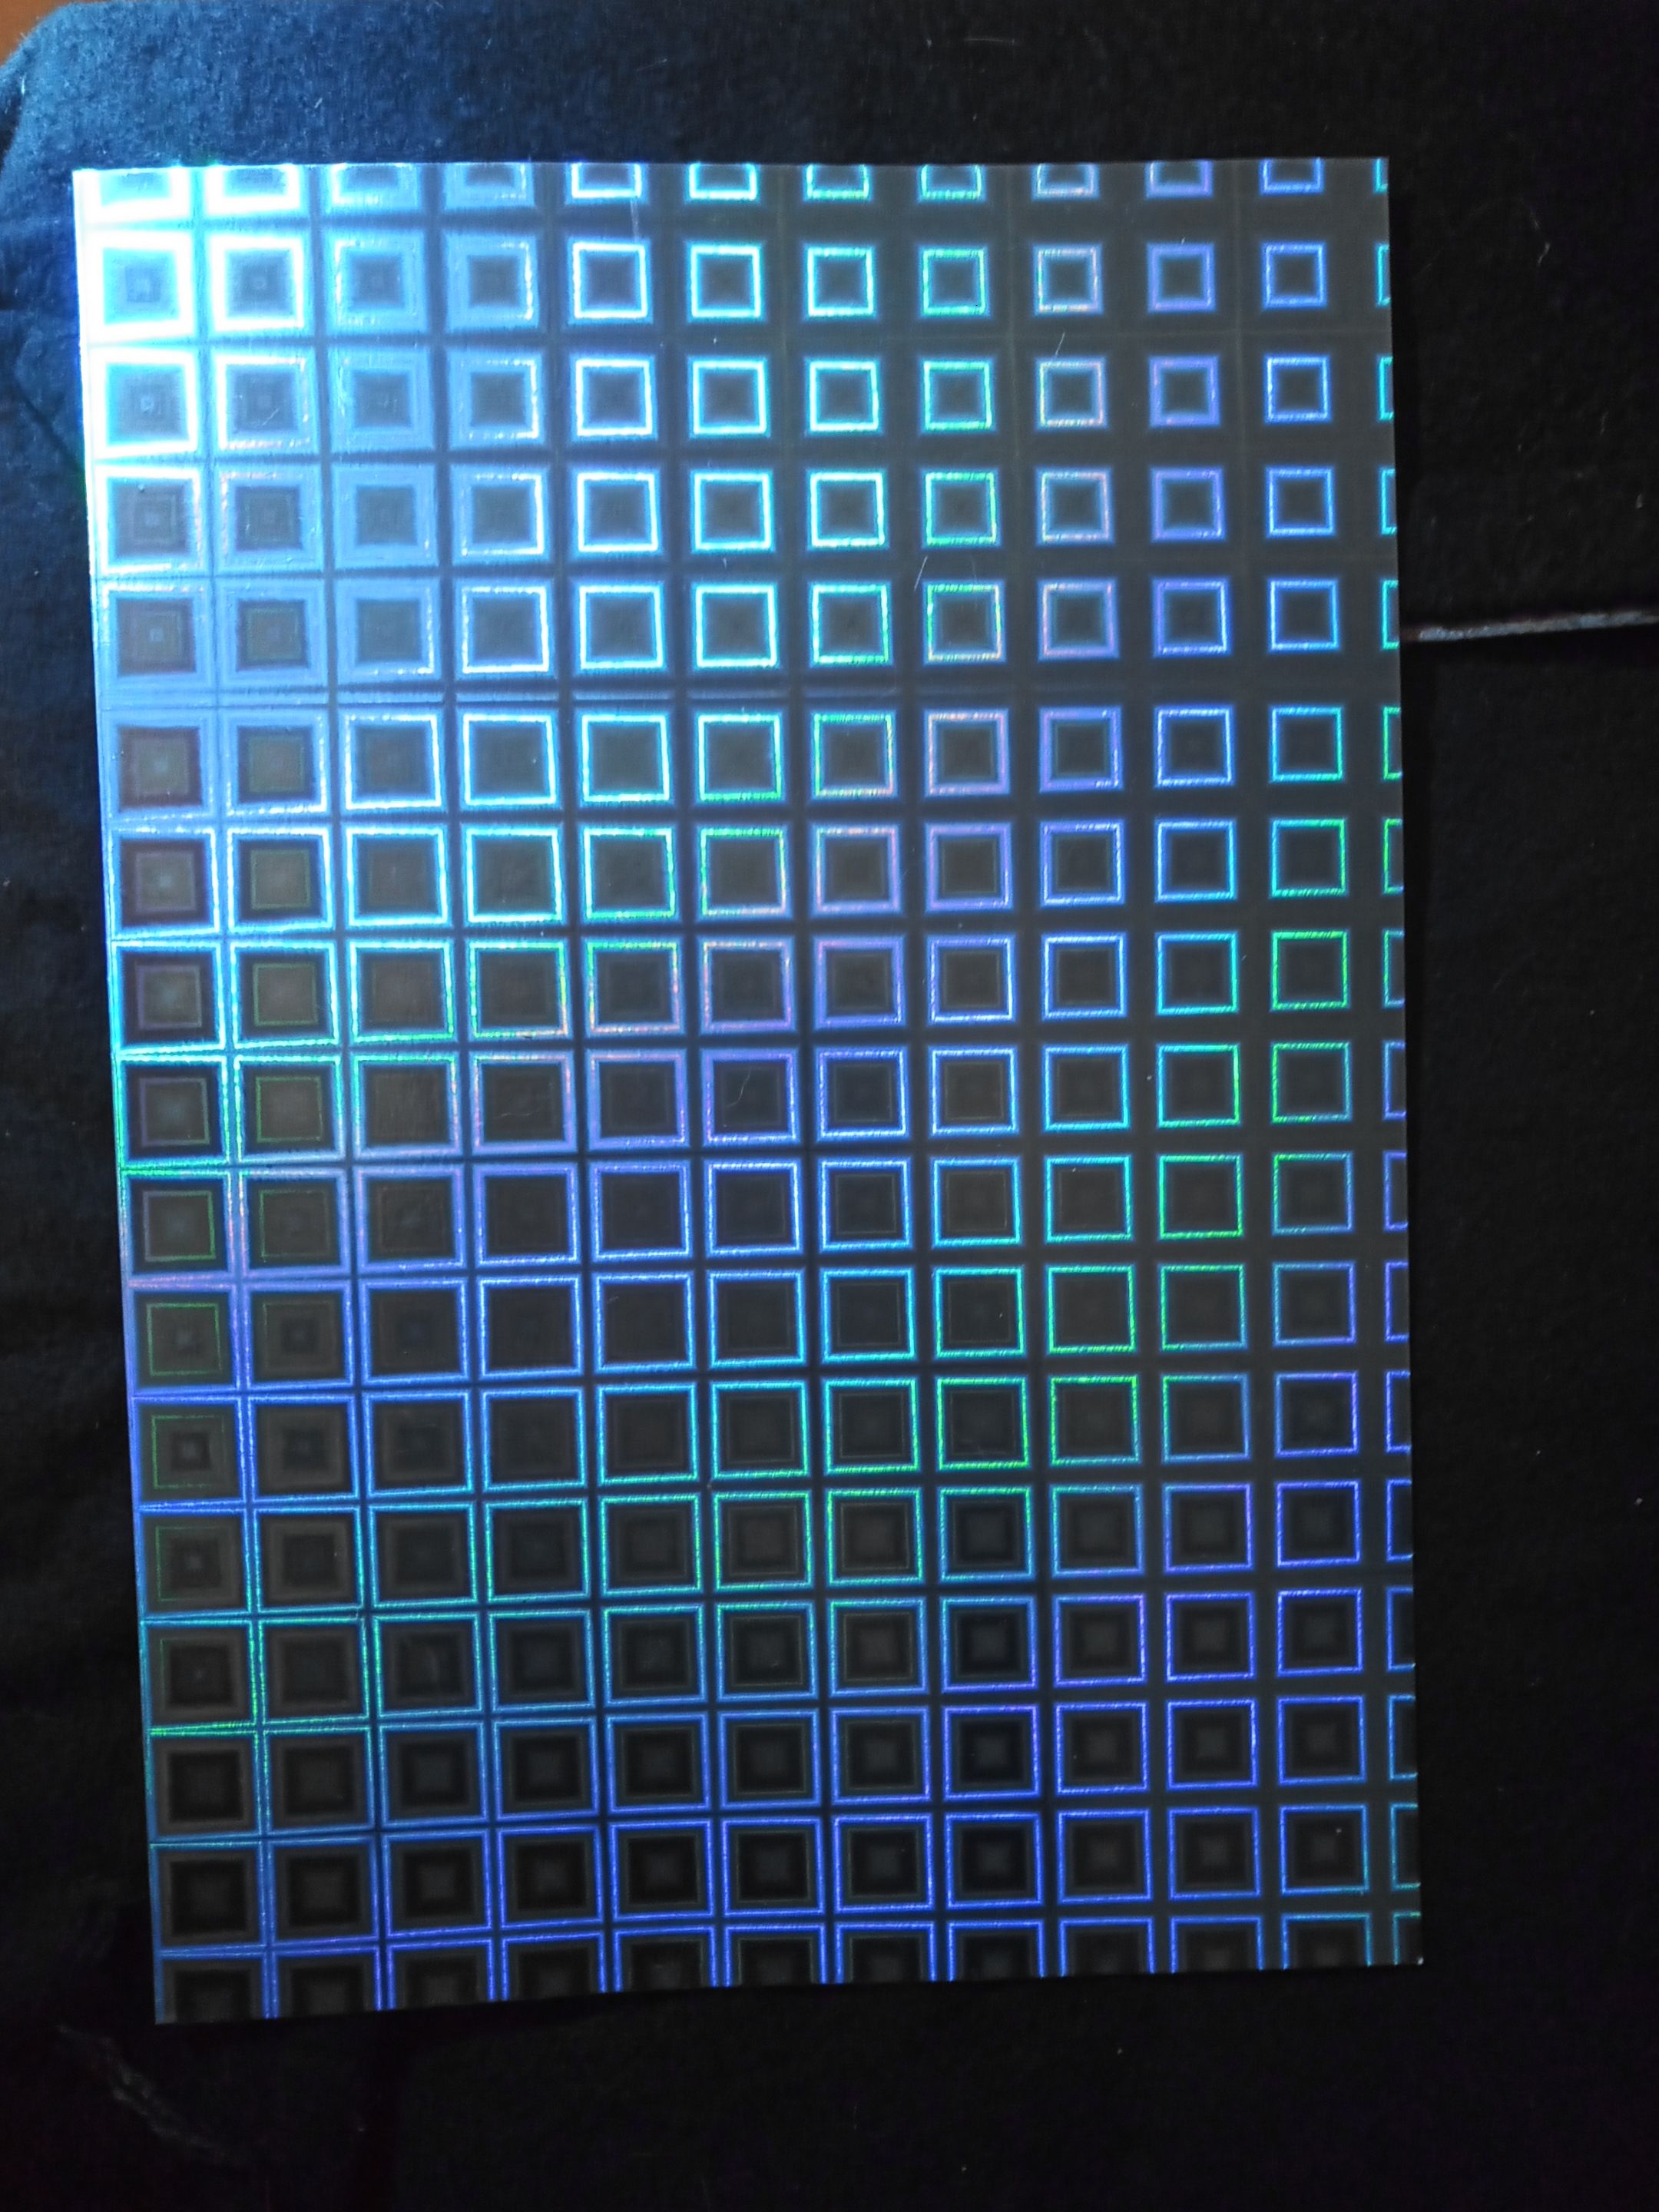
Here you can see the "effect paper", which I aligned in front of the camera and illuminated with red light (KDLitker E6) from one side and with blue light (Convoy S2+).
Hier seht Ihr das "Effektpapier", welches ich vor der Kamera ausgerichtet habe und mit rotem Licht (KDLitker E6) von einer Seite und mit blauem Licht (Convoy S2+) beleuchtet habe.
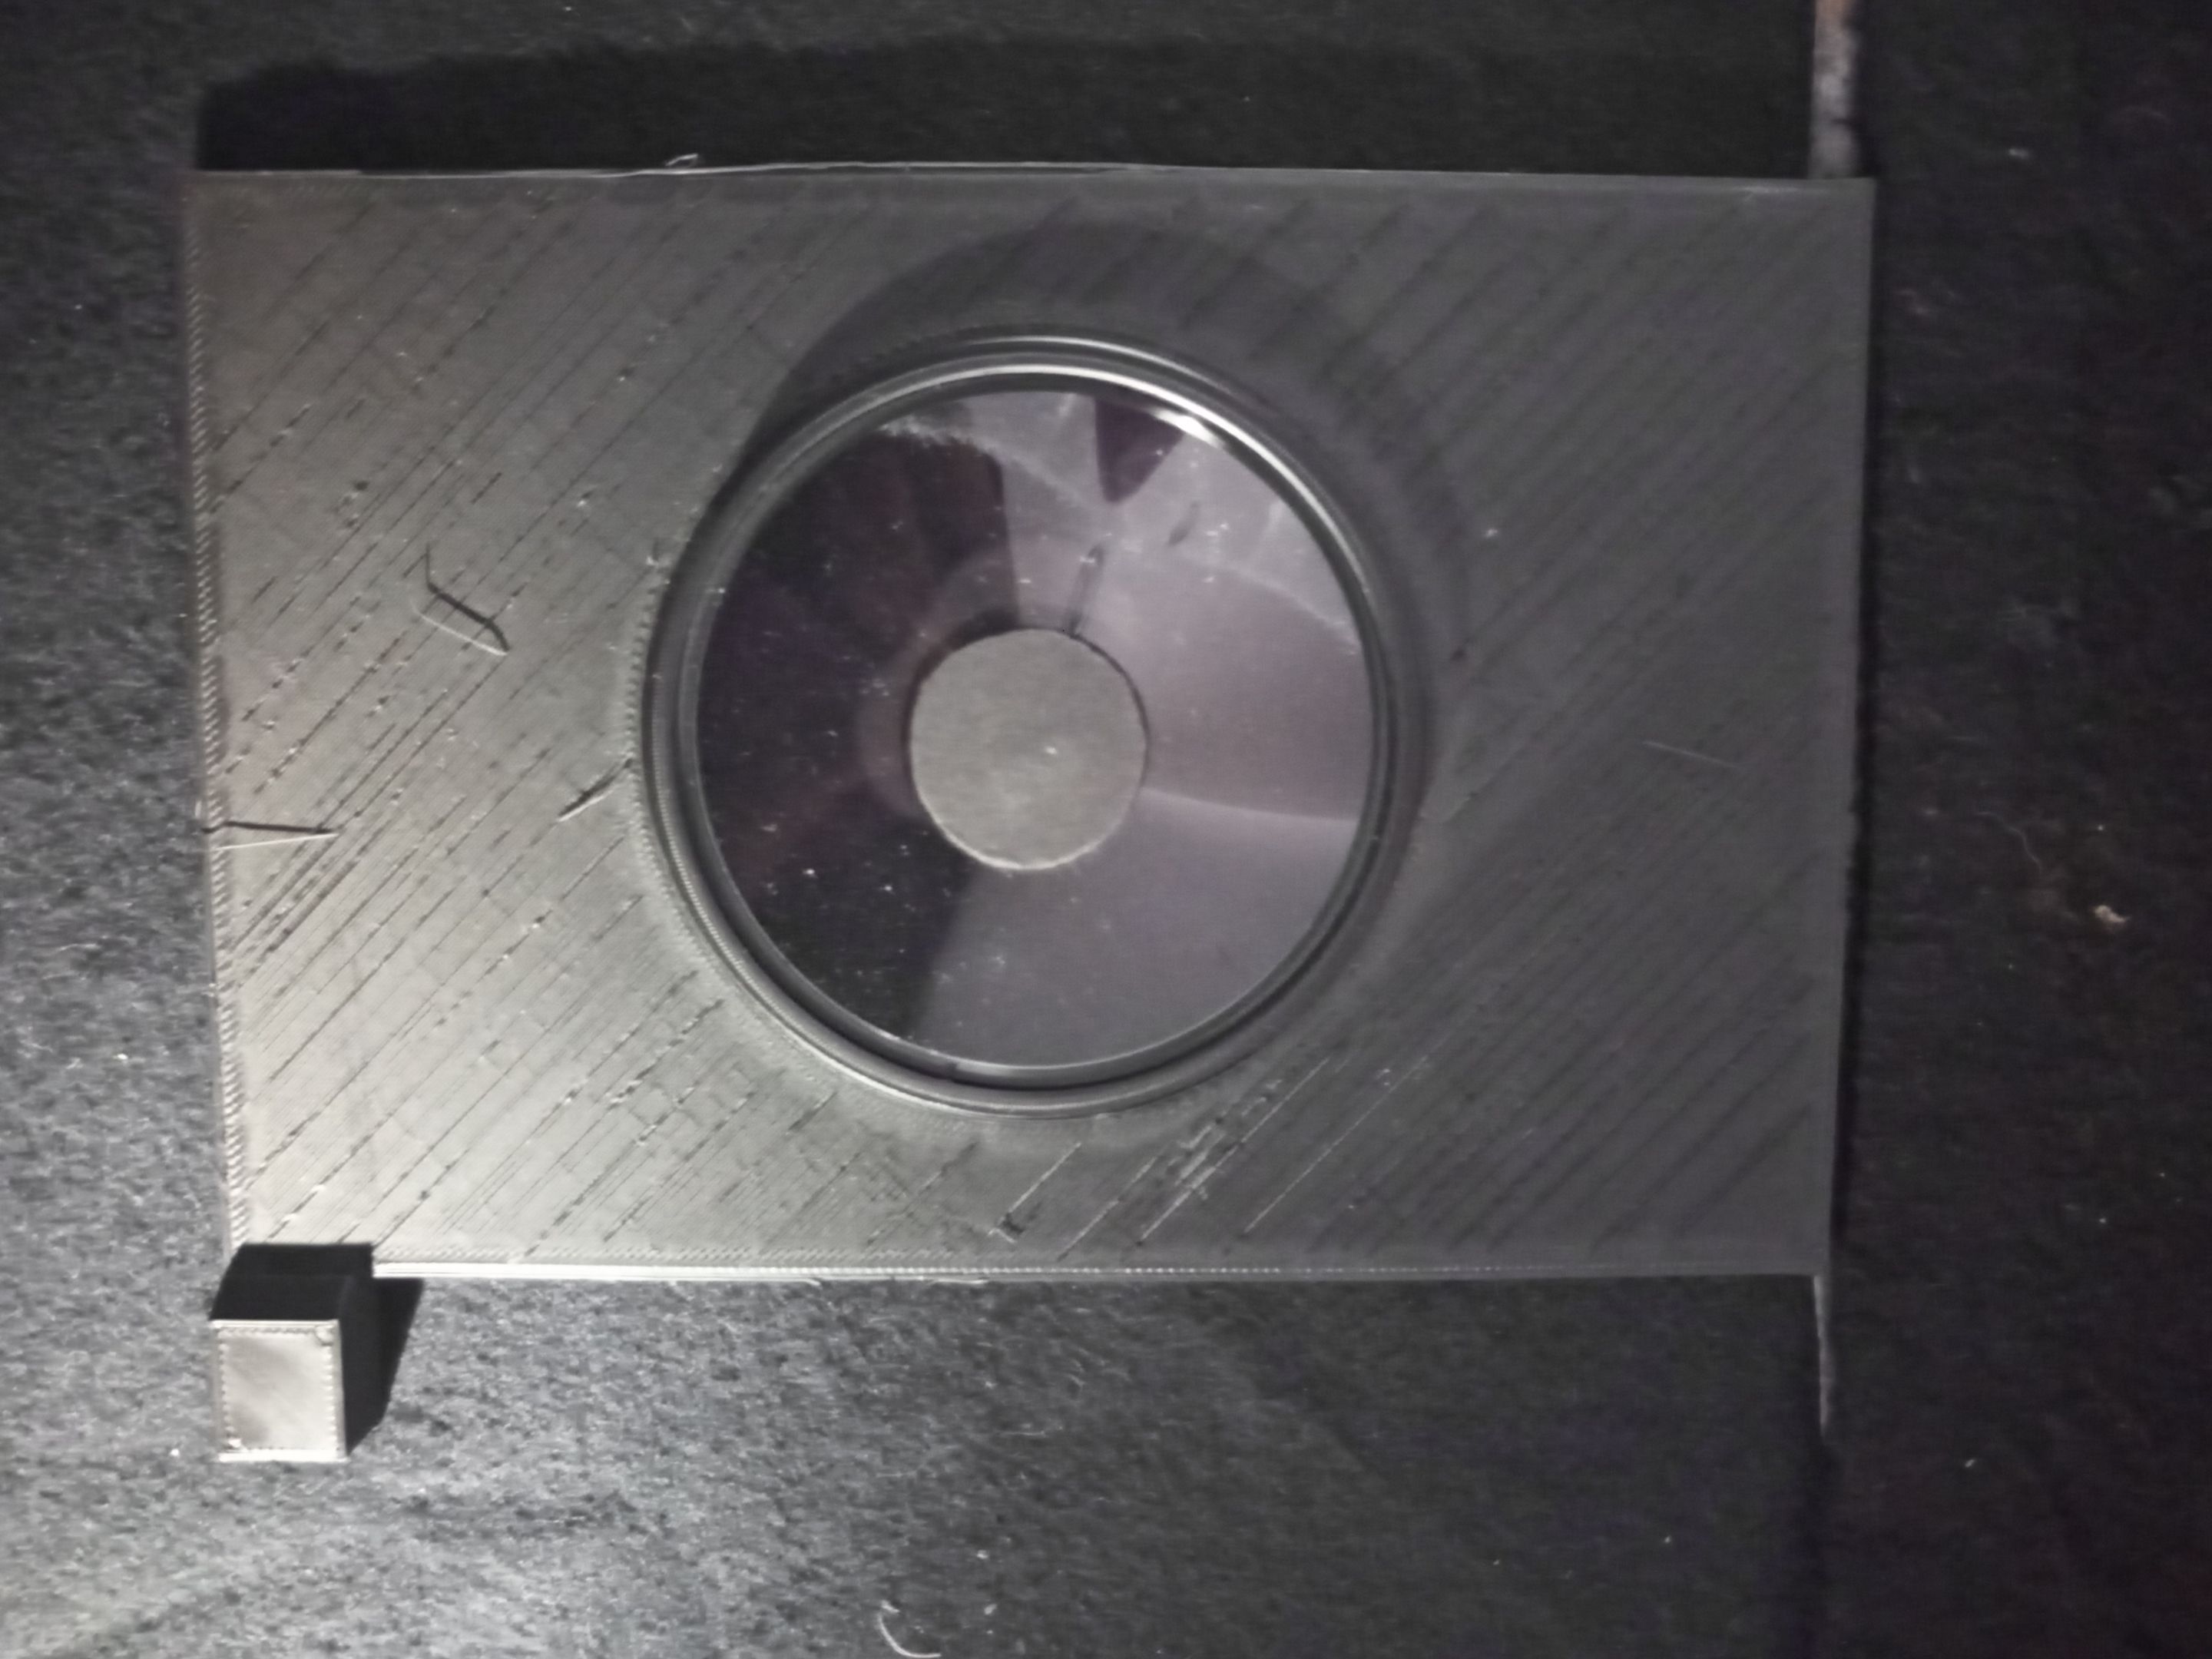 Behind the scenes ( by @stepko )
In this picture you can see the mount with "halo prism". This is then aligned in front of the camera using a clamp and a second tripod.
Auf diesem Bild seht Ihr die Halterung mit "Halo-Prisma". Diese wird dann mit einer Klemme und einem zweiten Stativ vor der Kamera ausgerichtet.
If you now hold the "halo prism" in front of the "effect paper", you can see how the light is refracted by the prism. In the finished picture, the red squares "fly" towards you. To achieve this effect, I simply zoomed through the prism and paused briefly while zooming.
Hält man nun das "Halo-Prisma" vor das "Effektpapier" kann man erkennen, wie das Licht durch das Prisma gebrochen wird. Im fertigen Bild "fliegen" einem die roten Quadrate entgegen. Um diesen Effekt zu erzteugen habe ich einfach durch das Prisma gezoomt und zwischendurch mal kurz angehalten beim zoomen.
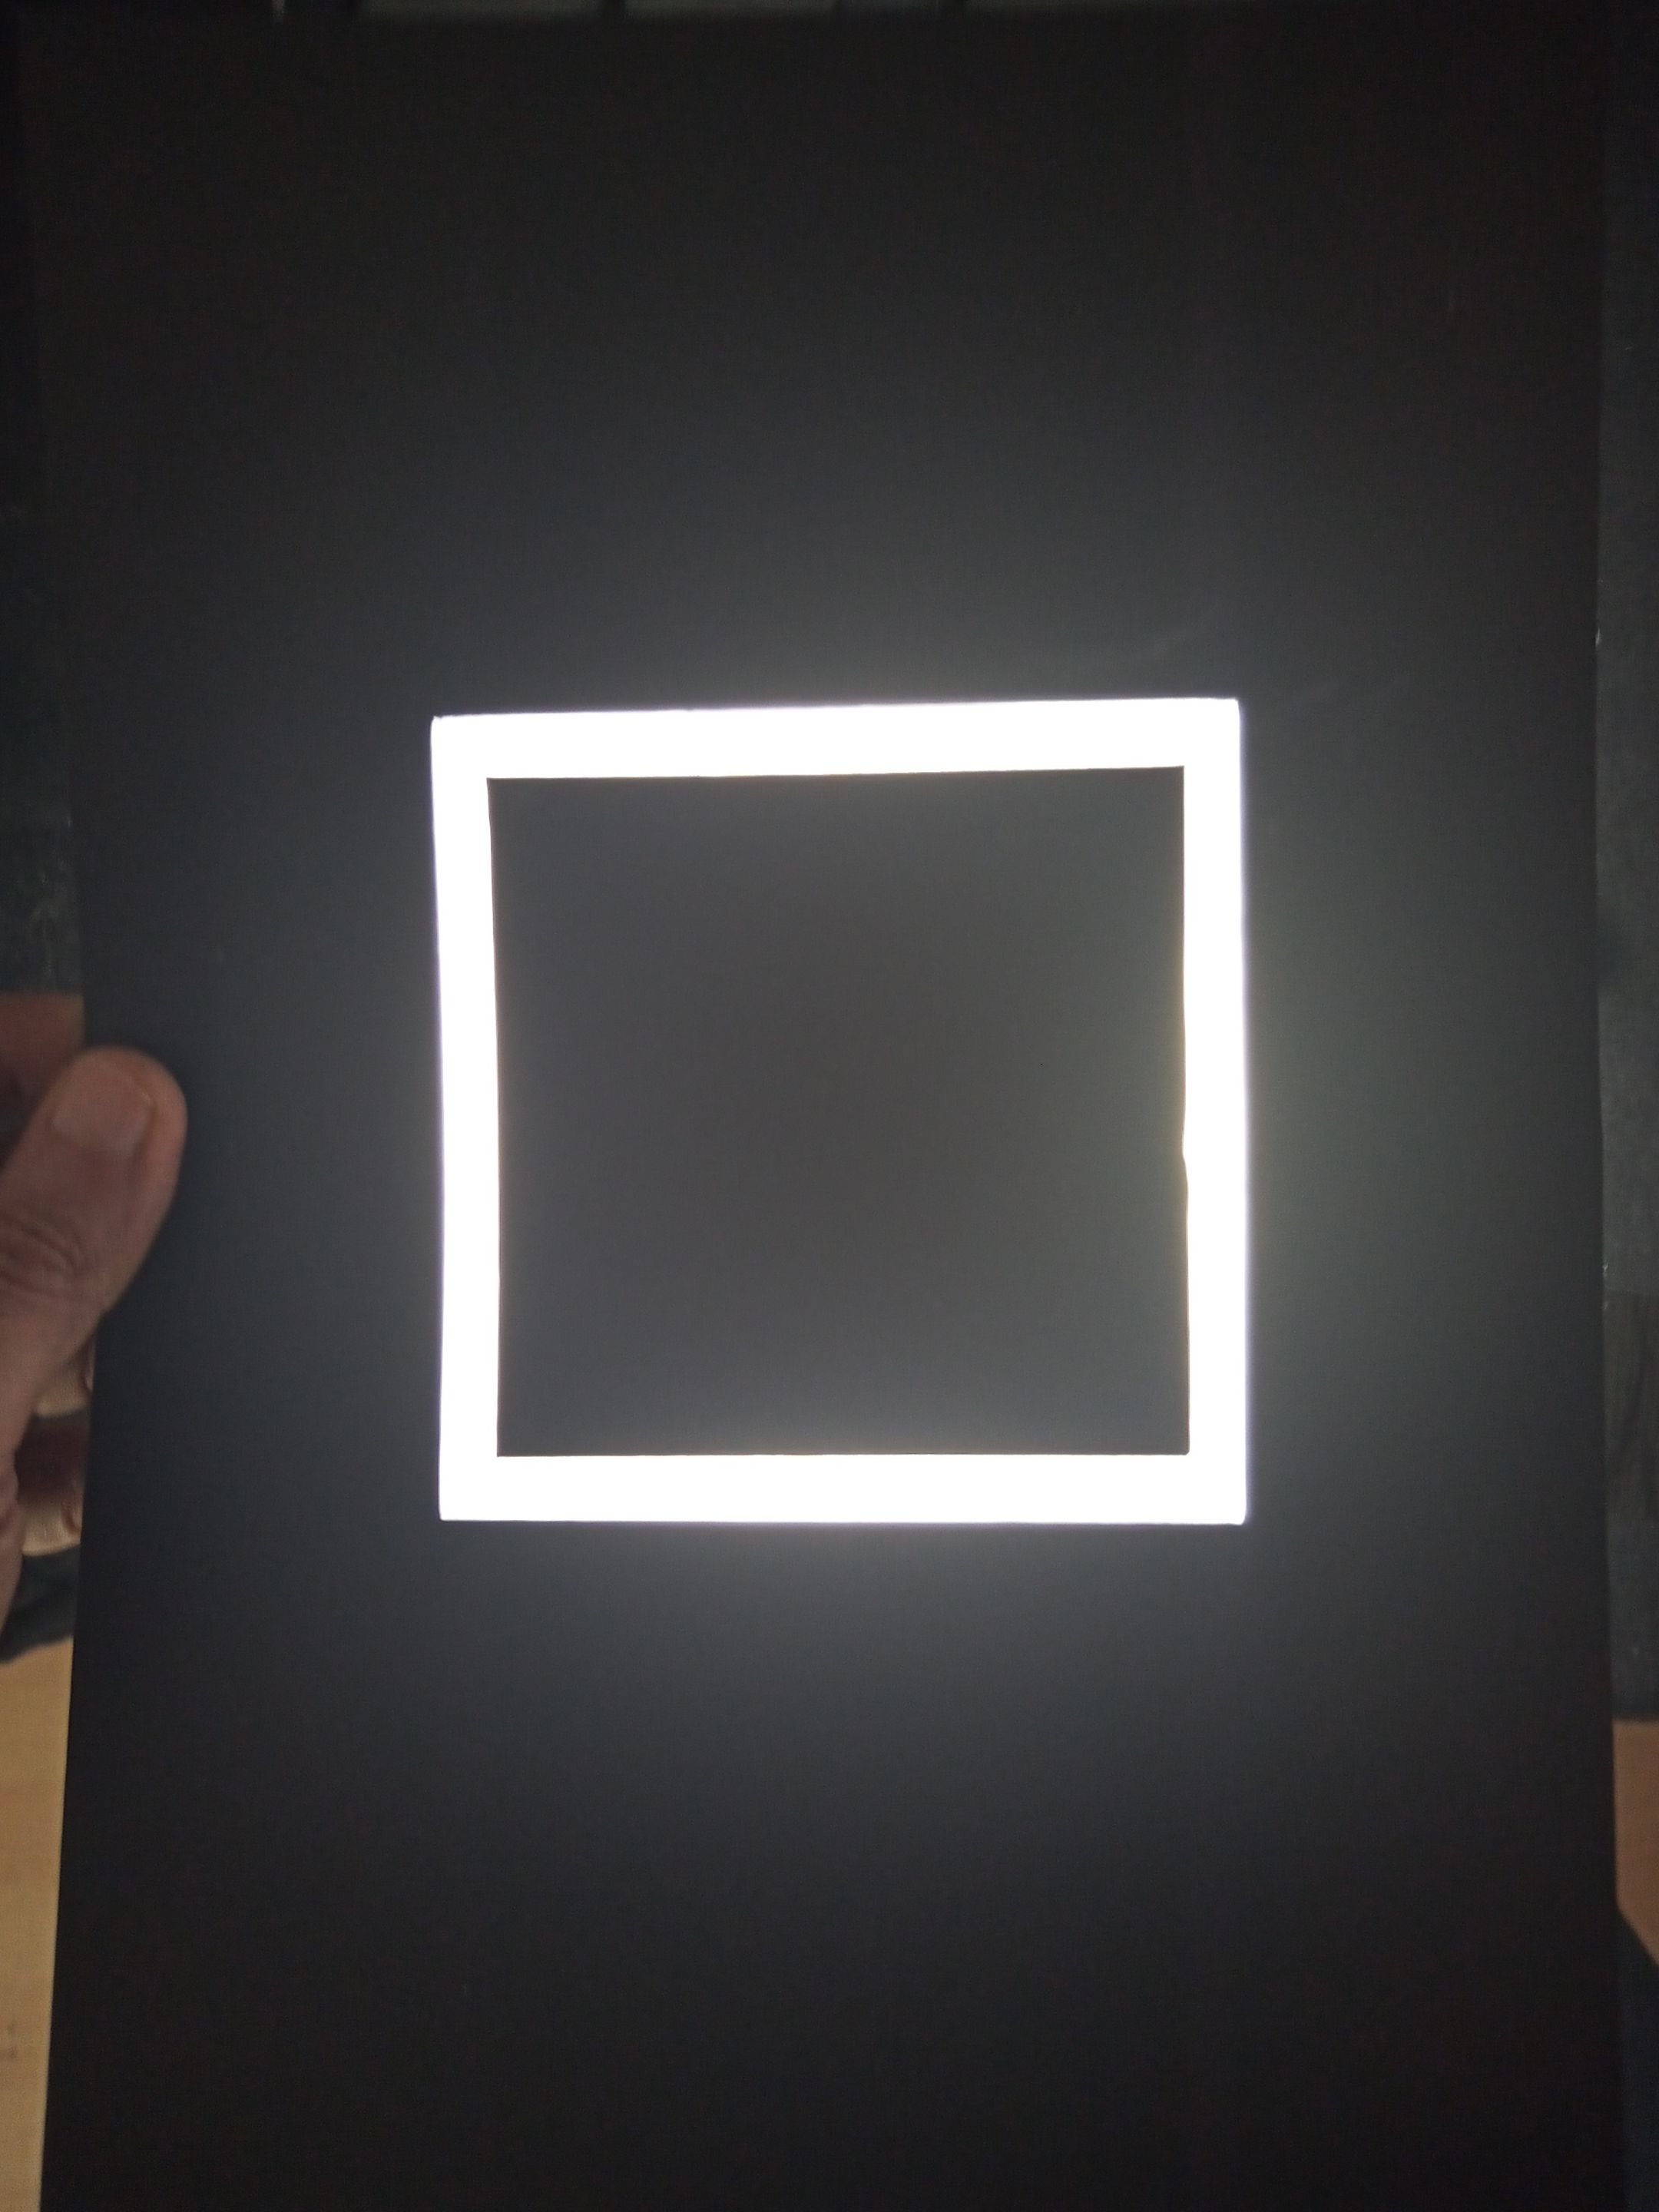
The "light figure" in the centre of the picture was created using the camera rotation technique and the square stencil that I show you in this picture. The camera was mounted on a second tripod and the template was aligned in front of the camera. I then lit the template from behind, first with blue light ( Convoy S2+ ) and rotated 3 x 120°, then switched to red light (Ryu's Lightworks + red colour filter) and rotated 3 x 120° again, but offset by 60°. To create depth in the light figure, I zoomed in several times at each step.
Die "Lichtfigur" in der Mitte des Bildes entstand mit Kamera Rotations Technik und der Quadrat-Schablone, die ich euch in diesem Bild zeige. Die Kamera wurde hierzu auf einem zweiten Stativ montiert und die Schablone vor der Kamera ausgerichtet. Anschließend habe ich die Schablone von hinten beleuchtet, als erstes mit blauem Licht ( Convoy S2+ ) und 3 x 120° rotiert, dann auf rotes Licht gewechselt (Ryu´s Lightworks + roter Farbfilter) und wieder 3 x 120° rotiert, allerdings um 60° versetzt. Um Tiefe in die Lichtfigur zu bekommen, habe ich bei jedem Step mehrmals gezoomt.

I'll try to be a bit more short for the next pictures, as I don't want this to be a novel.
Für die nächsten Bilder versuche ich mich etwas kürzer zu fassen, soll ja kein Roman werden.
 Nikon D750 | ISO 100 | Sigma 28-70 mm | 420 sec. exposure time
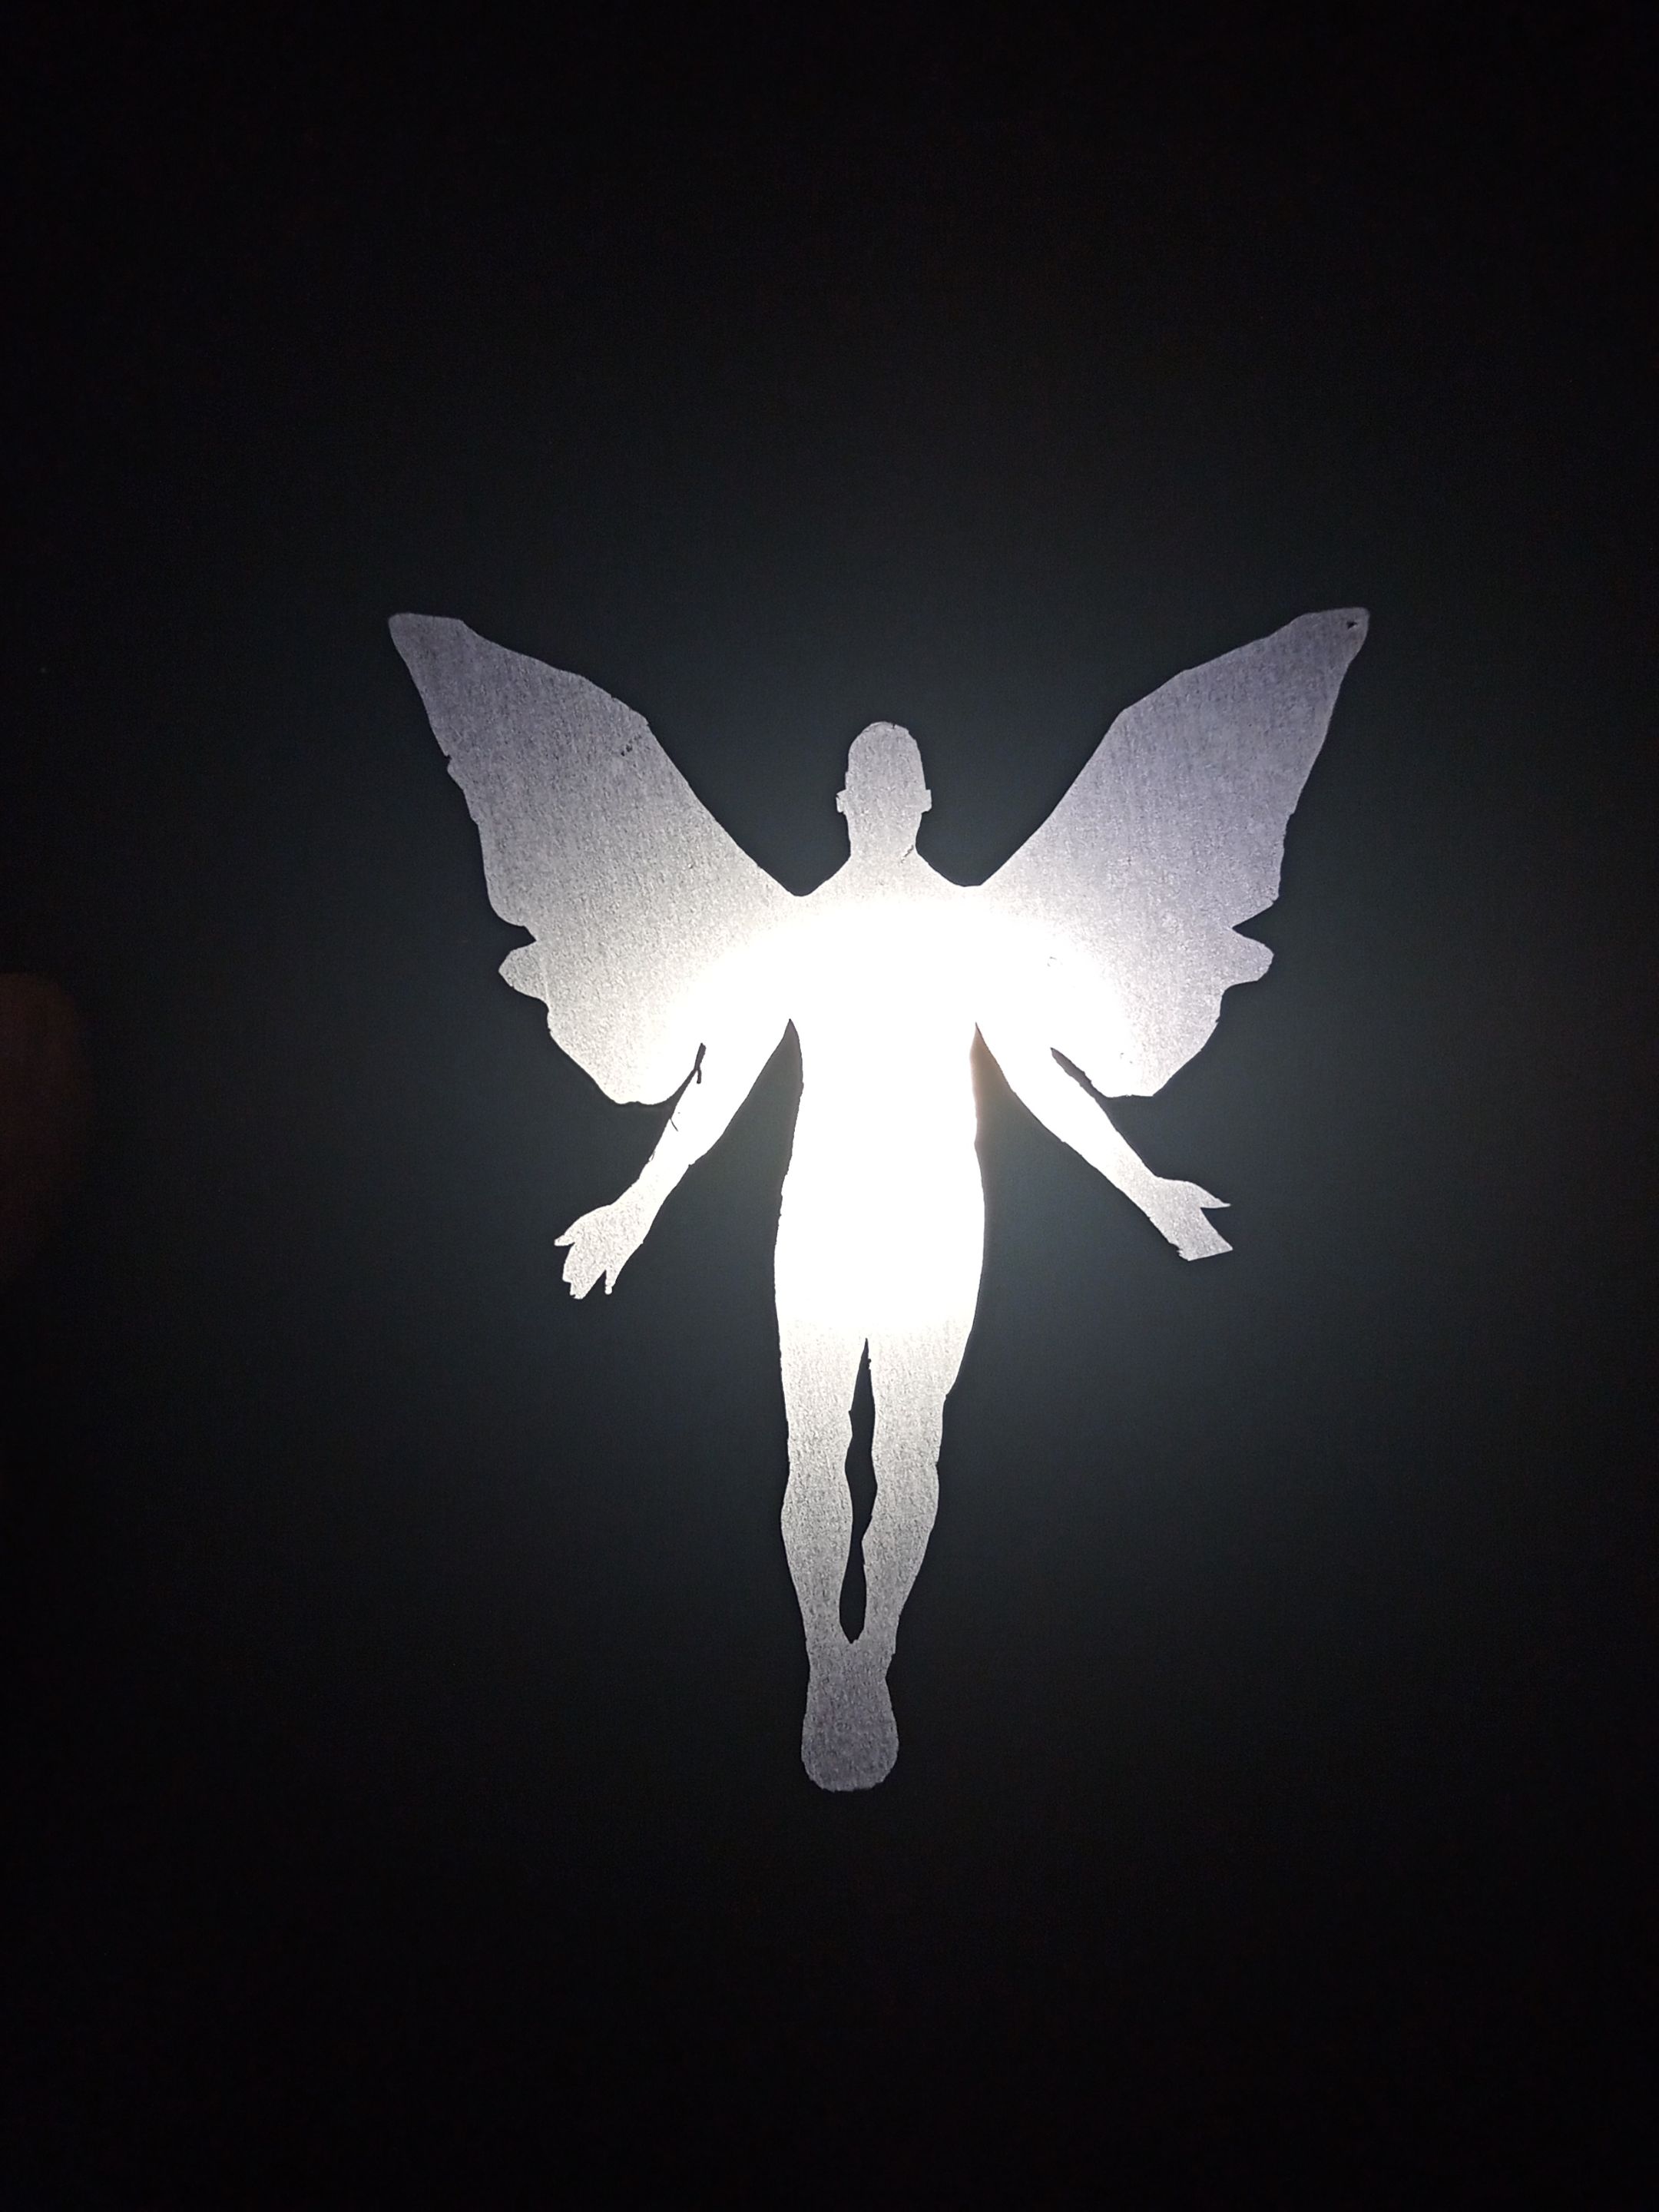
For this shot I also used the "Halo prism" and a stencil ( the angel ). Maybe someone remembers a post of mine where the angel was shown. If not, you can read it again here: ⬇️
Für dieses Bild habe ich ebenfalls das "Halo-Prisma" benutzt und eine Schablone (der Engel). Vielleicht erinnert sich noch jemand an einen Beitrag von mir, wo der Engel zu sehen war. Falls nicht, hier könnt Ihr den Betrag nochmal lesen: ⬇️
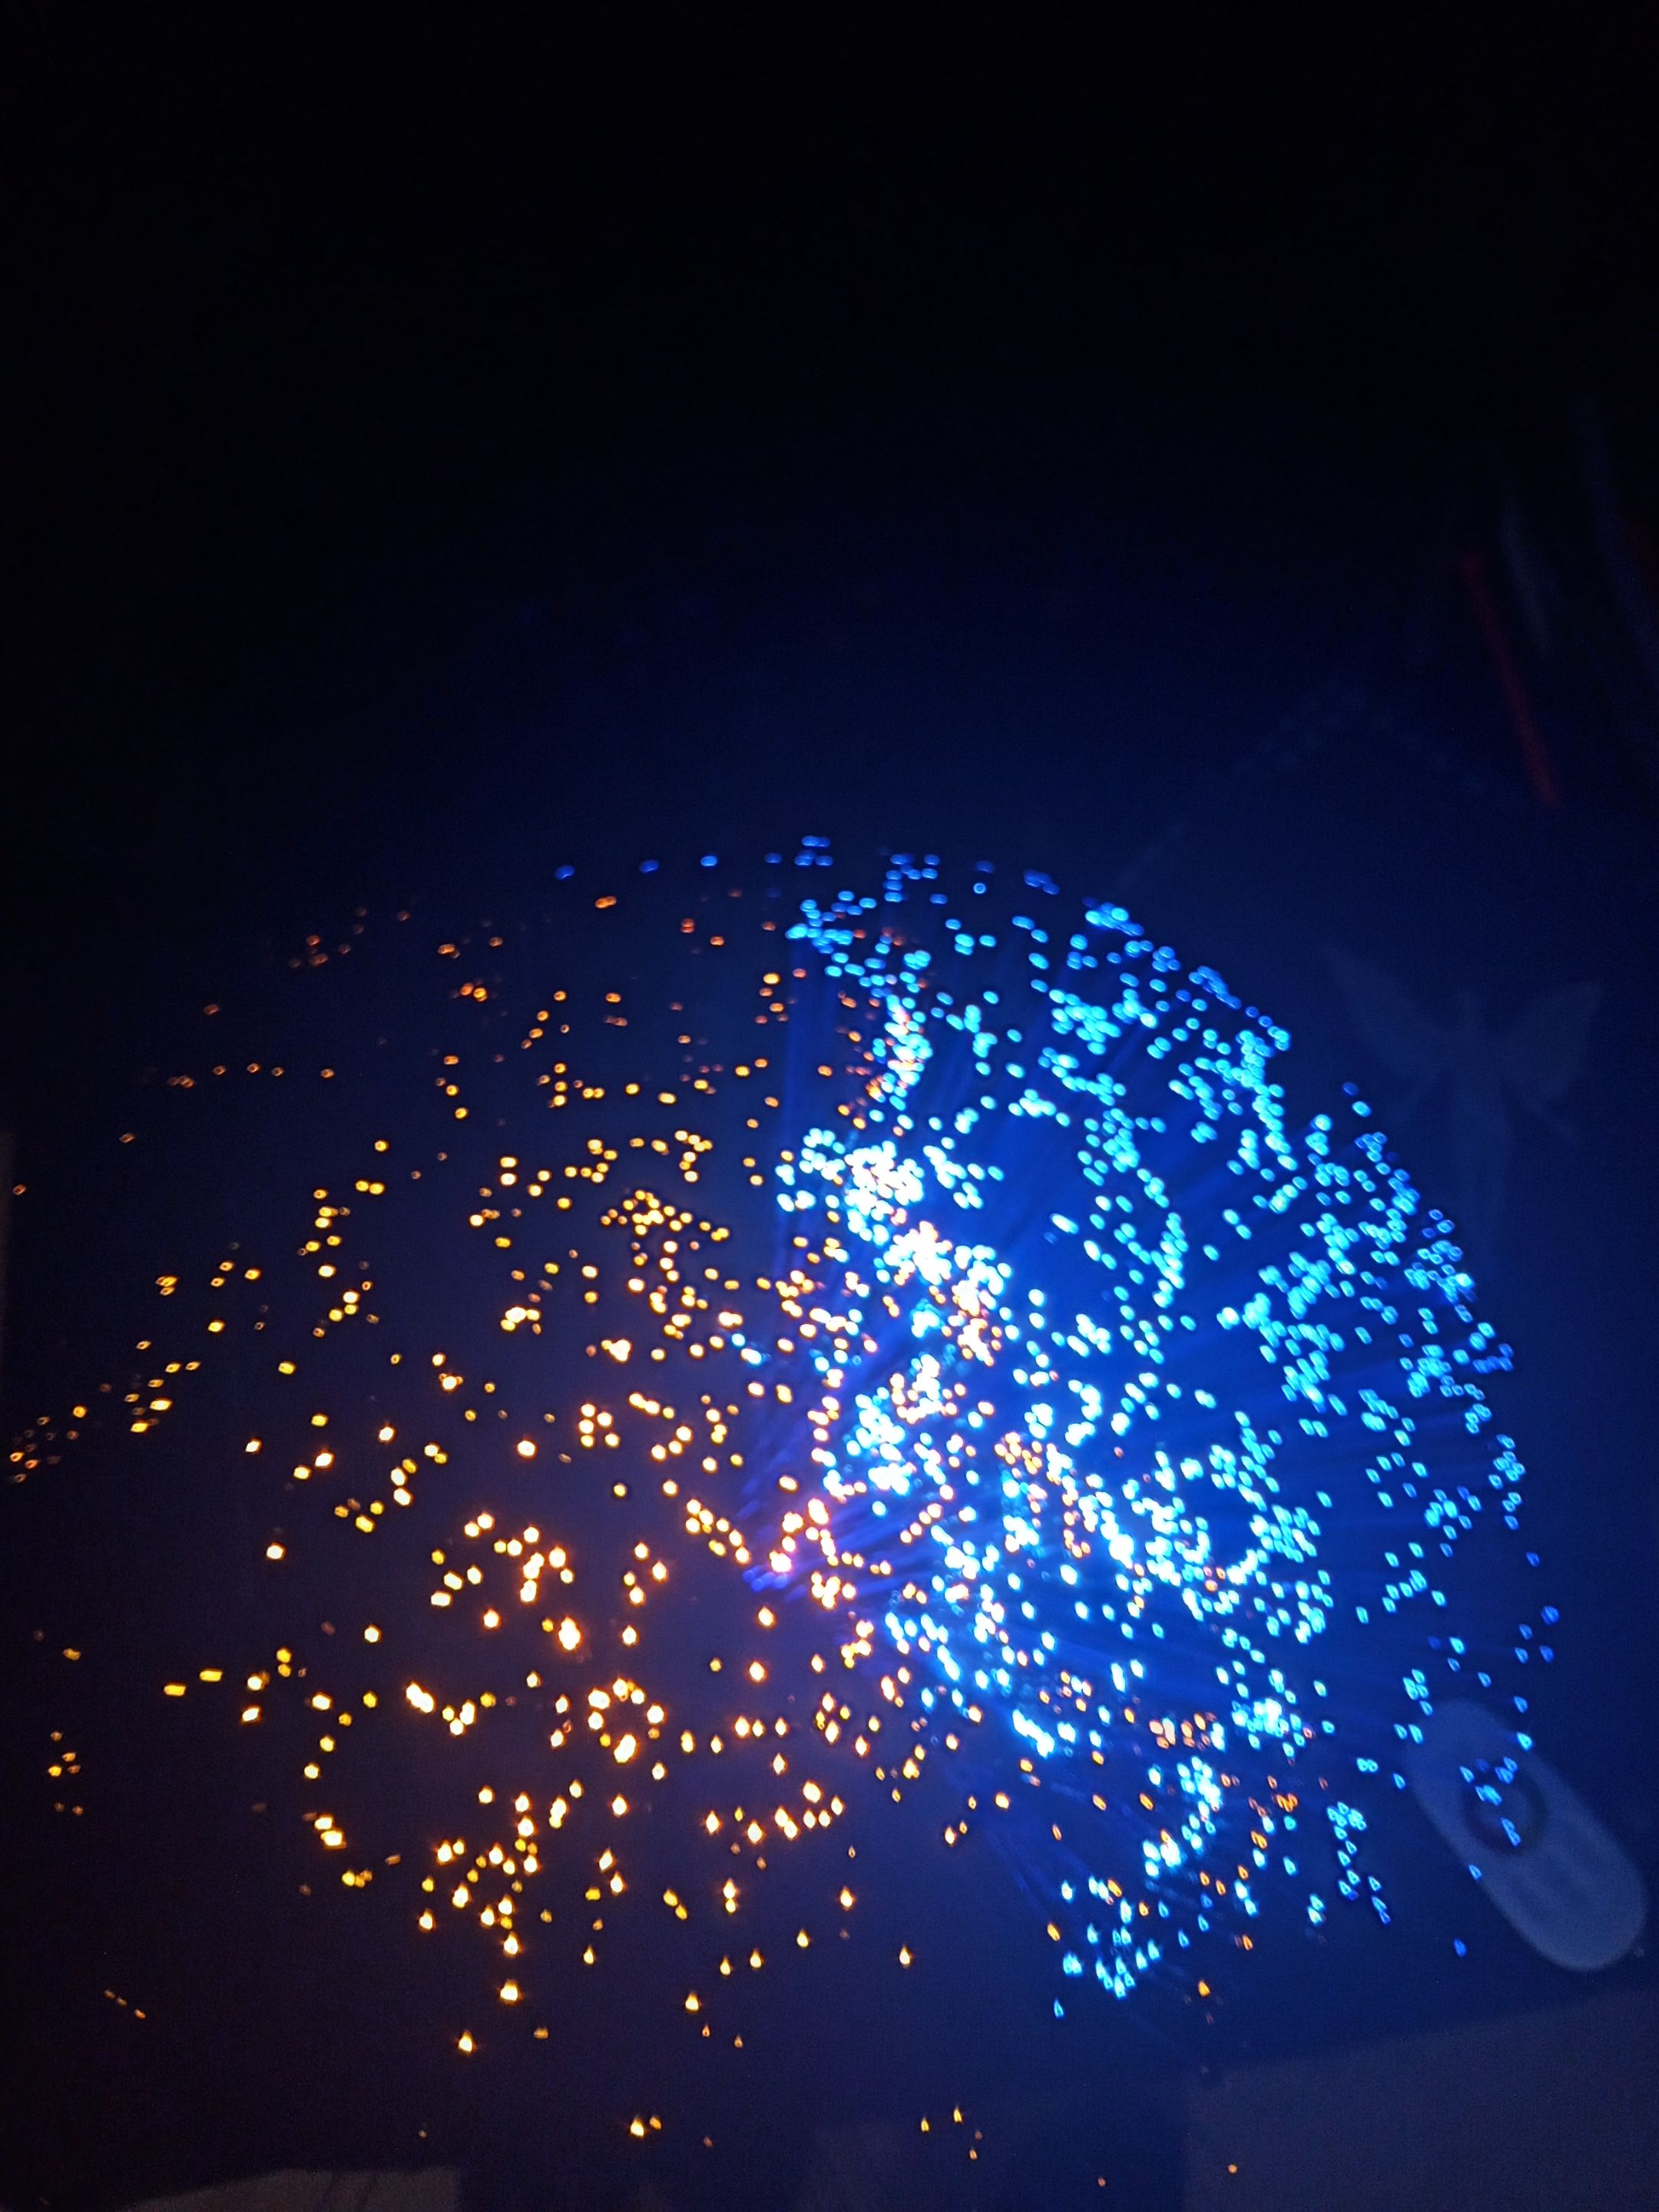
As a light source, I placed glass fibre with orange and blue light (Convoy S2) in front of the "Halo prism". The individual small points of light are distorted by the prism to form strips of light. The fact that the prism was masked in the centre again created the space for the angel in the middle. I also exposed this from behind with the glass fibre feathers (orange / blue).
Als Lichtquelle habe ich Glasfaserwedel mit orangenen und blauen Licht ( Convoy S2 ) vor das "Halo-Prisma" platziert. Die einzelnen Lichtpunkte werden durch das Prisma zu Lichtstreifen verzerrt. Dadurch, dass das Prisma in der Mitte wieder abgeklebt war, entstand in der Mitte dann der Platz für den Engel. Diesen habe ich ebenfalls mit den Glasfaserwedeln ( orange / blau ) von hinten belichtet.
 Behind the scenes ( by @stepko )
My last picture for today's post was also taken with the "Halo-prism".
Mein letztes Bild für den heutigen Beitrag entstand ebenfalls mit dem "Halo-Prisma".
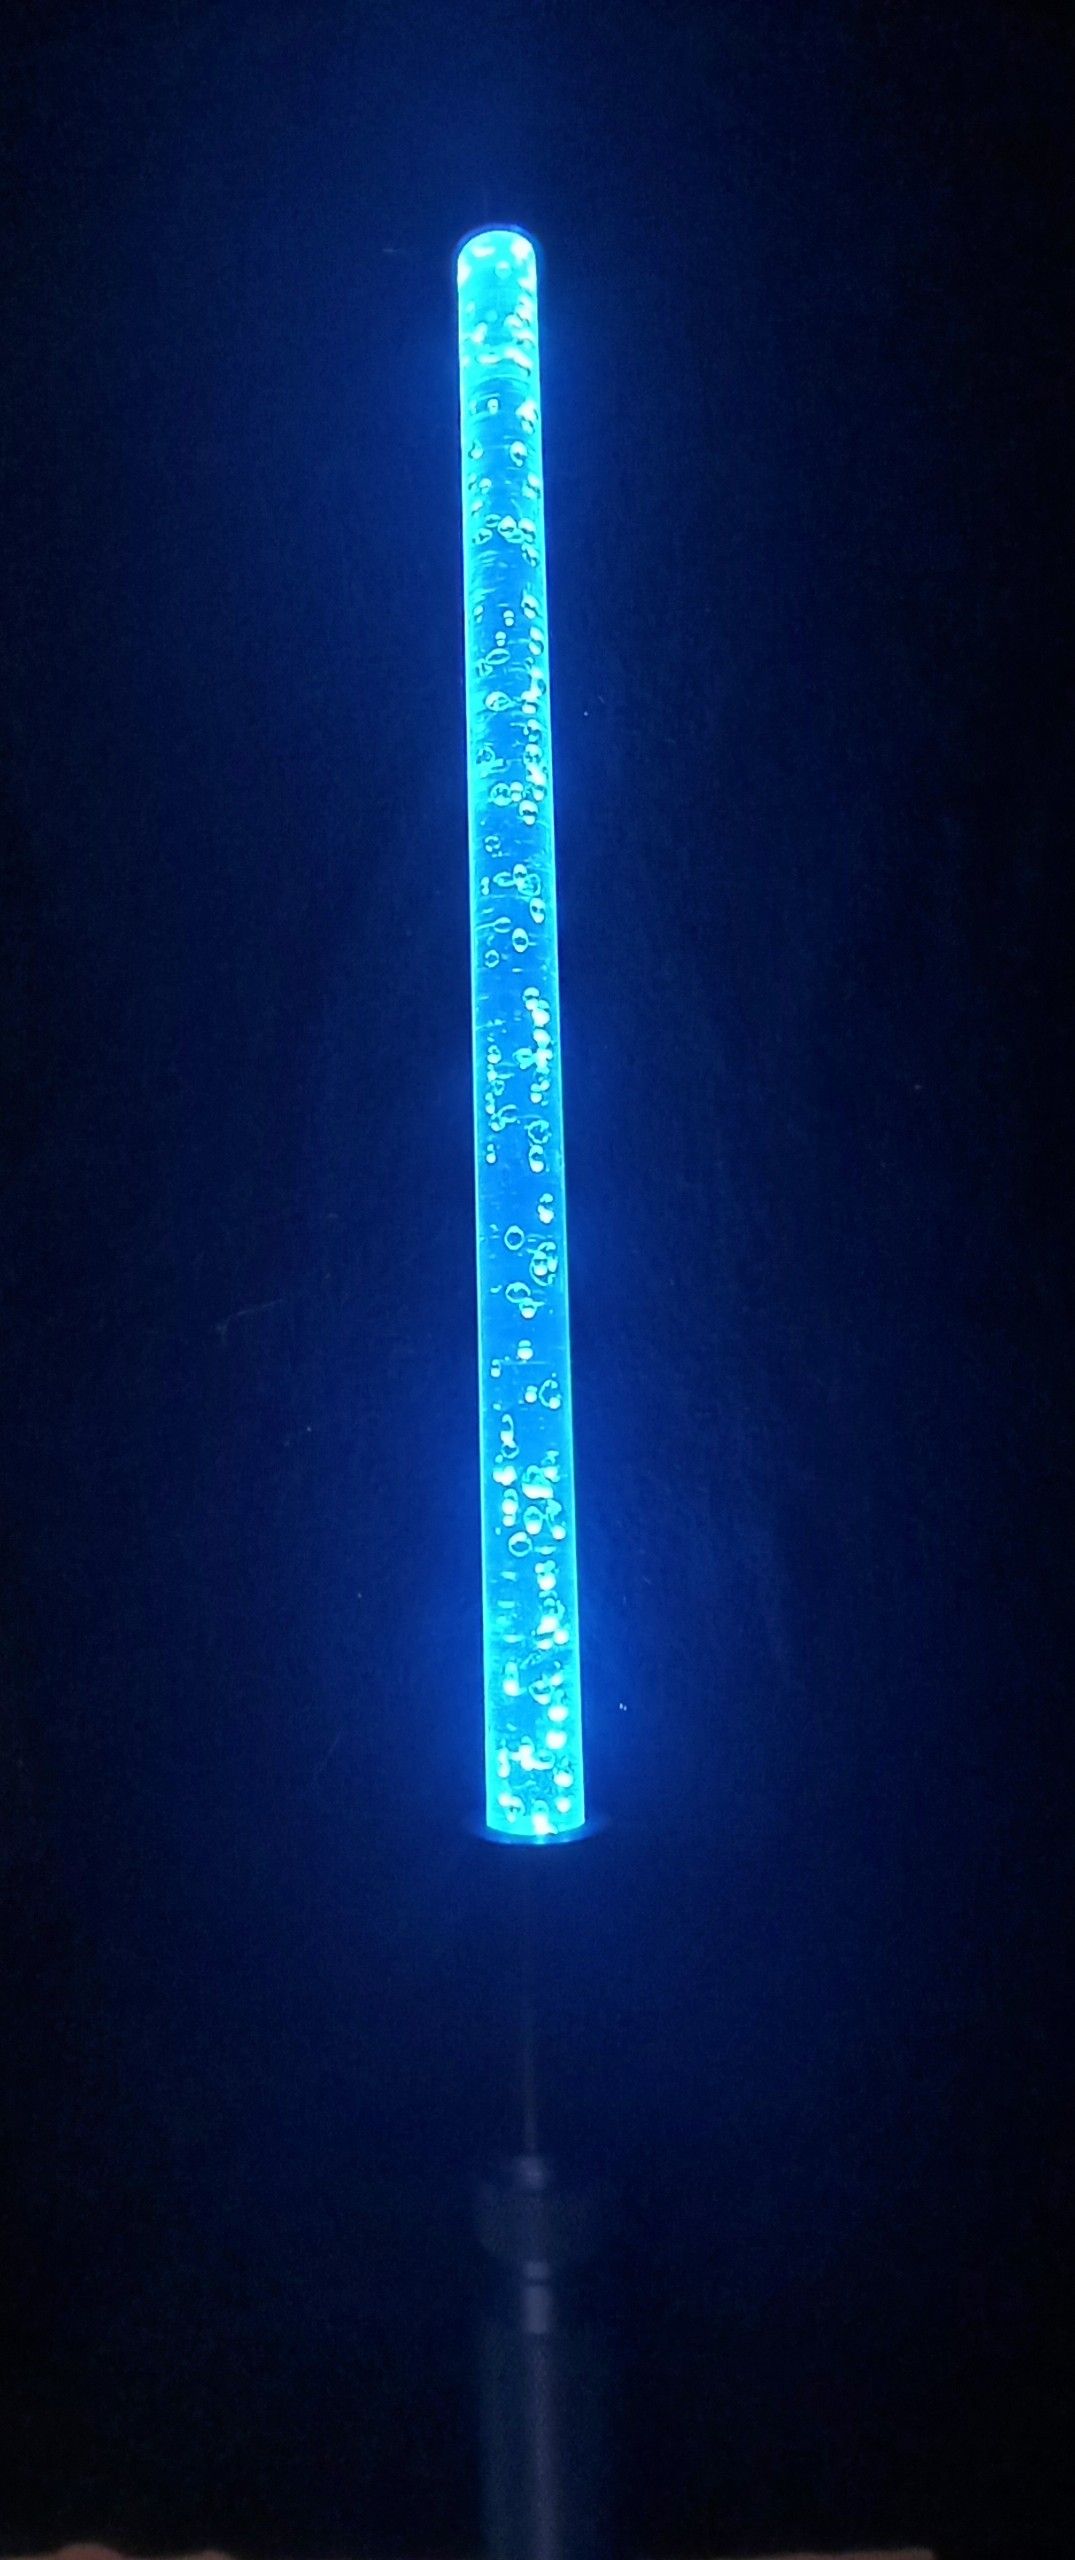
This time I placed an acrylic rod with bubbles in front of the prism. These are distorted again by the prism. This creates the effect as in the finished picture.
Vor dem Prisma platzierte ich dieses Mal einen Acrylstab mit Luftblasen. Diese werden durch das Prisma wieder verzerrt. Dadurch entsteht der Effekt wie im fertigen Bild.
I had to use an approx. 20 cm tall figure as a model, as no one of human flesh and blood was available. Other lighting tools that I used in this shot were once again the fibre-optic duster. Once zoomed and rotated and once behind my model. Incidentally, what I really like in light painting is when you create different light effects/traces with one and the same light tool, as in this shot.
Als Model musste ich eine ca. 20 cm große Figur nutzen, da aus Fleisch und blut niemand zur Verfügung stand. Weitere Lichtwerkzeuge, die ich in diesem Bild eingesetzt habe, waren wieder die Glasfaserwedel. Einmal gezoomt und rotiert und einmal hinter meinem Model. Was ich im übrigen im Lightpainting total toll finde,wenn man verschiedene Lichteffekte / -spuren erzeugt, mit ein und dem selben Lichtwerkzeug, wie in diesem Bild.
And that marks the end of my post today. Thank you for reading. I have noticed that I have taken more pictures where prisms were used than originally thought.
Und damit bin ich am Ende meines heutigen Beitrags. Ich bedanke mich für´s lesen. Ich habe festgestellt, dass ich doch mehr Bilder gemacht habe, wo Prismen zum Einsatz gekommen sind, als ursprünglich gedacht.