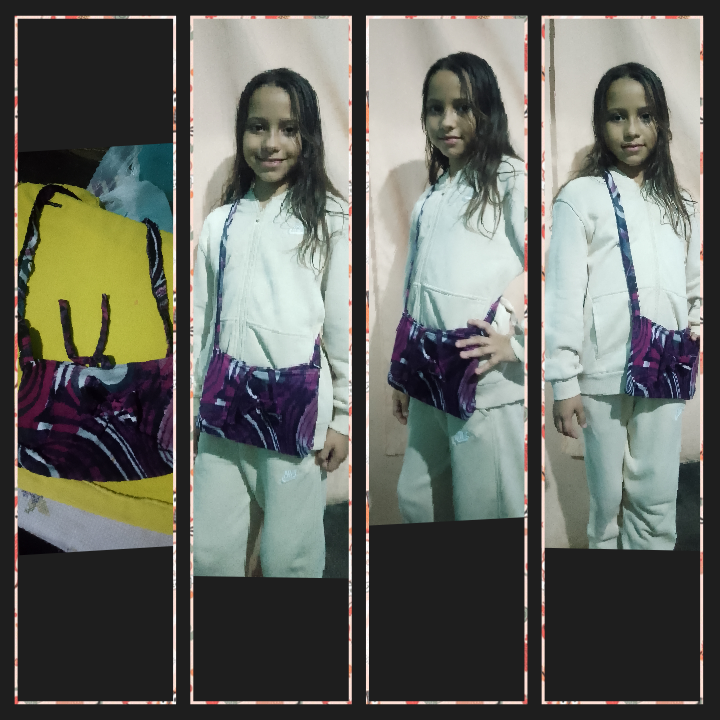
Hola hola bienvenidos una vez mas a mi blog hoy les mostrare mi paso paso para realizar un bonito bandolero para mi sobrina y para ello utilizare parte de la tela estampada que me quedo de un trabajo anterior, me emocione mucho al momento de hacerlo y lo mejor de todo es que sera con pocos materiales y no lleva cierre. Pues es el primer bolso bandolero que hago y la verdad es que me encanto el resultado y me agrada el hecho de poder compartir cada uno de mis trabajos con ustedes estoy intentando mejorar cada dia mas y me alegra saber que ustedes me acompañan y me apoyan de verdad que eso es muy importante para mi.
Hello hello welcome once again to my blog, today I will show you my step to make a beautiful shoulder bag for my niece and for this I will use part of the printed fabric that I left from a previous job, I was very excited when I made it and the best of all is that it will be with few materials and it has no closure. Well, it is the first shoulder bag I have made and the truth is that I loved the result and I like the fact that I can share each of my works with you. I am trying to improve every day and I am happy to know that they really accompany me and support me, which is very important to me.
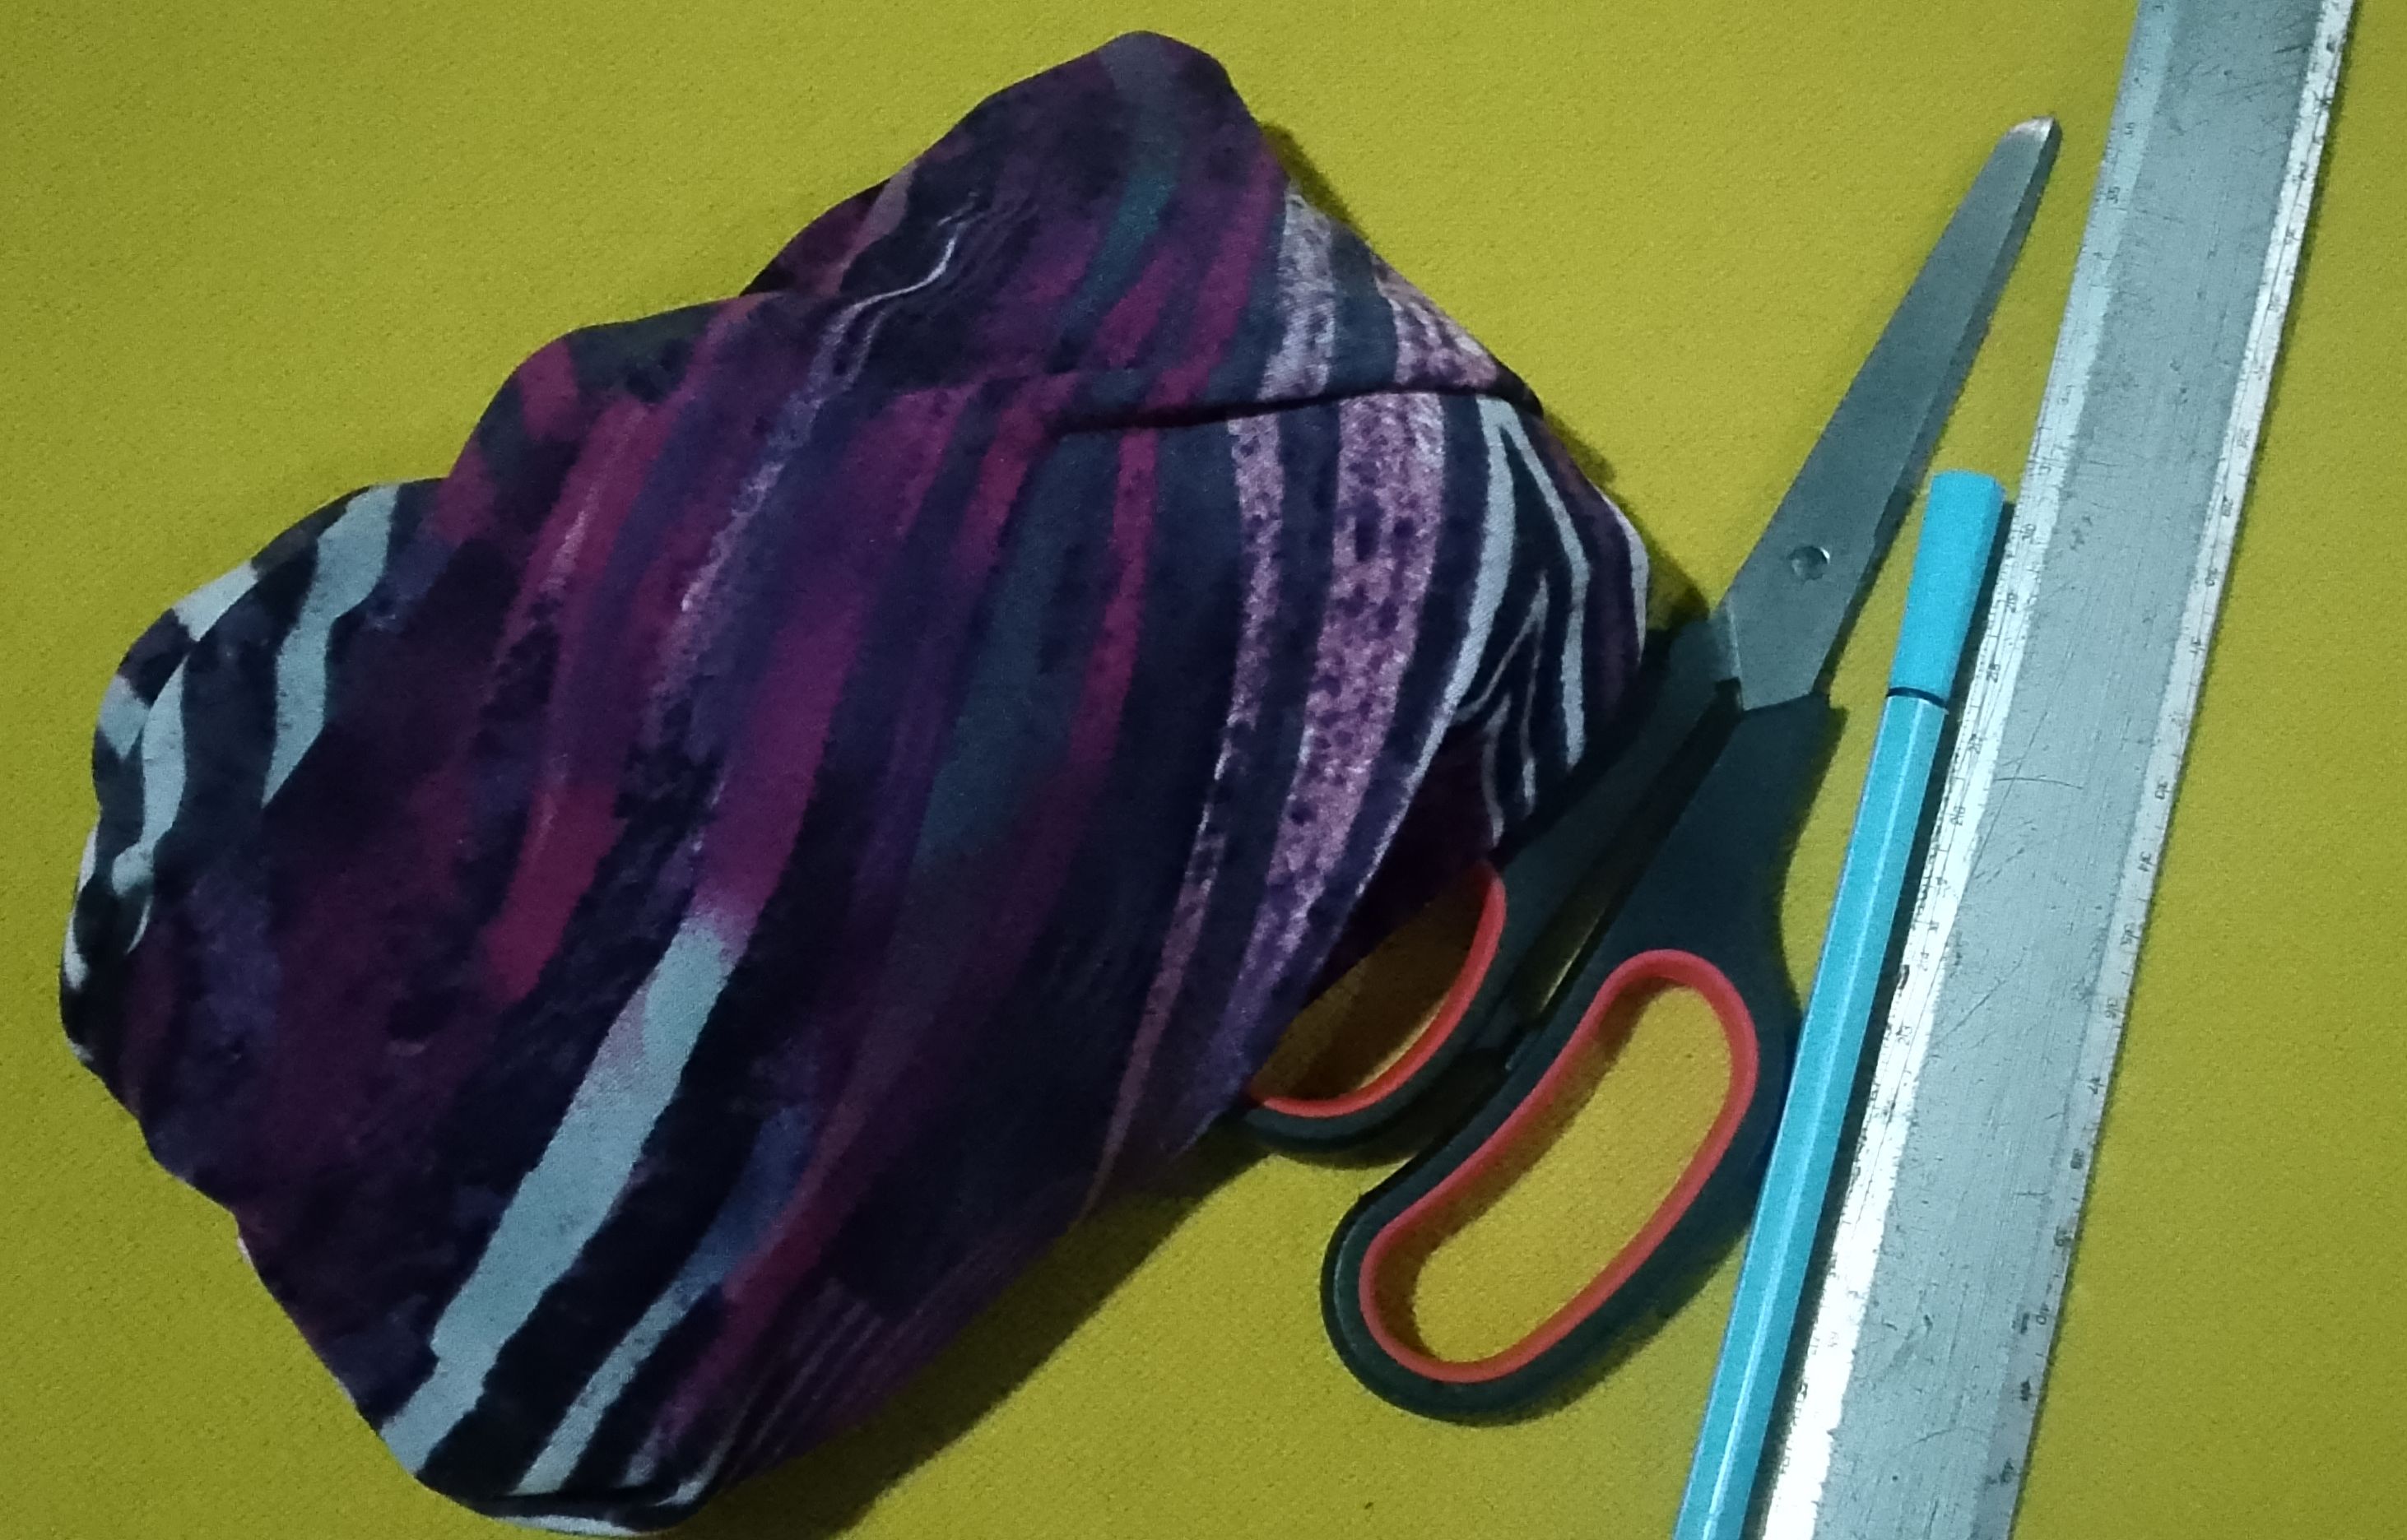
Acontinuacion te mencionare los materiales que seran necesarios:
- Tela del color y diseño de su eleccion.
- Tijera.
- Aguja e hilo.
- Marcador y regla.
- Maquina de coser.
Below I will mention the materials that will be needed:
- Fabric of the color and design of your choice.
- Scissors.
- Needle and thread.
- Marker and ruler.
- Sewing machine
Manos a la obra:
Paso 1 Y 2:
- Procede a marcar un rectangulo, las medidas dependeran del tamaño que desees en este caso las medidas que utilice
fueron 15 centimetros de largo por 25 centimetros de ancho
aproximadamente, esta sera la base del bolso bandolero.
- Asegurate de marcar todas las piezas y luego comienza a cortar.
Let's get to work:
Step 1 and 2:
- Proceed to mark a rectangle, the measurements will depend on the size you want, in this case the measurements you use
They were 15 centimeters long by 25 centimeters wide.
approximately, this will be the base of the shoulder bag.
- Make sure you mark all the pieces and then start cutting.


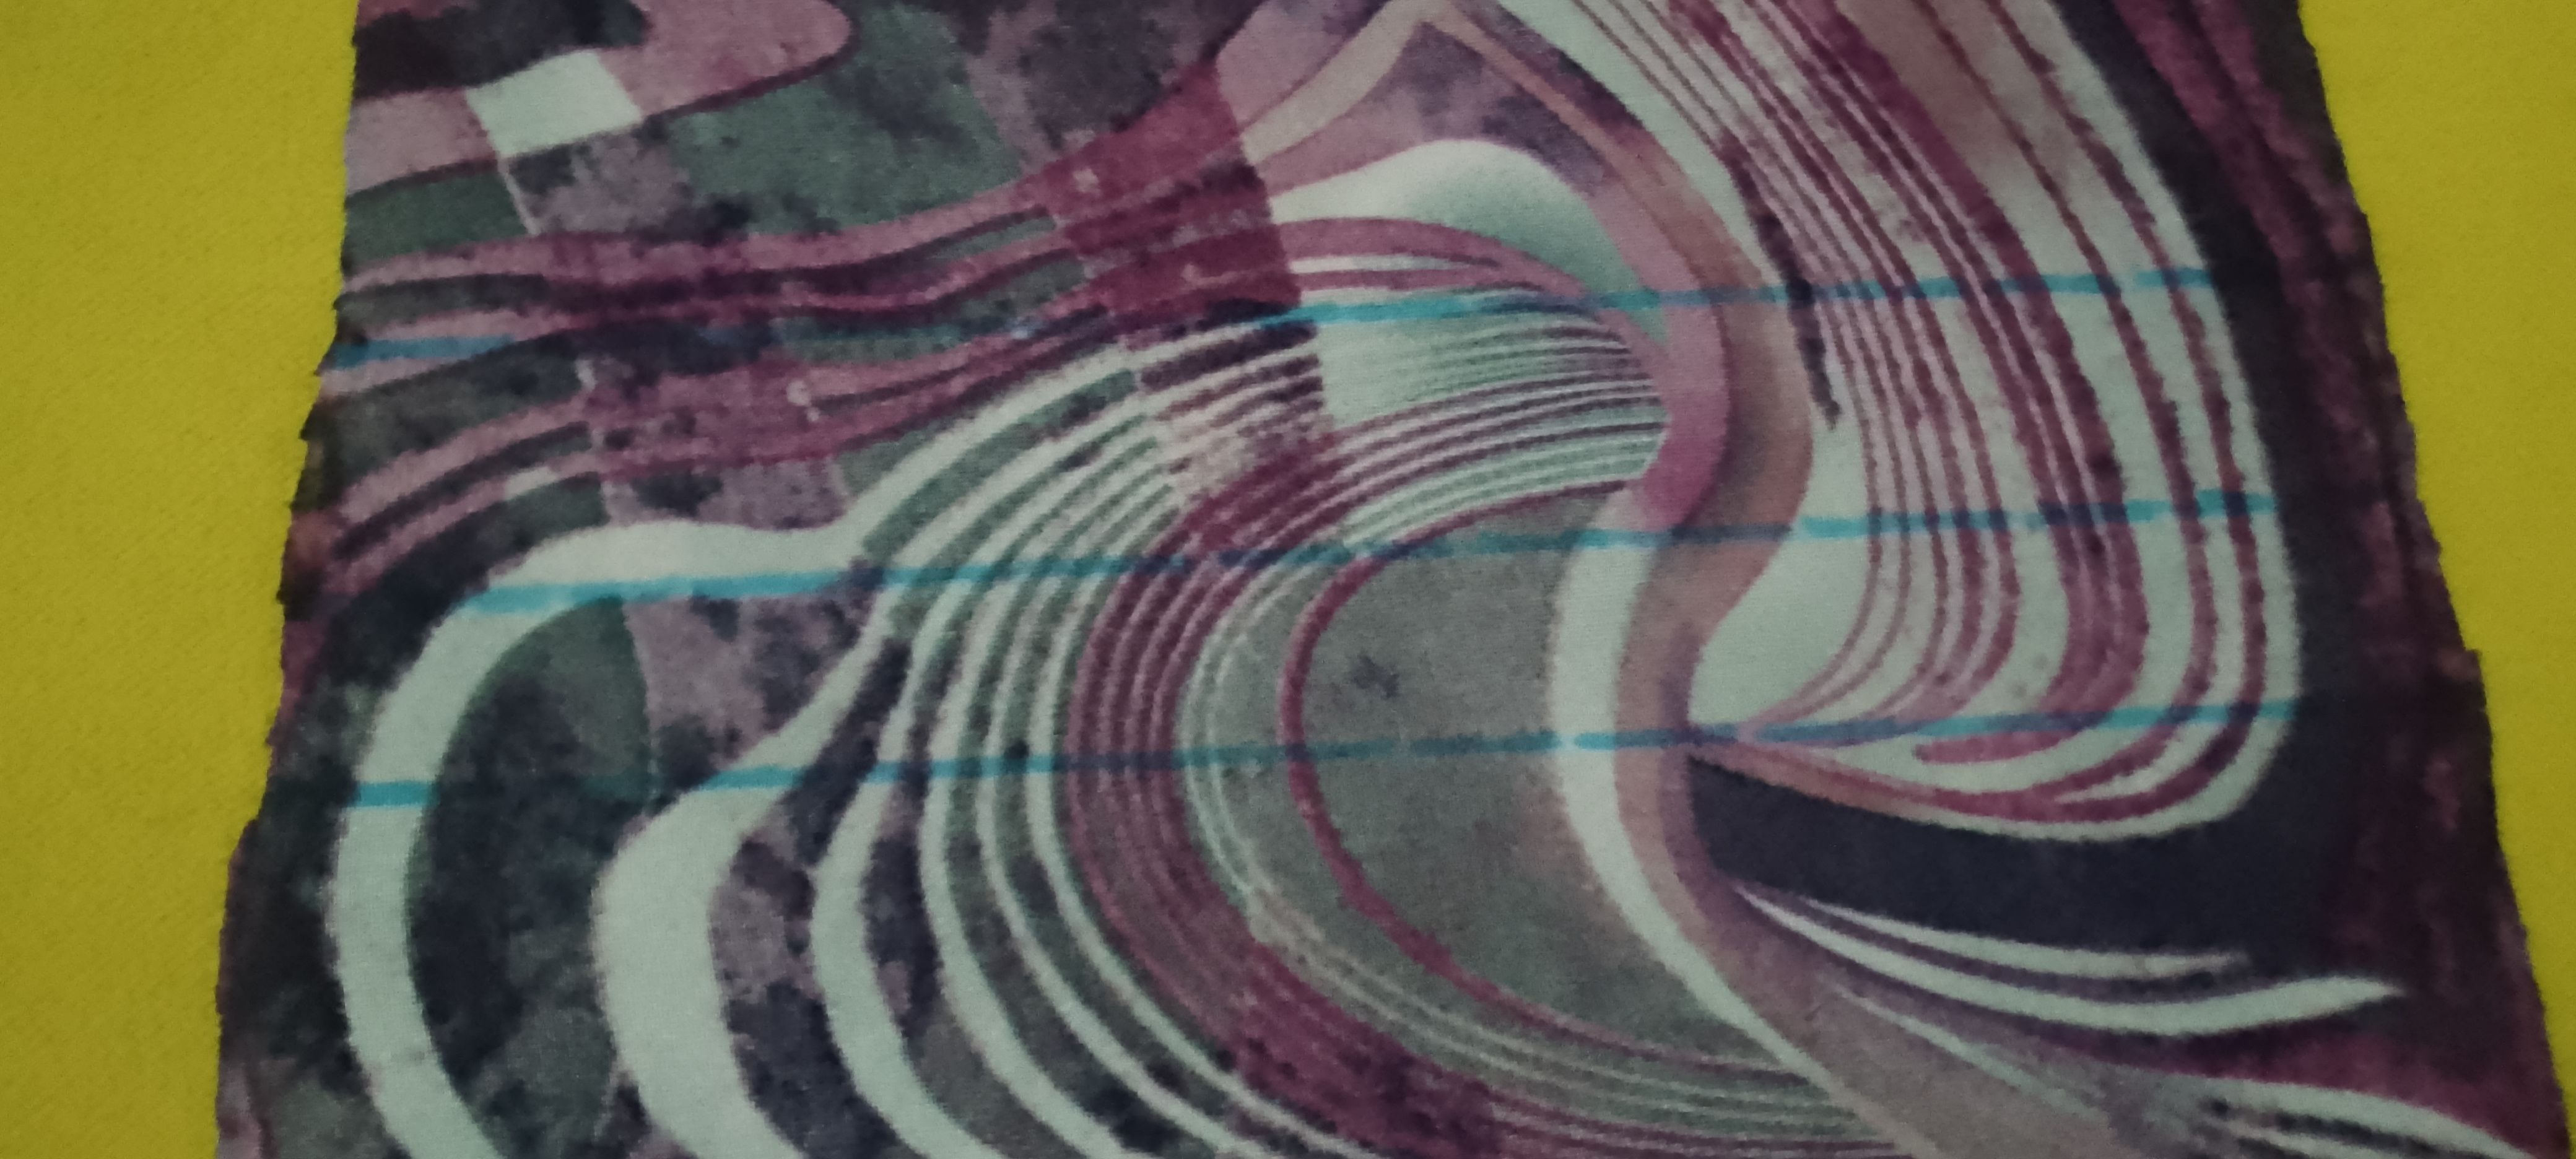
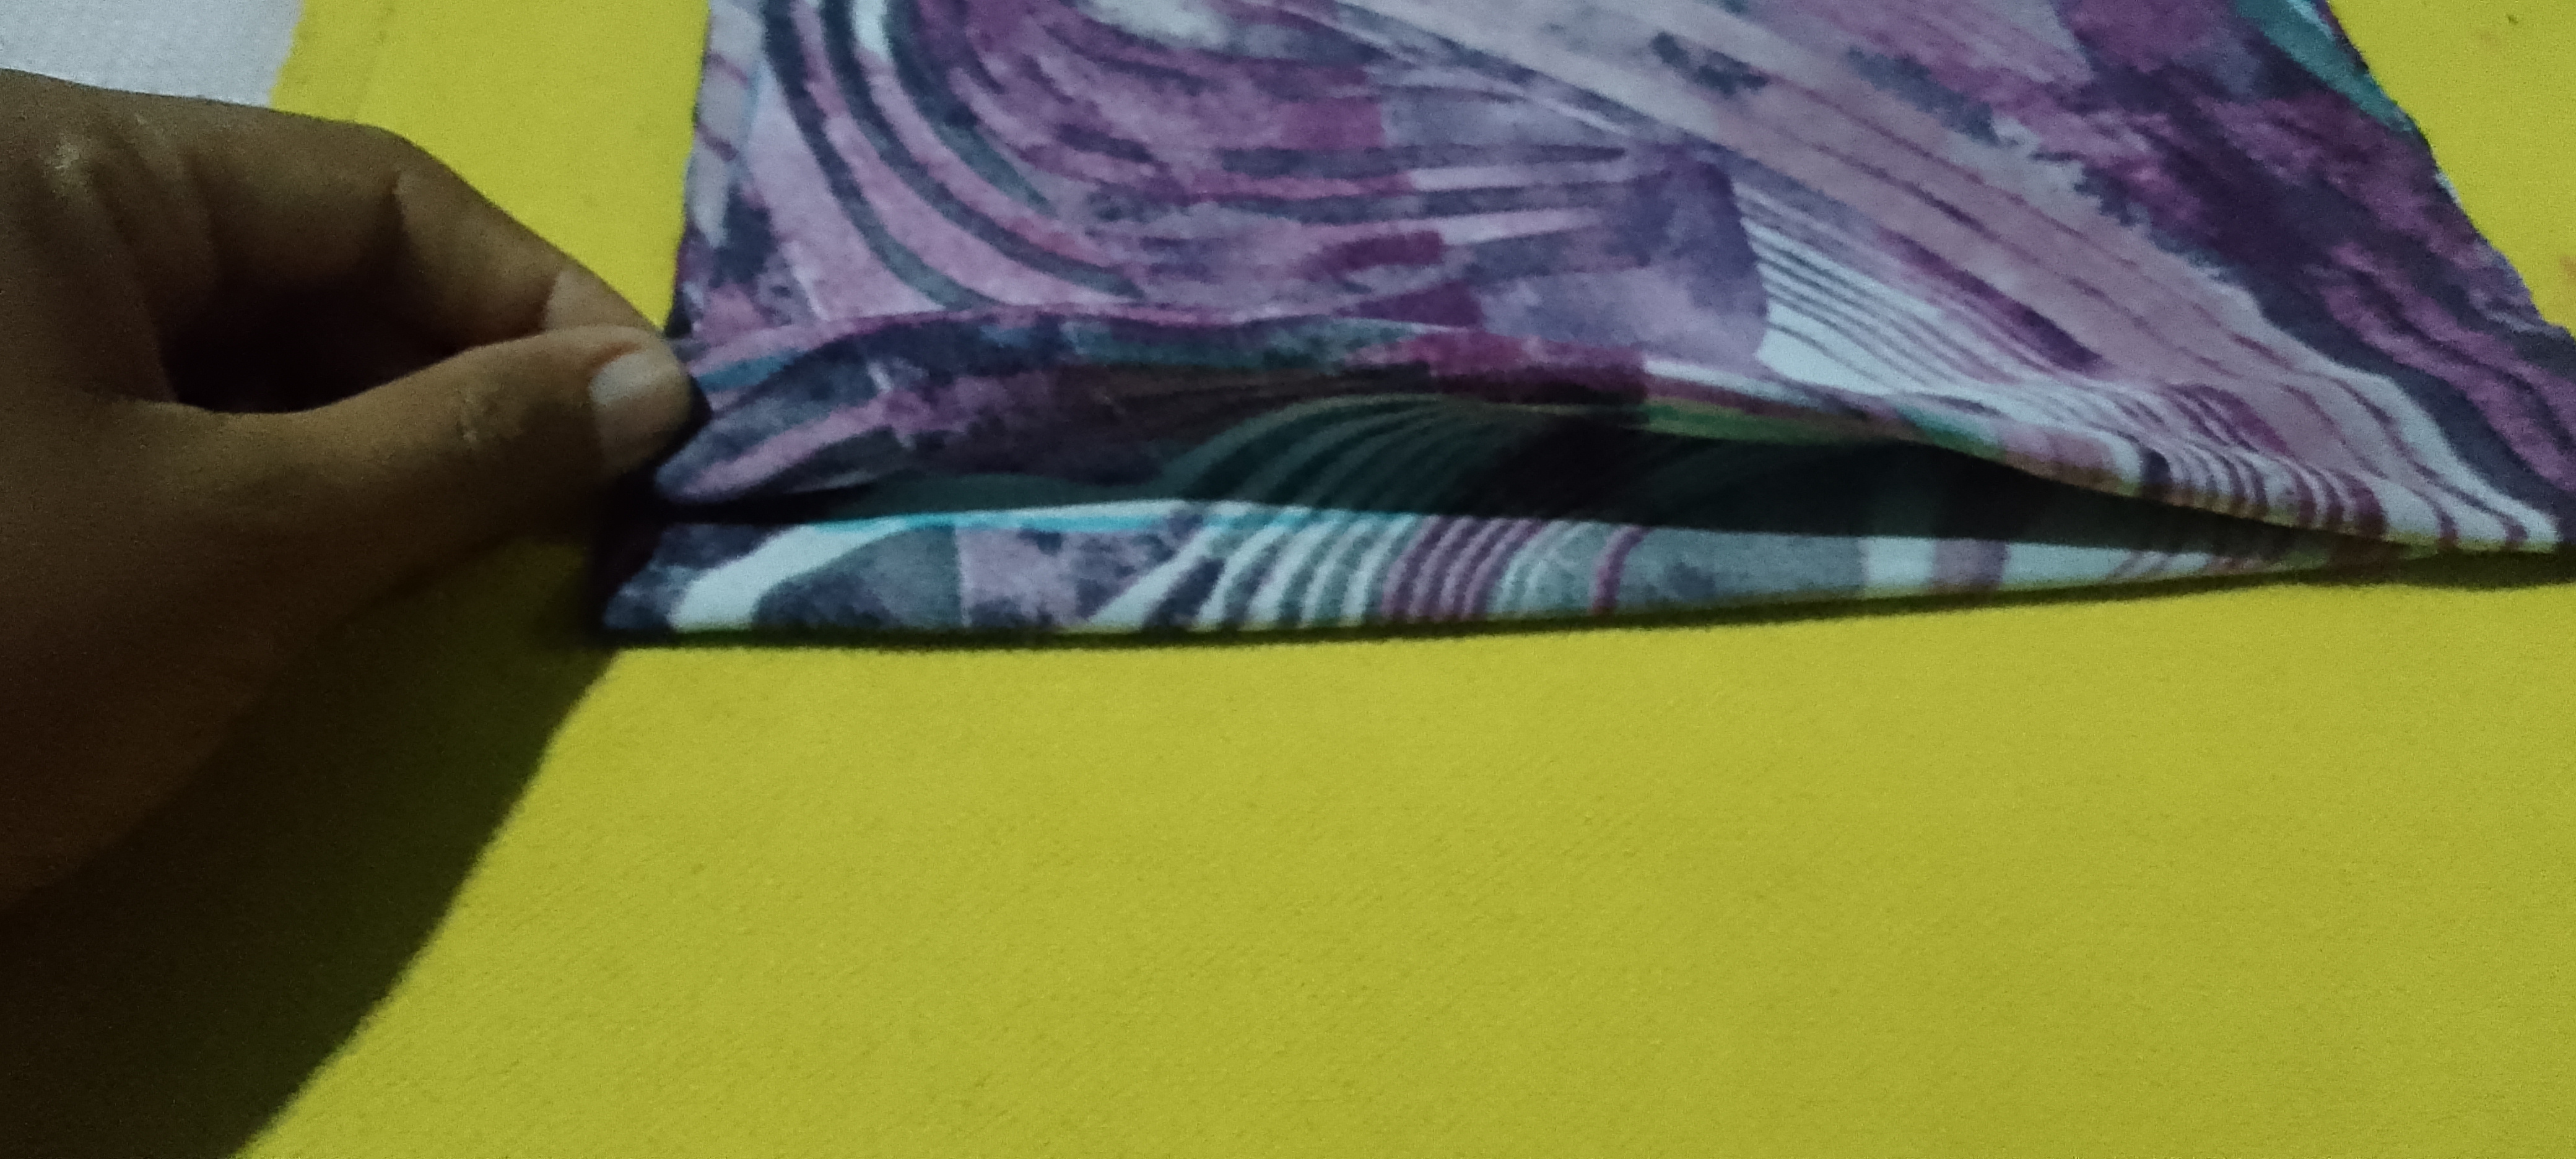
Paso 3, 4, 5 y 6:
*Con ayuda del marcador haz 3 líneas en el centro del rectángulo.
*Toma la primera línea como referencia.
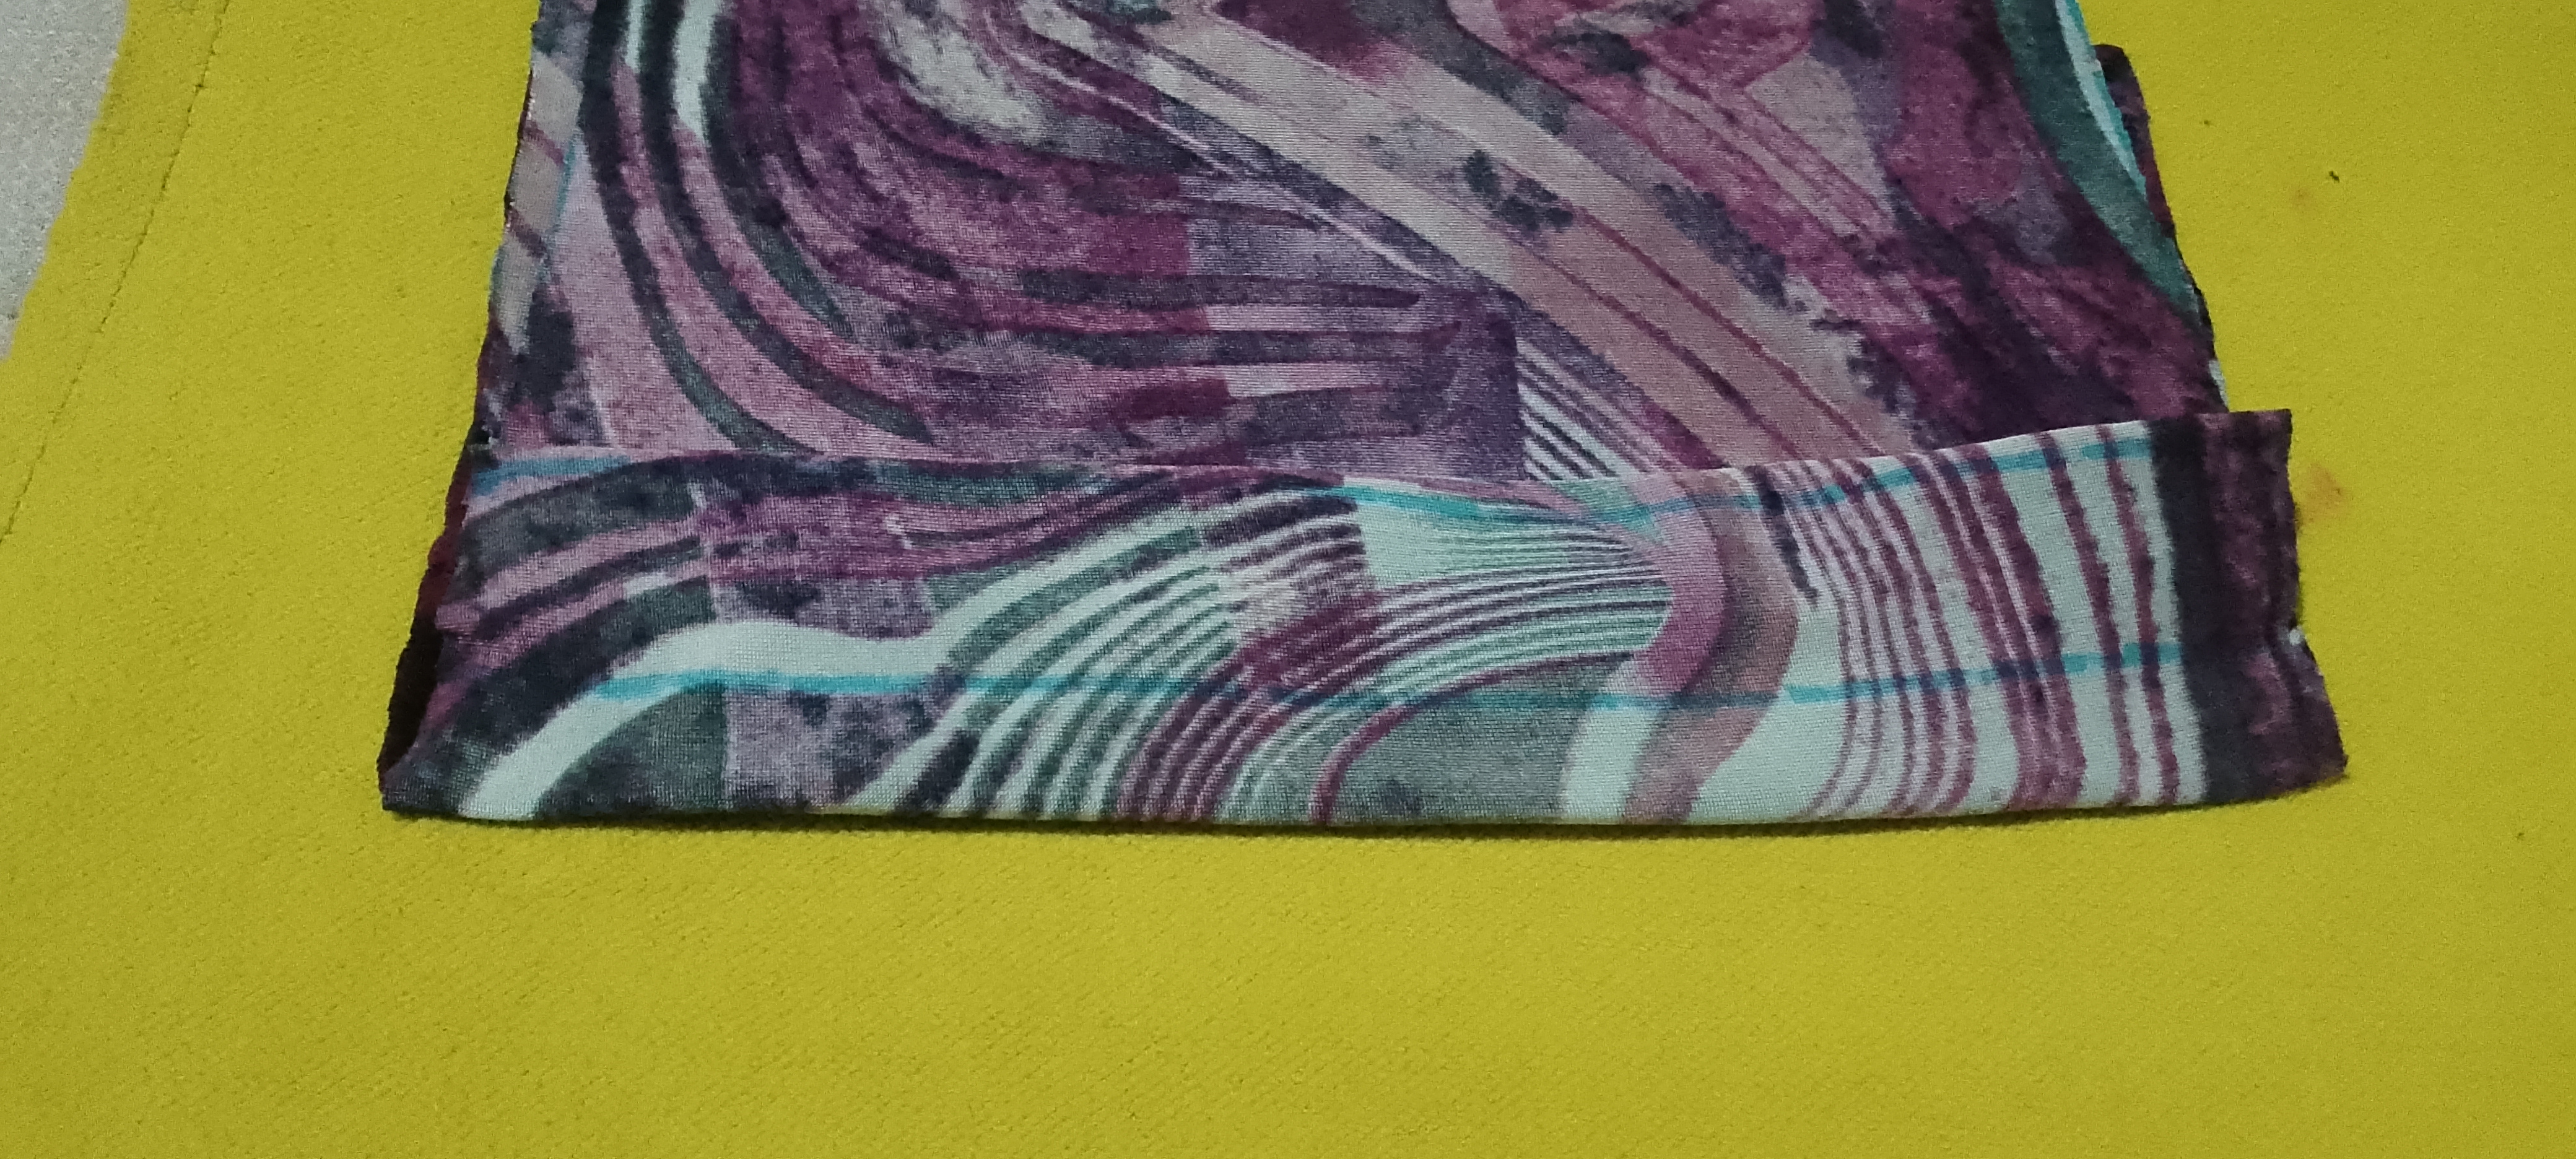
- Procede a doblar la tela hasta cubrir las 3 franjas. Para una mejor ilustración, mira las imágenes.
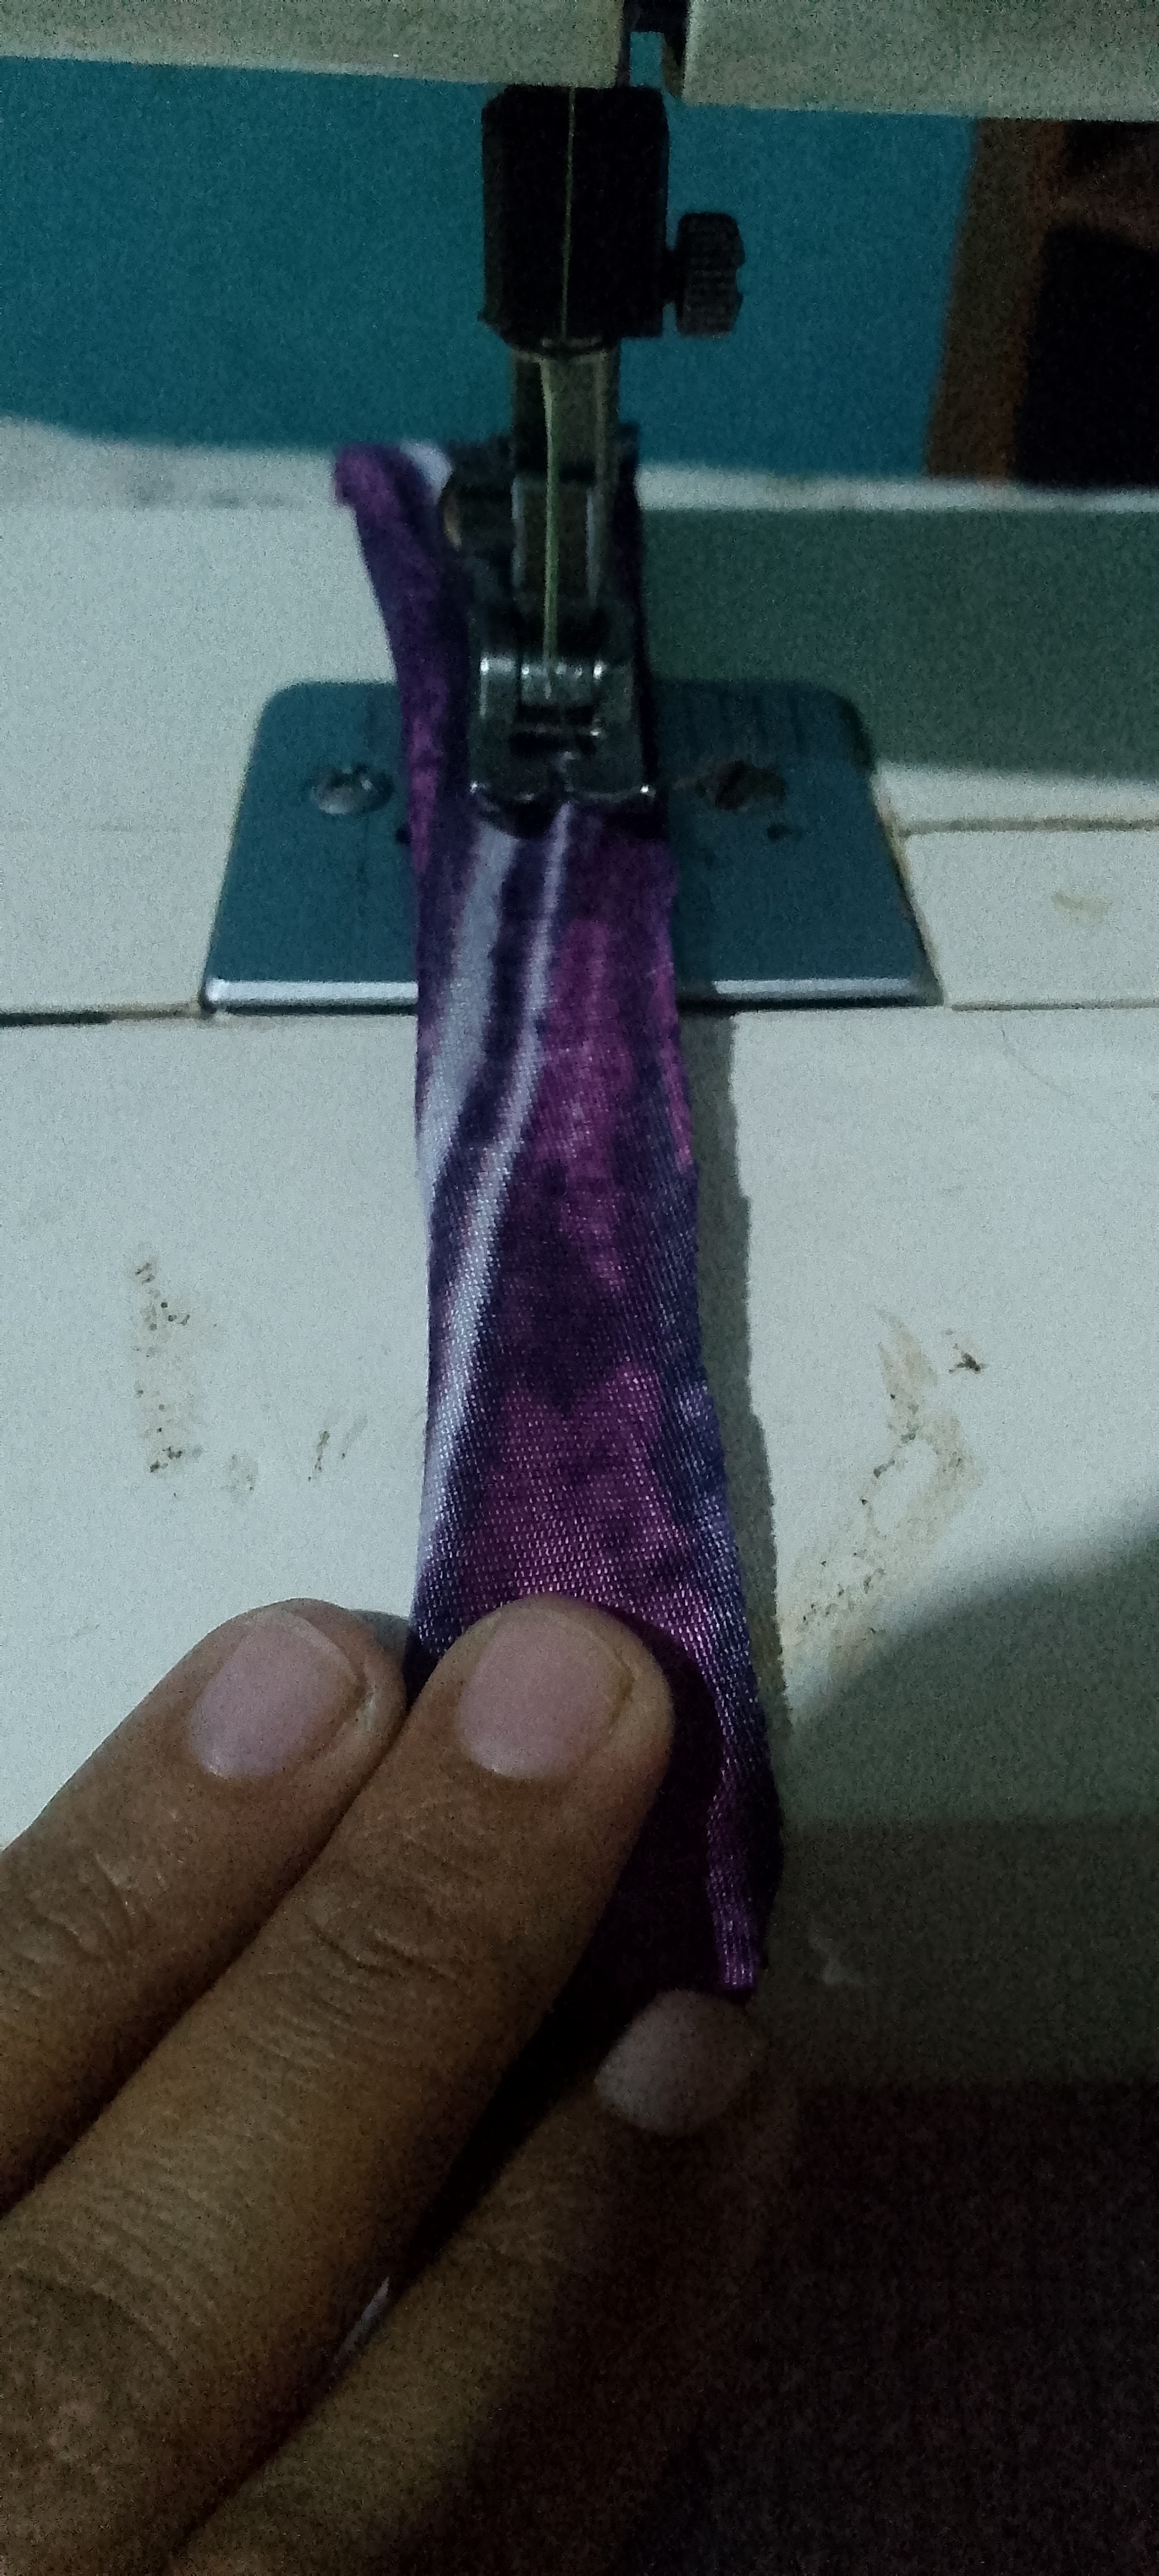
- Una vez hecho esto, comienza a coser los bordes hasta coser todas las piezas, luego de esto dobla cada una de las partes.
para que queden del lado derecho.
Step 3, 4, 5 and 6:
- With the help of the marker make 3 lines in the center of the rectangle.
- Take the first line as a reference
- Proceed to fold the fabric until the 3 stripes are covered. For a better illustration, look at the images.
- Once this is done, begin to sew the edges until all the pieces are sewn, after this, fold each of the parts
so that they are on the right side.

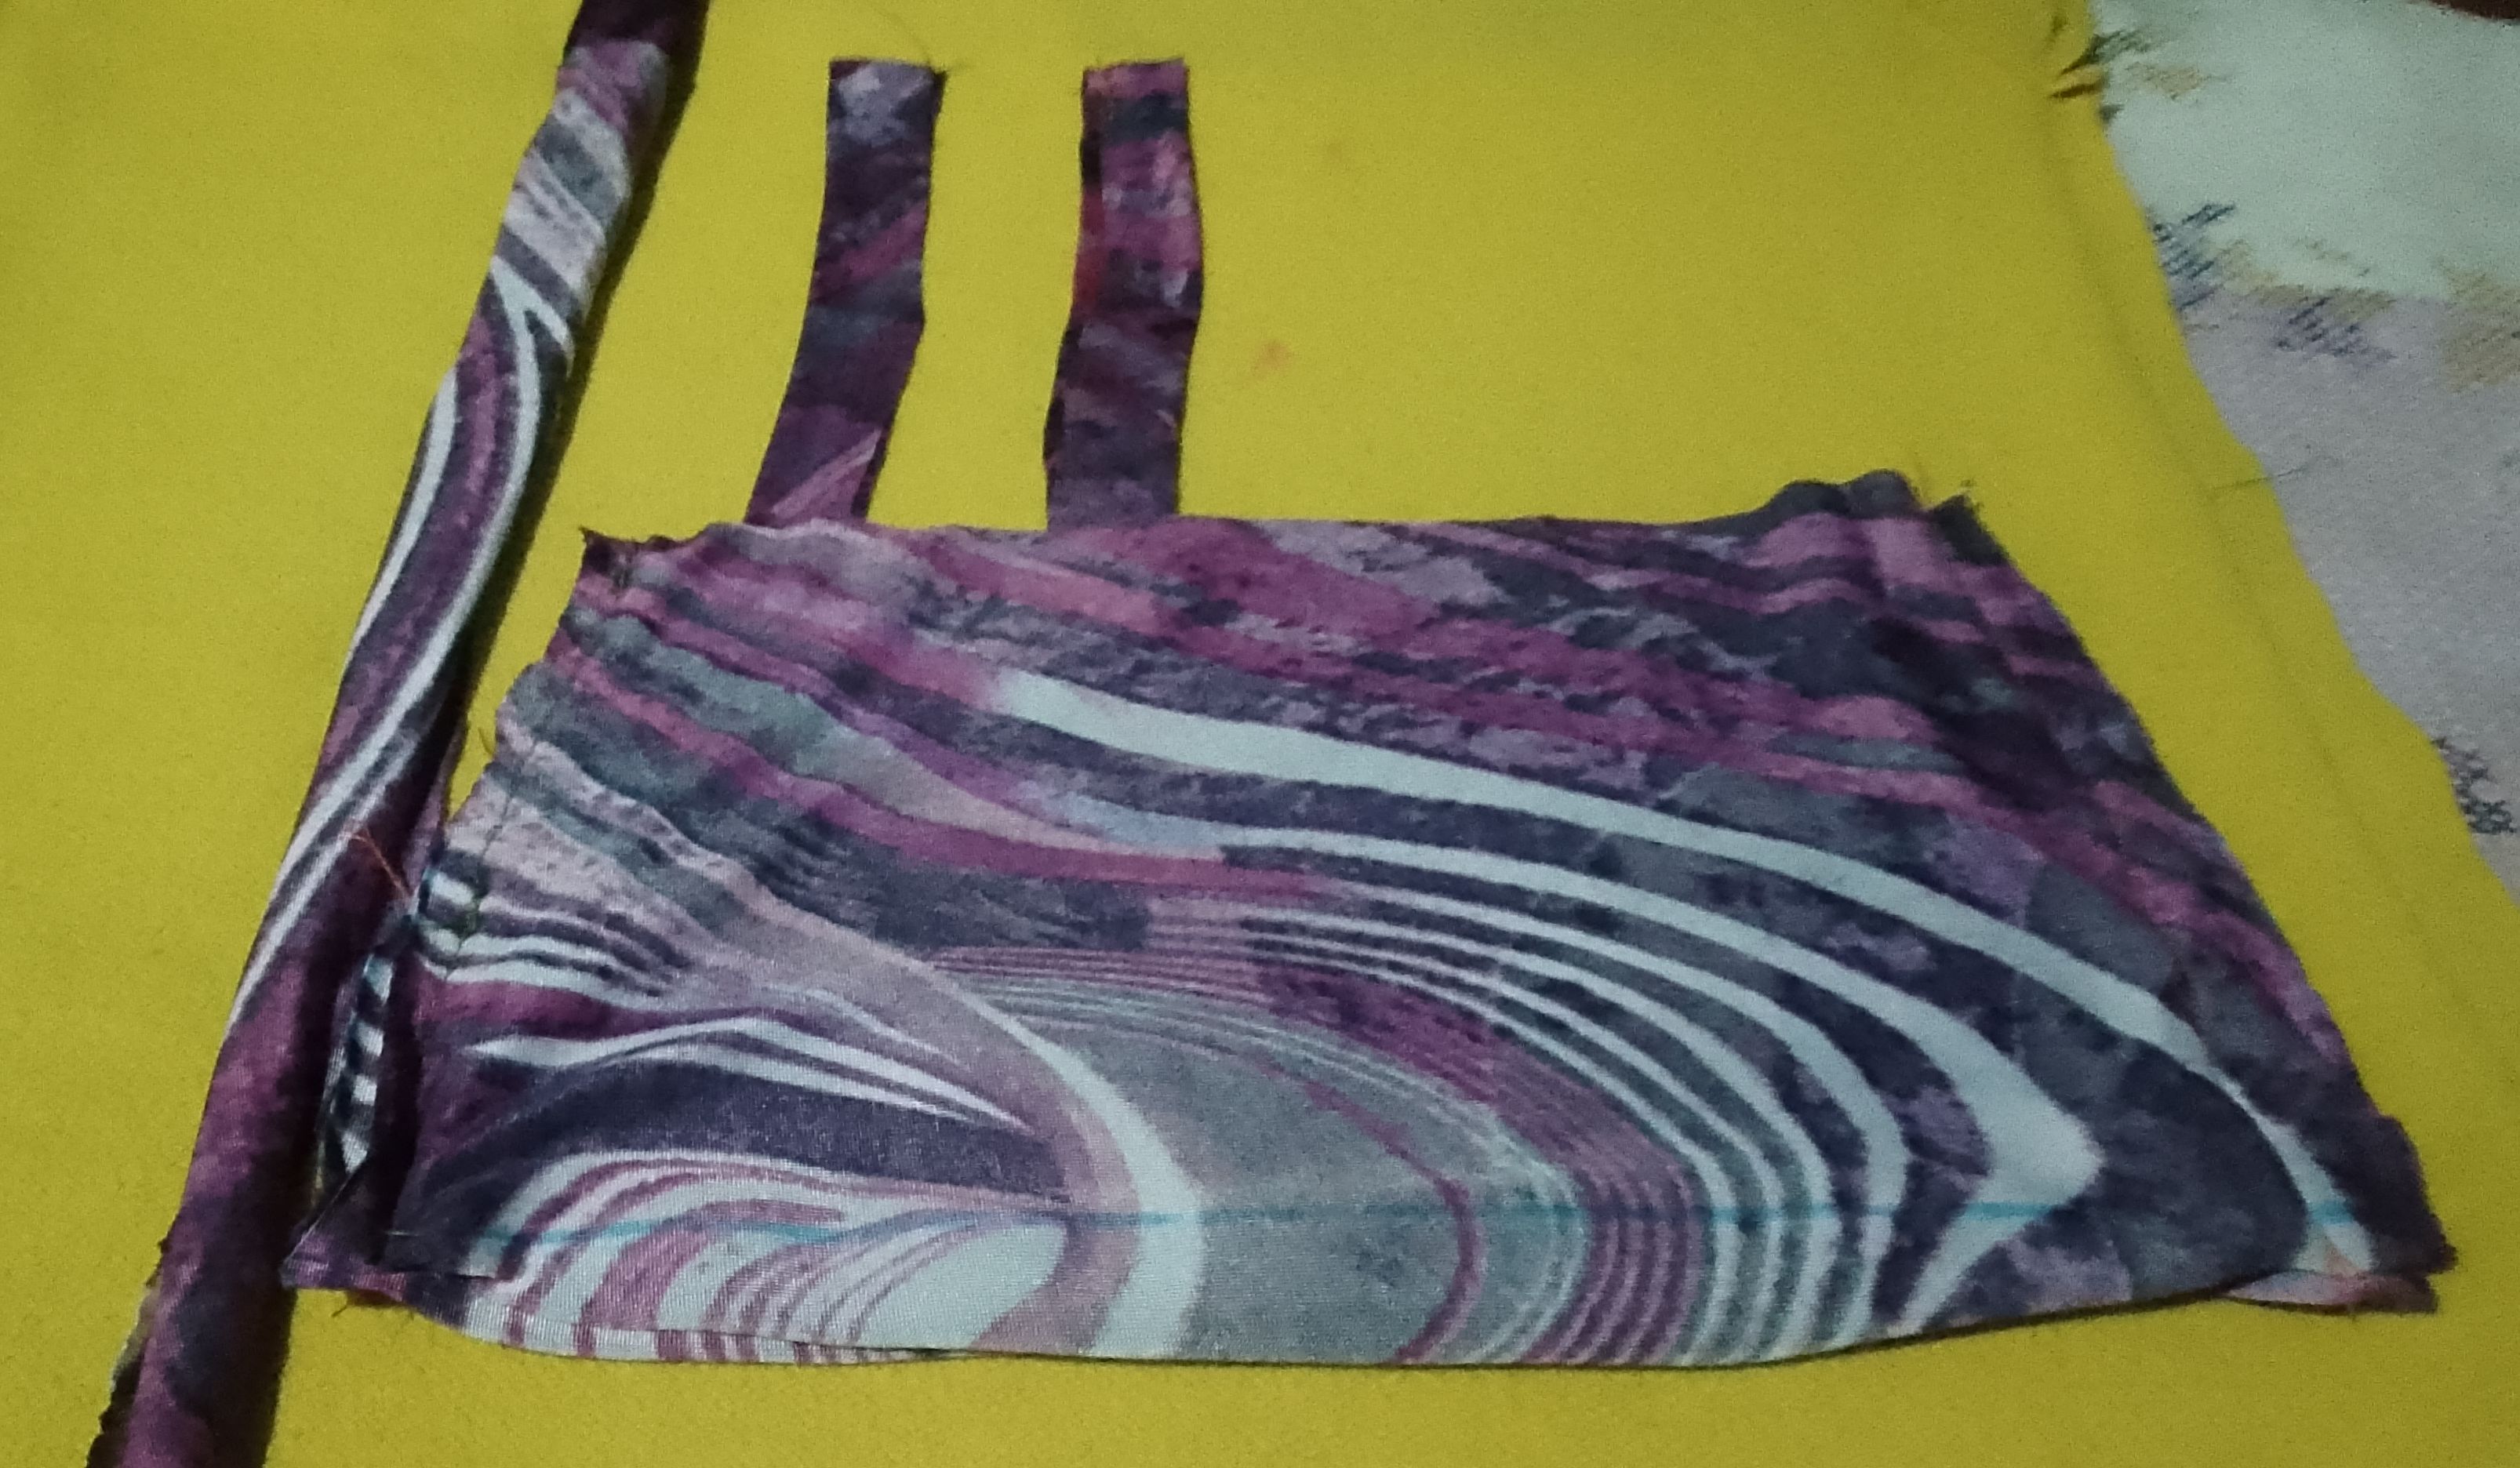
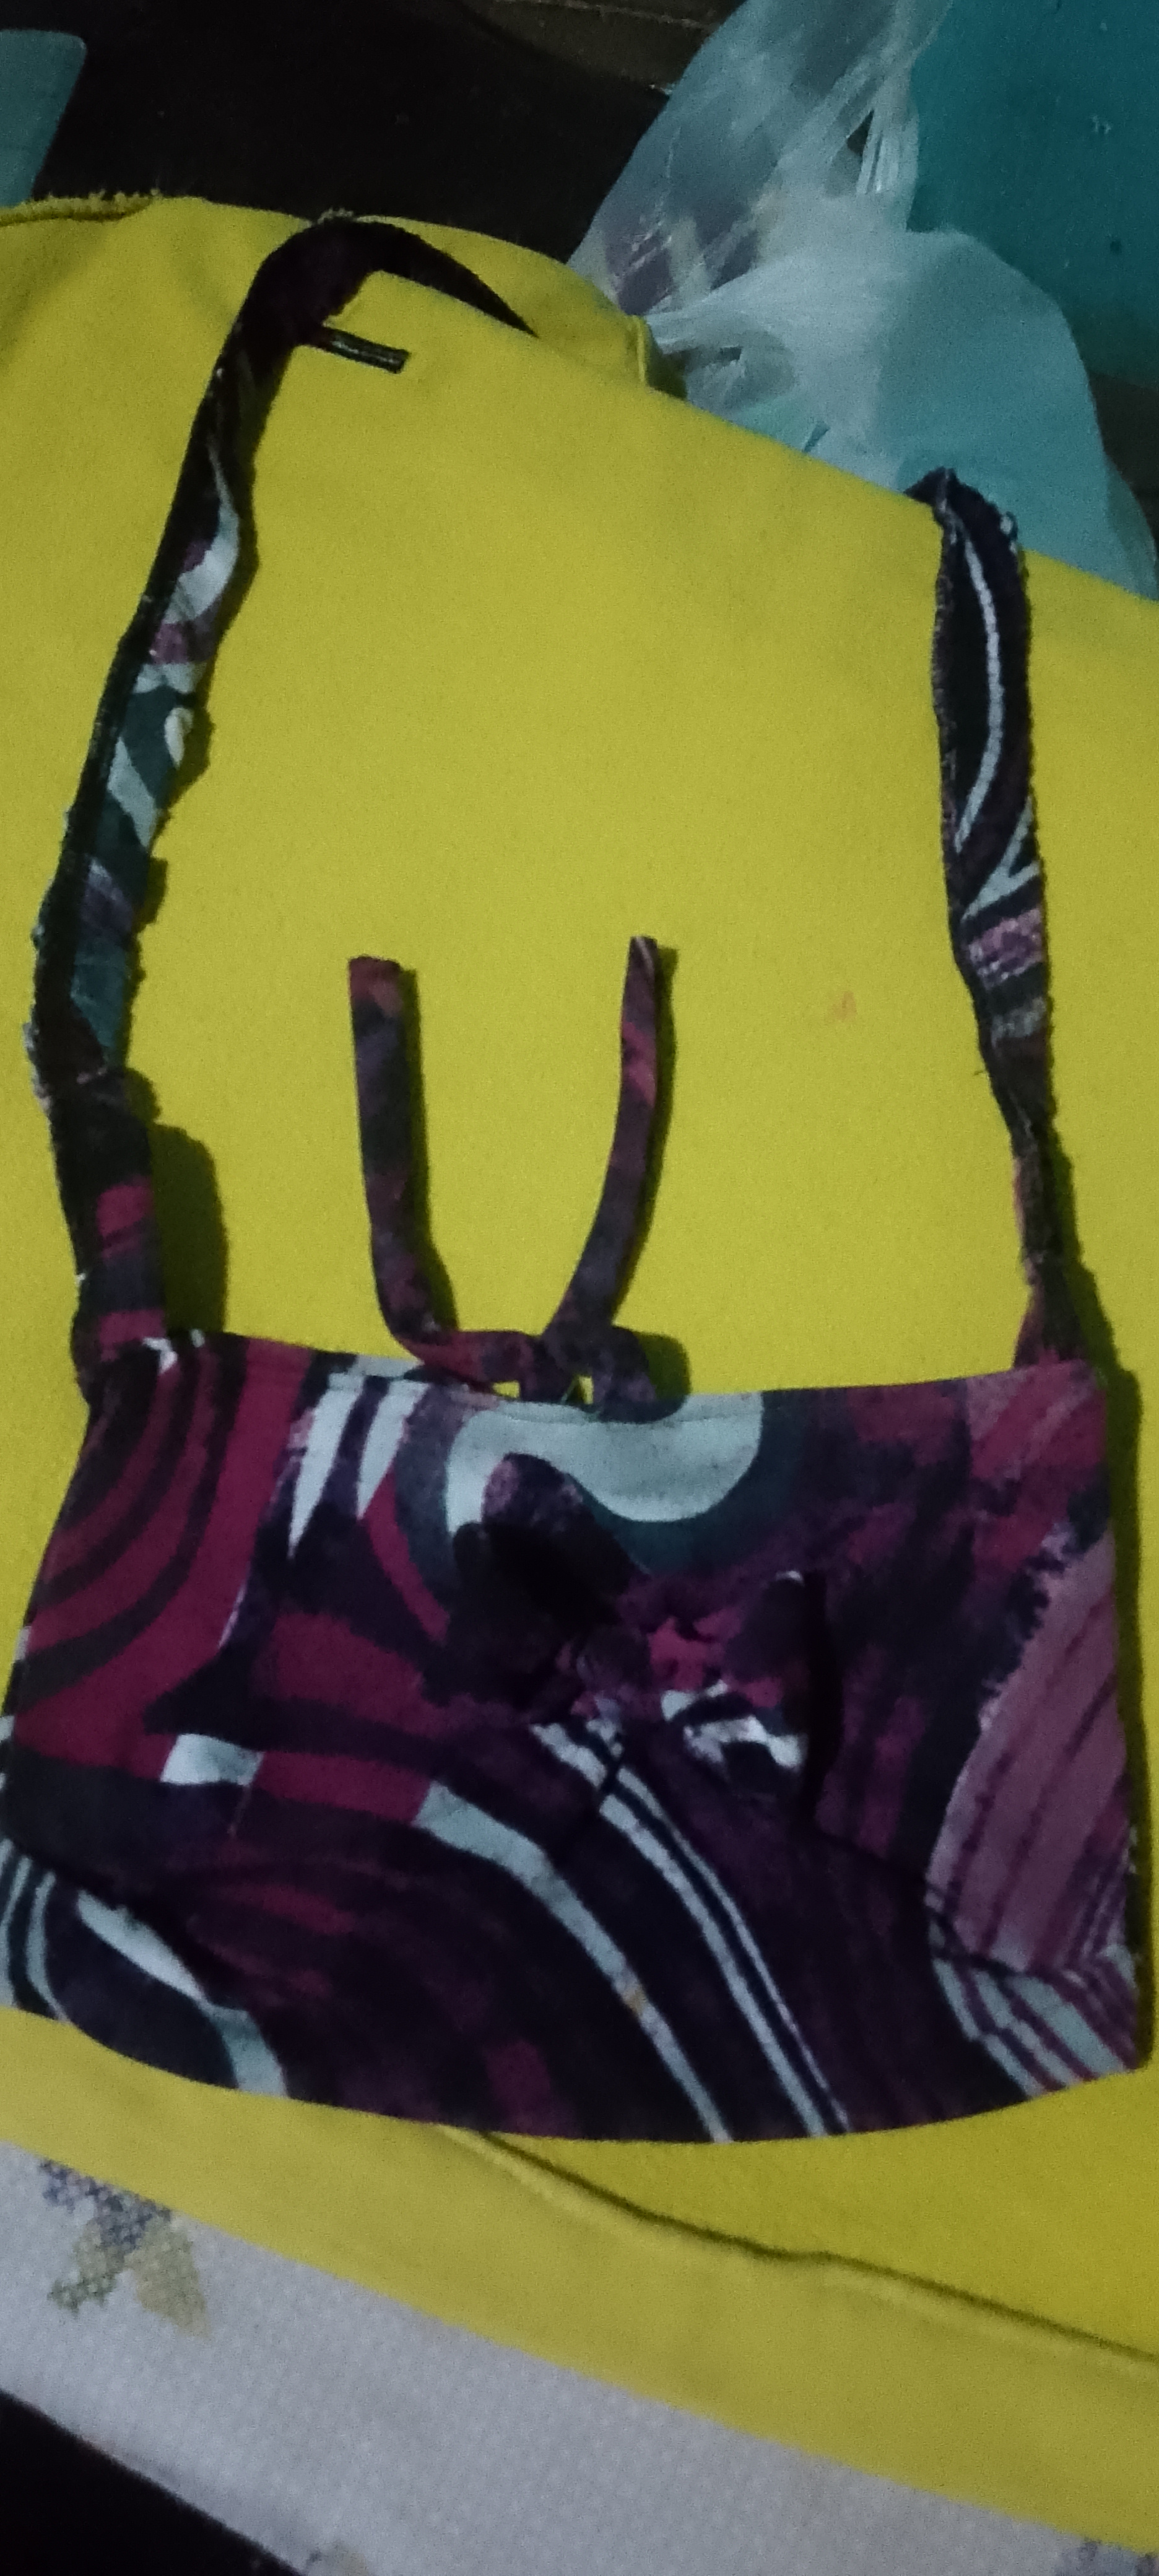
Paso 7, 8, 9, 10 y 11:
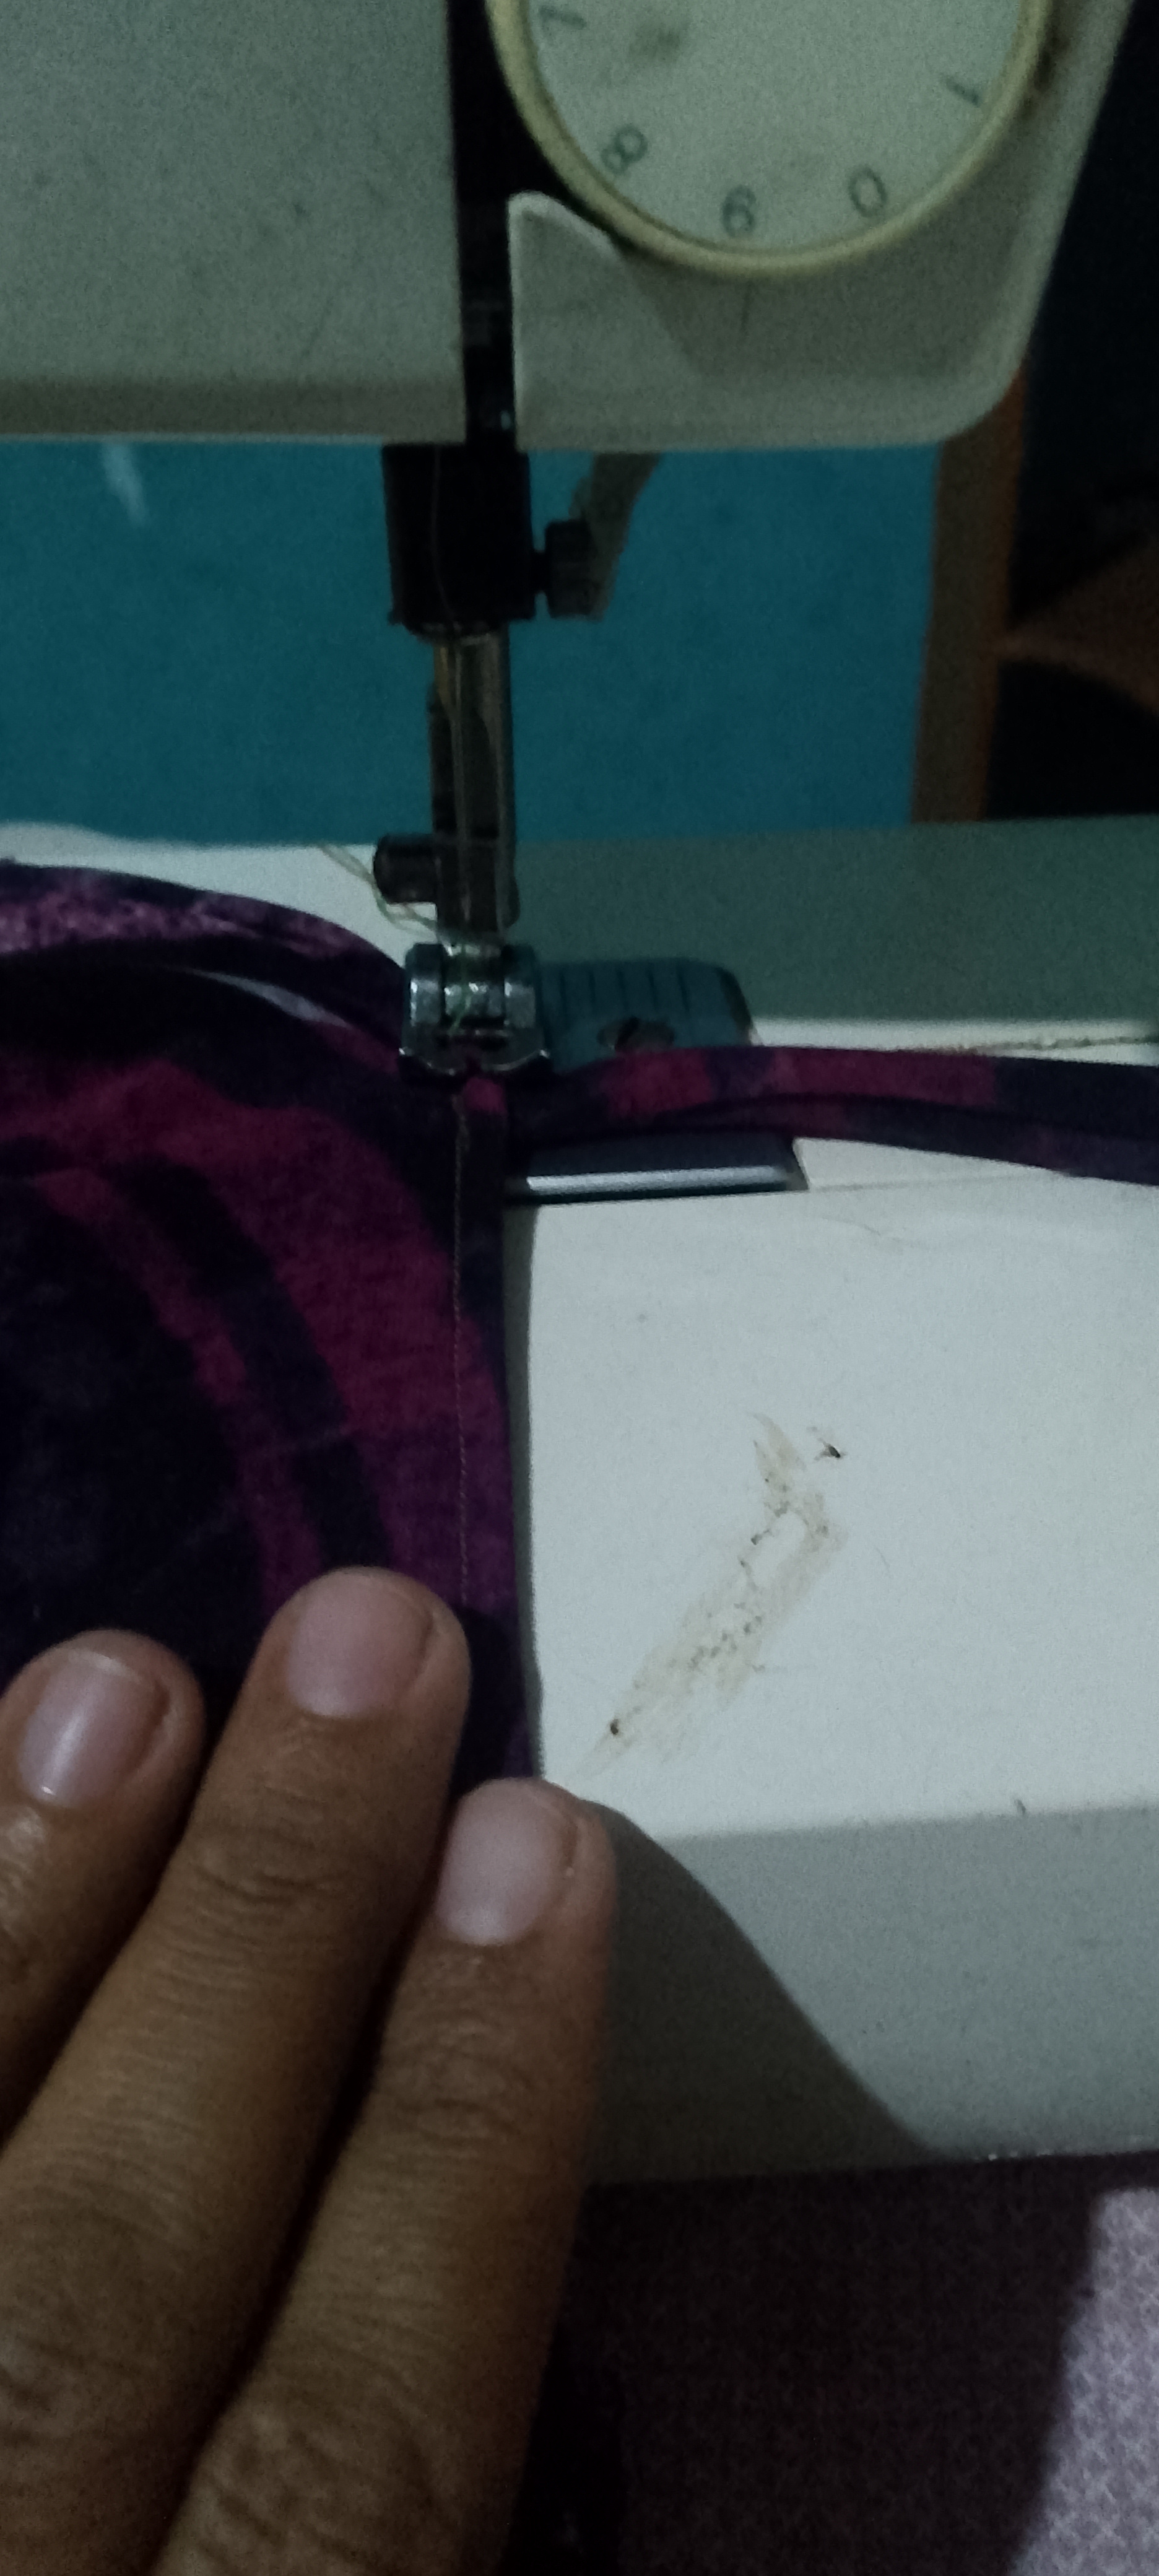
- Ahora empieza a coser para unir todas las partes y darle forma al bolso bandolera.
- Procede a coser ambos extremos de la tira, uno a cada lado de la base del bolso bandolera.
*Coloca también las dos tiras más pequeñas, una en la parte delantera y otra en la parte trasera como se muestra en la imagen.
*Estos servirán para atar.
*Por último, coloca un pequeño lazo al frente para darle un lindo detalle.
Step 7, 8, 9, 10 and 11:
- Now start sewing to join all the parts and shape the shoulder bag.
- Proceed to sew both ends of the strip, one on each side of the base of the shoulder bag.
*Also place the two smaller strips, one on the front and the other on the back as shown in the image.
- These will be used to tie.
- Finally, place a small bow in front to give it a nice detail.

Muchas por visitar mi blog y por leer hasta el final, hasta la
proxima vez.
Many for visiting my blog and for reading until the end, until the
next time.