
Saluditos apreciados amigos de hive diy el día de hoy les traigo un trabajo que a mí en lo personal me encantó, como saben muchos en el ecosistema yo soy fiel amante del maquillaje artístico y cada día apuesto por realizar creaciones más complejas, motivo por el cuál decidí realizar un maquillaje que esté inspirado en frutas y para hacerlo lucir mejor estaré realizando una diadema diferente, una especie de fantasía frutal que espero les guste.
🍉🍇🍓 MATERIALES 🍓🍇🍉
🍉 Foami escarchado verde.
🍇 Foami escarchado rojo.
🍓 Foami escarchado fucsia.
🍉 Foami escarchado naranja.
🍇 Foami amarillo.
🍉 Foami blanco.
🍓 Silicón líquido.
🍉 Cintillo base.
🍇 Pintura blanca.
🍓 Pintura negra.
🍓 Tijera.
🍇 Hoja en blanco.
🍉 Lápiz de creyon.
🍉🍇🍓PASO A PASO 🍓🍇🍉
🍉🍇🍓 PASO 1:
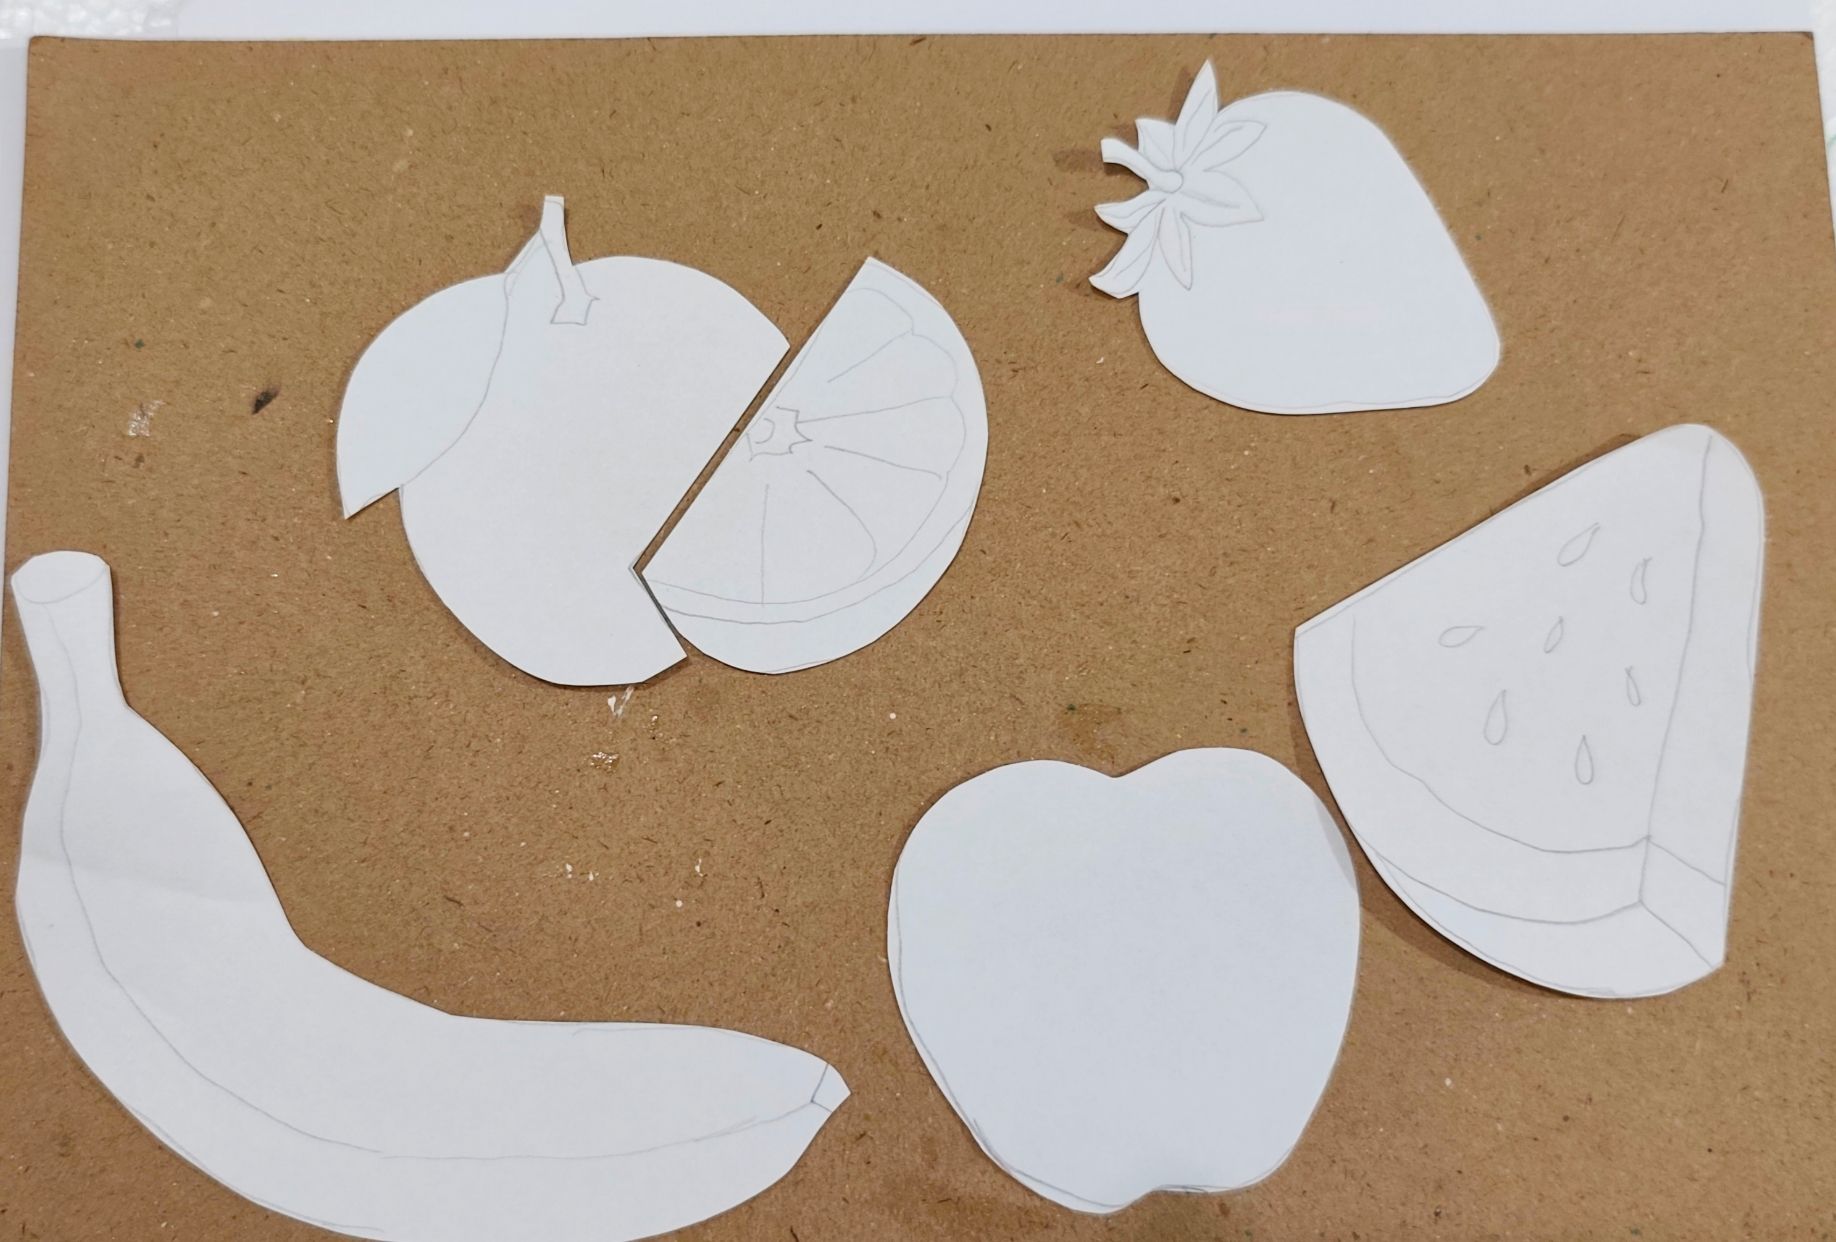
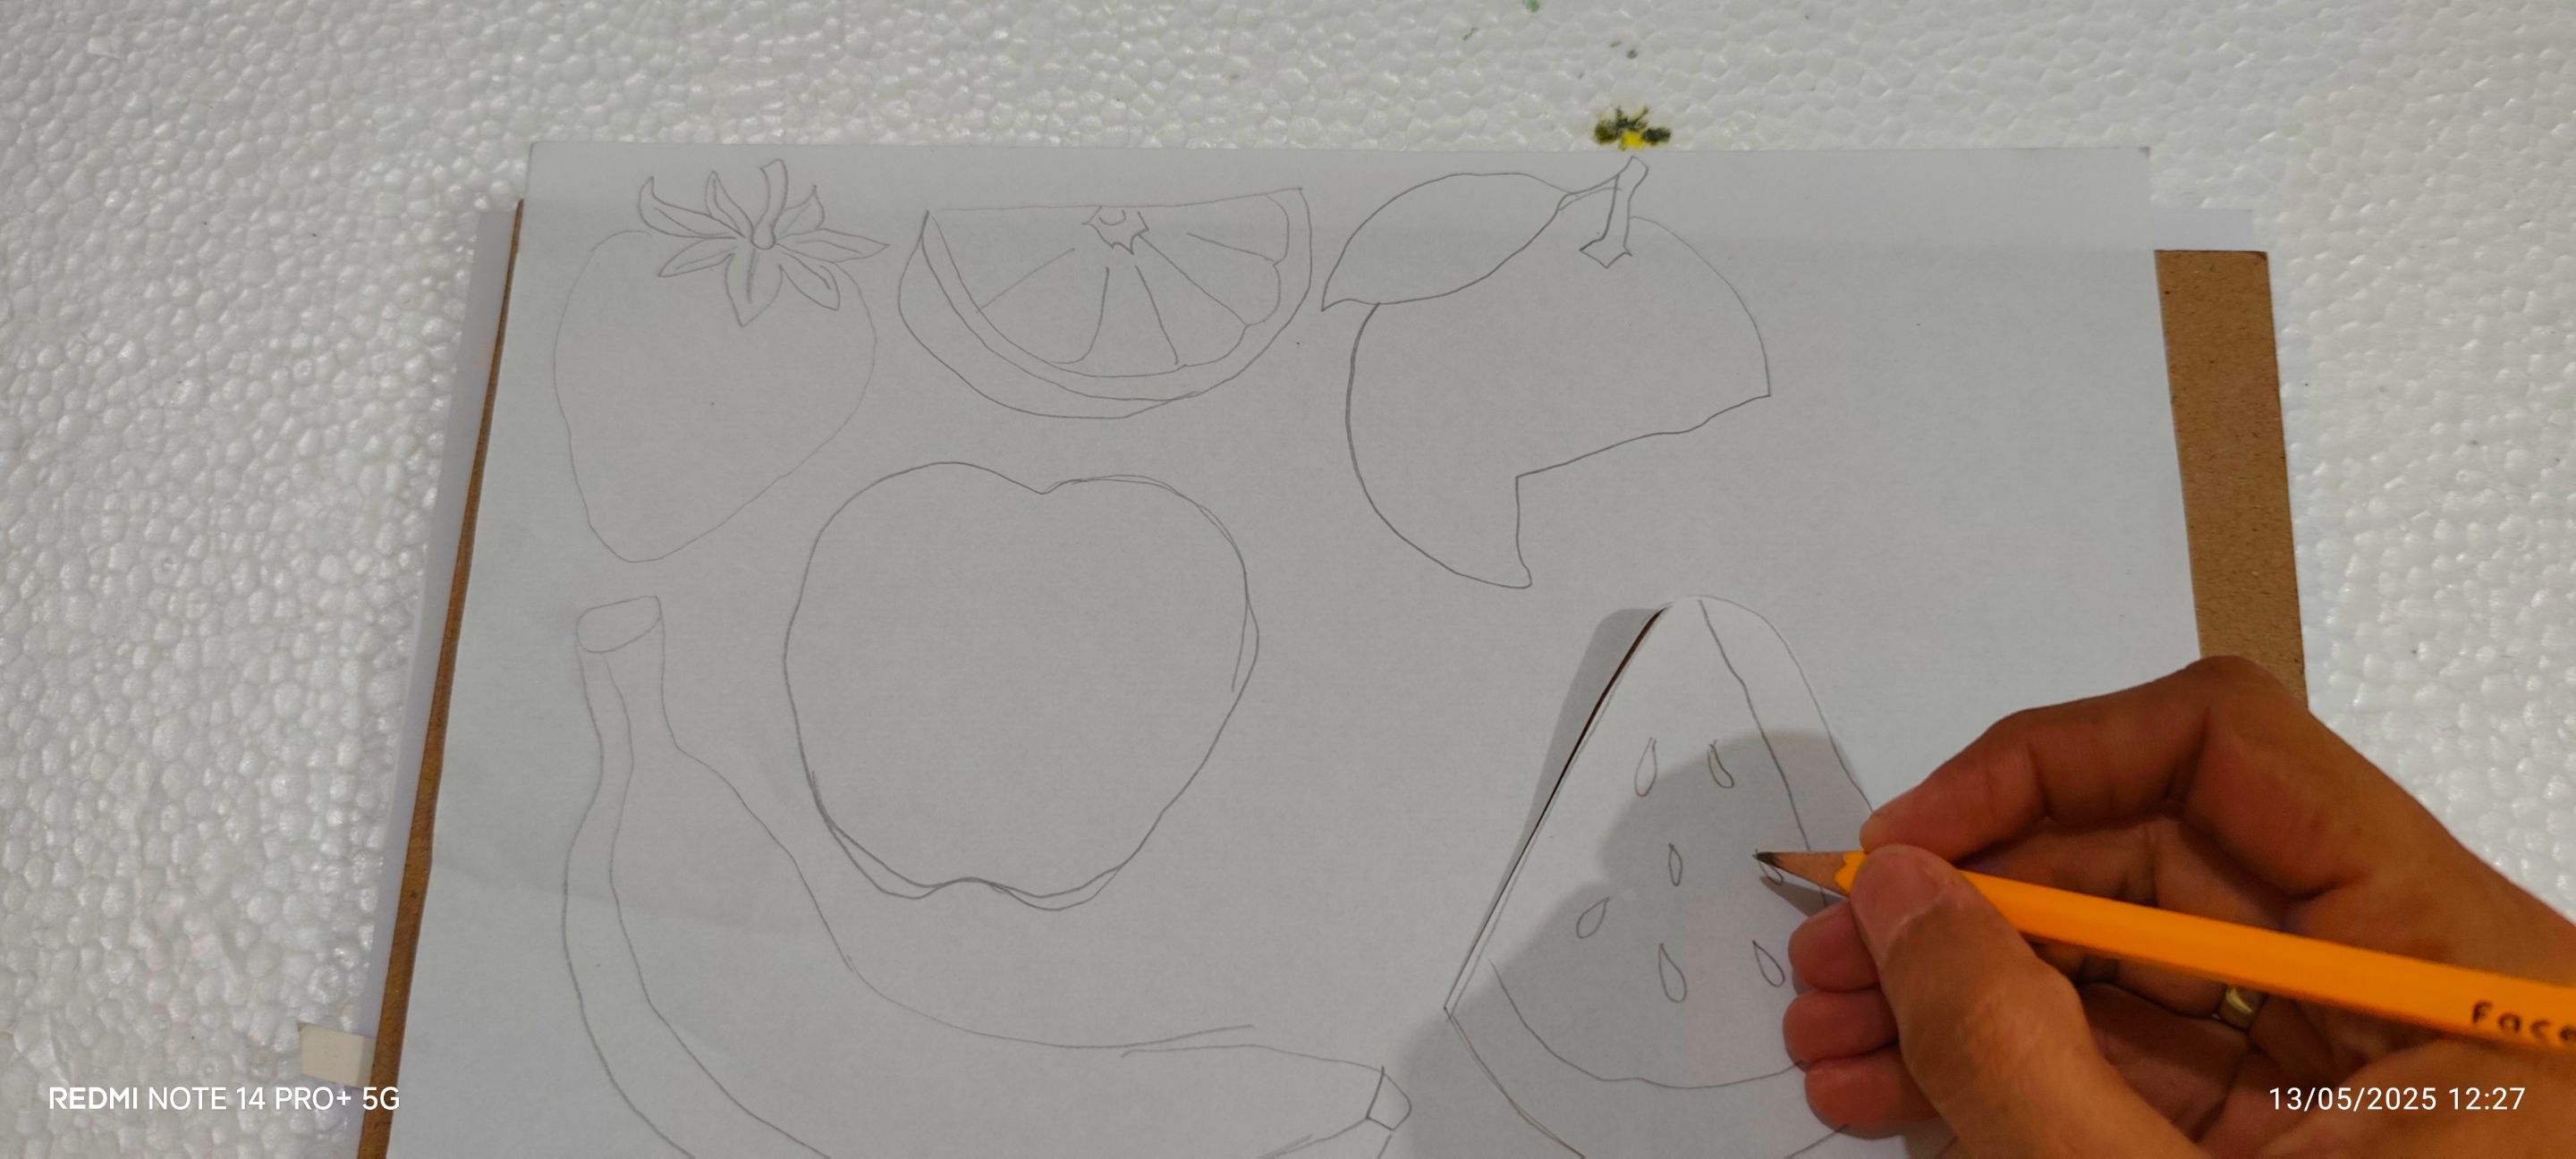
Primero tomé la hoja en blanco y con el lápiz dibujé los patrones de frutas y luego los recortamos, en este trabajo haremos un cambur o banana, una fresa, una naranja, uvas por supuesto y una patilla.
🍓🍇🍉 PASO 2:
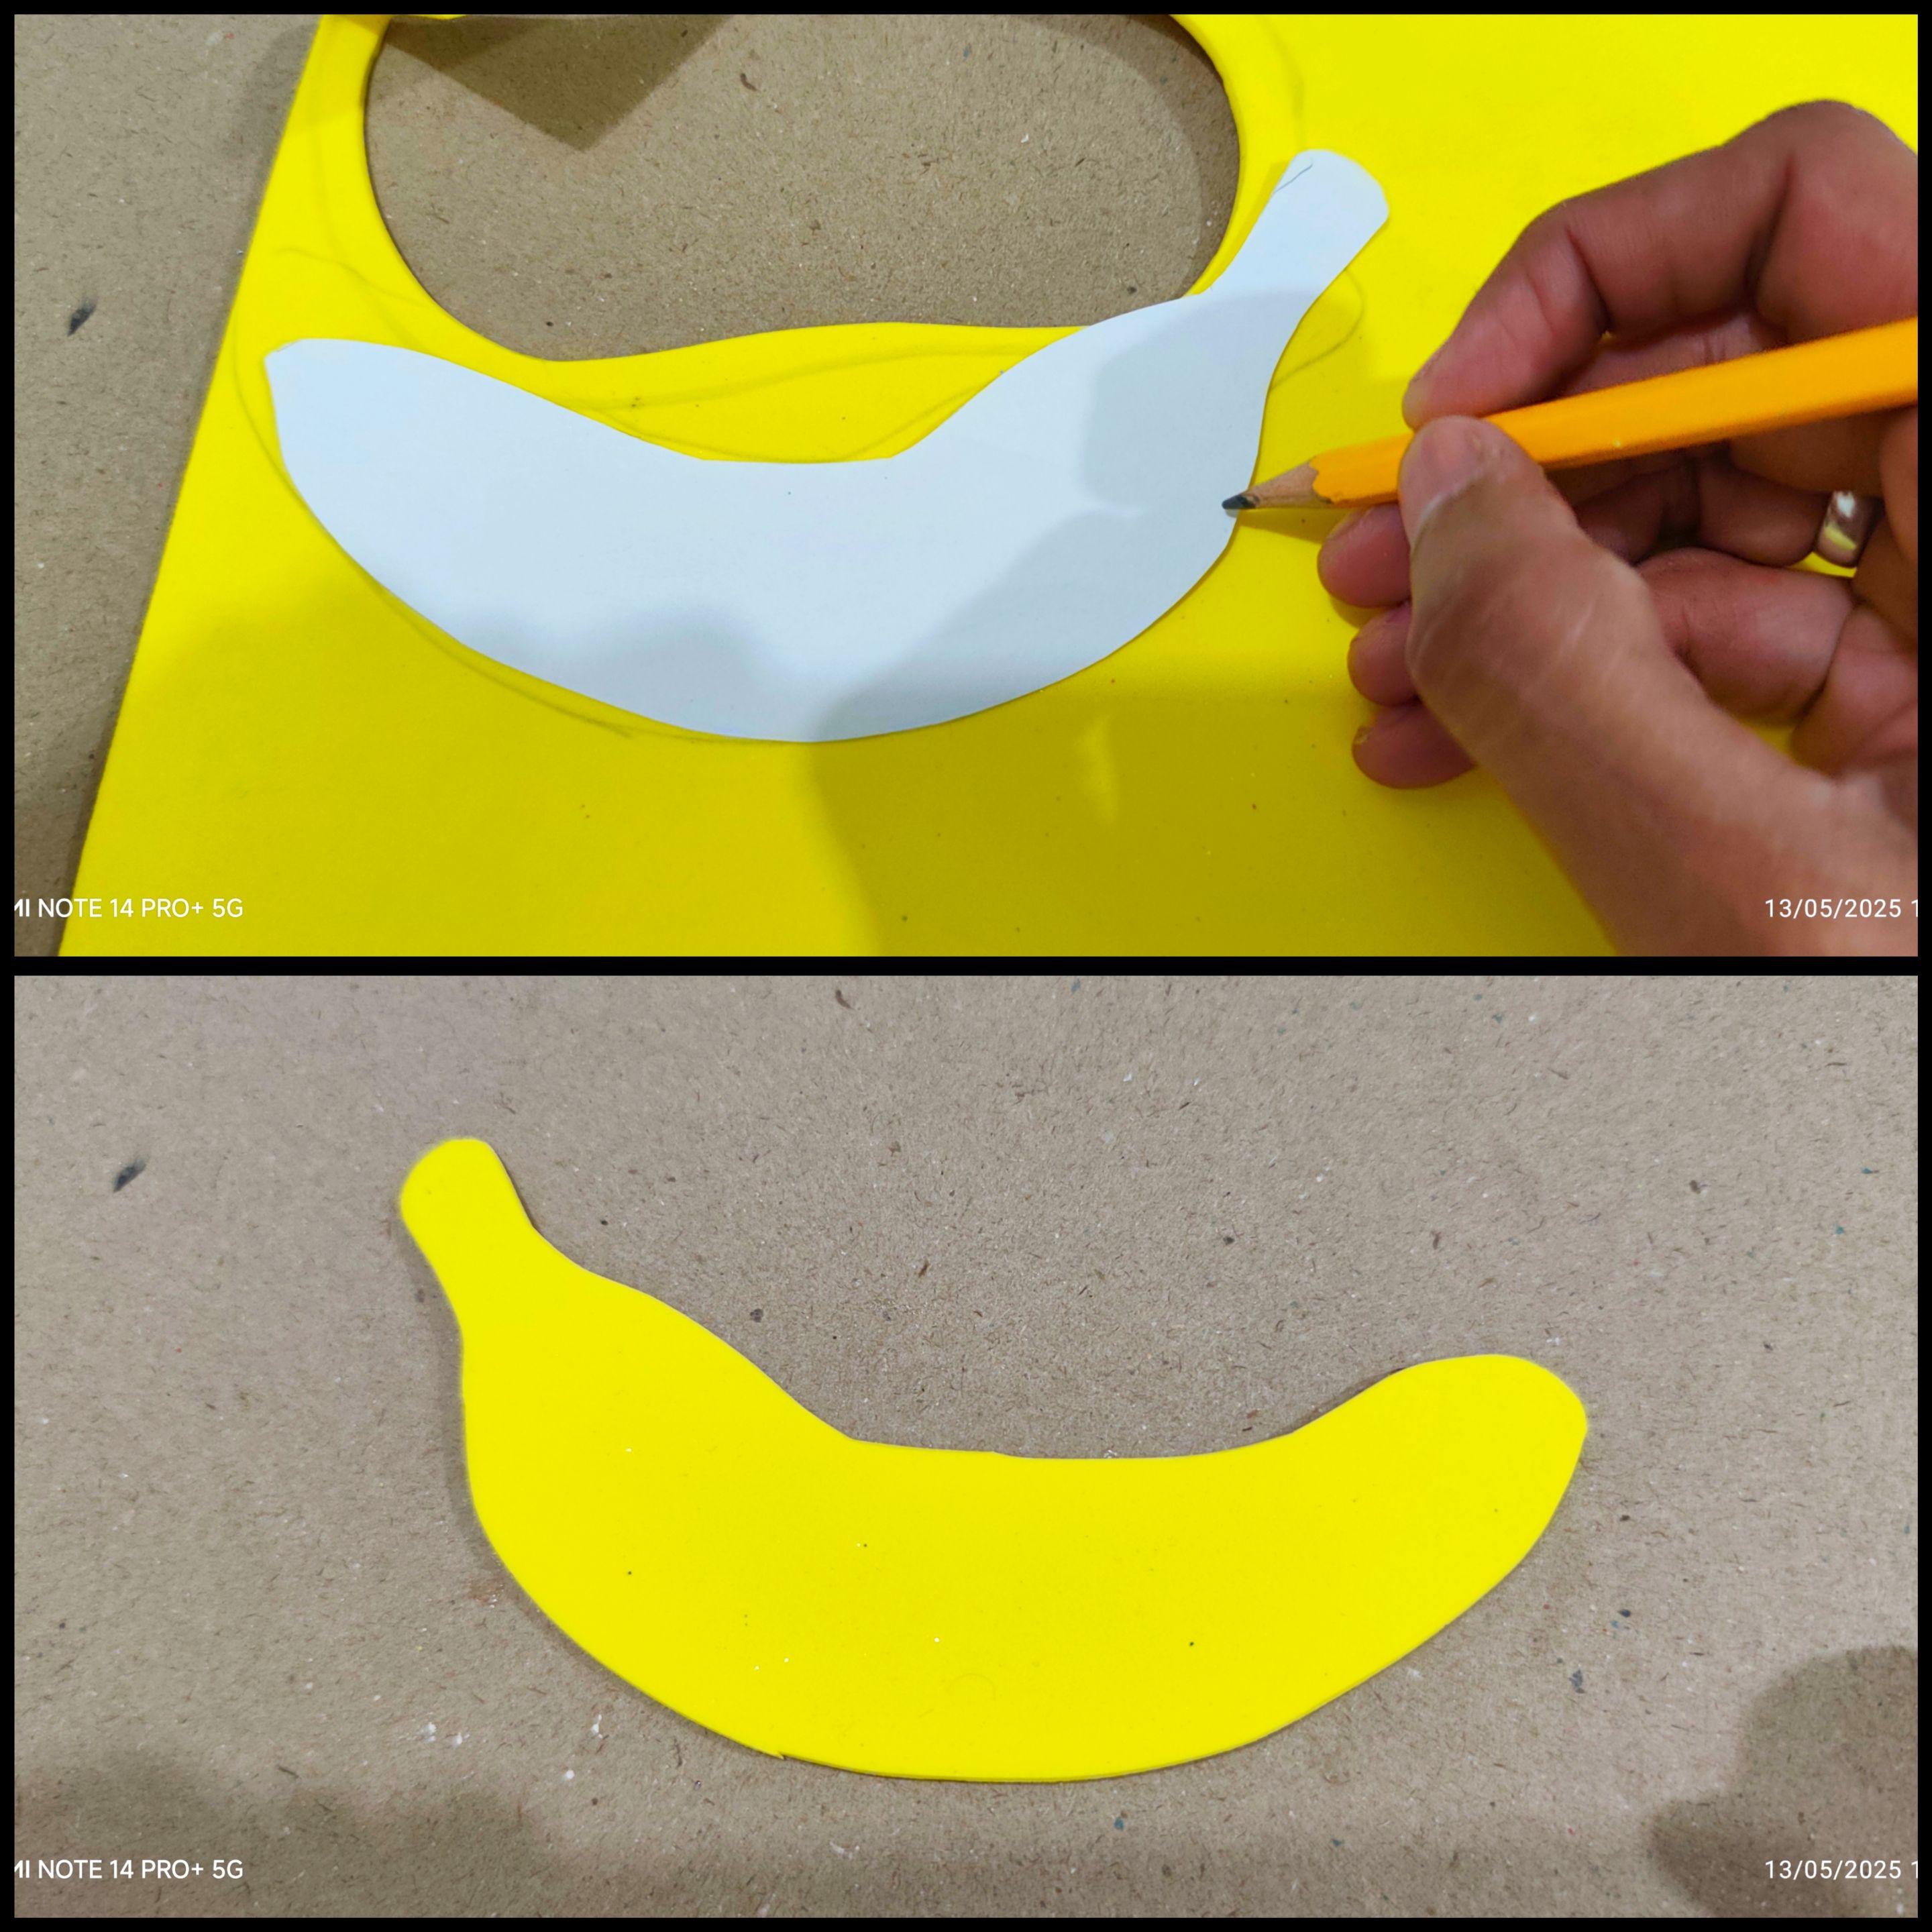
En el foami de color amarillo coloco el patrón de cambur o banana y con el lápiz lo marcamos, luego con la tijera lo recortamos.
🍉🍇🍓 PASO 3:
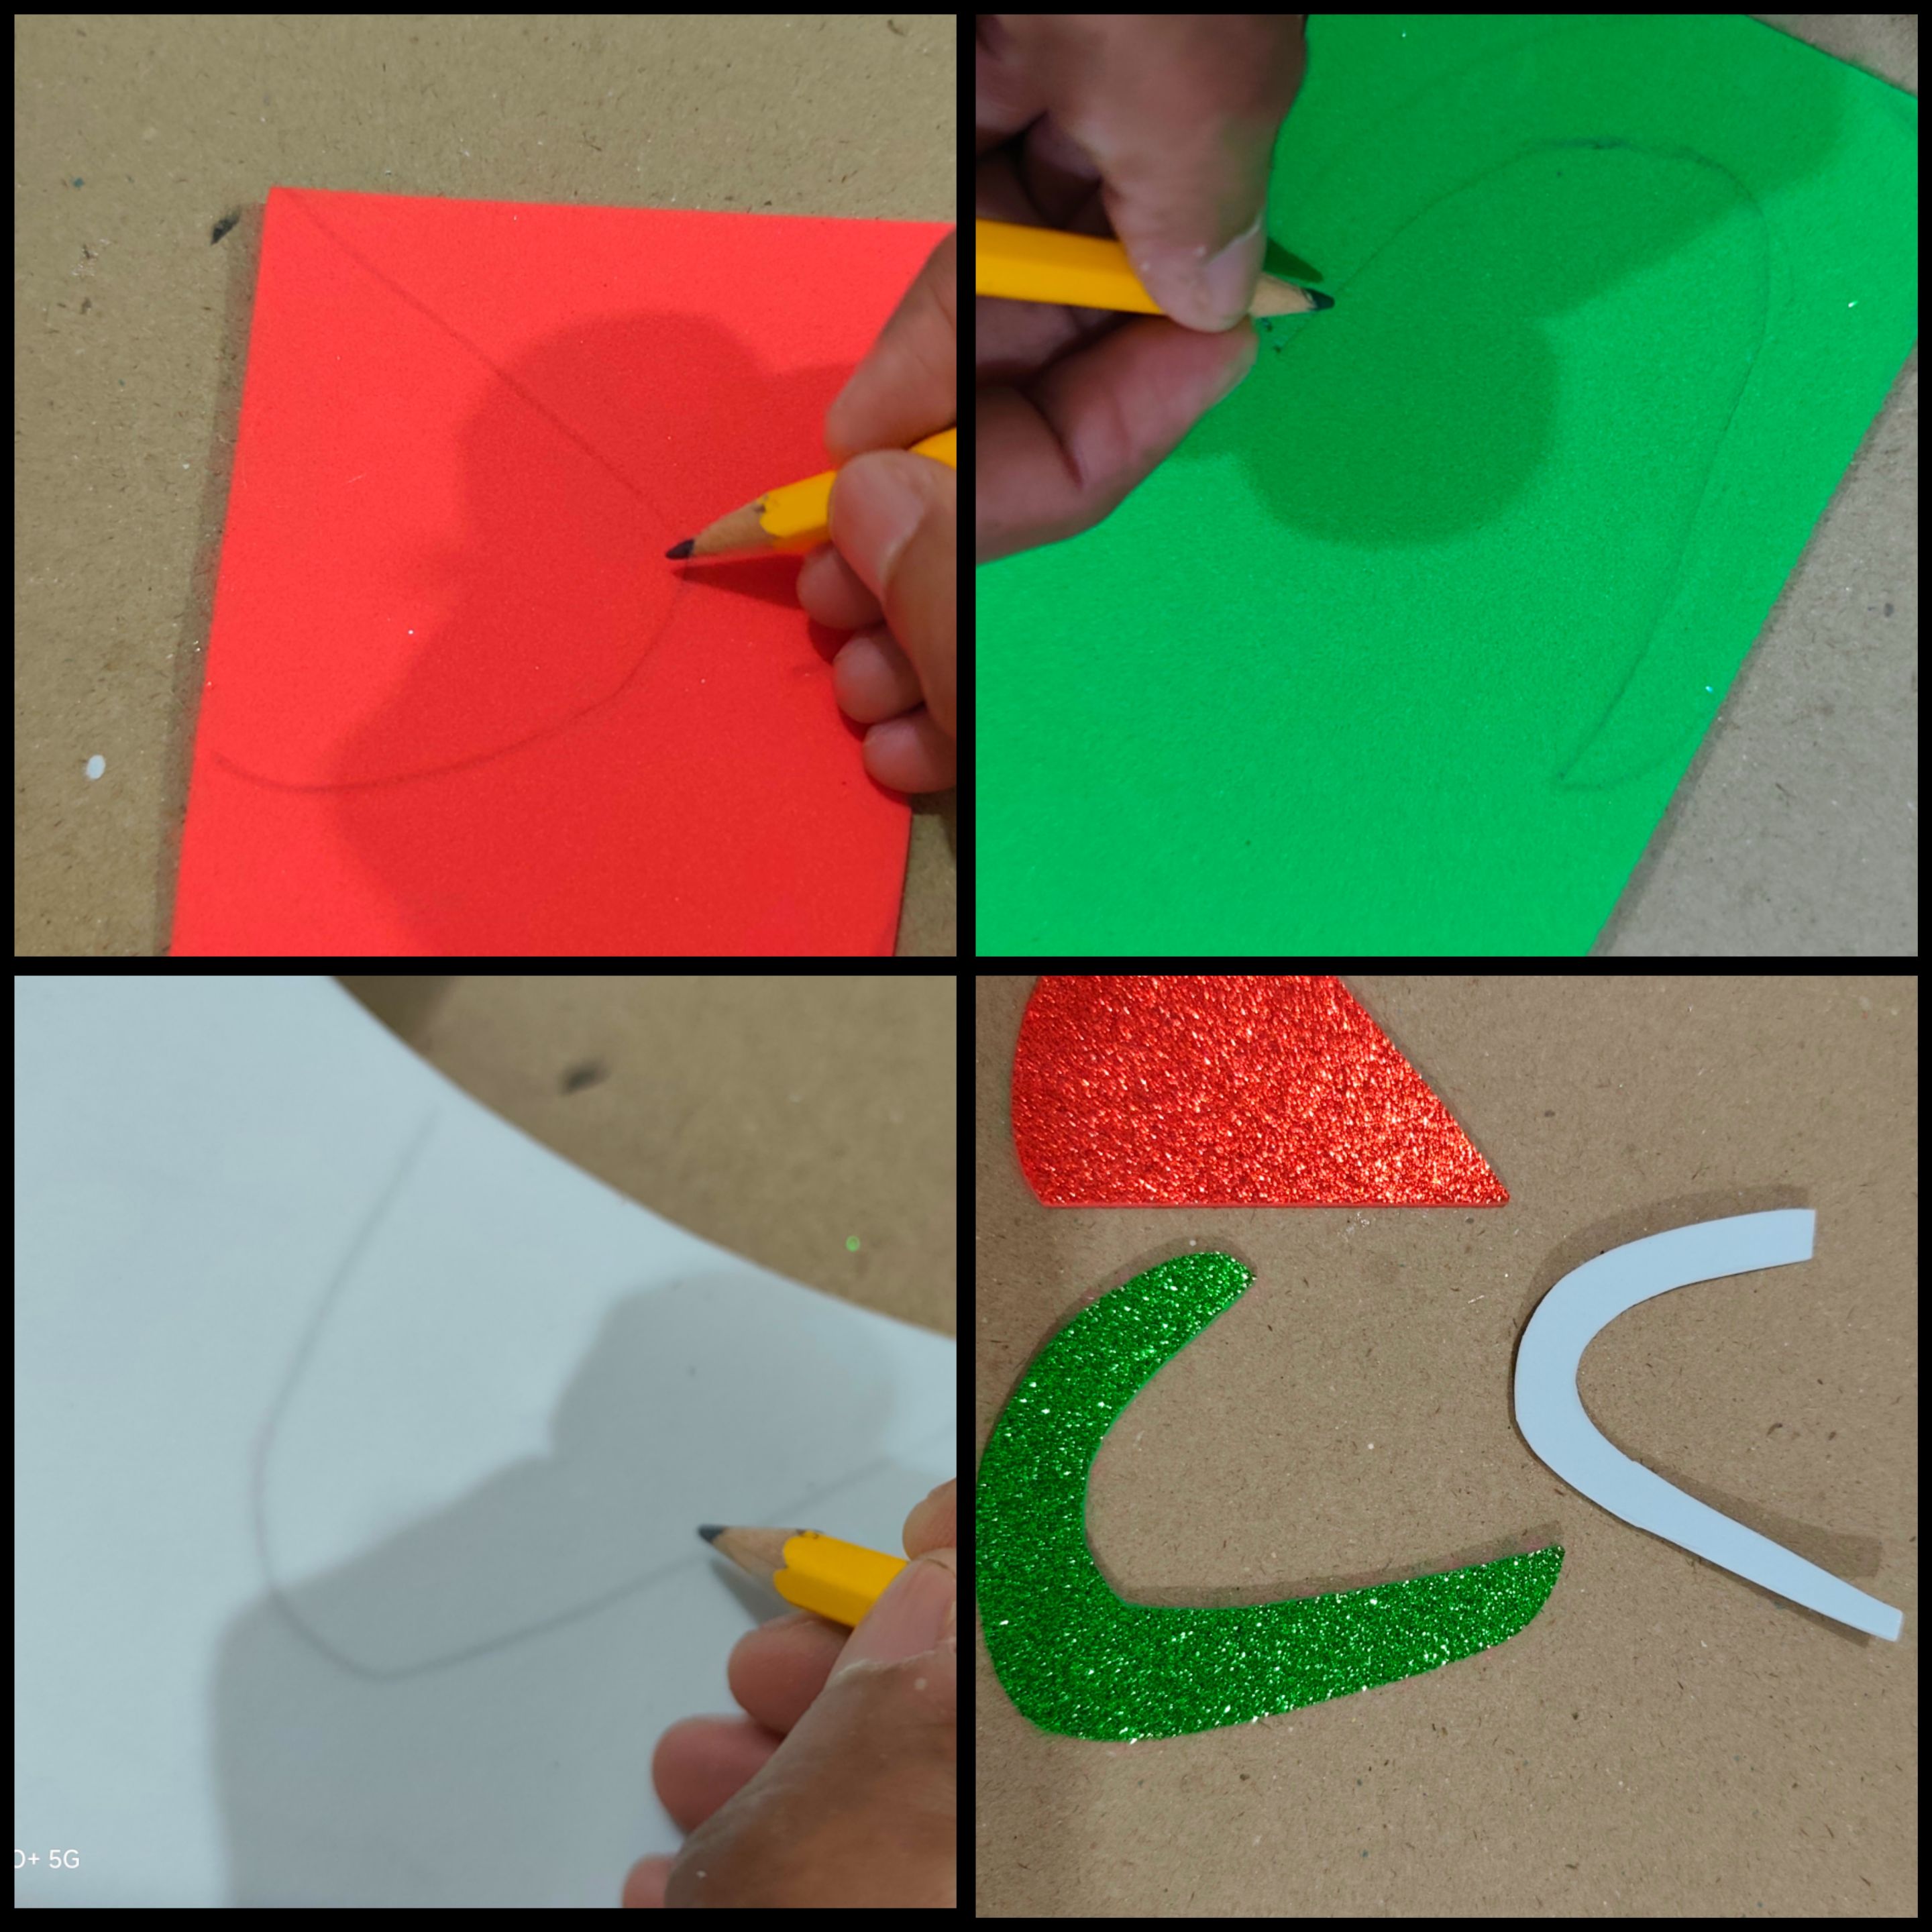
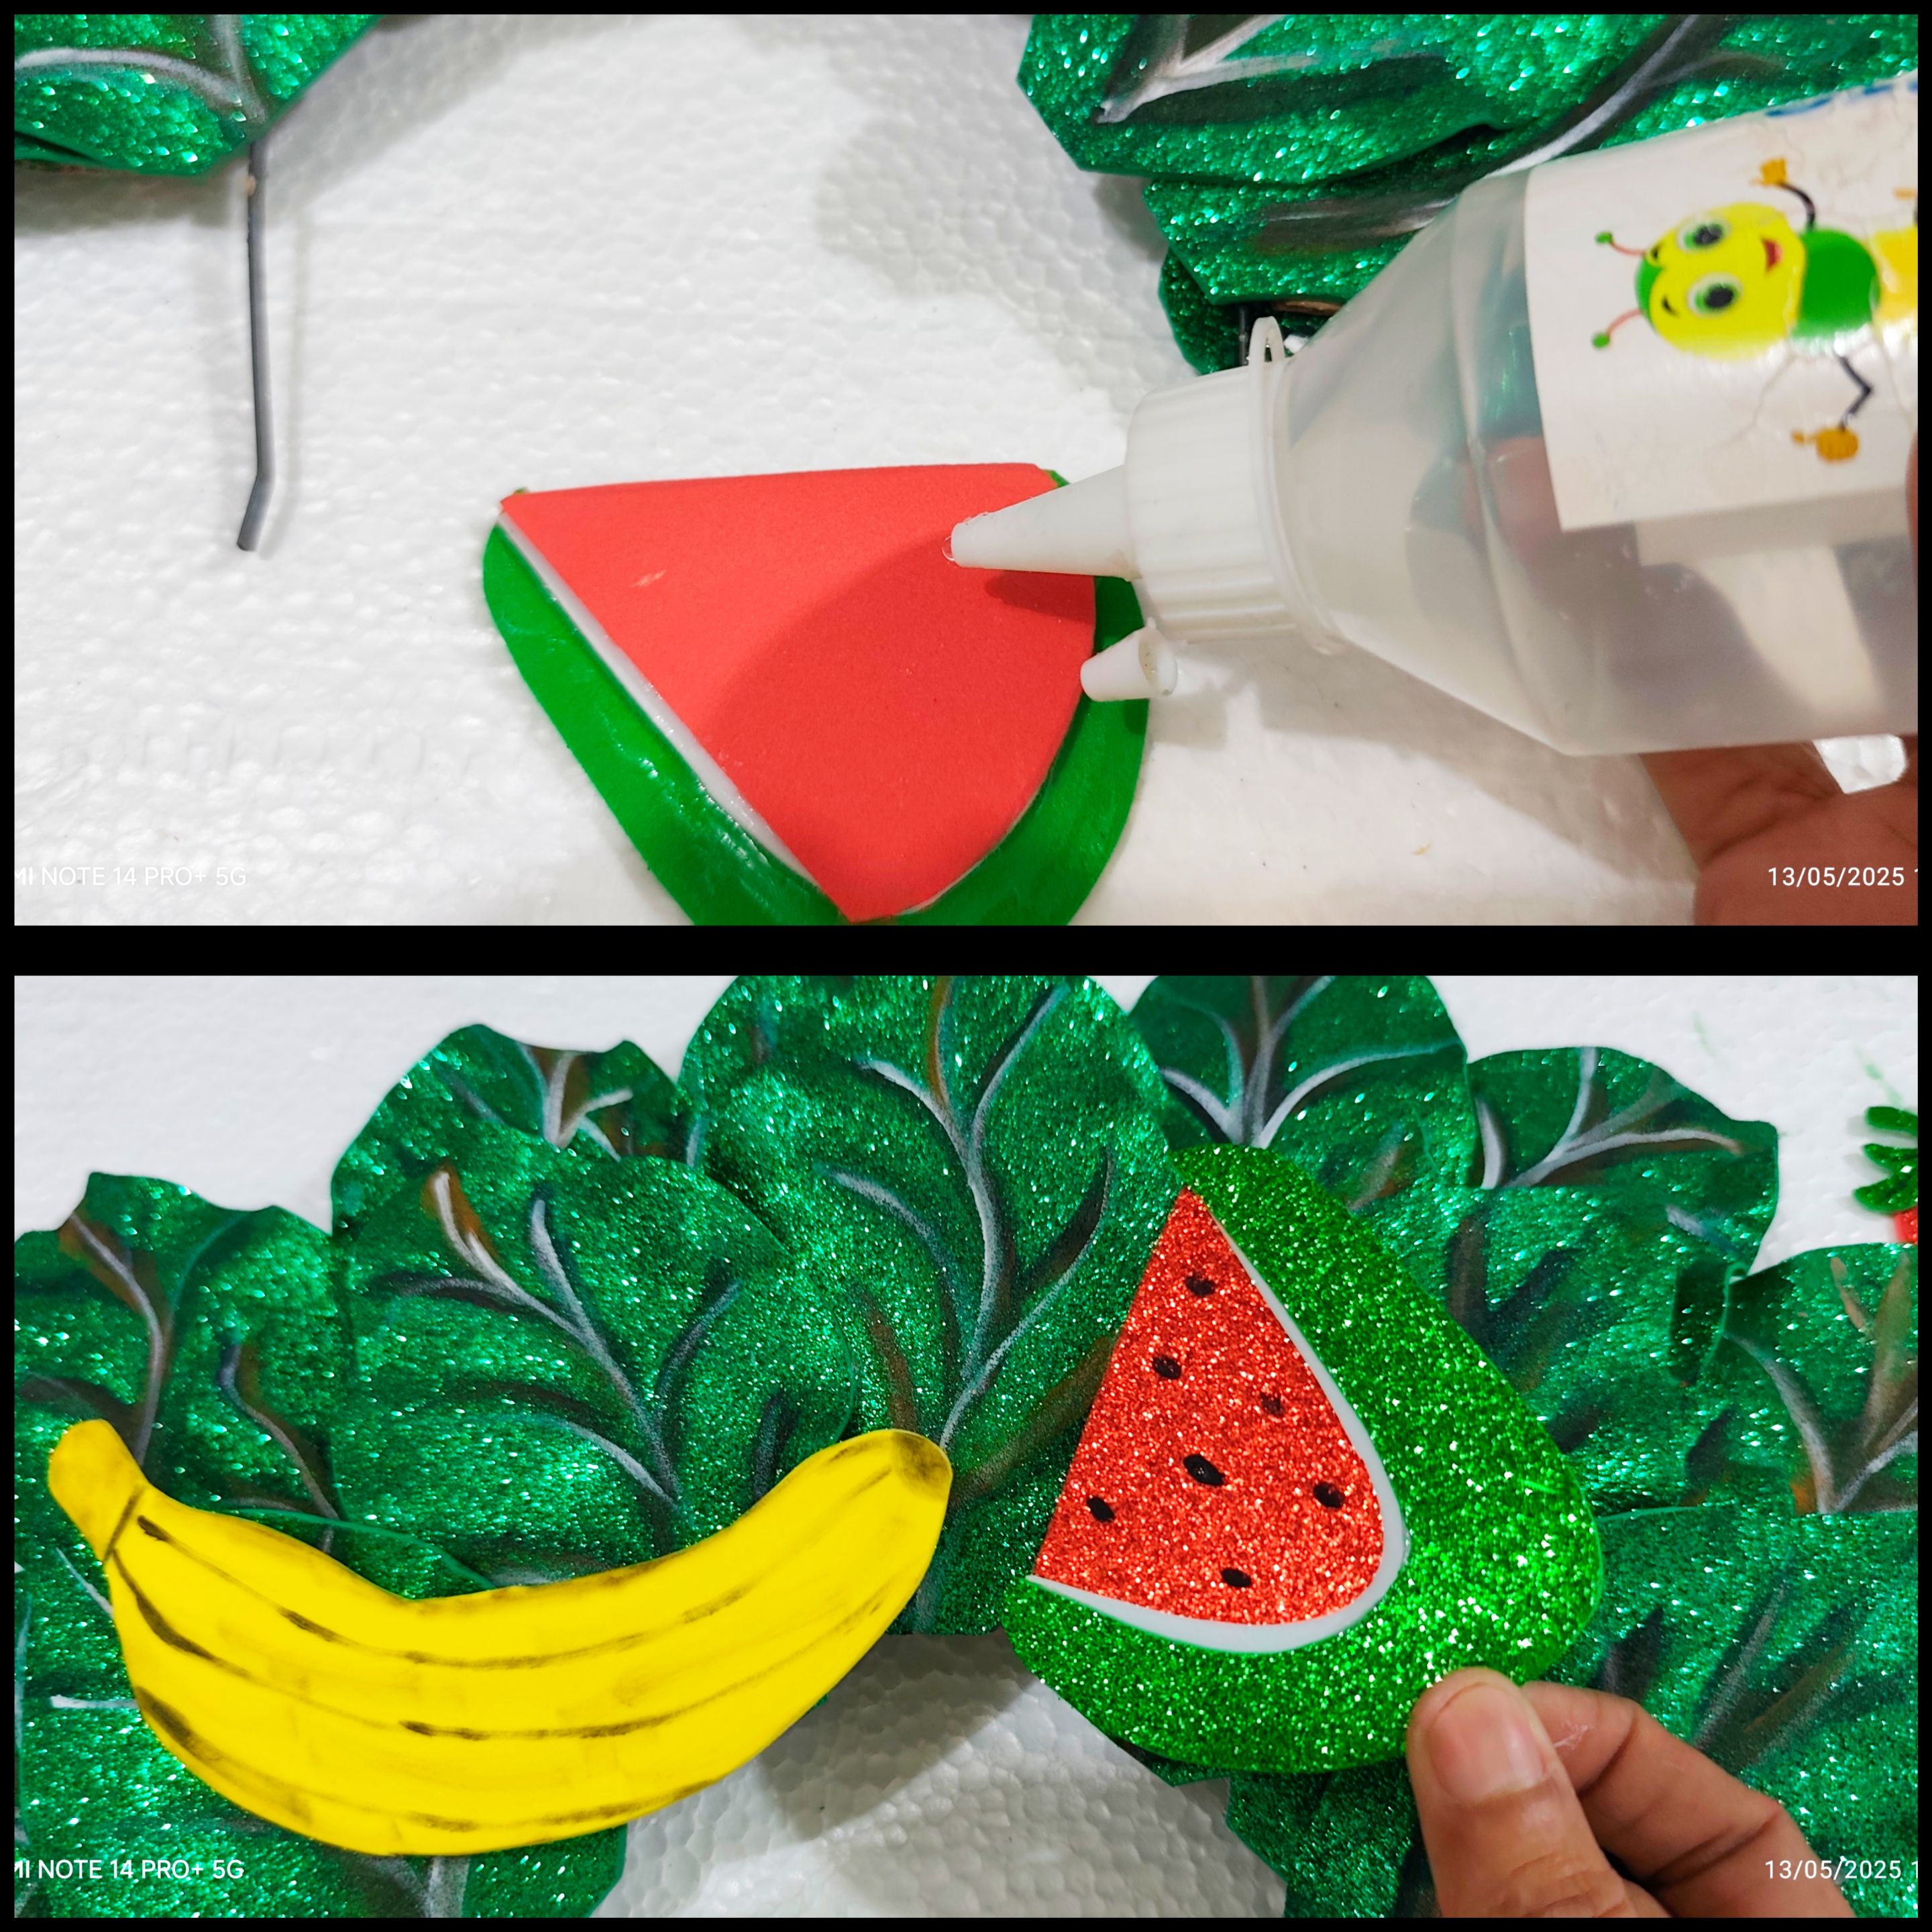
Ahora vamos a trabajar con el foami rojo escarchado, verde escarchado y con el blanco, allí marcamos las piezas con las que voy a formar la patilla o sandía.
🍉🍓🍇 PASO 4:
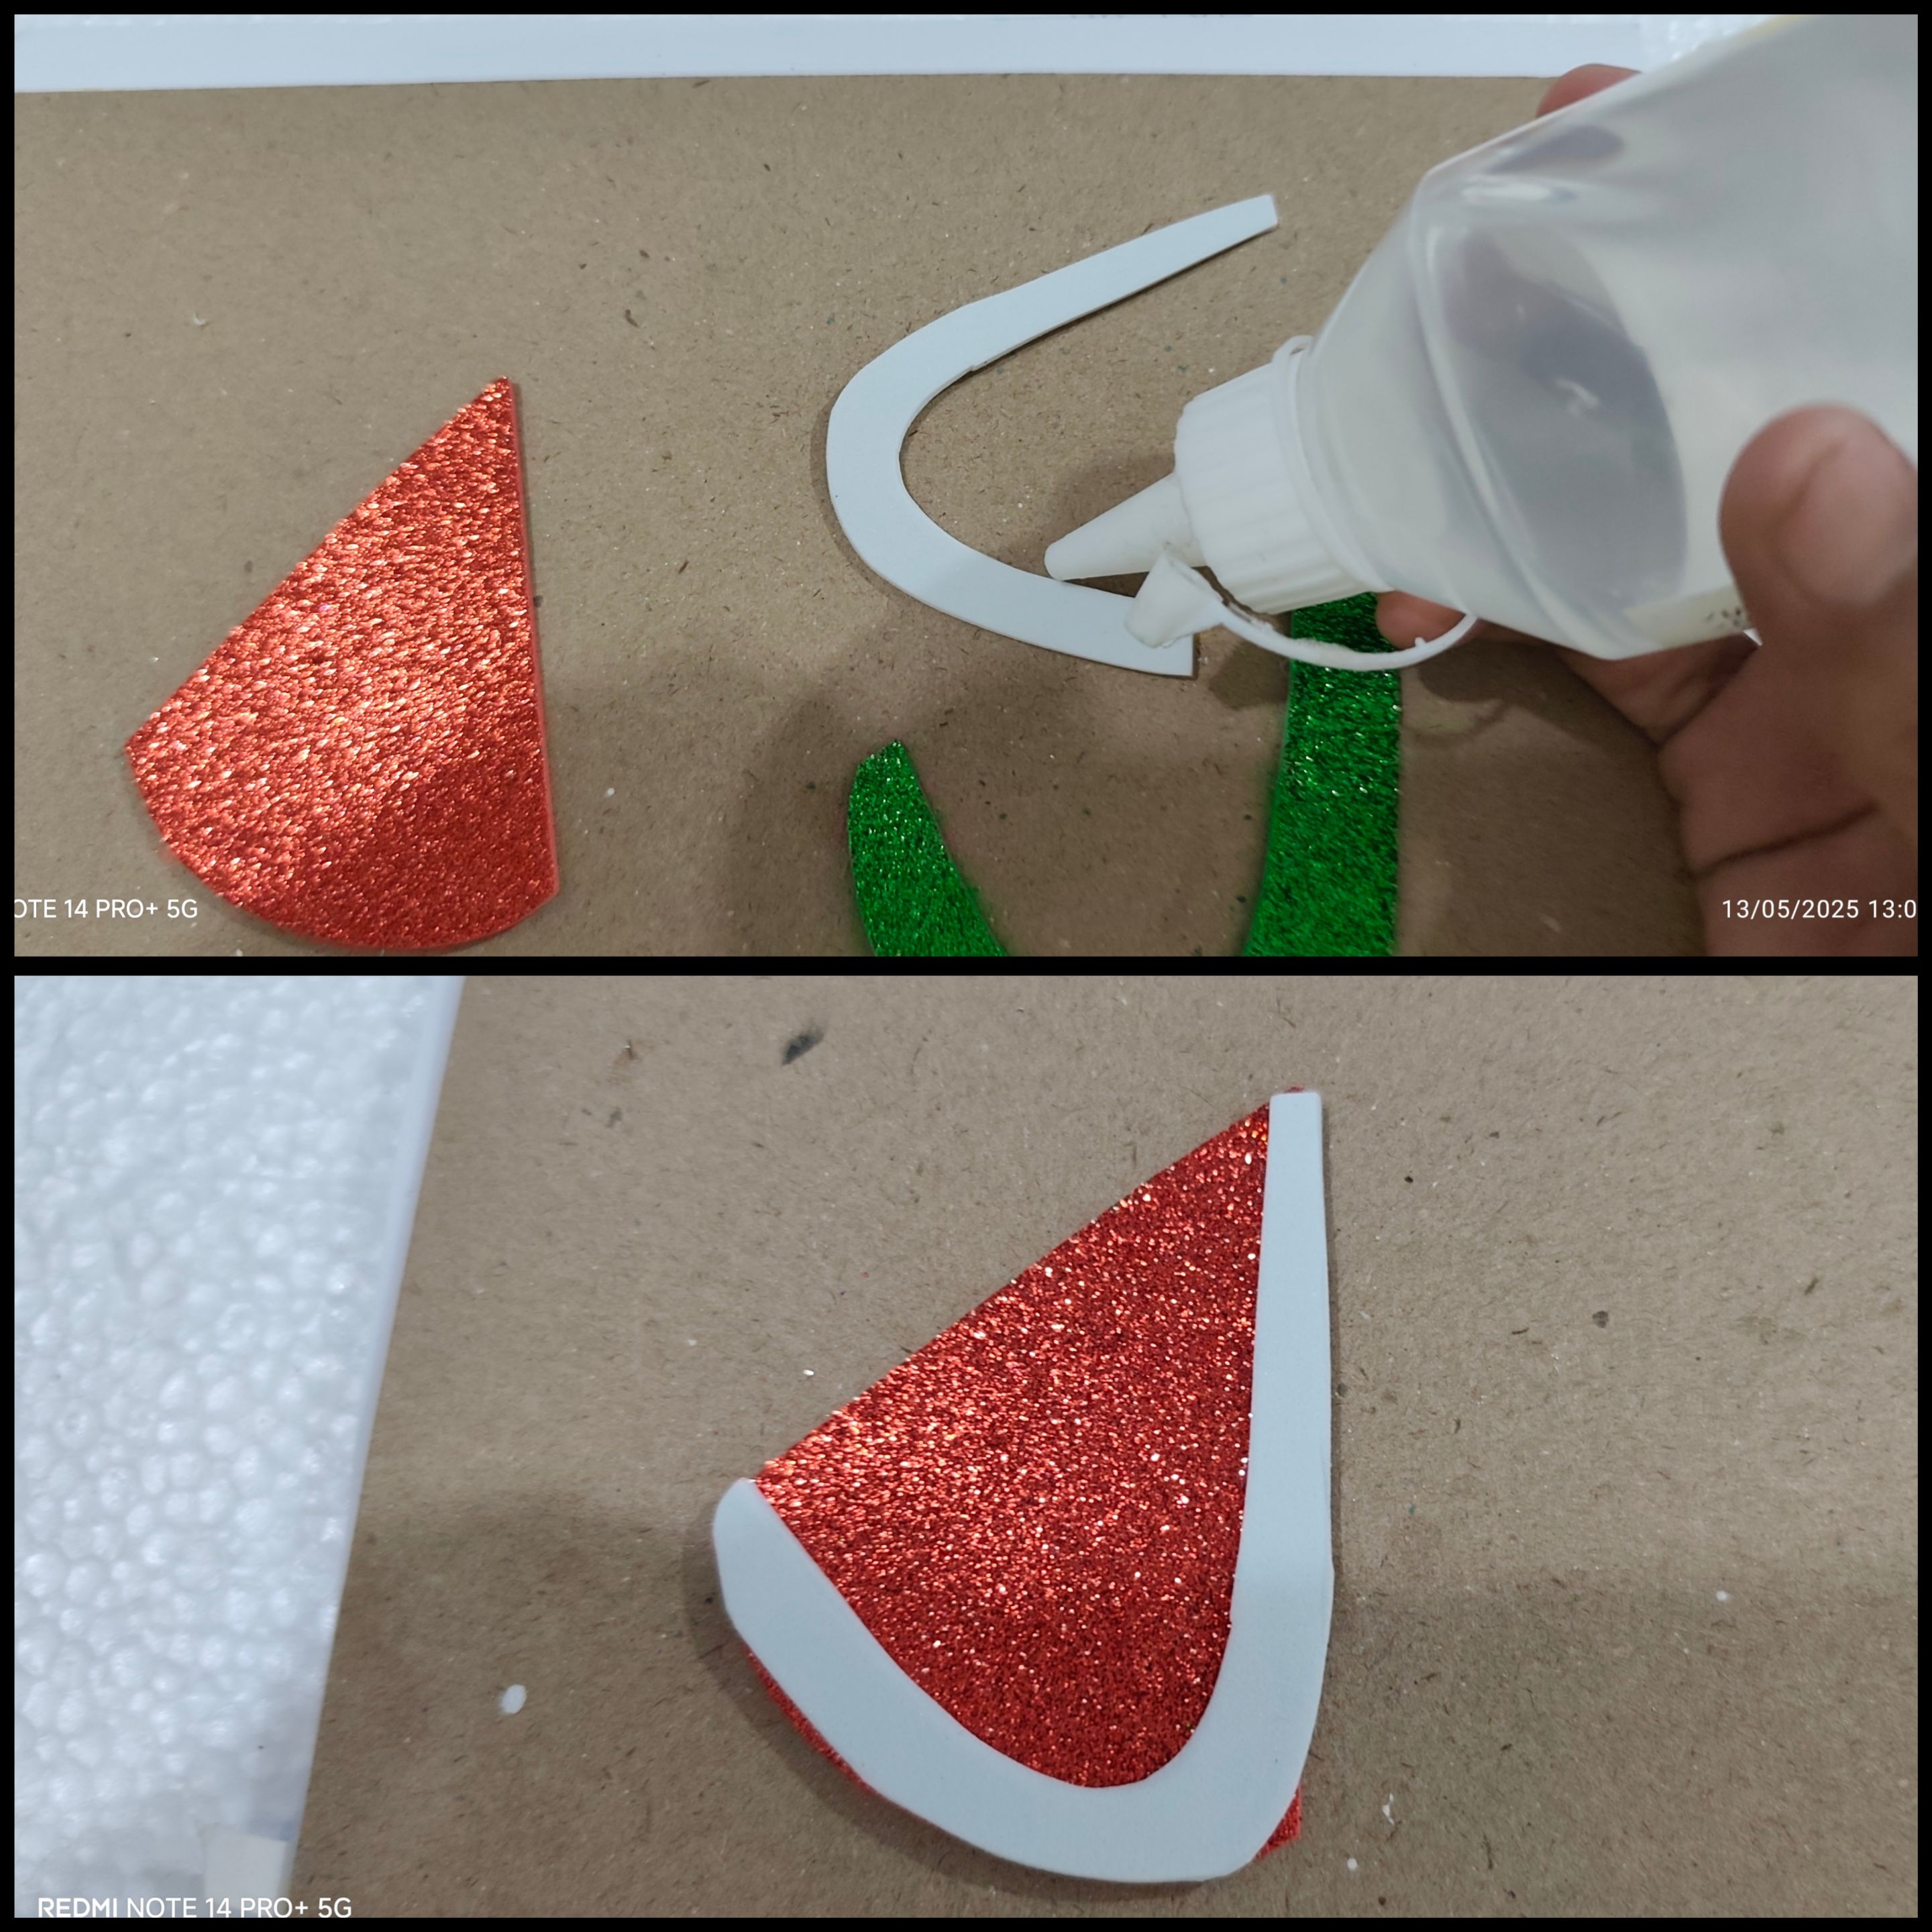
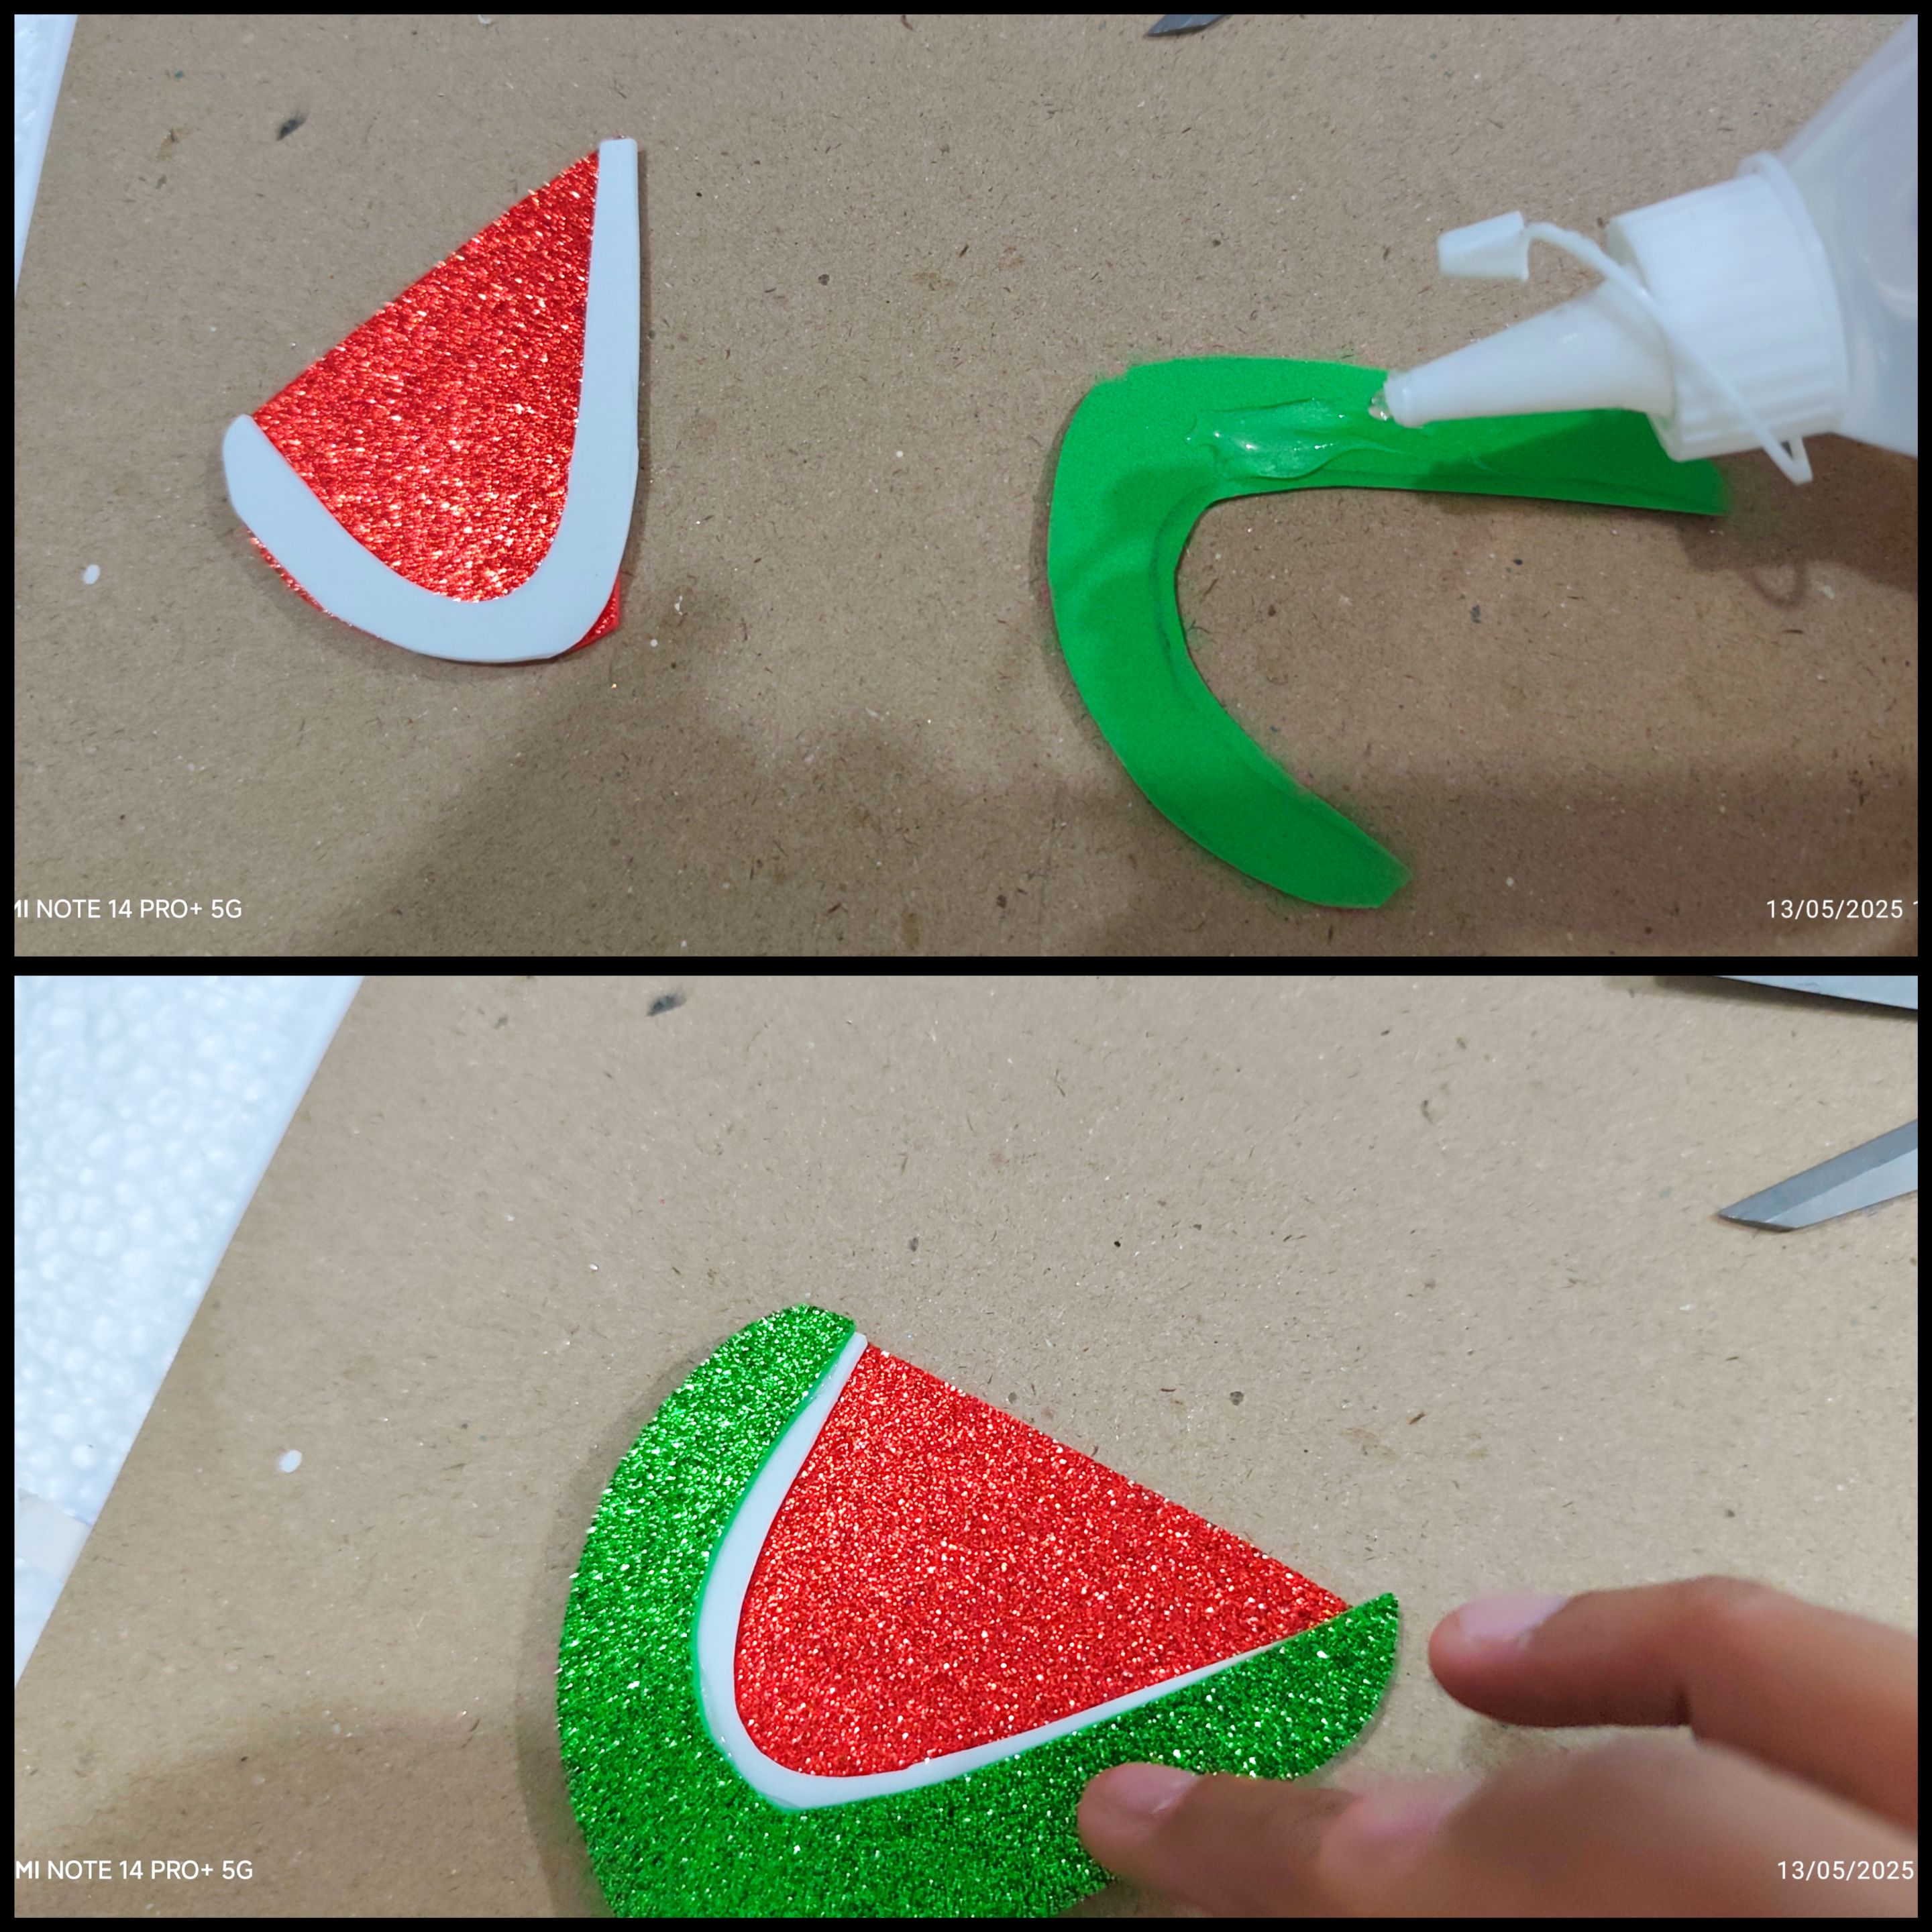
Luego con ayuda del silicón líquido, pegamos todas las piezas, primero la blanca la cual pegamos encima de la pieza roja y luego cuando ya está bien pegada aplicamos silicón líquido y le pagamos la parte verde, hasta formar la patilla o sandía.
🍇🍓🍉 PASO 5:
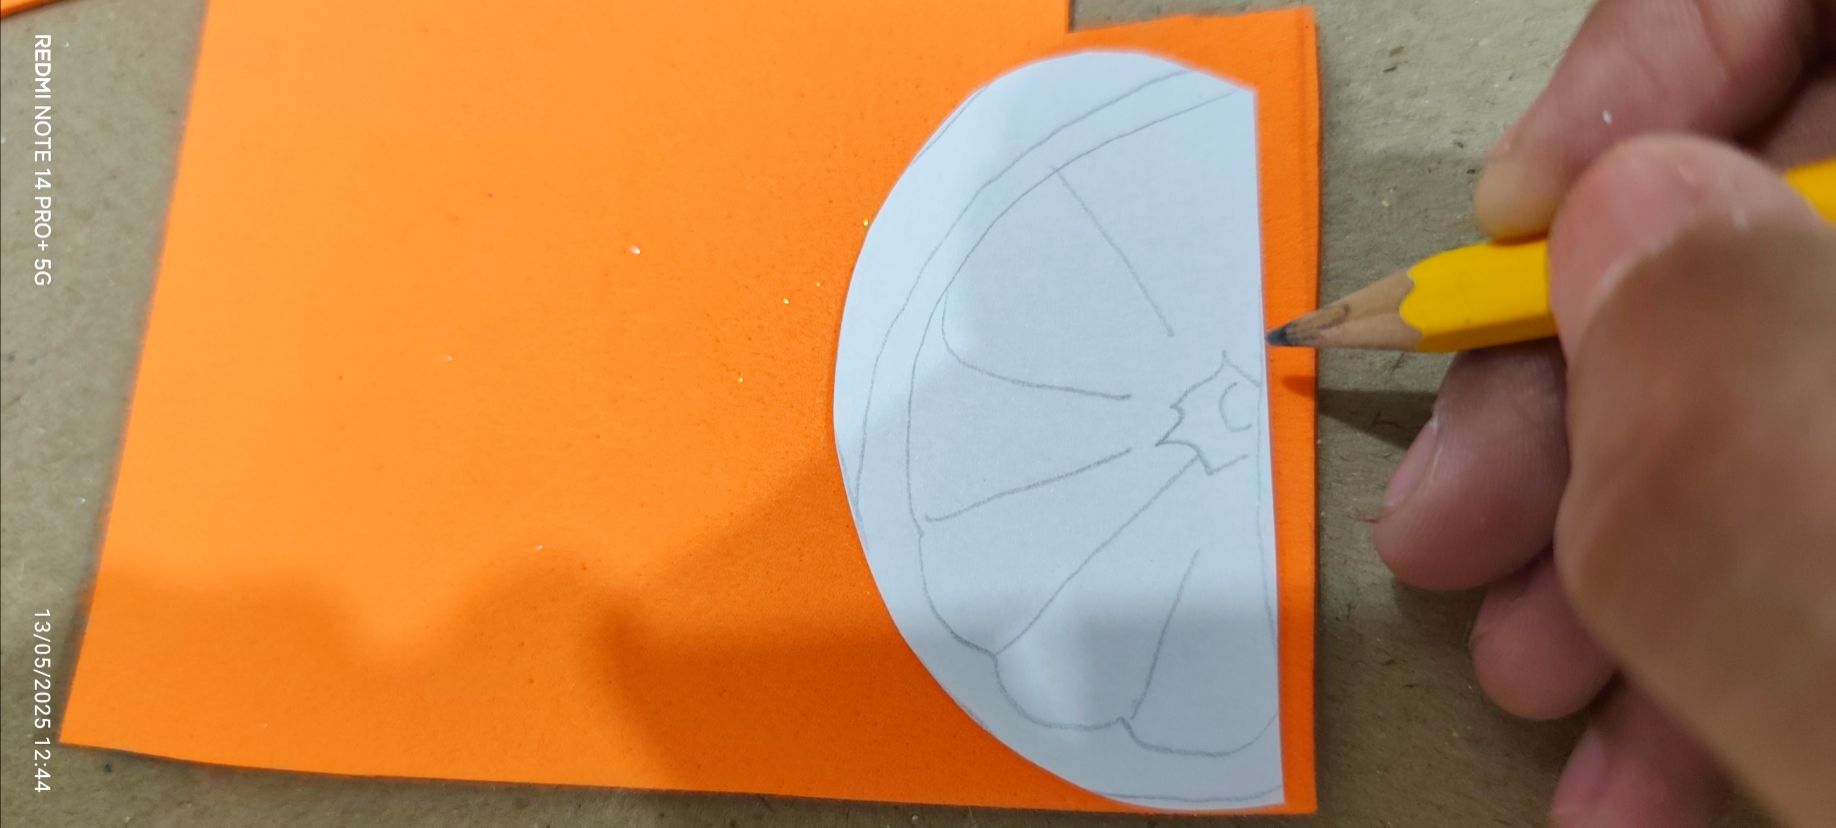

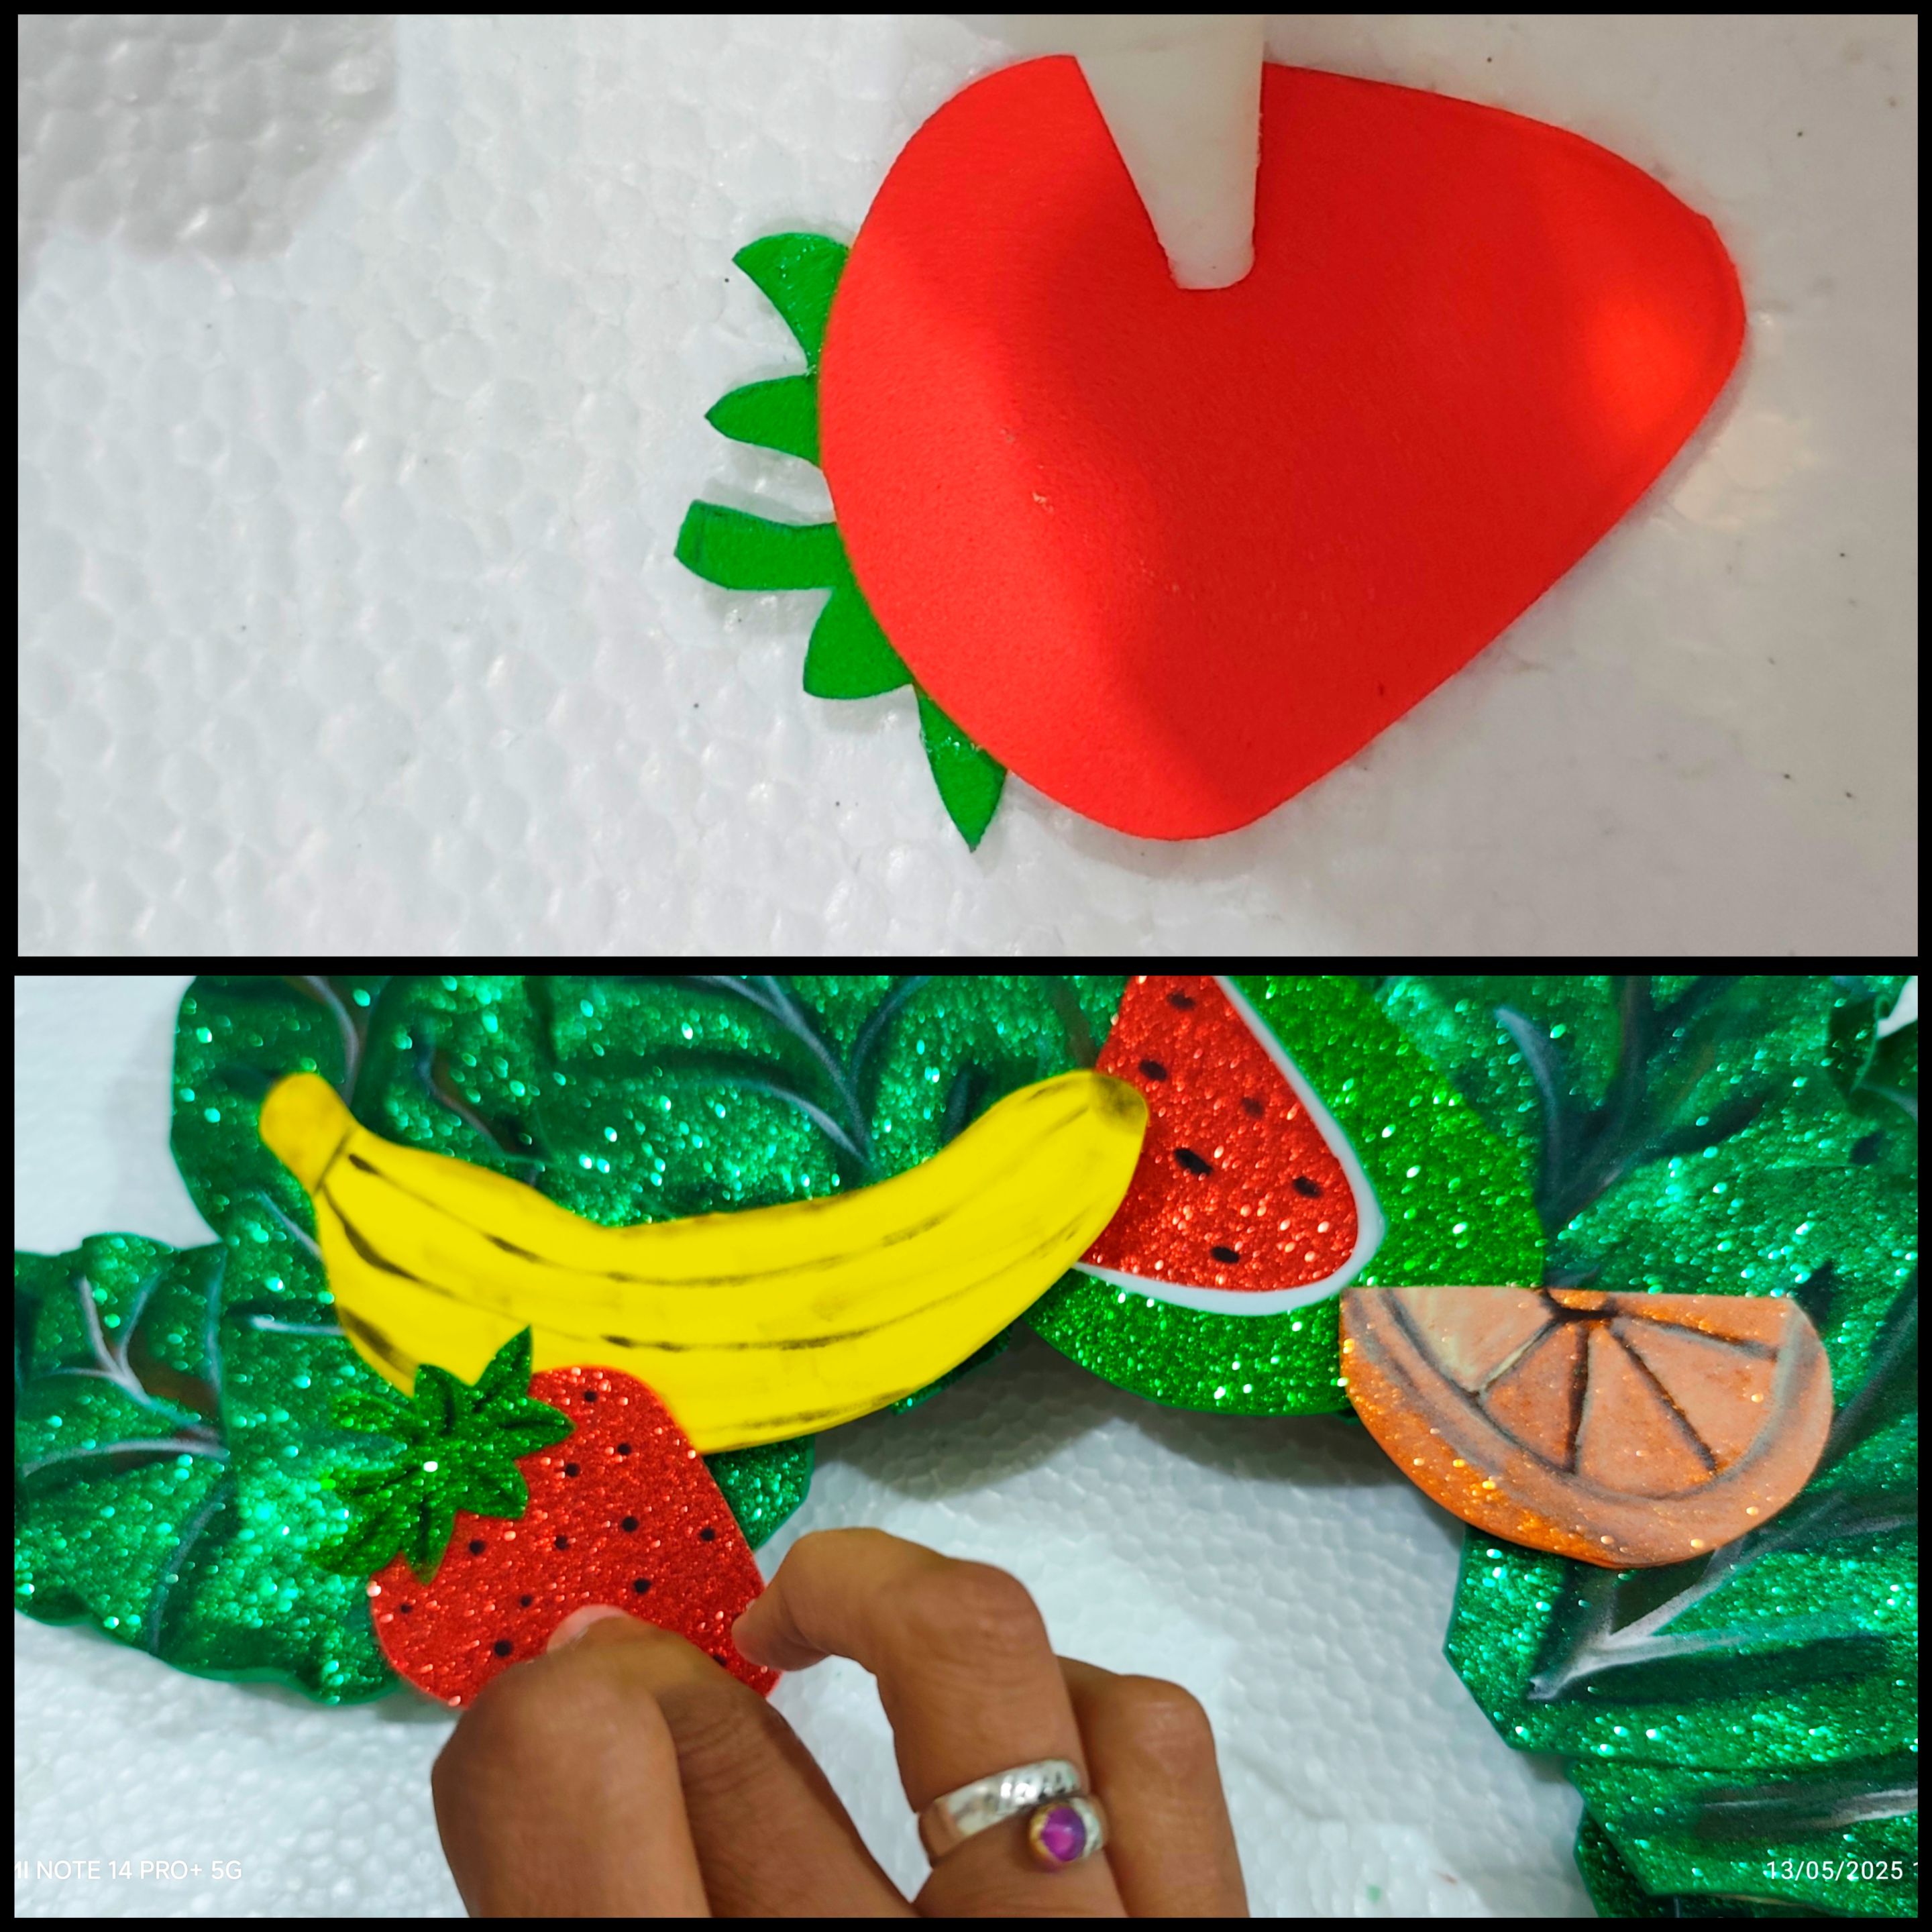
Ahora marcamos en el foami escarchado naranja el patrón de naranja, también marque en el foami rojo escarchado el patrón de la fresa y en el verde la hoja y tallo de esta.
🍉🍓🍇 PASO 6:
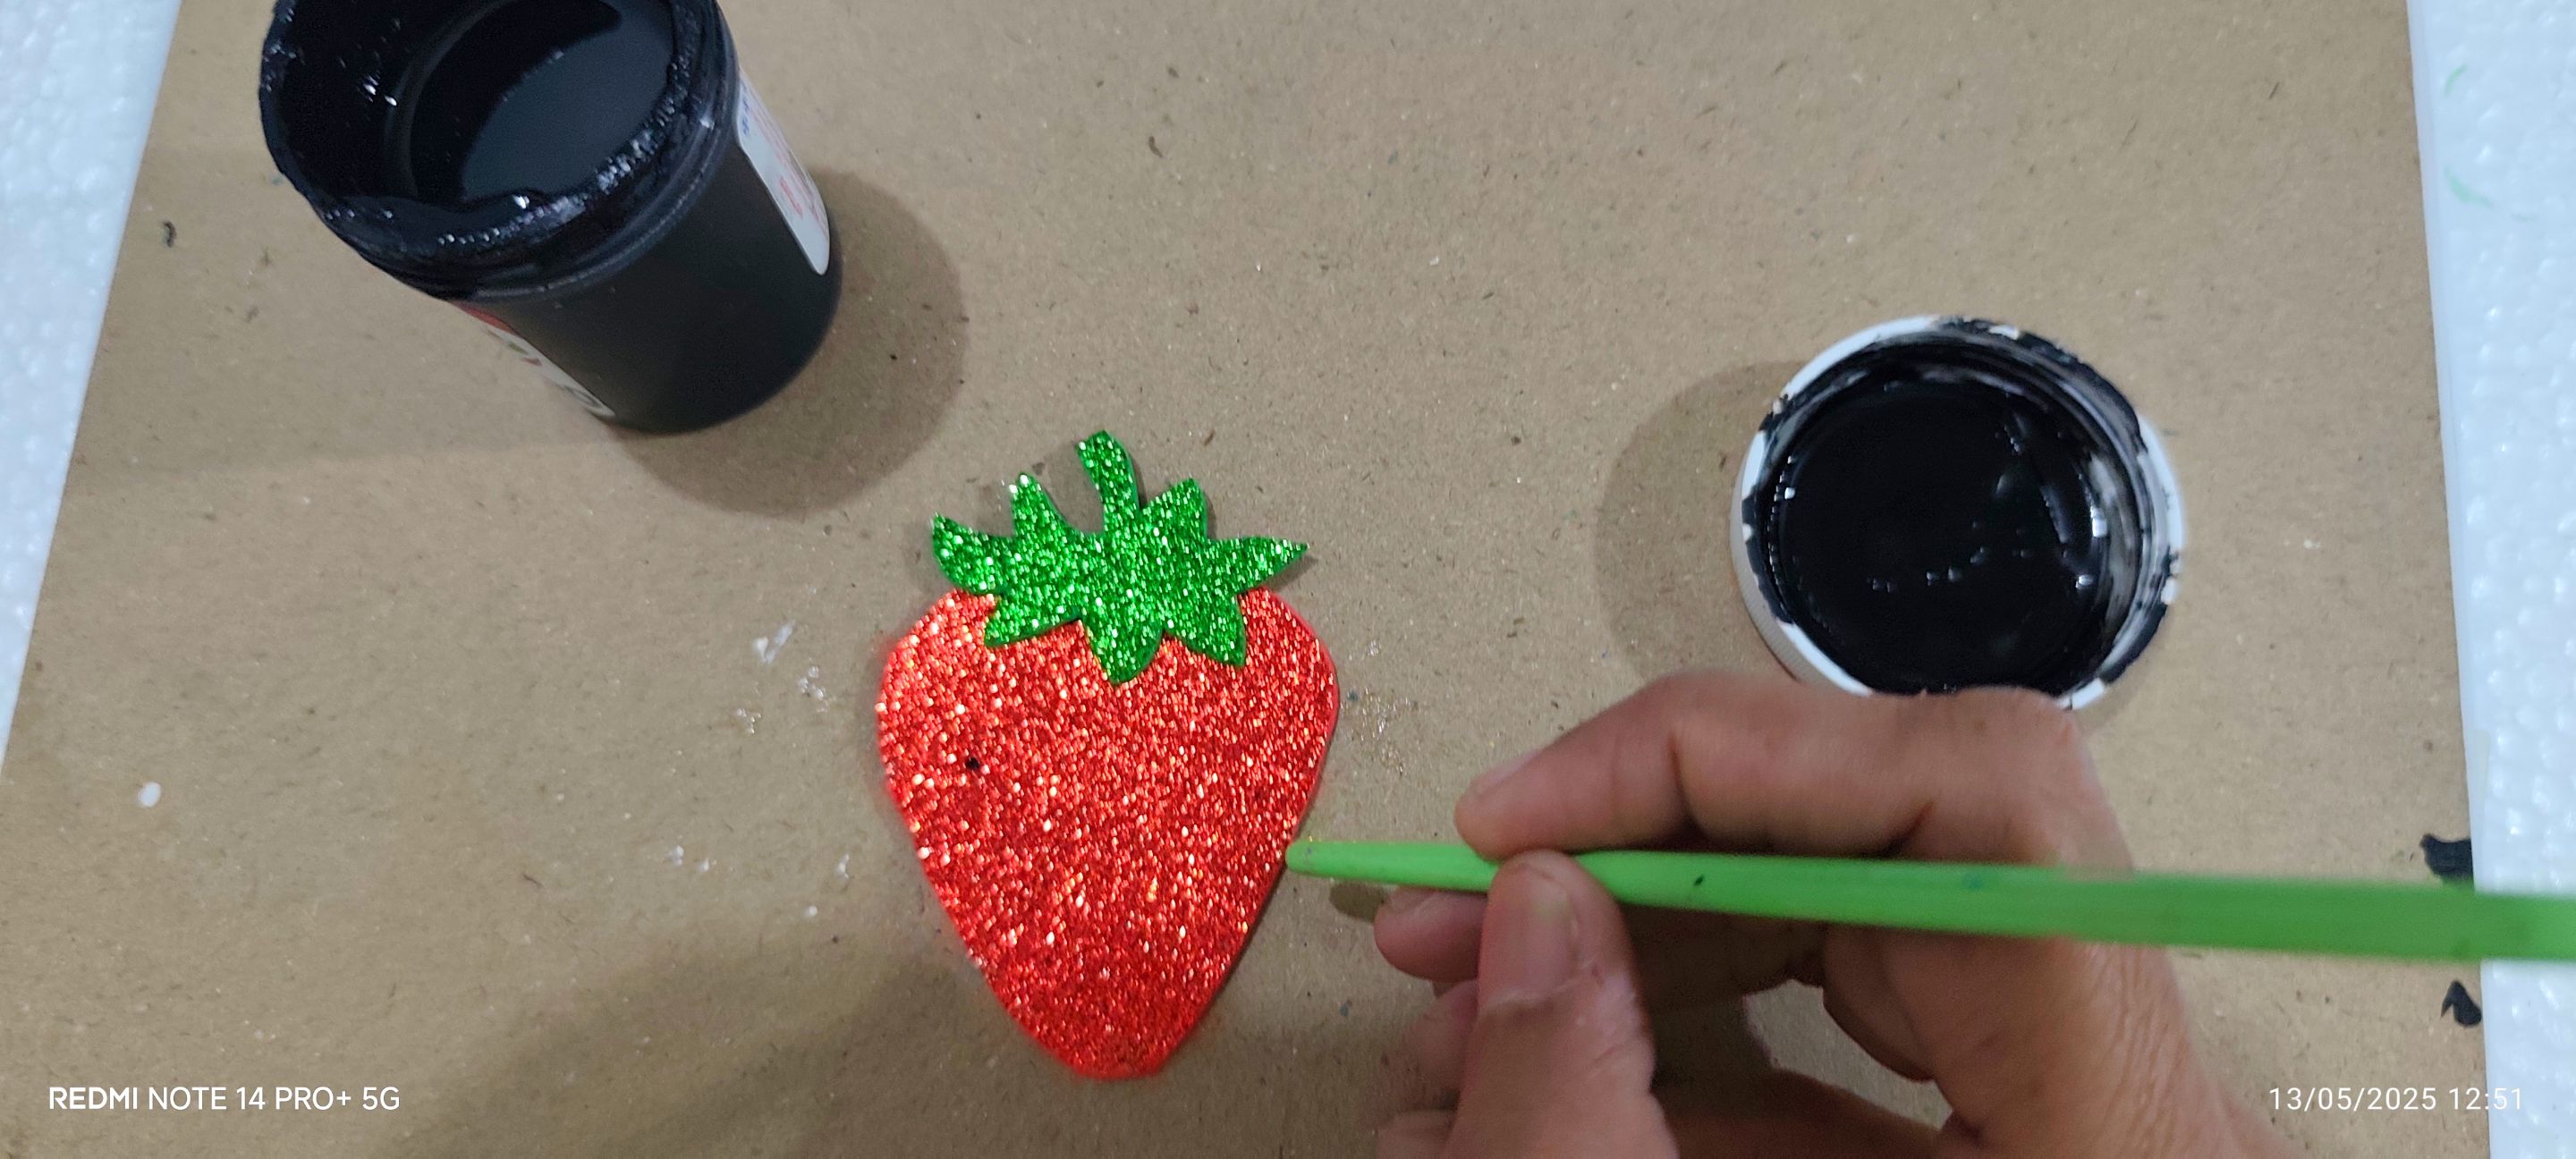
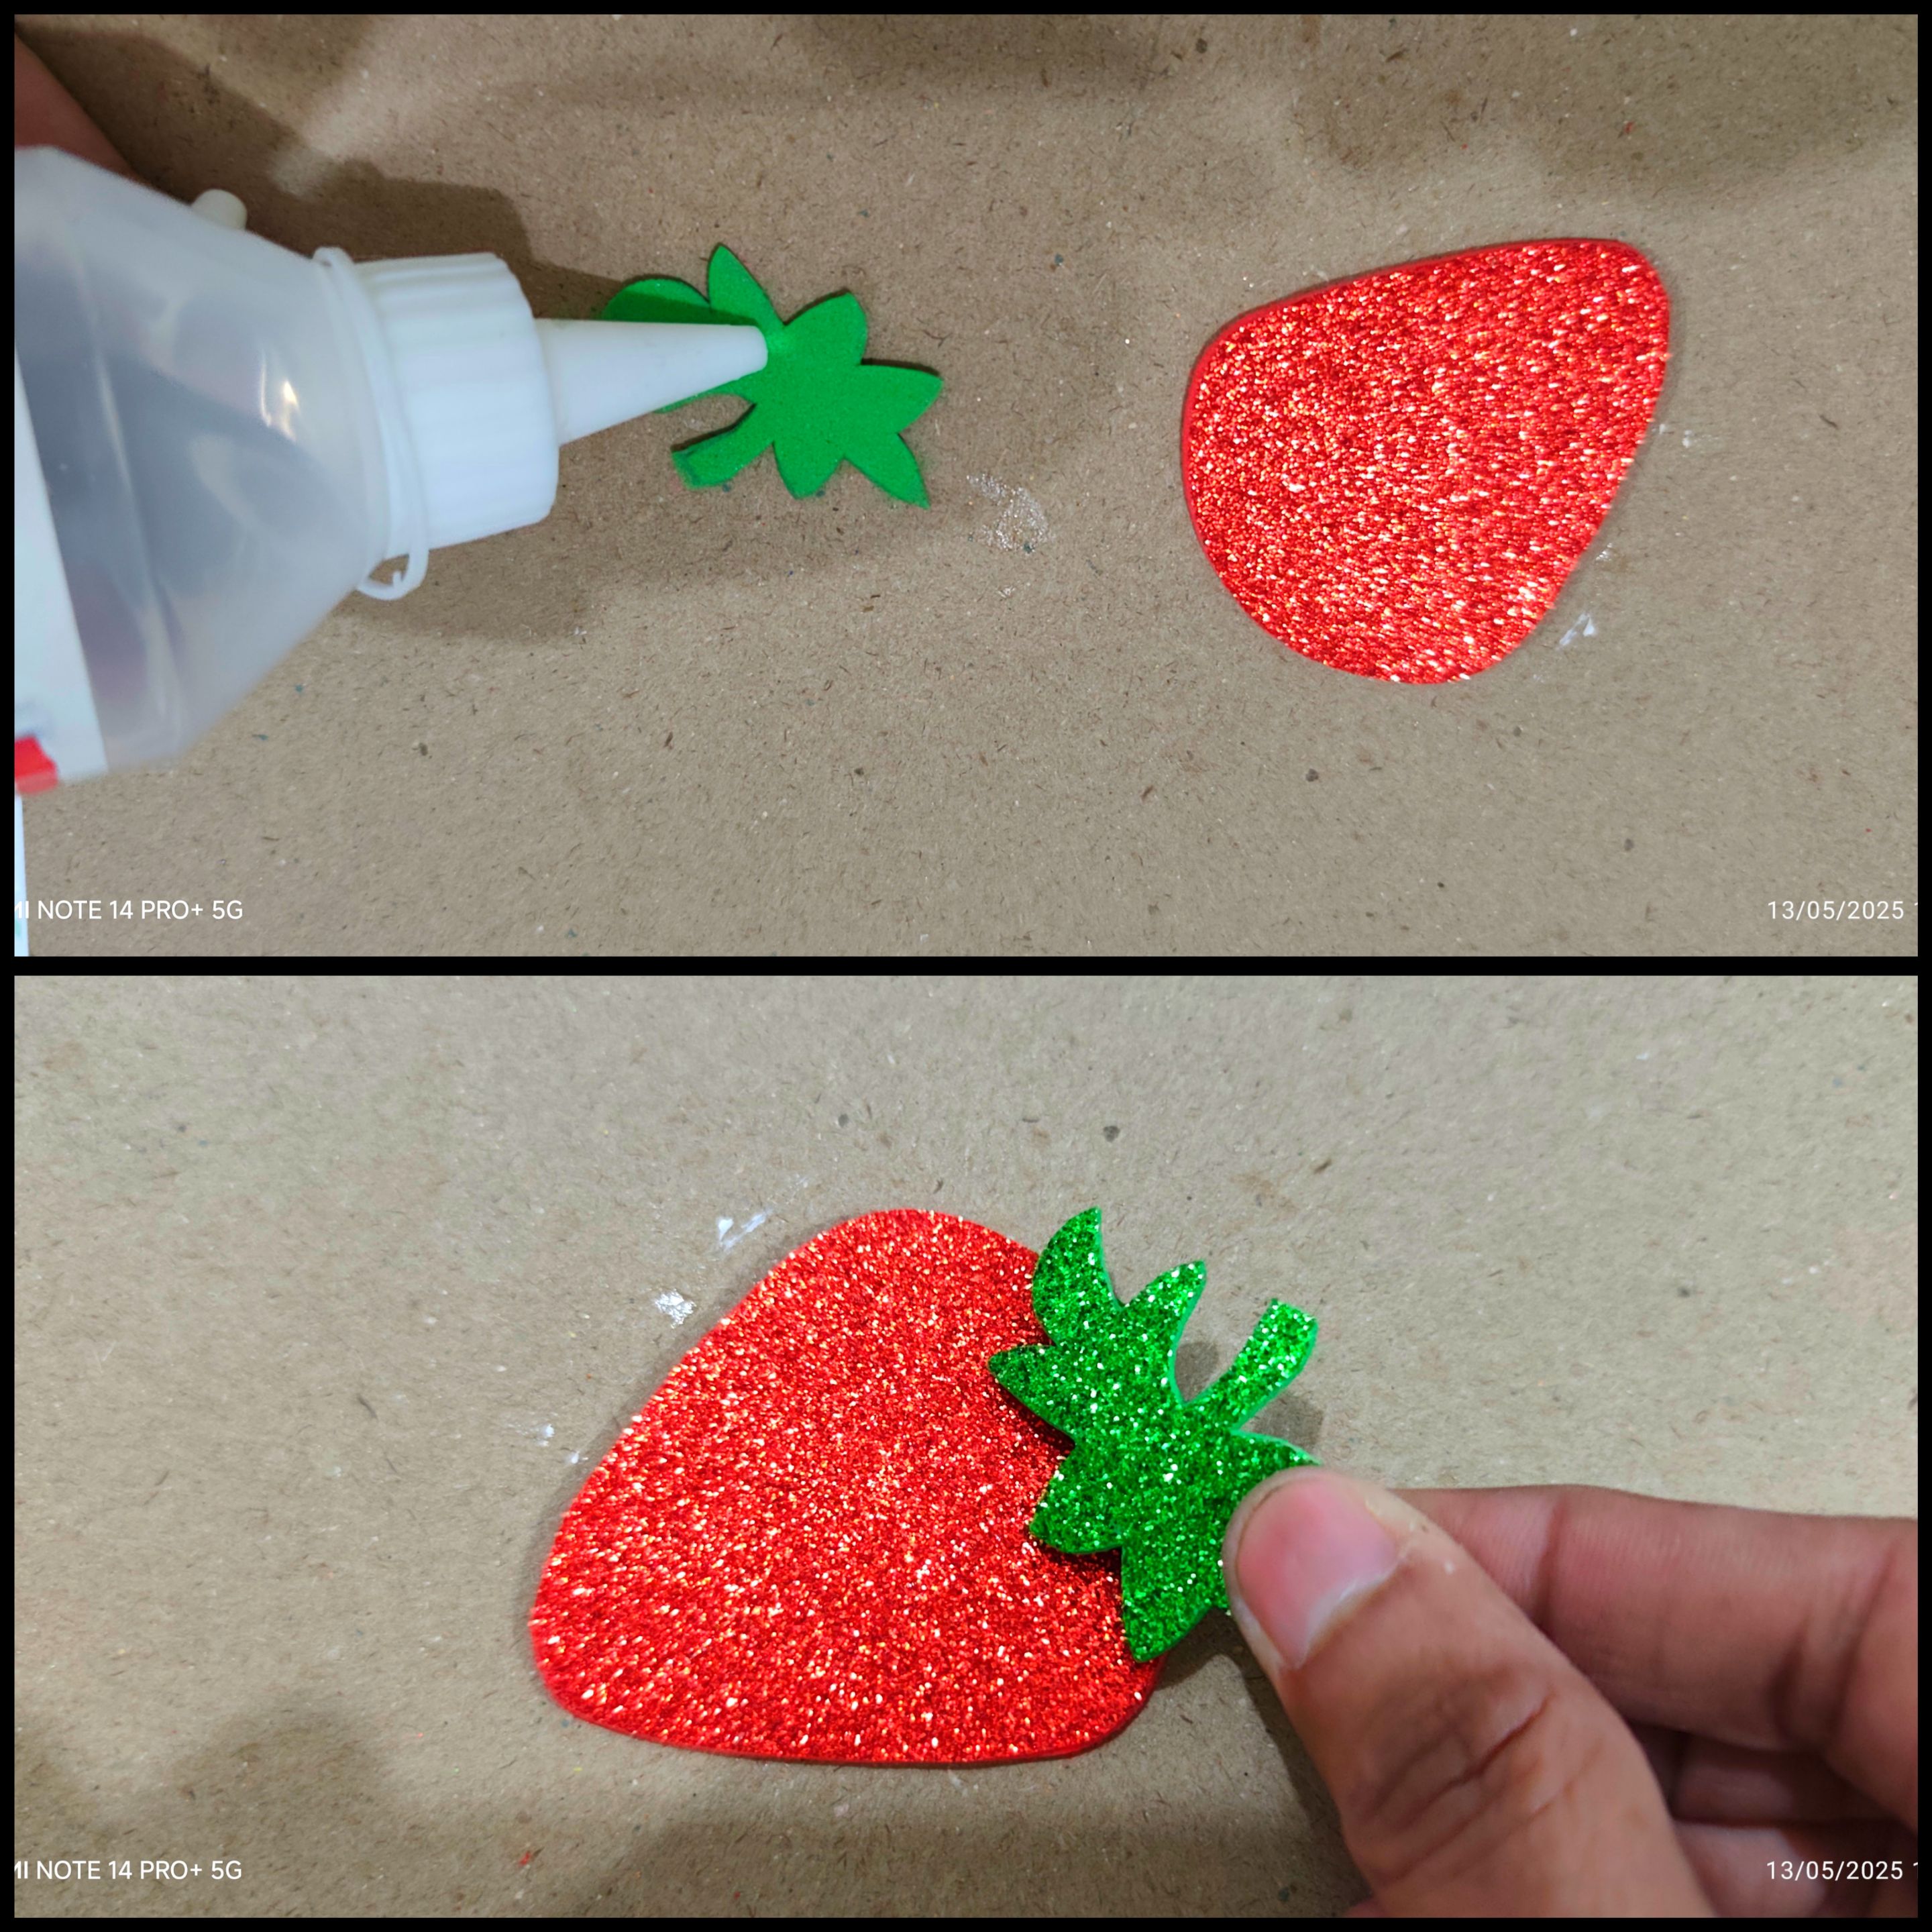
Cuando ya están picadas las piezas de la fresa aplicó silicón líquido en el tallo y pego a la fresa, luego con la pintura negra pintamos los puntitos.
🍇🍓🍉 PASO 7:
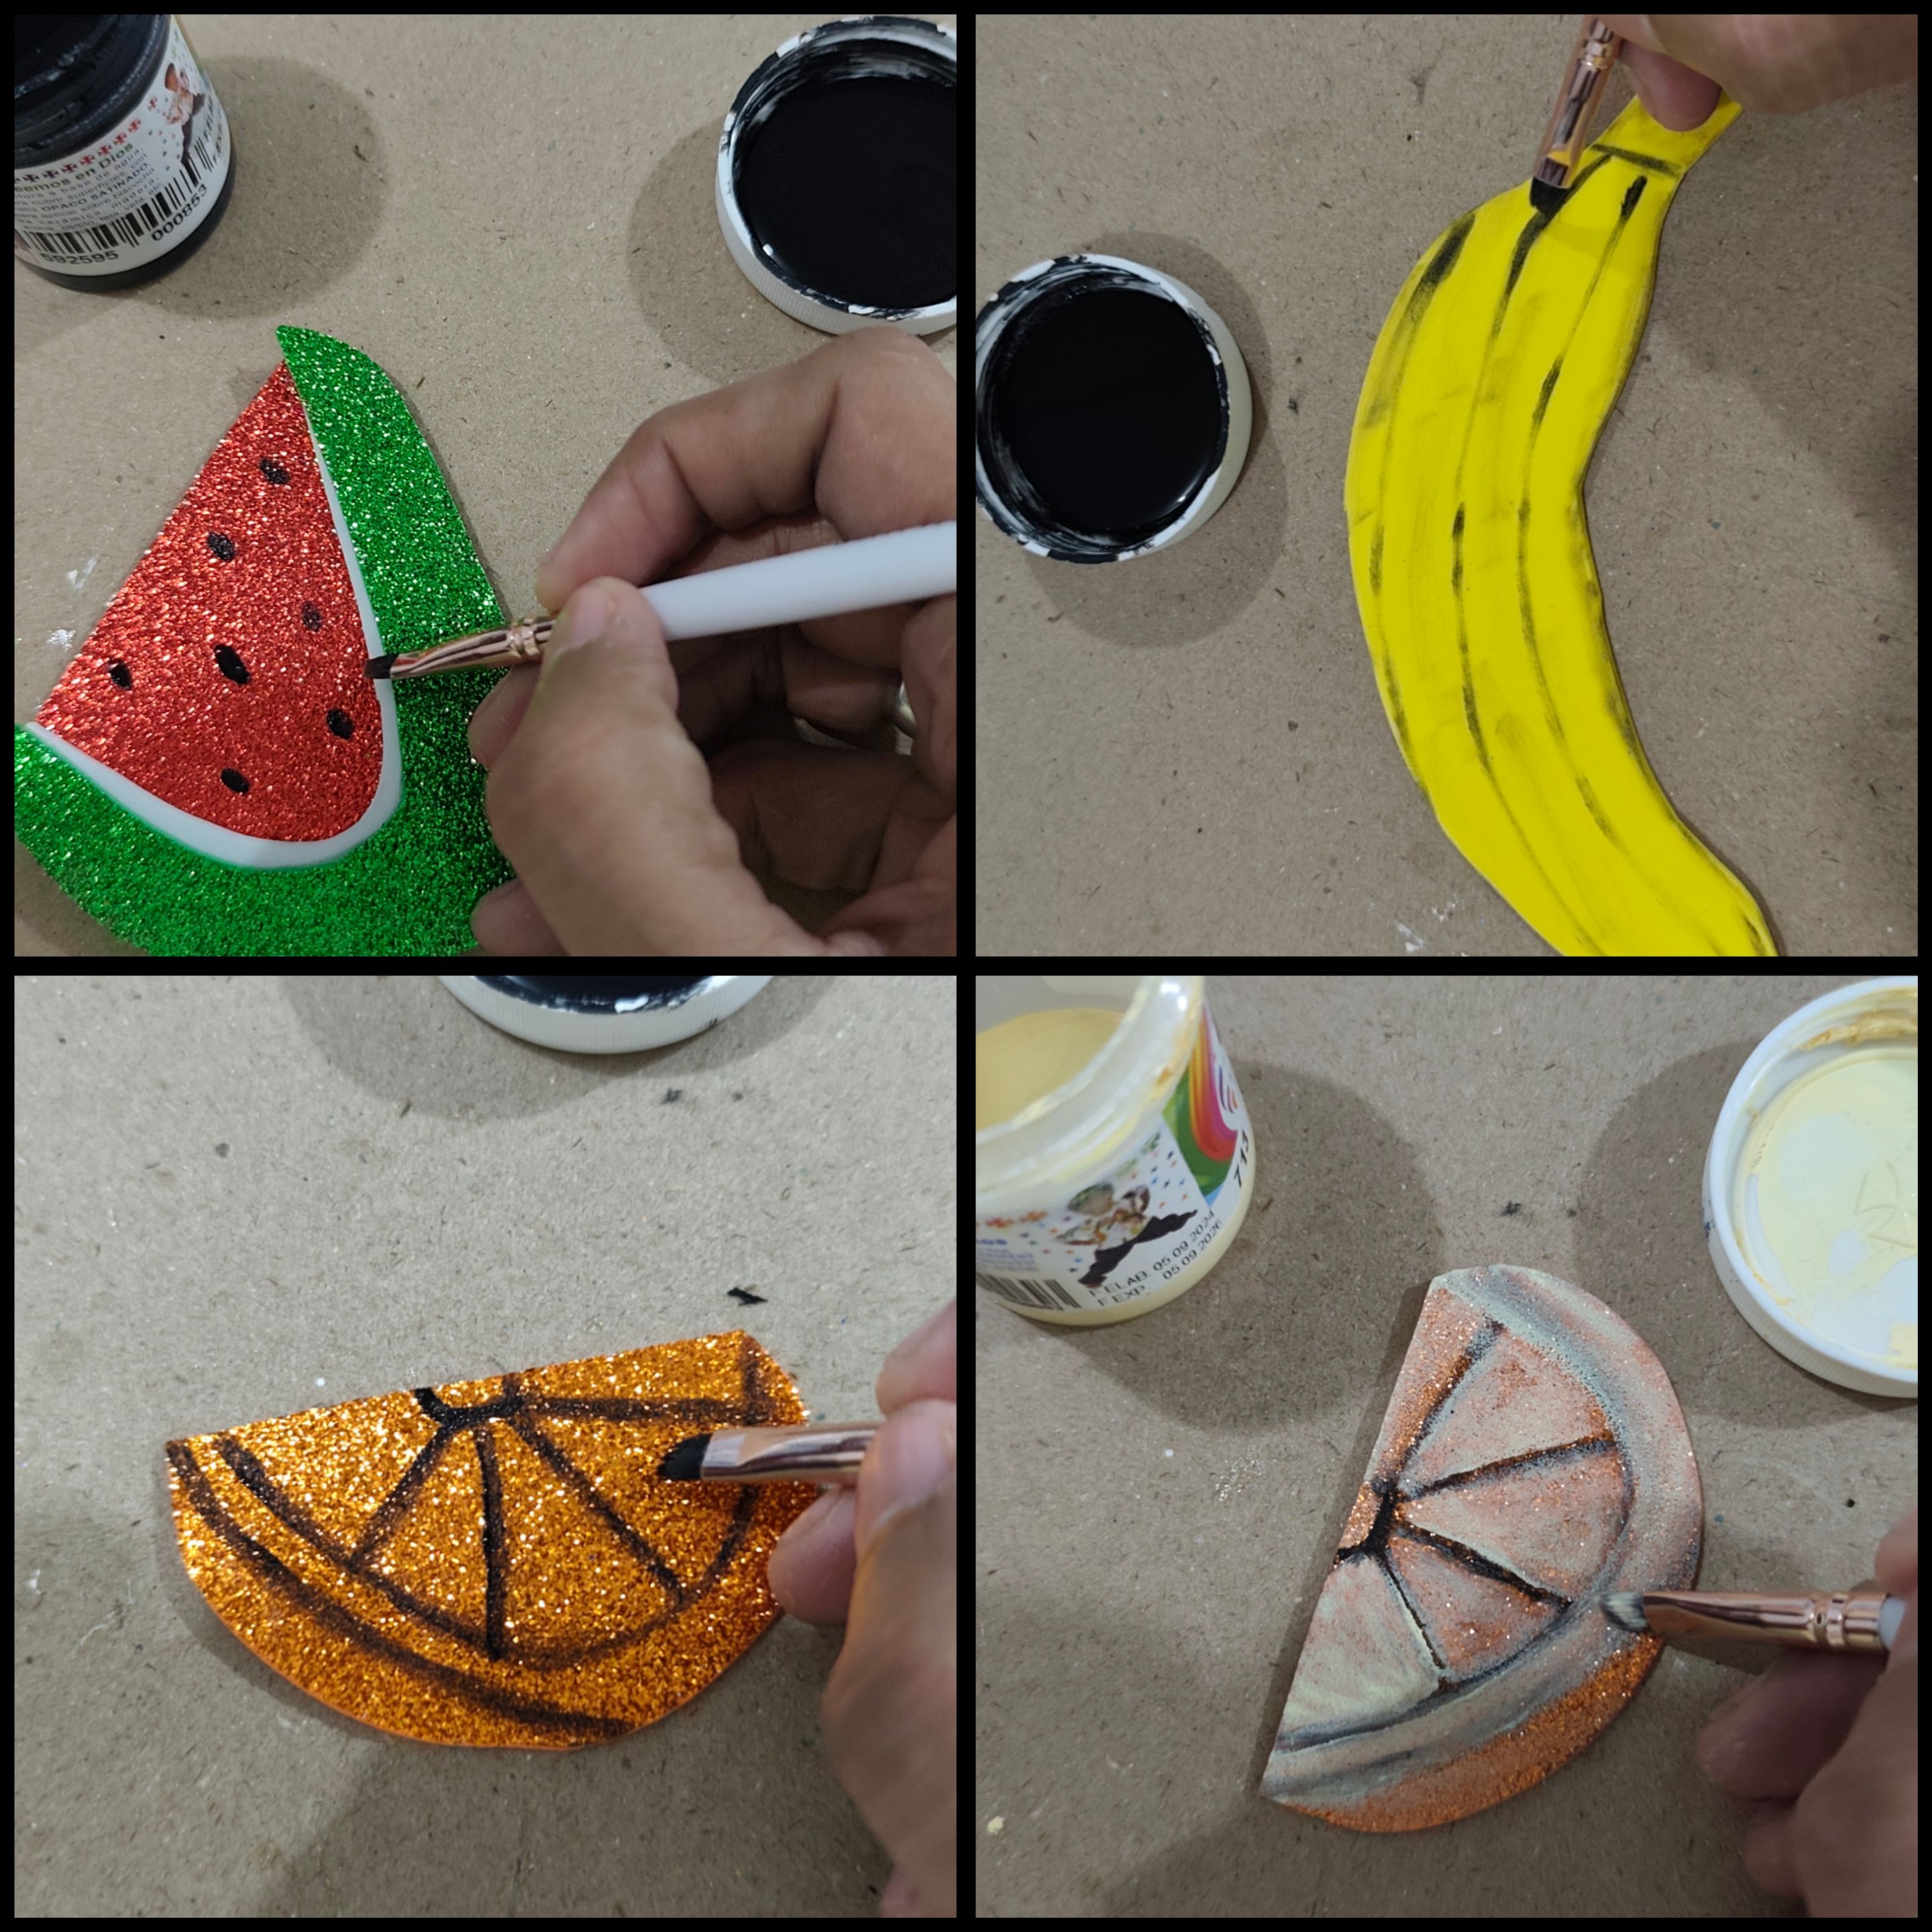
Al resto de las figuras le dibujé los diferentes rasgos con la pintura blanca y la negra.
🍉🍓🍇 PASO 8:
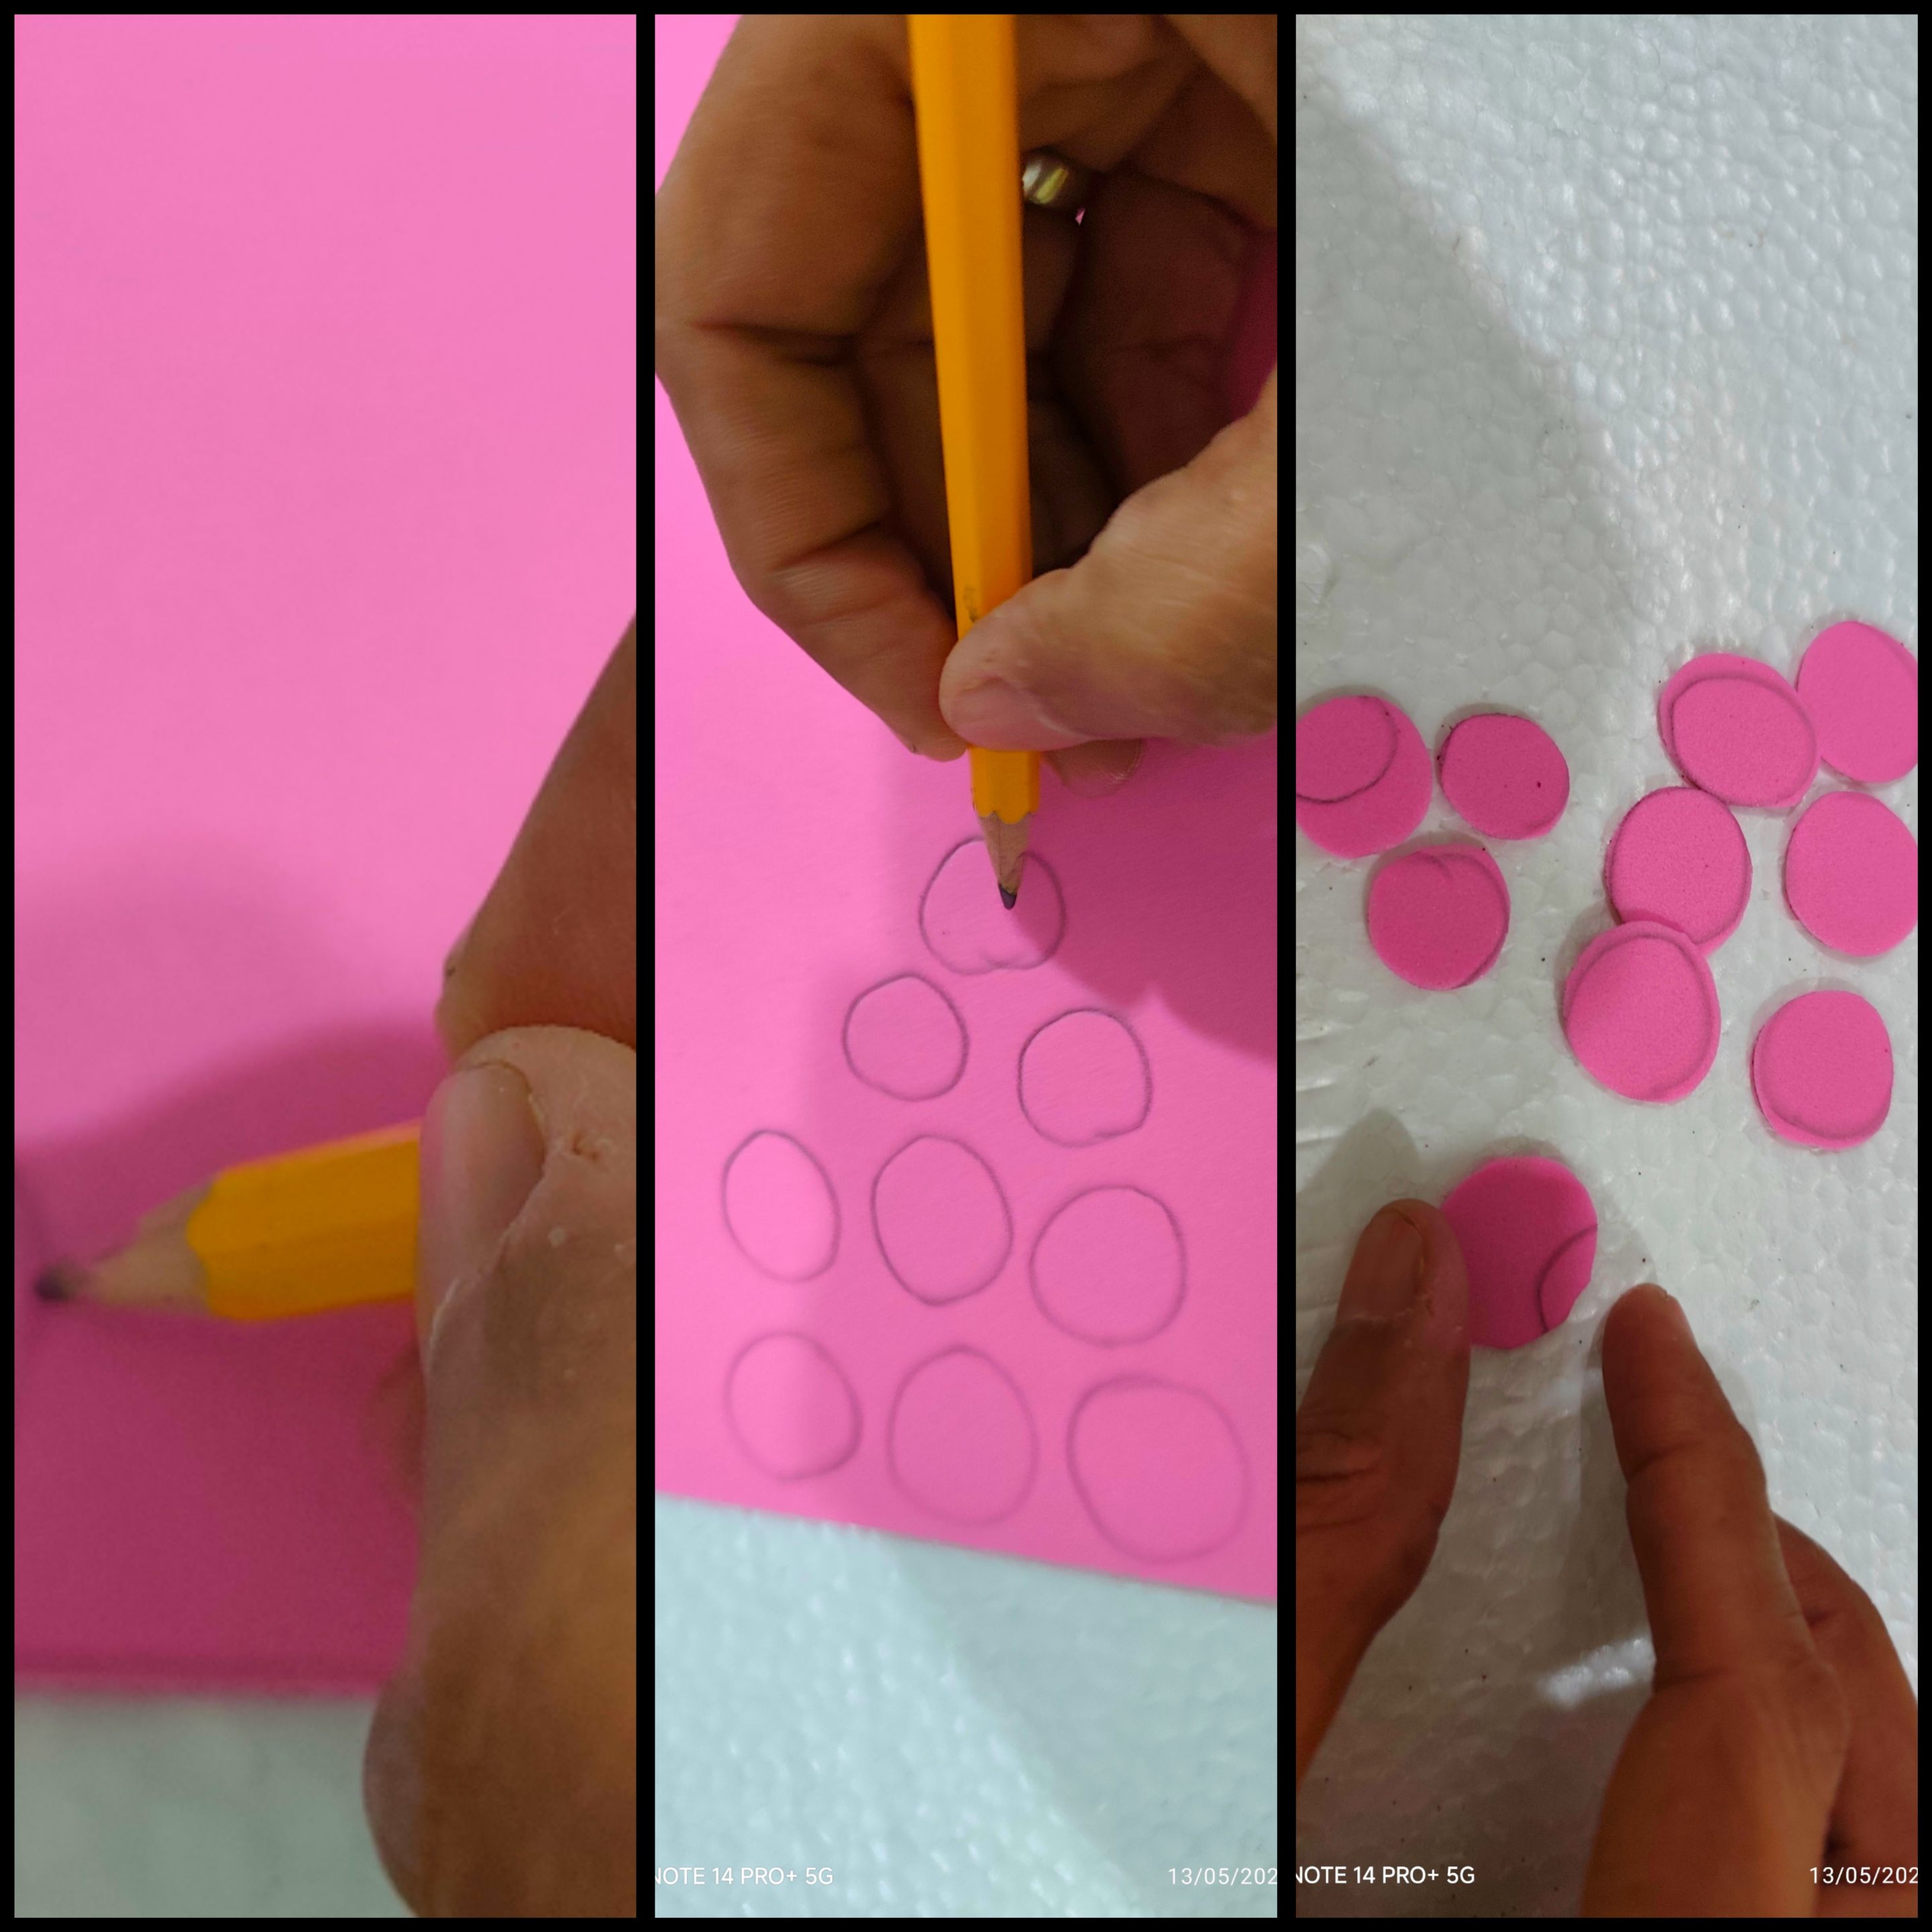

En el foami escarchado fucsia dibujo círculos pequeños y recortamos y luego pegamos hasta formar las uvas y le pegamos unas hojitas de foami escarchado verde.
🍇🍓🍉 PASO 9:
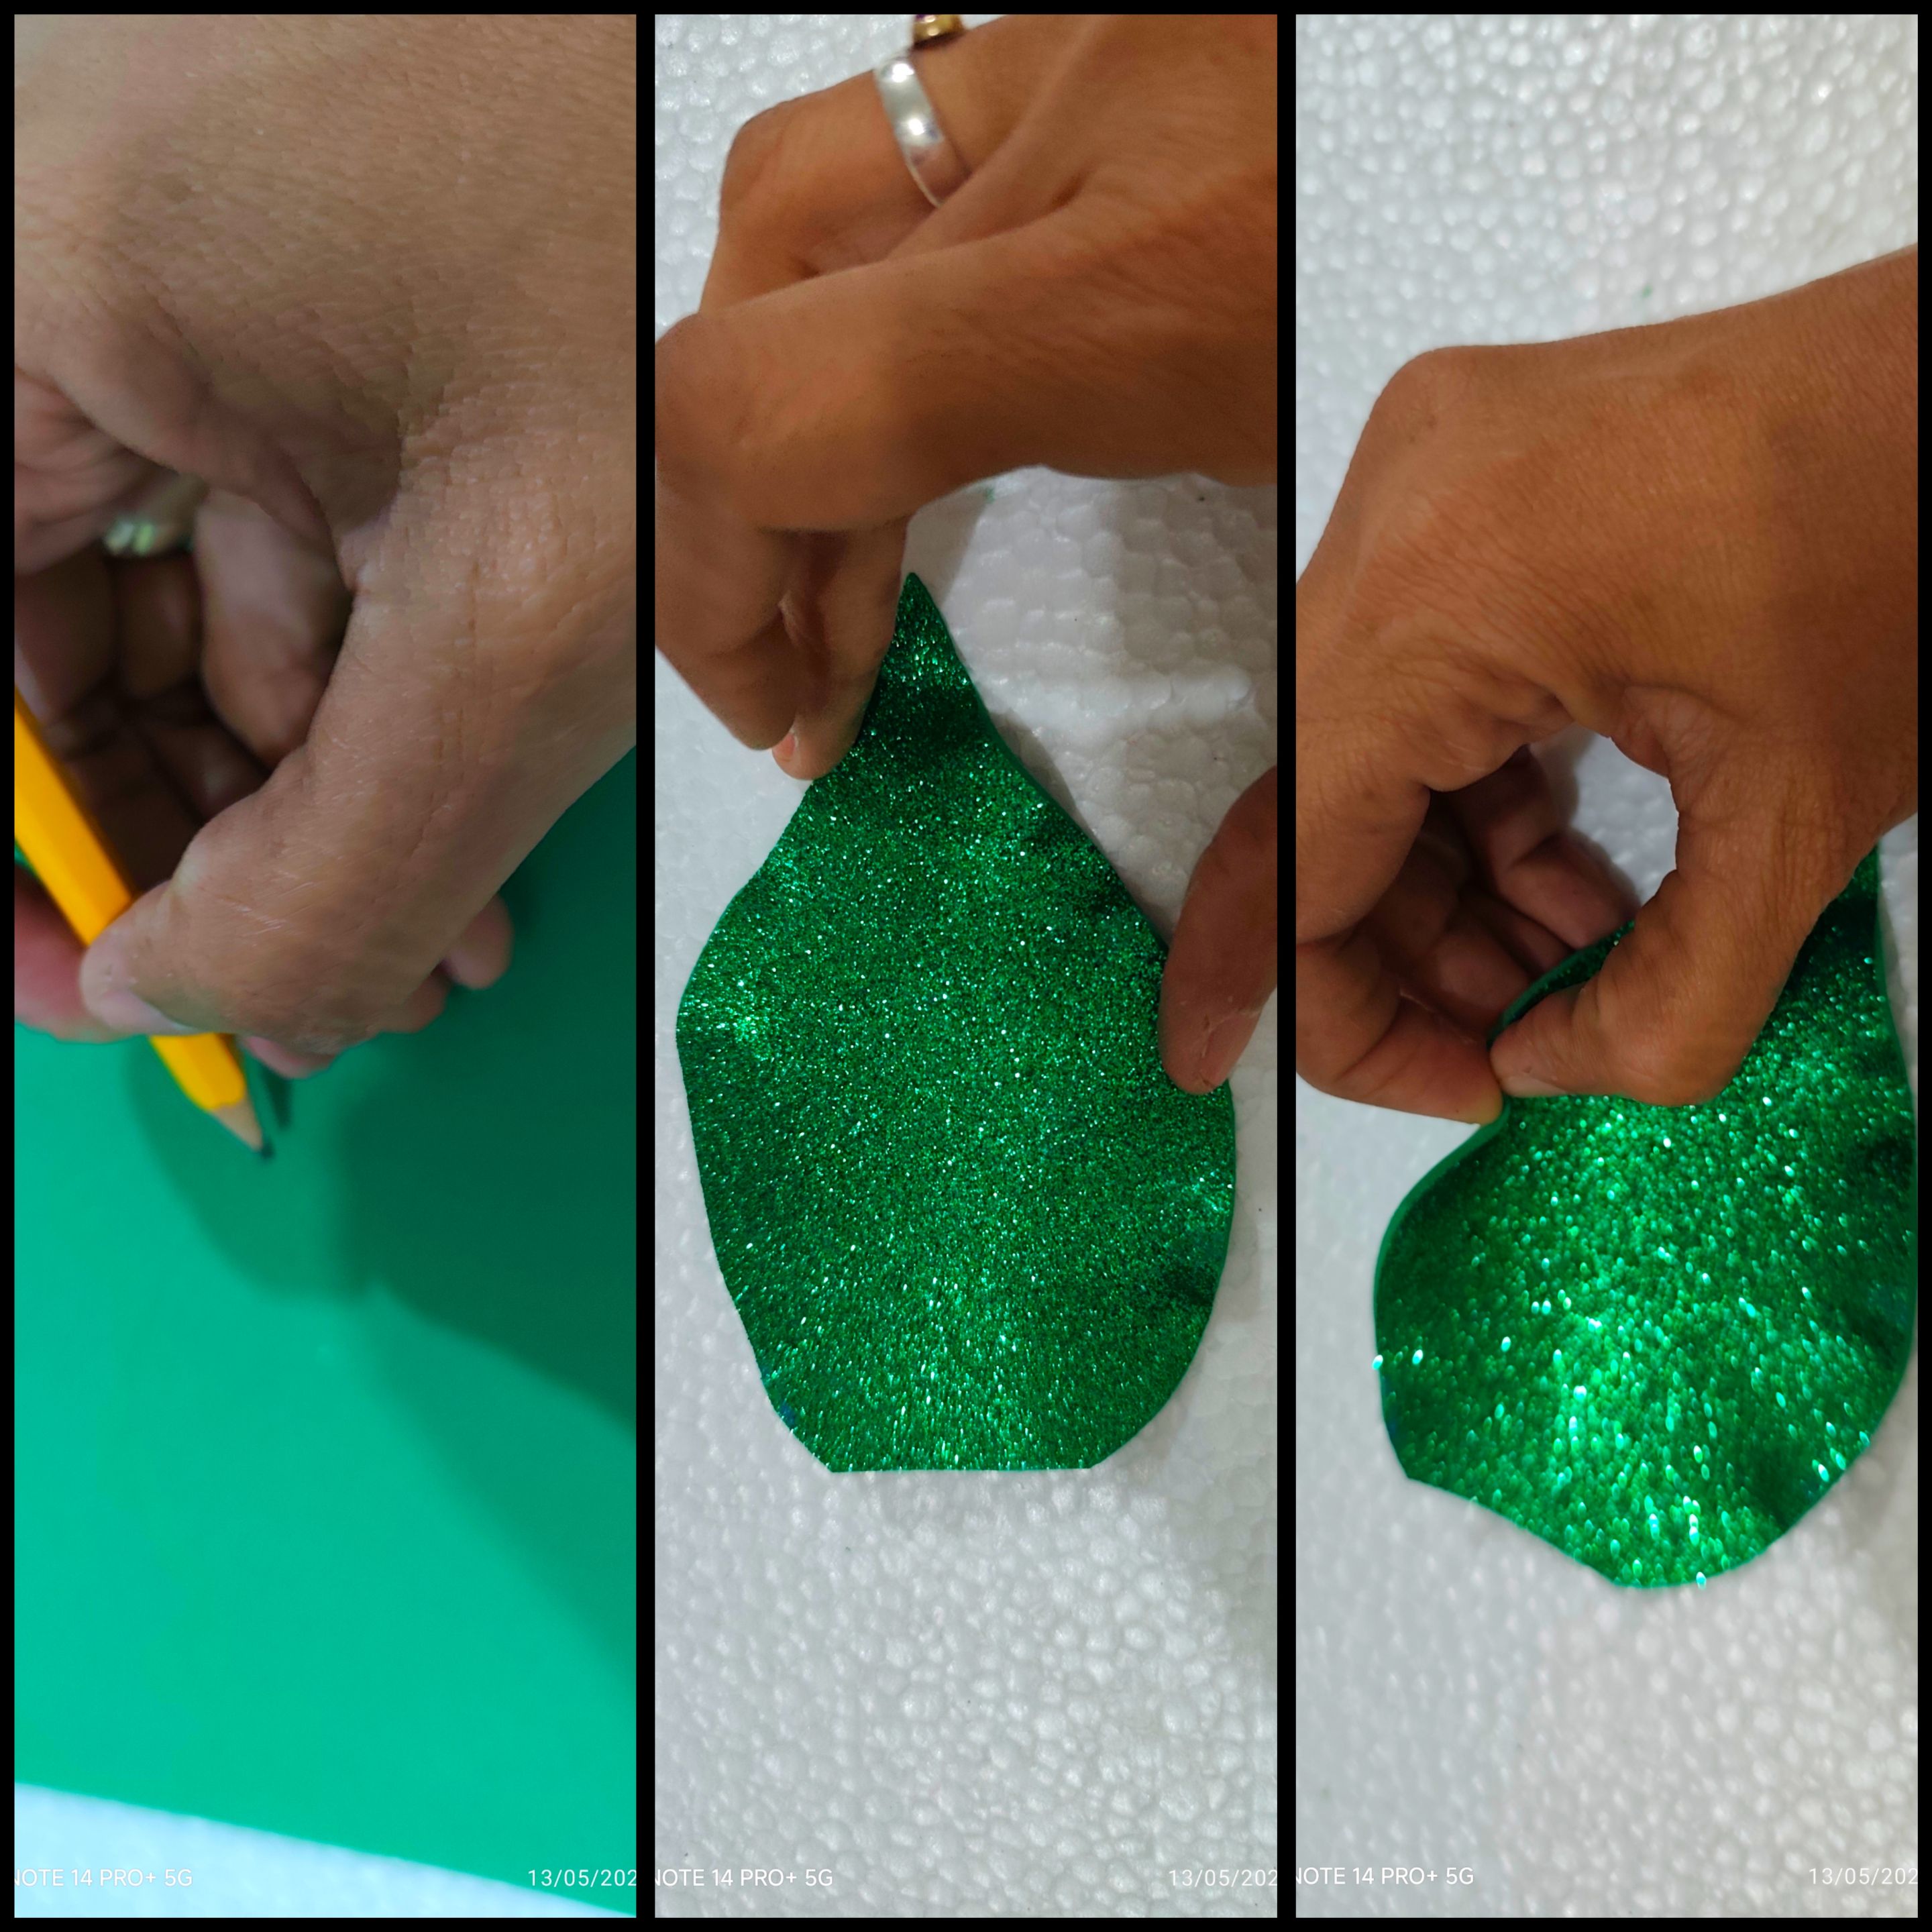
Ahora en el foami verde escarchado dibujo unas hojas,las cuales recortamos y luego con las manos vamos doblando las orillas.
🍉🍓🍇 PASO 10:
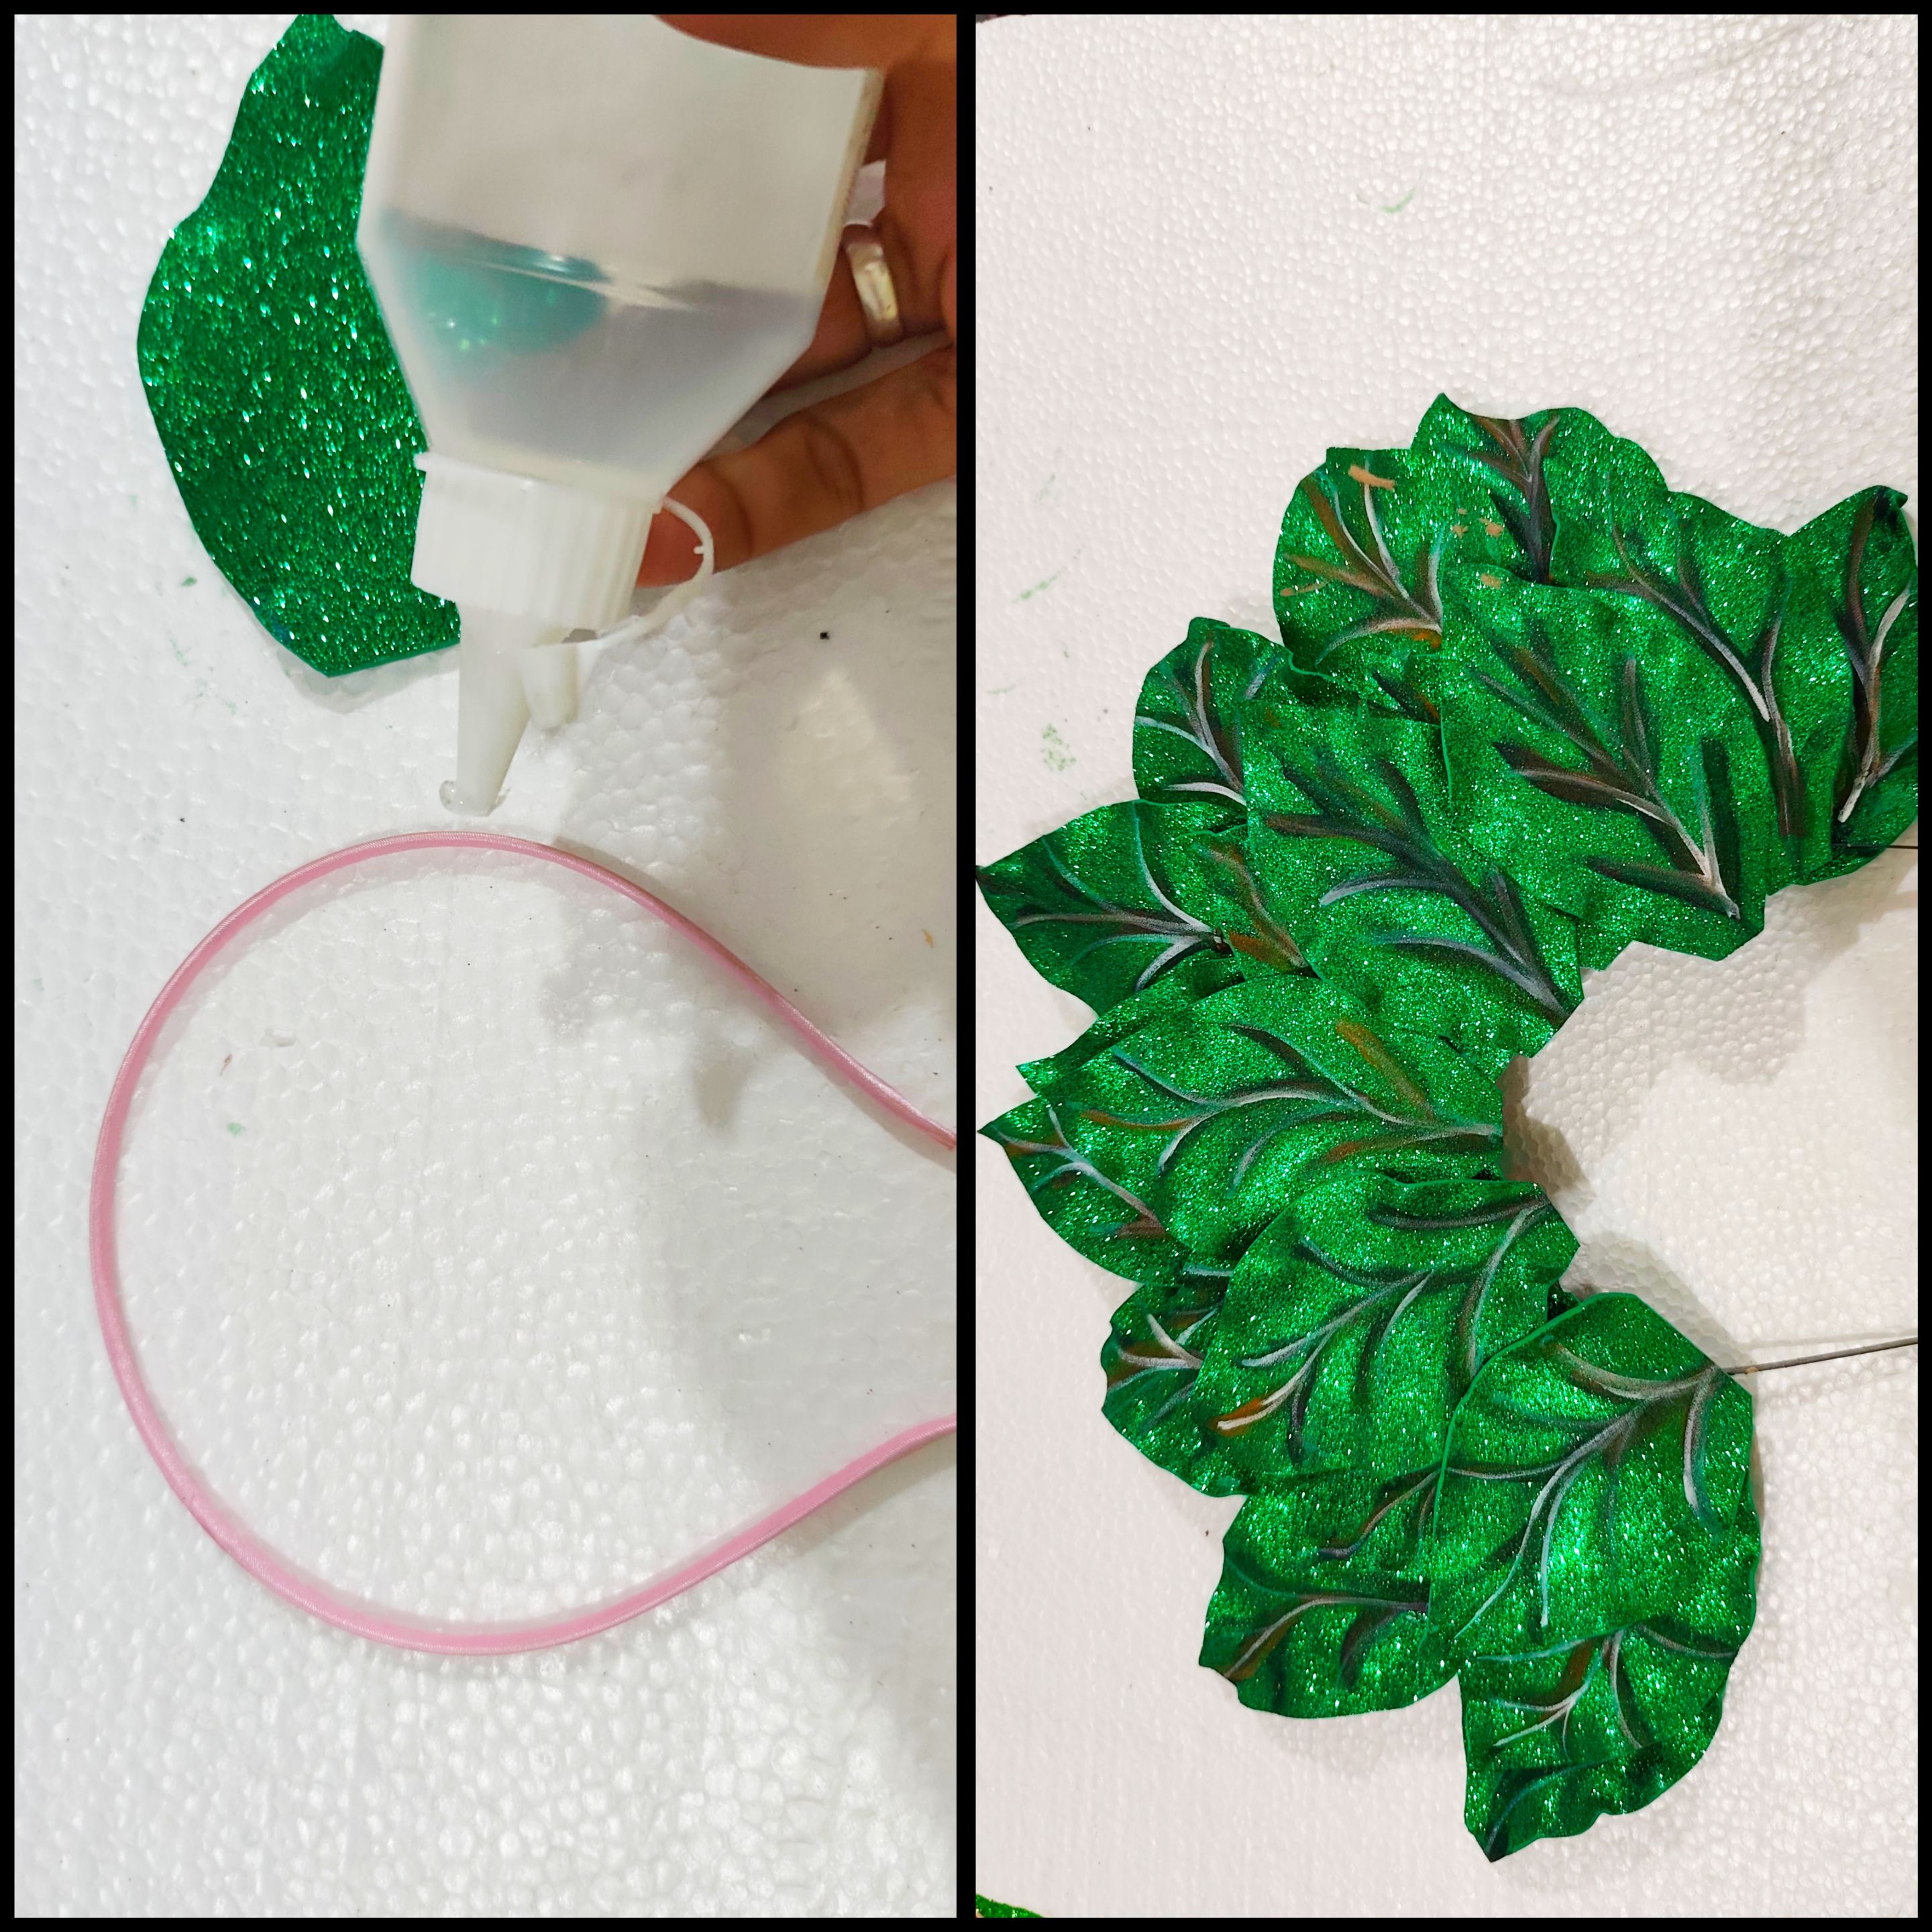
Con la pintura negra y blanca damos los detalles a las hojas, luego pegamos unas encima de las otras y pegamos al cintillo base.
🍇🍓🍉 PASO 11:
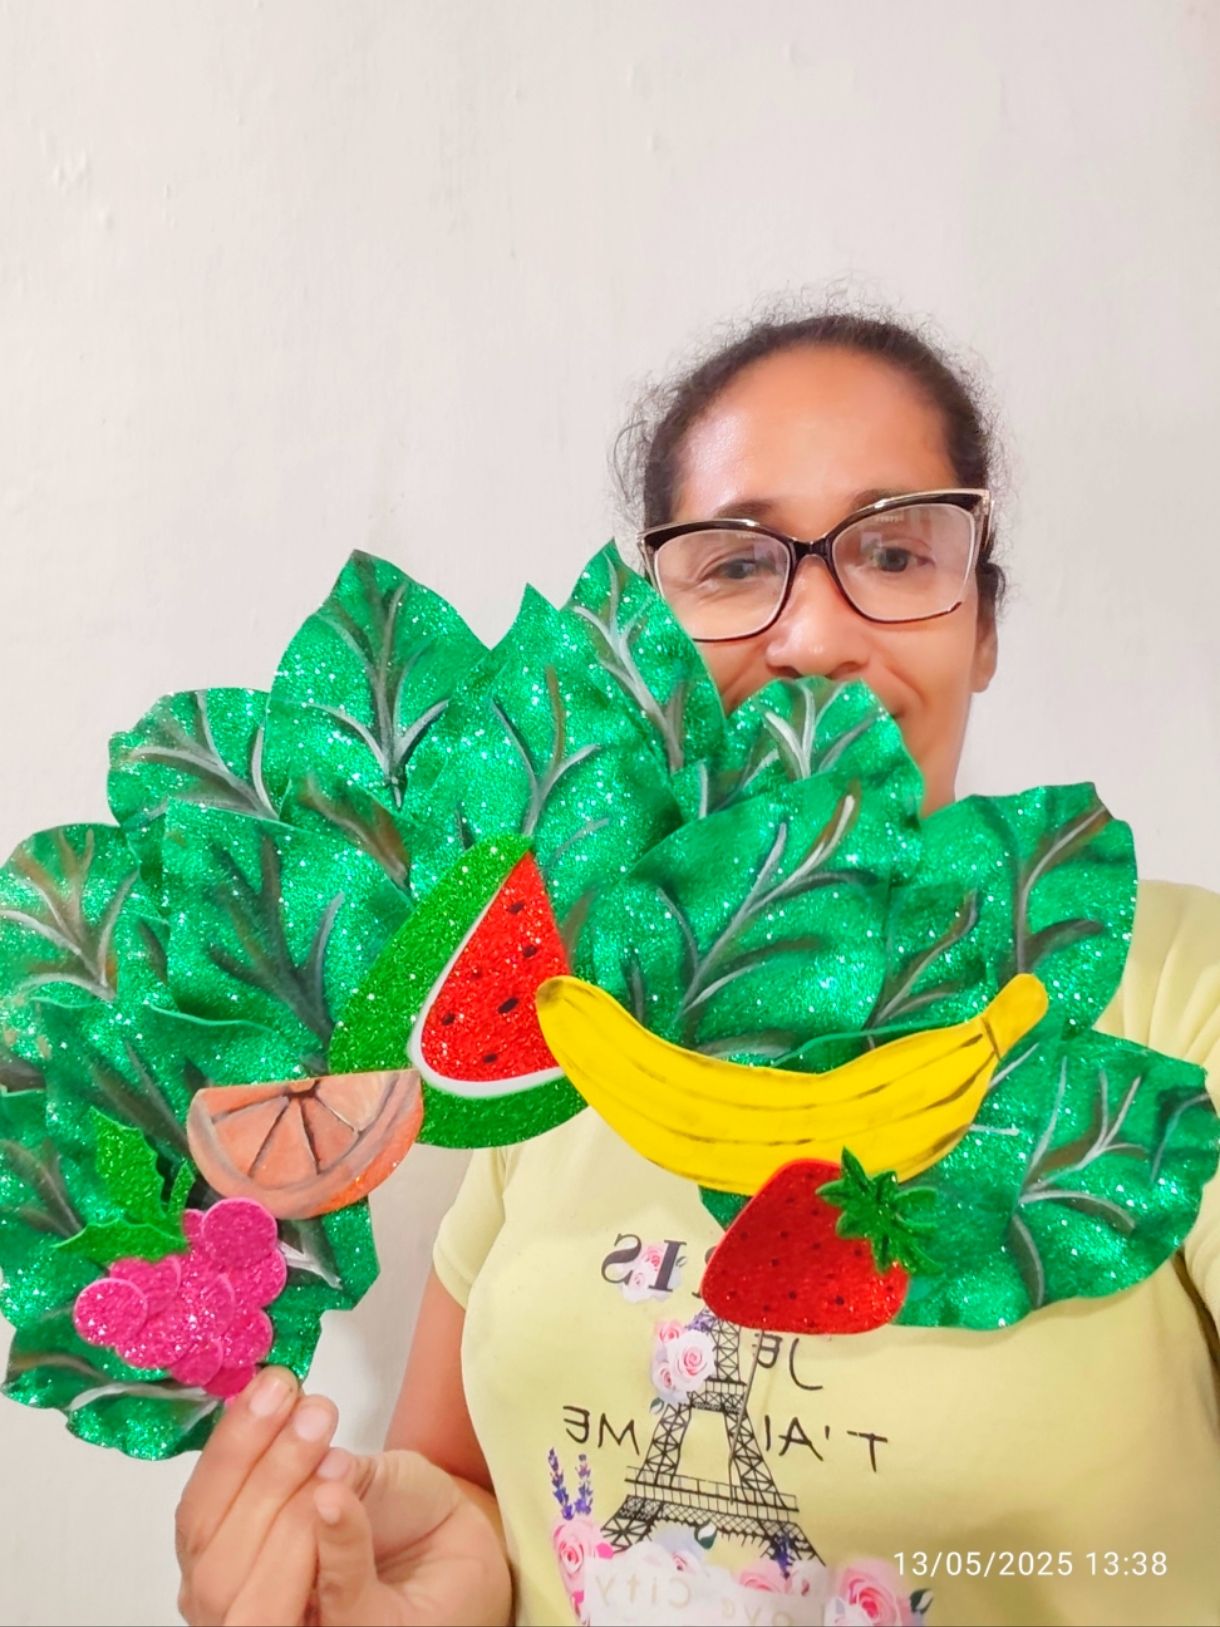
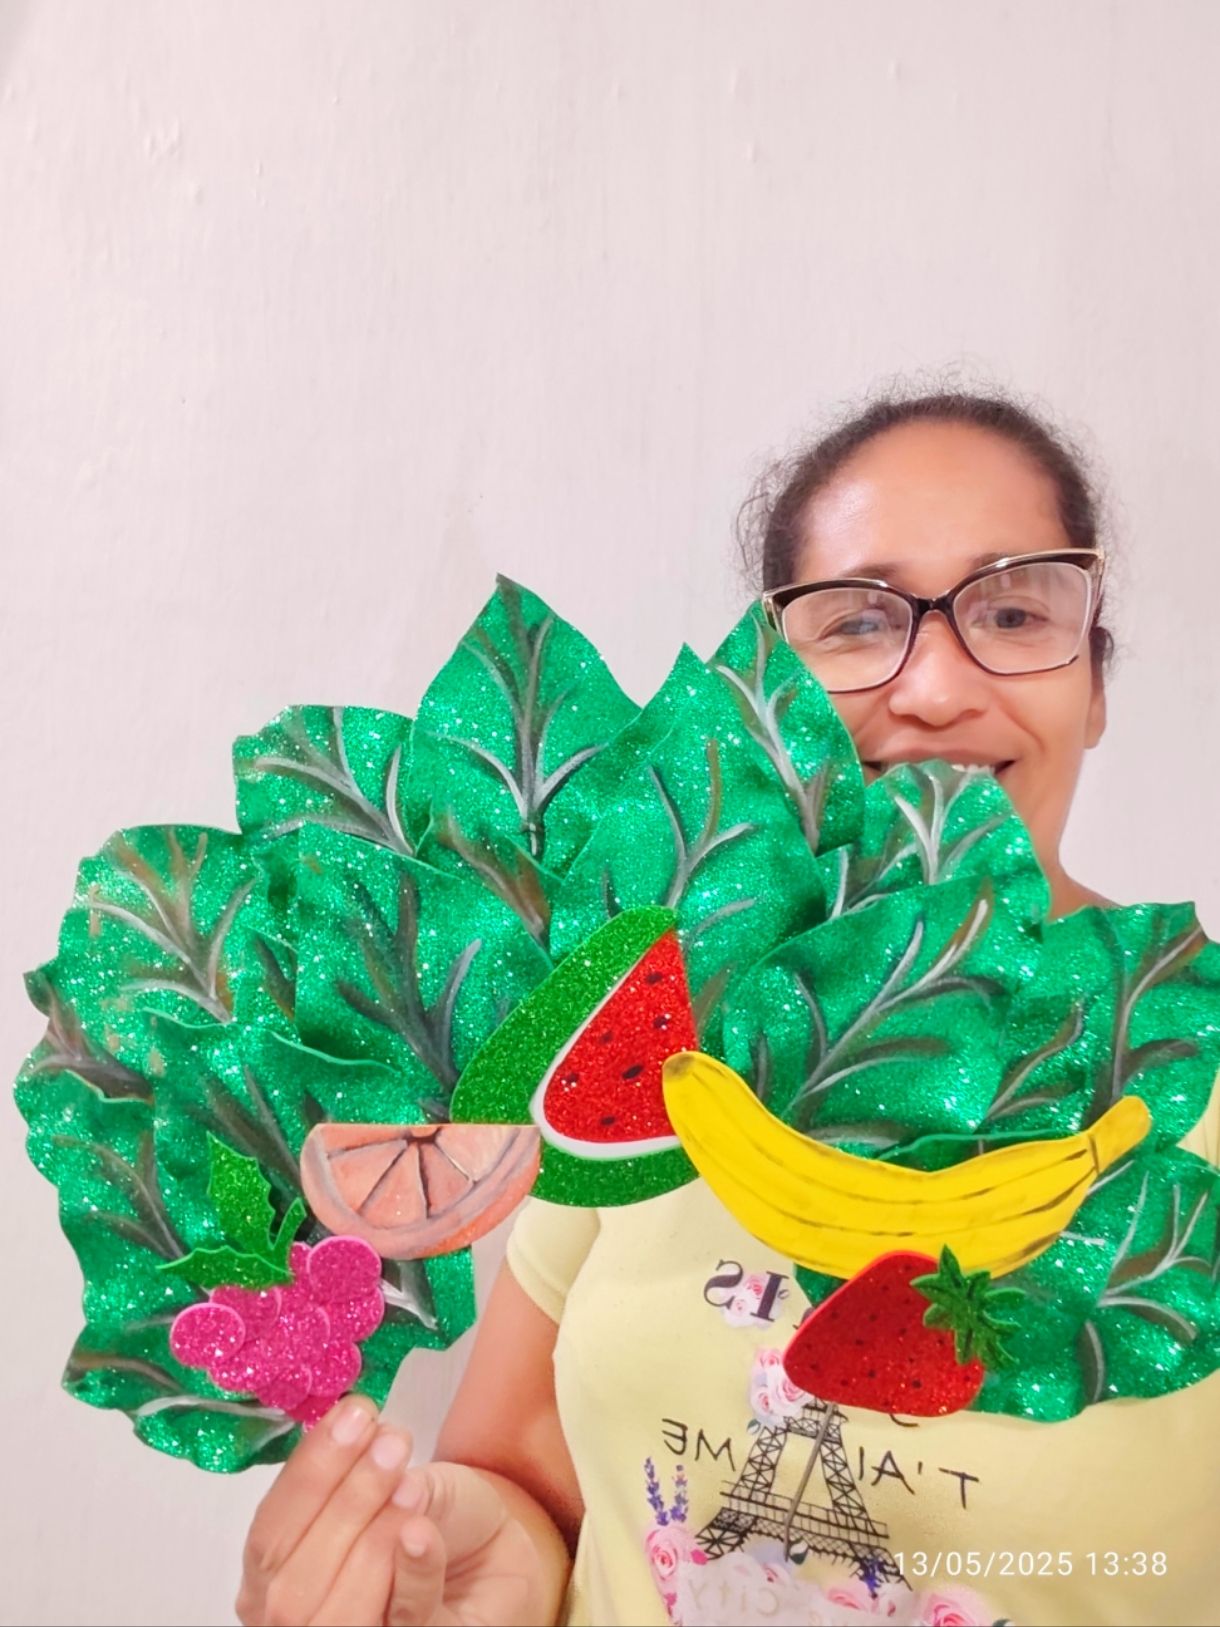
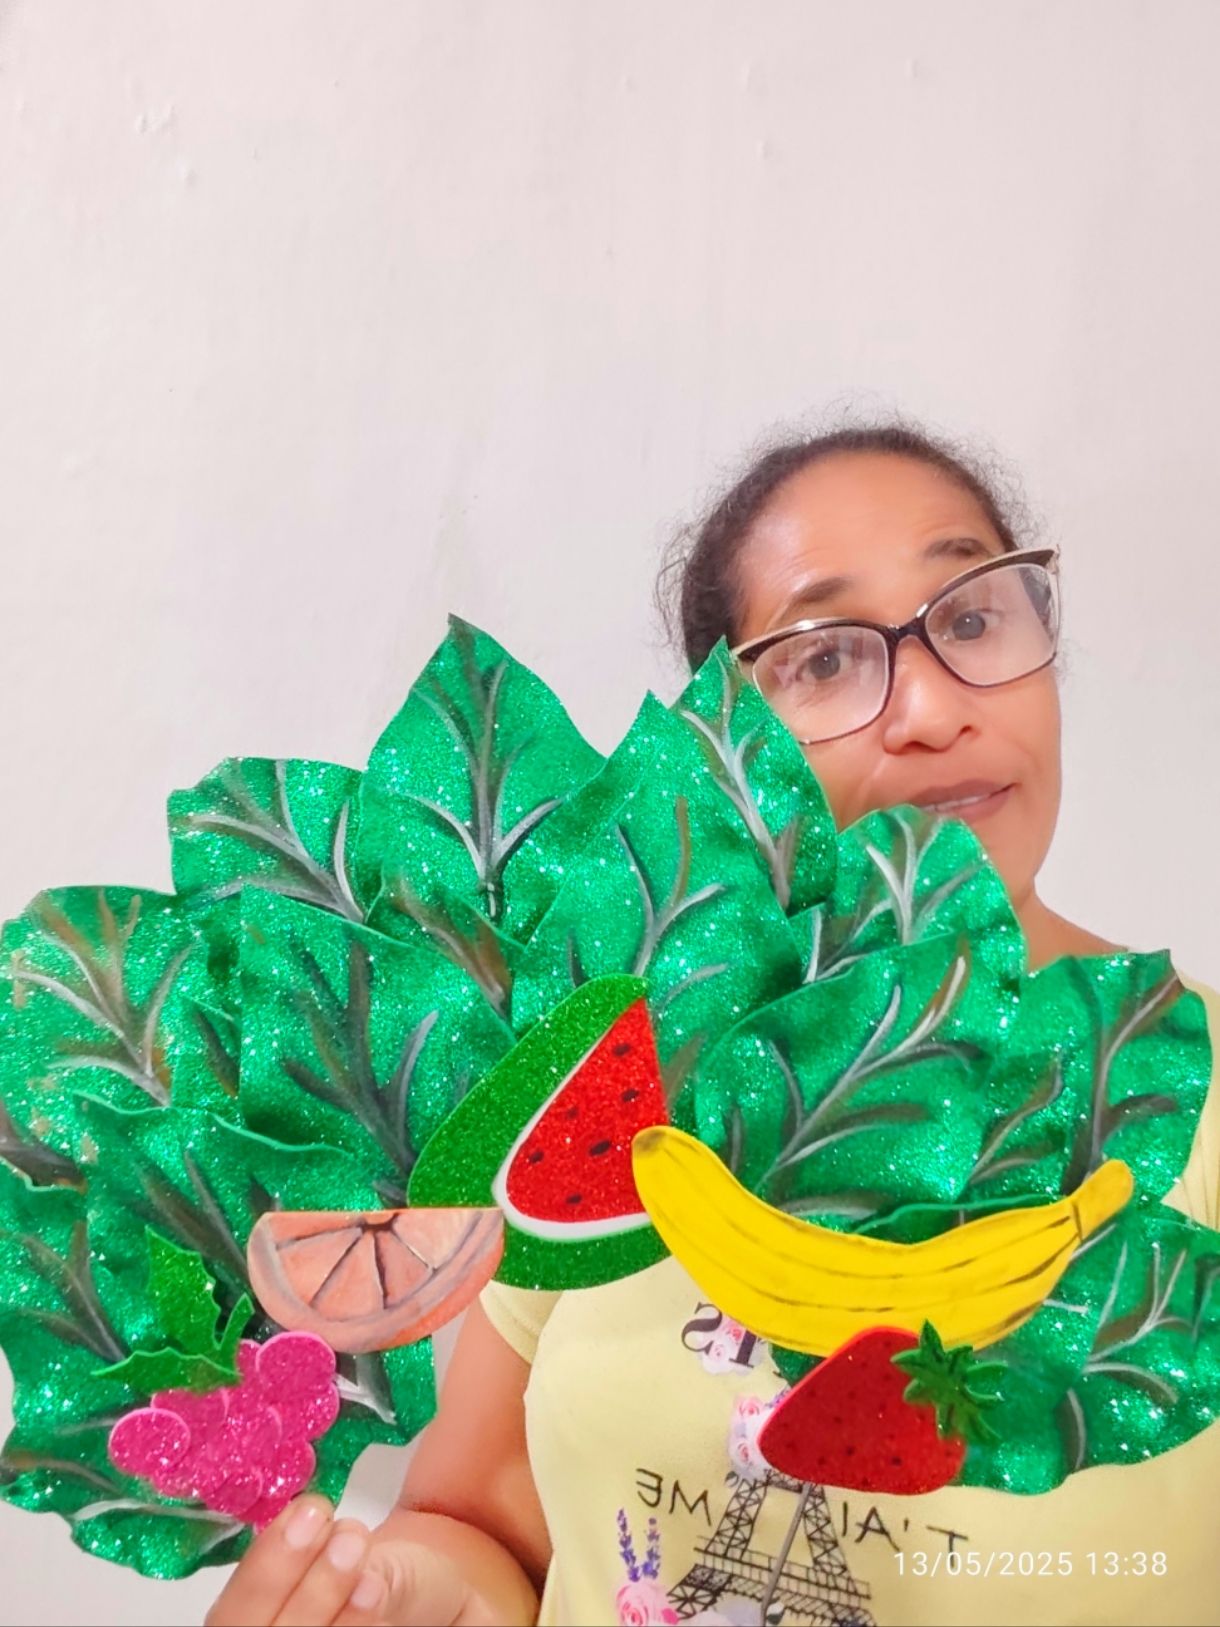
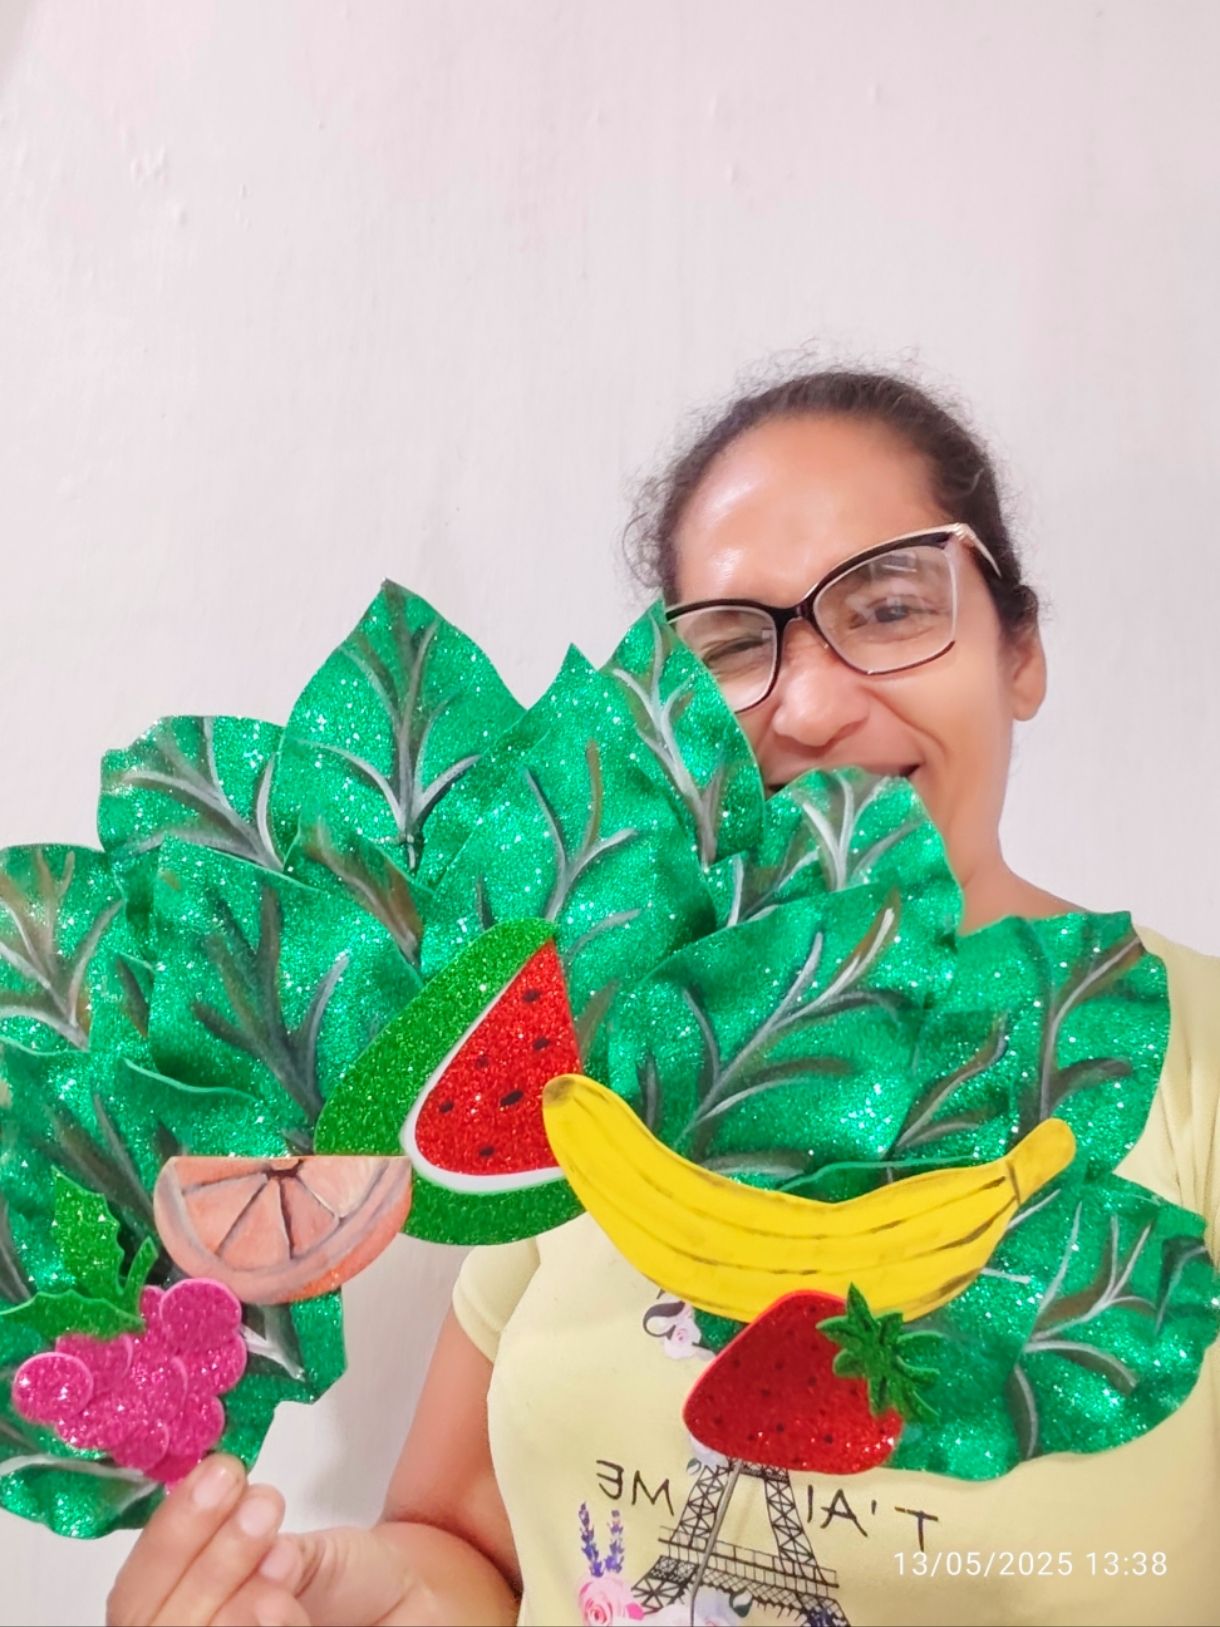
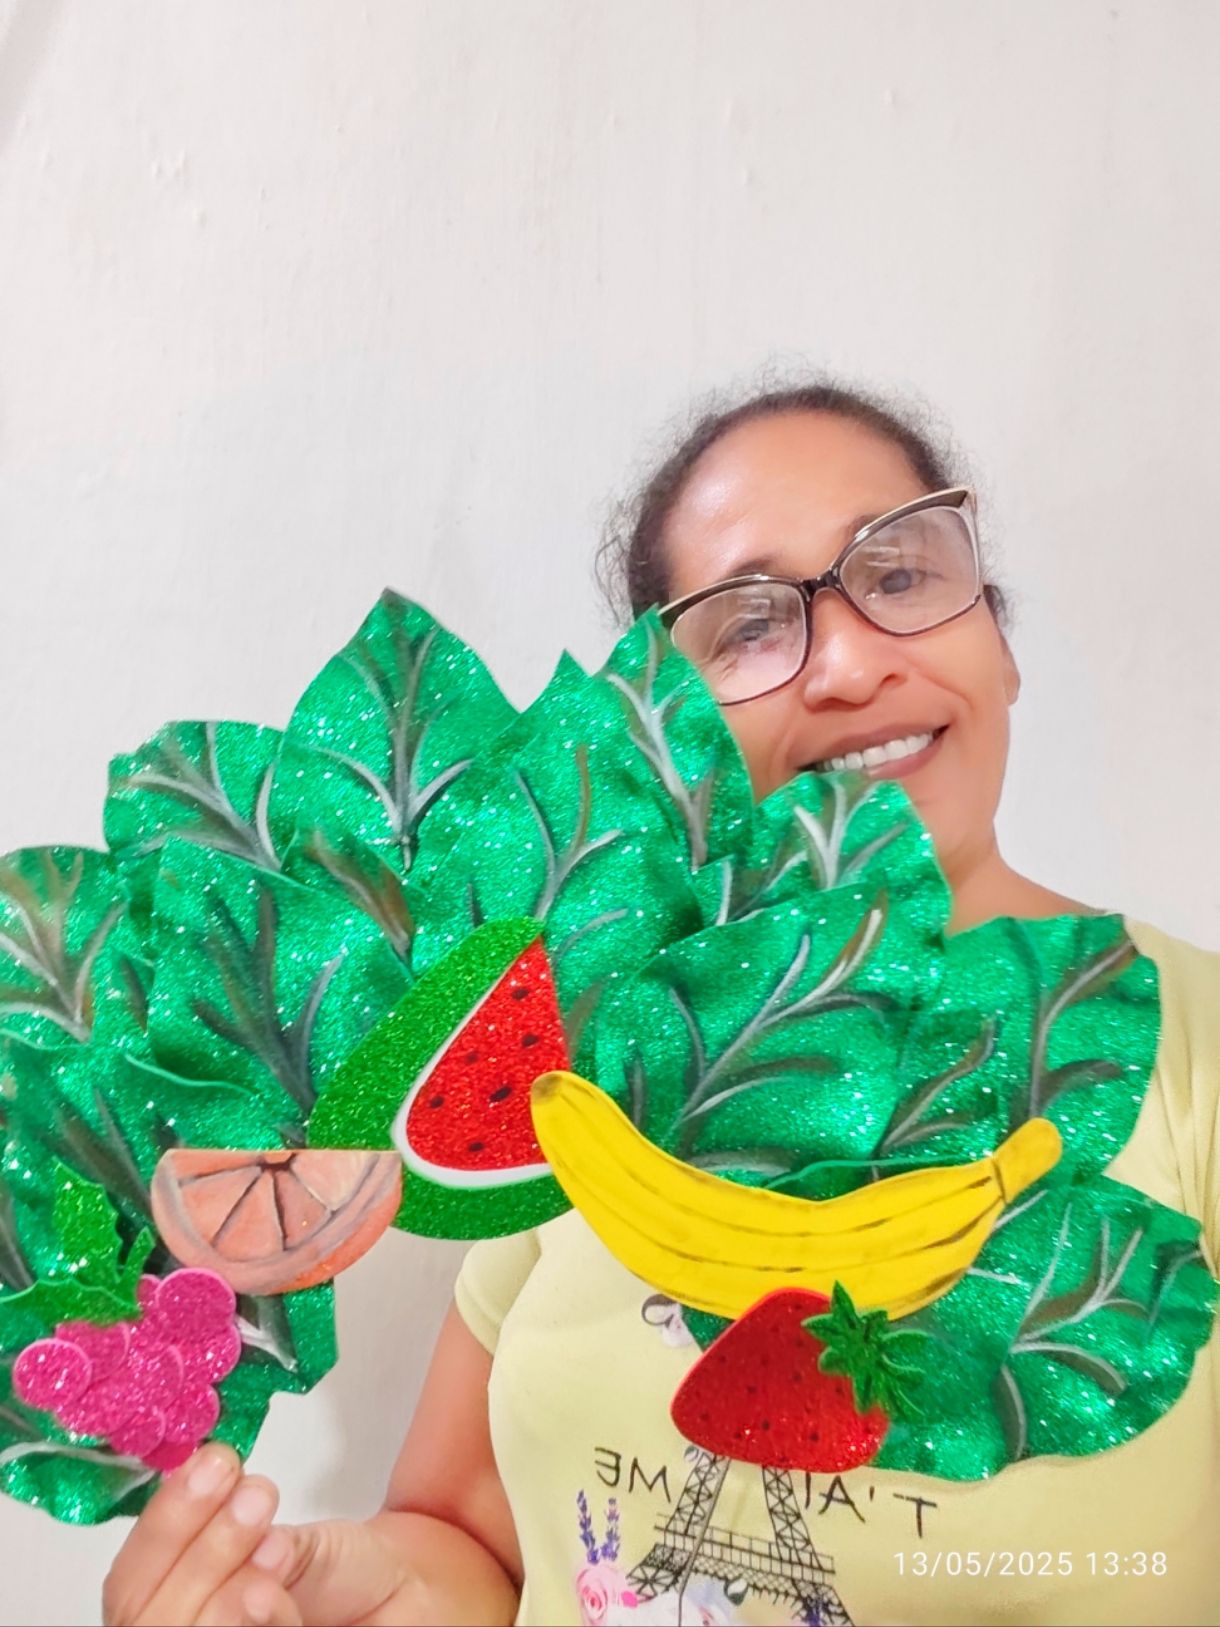
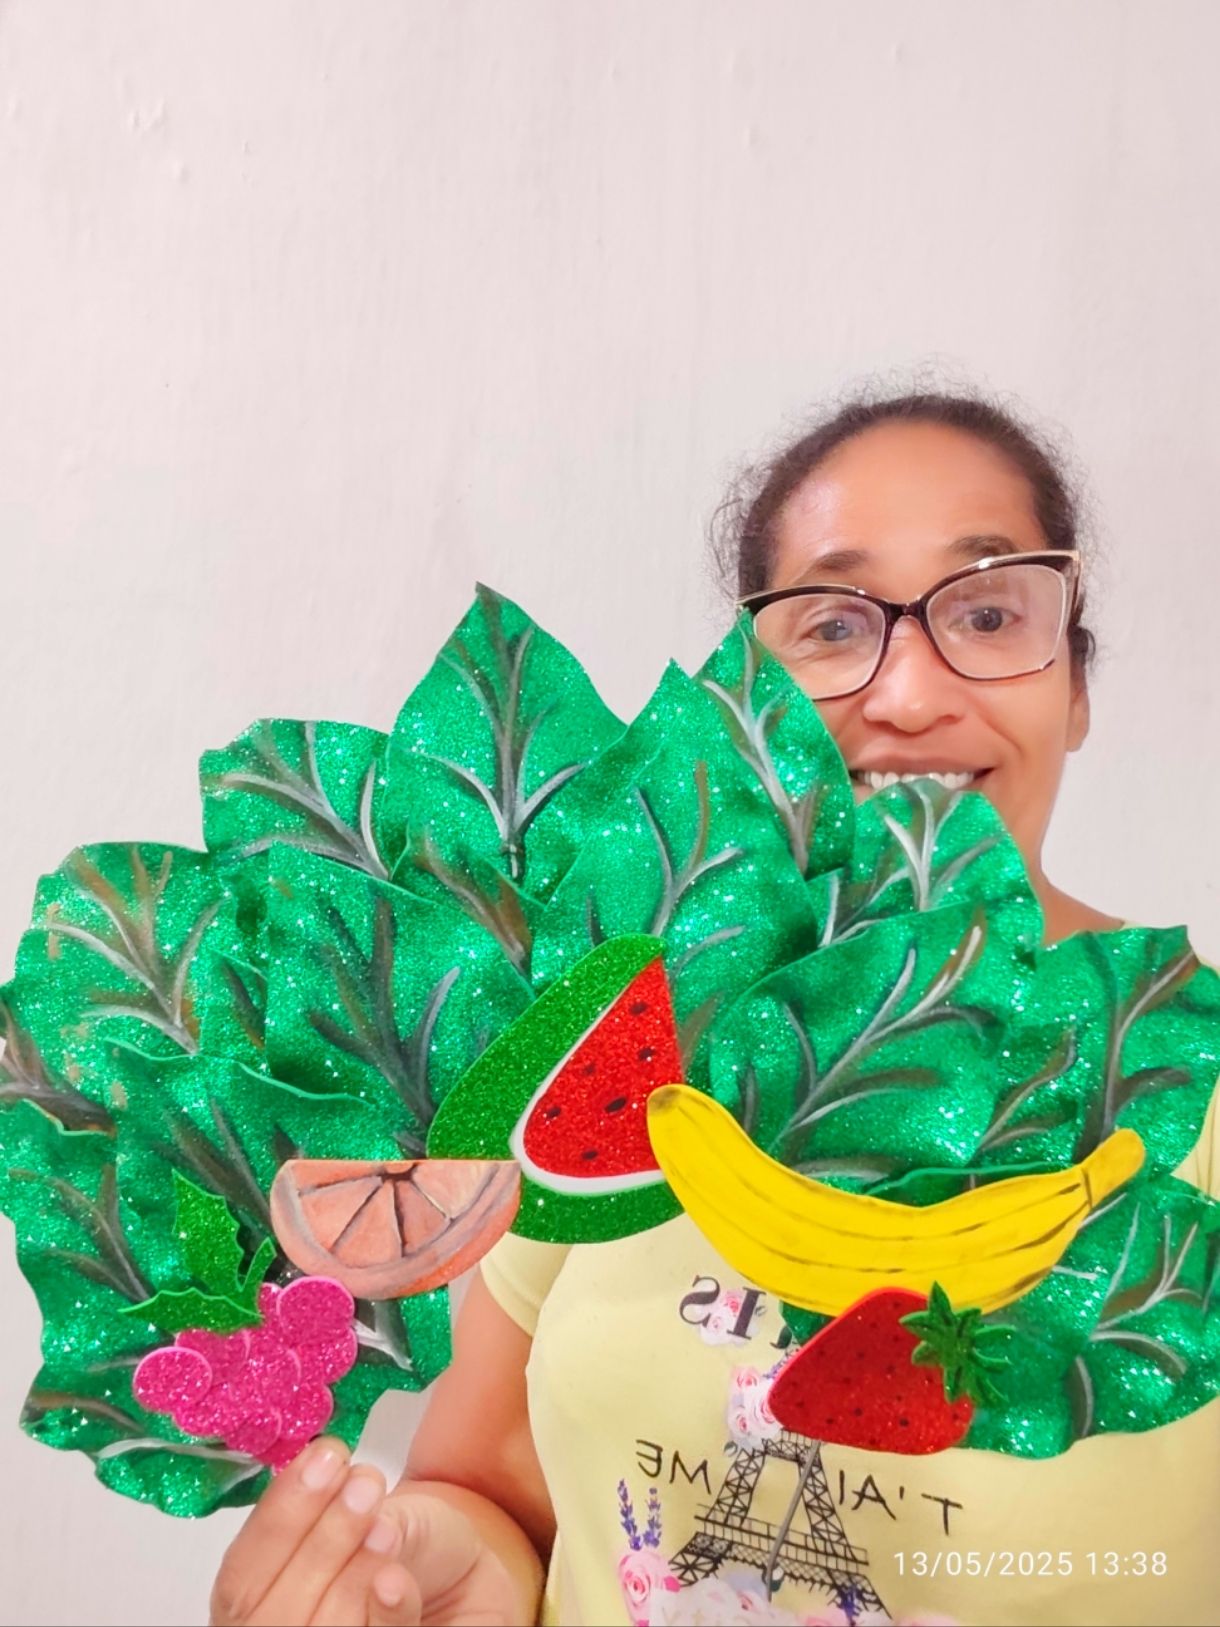
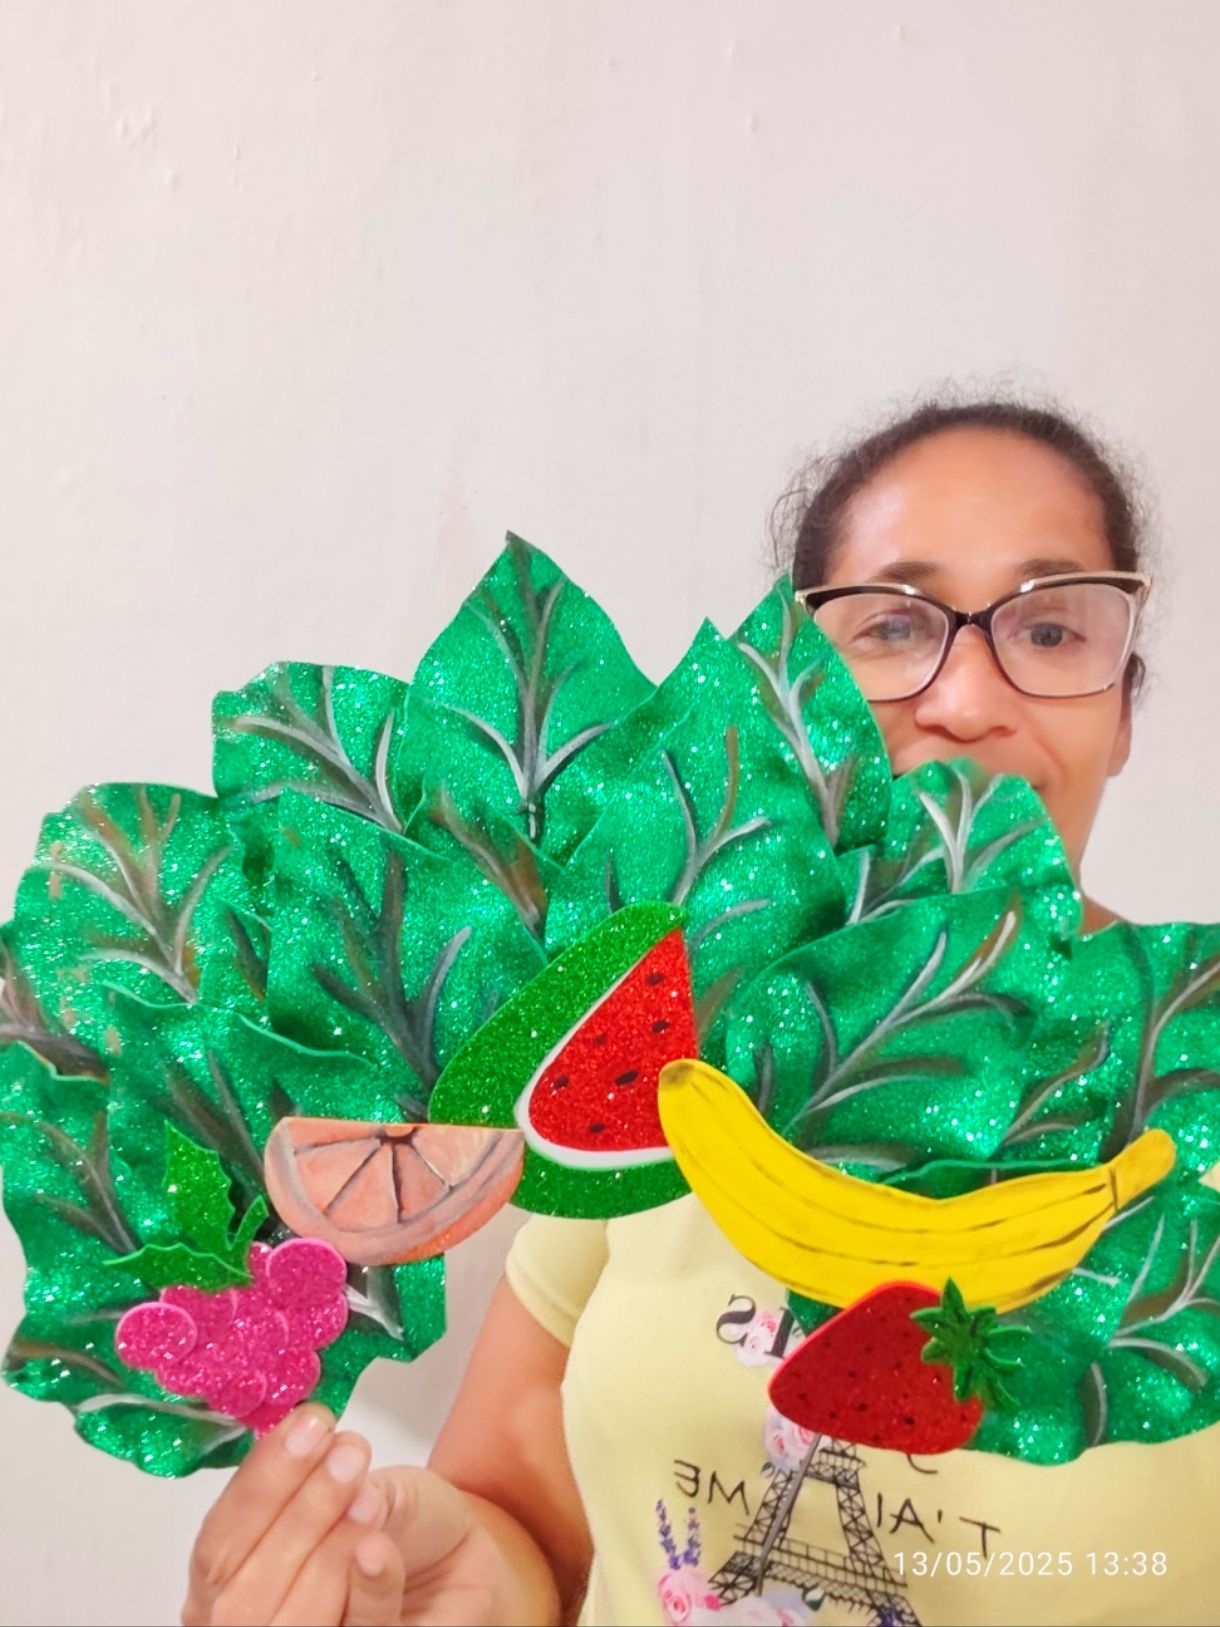
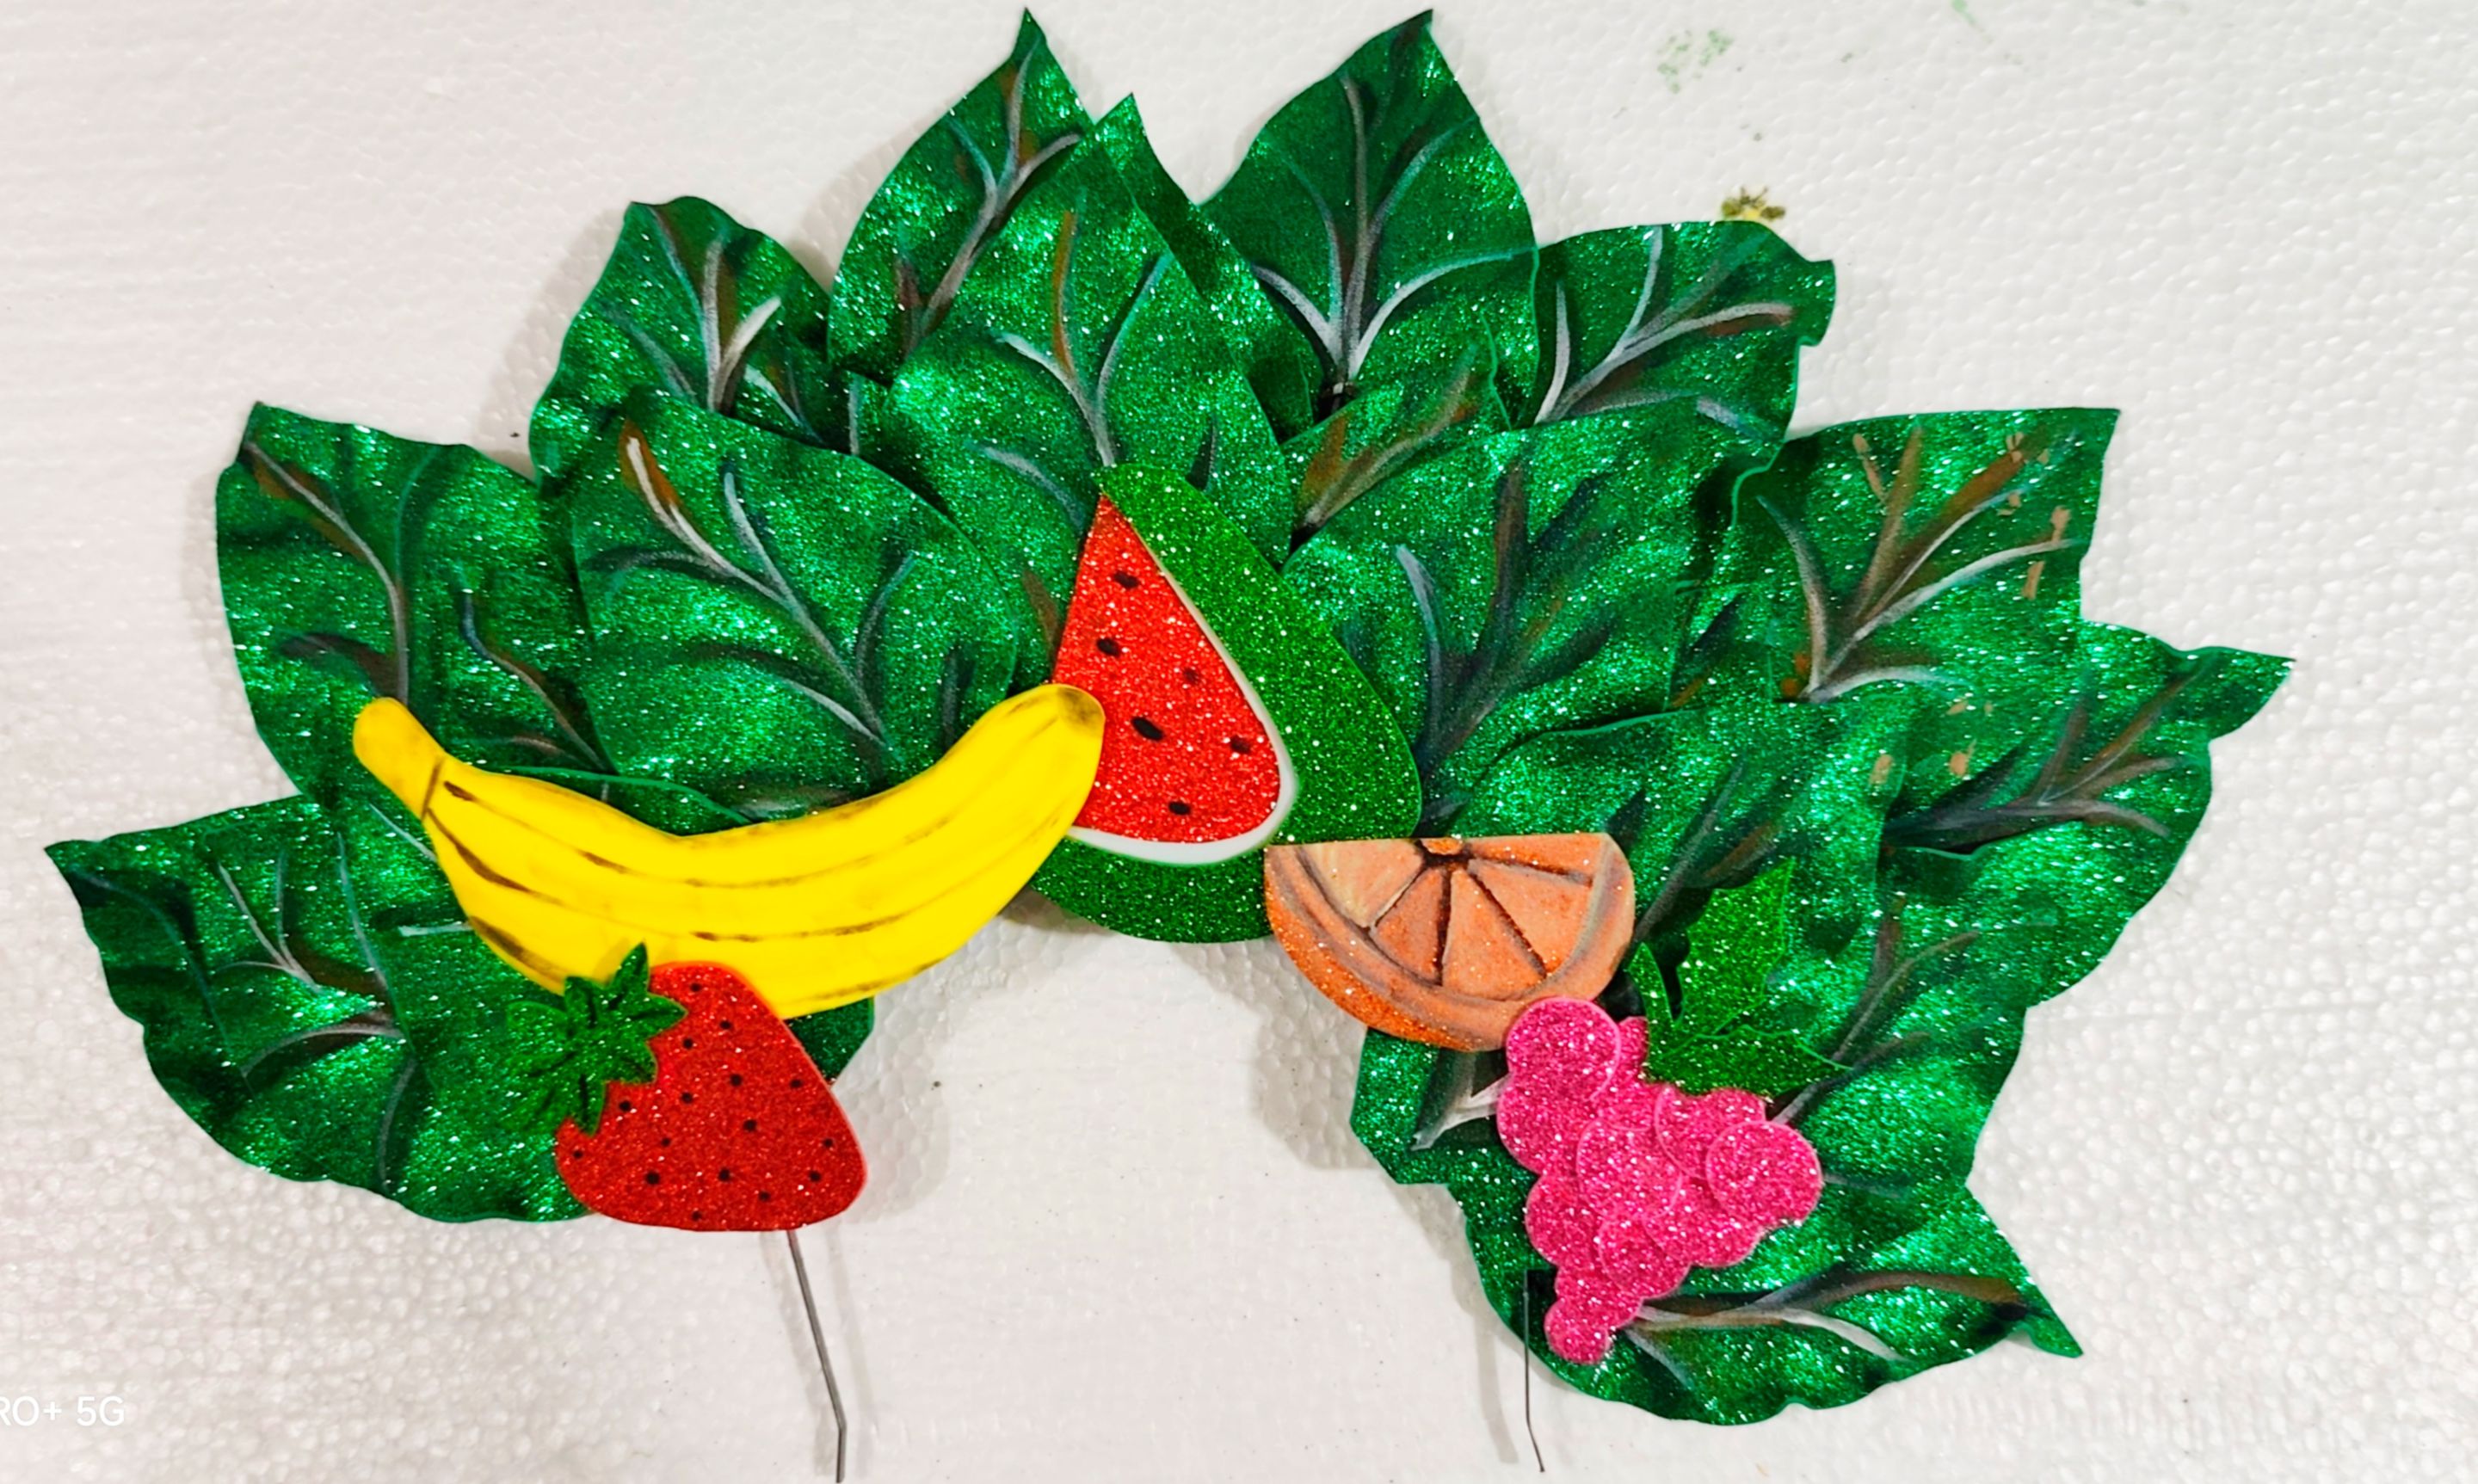
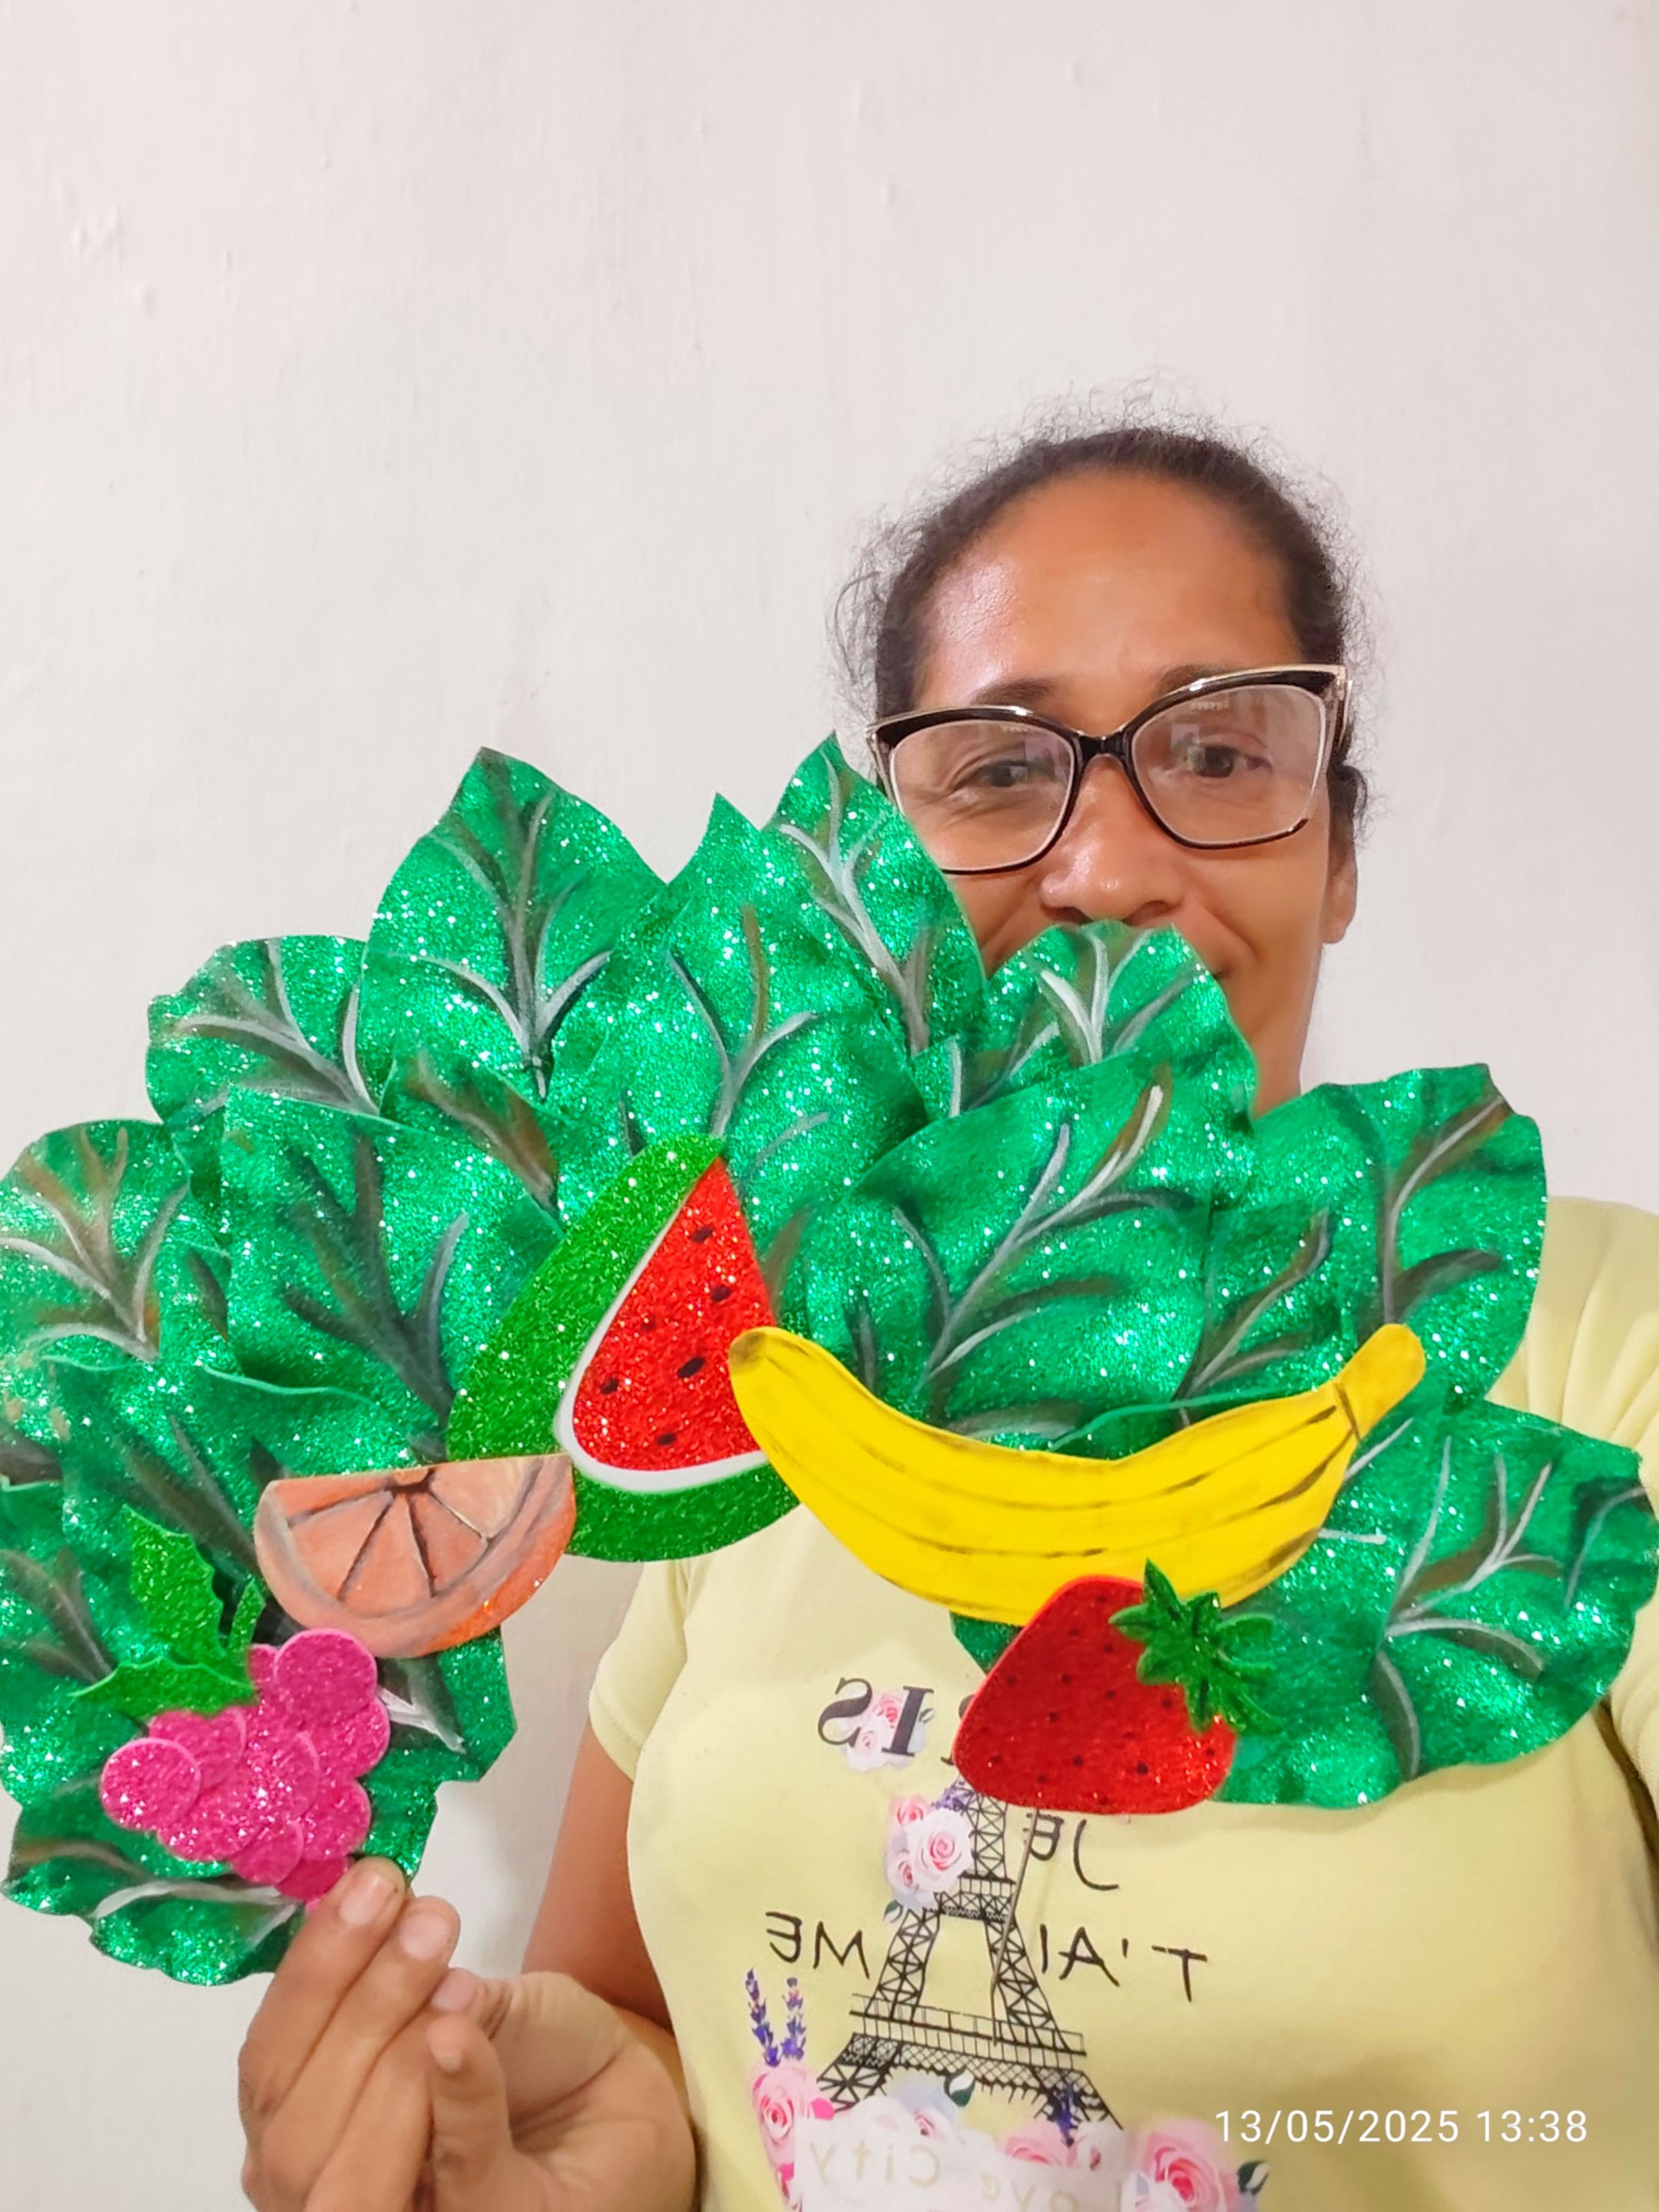
Finalmente cuando ya todas las piezas están listas les aplicamos silicón líquido y pegamos encima de las hojas y listo hemos creado una hermosa diadema.
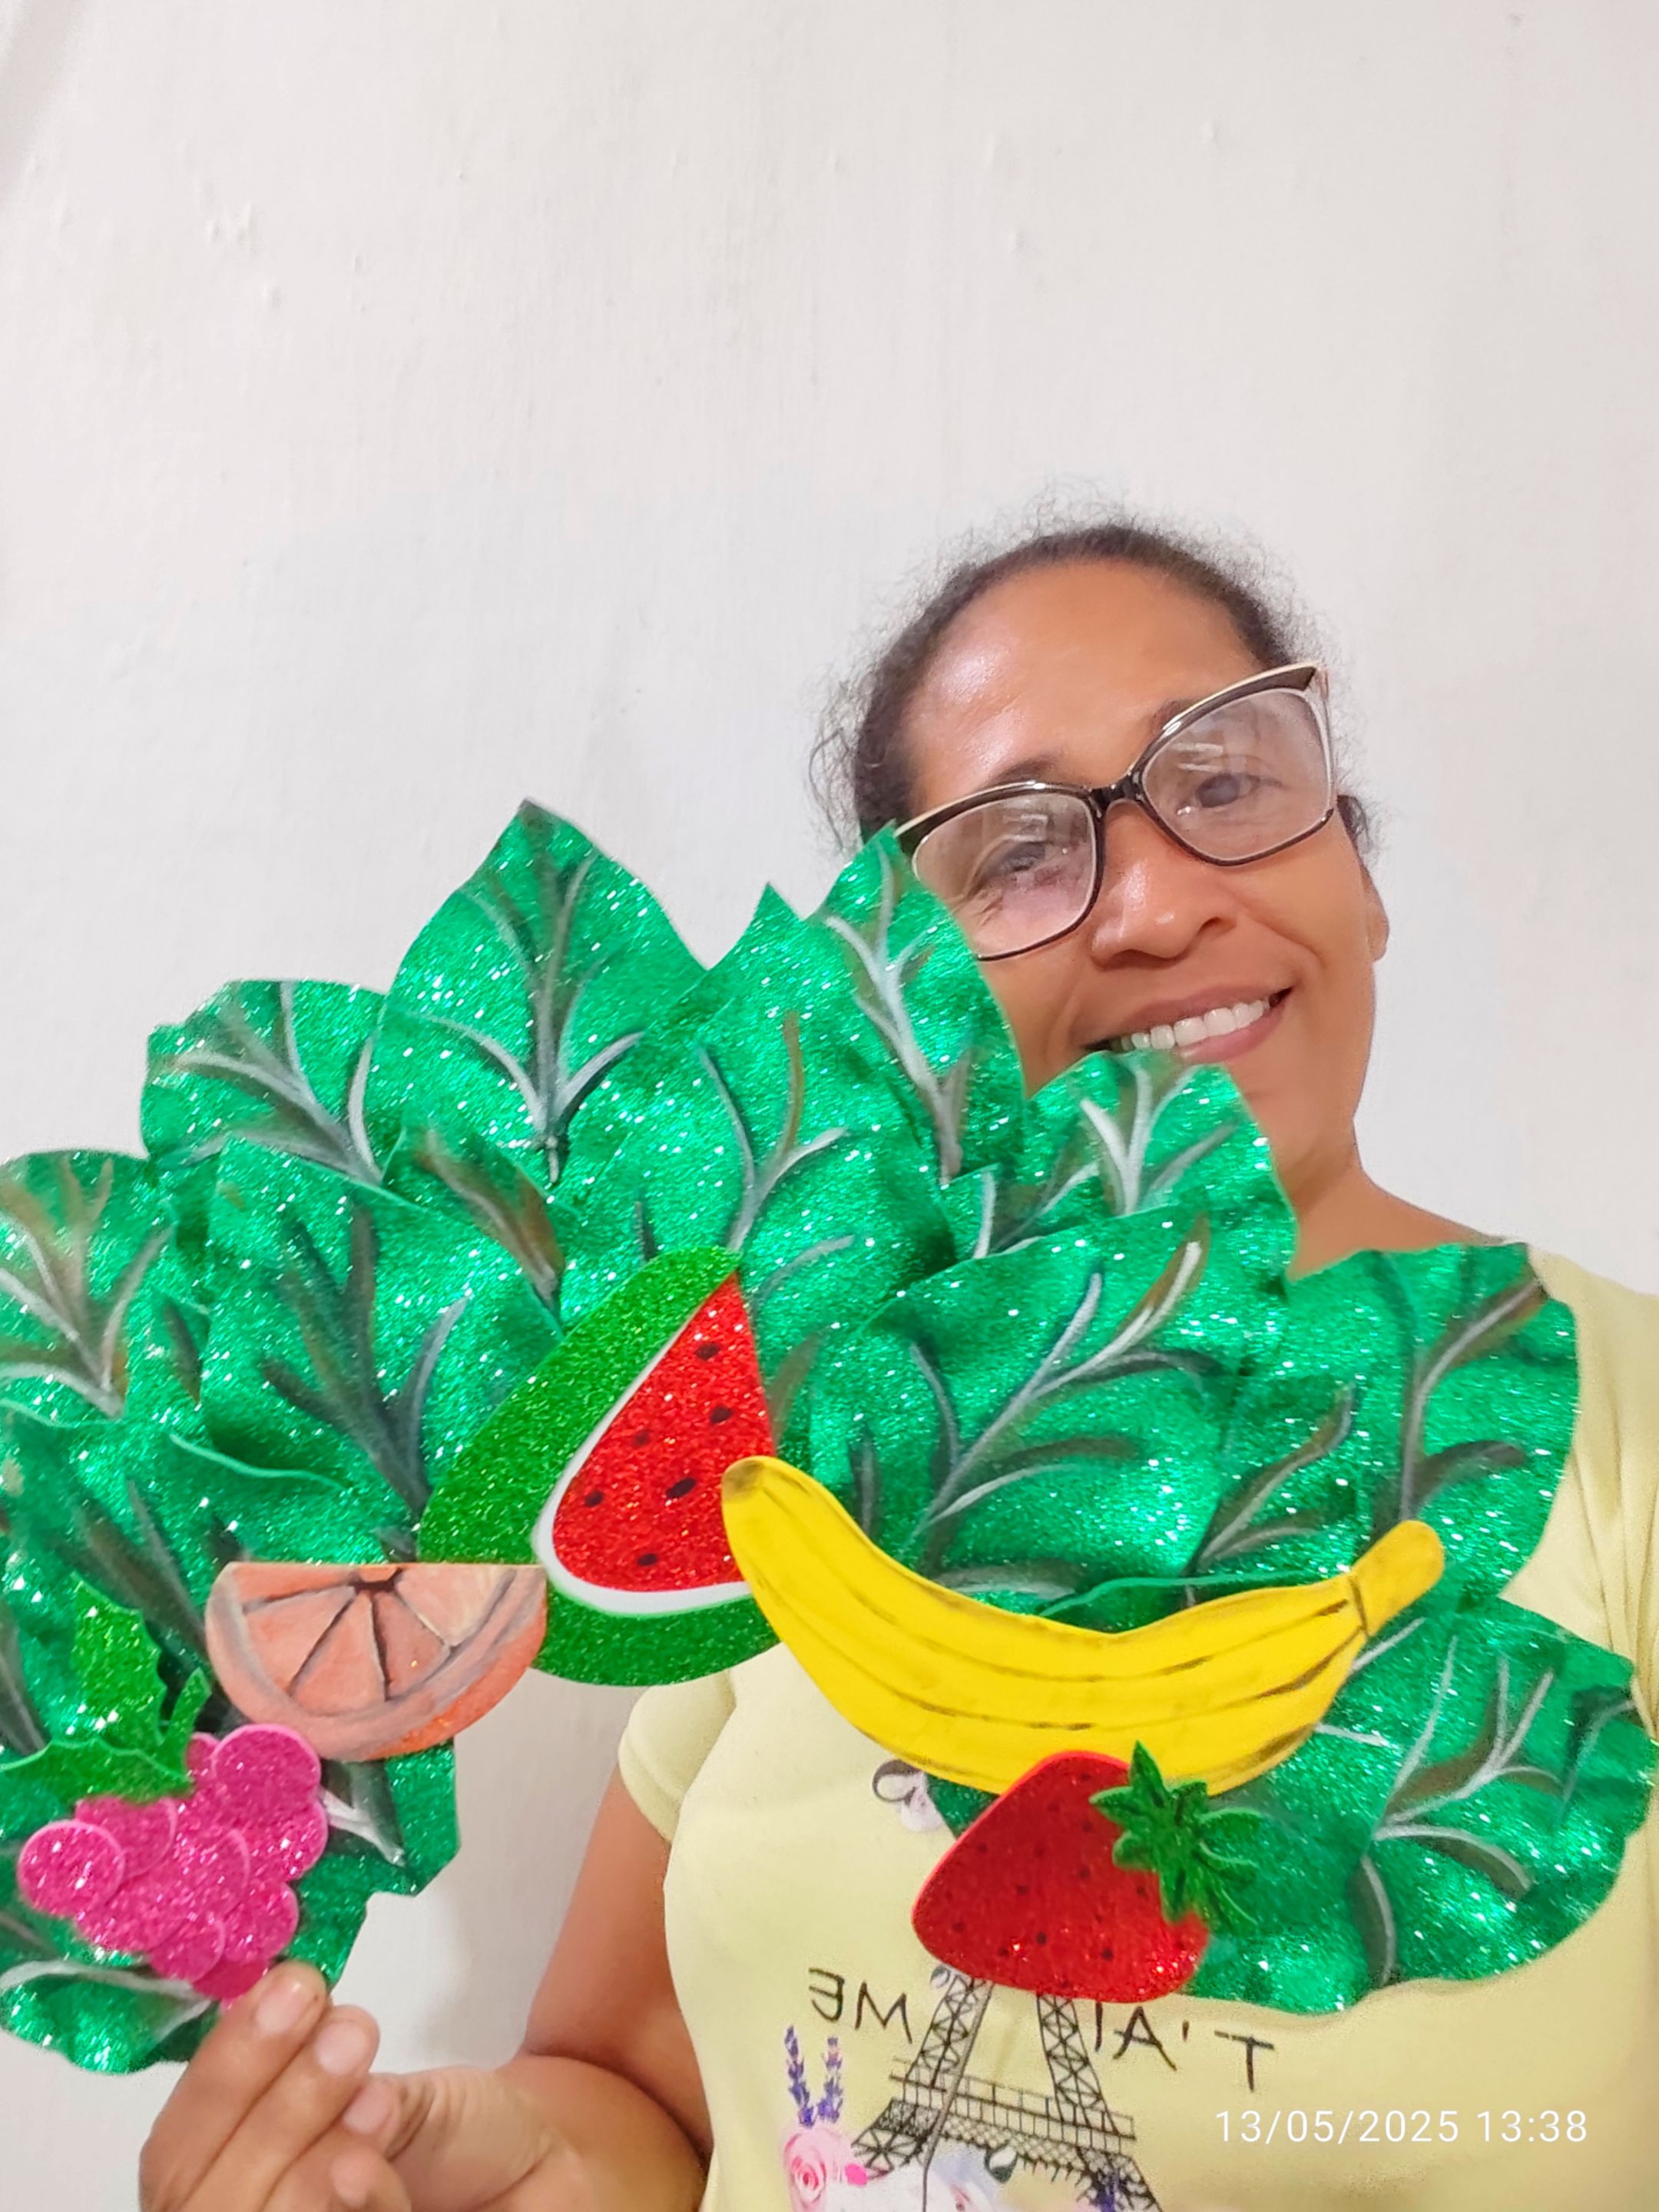
🍉🍓🍇 RESULTADO FINAL 🍇🍓🍉


🍉🍓🍇 CRÉDITOS 🍇🍓🍉
Todas las fotografías fueron tomadas con mi teléfono Xiaomi redmi y son de mi propiedad, utilice el programa polish, canvas y el traductor Deepl para elaborar este post.


Greetings dear friends of hive diy today I bring you a work that I personally loved, as you know many in the ecosystem I am a faithful lover of artistic makeup and every day I bet to make more complex creations, which is why I decided to make a makeup that is inspired by fruits and to make it look better I will be making a different headband, a kind of fruit fantasy that I hope you like.
🍉🍇🍓 MATERIALS 🍓🍇🍉
🍉 Green frosted foami.
🍇 Red frosted foami.
🍓 Fuchsia frosted foami.
🍉 Orange frosted foami.
🍇 Yellow frosted foami.
🍉 White foami.
🍓 Liquid silicone.
🍉 Ribbon base.
🍇 White paint.
🍓 Black paint.
🍓 Scissors.
🍇 Blank sheet.
🍉 Creyon pencil.
#
🍉🍇🍓STEP BY STEP 🍓🍇🍉
🍉🍇🍓 STEP 1:
First I took the blank sheet of paper and with the pencil I drew the fruit patterns and then we cut them out, in this work we will make a banana, a strawberry, an orange, grapes of course and a strawberry.
🍓🍇🍉 STEP 2:
On the yellow foami I place the banana or banana pattern and with the pencil we mark it, then with the scissors we cut it out.
🍉🍇🍓 STEP 3:
Now we are going to work with the frosted red, frosted green and white foami, there we mark the pieces with which we are going to form the sideburn or watermelon.
🍉🍓🍇 STEP 4:
Then with the help of liquid silicone, we glue all the pieces, first the white one which we glue on top of the red piece and then when it is well glued we apply liquid silicone and pay the green part, until we form the sideburn or watermelon.
🍇🍓🍉 STEP 5:
Now we mark on the orange frosted foami the orange pattern, also mark on the red frosted foami the strawberry pattern and on the green one the strawberry leaf and stem.
🍉🍓🍇 STEP 6:
When the pieces of the strawberry are already cut, I apply liquid silicone on the stem and glue it to the strawberry, then with the black paint I paint the dots.
🍇🍓🍉 STEP 7:
To the rest of the figures I drew the different features with white and black paint.
🍉🍓🍇 STEP 8:
On the fuchsia frosted foami I draw small circles and cut out and then glue to form the grapes and glue some green frosted foami leaves.
🍇🍓🍉 STEP 9:
Now in the frosted green foami I draw some leaves, which we cut out and then with our hands we fold the edges.
🍉🍓🍇 STEP 10:
With the black and white paint we give the details to the leaves, then we glue one on top of the other and glue to the base headband.
🍇🍓🍉 STEP 11:
Finally, when all the pieces are ready, we apply liquid silicone and glue them on top of the leaves and we have created a beautiful headband.
🍉🍓🍇FINAL RESULT🍇🍓🍉
🍉🍓🍇 CRÉDITS 🍇🍓🍉
All pictures were taken with my Xiaomi redmi phone and are my property, I used polish, canvas and Deepl translator to make this post.