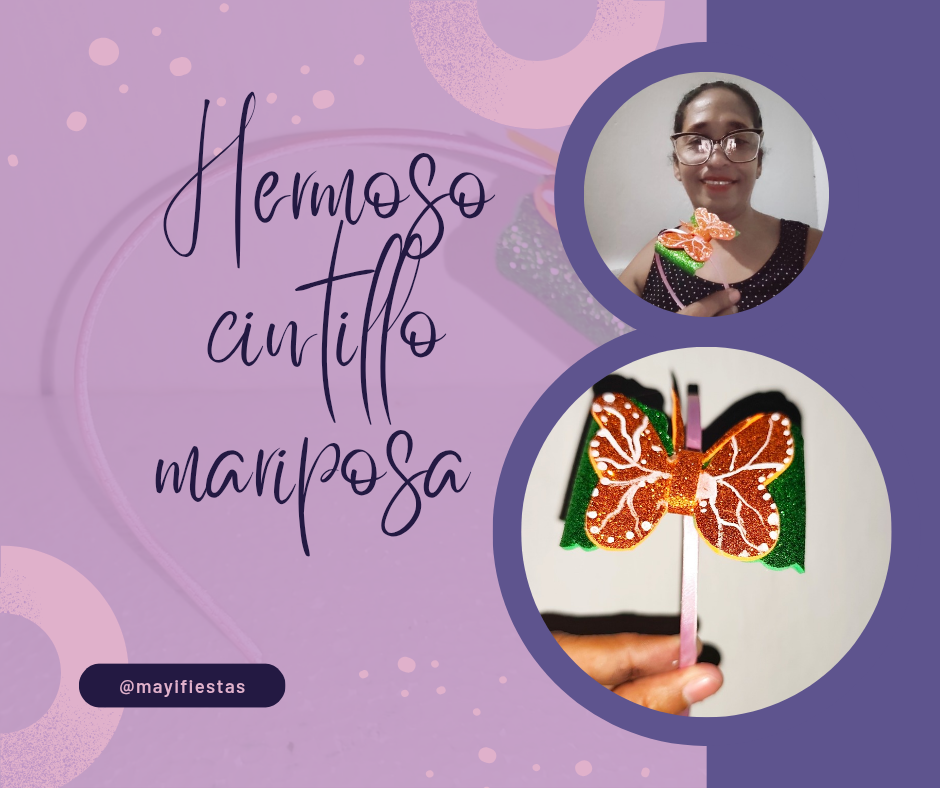
Felicidades a todas las hermosas abejitas que día a día llenan de color y alegría está comunidad, yo como siempre trayendo ideas novedosas pero sobretodo ideas fáciles de realizar, para que nuestras princesas puedan lucir hermosas.
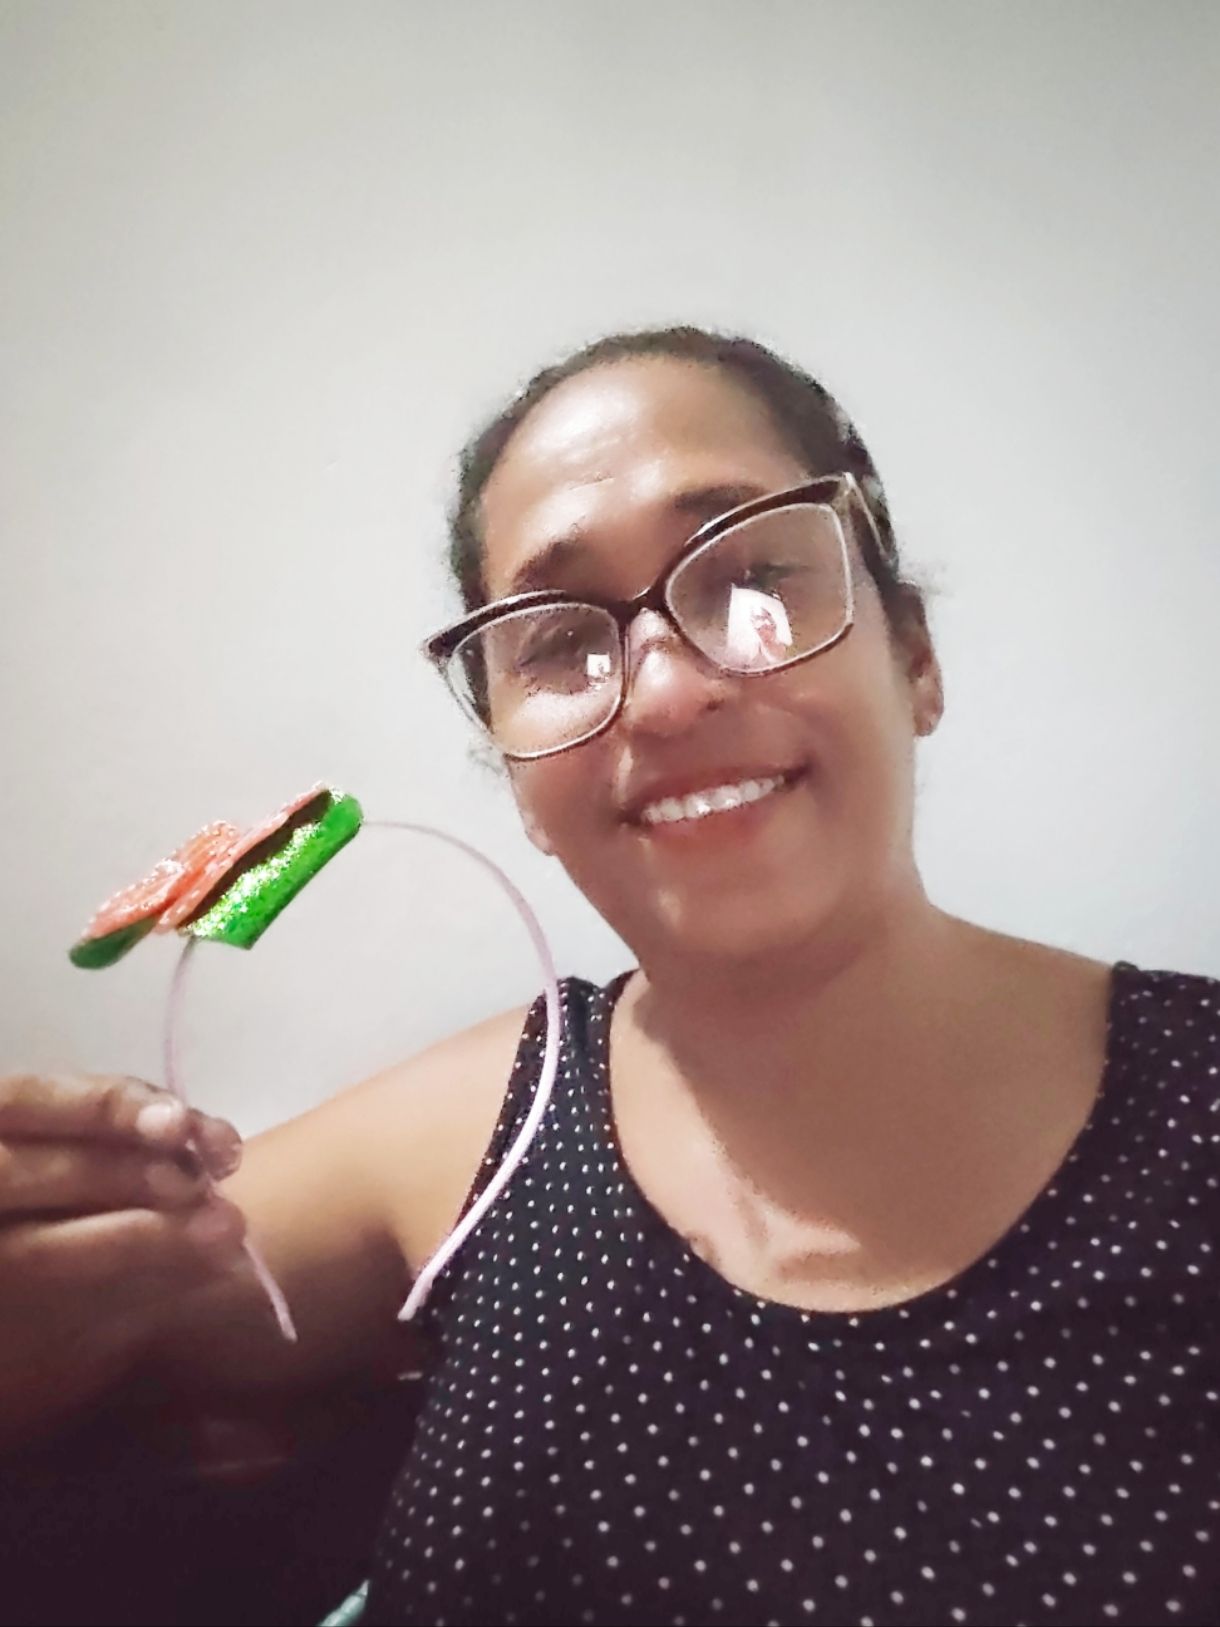
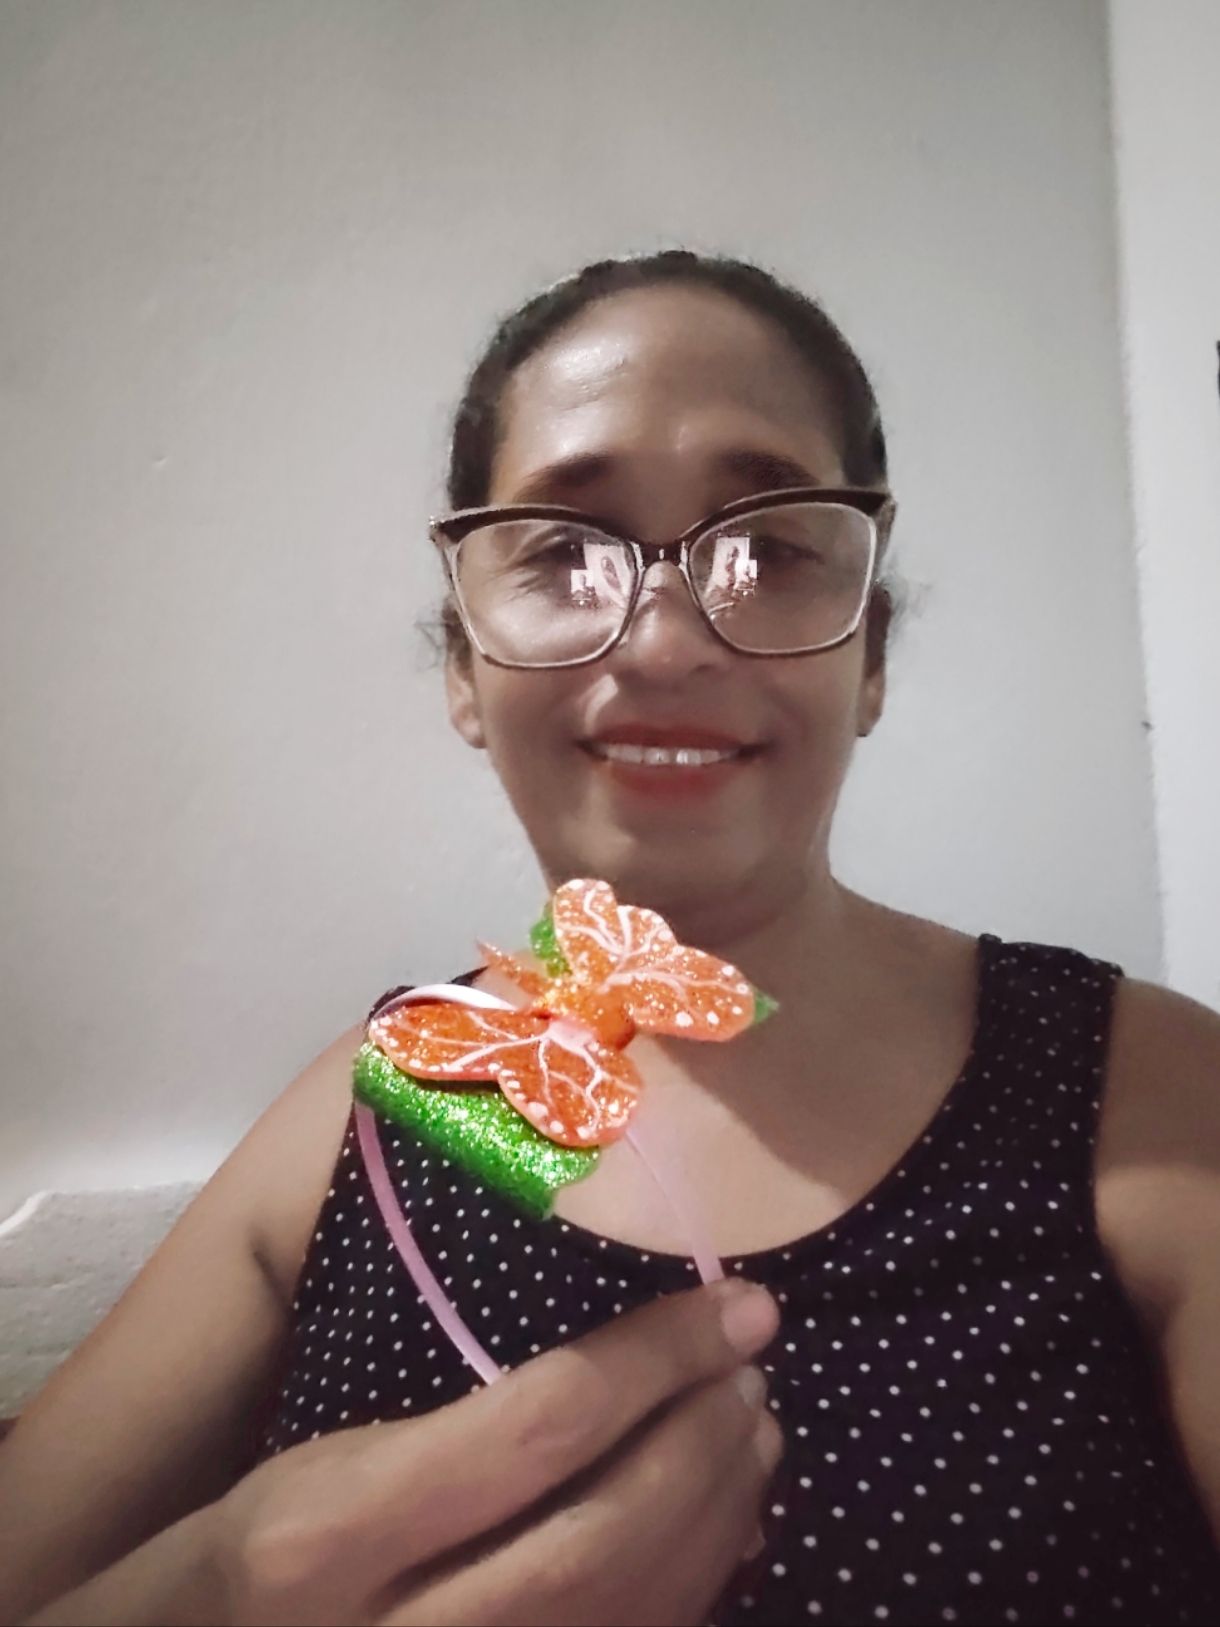
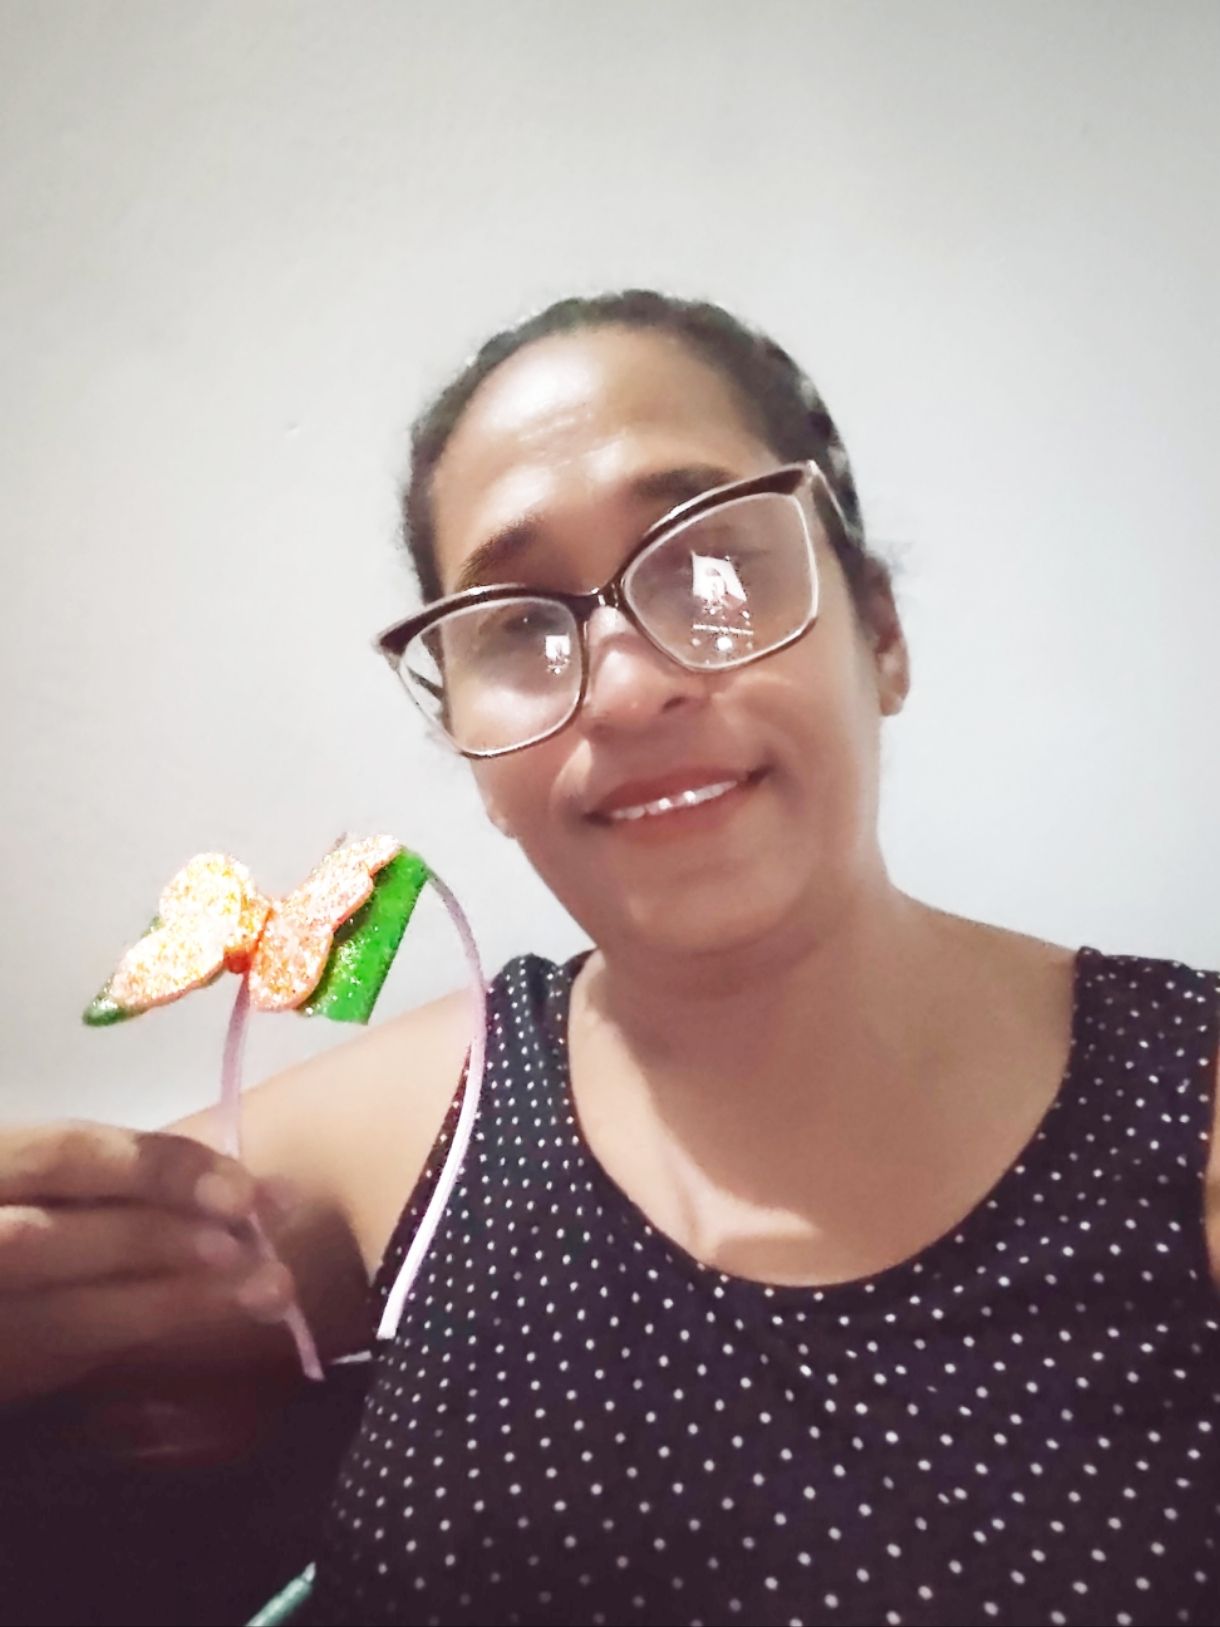
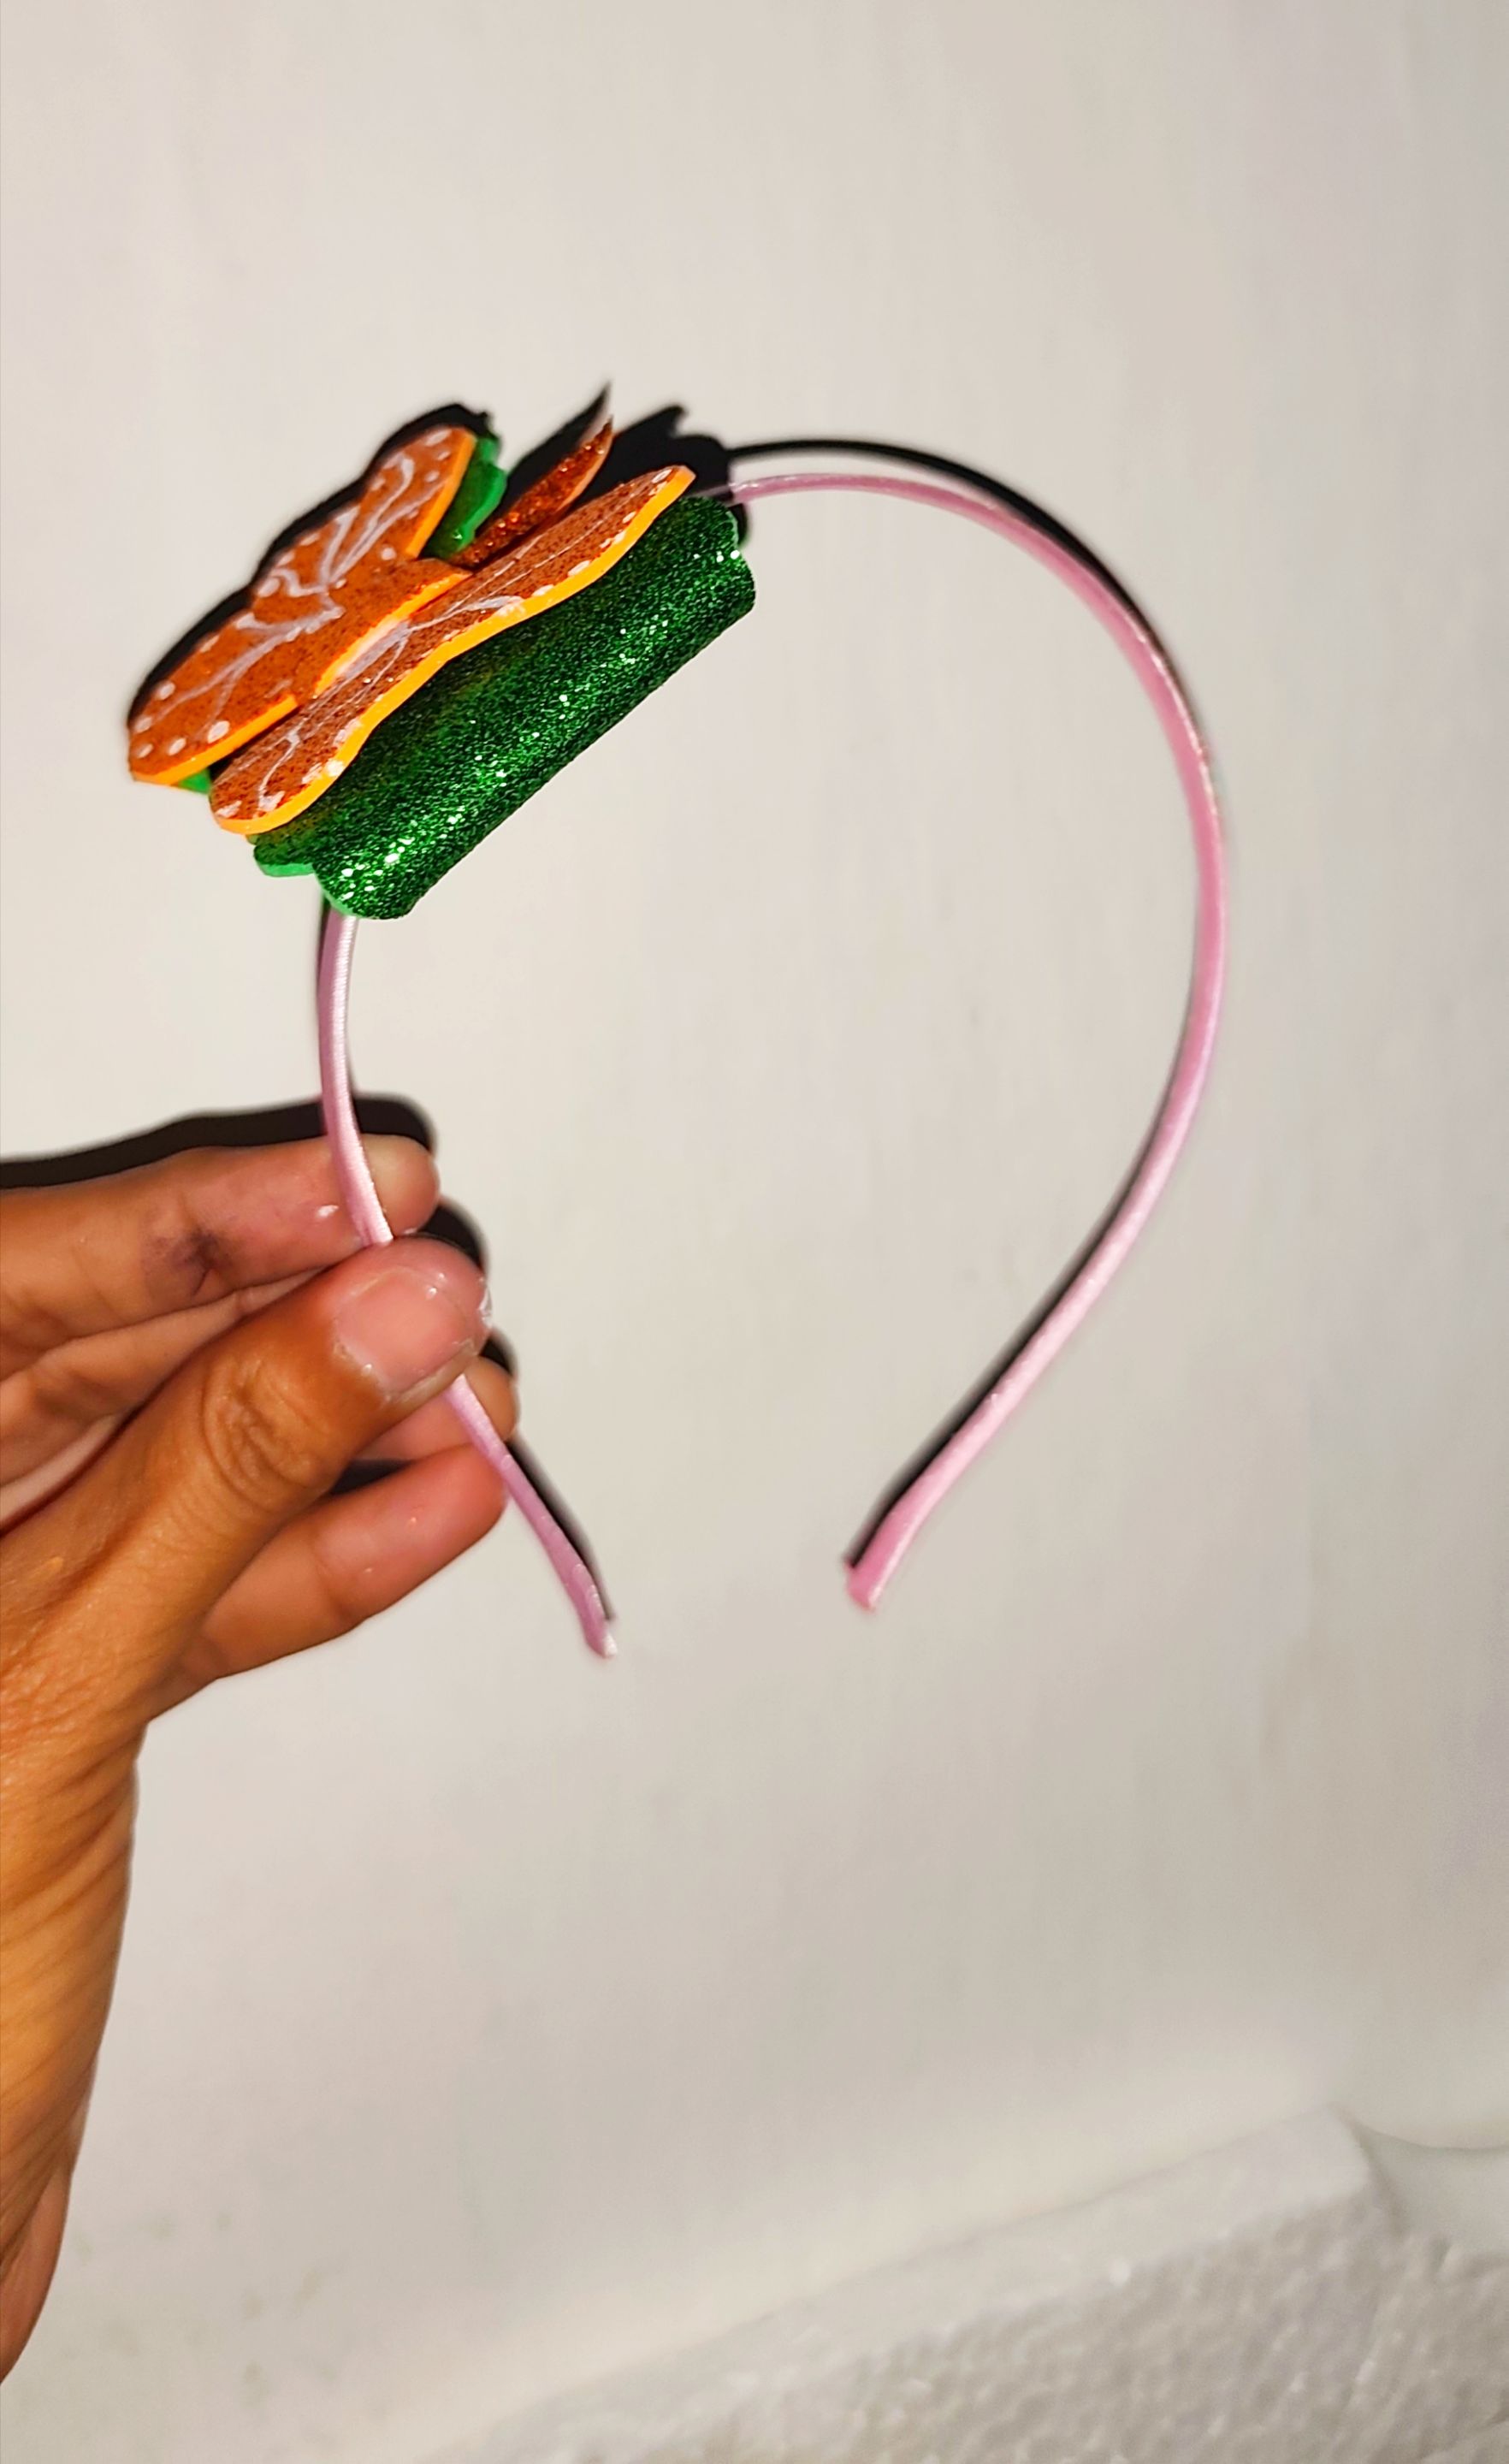
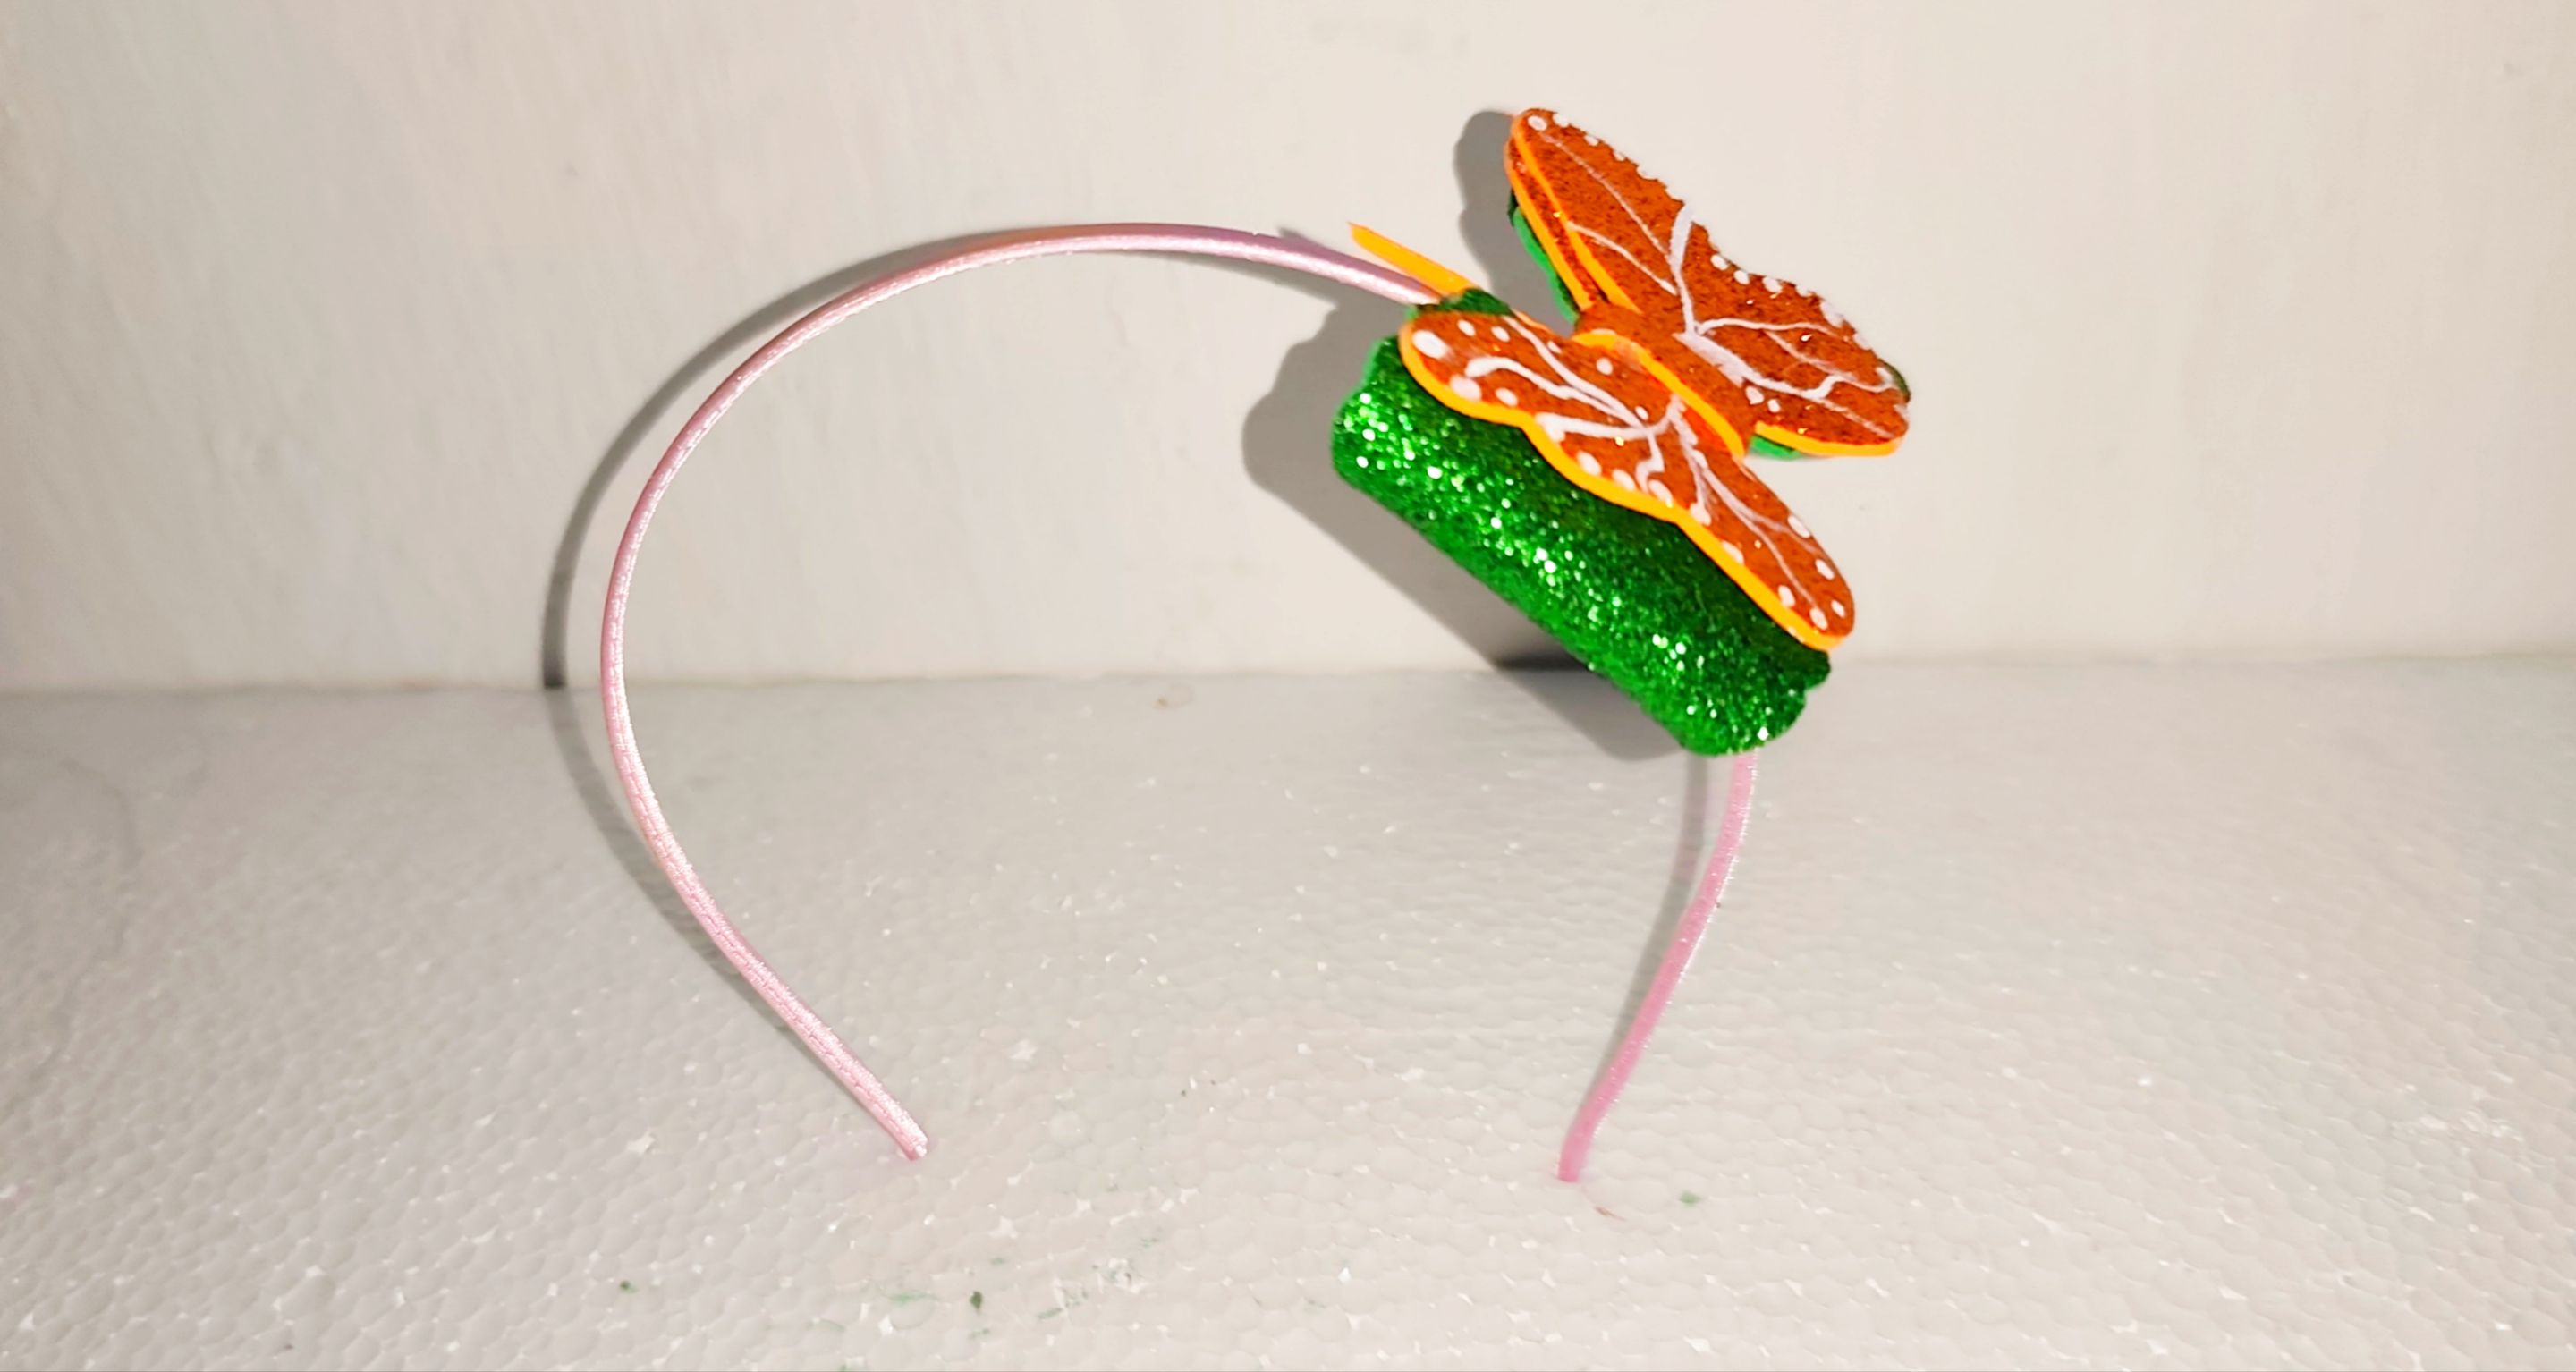
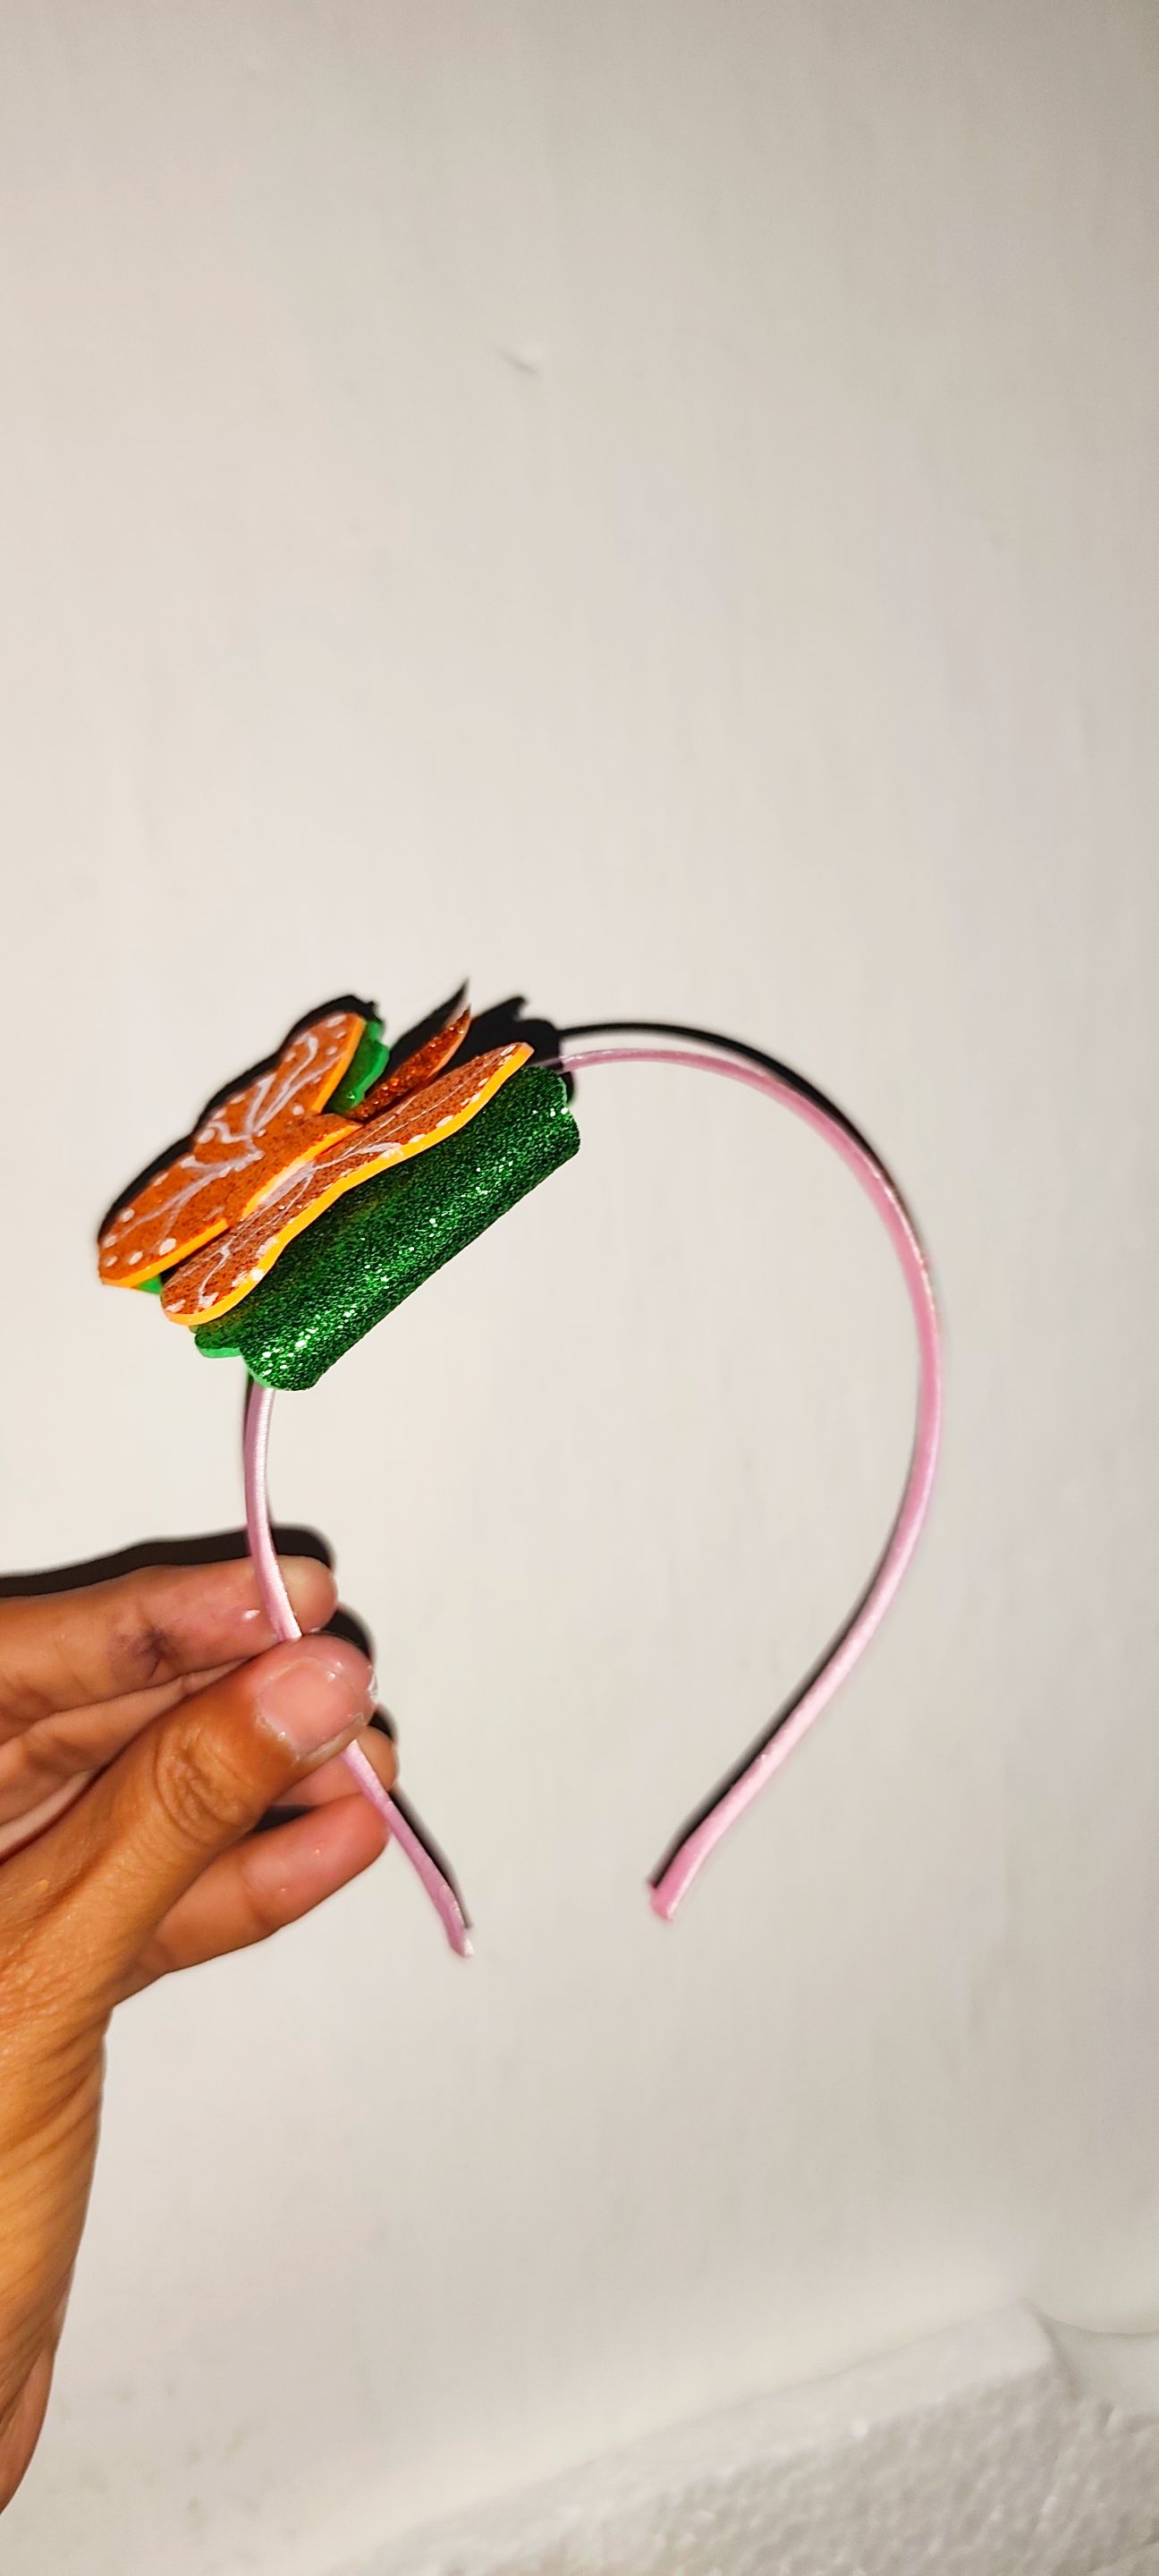
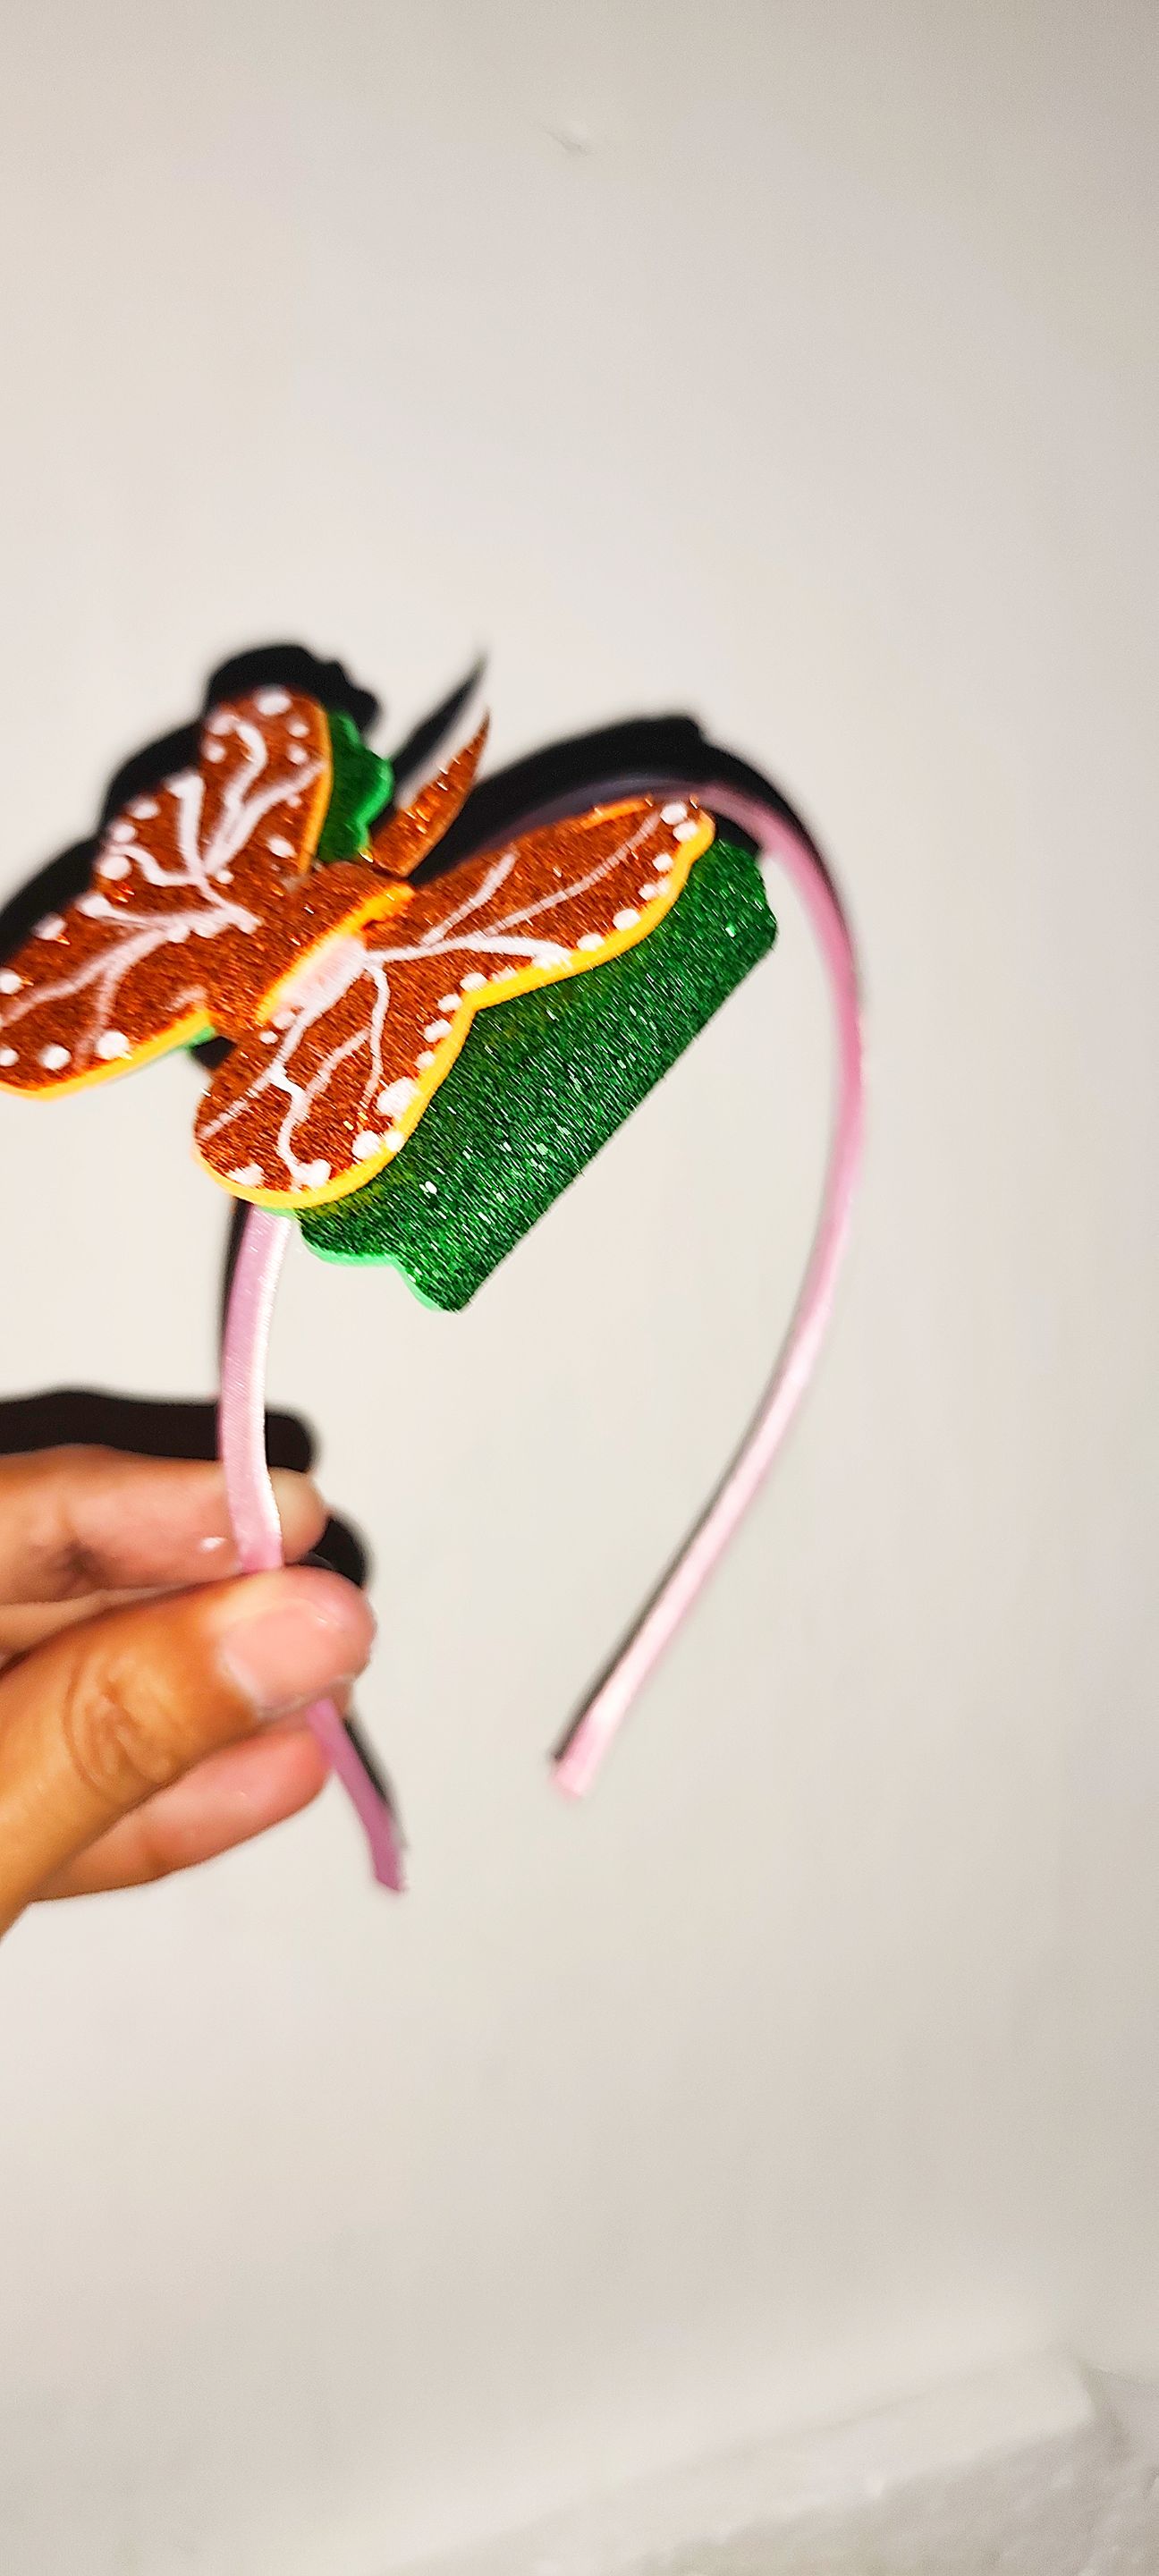
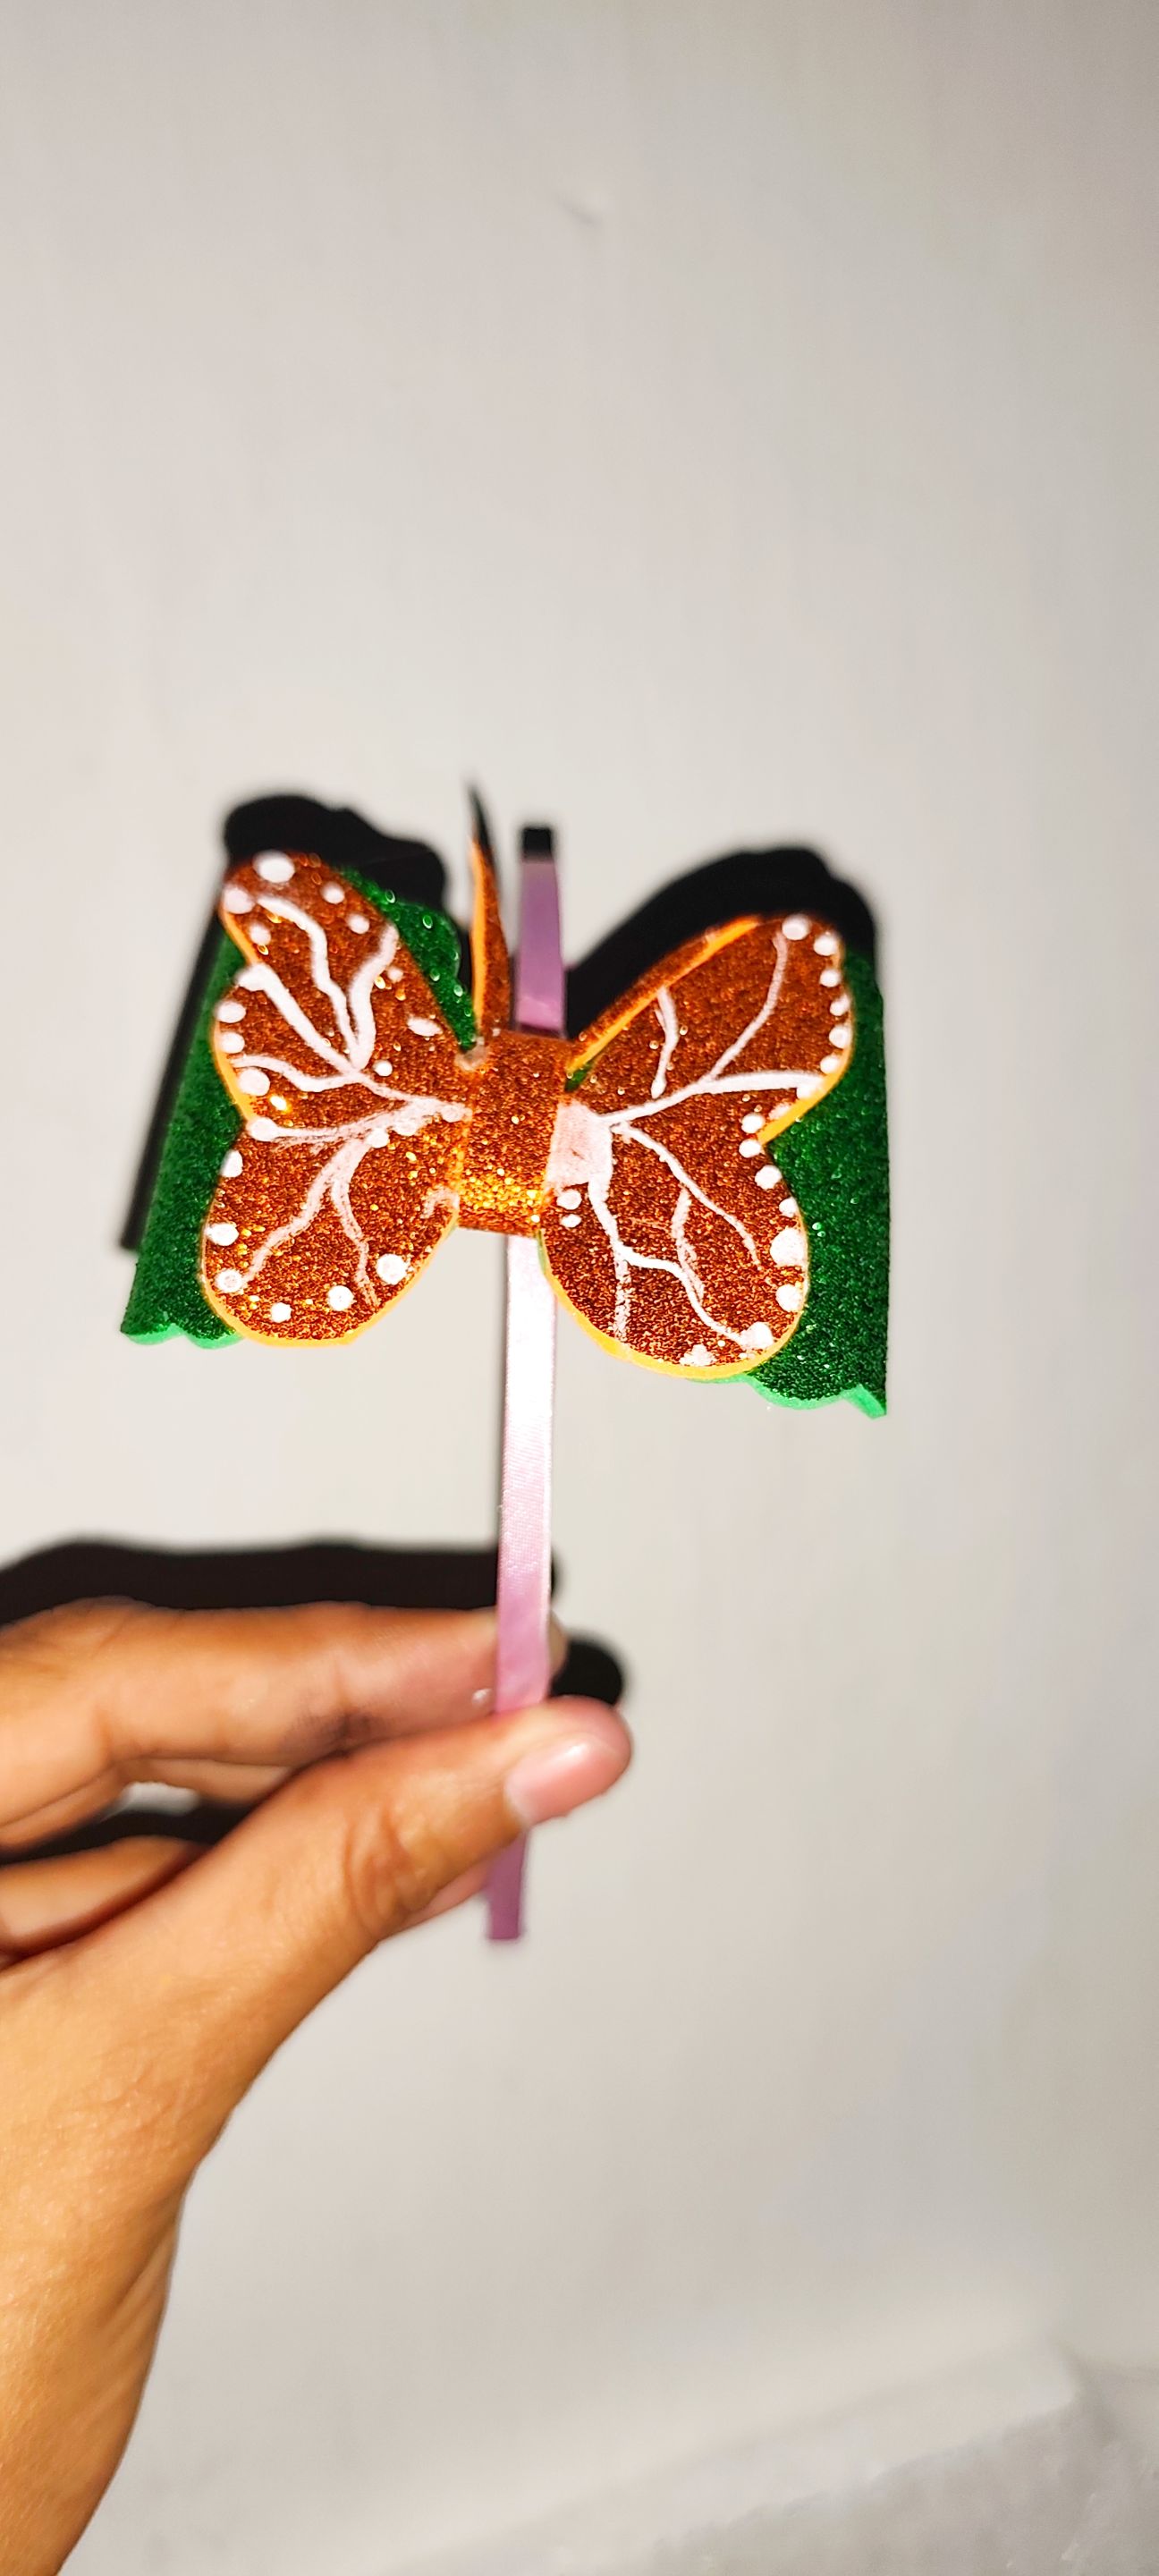
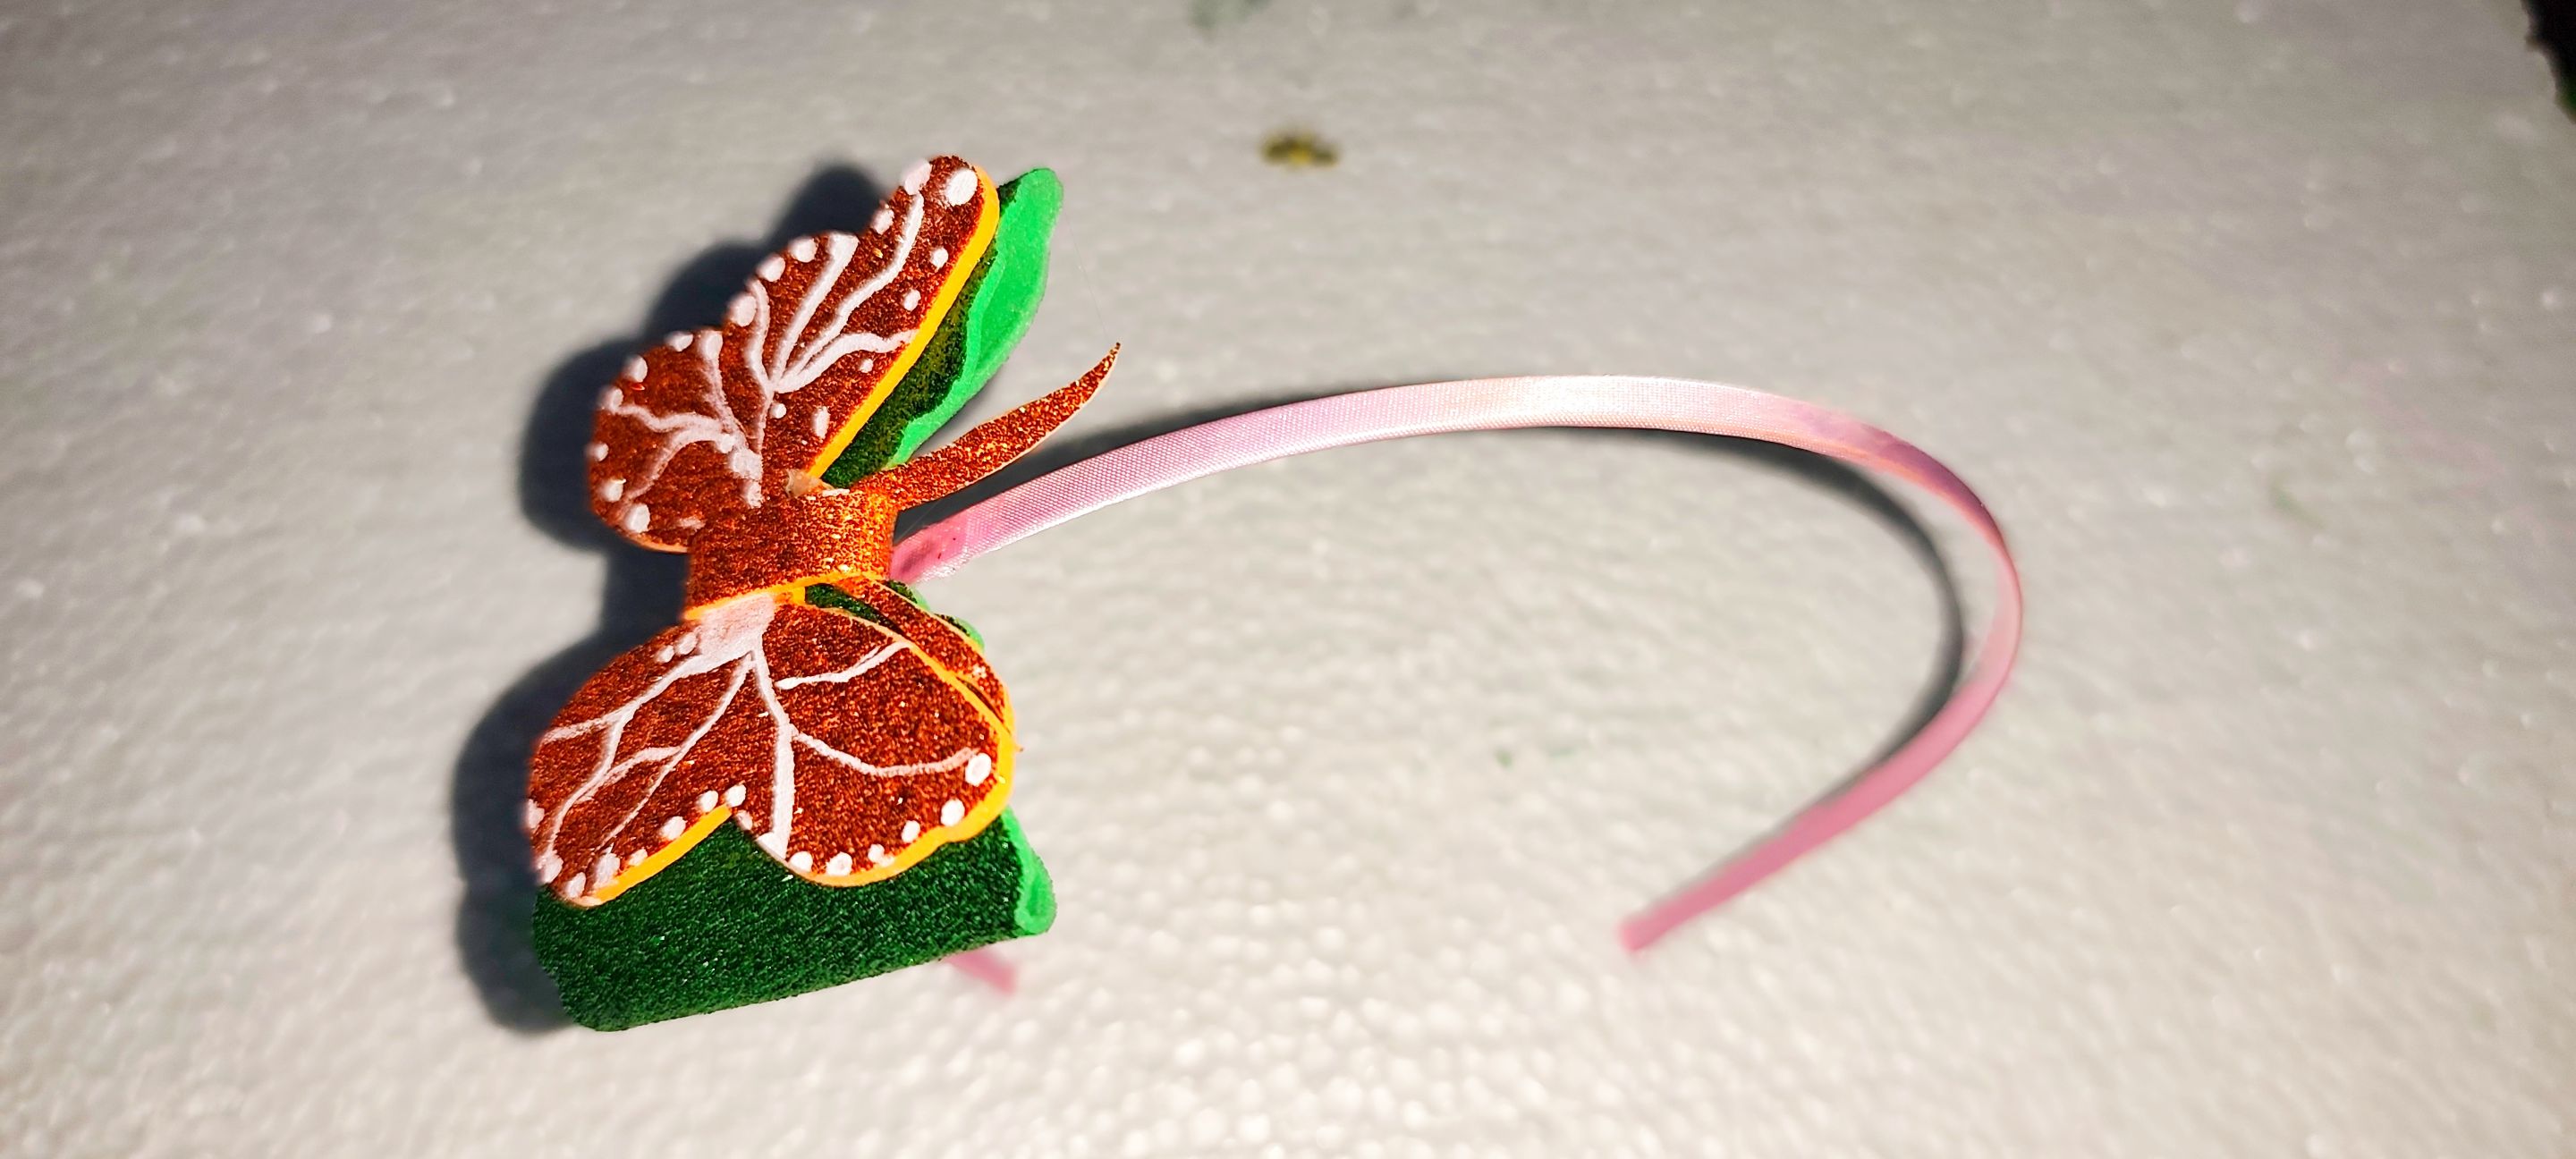
El trabajo de mi hoy es un hermoso y colorido cintillo, en tonos naranja y verde que hacen que le dan vistosidad a este trabajo, además trabajé con foami escarchado para hacerlo lucir más y que de seguro tu princesa lo hará lucir de manera inigualable.
🦋 MATERIALES 🦋
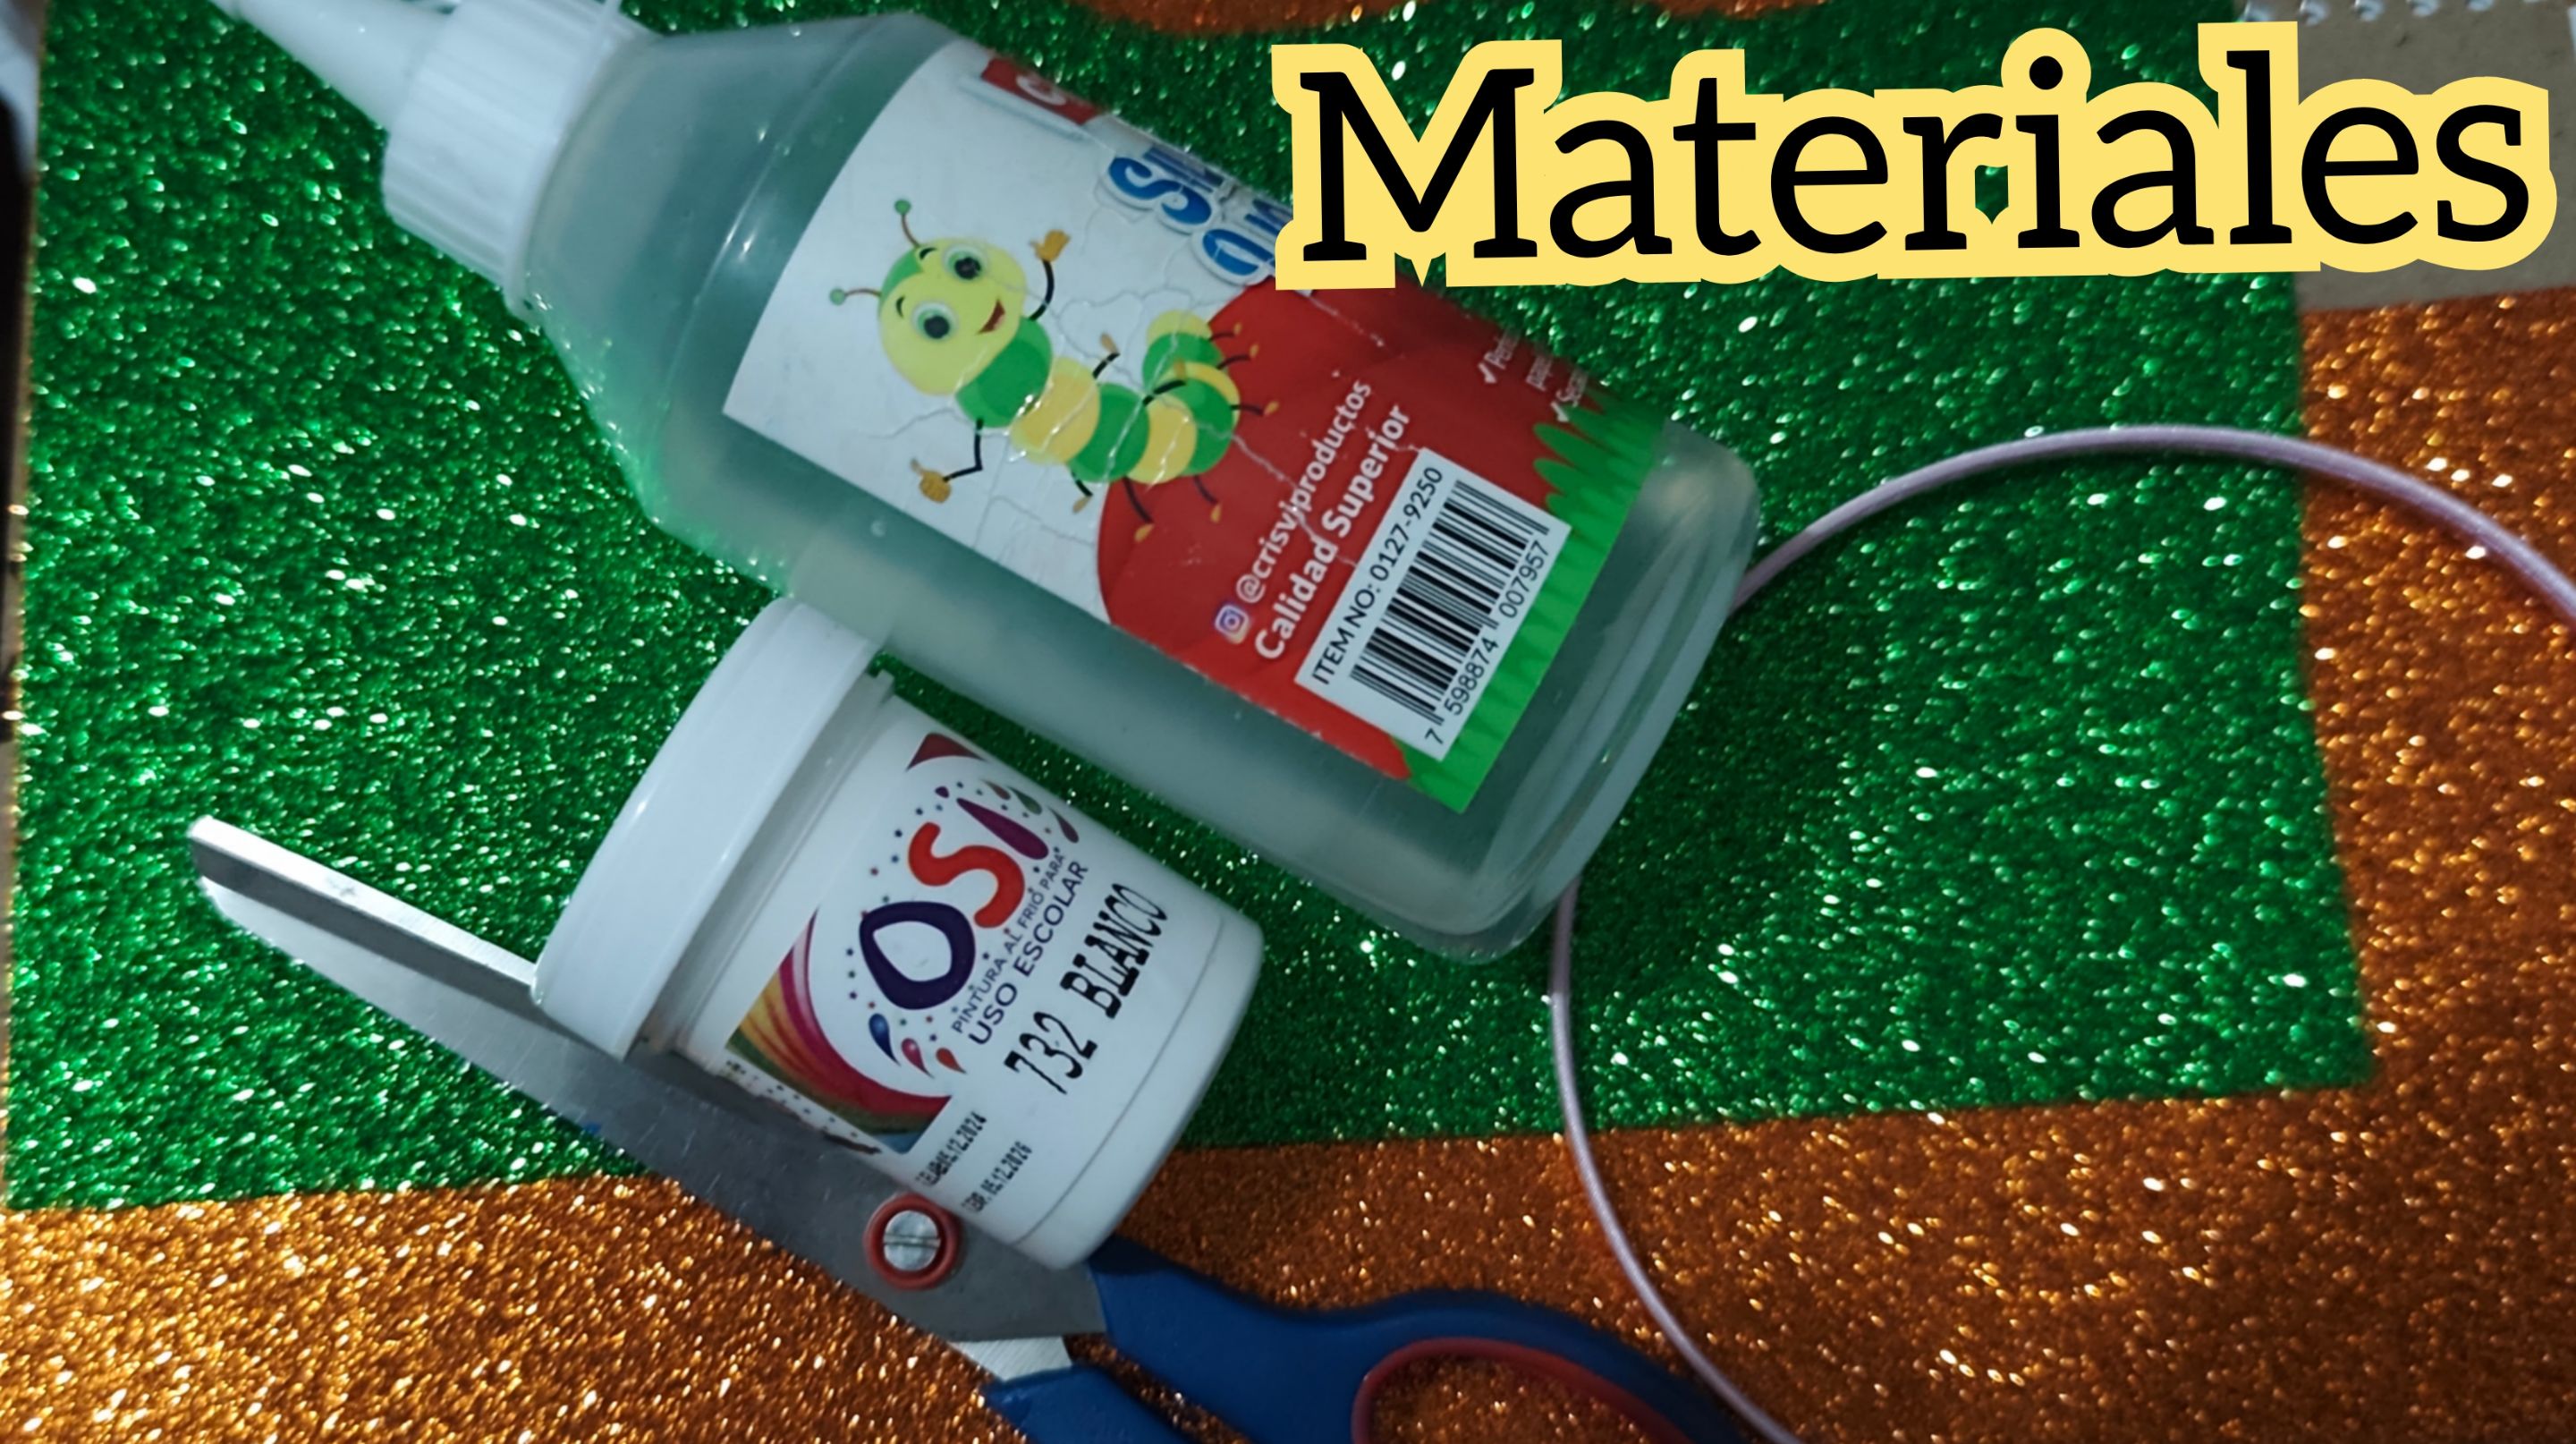
🦋 Foami escarchado Naranja.
🦋 Foami escarchado verde.
🦋 Silicón líquido.
🦋 Cintillo base.
🦋 Pintura al frio blanca.
🦋 Pincel.
🦋 Tijera.
🦋 Hoja en blanco.
🦋 Lápiz de creyon.
🦋 PASO A PASO🦋
🦋PASO 1:
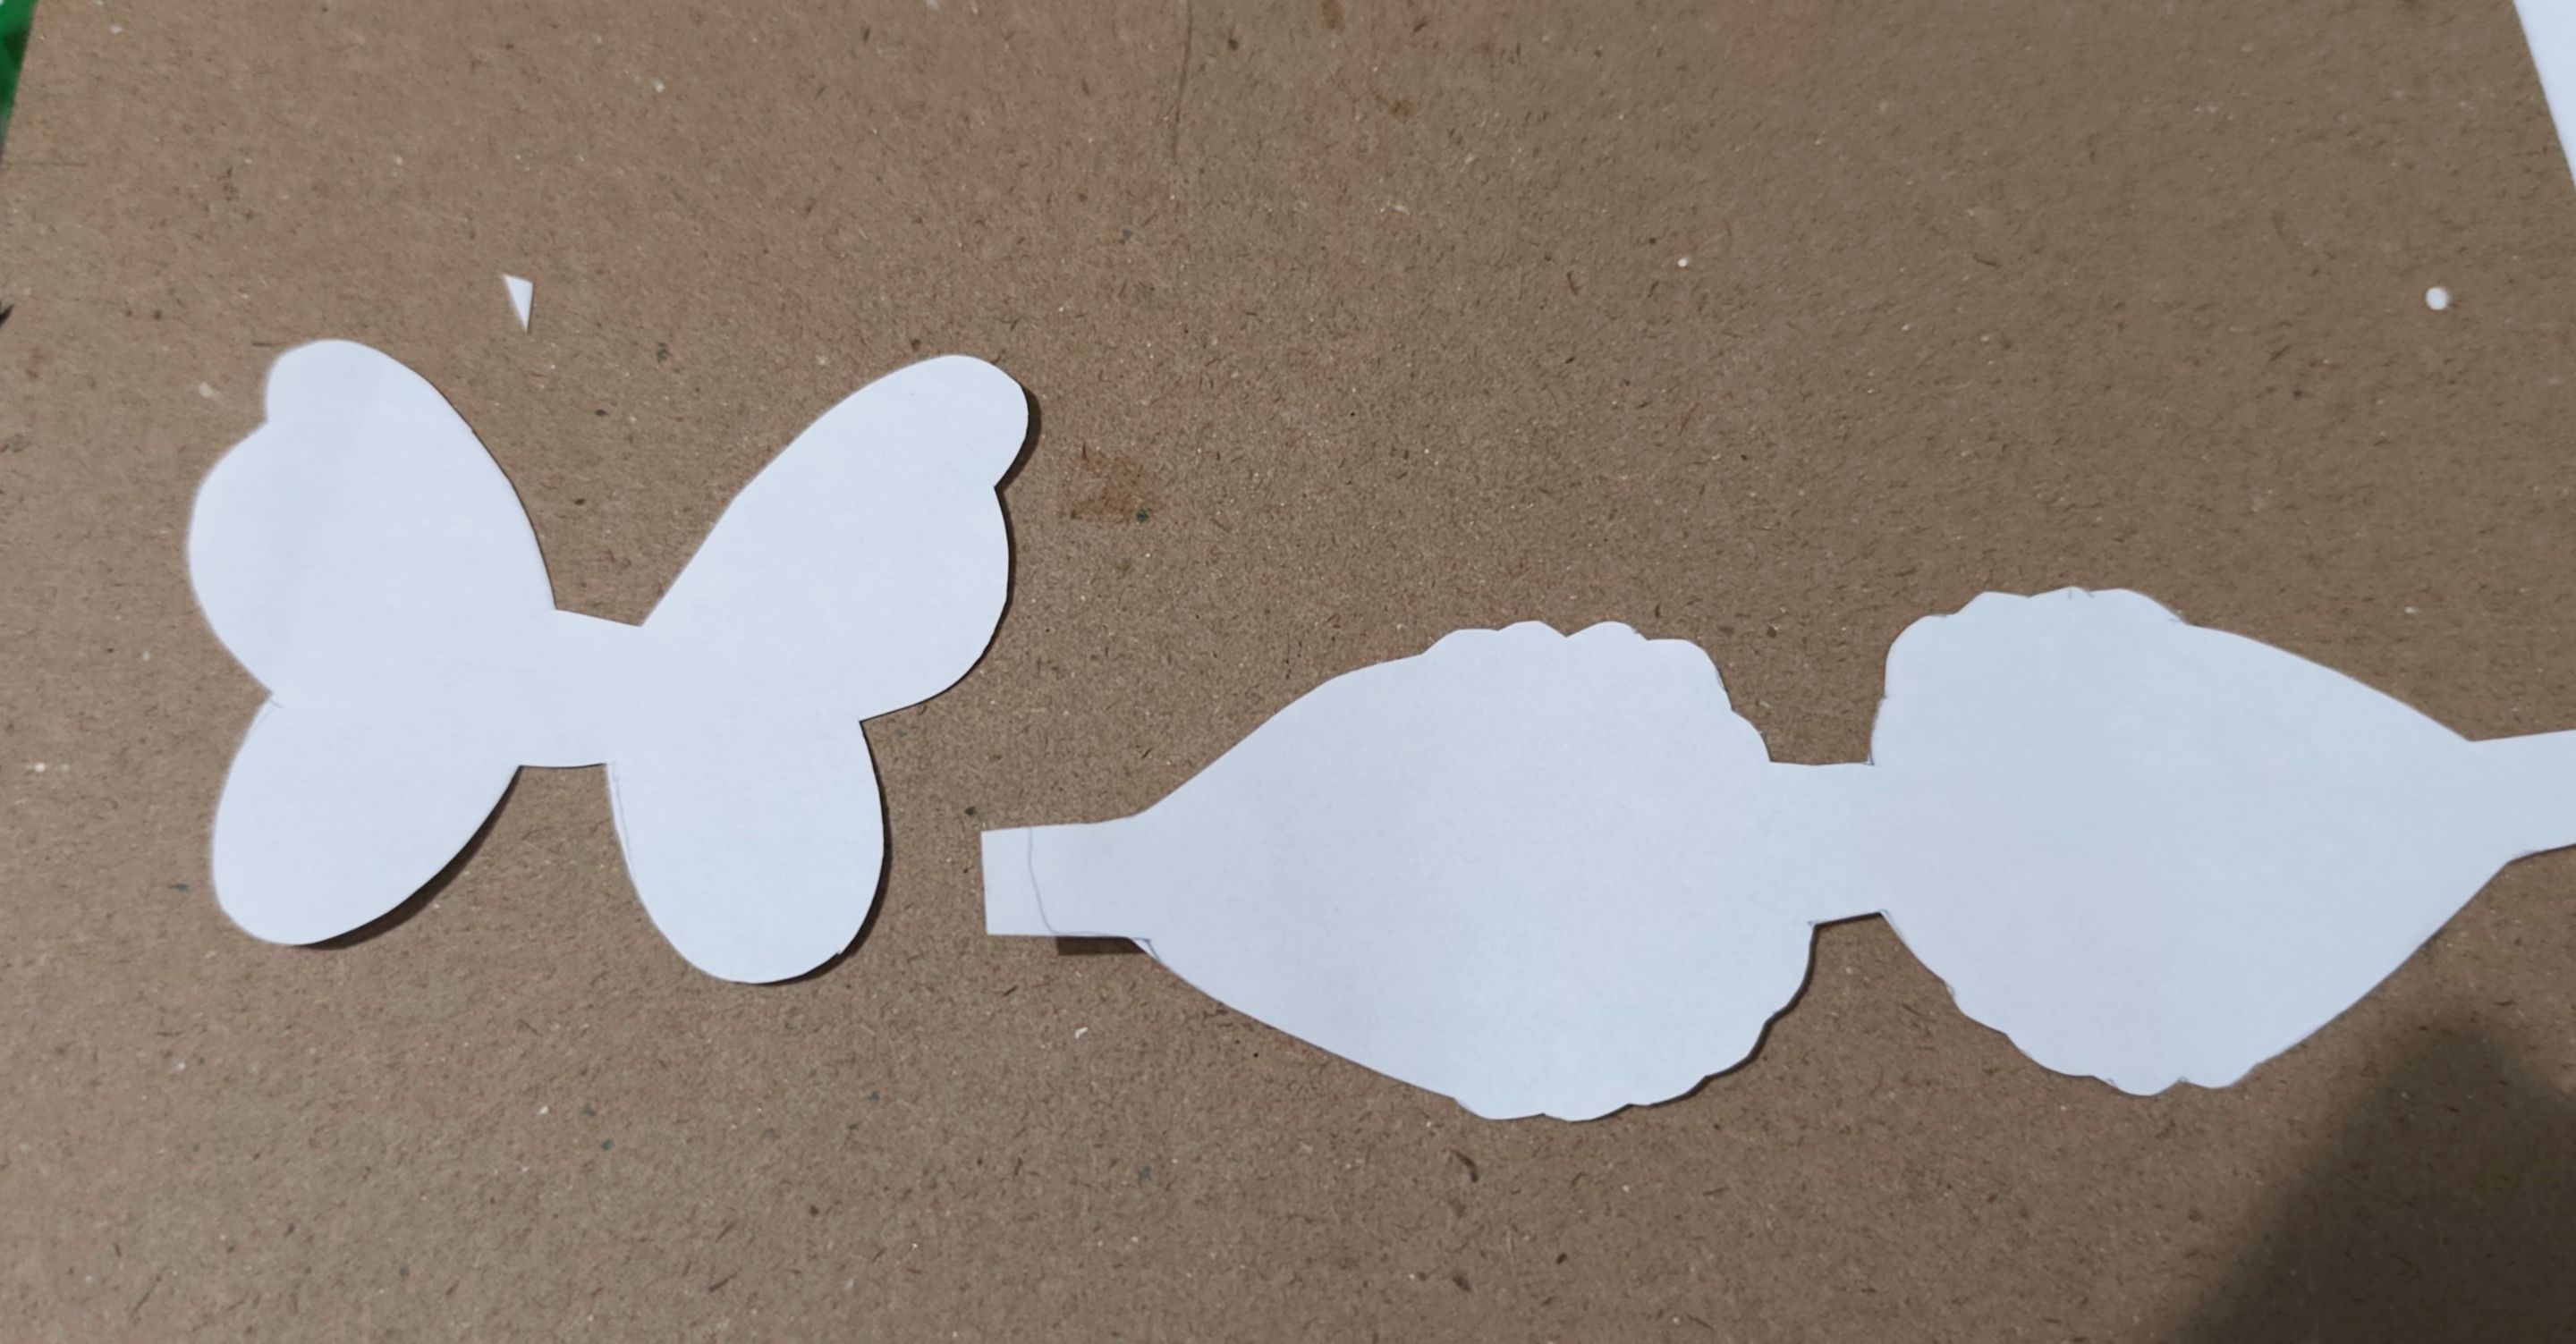
Tome el lápiz y dibujé en la hoja blanca los patrones, en este caso serán dos con los que vamos a trabajar, uno de mariposa y el otro que nos va a servir de base.
🦋 PASO 2:
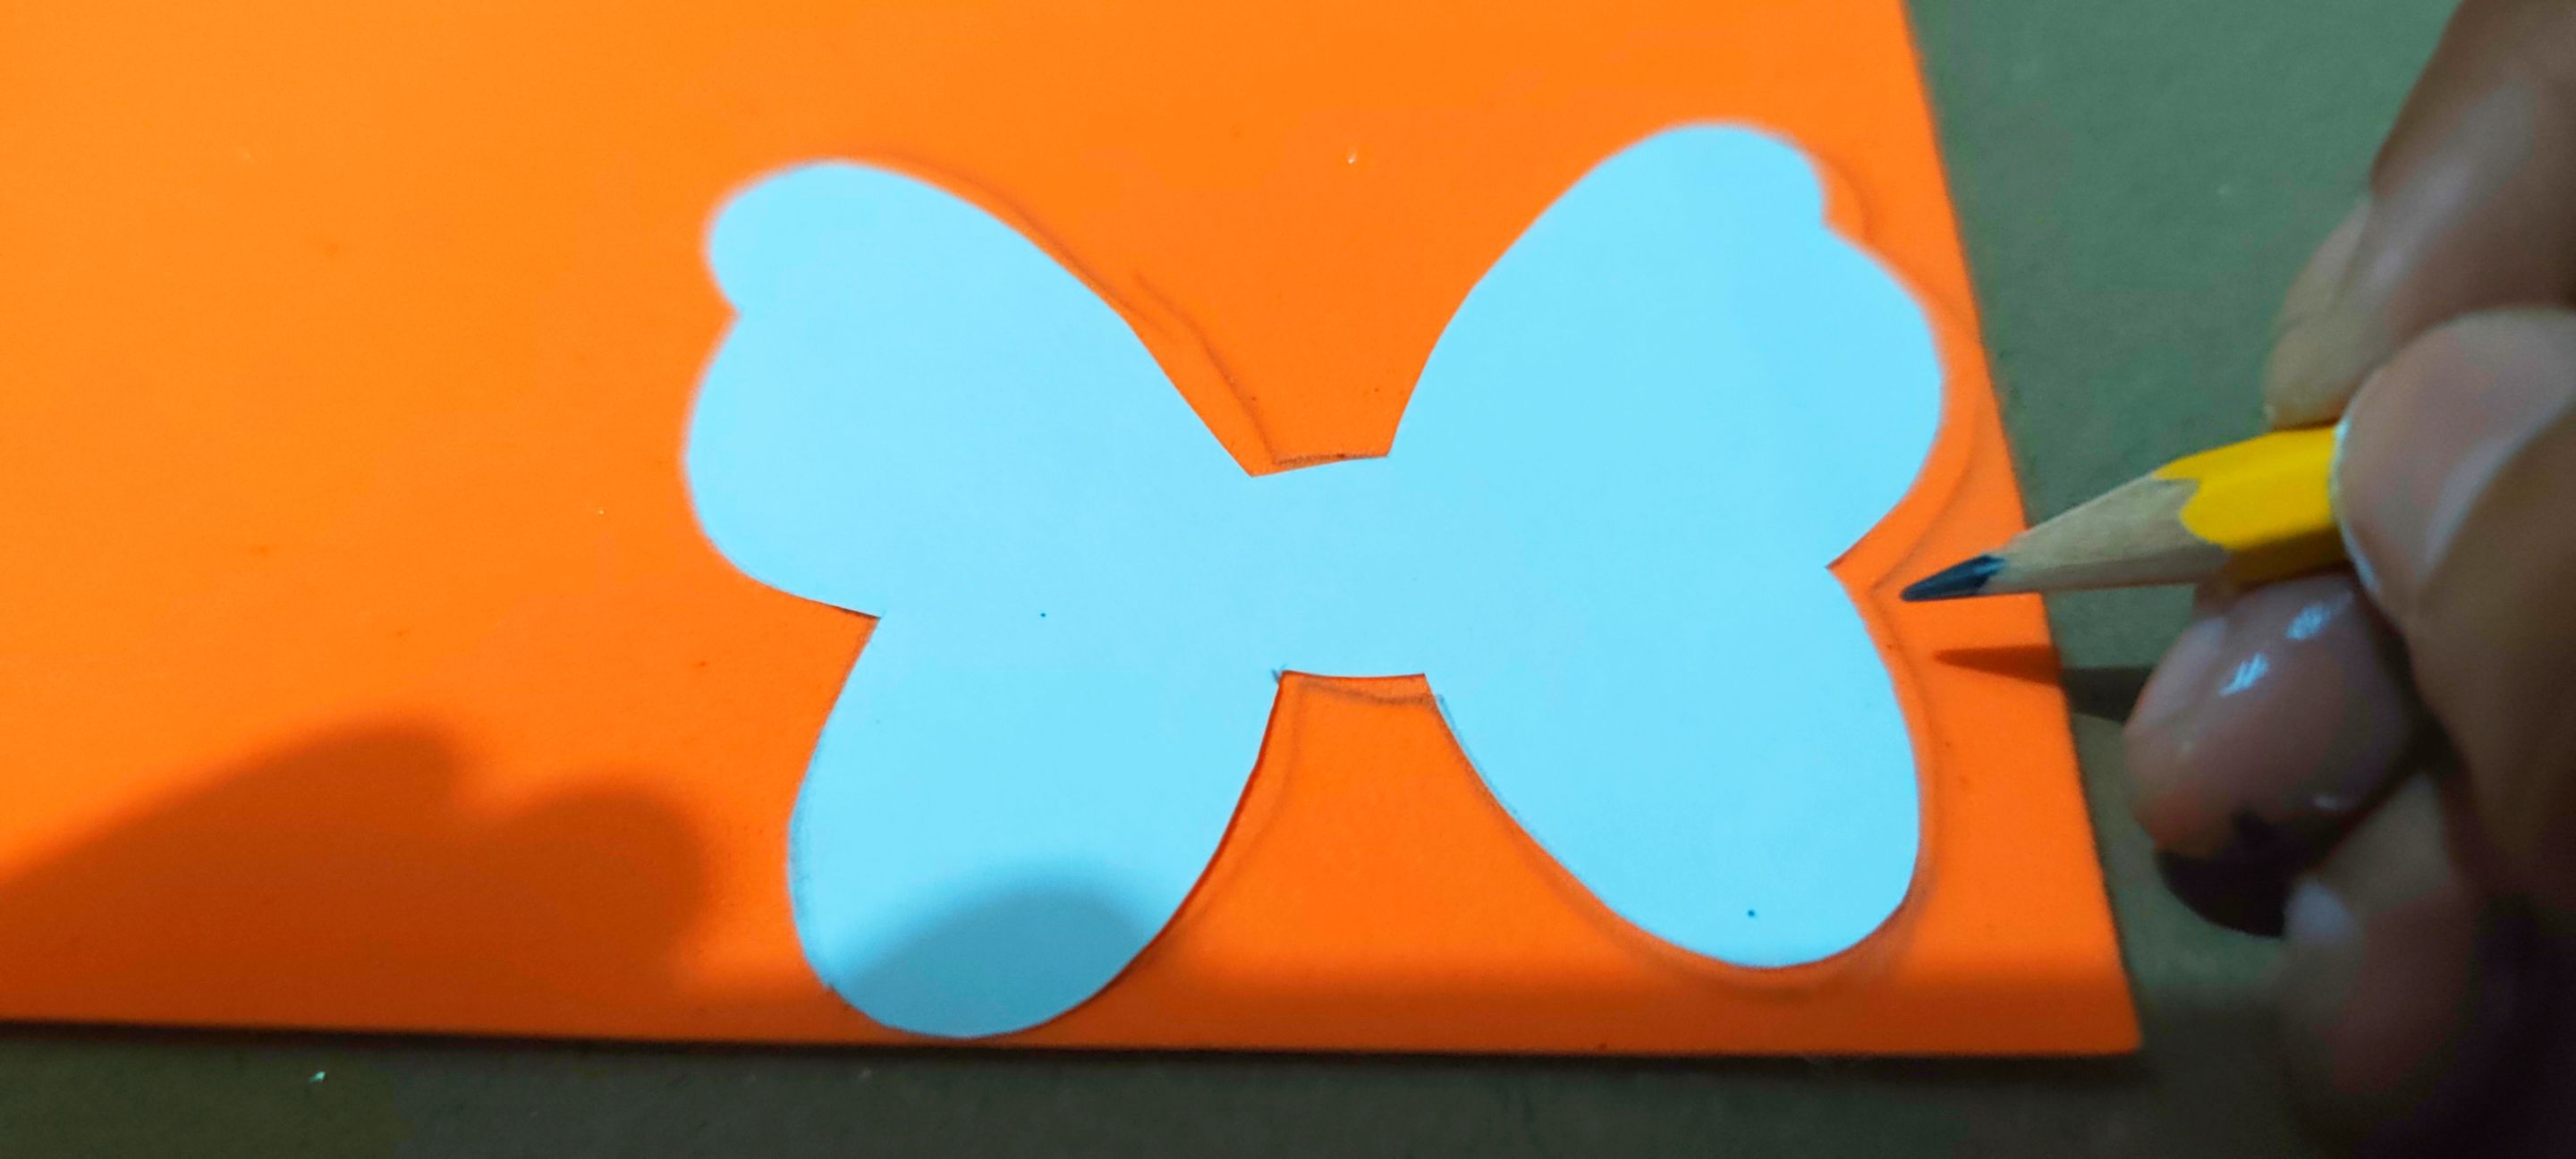
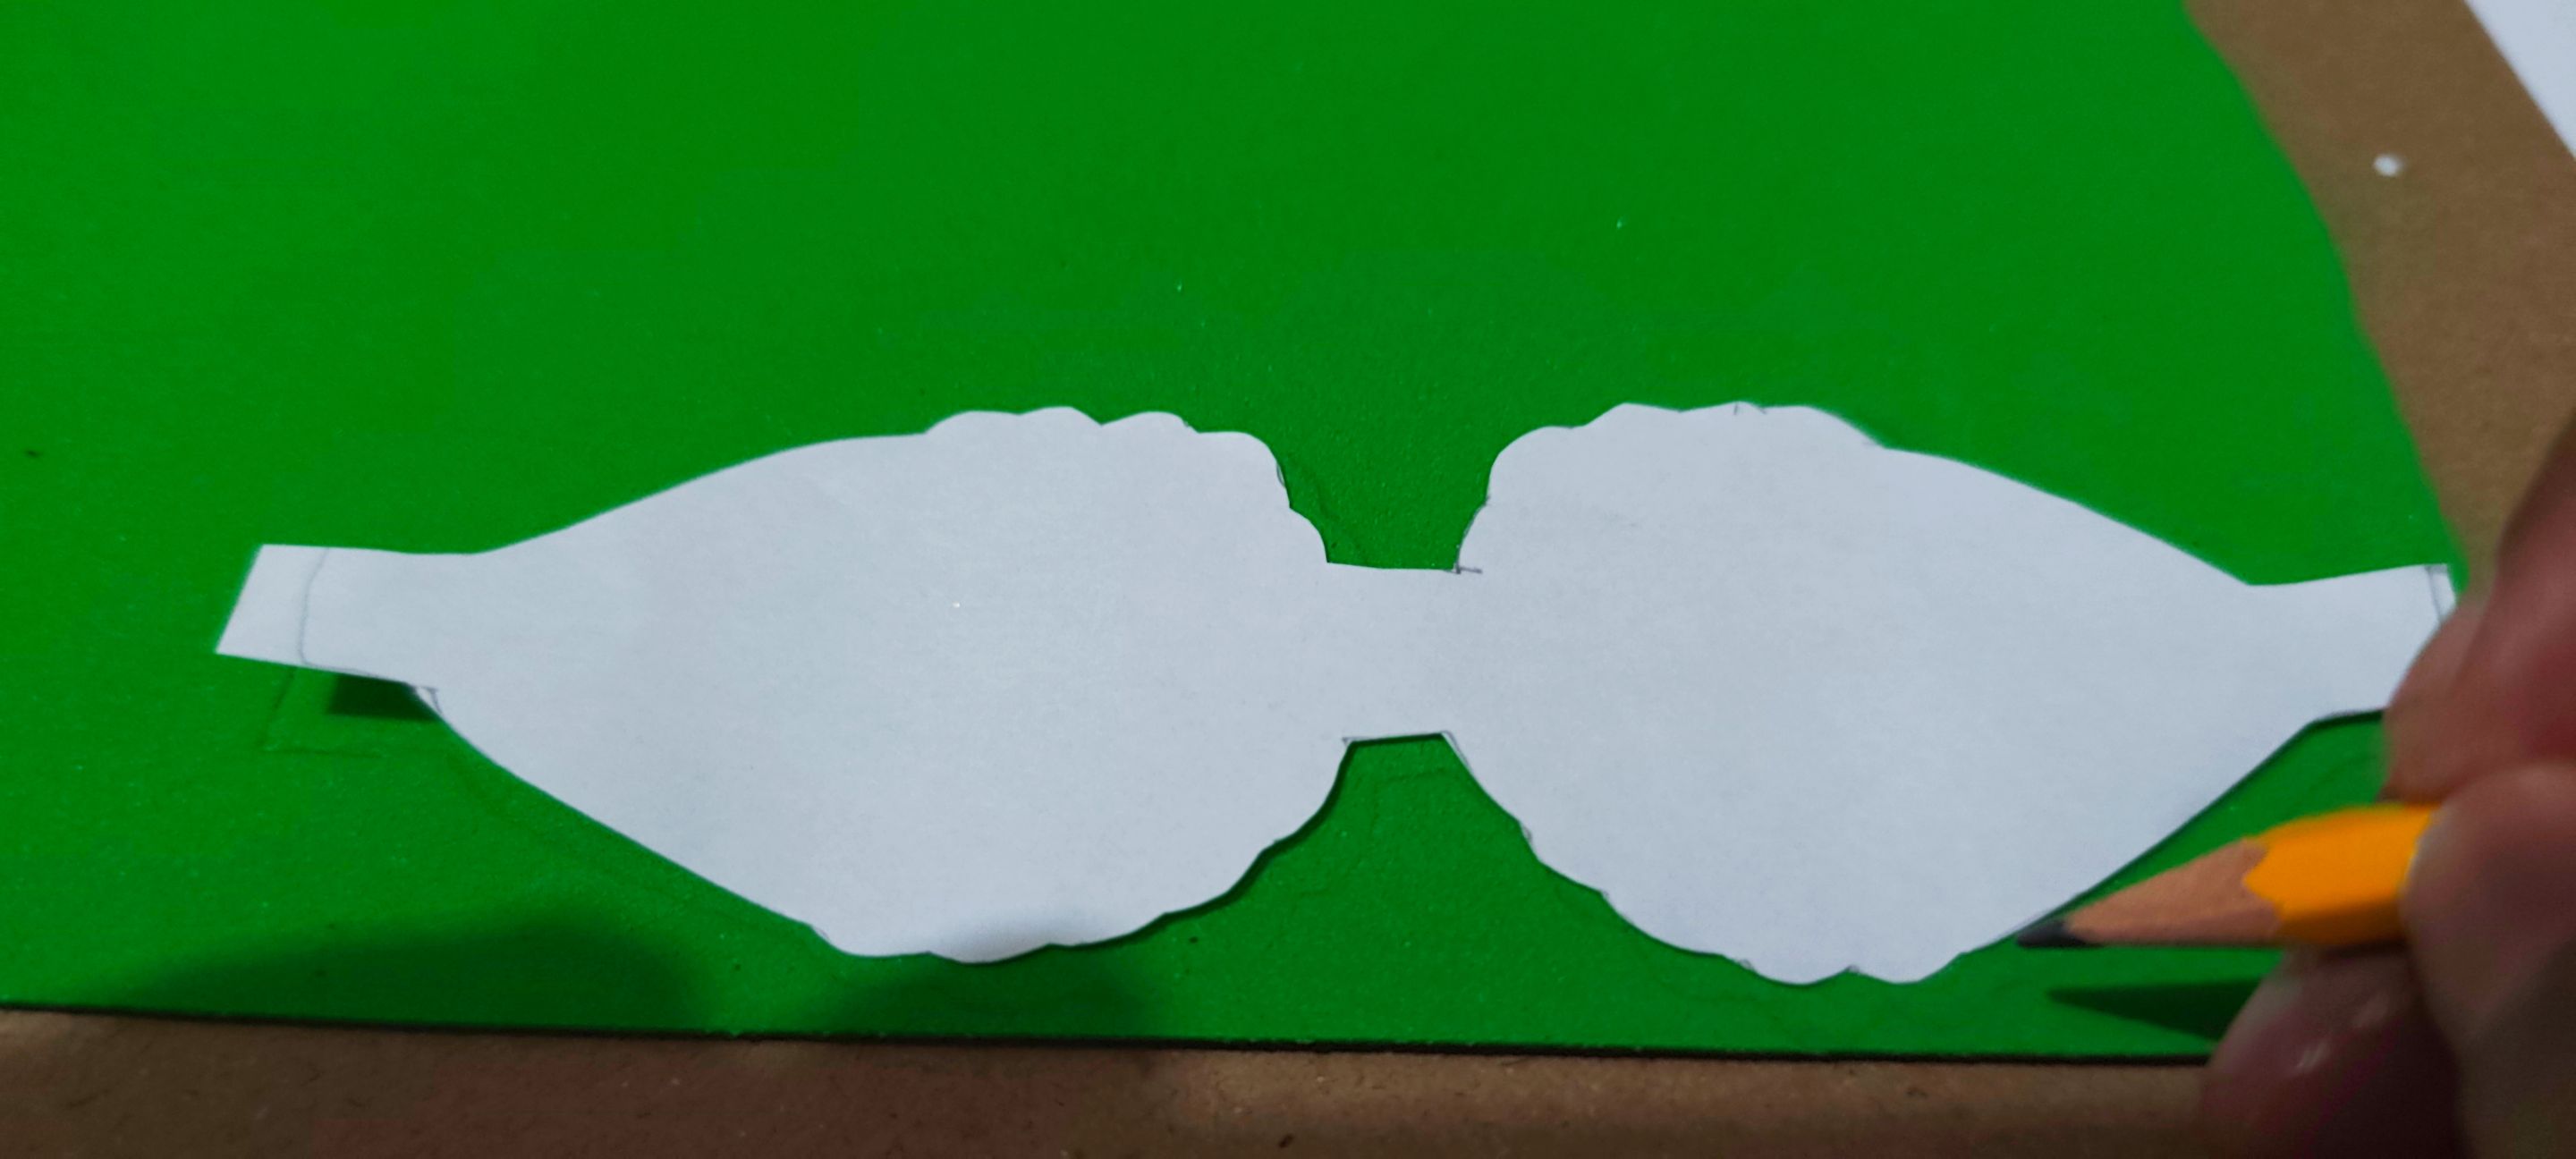
Tome el patrón base y lo colocó en el foami escarchado verde y marcamos, luego hice lo mismo con el patrón de mariposa en el foami escarchado naranja.
🦋 PASO 3:
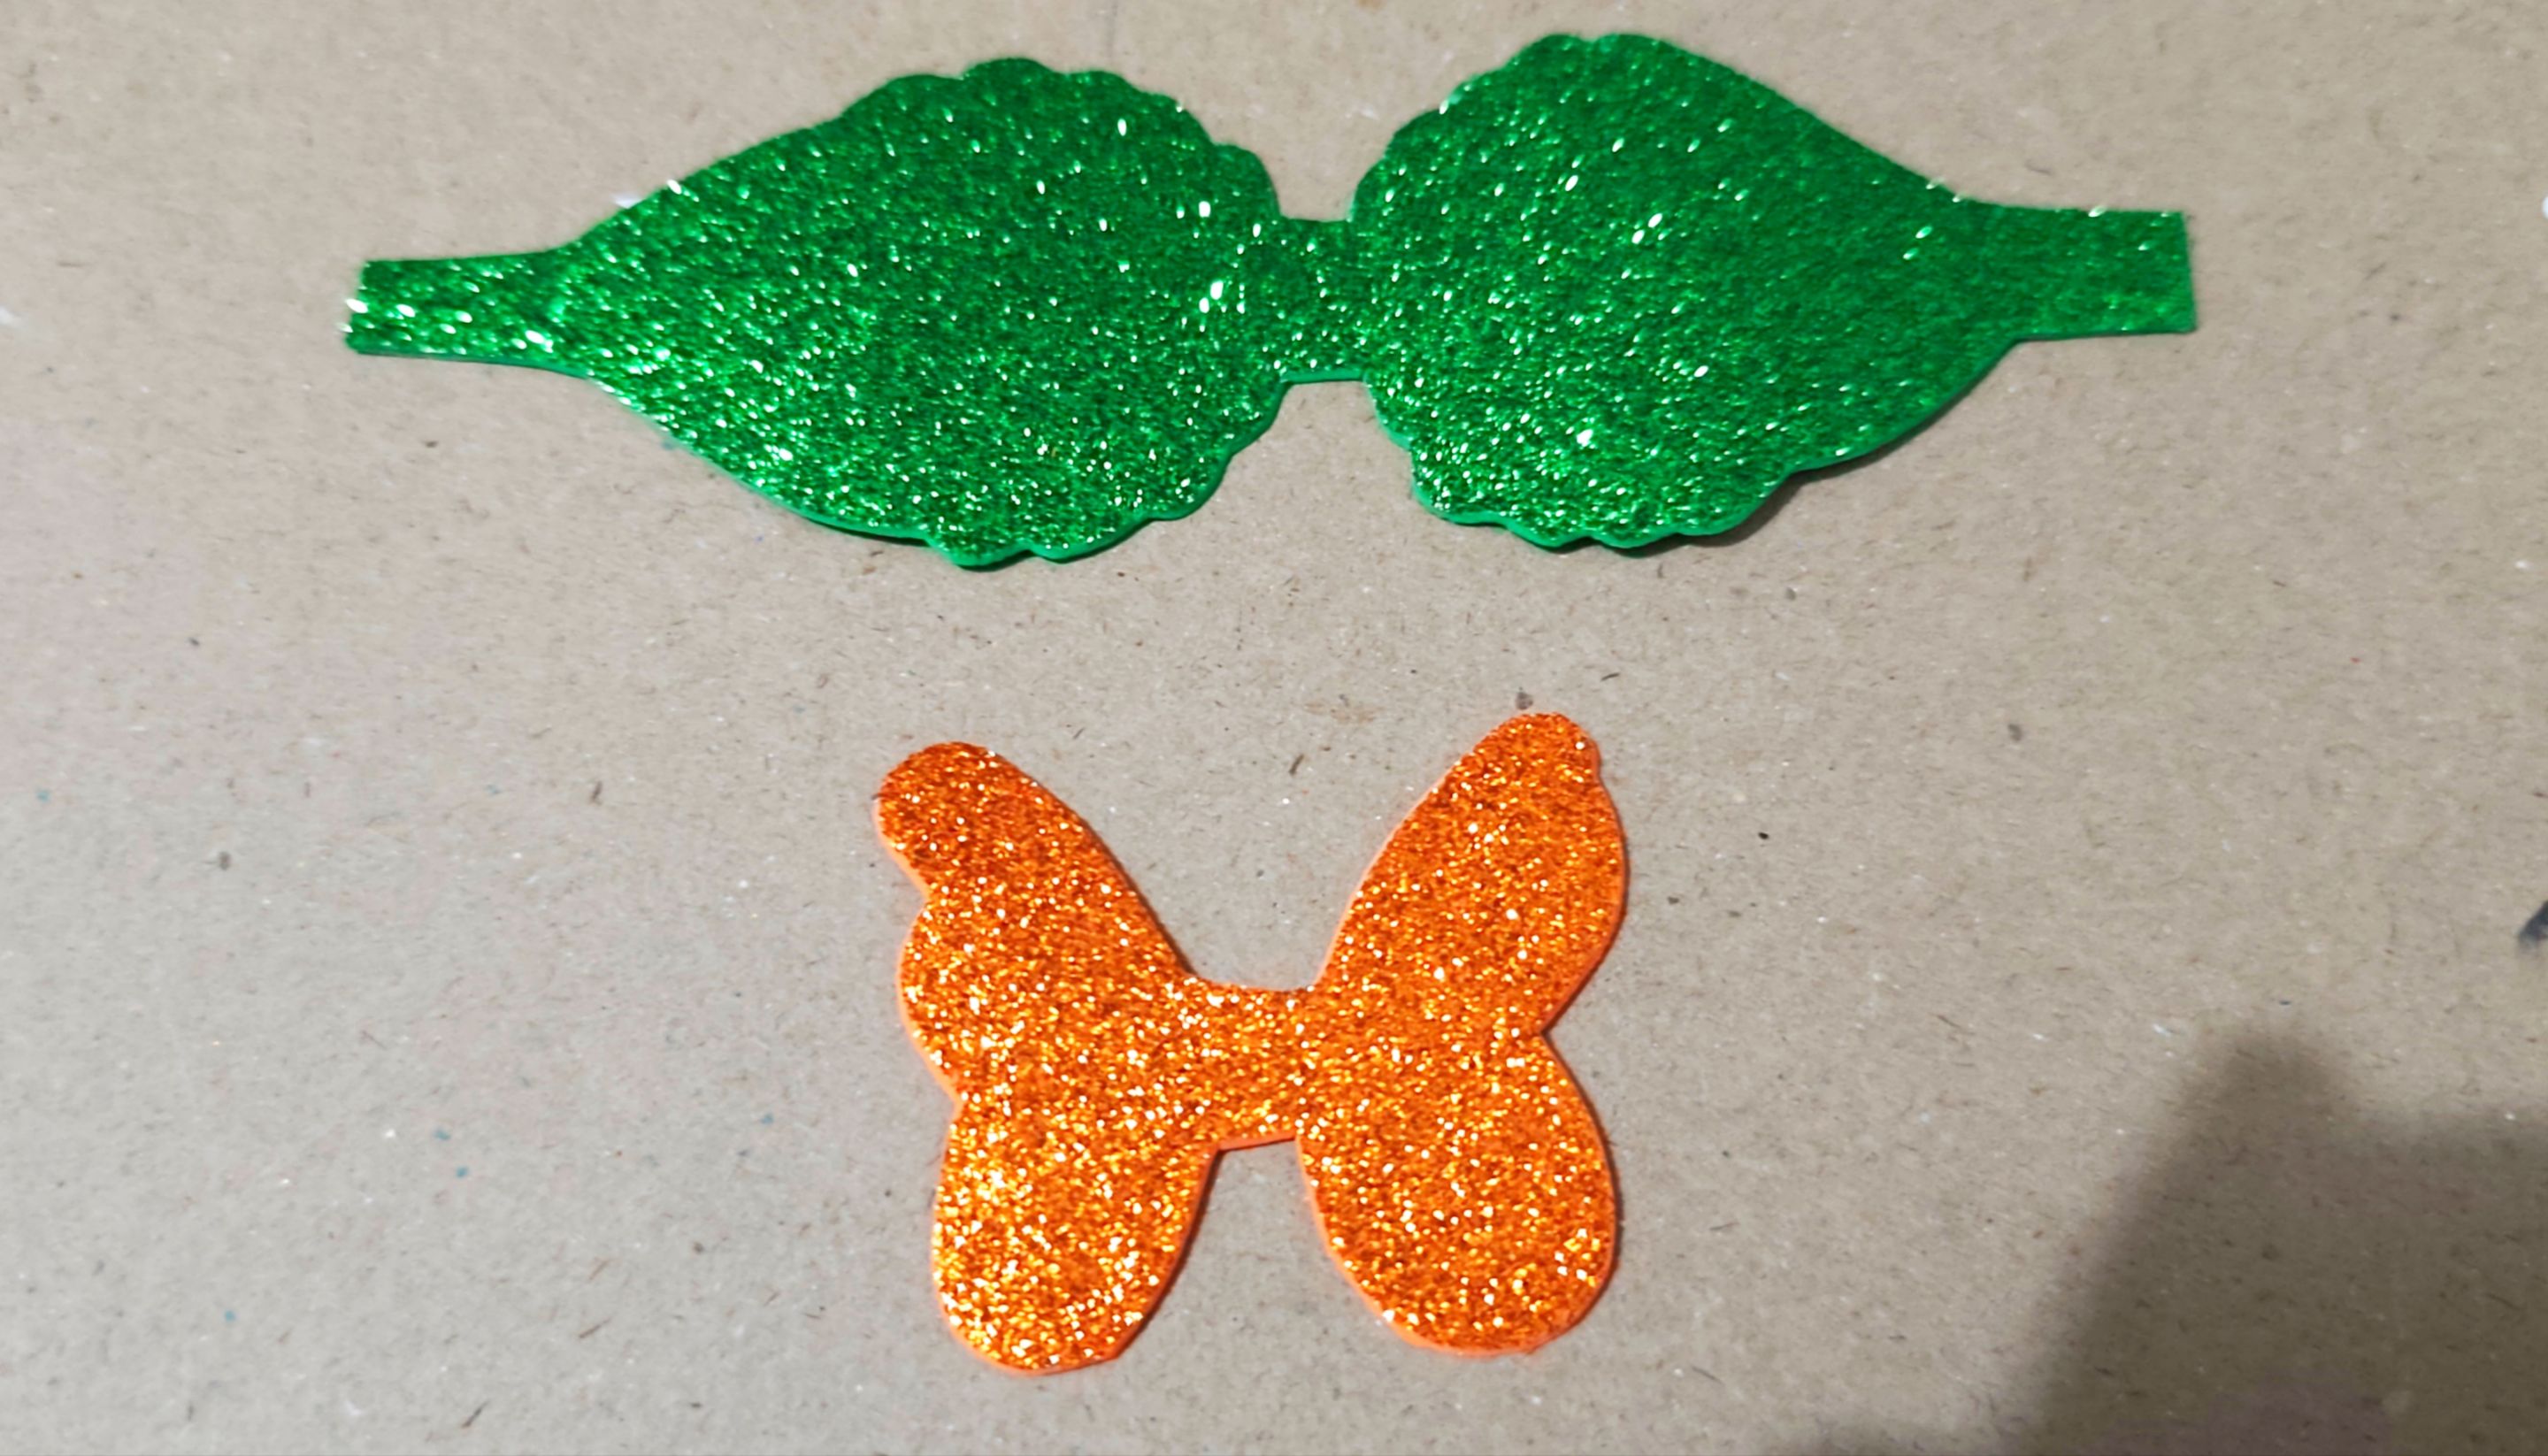
Recortamos ambas figuras dibujadas en los foamis, con ayuda de la tijera.
🦋 PASO 4:
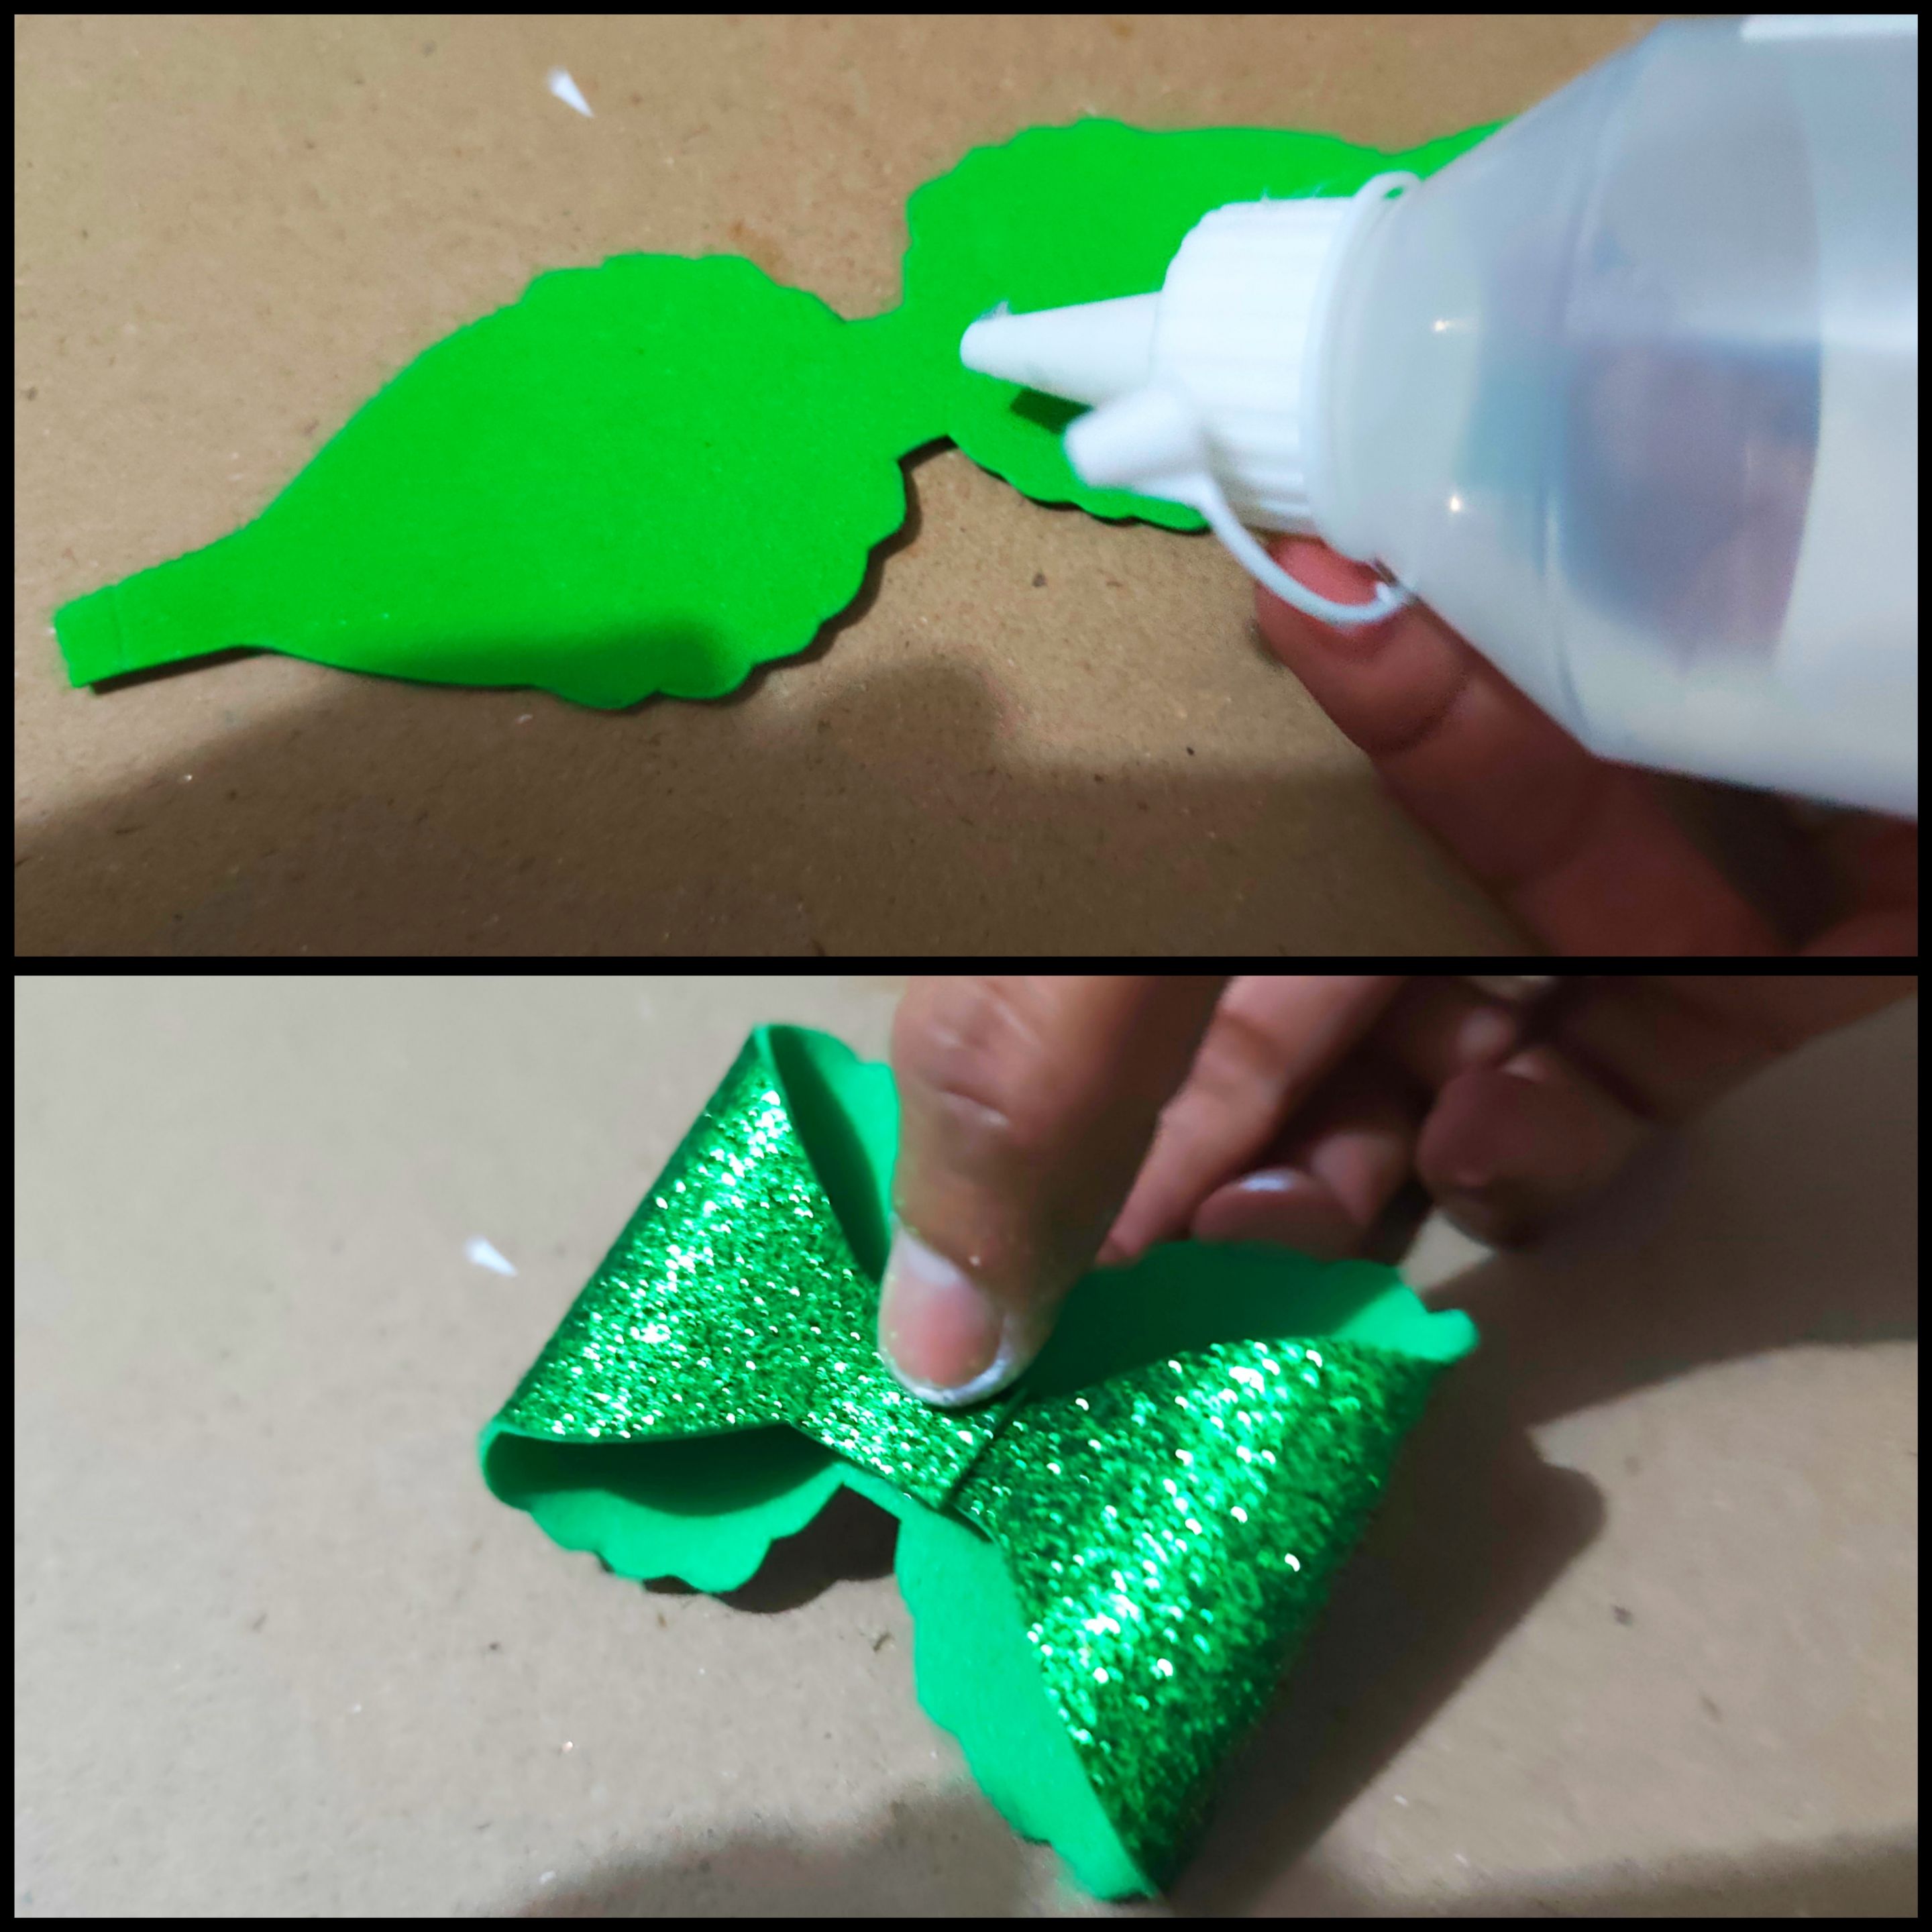
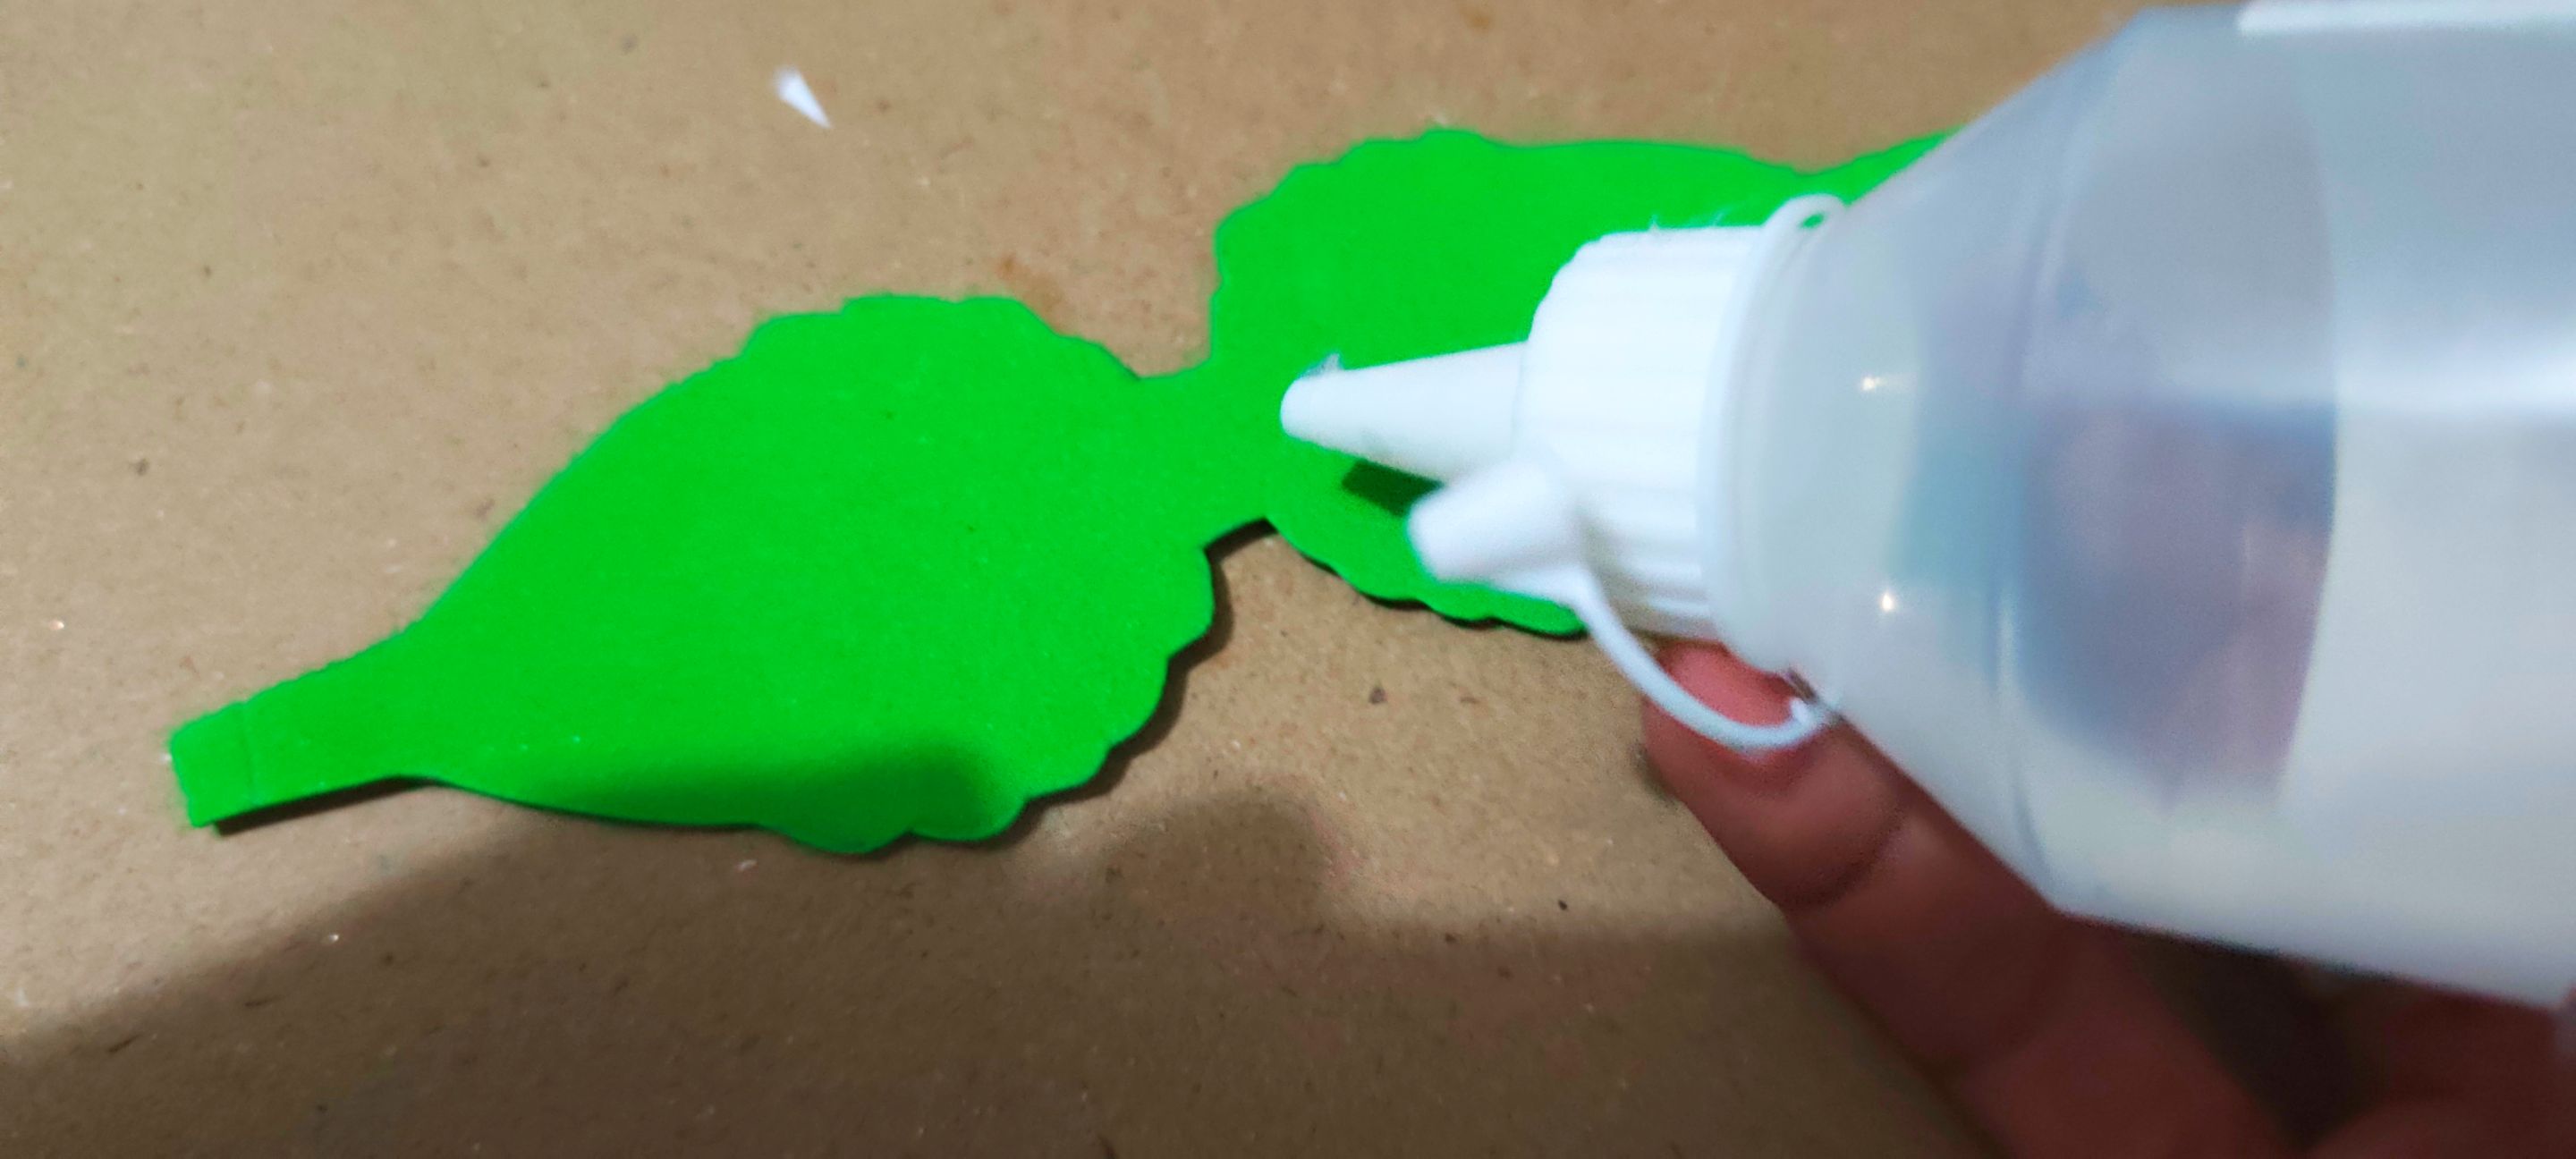
Aplicó silicón líquido en el centro de la pieza de color verde y unimos ambos extremos, también se puede utilizar silicón caliente, depende con lo que se sienta más segura a la hora de trabajar.
🦋 PASO 5:
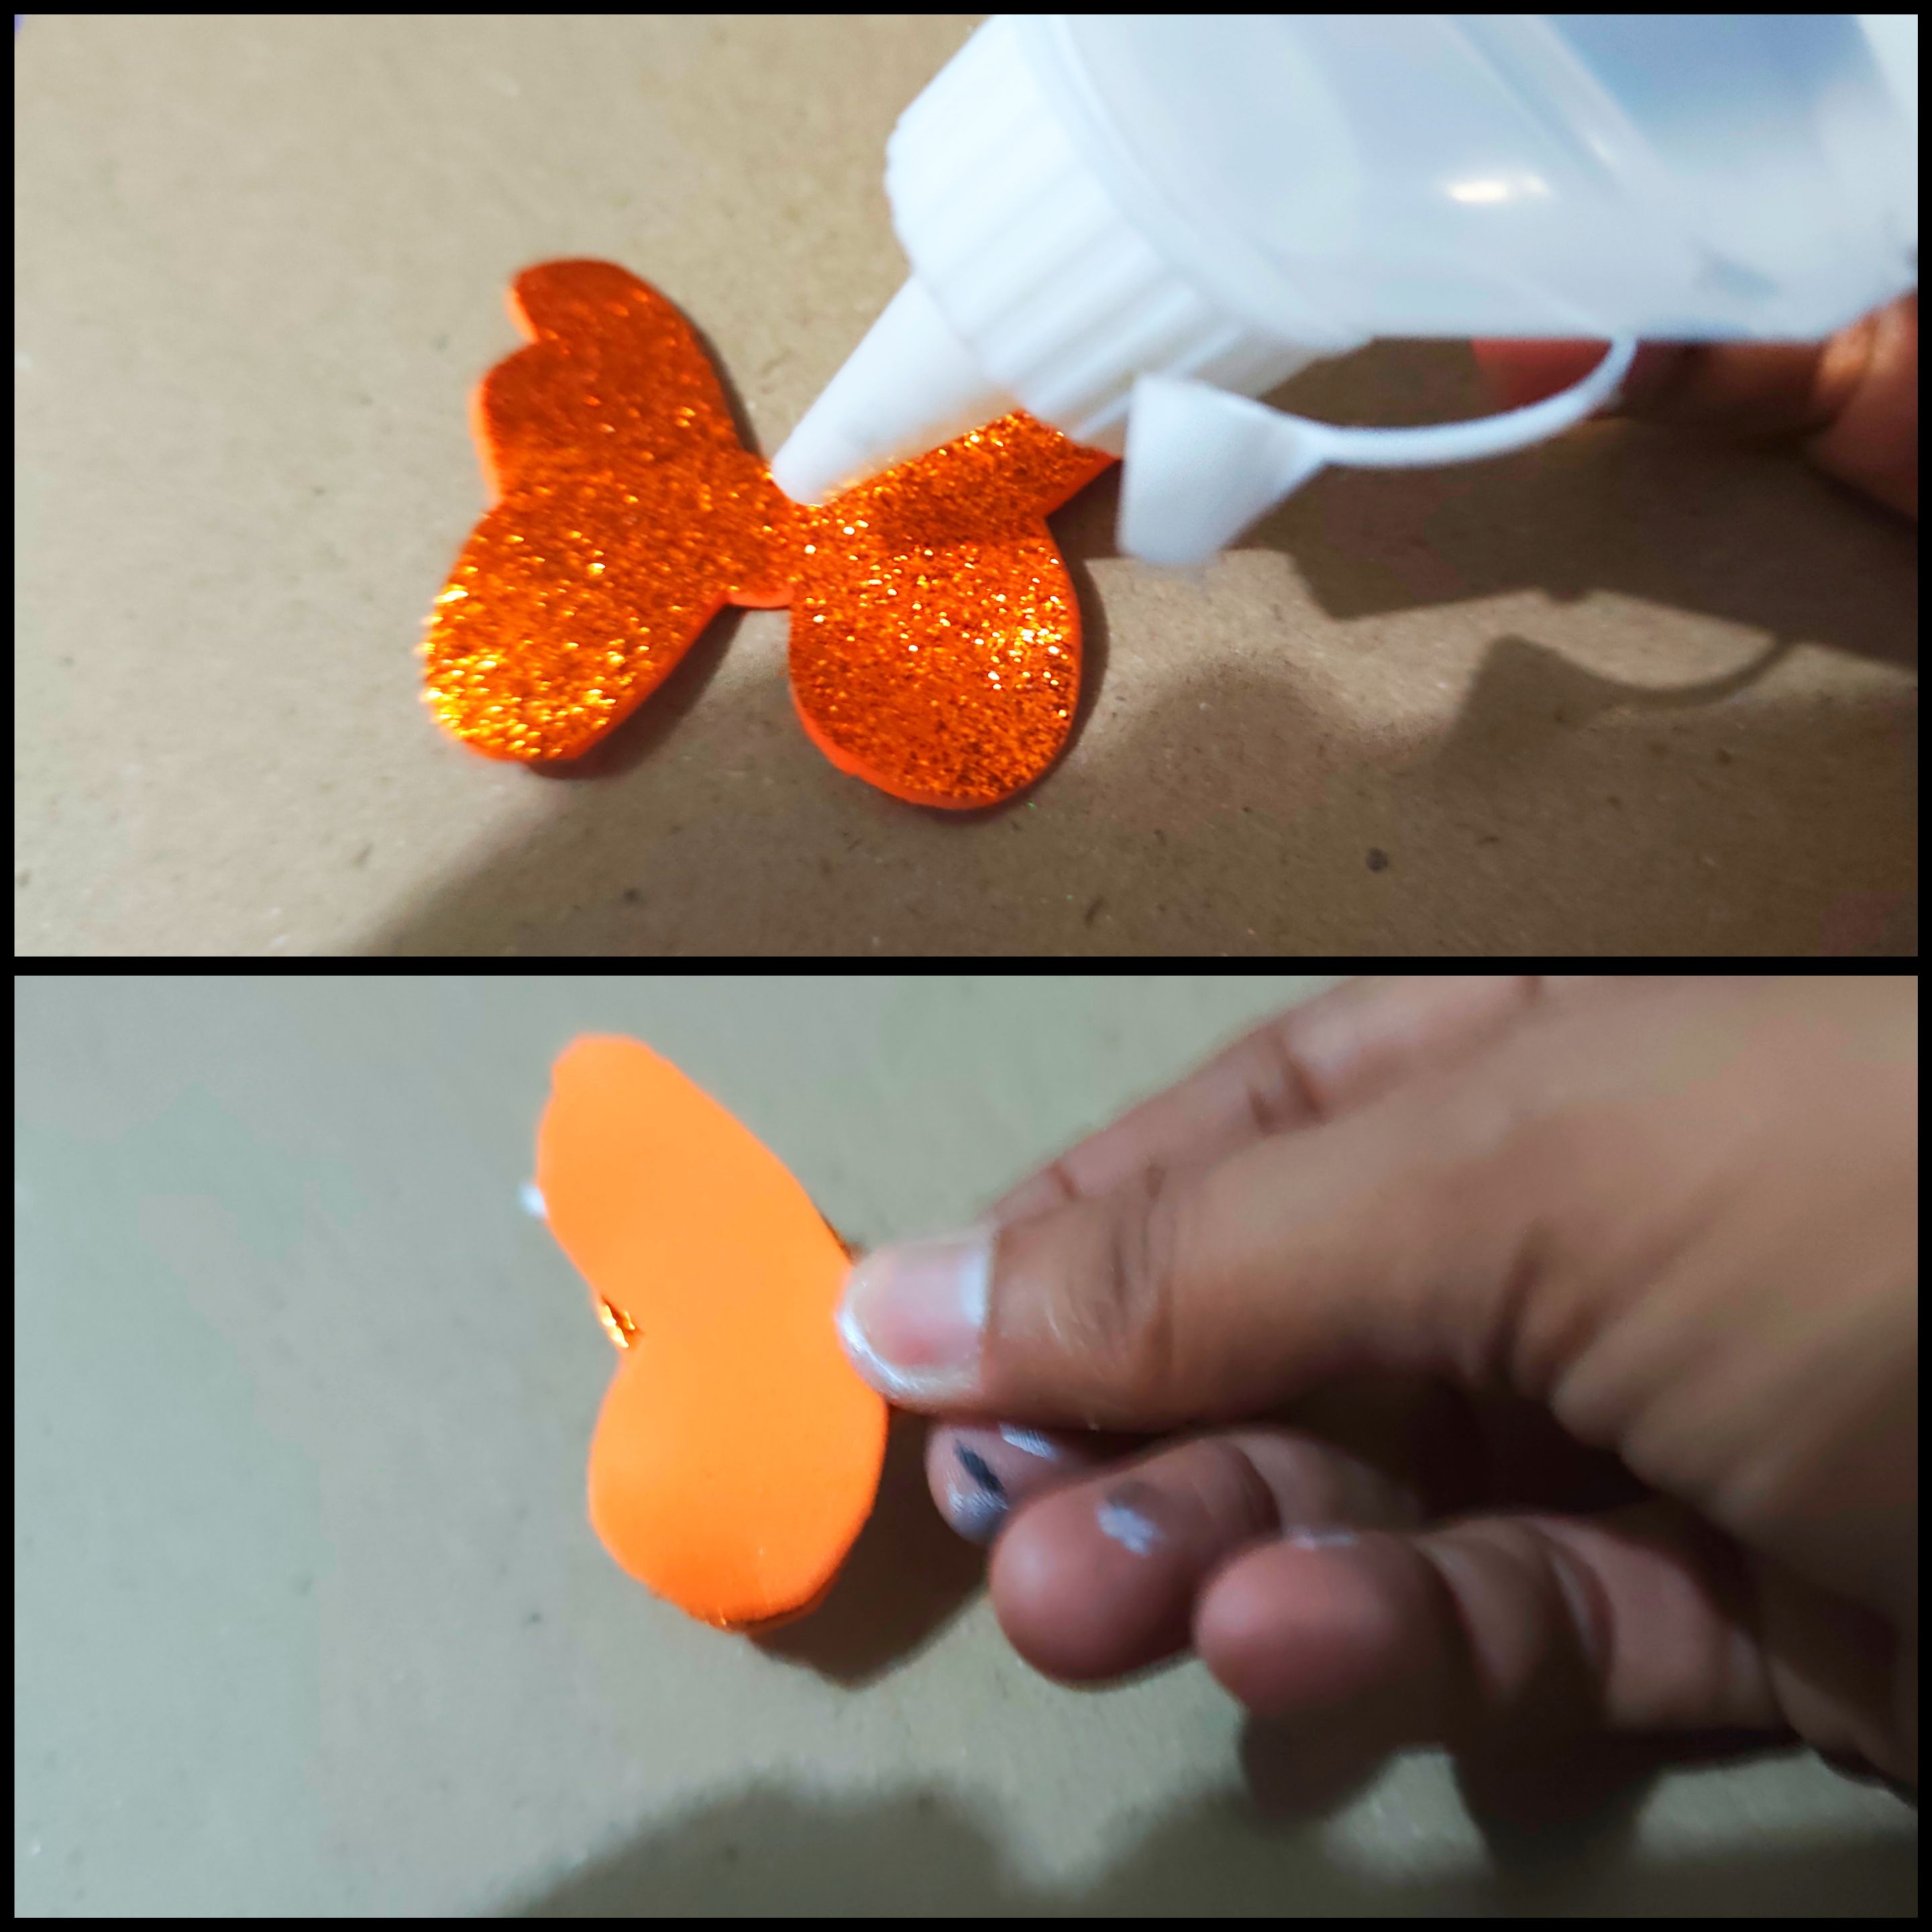
Ahora tomo la pieza naranja con forma de mariposa y le aplicó silicón en el centro y pegamos a la mitad y dejamos secar bien.
🦋 PASO 6:

Cuando ya está seca, abrimos y luego con la pintura blanca y el pincel dibujamos puntos pequeños por el borde de las alas, también le dibujó algunas divisiones.
🦋 PASO 7:
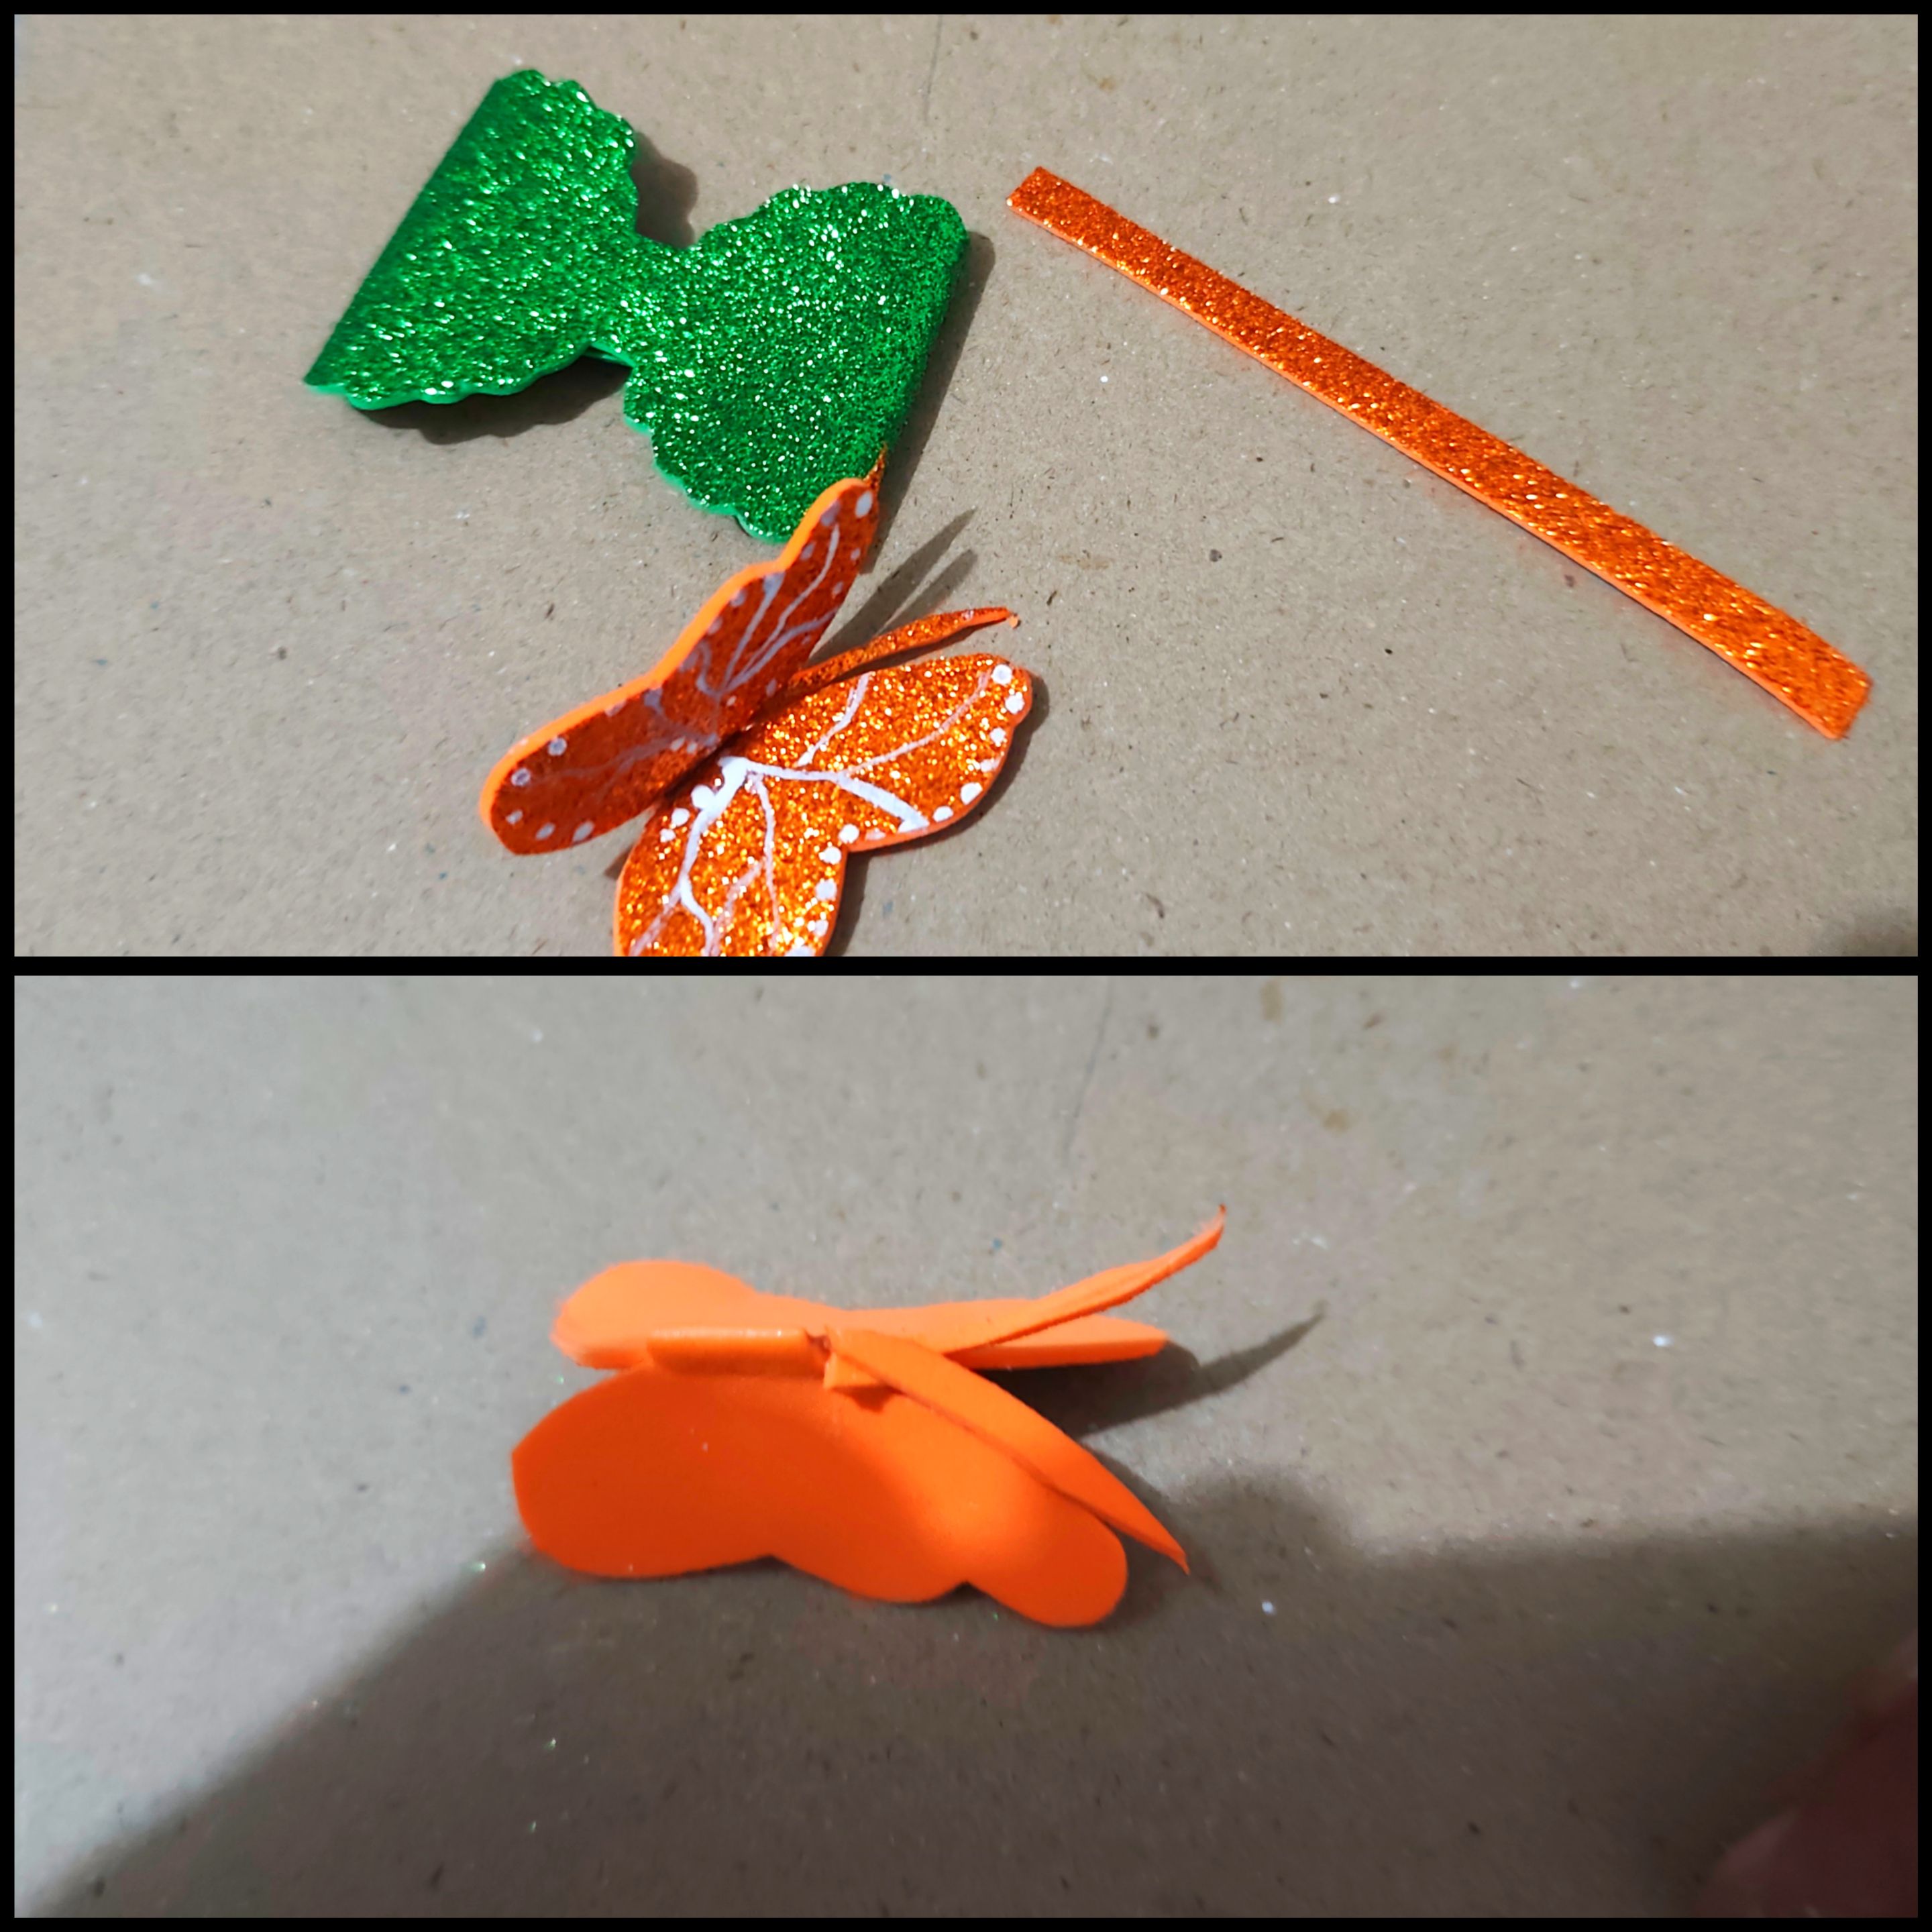
Luego recortamos una tira delgada y dividimos en dos y la pegamos por la parte trasera de la mariposa para formar las antenitas.
🦋 PASO 8:
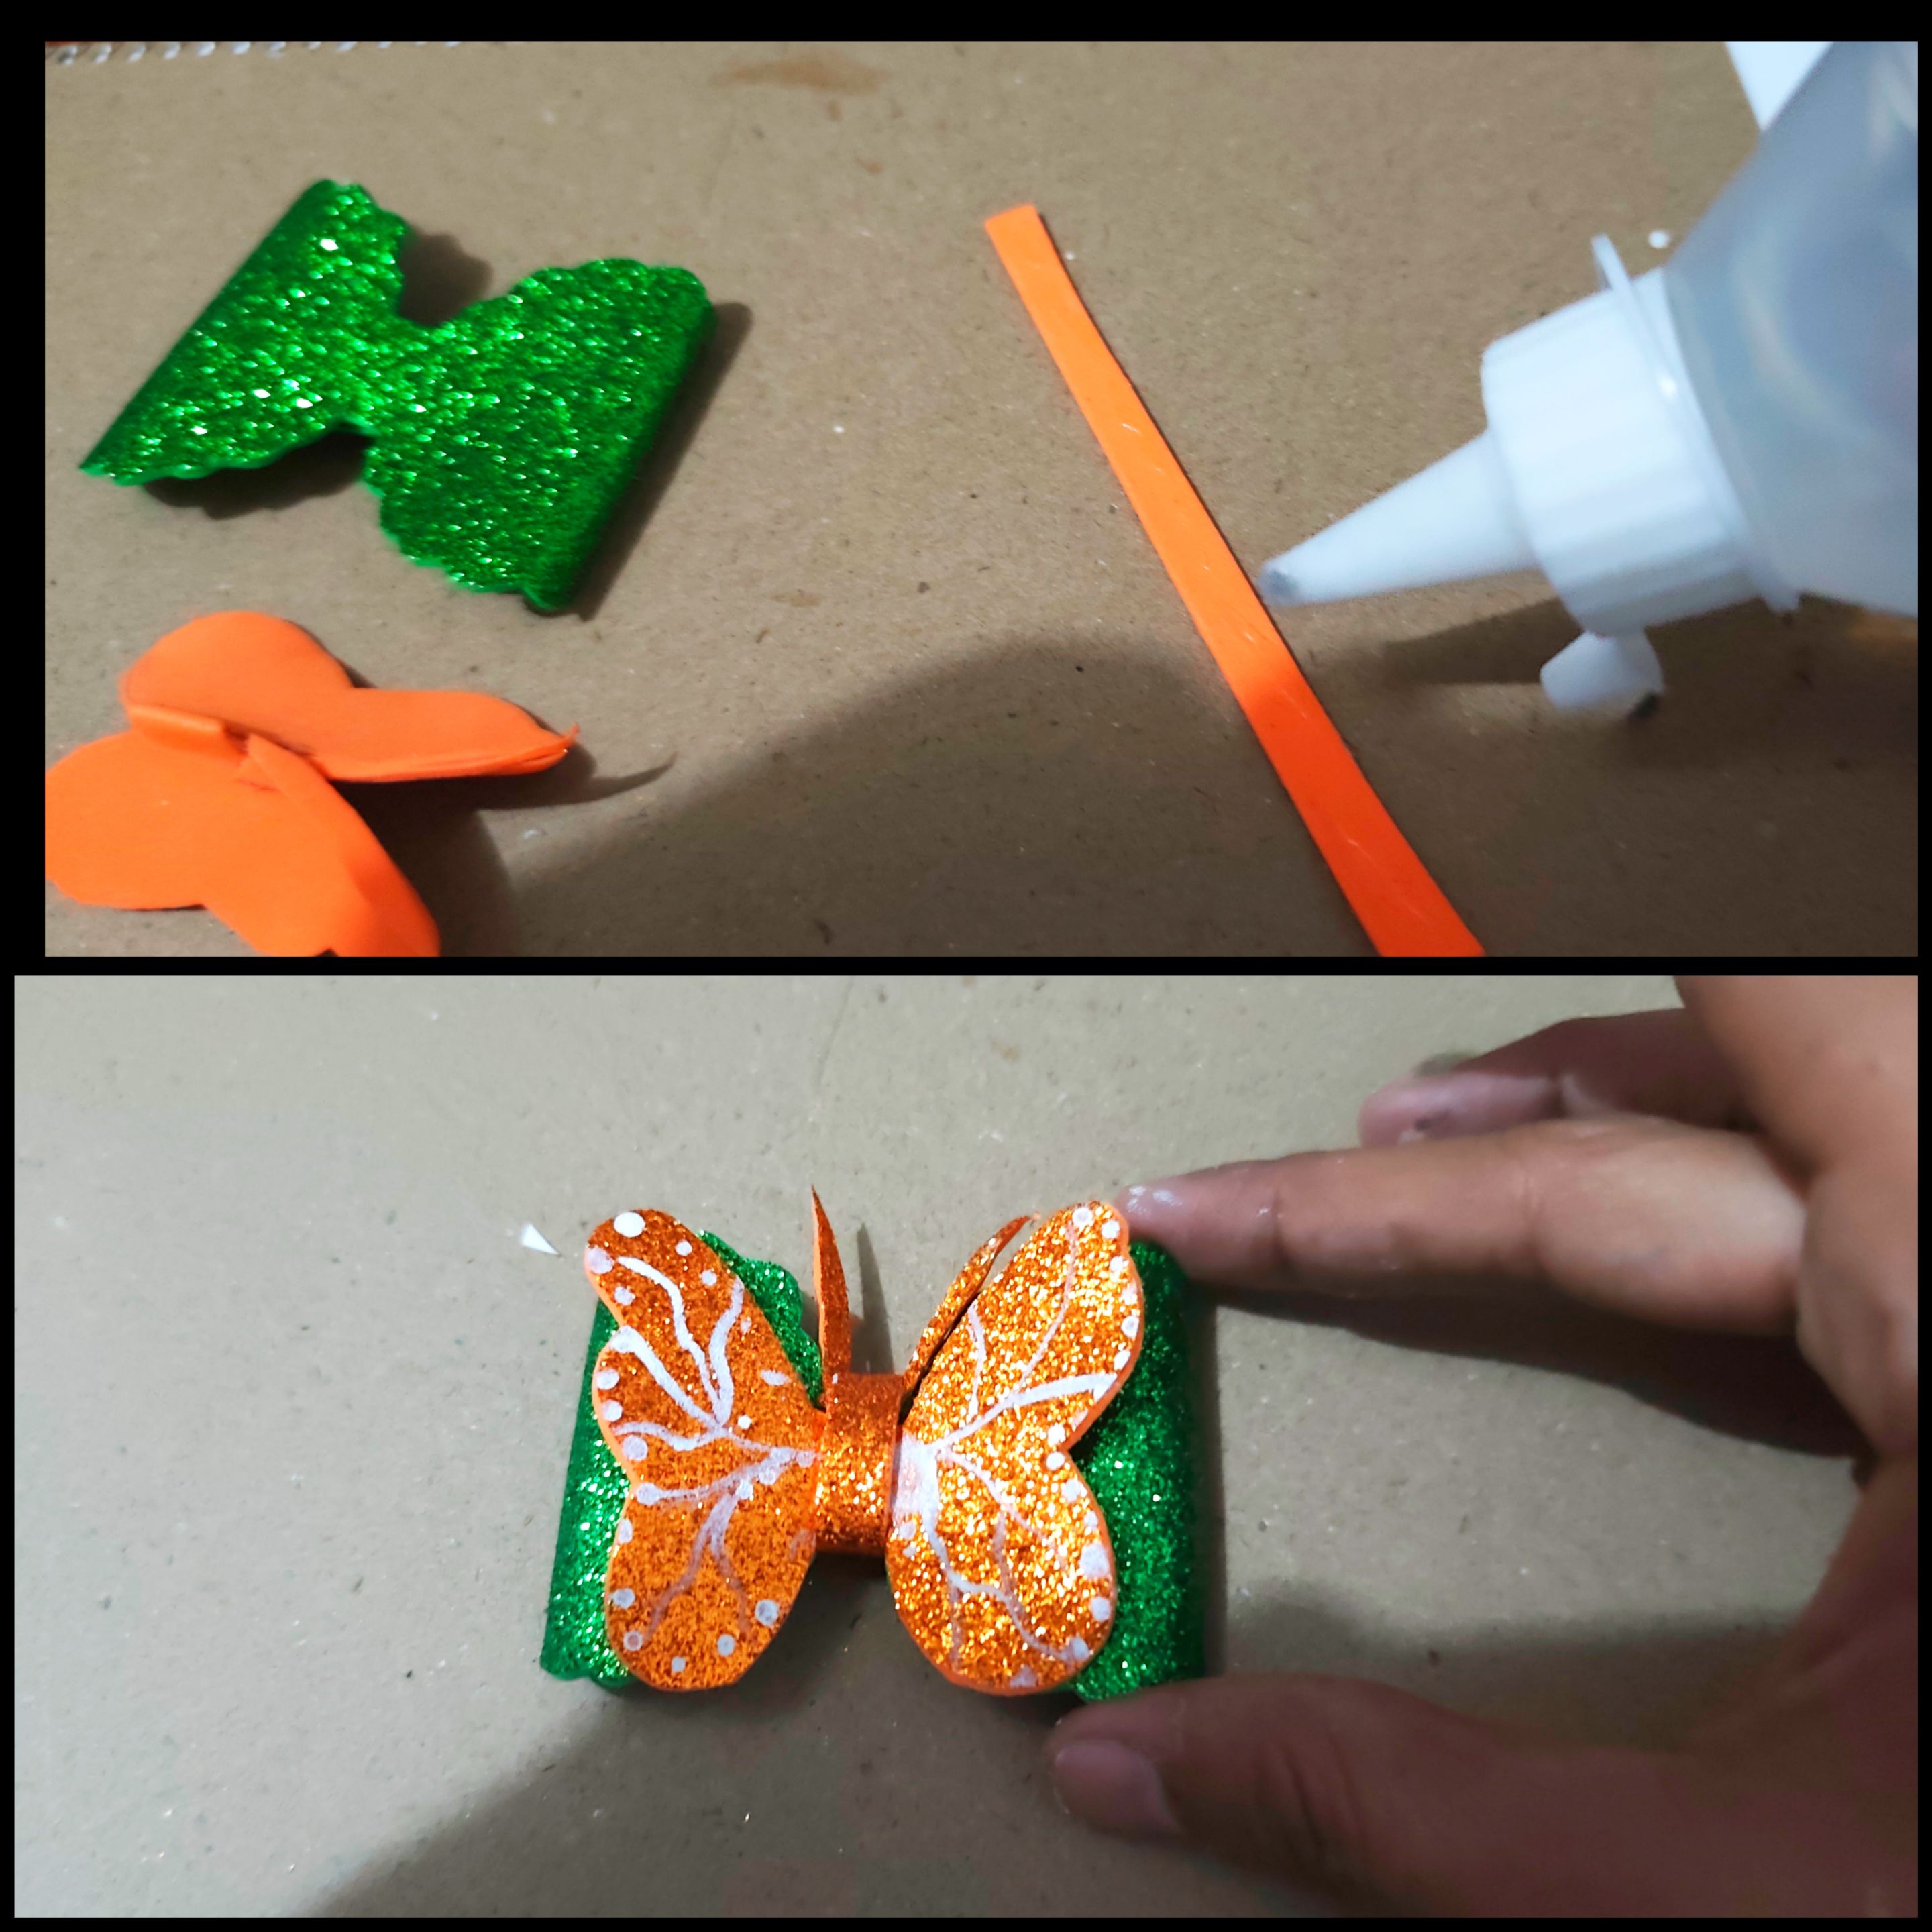
Ahora recortamos otra tira delgada y le aplicamos silicón y unimos las dos piezas, colocando la mariposa encima de la pieza naranja.
🦋 PASO 9:
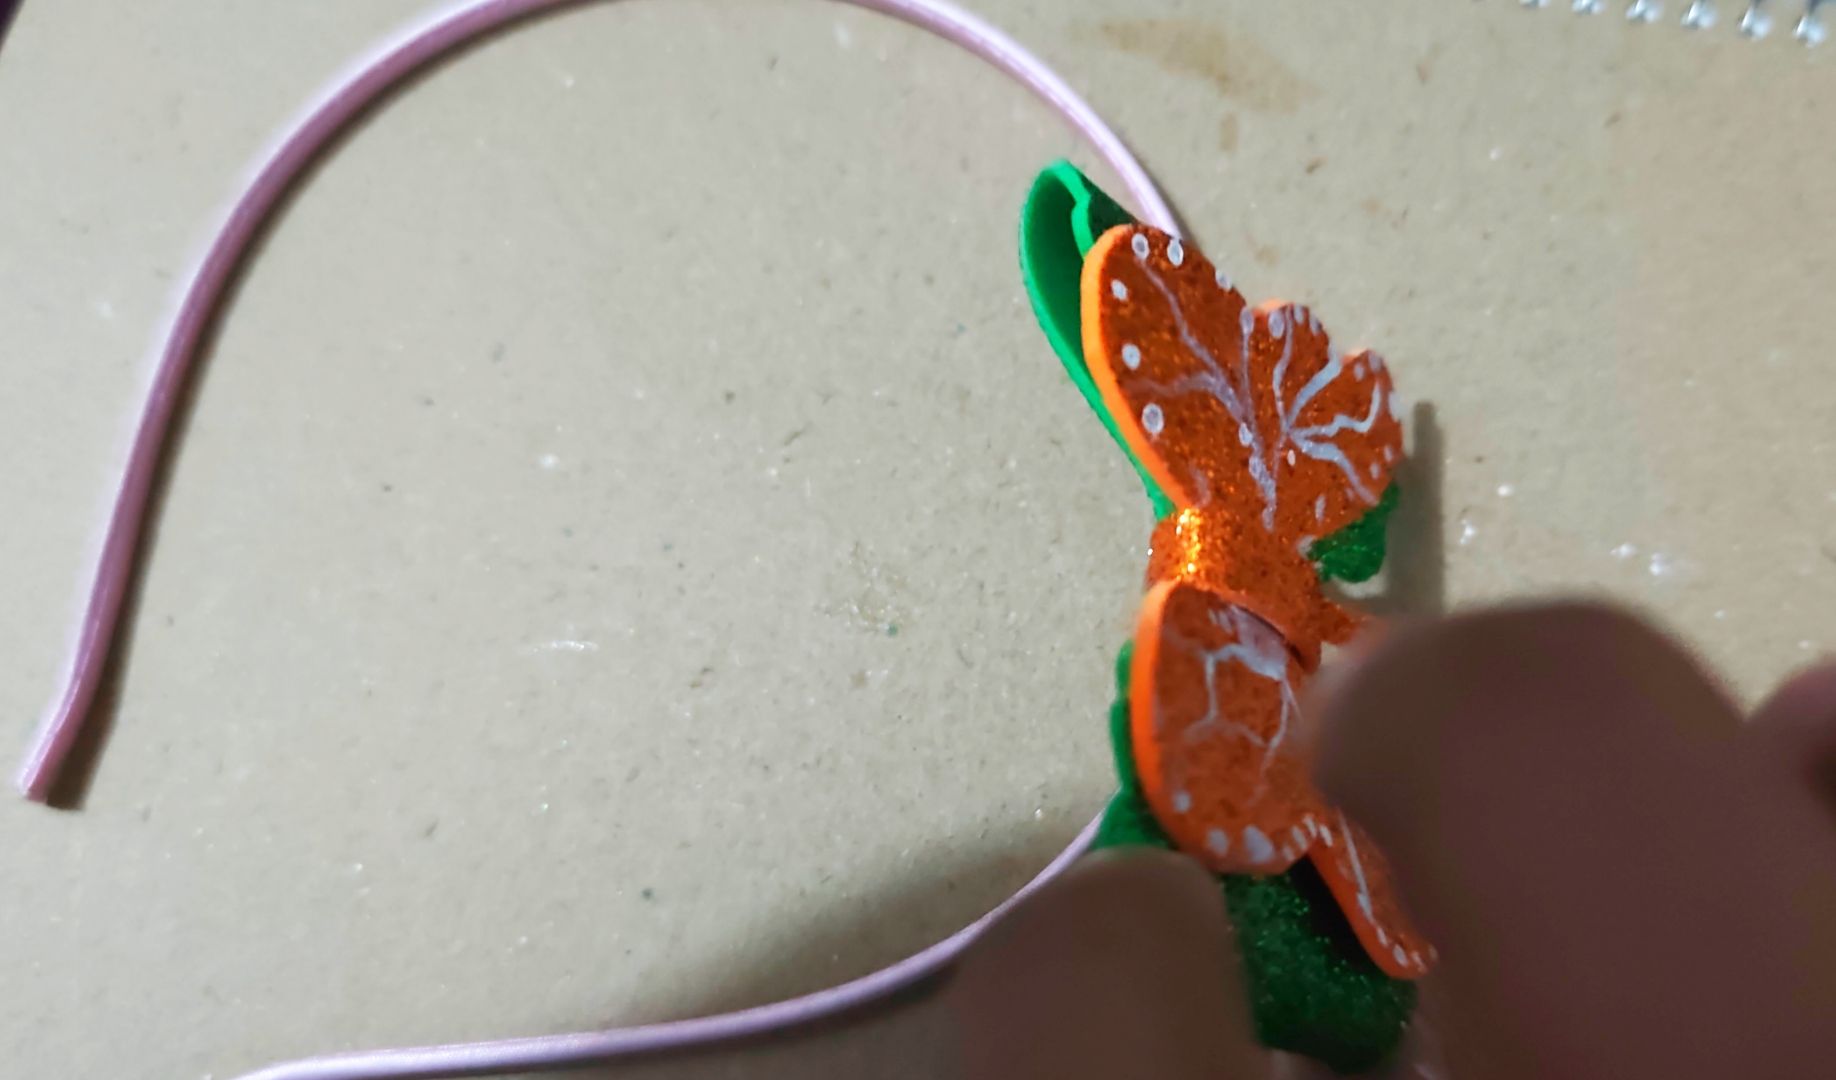
Cuando ya la pieza está lista le aplicamos silicón líquido y pegamos al cintillo base, dejamos secar y listo.
🦋 RESULTADO FINAL 🦋
🦋 CRÉDITOS 🦋
Todas las fotografías fueron tomadas con mi teléfono Xiaomi redmi y son de mi propiedad utilizando el programa polish y el traductor Deepl.

Congratulations to all the beautiful bees that day by day fill this community with color and joy. As always I bring new ideas but above all easy to make ideas, so that our princesses can look beautiful.
Today's work is a beautiful and colorful headband, in shades of orange and green that make this work colorful, I also worked with frosted foami to make it look more and that for sure your princess will make it look incomparable.
🦋 MATERIALS 🦋

🦋 Orange frosted foami.
🦋 Green frosted foami.
🦋 Liquid silicone.
🦋 Ribbon base.
🦋 White cold paint.
🦋 Brush.
🦋 Scissors.
🦋 Blank sheet.
🦋 Creyon pencil.
🦋 STEP BY STEP 🦋
🦋STEP 1:

Take the pencil and draw on the white sheet the patterns, in this case there will be two that we are going to work with, one of butterfly and the other that will serve as a base.
🦋 STEP 2:


I took the base pattern and placed it on the green frosted foami and marked, then did the same with the butterfly pattern on the orange frosted foami.
🦋 STEP 3:

We cut out both figures drawn on the foamis, with the help of the scissors.
🦋 STEP 4:


Applied liquid silicone in the center of the green piece and joined both ends, you can also use hot silicone, it depends on what you feel more confident working with.
🦋 STEP 5:

Now I take the orange butterfly-shaped piece and apply silicone in the center and glue it in the middle and let it dry well.
🦋 STEP 6:

When it is dry, we open it and then with the white paint and the brush we draw small dots along the edge of the wings, also drew some divisions.
🦋 STEP 7:

Then we cut a thin strip and divide it in two and glue it to the back of the butterfly to form the antennae.
🦋 STEP 8:

Now we cut another thin strip and apply silicone and join the two pieces together, placing the butterfly on top of the orange piece.
🦋 STEP 9:

When the piece is ready we apply liquid silicone and glue it to the base headband, let it dry and that's it.
🦋FINAL RESULT🦋


🦋 CRÉDITS 🦋
All photos were taken with my Xiaomi redmi phone and are my own using polish and Deepl translator.


