Greetings to the entire Holozing and Hive community! 😃
I want to tell you that I've been a few days absent from the community, I mainly wanted to take some time to rest and reflect a little. Today I woke up early and reviewing
@holozing's characters I decided to make a small illustration of the character
Verdion, but I decided to change the style a little bit and I preferred to make an illustration in a freer style, with a more traditional finish, with a little more "dirty" lines and in chibi style. I hope you like this version and without further ado, I leave you with my process!
Saludos a toda la comunidad de #Holozing y #Hive! 😃Quiero comentarles que he estado algunos días ausente dentro de la comunidad, principalmente quise tomarme un tiempo para descansar y reflexionar un poco. Hoy me levante temprano y revisando los personajes de
@holozing decidí hacer una pequeña ilustración del personaje
Verdion, pero opté por cambiar un poco el estilo y preferí hacer una ilustración en estilo un poco mas libre, con un acabado mas tradicional, con líneas un poco mas "sucias" y en estilo chibi. ¡Espero que les guste esta versión y sin mas, los dejo con mi proceso!
Creative Process | Proceso Creativo📘✏️
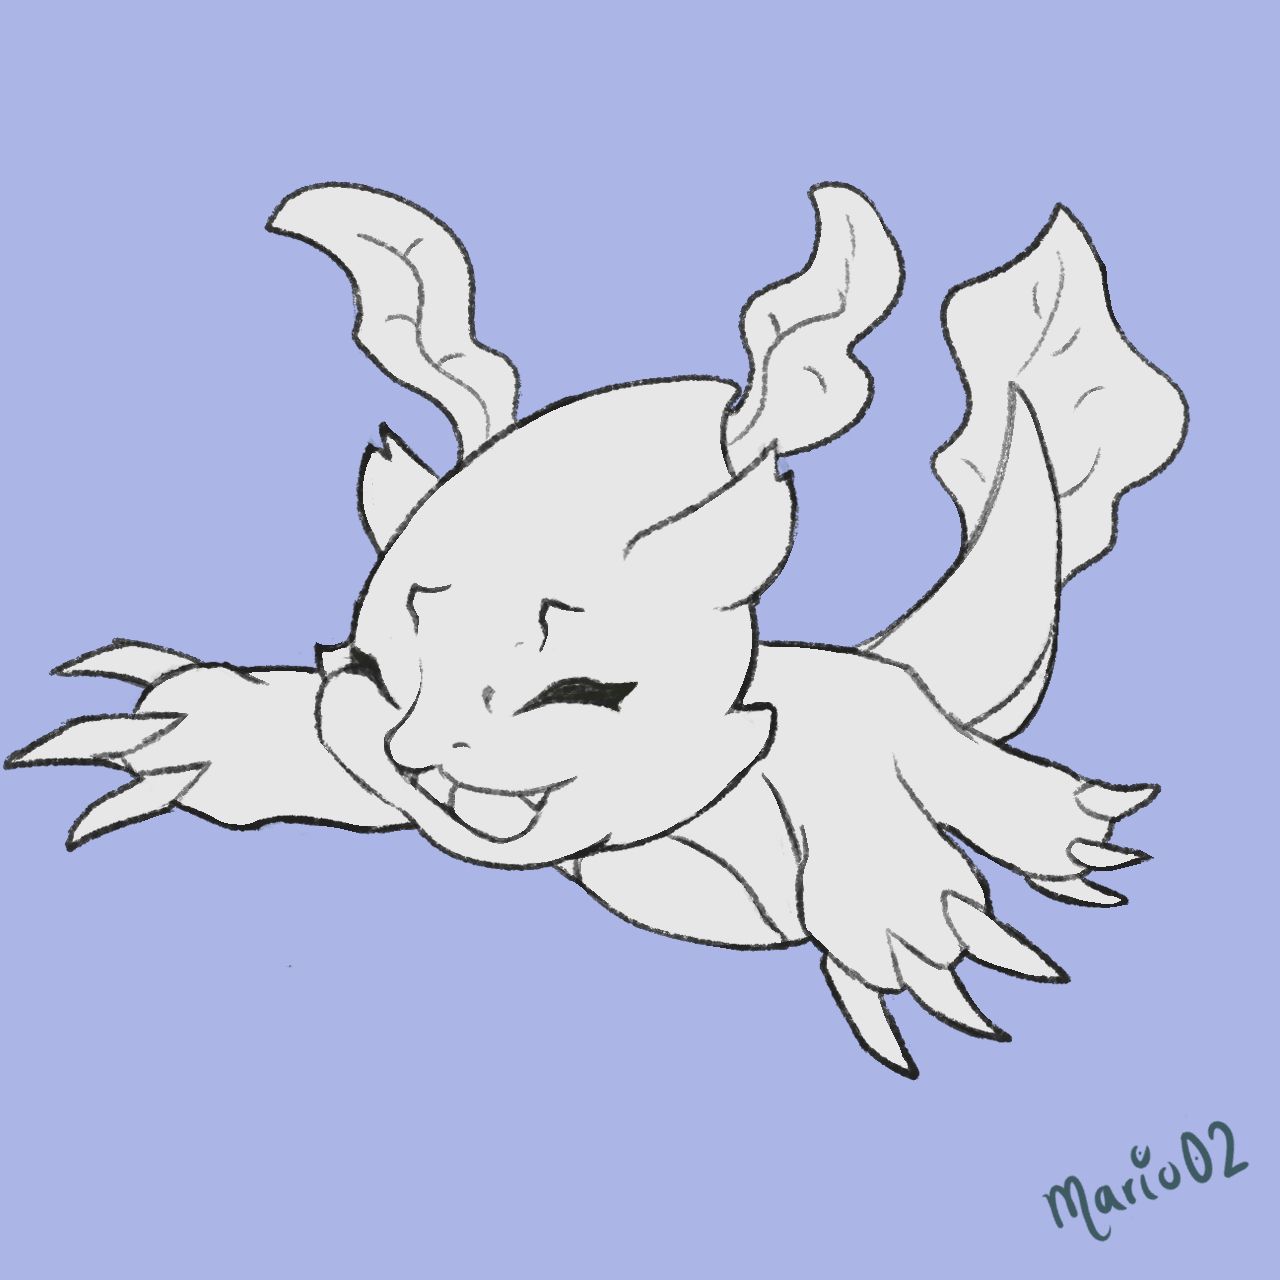
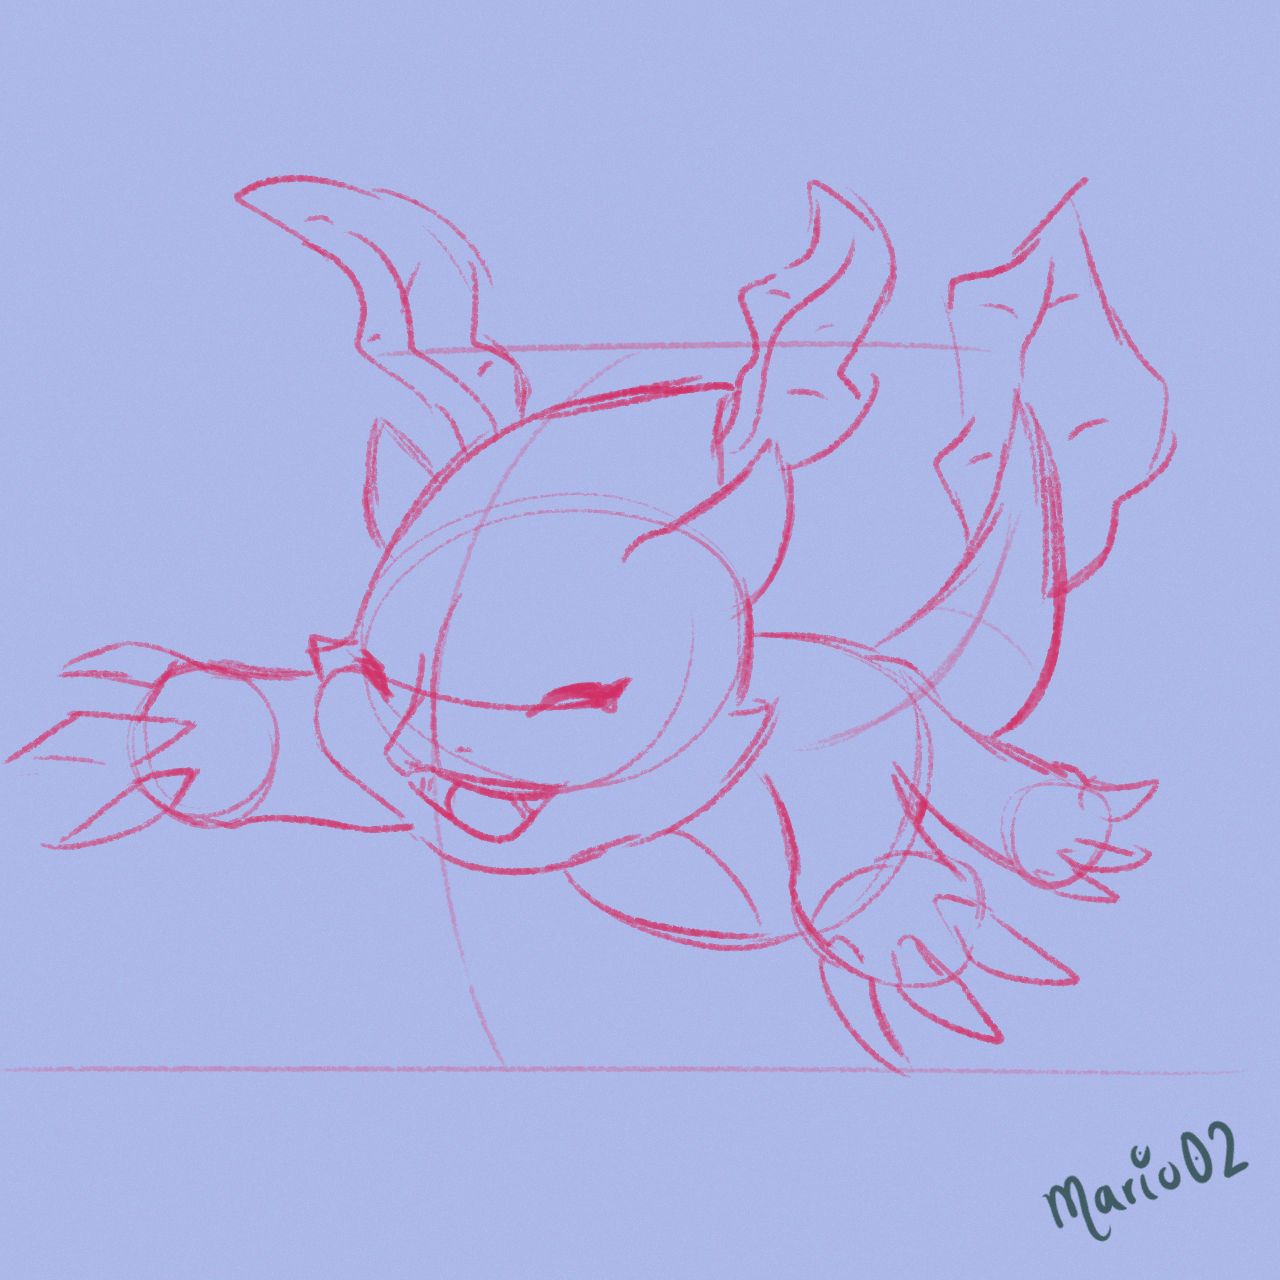
I started my process with a free sketch, using basic shapes to compose the character. My idea was to make Verdion, with a pose as if he was falling in the air, with a funny expression. From this idea I was putting together the composition and with a pencil textured brush I made the lineart, cleaning the lines a little bit but without detailing so much.
Comencé mi proceso con un boceto libre, utilizando formas básicas para componer al personaje. Mi idea era realizar a Verdion, con una pose como si estuviera cayendo en el aire, con una expresión divertida. A partir de esta idea fui armando la composición y con un pincel con textura de lápiz hice el lineart, limpiando un poco las líneas pero sin detallar tanto.
 |
https://files.peakd.com/file/peakd-hive/mario02/AJhacJi5K6gwtDgmm7bnJSNmUtjFb7m3TmgYH1xsQGtMWsxFjyPa2nXvtpb6XeQ.jpg
|
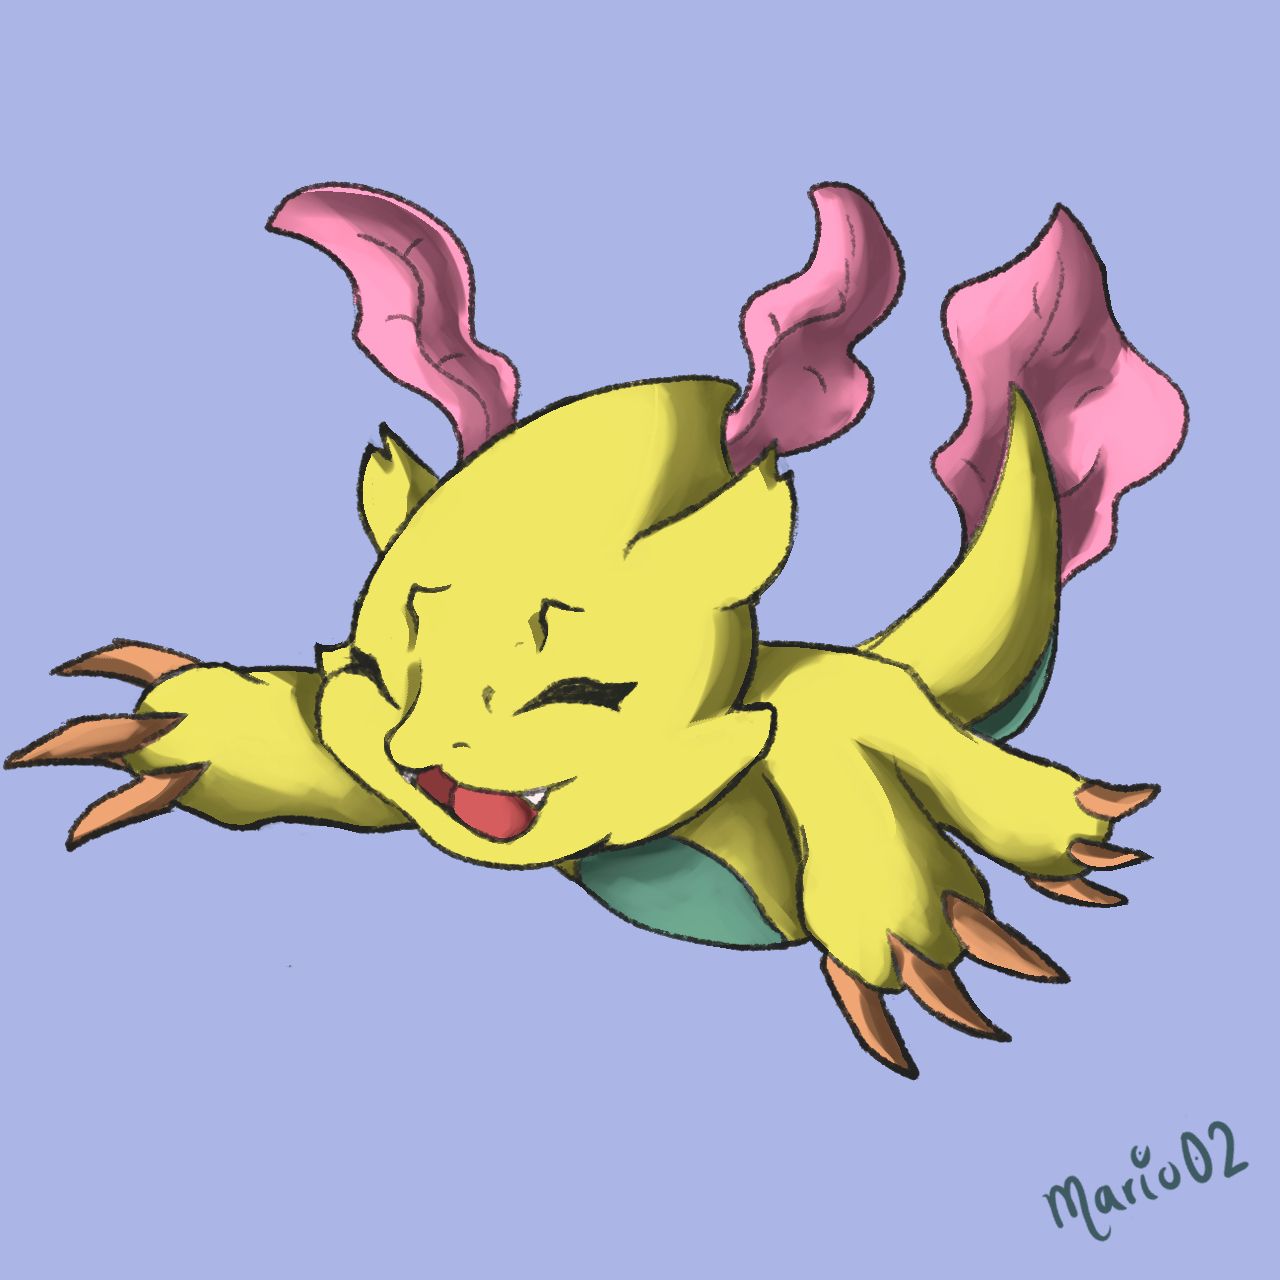
After the lines I started with the color application, here I put together a color palette similar to the original reference but with some changes, especially in the saturation. Then with a gray color I filled the whole person and on top of that I started to apply the base colors.
Después de las líneas comencé con la aplicación del color, aquí arme una paleta de color similar al de la referencia original pero con algunos cambios, sobre todo en la saturación. Posteriormente con un color gris rellene todo el persona y encima comencé a aplicar los colores base.
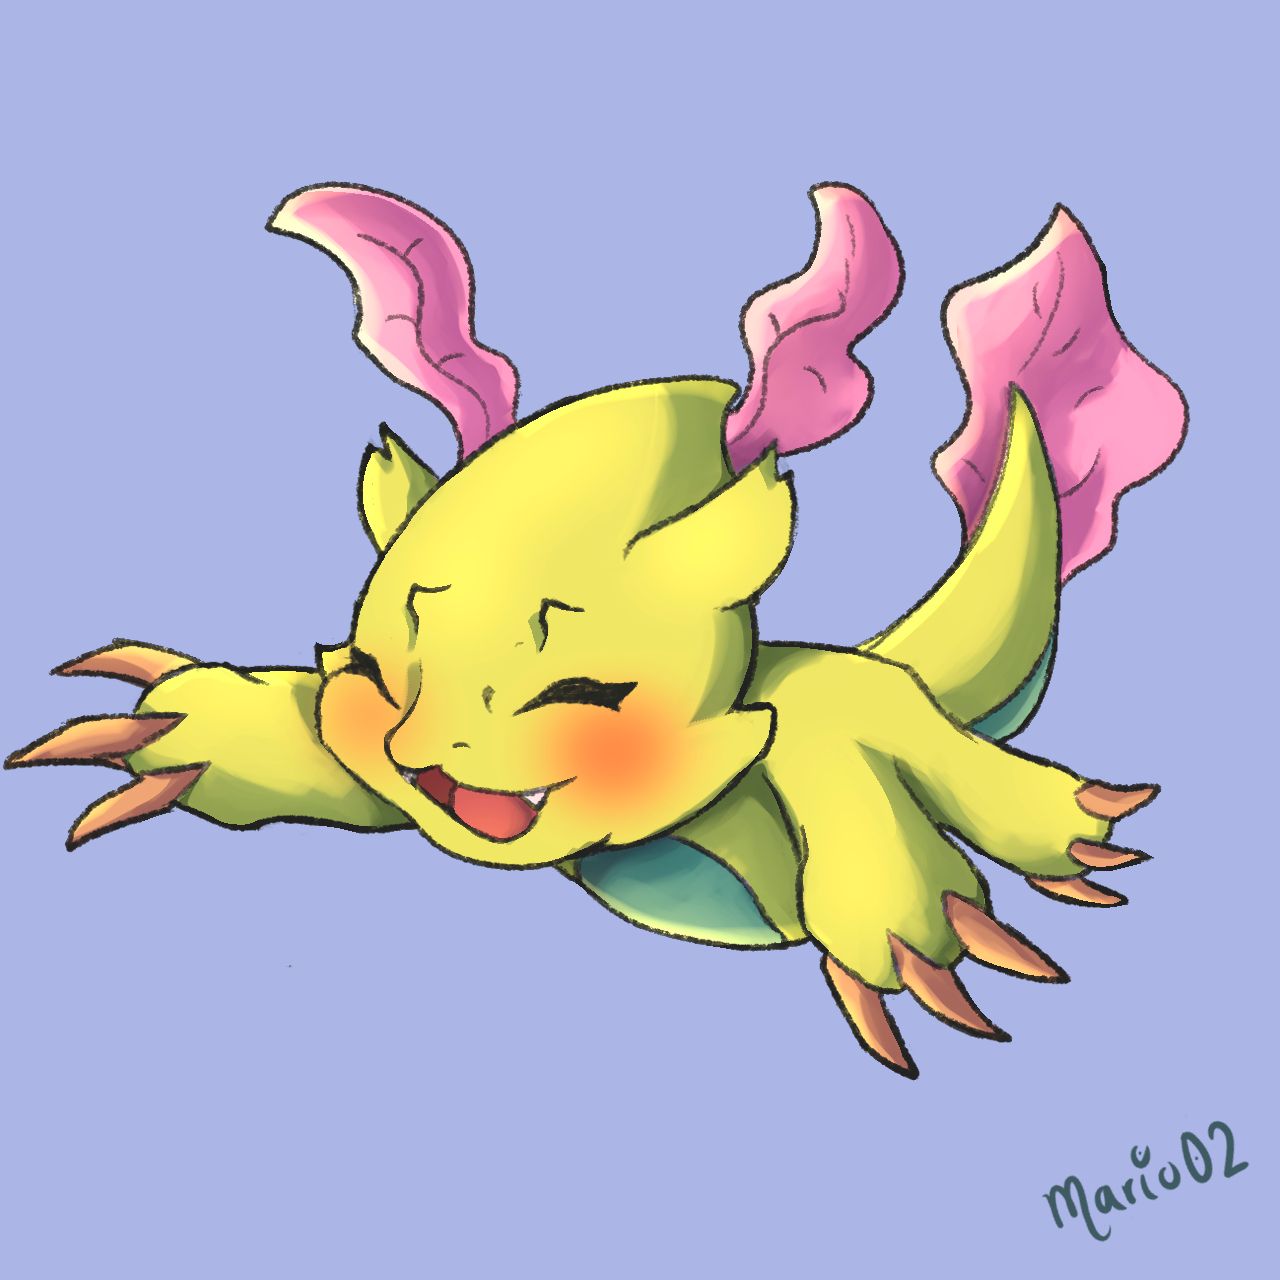
Then I proceeded to apply the shadows, in this step I used a low opacity brush with a dark color and with the finger tool and dropper I tried to blur it a little for a better transition, in a new layer I applied a base of darker shadows and gave them color for a softer finish to match the character.
Luego procedí a aplicar las sombras, en este paso utilicé un pincel de baja opacidad con un color oscuro y con la herramienta dedo y cuenta gotas trate de difuminarlo un poco para una mejor transición, en una nueva capa aplique una base de sombras mas oscuras y les di color para un acabado mas suave que combinara con el personaje.
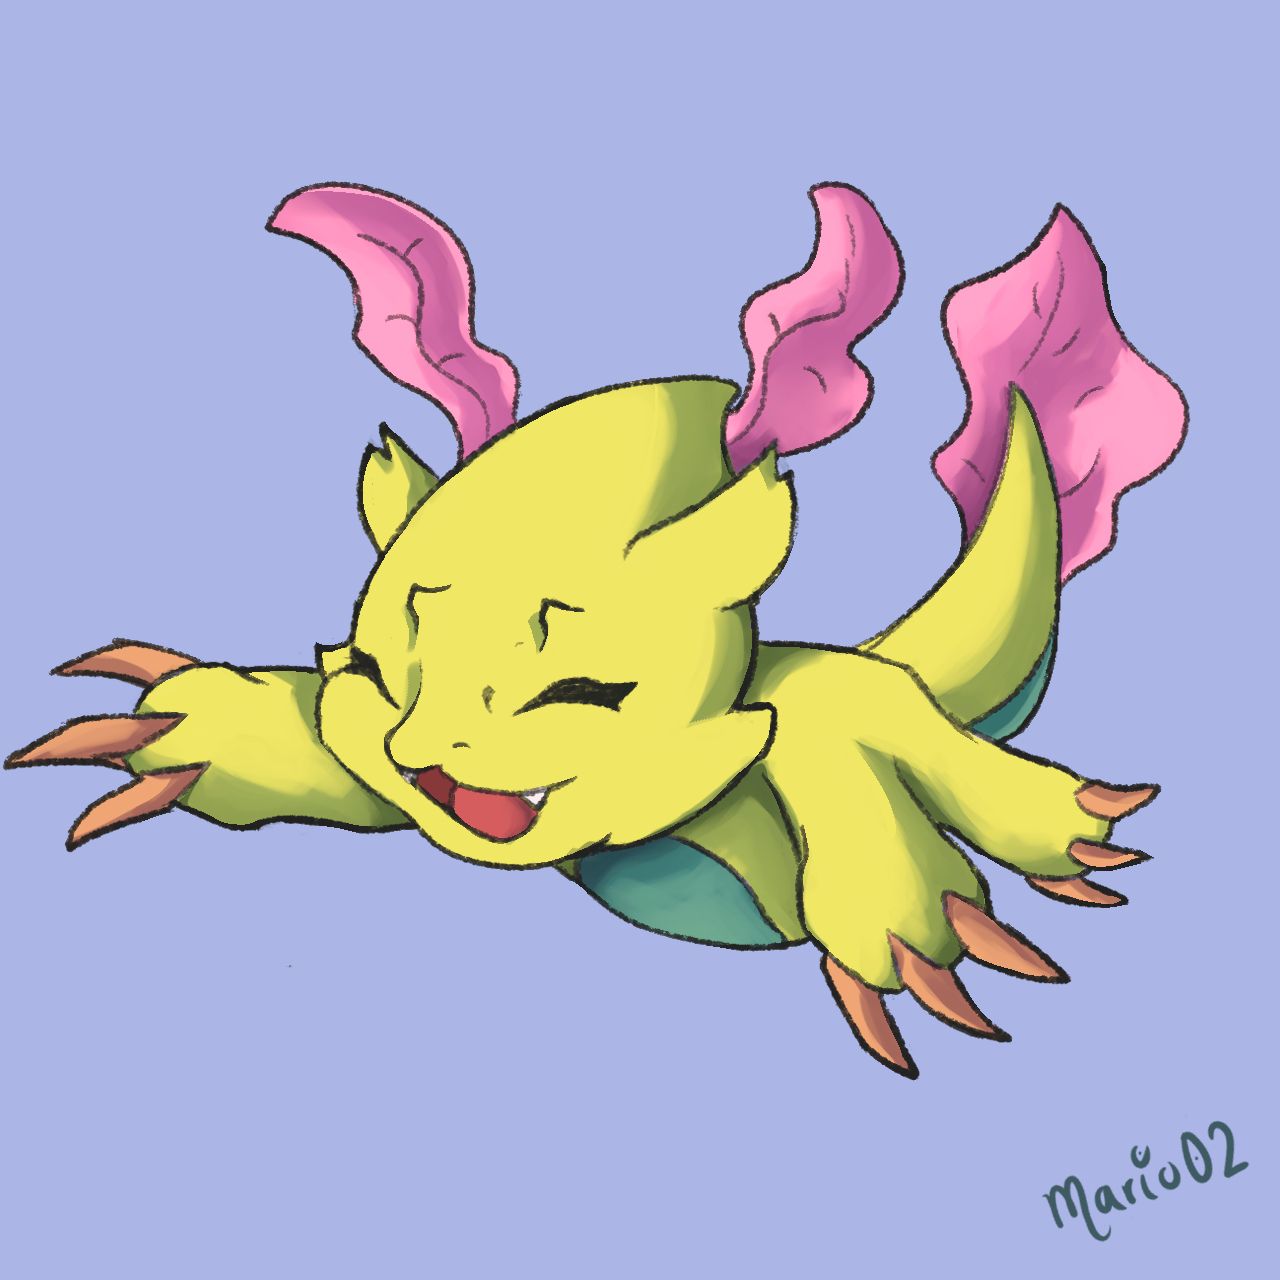
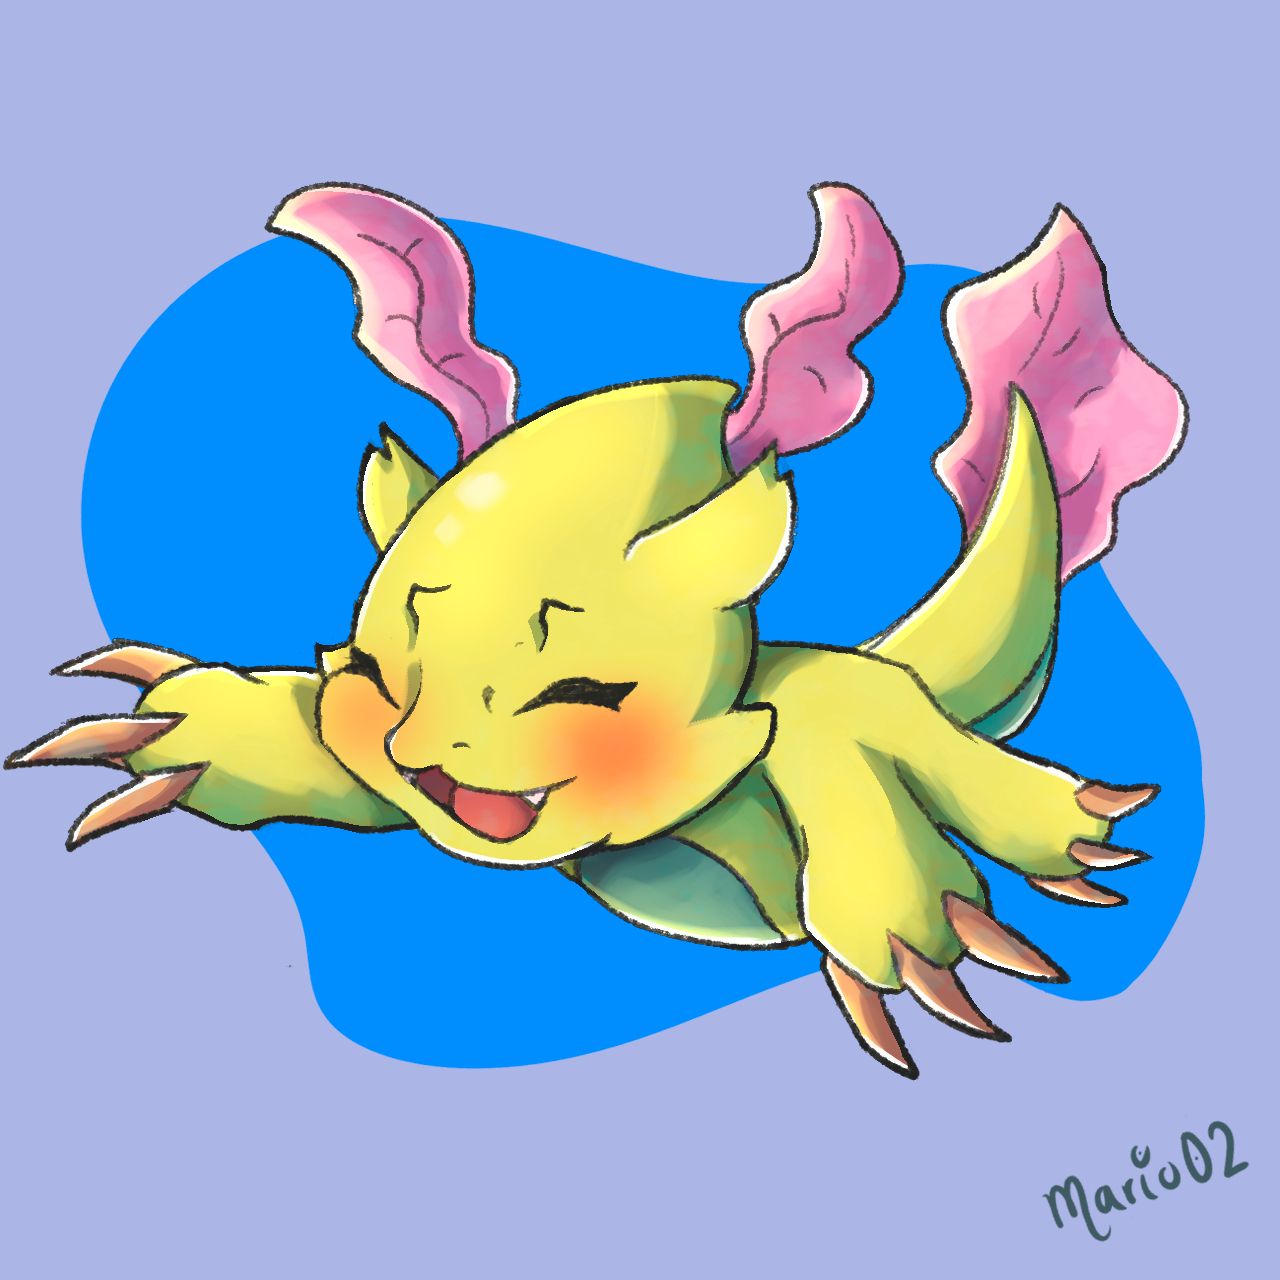
To finish with the character I added some lights to give better contrast, here I used the same technique as for the shadows and some blending modes to make it stand out a little more. I also applied some blush to make the character look more tender, then I made a blue abstract shape for the background.
Para culminar con el personaje añadí algunas luces para dar mejor contraste, aquí utilice la misma técnica que para las sombras y algunos modos de fusión para que destacara un poco más. También aplique un poco de rubor para que el personaje se viera mas tierno, luego realice una forma abstracta de color azul para el fondo.
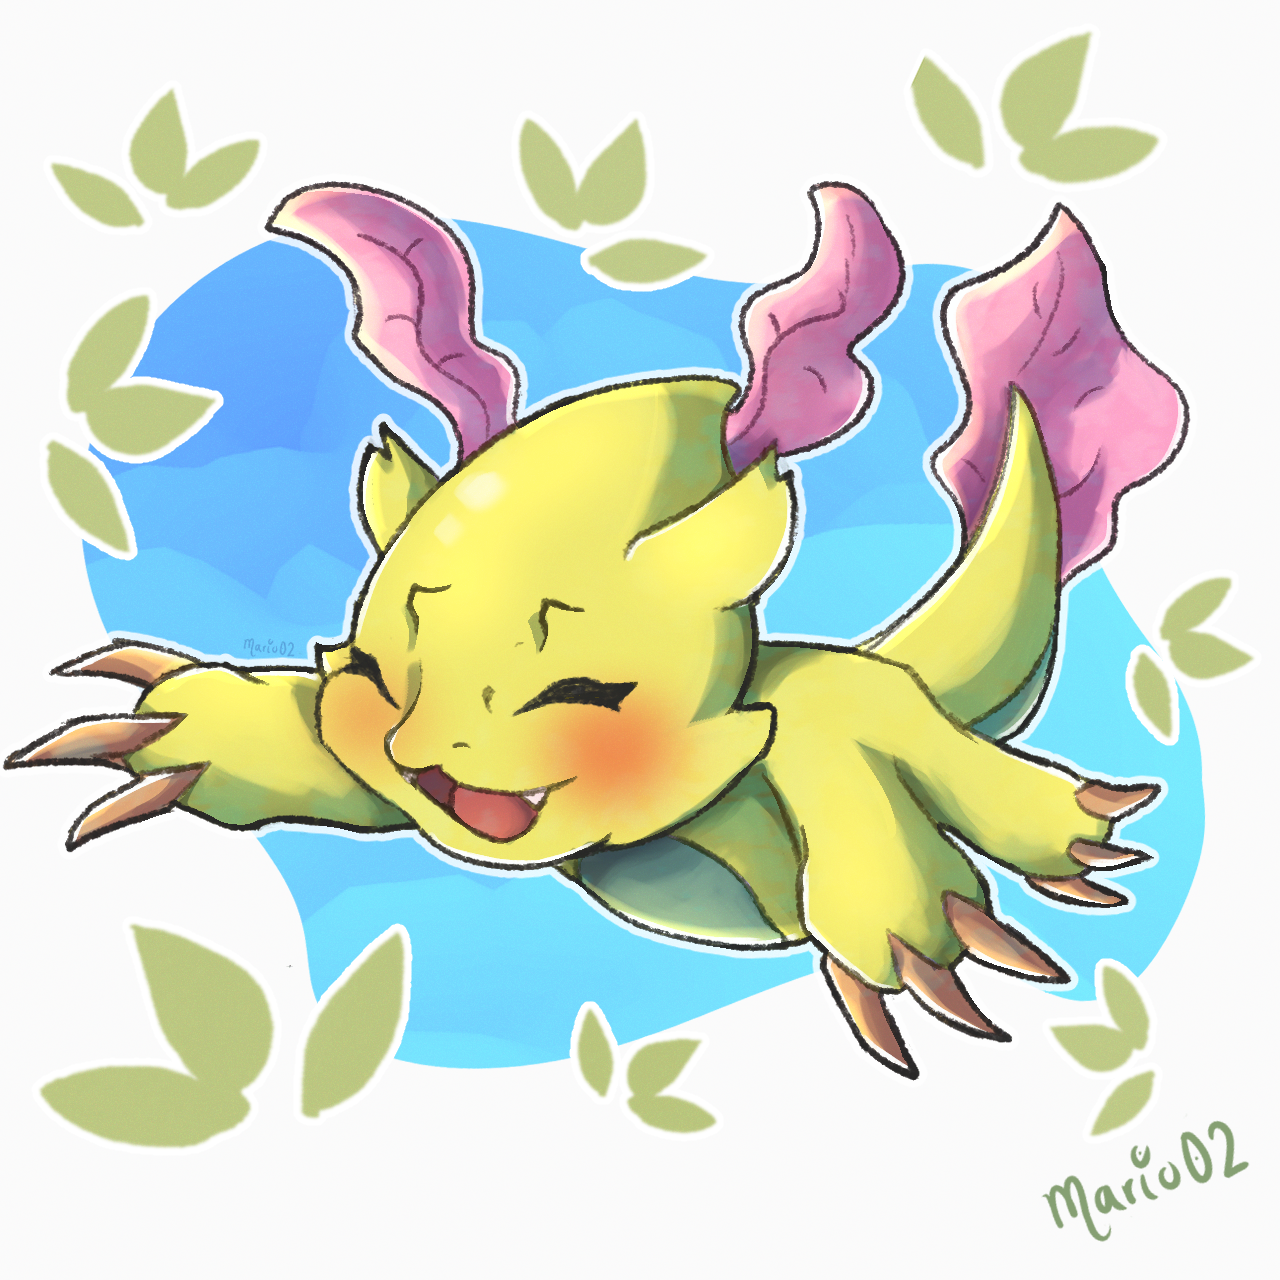
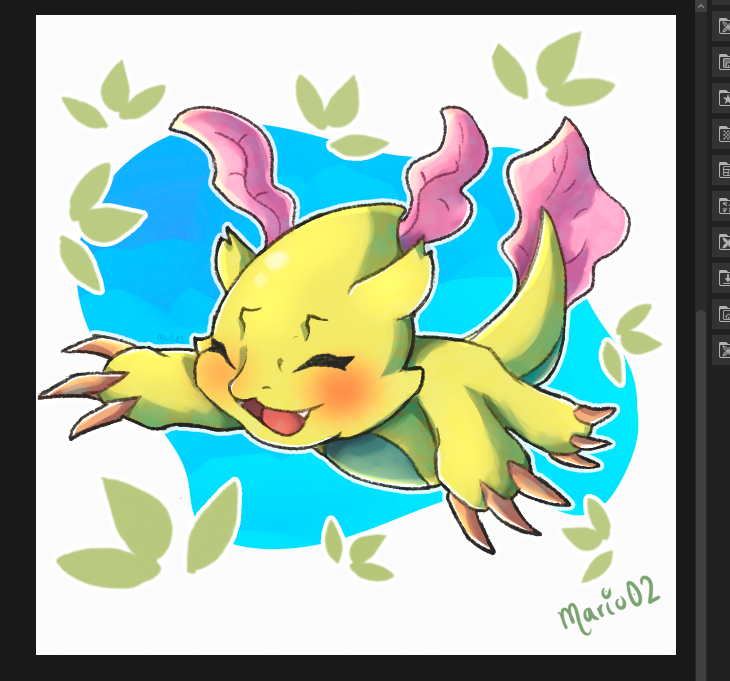
Final Art | Arte Final😉🎨
To finish I added some leaves with a pattern brush and applied a gradient with hard strokes in the way I had done for the background. Finally I changed the whole background to a white color.
Para culminar agregué unas hojas con un pincel de motivo y aplique un degradado con trazados duros en la forma que había realizado para el fondo. Por último cambie todo el fondo a uno de color blanco.
Thank you very much for reading!
See you in a future publication! 🙏
¡Muchas gracias por leer!
¡Nos vemos en una próxima publicación! 🙏
##### [Join Here!](https://holozing.com?ref=mario02)
Tools Used | Herramientas Utilizadas:
- Photoshop CC versión 64 bits
- Clip Studio Paint
- Tablet Huion H610 PRO V2

Discord: marioart02
##### ***The illustration and separators used in the post are my property.***
Translated with
DeepL (
free versión)