Saludos comunidad, felíz martes para todos, que esta nueva semana sea de provecho y cosas buenas para todos ustedes, hoy les quiero compartir una manualidad en foami, quería que fuese más temprano pero tuve que salir en la tarde al médico, ya que me debían drenar un absceso, todo salió bien y regresé rápido a casa.
Greetings community, happy Tuesday to everyone, may this new week be fruitful and bring good things to all of you. Today I want to share a foam craft with you. I wanted to go earlier, but I had to leave in the afternoon to see the doctor because they needed to drain an abscess. Everything went well, and I returned home quickly.
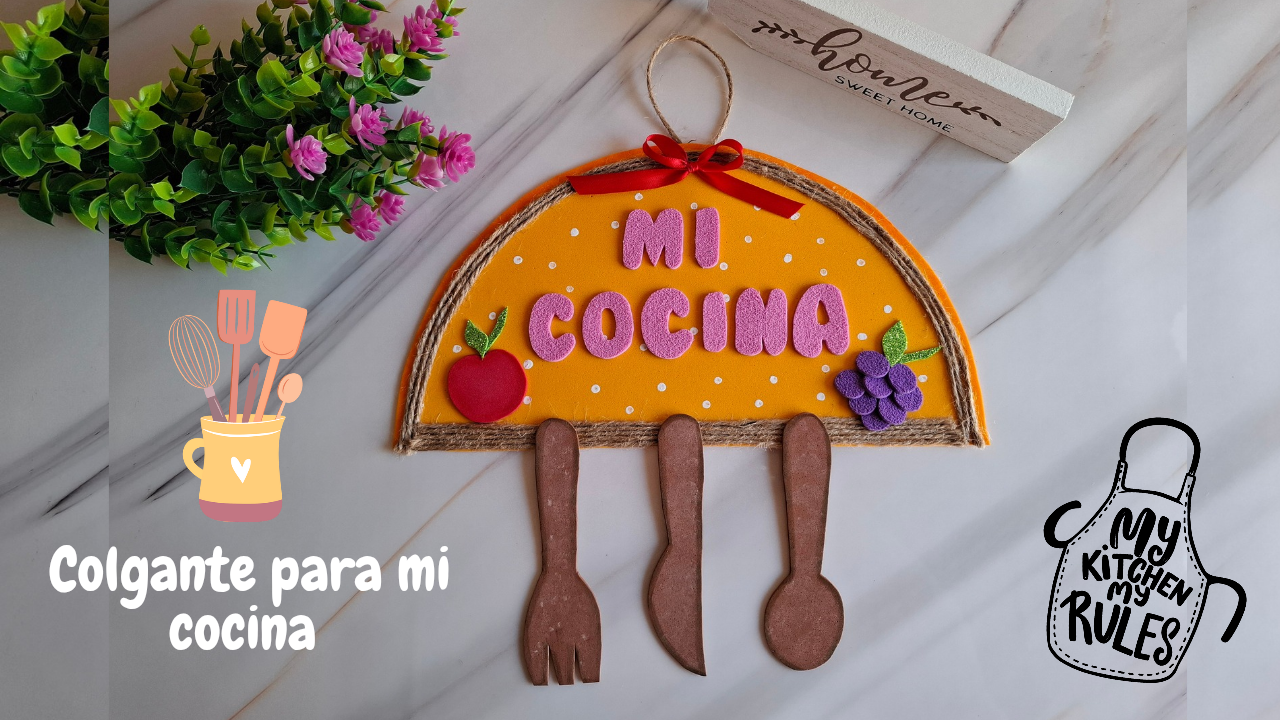
En esta oportunidad realicé un adorno en foami para mi cocina, está decoración es colorida y me inspiré de la siguiente imagen en Pinterest
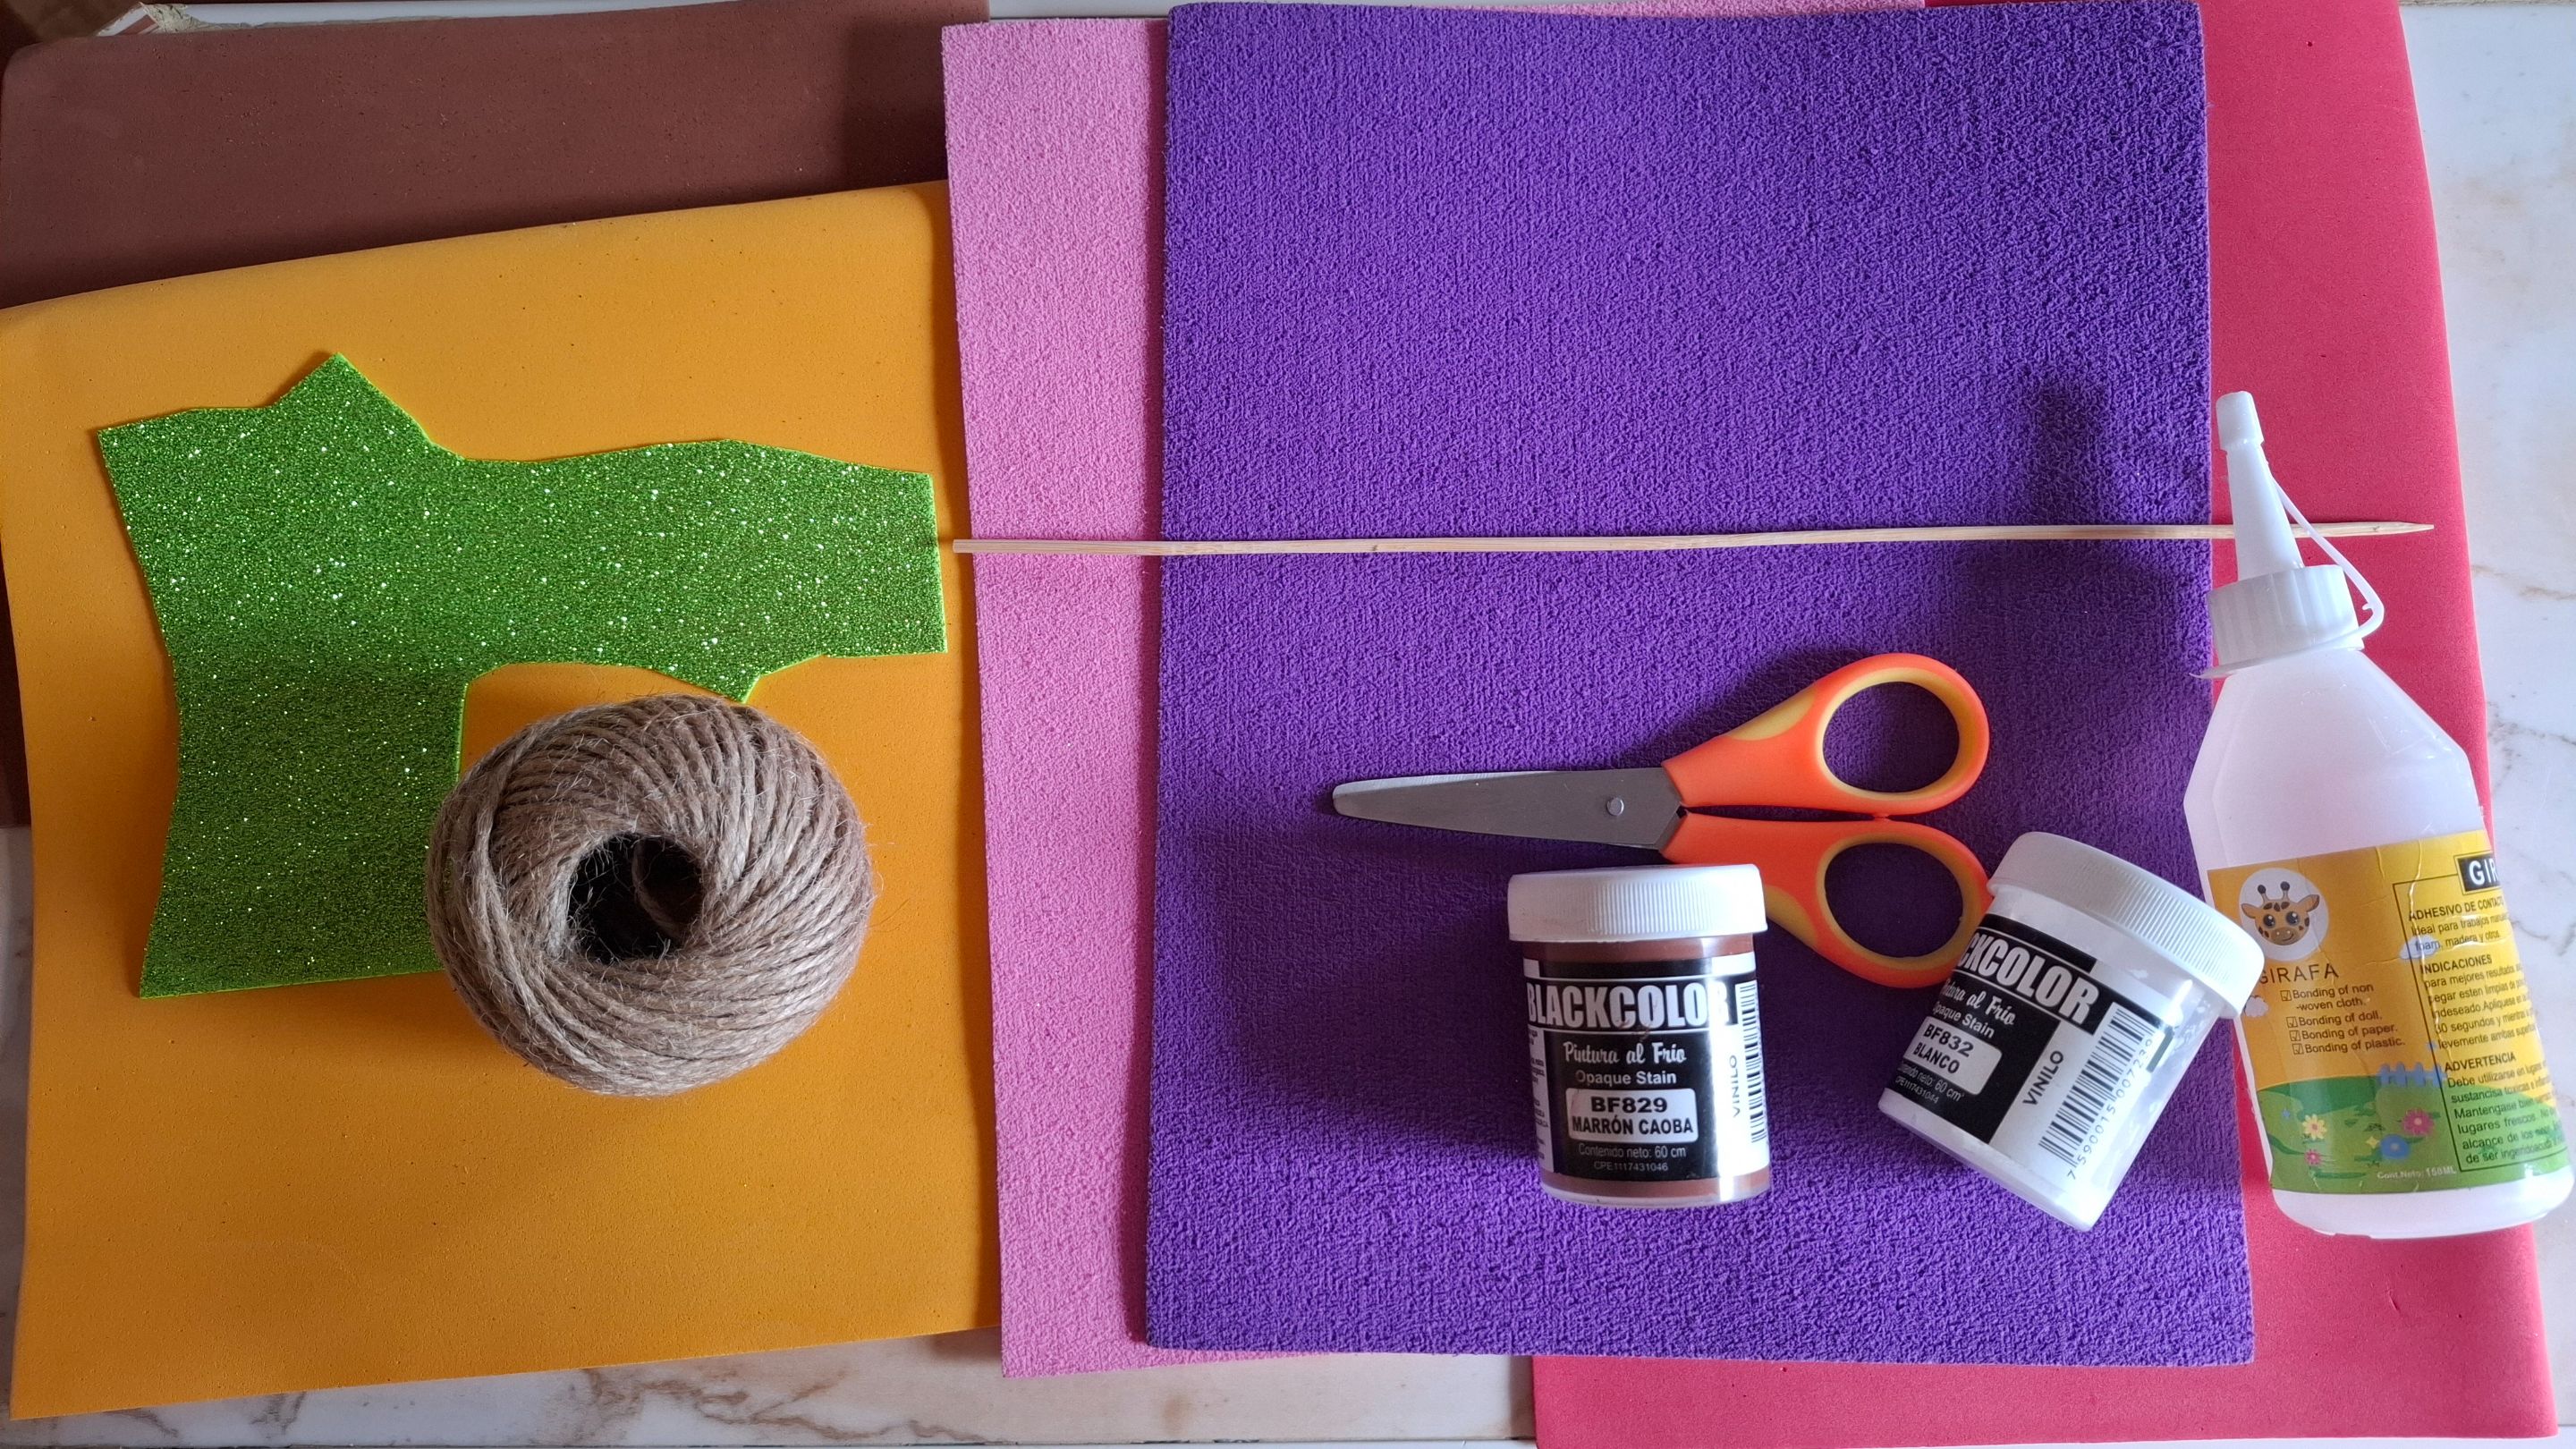
Cocina este adorno es ideal para colgar como decoración en la cocina, puedes personalizar también la frase del enunciado, con tu nombre, una frase graciaosa, solo tu puedes poner ese toque único y especial. A continuación les muestro los materiales y el paso a paso.
This time I made a foam ornament for my kitchen, this decoration is colorful and I was inspired by the following image on Pinterest
Kitchen this ornament is ideal to hang as decoration in the kitchen, you can also personalize the phrase of the statement, with your name, a funny phrase, only you can put that unique and special touch. Below I show you the materials and the step by step.
Paso a paso / Step by step
El primer paso que voy a realizar, se trata de realizar la figura en foami amarillo la parte superior es redonda y la parte inferior recta, con la tijera tratamos de perfeccionar los bordes.
The first step I'm going to take is to make the figure in yellow foam. The top part is round and the bottom part is straight. With the scissors we try to perfect the edges.
Para el siguiente paso colocamos mecatillo en los bordes tanto en la parte superior e inferior, con un palillo colocamos puntos distribuidos por todo el foami amarillo amarillo.
For the next step we place string on the edges both at the top and bottom, with a toothpick we place dots distributed throughout the yellow foam.
Luego voy a dibujar en foami marrón la figura de utensilios, voy a mezclar un poco de pintura blanca y marrón, con un algodón damos pequeños toques sobre el foami y marcamos con foami marrón al rededor, difuminamos.
Then I'm going to draw the utensil shape on brown foam. I'm going to mix a little white and brown paint. With a cotton ball, I dab lightly on the foam and mark around it with brown foam. I blend.
En foami morado texturizado voy a realizar ocho círculos pequeños, en foami rojo realizamos una manzana y con foami verde realizamos el tallo. Luego voy a realizar las letras en foami texturizado color rosas, las ubicamos en el centro.
Using purple textured foam, I'll make eight small circles, using red foam, I'll make an apple, and using green foam, I'll make the stem. Then, I'll make the letters using pink textured foam, placing them in the center.
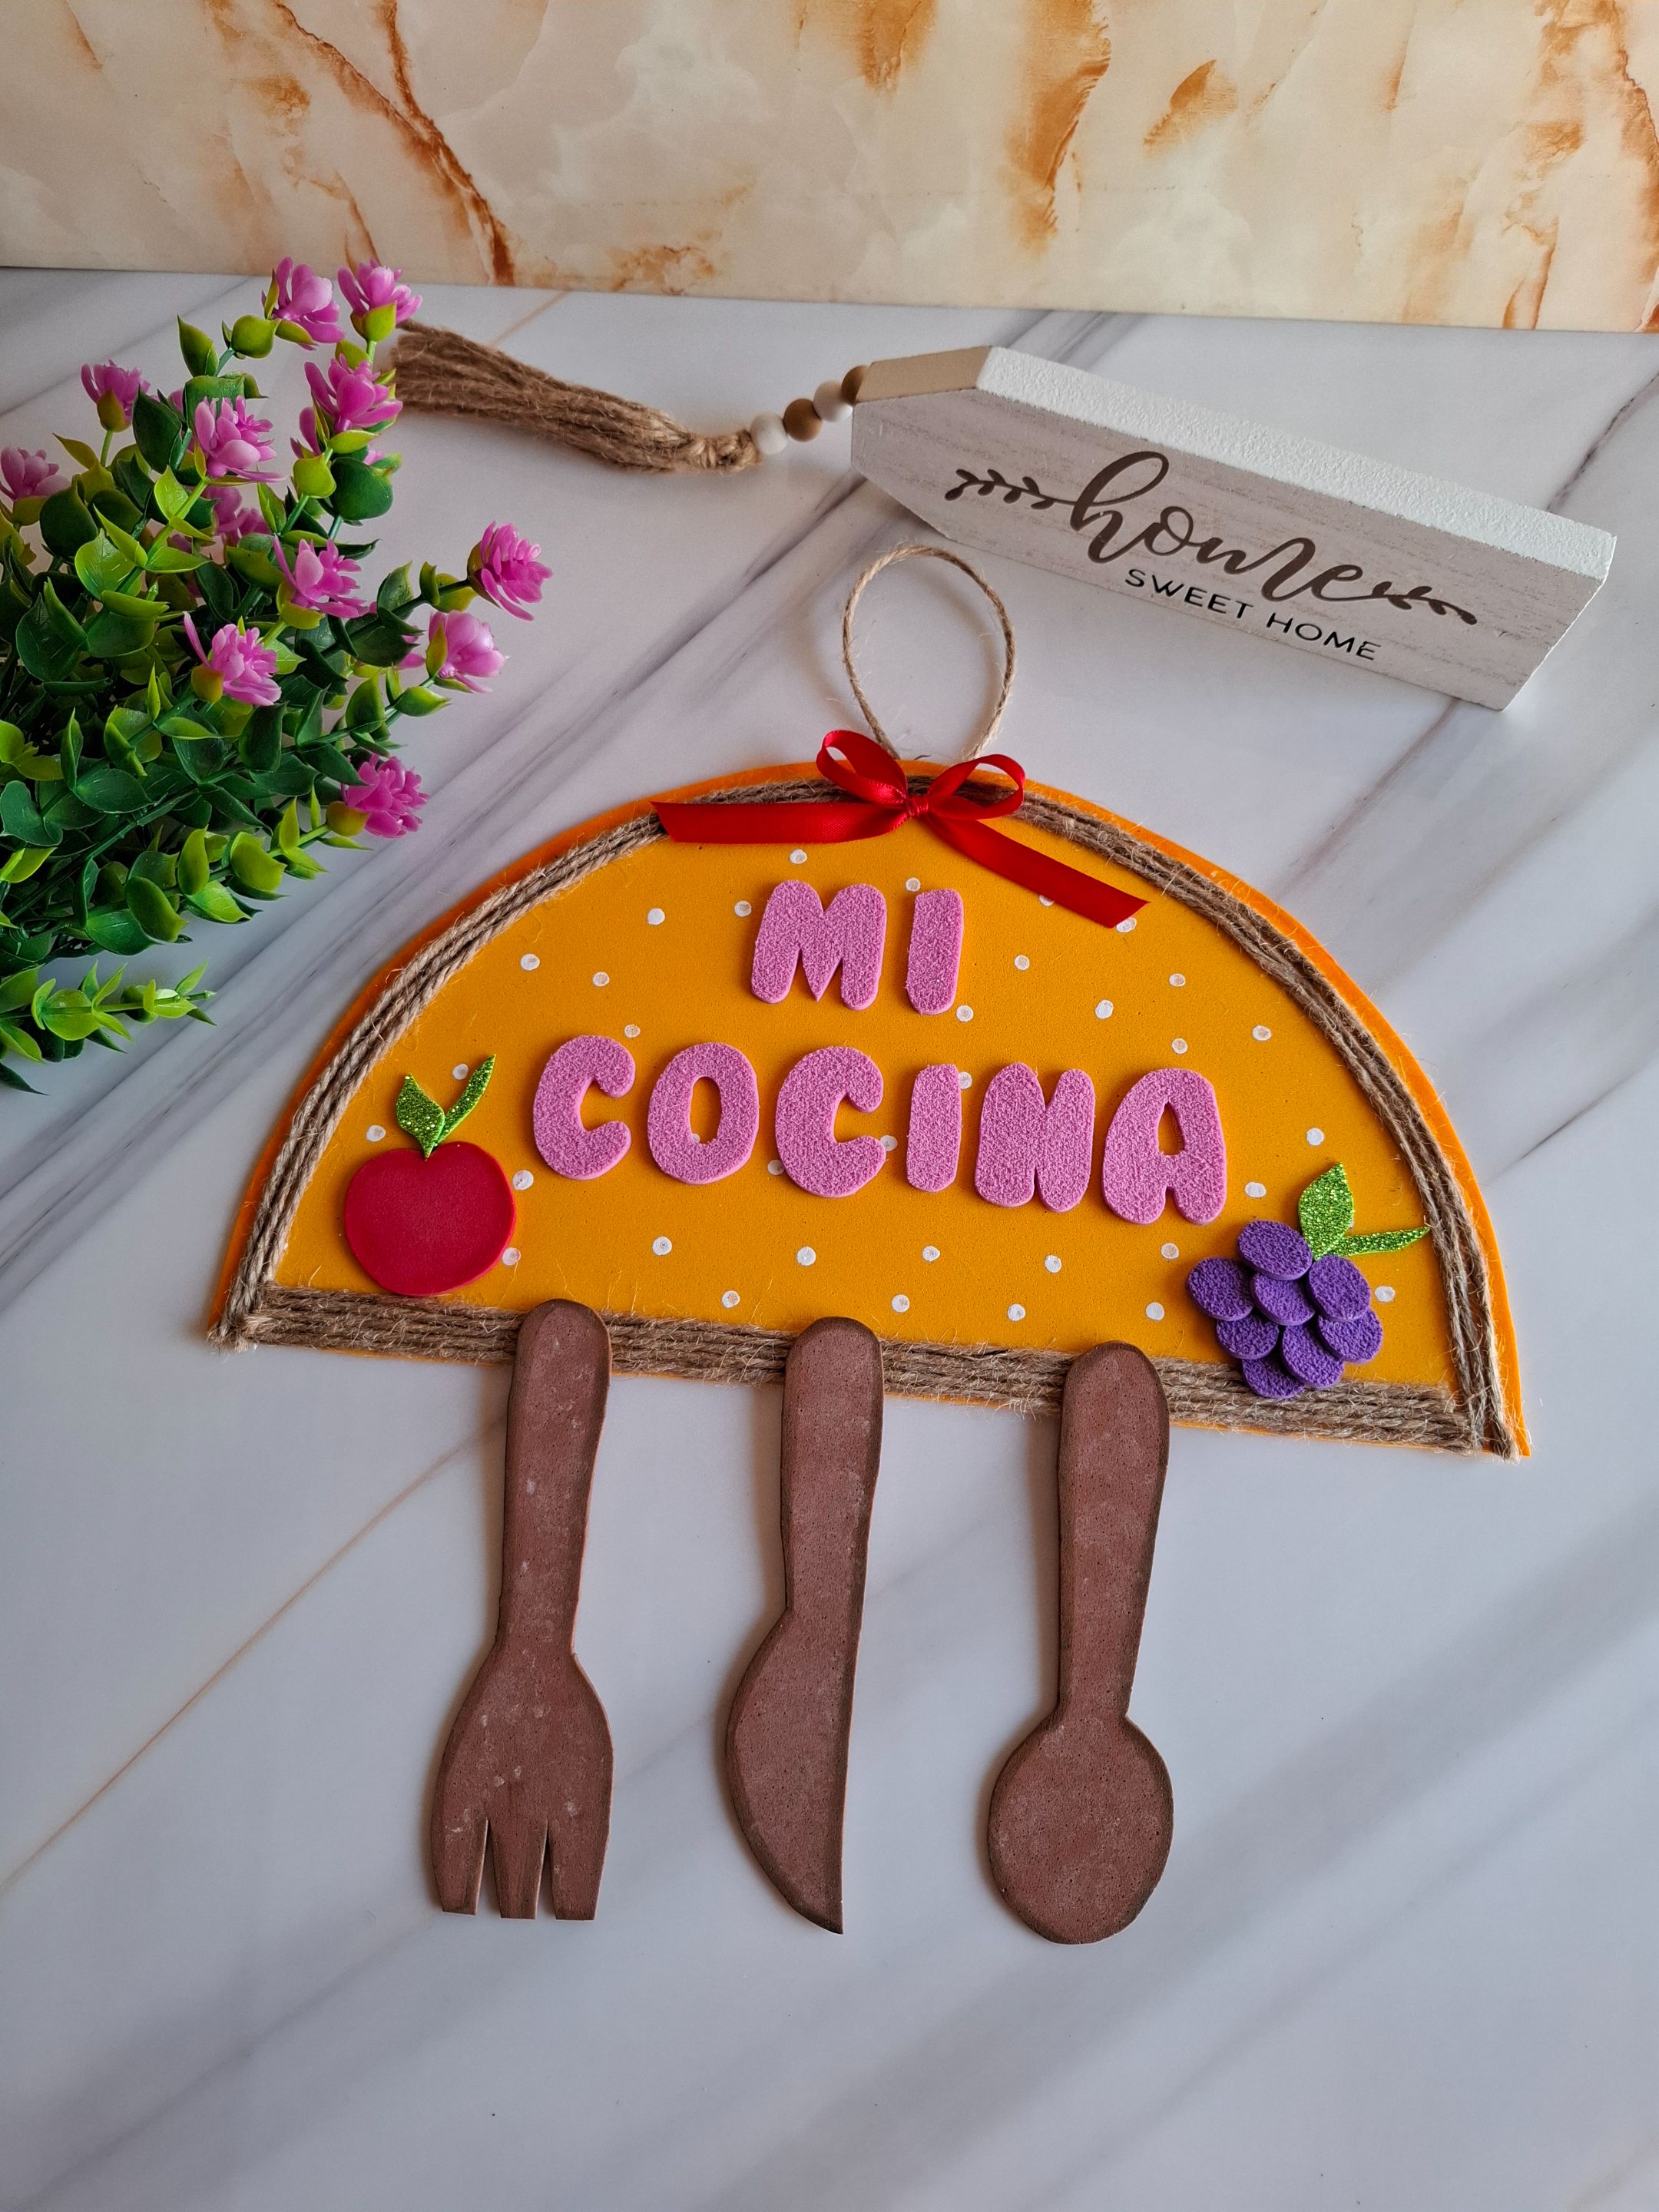
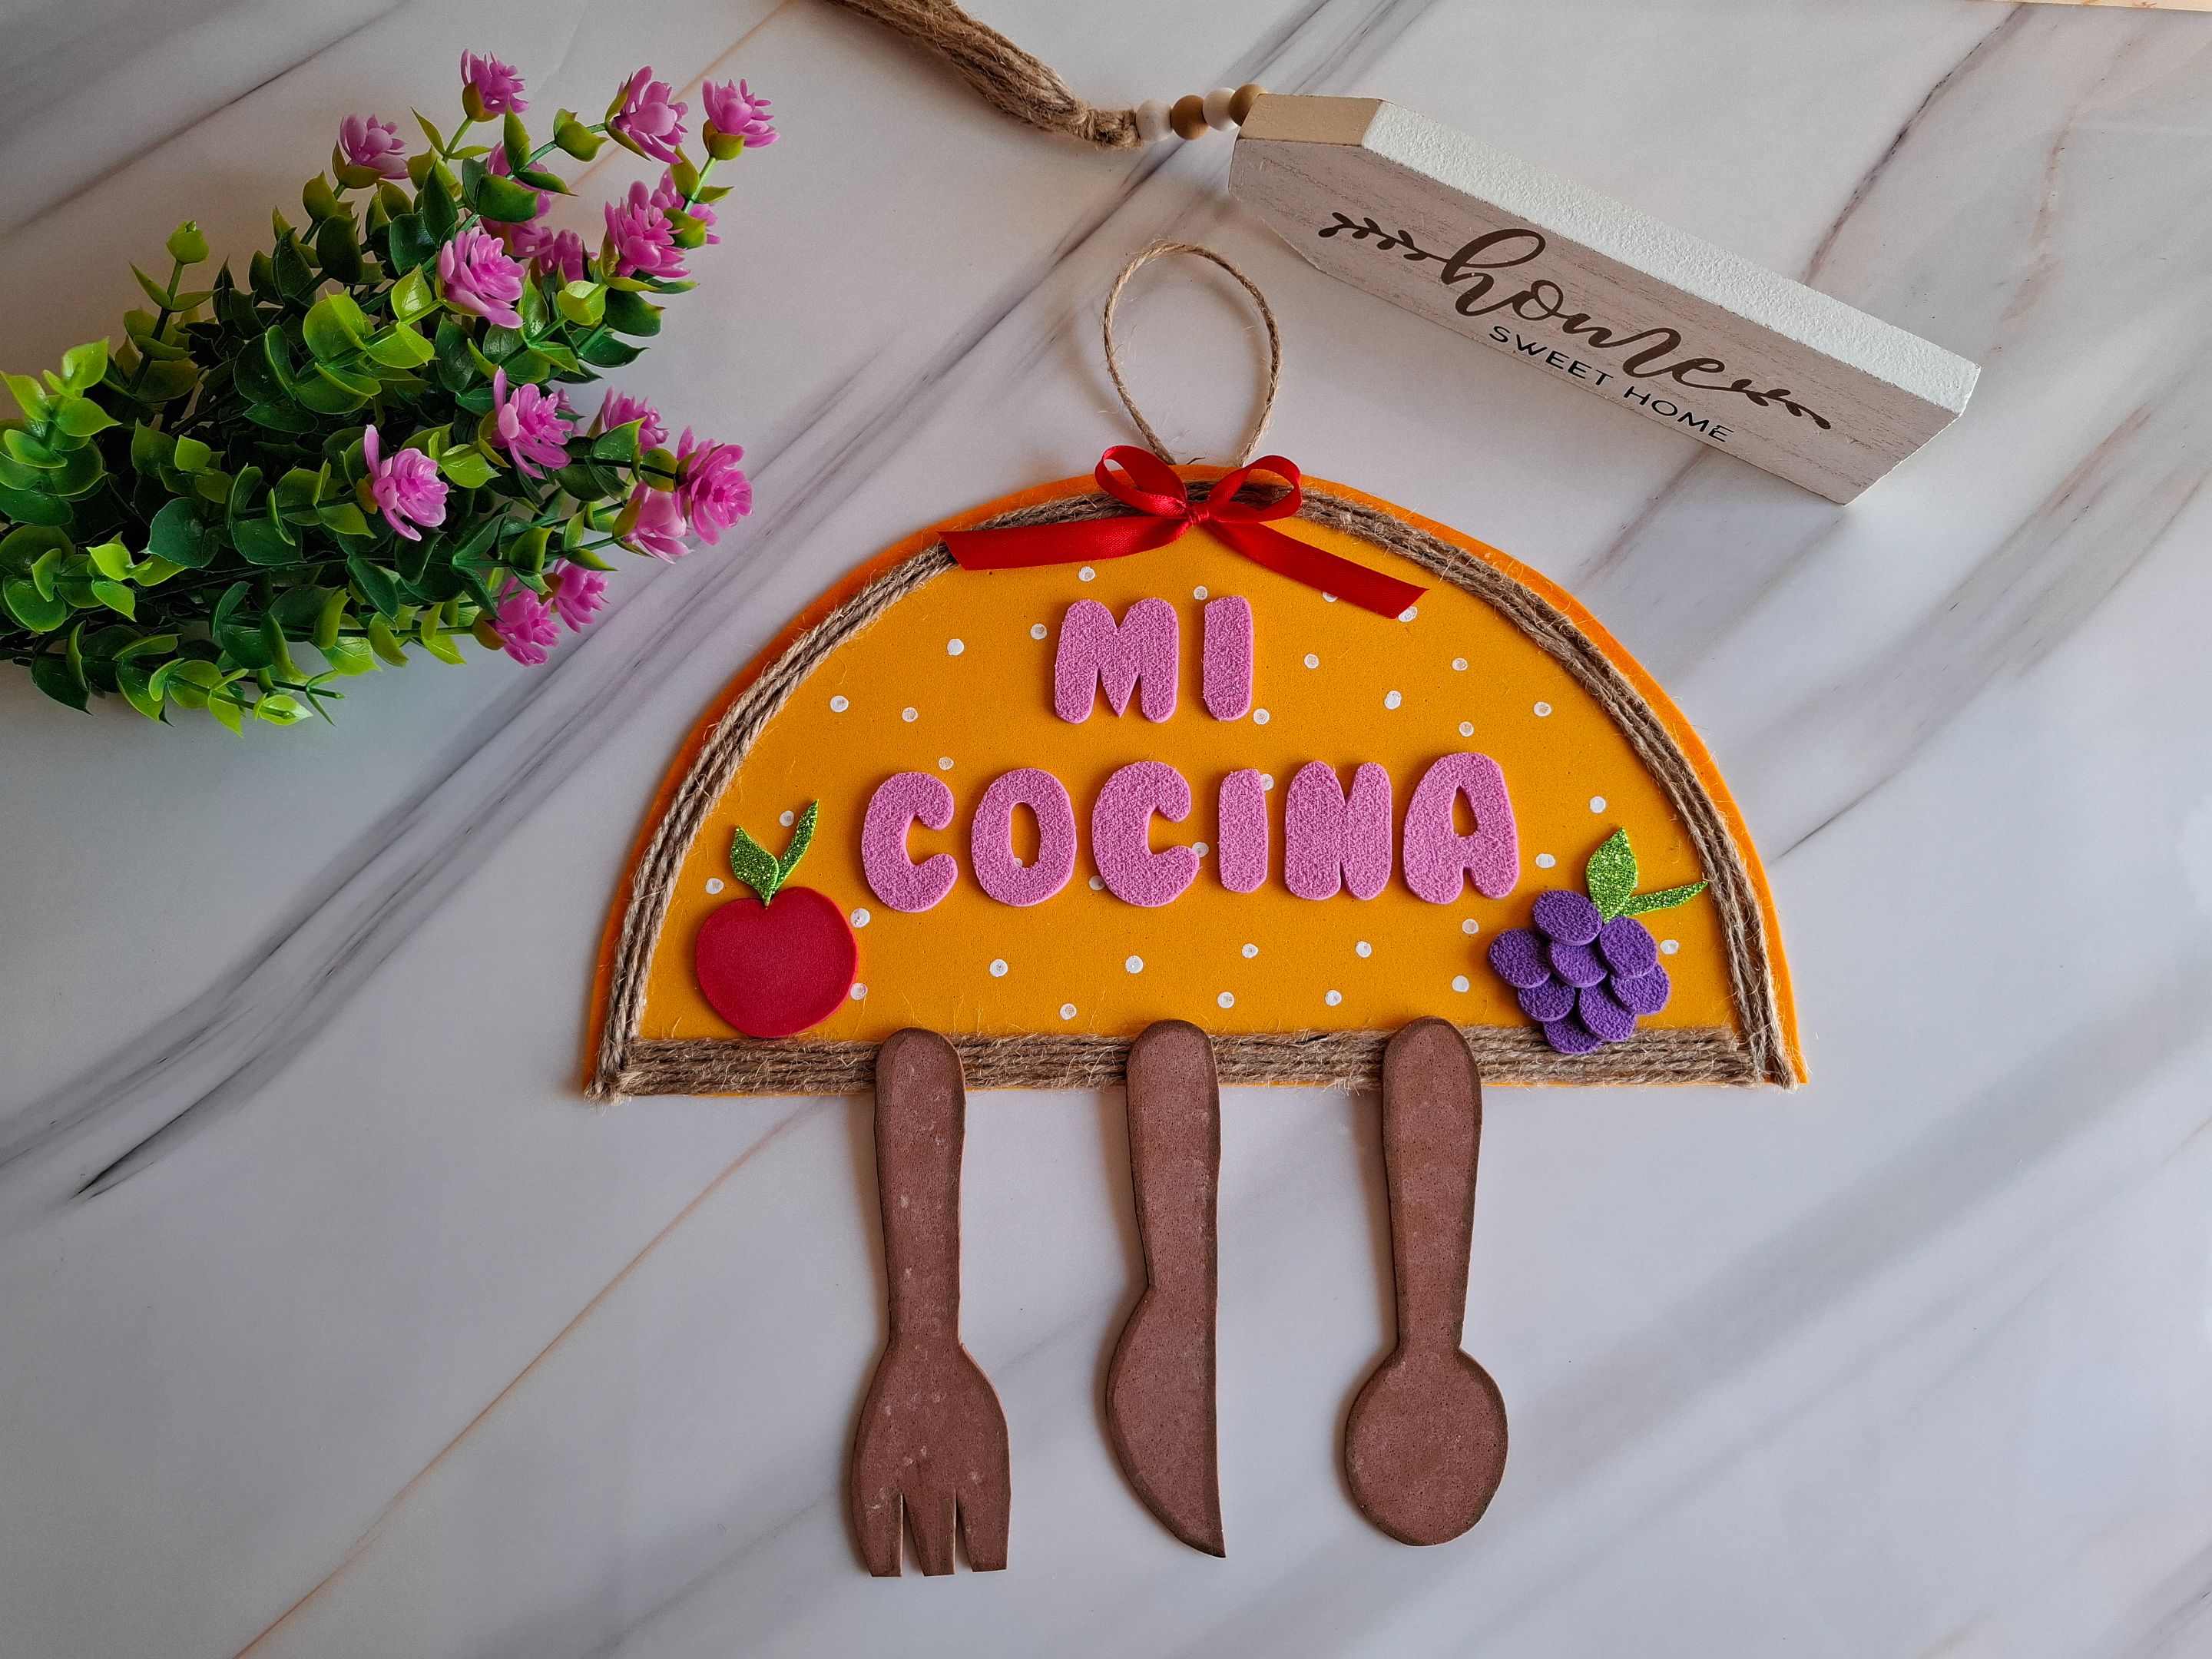
En las esquinas colocamos las frutas, que son una y manzana, en la parte inferior ubicamos de forma centrada los utensilios que realizamos, también para complementar la decoración realizamos un pequeño lazo con cinta roja. En la parte trasera voy a colocar el mecatillo para colgar.
In the corners, we place the fruit, which is a piece of fruit and an apple. At the bottom, we center the utensils we made. To complete the decoration, we also make a small bow with red ribbon. On the back, I'll place the string for hanging.
De esta forma terminé este bello colgante, espero les haya gustado, muchas gracias por visitar mi publicación, nos vemos en una próxima oportunidad con más ideas creativas.
This is how I finished this beautiful pendant. I hope you liked it. Thank you very much for visiting my post. I'll see you next time with more creative ideas.
Contenido original. - original content.
Los separadores y banner fueron realizados en Canva. - The dividers and banner were made in Canva.
Fotografías tomadas con mi Samsung A55. - Photographs taken with my Samsung A55.
Gif creado desde Giphy / Gif created from Giphy
Traducción de: Google traductor - Translation of: Google translator.