Bienvenidos amigos de @jewelry a mi blog. 📿⭐️
Feliz día y muchas bendiciones para todos los amigos de esta creativa comunidad de artesanos y joyeros, hoy paso por aquí con una idea sencilla y clásica de una gargantilla de cuentas negras, balines y estrella color plata, es un regalo para la hija de una amiga ella es estudiantes de la universidad y le gusta mucho éste estilo de collar tipo gargantilla.
Así que para su cumpleaños le estoy haciendo unos regalitos entre ellos ésta gargantilla, para que la luzca combinadas con sus vestidos, faldas o pantalones universitarios.
Welcome @jewelry friends to my blog. 📿⭐️
Happy day and many blessings to all the friends of this creative community of artisans and jewelers, today I am passing by with a simple and classic idea of a choker of black beads, ballerinas and silver star, it is a gift for the daughter of a friend she is a college student and she likes this style of choker necklace.
So for her birthday I am making her a few gifts including this choker, so she can wear it combined with her dresses, skirts or college pants.
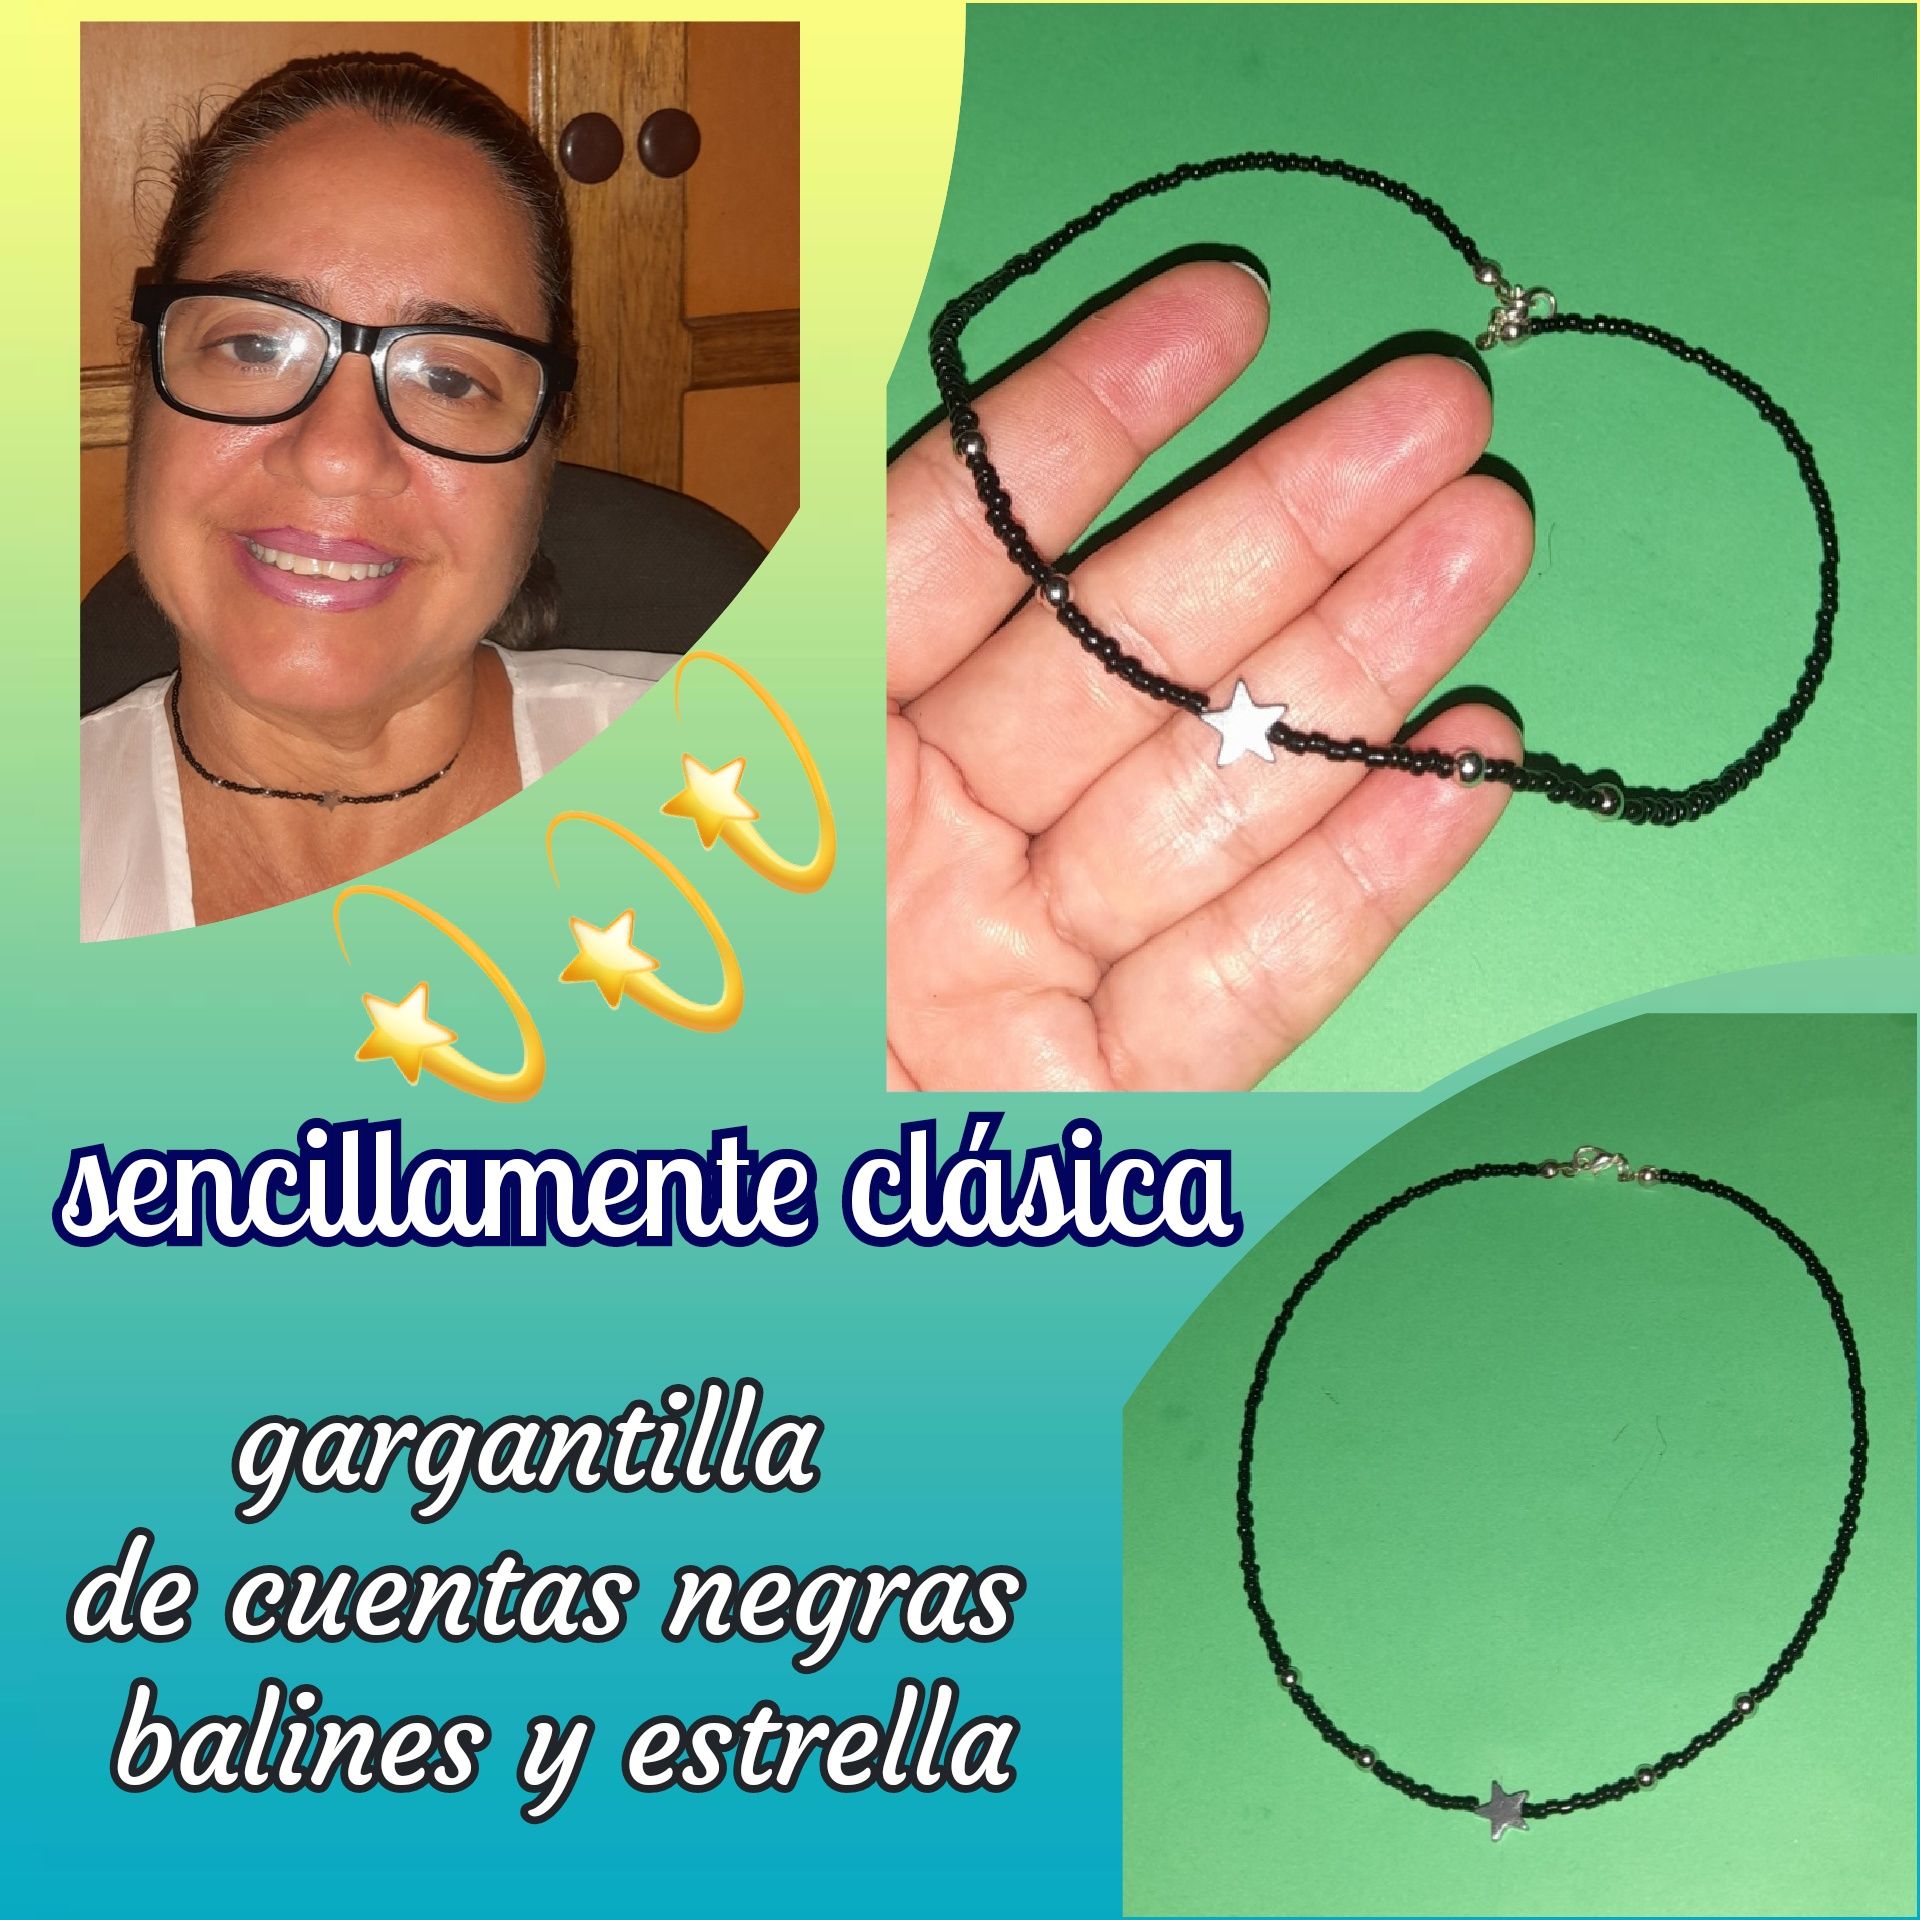
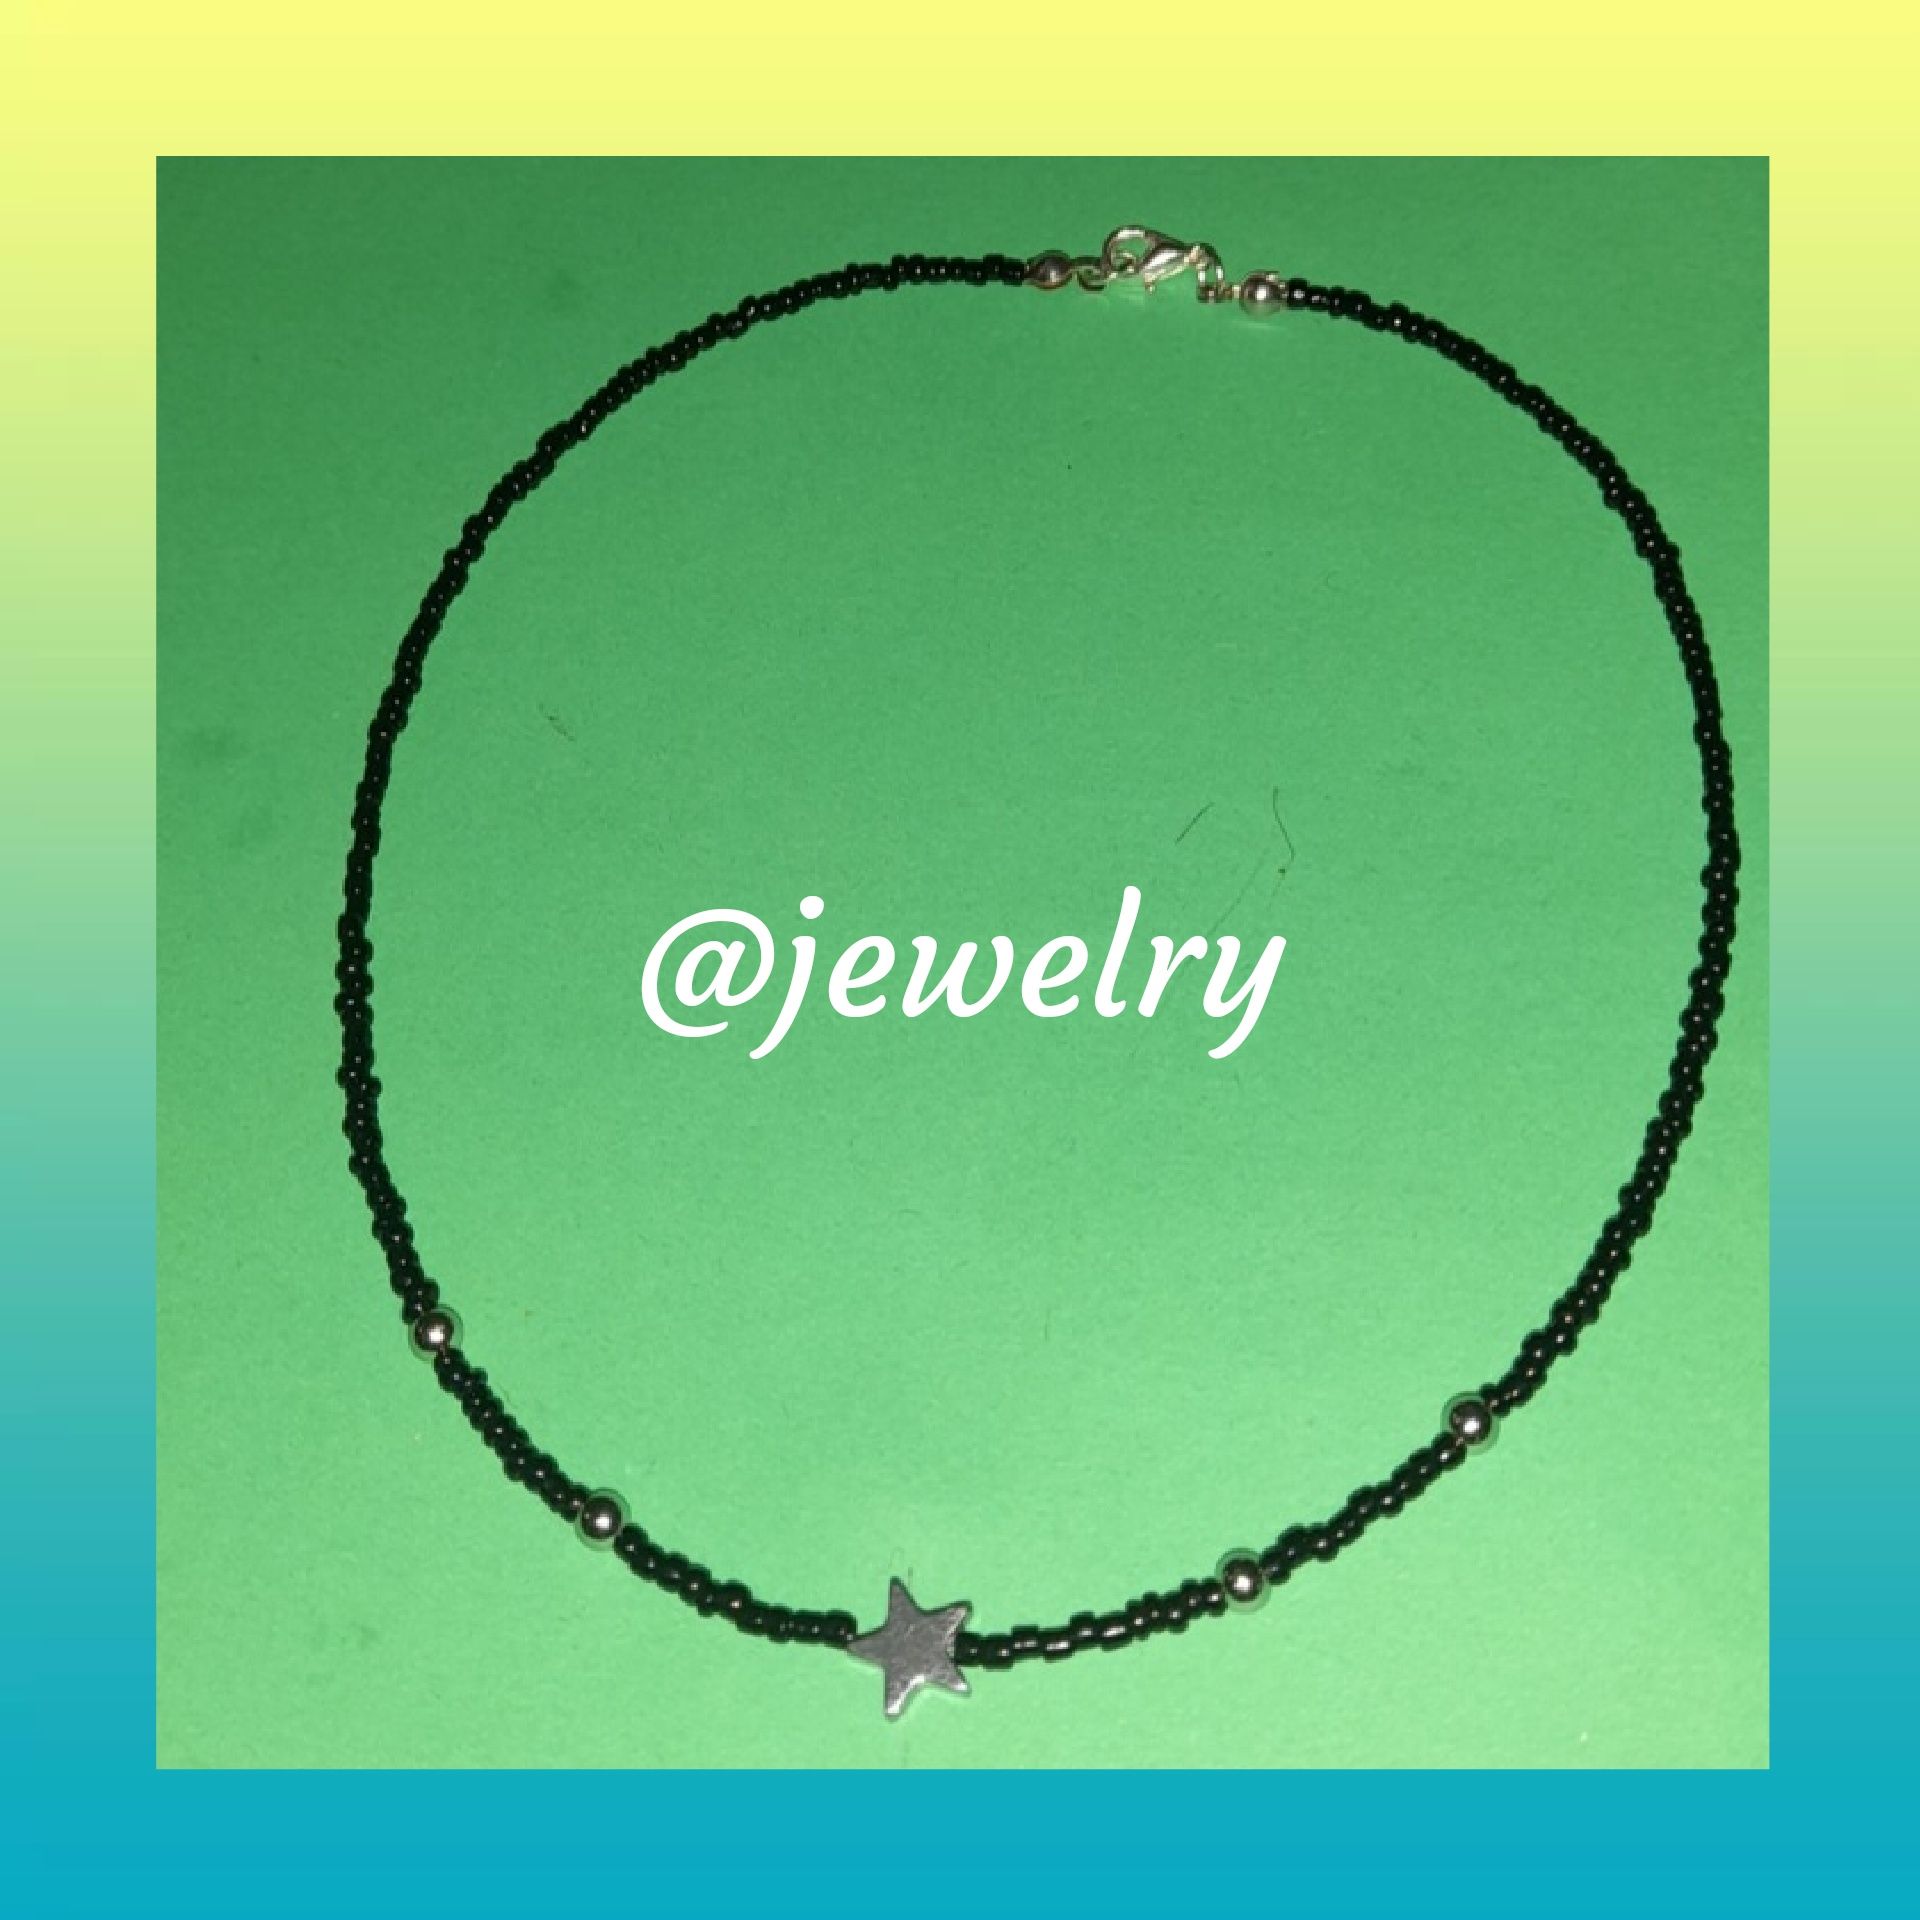
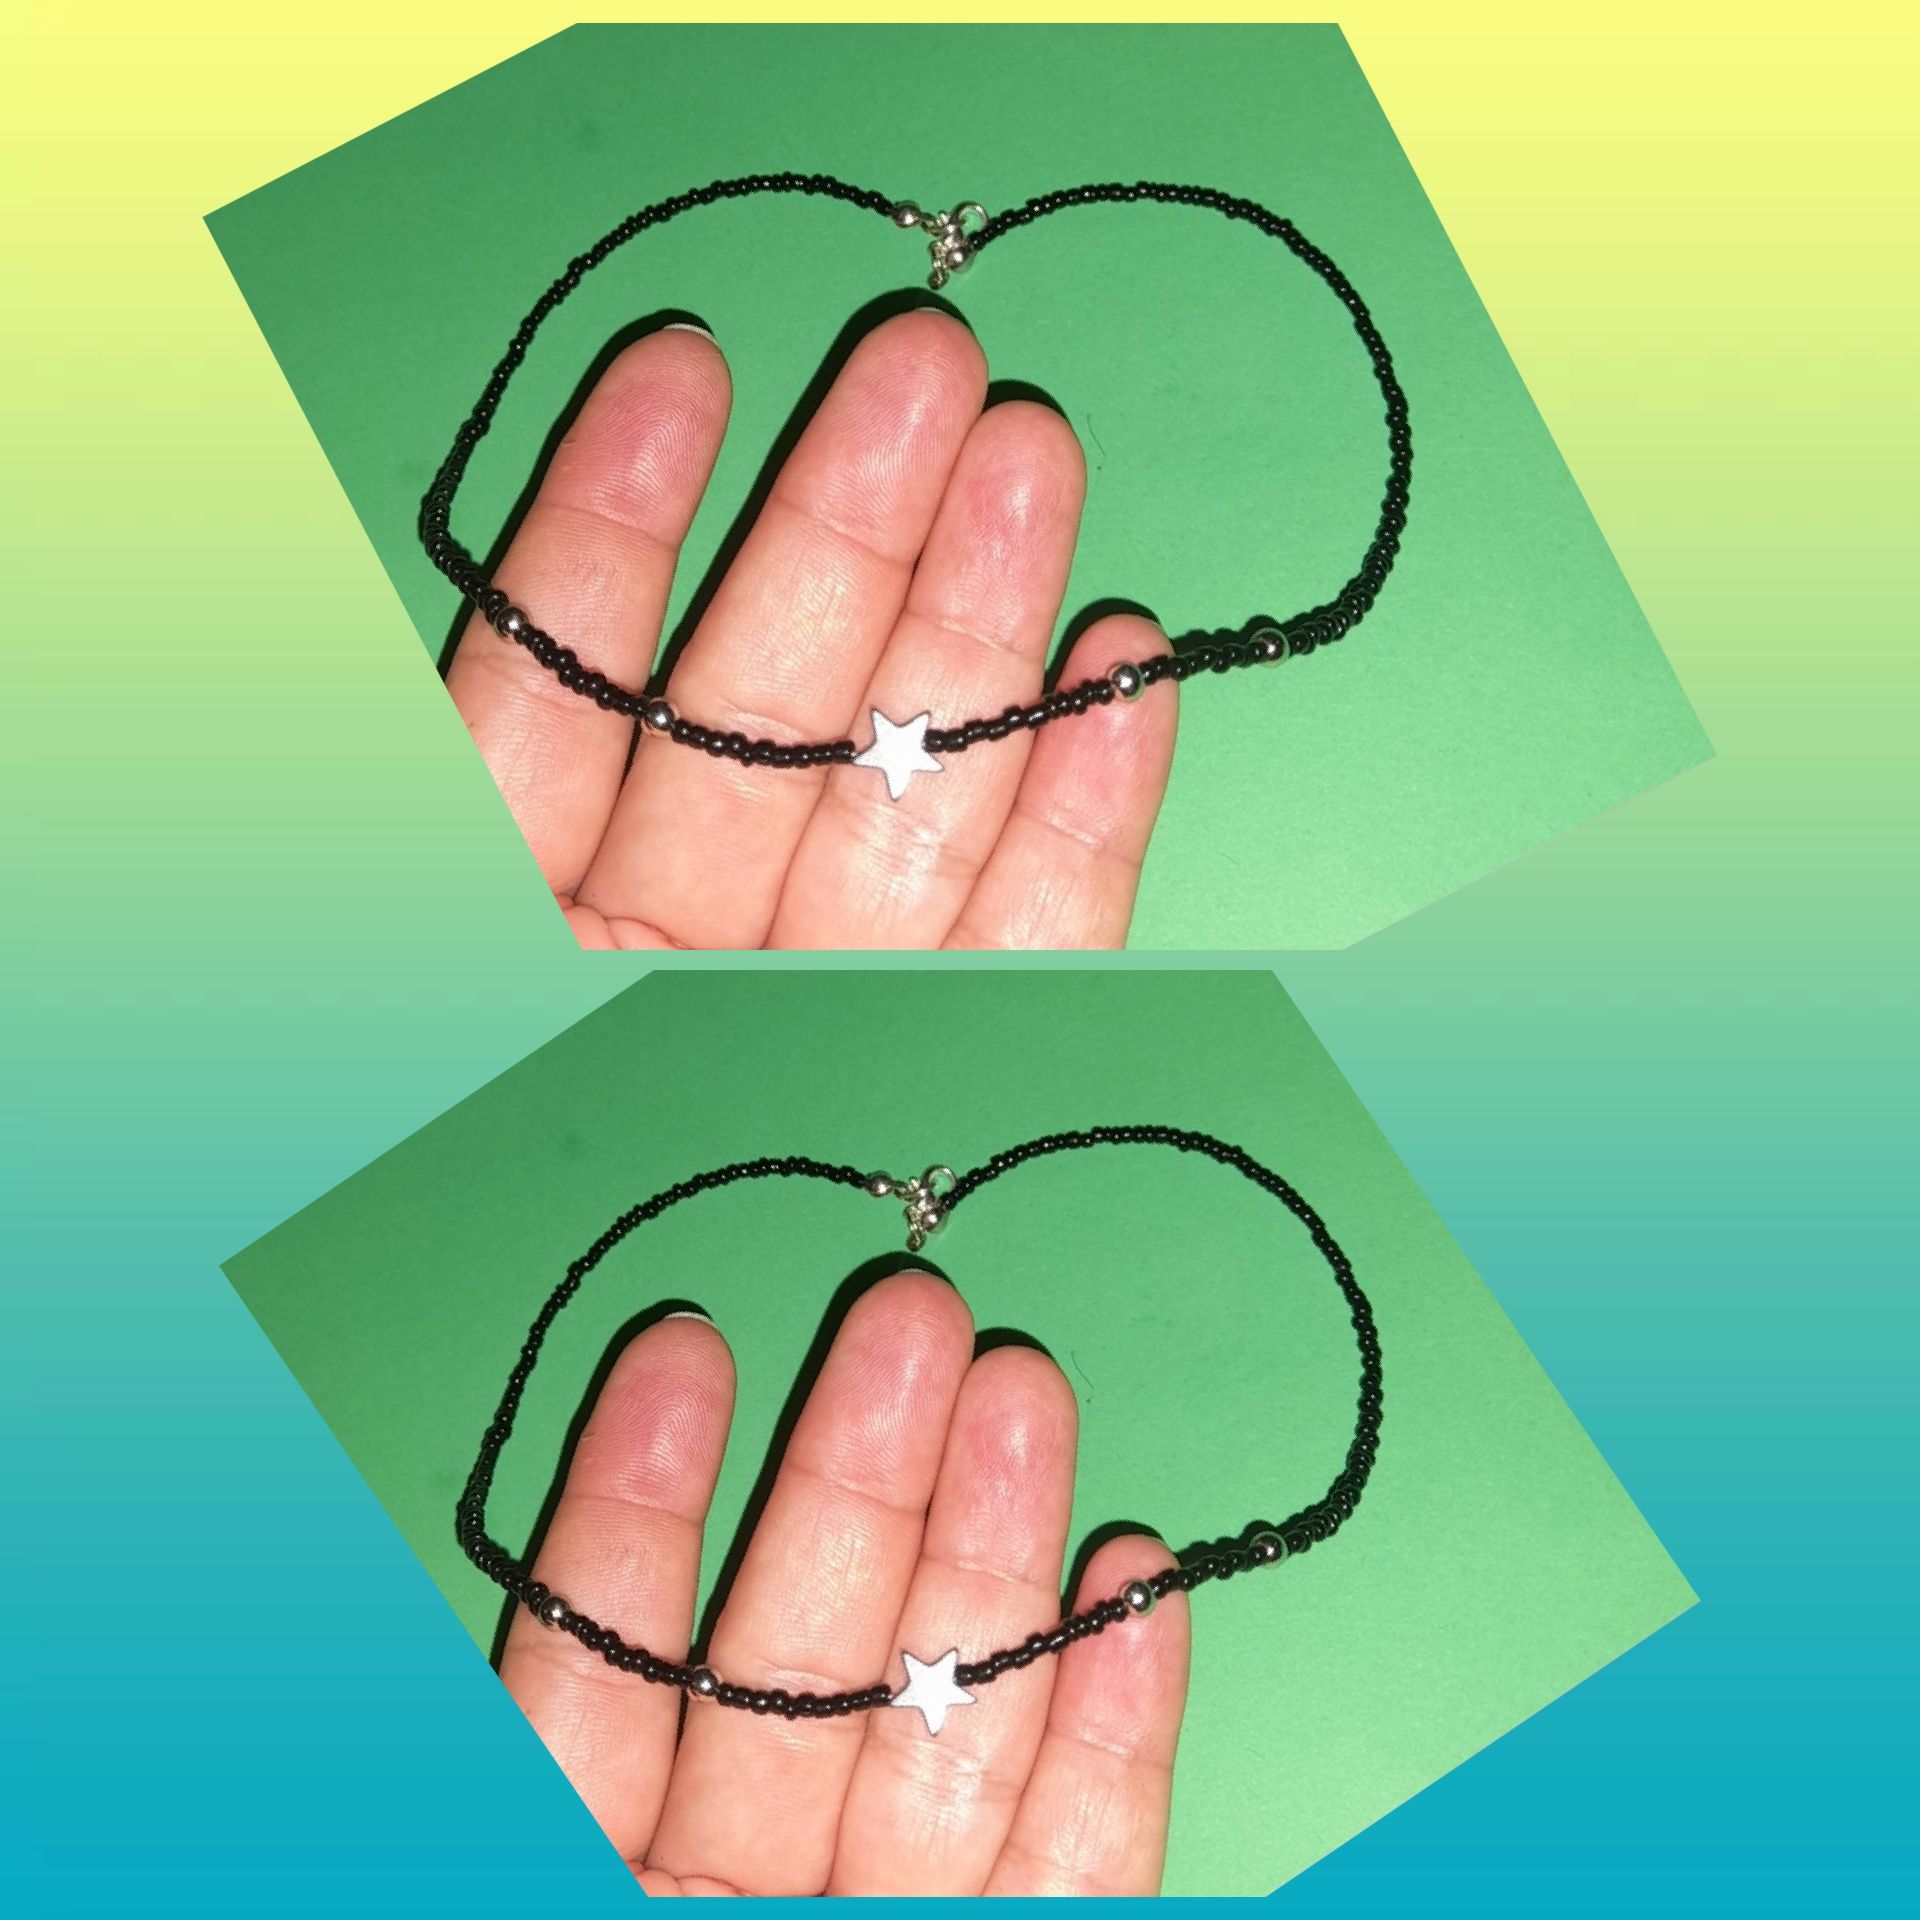
Aquí lo pueden ver ya terminado la gragantilla es muy bonita, sencilla y clásica en color negro, para que combine con todo sus atuendo universitario, lo luzca y resalte entre sus amigos. 📿⭐️
Here you can see it already finished the choker is very nice, simple and classic in black, to combine with all your college attire, look and stand out among your friends. 📿⭐️
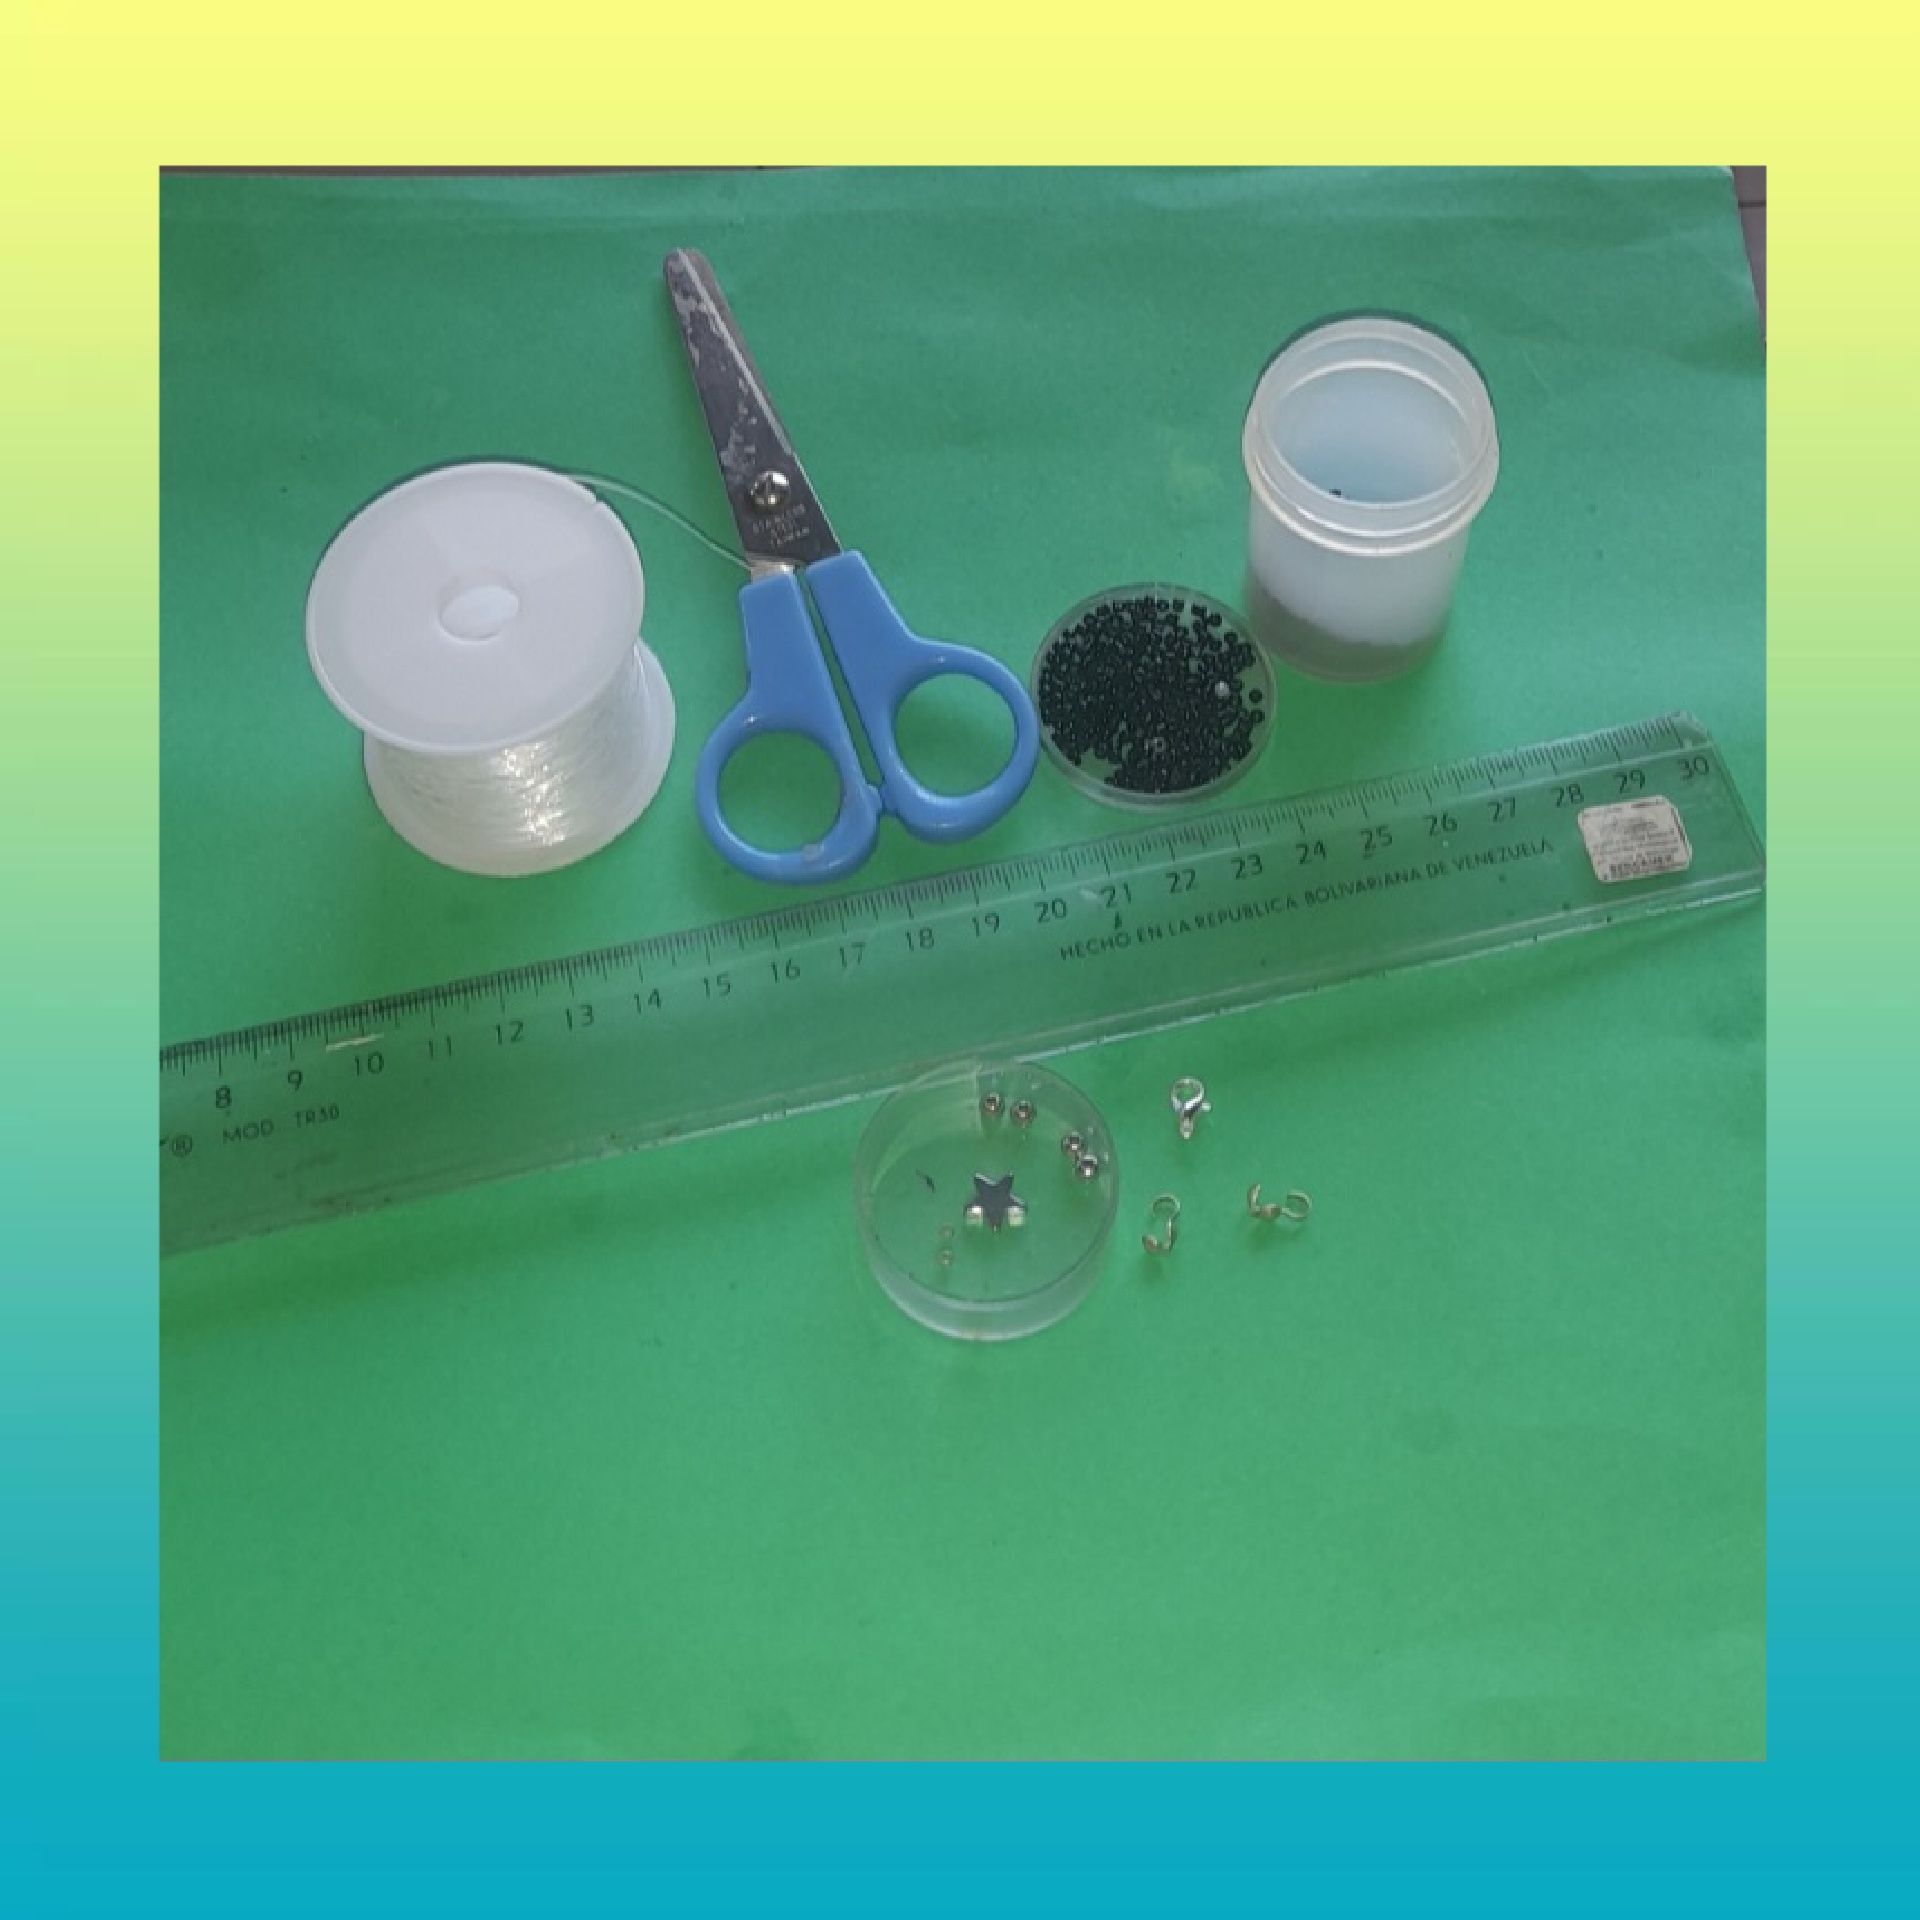
MATERIALES PARA SU ELABORACIÓN:
● 1 dedal de cuentas pequeñas negras.
● 30 cm de hilo nailon.
● 2 tapa nudo color plata.
● 1 tranca color plata.
● 2 grapas pequeñas color platas.
● 4 balines color plata.
● 1 estrella color plata.
● Tijera.
● Tenaza.
● Regla.
MATERIALS FOR ITS ELABORATION:
● 1 thimbleful of small black beads.
● 30 cm of nylon thread.
● 2 silver colored knot covers.
● 1 silver-colored lock.
● 2 small silver-colored staples.
● 4 silver colored pellets.
● 1 silver star.
● Scissors.
● Pliers.
● Ruler.
ELABORACIÓN DE LA GARGANTILLA:
EL PASO A PASO:
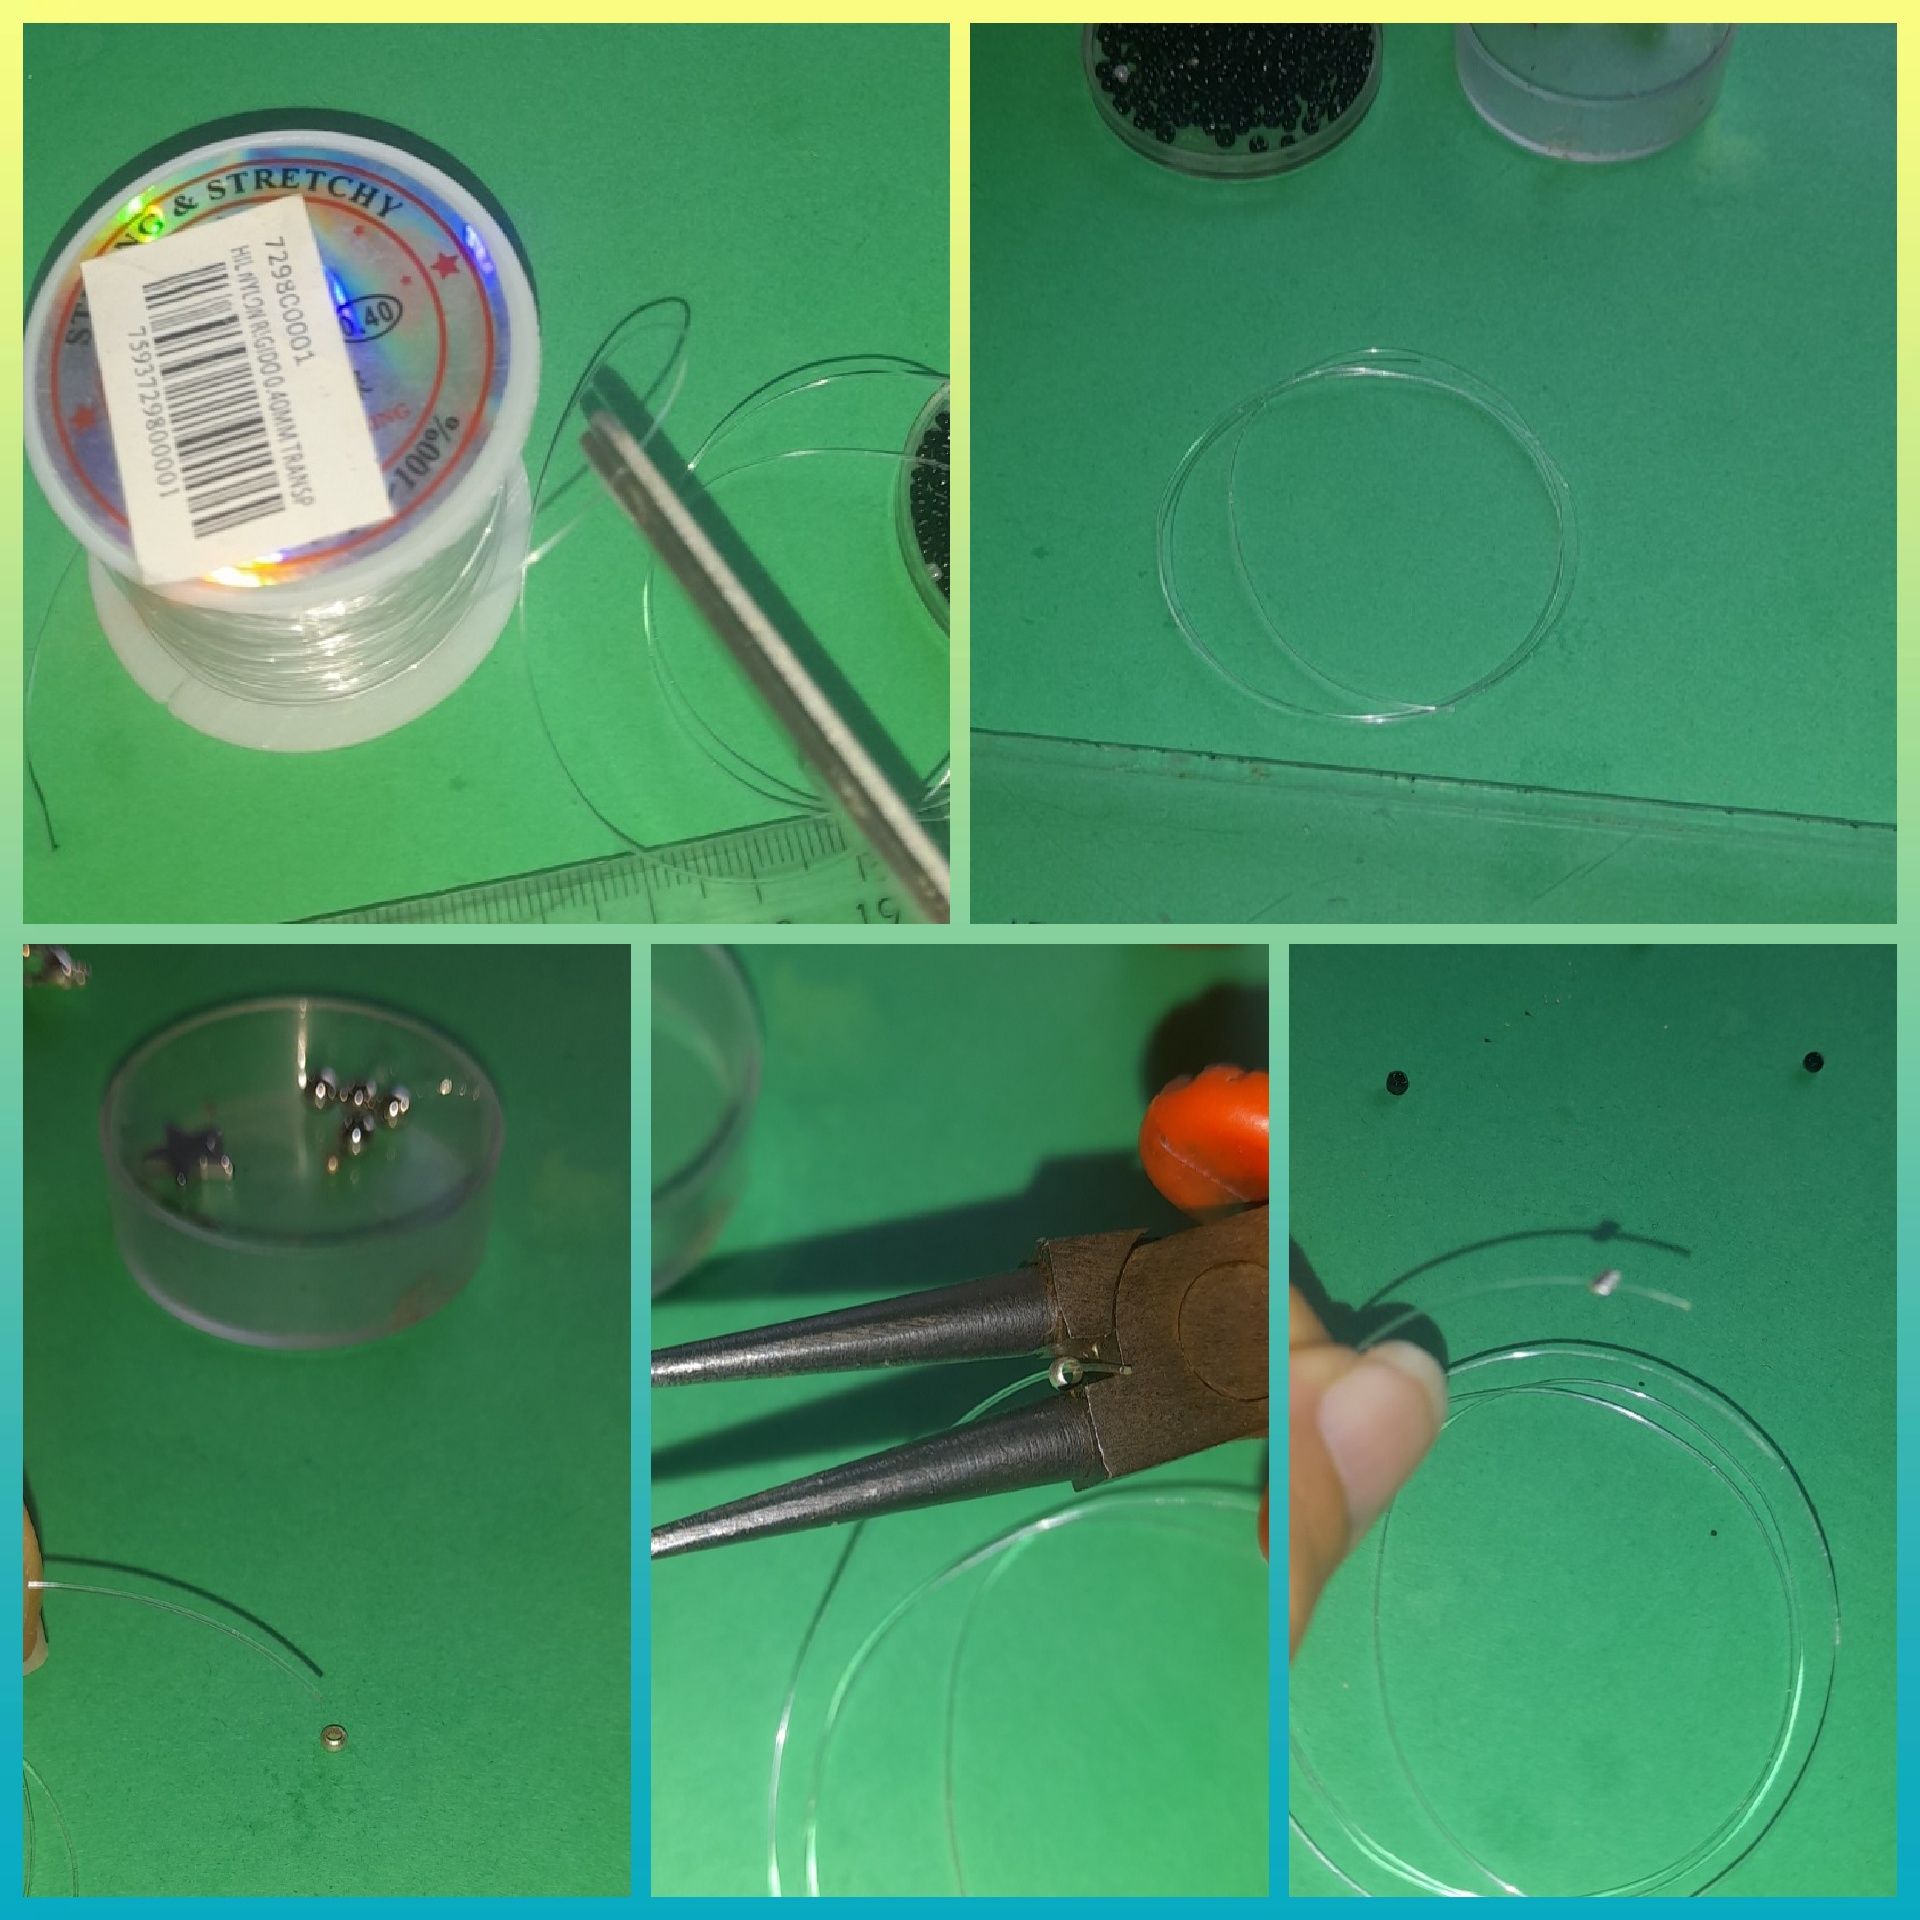
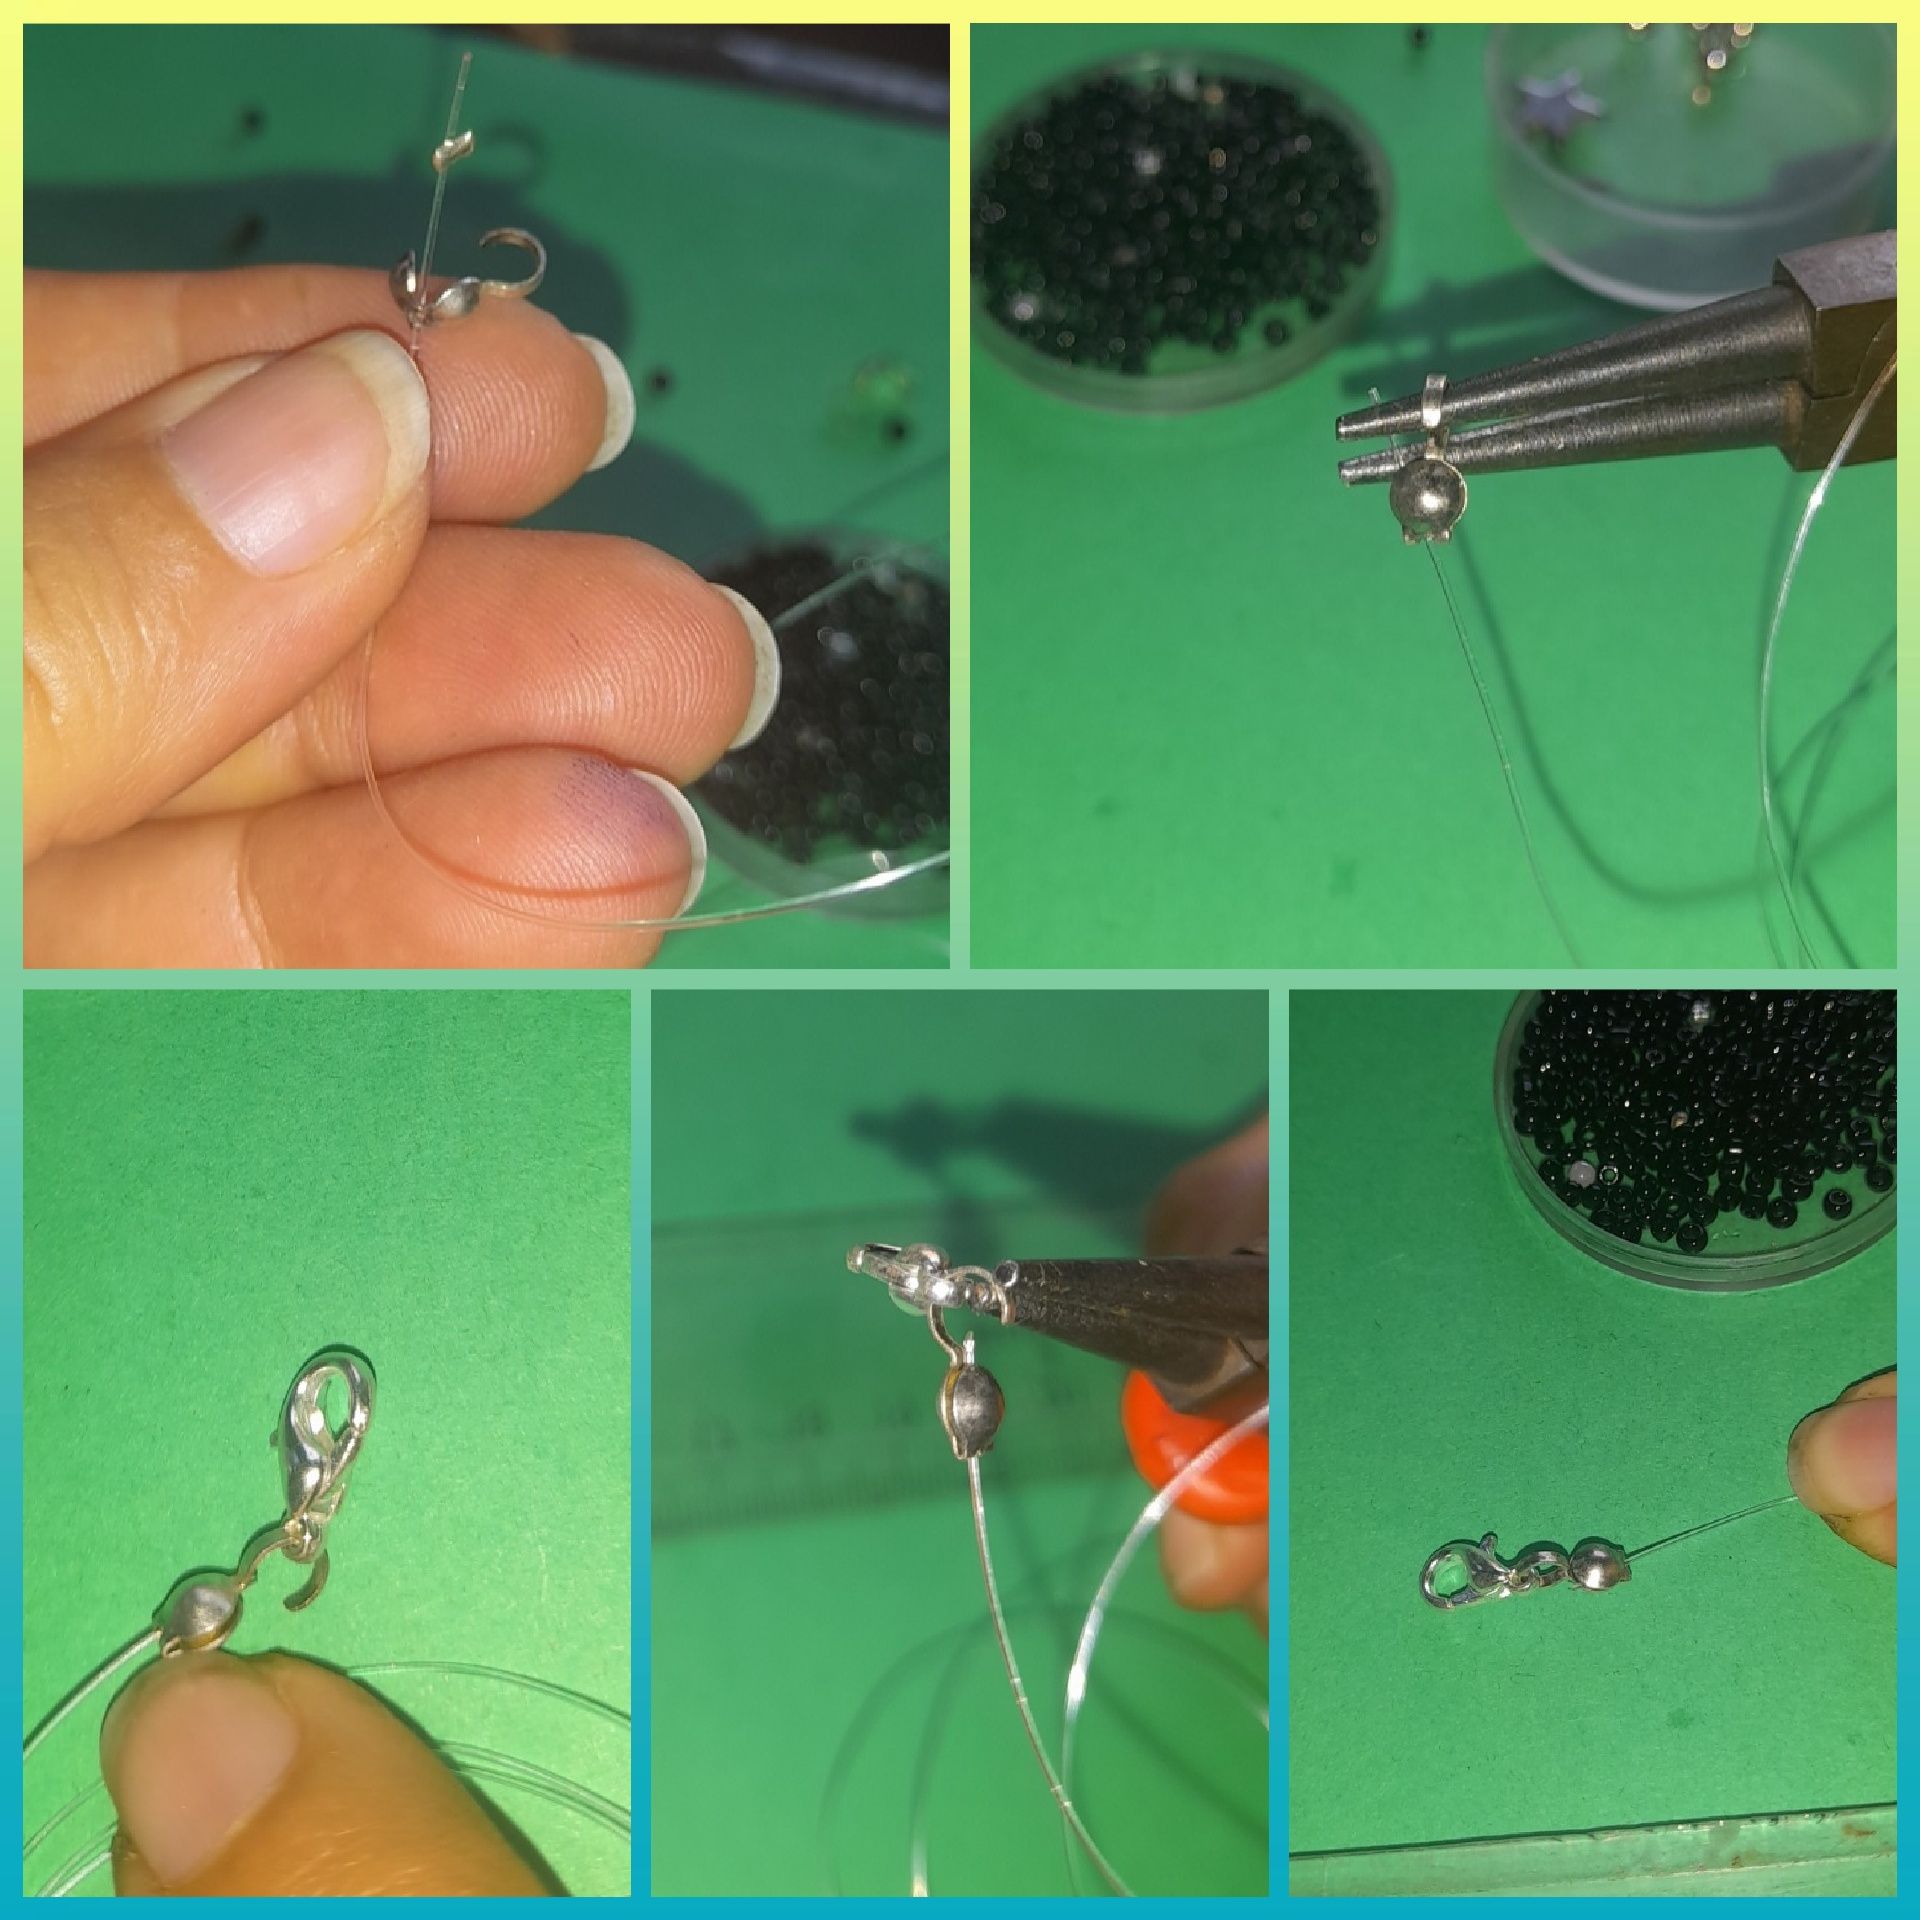
● Cortamos 30 cm de hilo nailon con la tijera.
● Tomamos una grapa y le introducimos la punta del hilo nailon por el orificio de la grapa.
● Luego tomamos la tenaza y aplanamos la grapa.
● Con la otra punta del otro extremos del hilo nailon lo introducimos por el orificio del tapa nudo .
● Colocamos hasta donde tenemos la grapa y con la tenaza apretando el tapa nudo, tapandos así la grapa .
● Colocamos en la argolla que tiene el tapa nudo la tranca y apretamos con la tenaza.
ELABORATION OF THE CHOKER:
STEP BY STEP:
● Cut 30 cm of nylon thread with the scissors.
● We take a staple and insert the tip of the nylon thread through the hole of the staple.
● Then we take the pliers and flatten the staple.
● With the other end of the other end of the nylon thread, we insert it through the hole in the knot cover .
● We place it up to where we have the clamp and with the pliers we tighten the knot cover, thus covering the clamp.
● We place in the ring that has the knot cover the lock and tighten with the pliers.
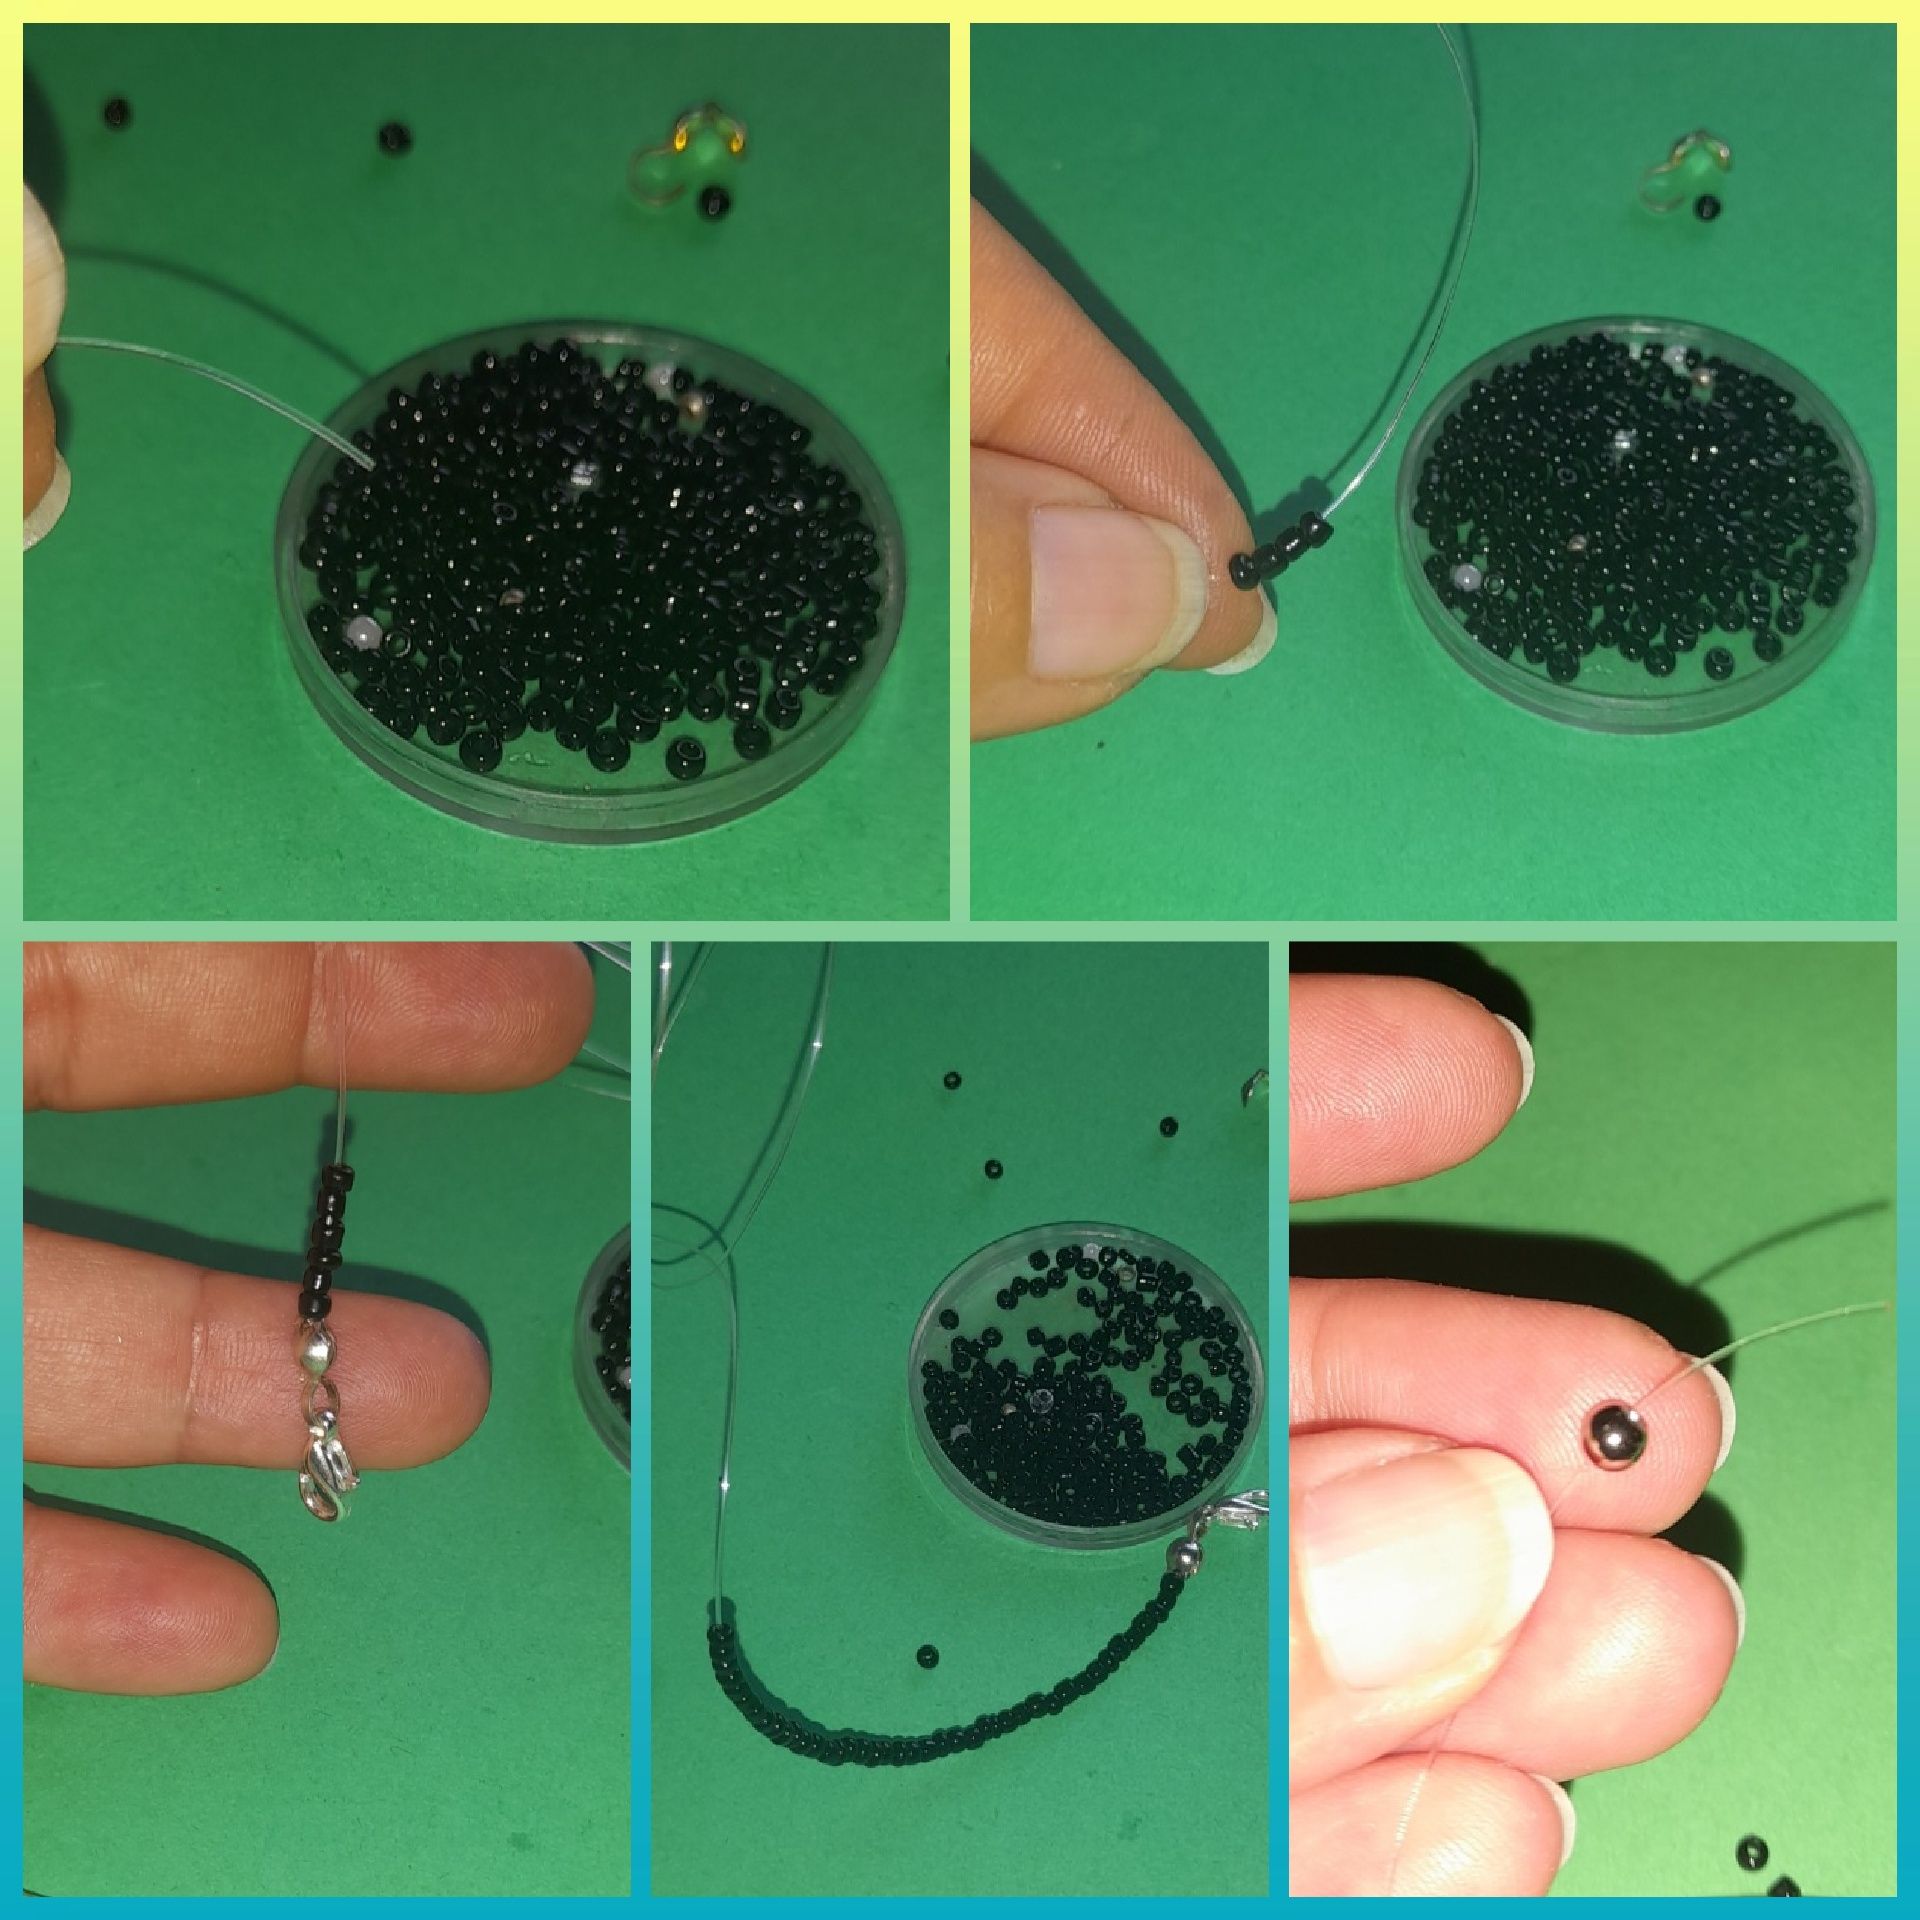
Continuamos realizando la gargantilla:
● Ya tenemos un lado de la tranca de la gargantilla lista.
● Por la otra punta del hilo vamos a introducir las cuentas negras.
● Medimos al cuello y vamos colocando el primer balin plata.
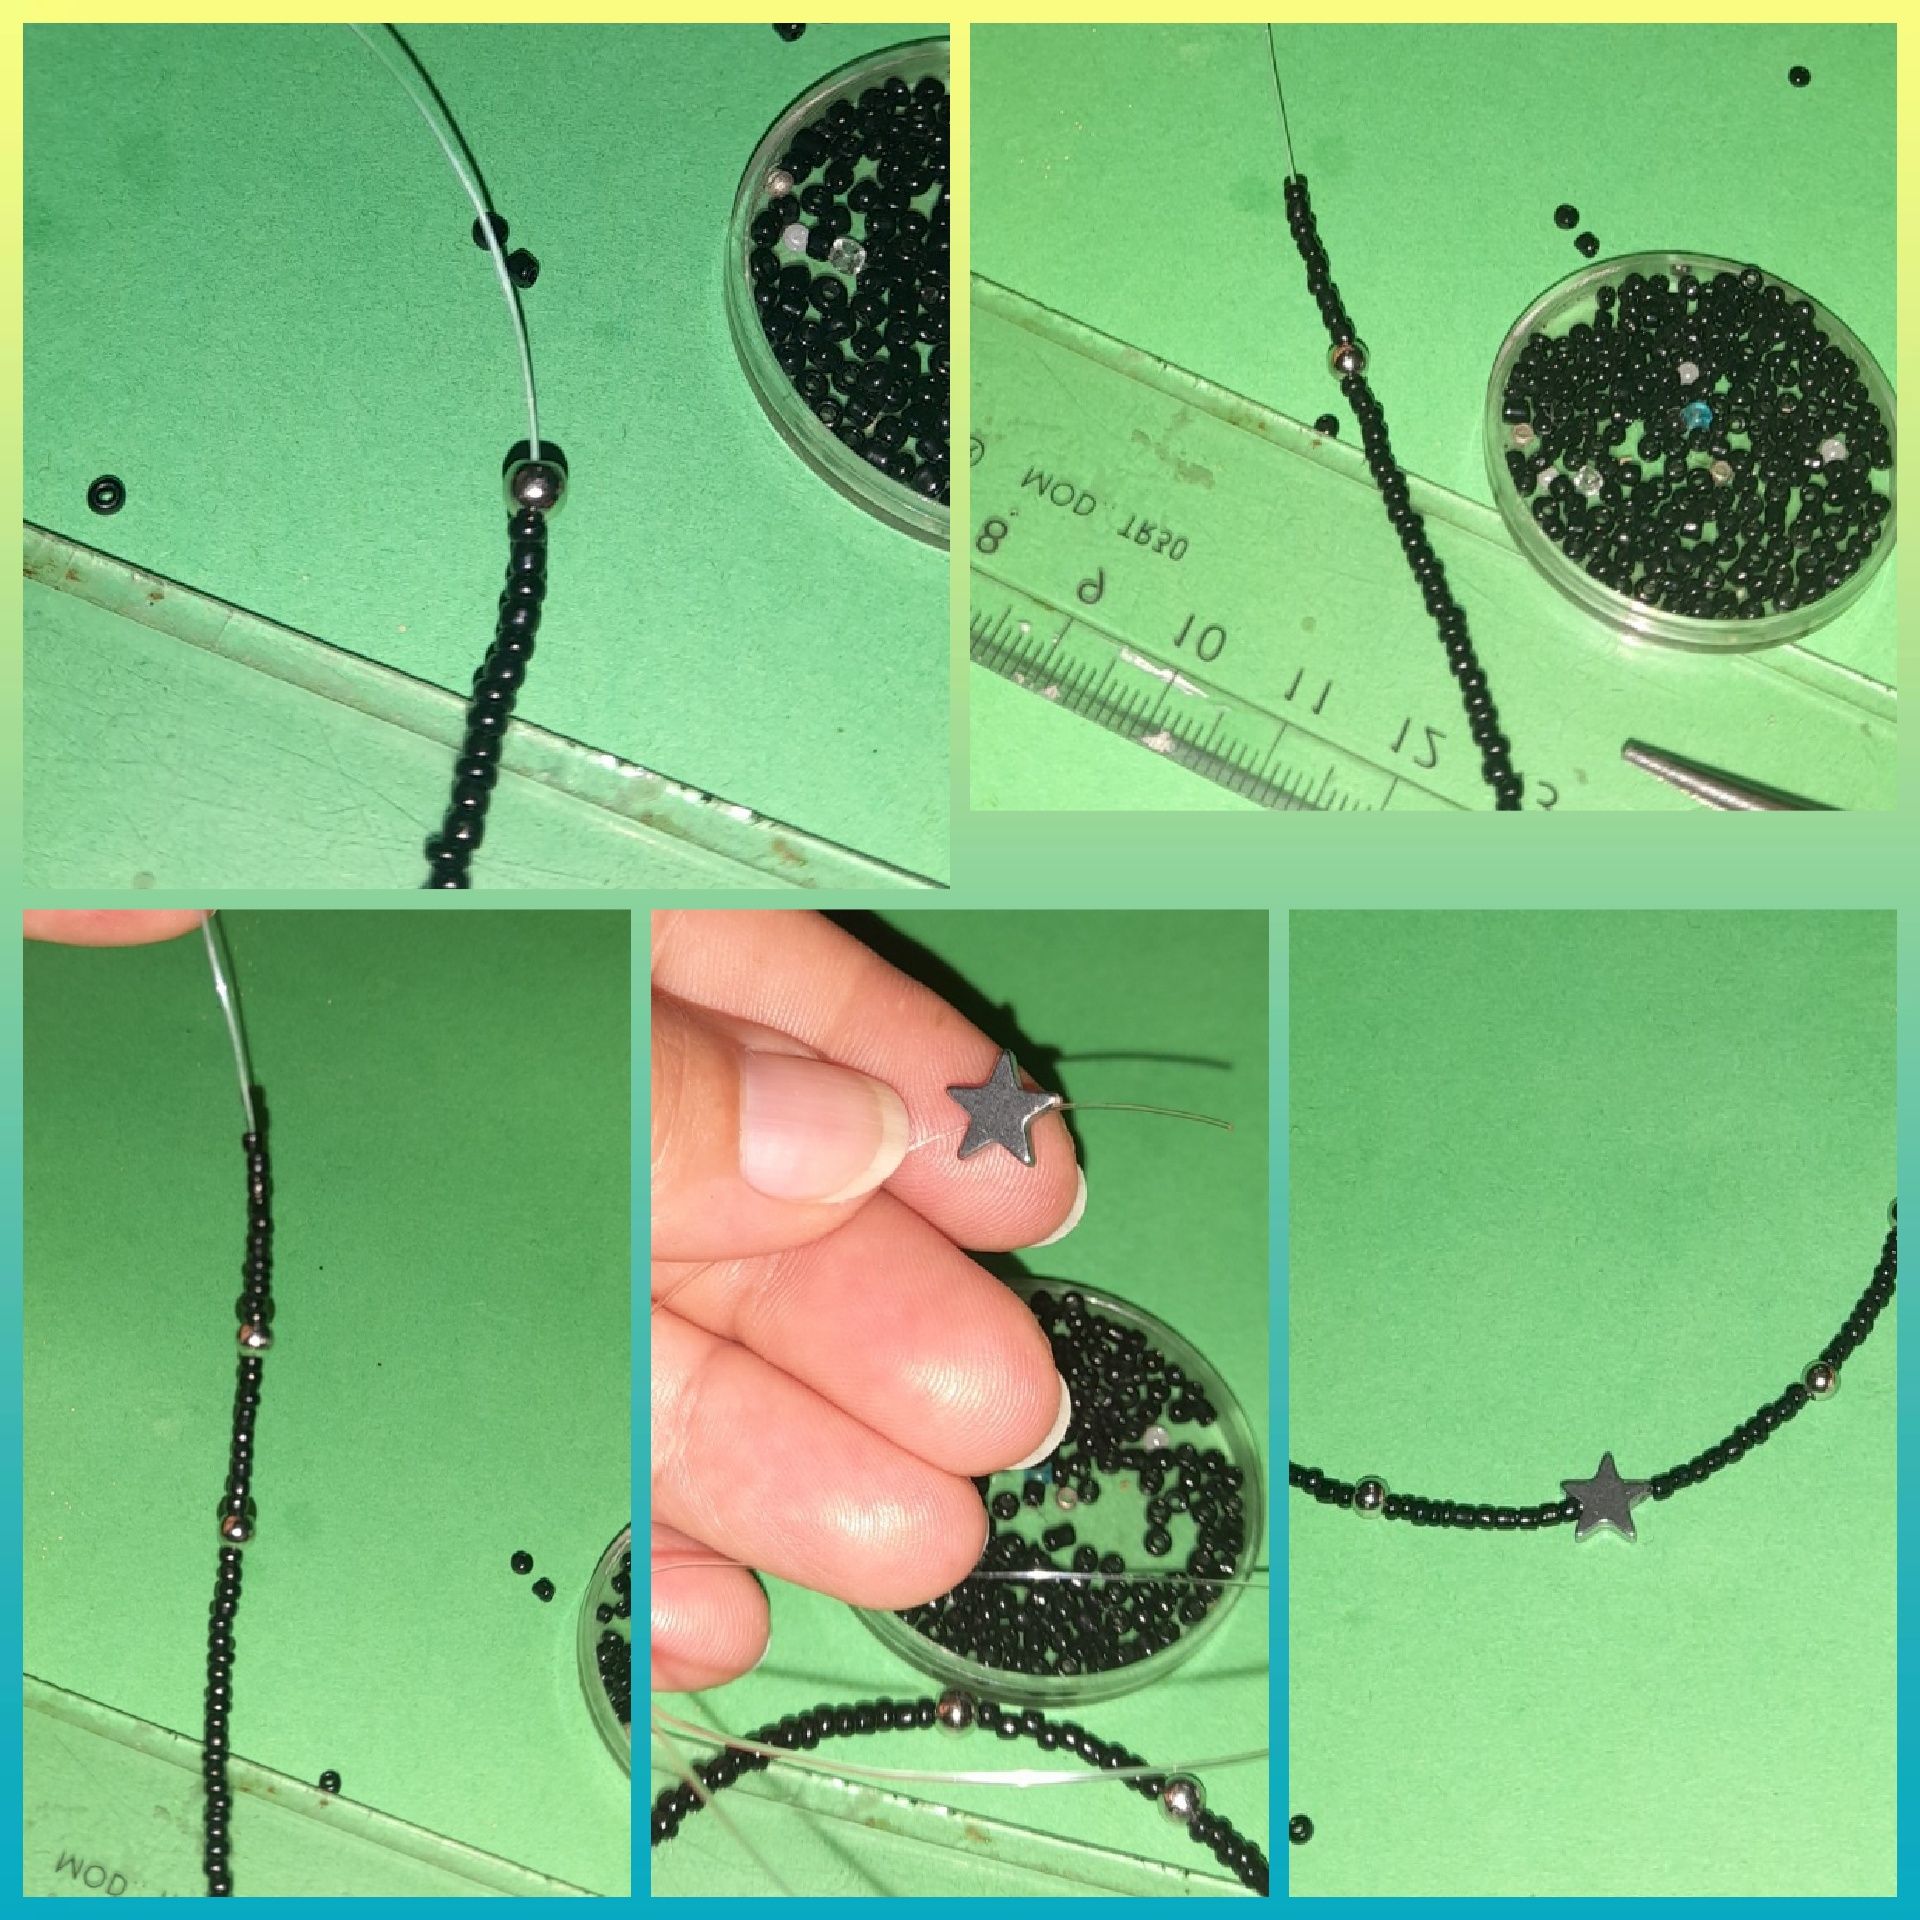
● Luego colocamos unas 10 cuentas más y otro balin .
● Hasta llegar al centro de la gargantilla y colocamos la estrella plateada .
● Ya tenemos definido el centro de la gargantilla.
● vamos a colocar las mismas cantidad de cuentas en cada extremos .
We continue making the choker:
● We already have one side of the choker strand ready.
● On the other end of the thread we are going to introduce the black beads.
● We measure to the neck and place the first silver bead.
● Then we place about 10 more beads and another bead.
● Until we reach the center of the choker and place the silver star .
● Now we have defined the center of the choker.
● We are going to place the same amount of beads at each end.
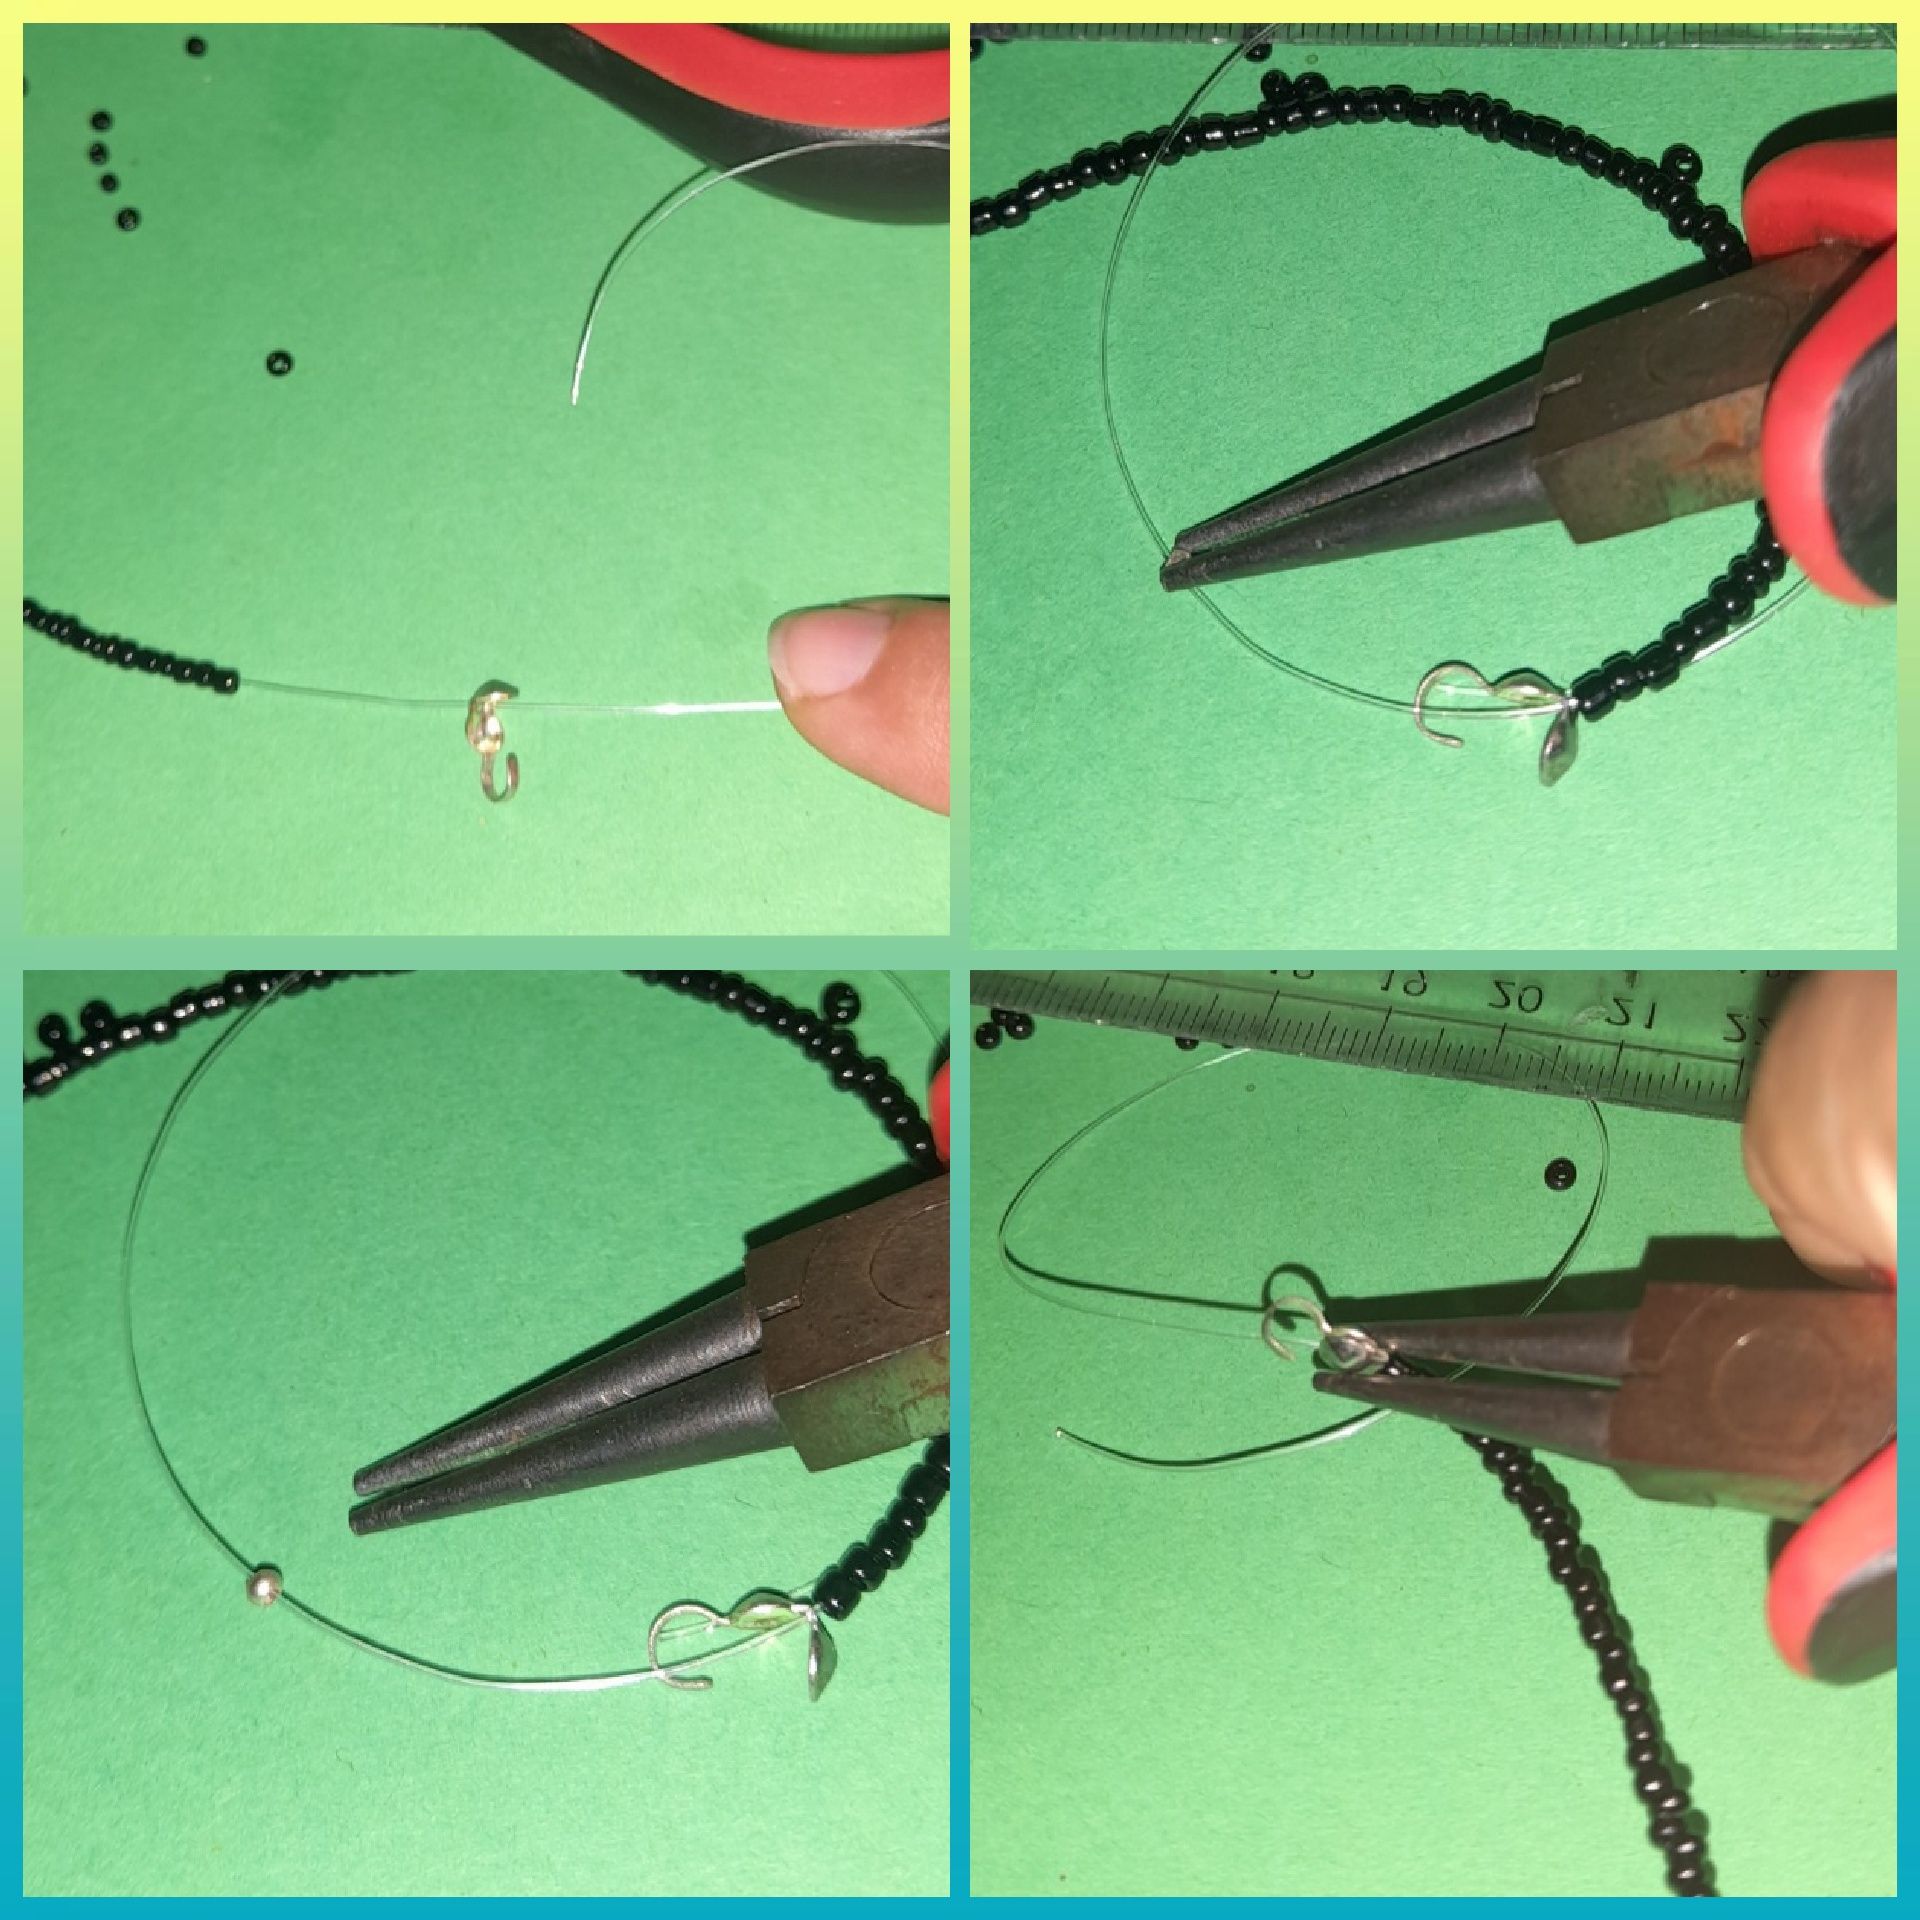
● Ahora cerramos y colocamos el otro tapa nudo del otro extremos del collar.
● Introducimos el nailon por el tapa nudo lo pegamos a la última cuenta negra.
● Luego introducimos la grapa y la aplanamos con la tenaza.
● Seguidamente con la misma tenaza cerramos el tapa nudo .
● Ya listo ya tenemos la tranca de la gargantilla, ya completa para poder abrir y cerrar la gargantilla.
● Now we close and place the other knot cap on the other end of the necklace.
● Insert the nylon through the knot cover and glue it to the last black bead.
● Then we insert the clip and flatten it with the pliers.
● Then with the same pliers we close the knot cover .
● Now we have the choker clasp, now complete to be able to open and close the choker.
Miren aquí como se ve y queda ésta gargantilla clásica de cuentas negras, balines y estrella .📿⭐️
Look here how this classic choker with black beads, buckles and star looks and fits 📿⭐️
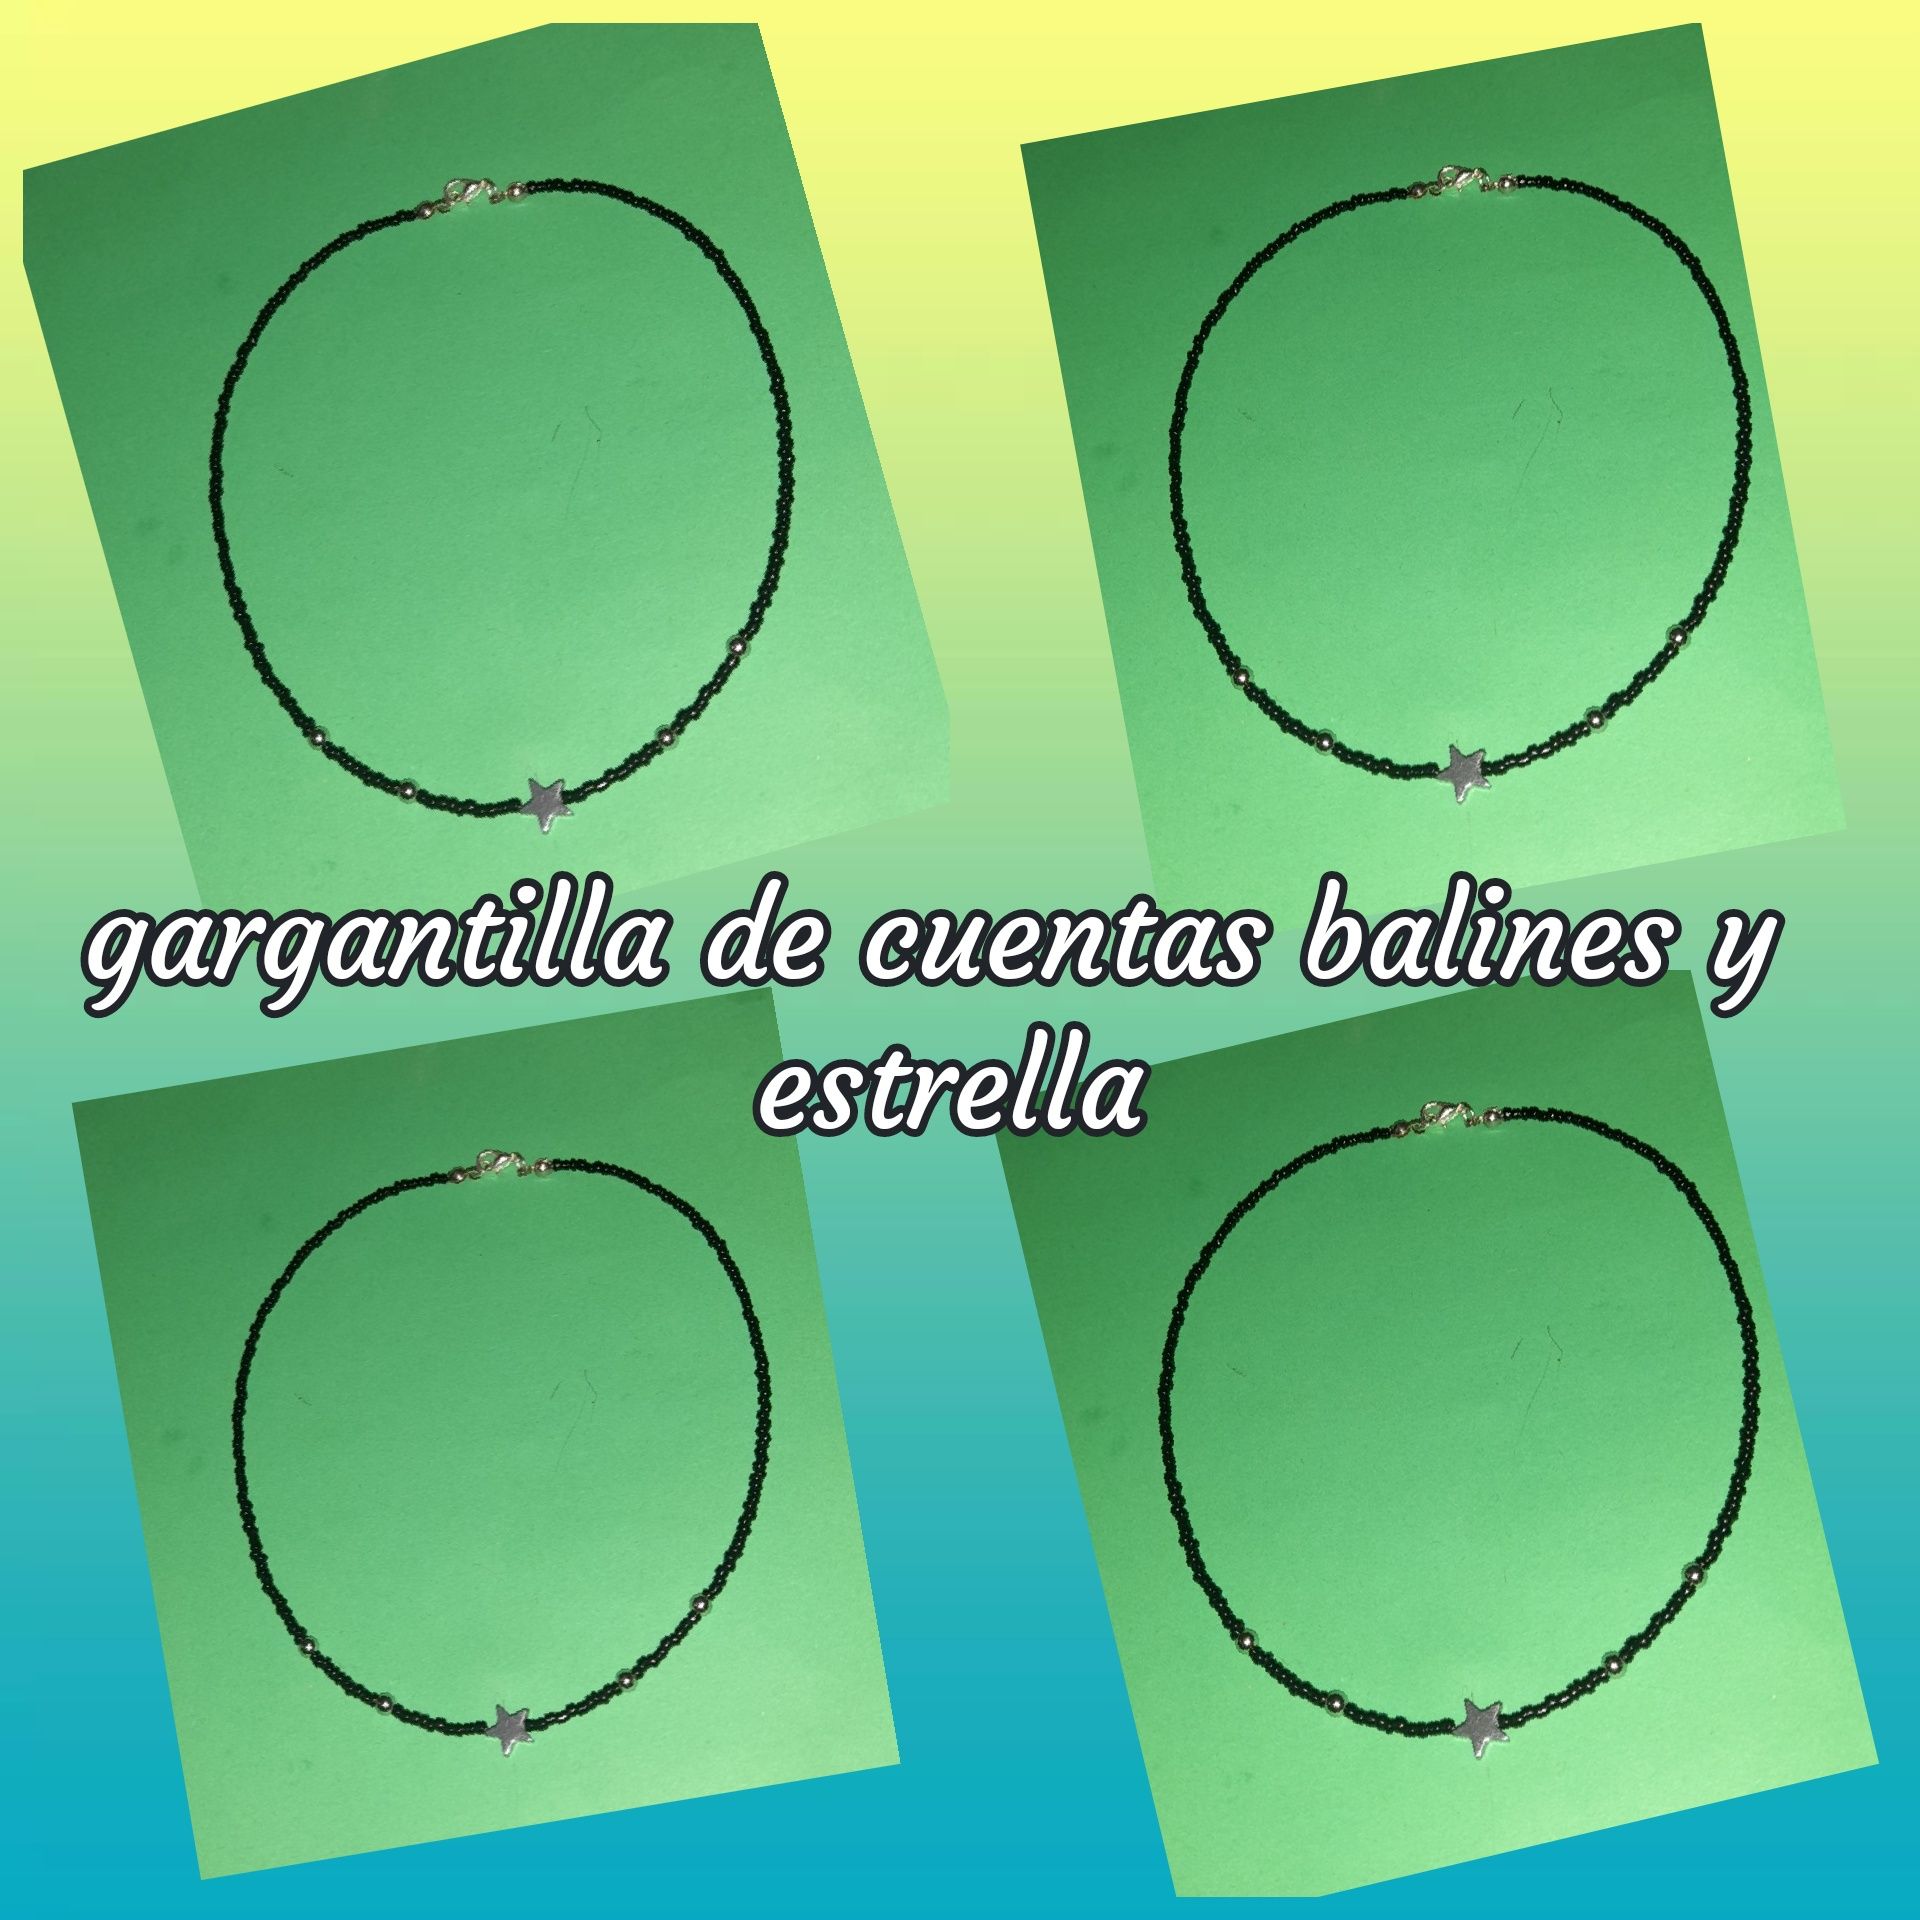
Finalmente les muestro éste hermoso collar tipo gargantilla un lindo y especial regalo para lucir o para darlo como obsequio 📿⭐️
Finally I show you this beautiful choker necklace a nice and special gift to wear or to give as a present 📿⭐️
Espero que esté sencillo y clásico trabajo de gargantilla les sirva como un lindo detalle para regalar a esa persona especial y para lucirlo con tu atuendo casual del día y para cualquier actividad.
I hope this simple and classic choker work will serve as a nice detail to give to that special person and to wear it with your casual outfit of the day and for any activity.

Agradecida por su apoyo amigos de @jewelry, linda comunidad de artesanos y creadores, es para mi un placer crear lindos accesorios para ustedes. 📿⭐️
Son fotos mías tomadas desde mí teléfono Samsung, editadas con foto collage frame y traducida por Deepl.
Grateful for your support @jewelry friends, nice community of crafters and makers, it's my pleasure to create nice accessories for you. 📿⭐️
These are photos of me taken from my Samsung phone, edited with photo collage frame and translated by Deepl.