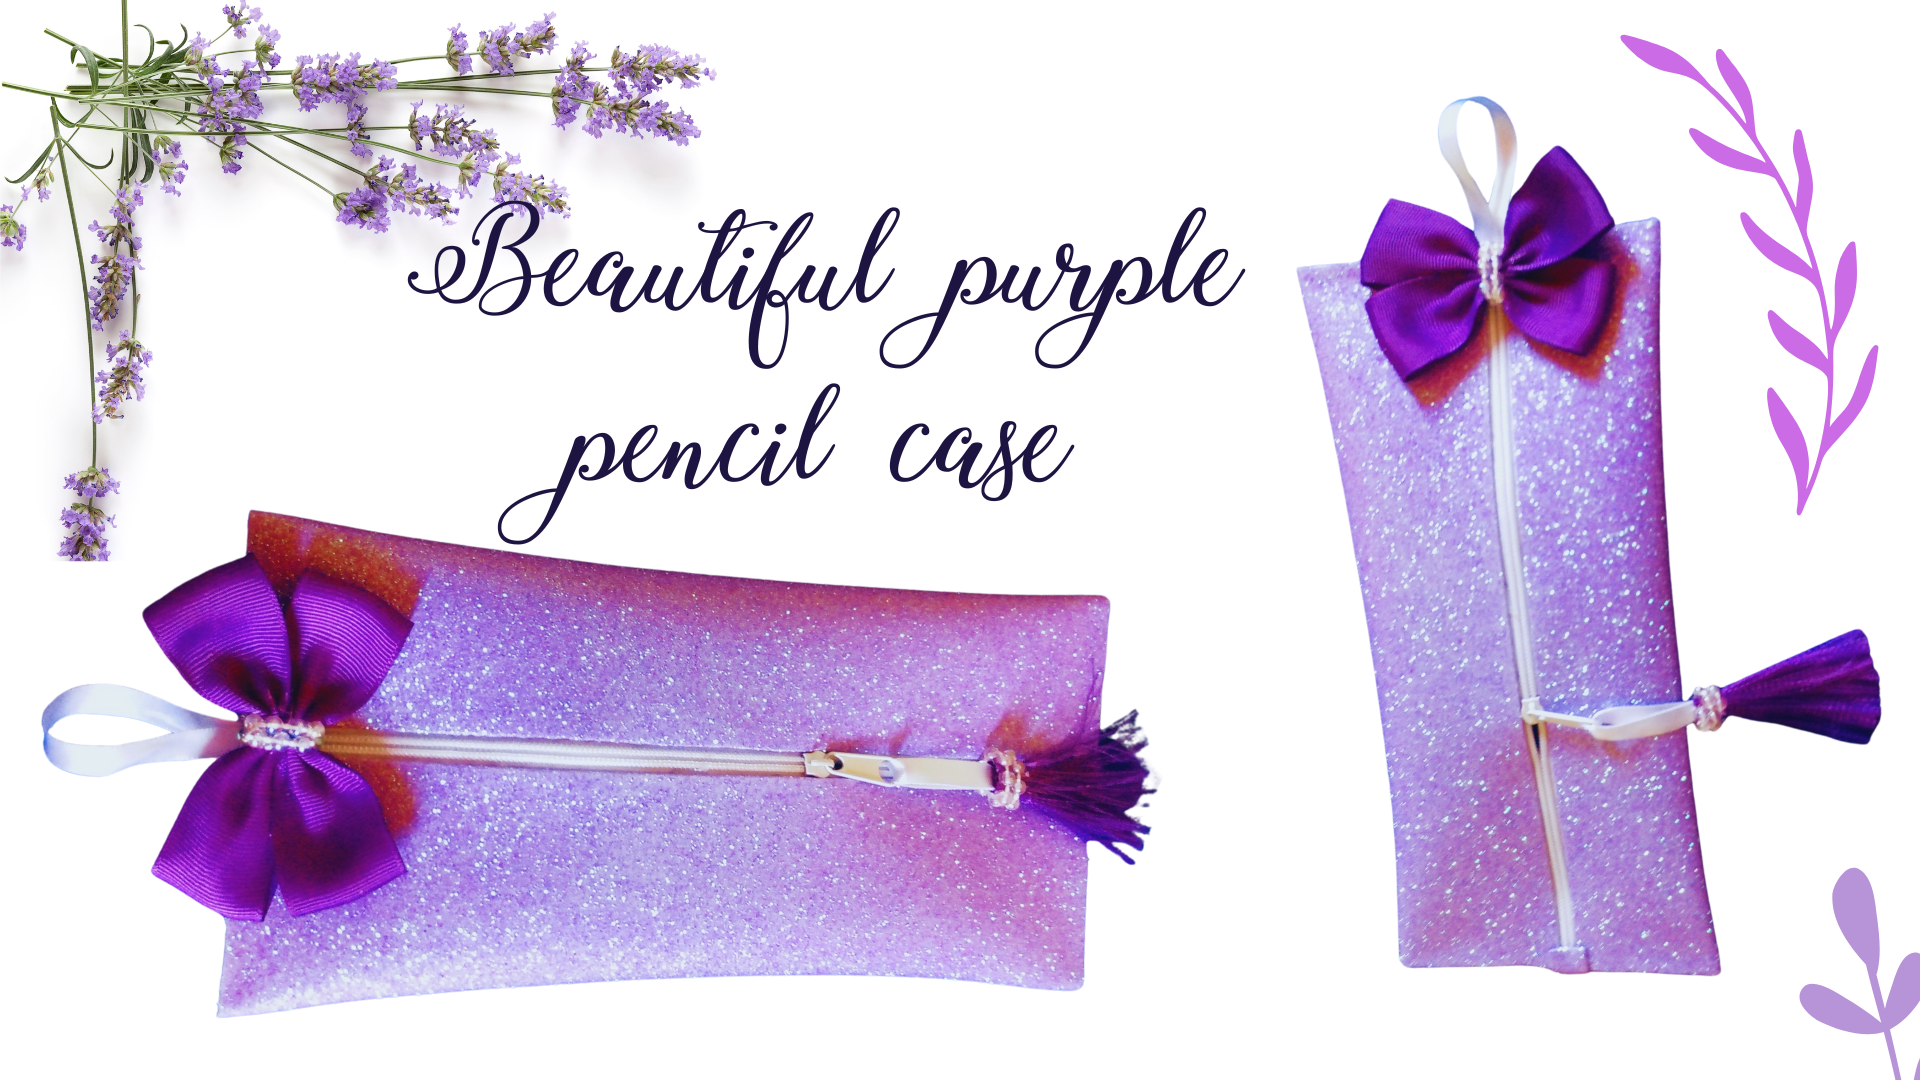
Hello my creative people, happy productive Wednesday, I hope you are feeling great, and have had a great day.
Today I made you a very simple tutorial, so we can make a foami pencil case easily and quickly, especially for those moments of trouble where we have to be resourceful.
So it is here, where we get down to work, to improvise this beautiful pencil case.
Without further ado, I hope you like it, and I hope you find it very useful.
The pictures you will see below were taken with my phone model TECNO SPARK GO 2024.
Hola mi gente creativa, feliz miércoles productivo, espero que se encuentren excelentemente bien, y hayan pasado un gran día.
Hoy les hice un tutorial muy sencillo, para que podamos hacer una cartuchera de foami de forma fácil y rápida, sobre todo para esos momentos de apuros donde tenemos que ser ingeniosos.
Así que es aquí, donde ponemos manos a la obra, para improvisar esta preciosa cartuchera.
Sin más preámbulos, espero que les guste, y les sea de mucha utilidad.
Las fotografías que verán a continuación, fueron tomadas con mi teléfono modelo TECNO SPARK GO 2024.
Materials:
Frosted Foami
Simple clasp
Accessories to decorate
Scissors
Hot silicone gun
Pencil
Ruler
Materiales:
Foami escarchado
Cierre sencillo
Accesorios para decorar
Tijera
Pistola para silicona caliente
Lápiz
Regla
We will start with the ruler, to make the respective stockings on the foami so that everything fits.
The measurements are as follows: 23 cm long and 21 cm wide, then we cut the piece, then we present the zipper, measure the length of the zipper, and cut the excess.
Comenzaremos con la regla, para hacer las respectivas medias sobre el foami para que todo encaje.
Las medidas son las siguientes: 23 cm de largo y 21 cm de ancho, seguidamente cortamos la pieza, después presentamos el cierre, medimos el largo del cierre, y cortamos el excedente.
After we have cut the excess of the zipper, we will use the hot silicone gun to place a line of silicone to the foami all around the edge, to glue the zipper, first we will glue one part then the other, then we will glue the ends; in one of the ends, we will place a baby ribbon centered for hanging.
Después que hayamos cortado el excedente del cierre, vamos a utilizar la pistola de silicona caliente, para colocarle una línea de silicona al foami por toda la orilla, para pegar el cierre, primero pegaremos una parte luego la otra, después vamos a pegar los extremos; en uno de los extremos, vamos a colocar una cinta bebe centrada para colgar.
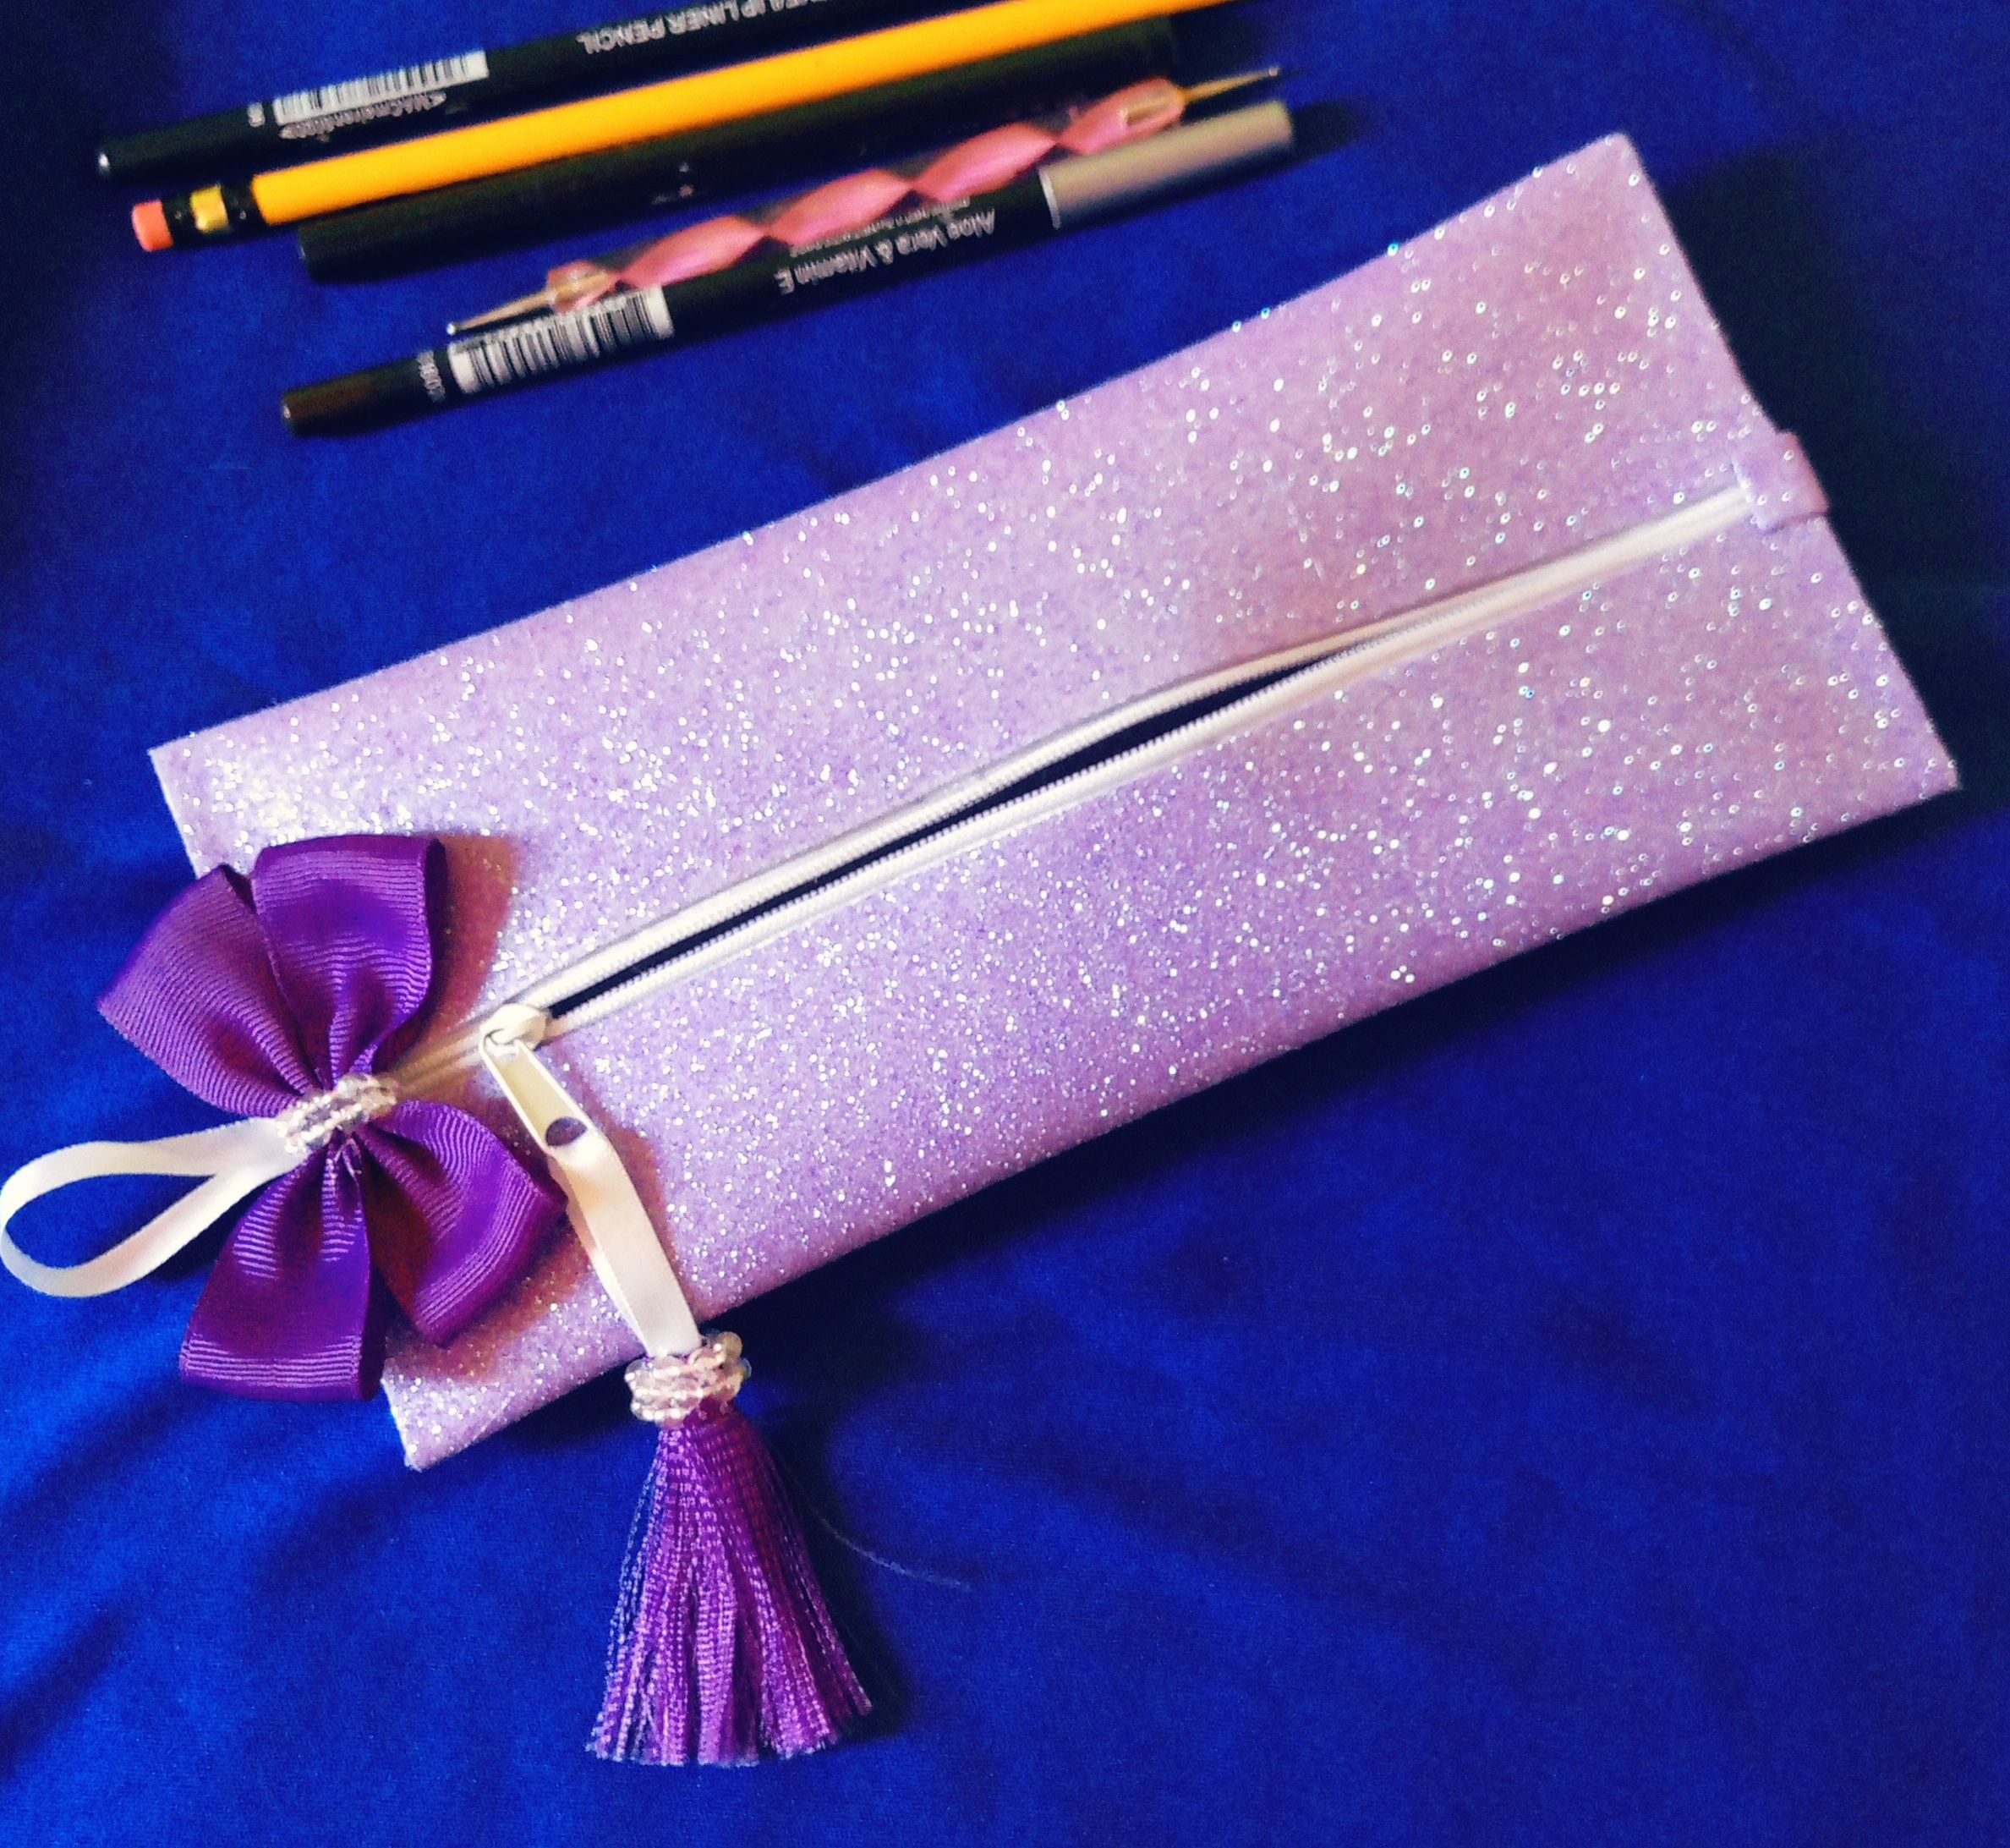
Then we will have some decorative accessories ready to decorate, or we can also leave it, just like this, which also looks splendid.
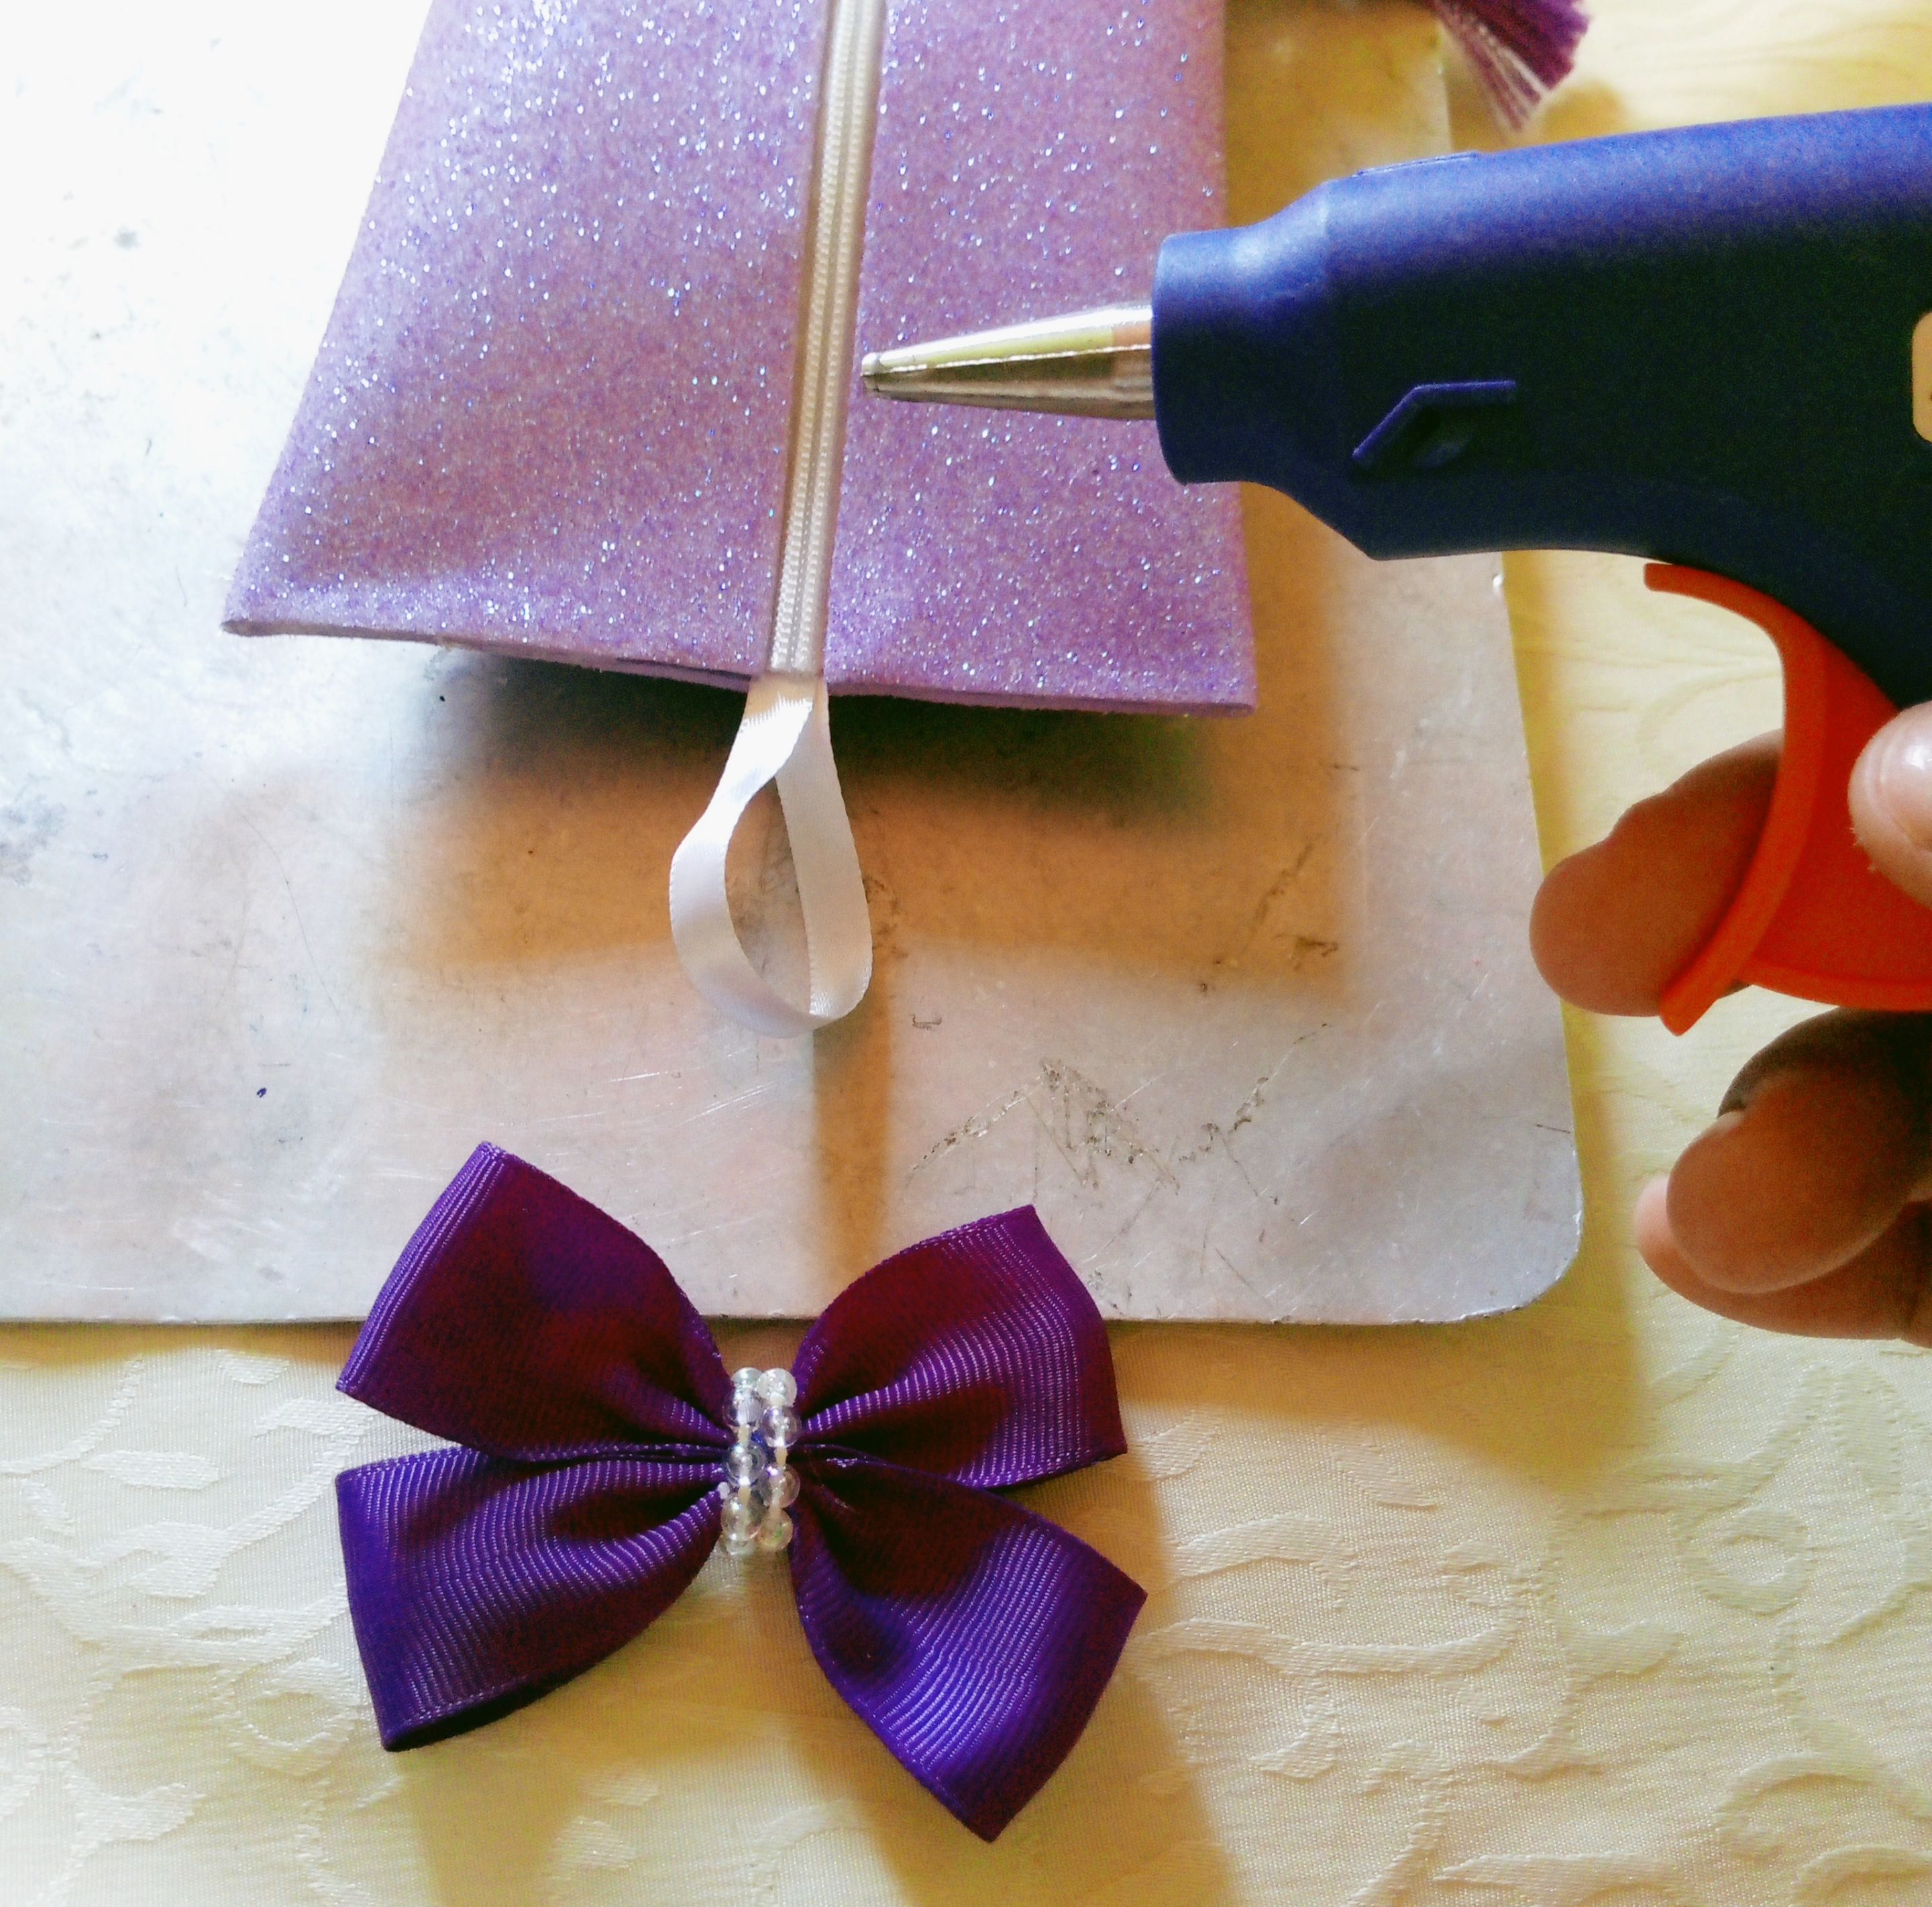
In this opportunity I decorated my pencil case, with a tassel for the closure, that I made from a piece of purple ribbon, a piece of white baby ribbon, and acrylic beads, to make the tassel I cut the ribbon, fold it in half, cut along the side edges, to unravel vertically and leave the darker thread for the tassel, because if I unraveled the thread horizontally this thread would be simpler, Then I just folded the compact side of the purple ribbon, glued it to the baby ribbon on one side of the ends, then I passed the other end through the hole of the zipper pull, and with hot silicone dots I turned the purple frayed ribbon to form the tassel, which I glued and decorated with running pearls.
Finally, I finished the decoration with a bow of the same purple ribbon, which I had almost ready, and I only decorated the center of it with running pearls, then I glued it in the center of one of the ends, resulting in a beautiful and appropriate contrast with the beautiful lilac tone of the foami.
Después tendremos algunos accesorios decorativos listos para decorar, o también podemos dejarla, solo así, que también luce espléndida.
En esta oportunidad decoré mi cartuchera, con una borla para el cierre, que hice de un trozo de cinta morada, un trozo de cinta bebe, de color blanco, y perlas acrílicas corridas, para hacer la borla corte la cinta, doble a la mitad, corte por las orillas laterales, para deshilar de forma vertical y dejar el hilo más oscuro para la borla, ya que si deshilaba el hilo de forma horizontal este hilo resultaría más simple, tanto en color, como en textura, después solo doble el lado compacto de la cinta morada, lo pegue a la cinta bebe de un lado de las puntas, luego pase la otra punta por el orificio de la jaladera del cierre, y con puntos de silicona caliente le fui dando vuelta a la cinta deshilada morada para formar la borla, que pegue y decore con perlas corridas.
Finalmente, termine la decoración con un lazo de la misma cinta morada, que ya tenía casi listo, y que solo decore el centro del con perlas corridas, después lo pegue en el centro de uno de los extremos, resultando un bello y apropiado contraste con el precioso tono lila del foami.
Friends it was a pleasure to share with you my work of the day, I hope you liked it, and let me know with your encouraging comments.
Congratulations and have a blessed week, and blessed days.
Amigos fue un placer compartir con ustedes mi trabajo del día, espero que les haya gustado, y me lo hagan saber con sus alentadores comentarios.
Felicidades y que pasen una bendecida semana, y bendecidos días.