FRUTA DECORADA CON MELÓN Y UVAS, ARTE MUKIMONO - ORNAMENT MADE WITH MELON AND GRAPES, MUKIMONO ART -(ESP/ENG).

2024-06-02T22:04:48
ESPAÑOL
FRUTA DECORADA CON MELÓN Y UVAS, ARTE MUKIMONO - ORNAMENT MADE WITH MELON AND GRAPES, MUKIMONO ART -(ESP/ENG).


Buenas tardes amigas de hive food, el día de hoy les traigo una decoración con fruta que les puede servir para decorar en una mesa de buffet o en una mesa de quesos, es muy fácil de hacer y esperando que les guste esta decoración Mukimono.
Materiales:
-1 Melón grande.
-Cuchillos de diferentes tamaños.
-Uvas de diferentes colores.
-Palillos o mondadientes.


Paso 1:
Se corta el melón con el cuchillo mediano en forma de zig zag.


Paso 2:
Después que se hace la forma de zig zag se abre y se le sacan las semillas y se deja el melón limpio.


Paso 3:
Después se preparan las uvas de diferentes colores con los palillos.


Paso 4:
Luego que se le hacen cortes por las puntas del melón cortado en zig zag, se introducen los palillos con las uvas alrededor del melón .


Paso 5:
Finalmente se colocan las uvas dentro del melón, y listo!


Nota:
Fotos tomadas de mi celular TECNO SPARK 20C y con ayuda del programa Photo collage GridArt.

ENGLISH
ENGLISH
FRUIT DECORATED WITH MELON AND GRAPES, MUKIMONO ART - ORNAMENT MADE WITH MELON AND GRAPES, MUKIMONO ART -(ENG/ENG).


Good afternoon hive food friends, today I bring you a decoration with fruit that can serve you to decorate on a buffet table or a cheese table, it is very easy to do and hoping you like this Mukimono decoration.
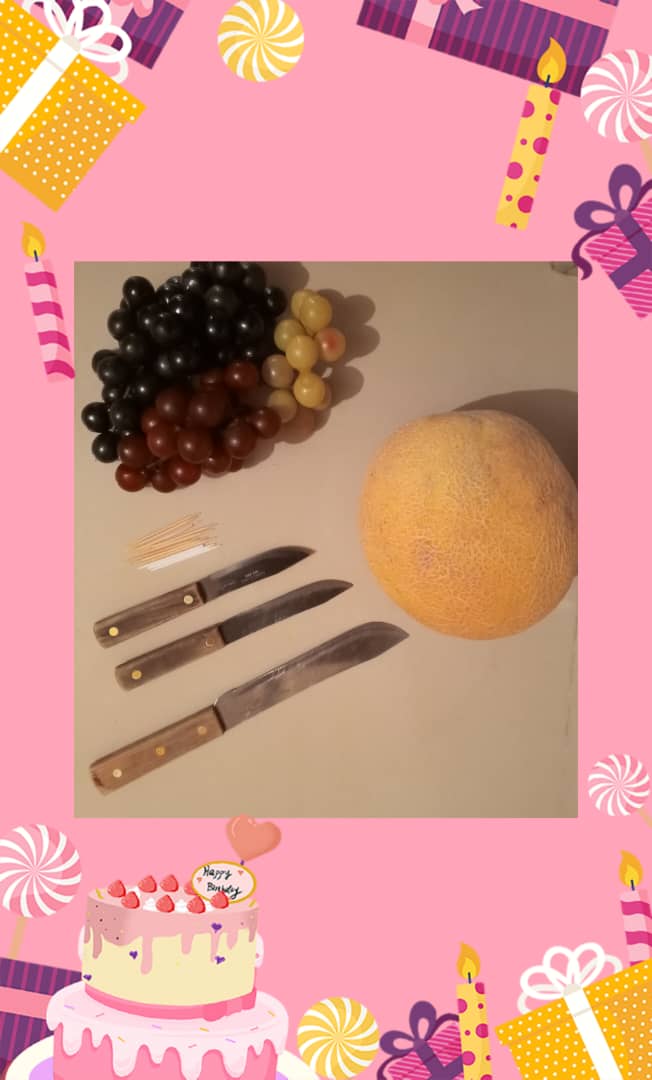
Materials:
-1 Large melon.
-Knives of different sizes.
-Grapes of different colors.
-Chopsticks or toothpicks.
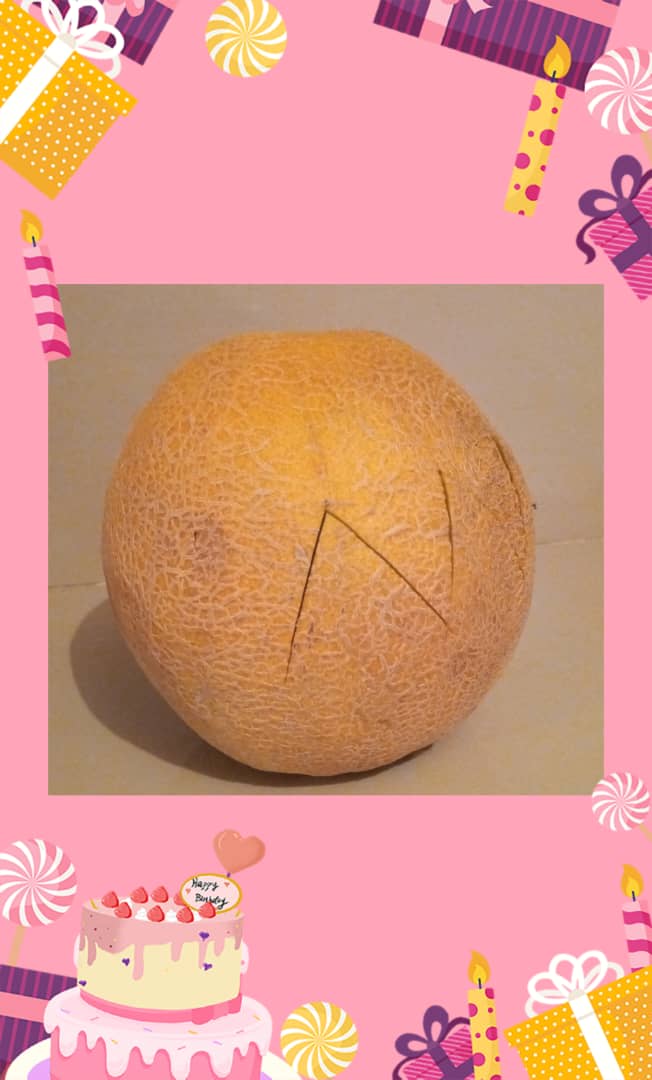


Step 1:
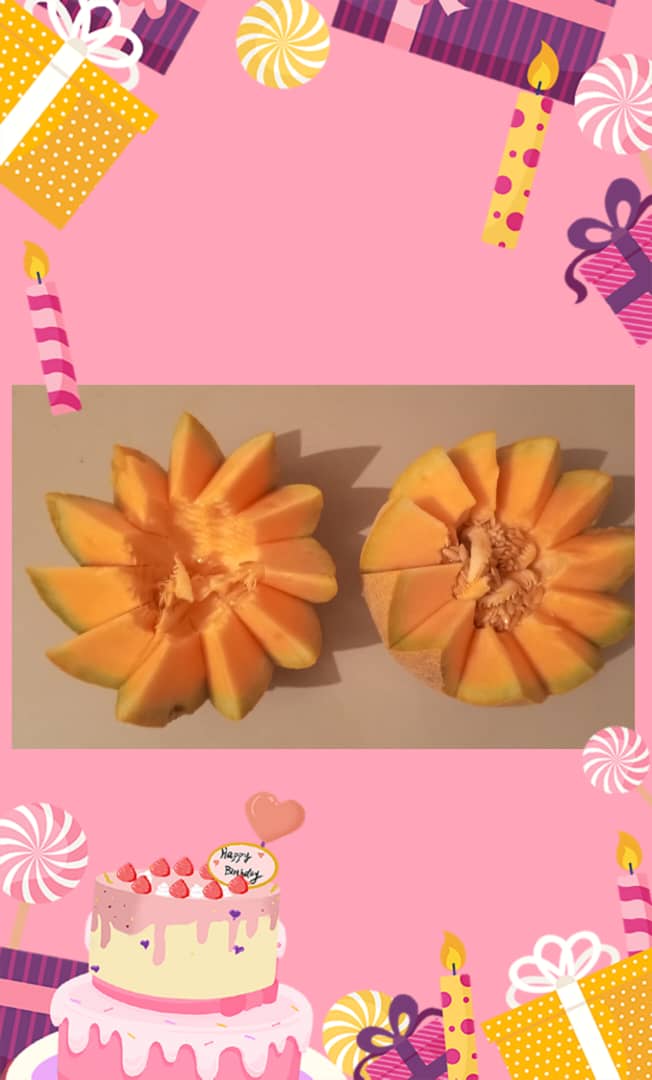
Cut the melon with the medium knife in a zig zag pattern.
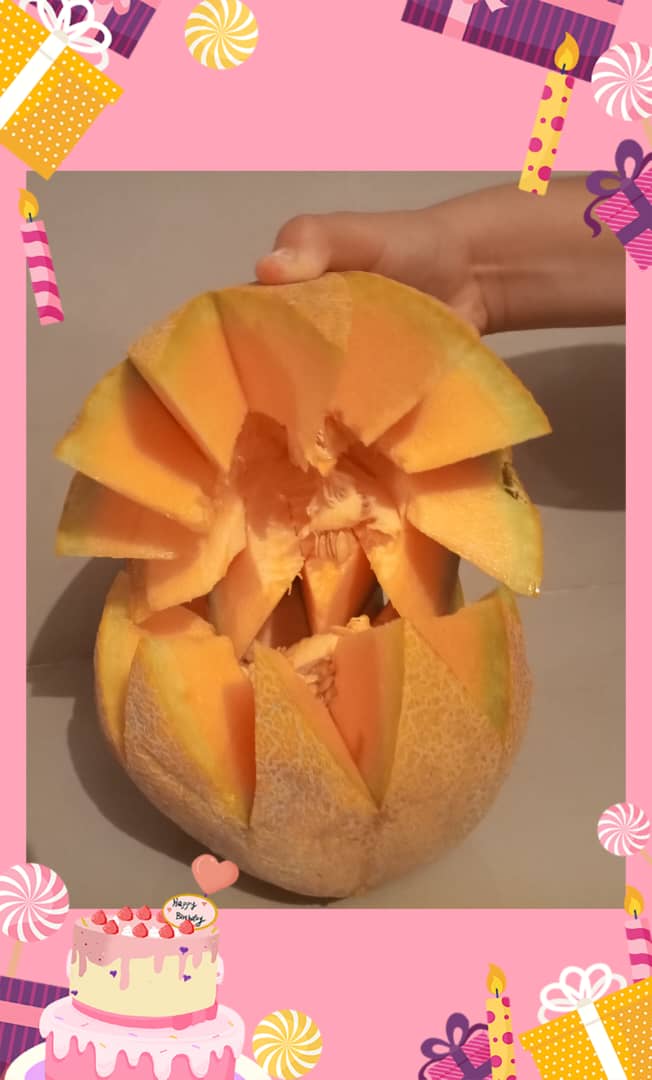


Step 2:
After the zig zag shape is made, open and scoop out the seeds and leave the melon clean.
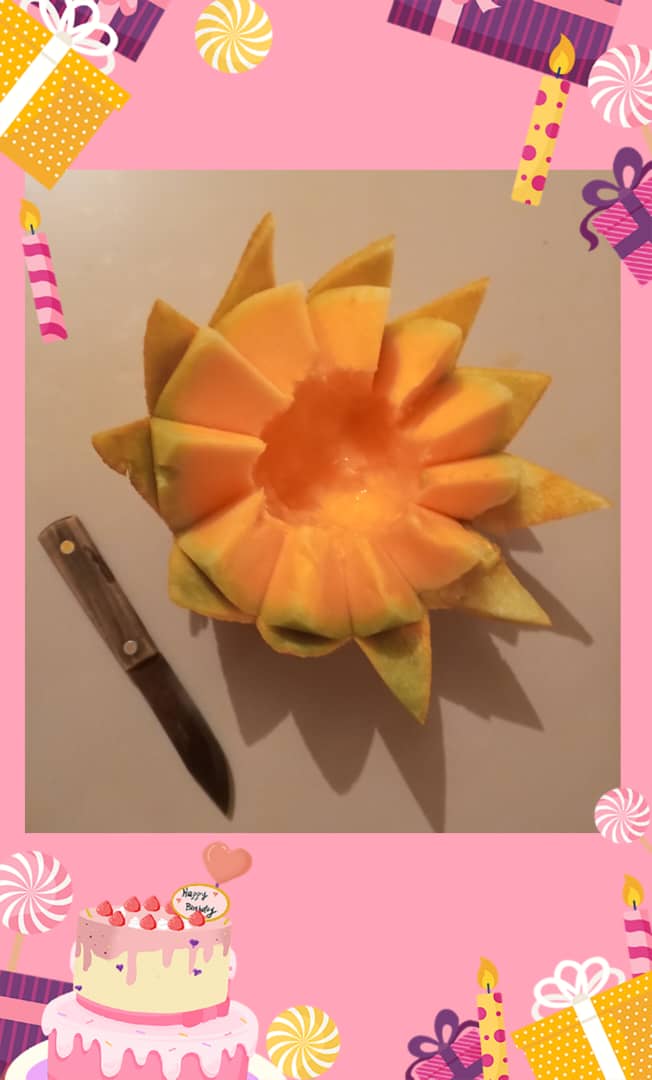


Step 3:
Then prepare the different colored grapes with the toothpicks.
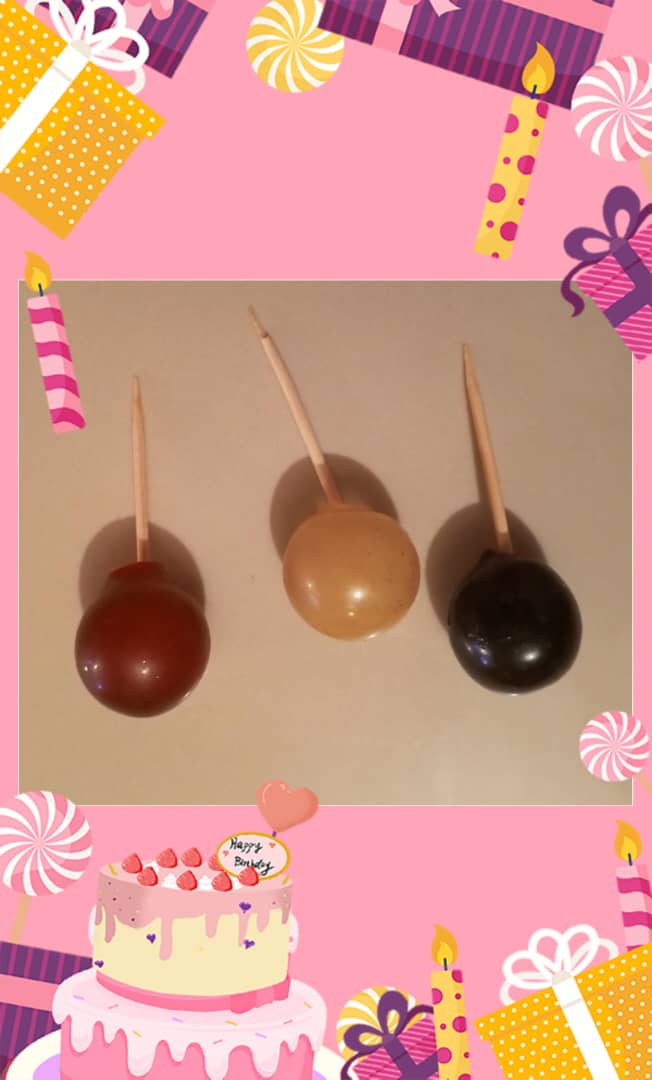


Step 4:
After cuts are made through the ends of the zig zag cut melon, insert the toothpicks with the grapes around the melon .
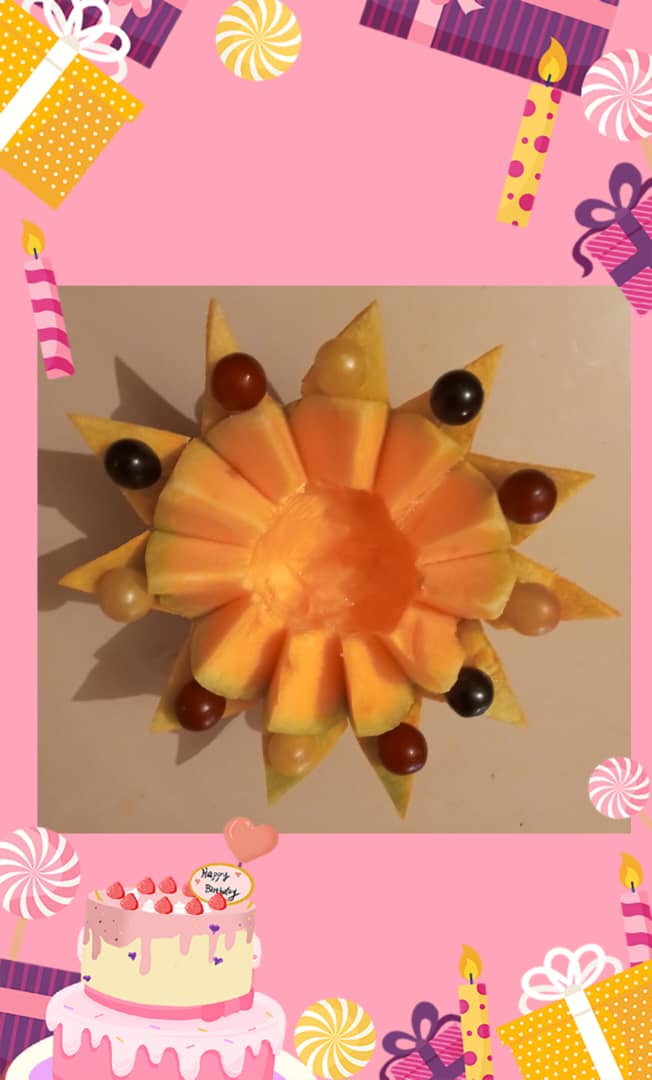
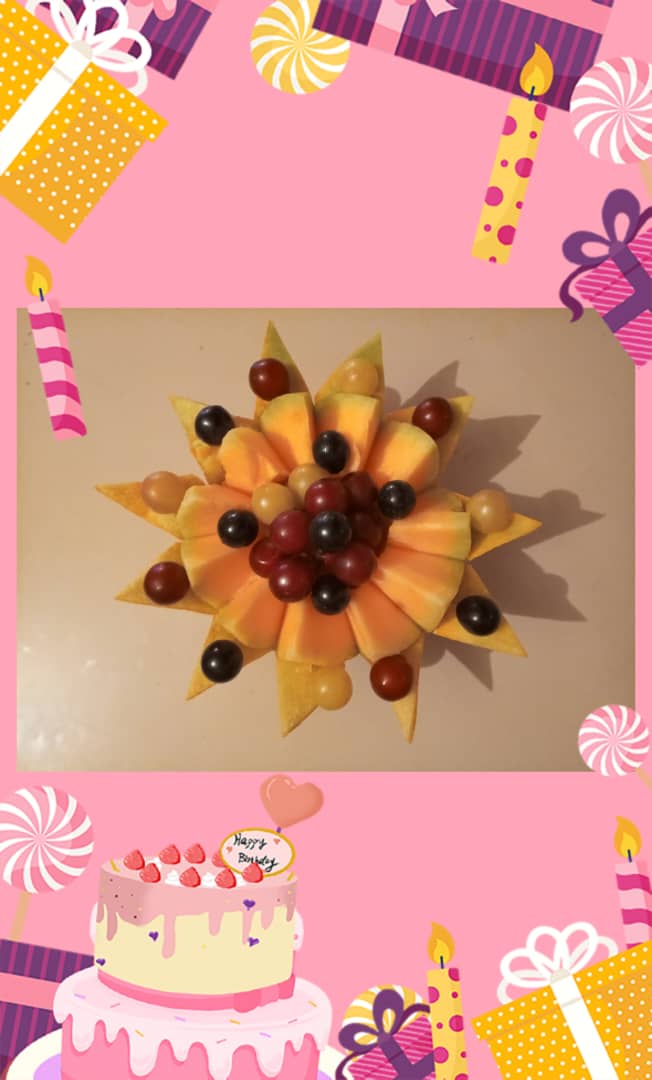


Step 5:
Finally place the grapes inside the melon, and you're done!


Note:
Photos taken from my TECNO SPARK 20C cell phone and with the help of the Photo collage program GridArt.

d6a0d20b-ba95-4db6-99ec-0ea787fd0490.jpg/
0
0
0.00