COFRE DE MADERA RECICLADO - RECYCLED WOODEN CHEST(ESP/ENG).
2024-06-01T00:39:12
ESPAÑOL
COFRE DE MADERA RECICLADO - RECYCLED WOODEN CHEST(ESP/ENG).
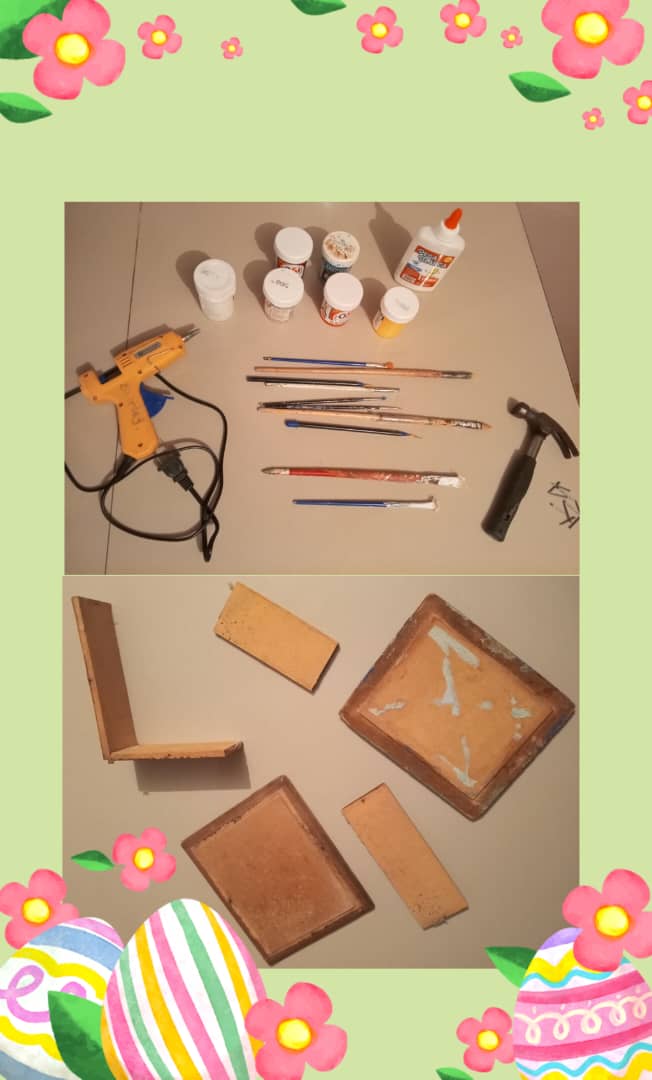
Buen día amigas de DIYHub, el día de hoy les traigo una manualidad reciclada que seguro les va a encantar y les puede servir para guardar sus joyas y accesorios, espero les guste esta manualidad. Materiales: 1 Cofre de madera usado. Pinturas al frío de diferentes colores. 1 Barra de silicone. 1 Pistola de silicone. Pinceles de diferentes grosor. 1 Pega blanca. 1 Martillo. clavos pequeños.
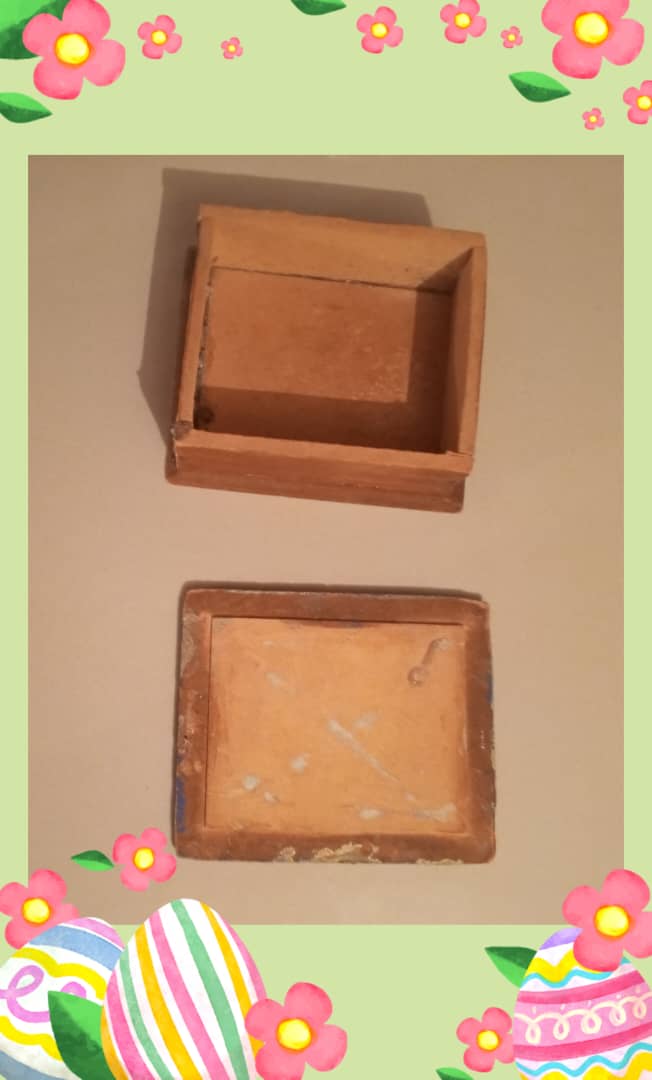
Paso 1: Se colocan los clavos en el cofre y se martilla por los lados que está roto.
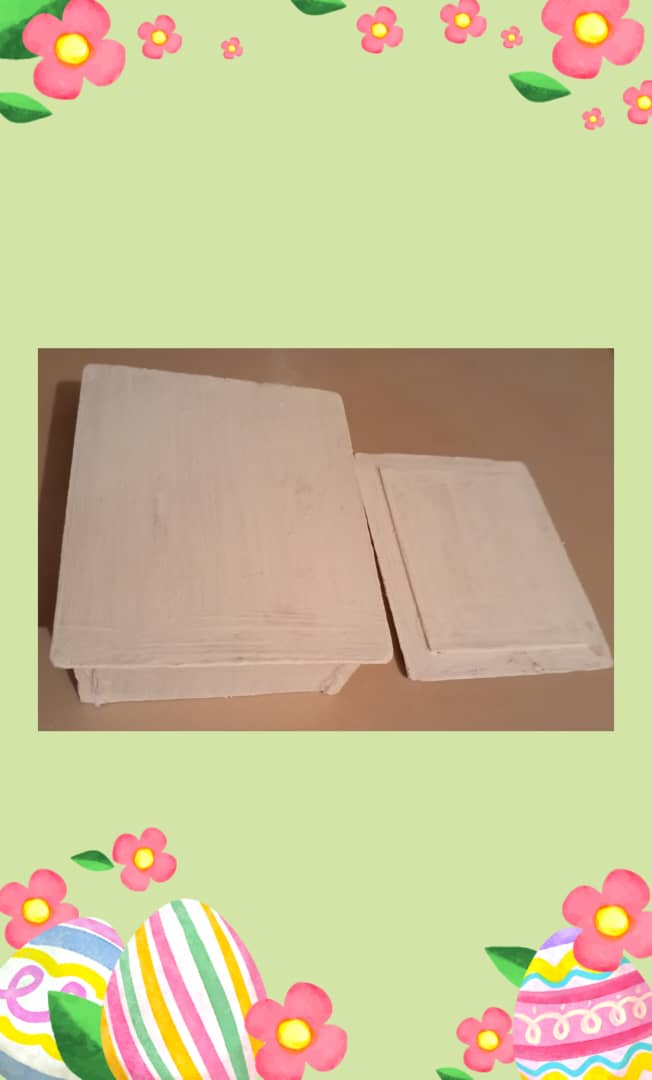
Paso 2: Luego se pega con silicone por los lados del cofre. Paso 3: Después se procede a pintar el cofre en color blanco para que la pintura pueda agarrar el color y para q pueda absorber el otro color que se le va a colocar más adelante.
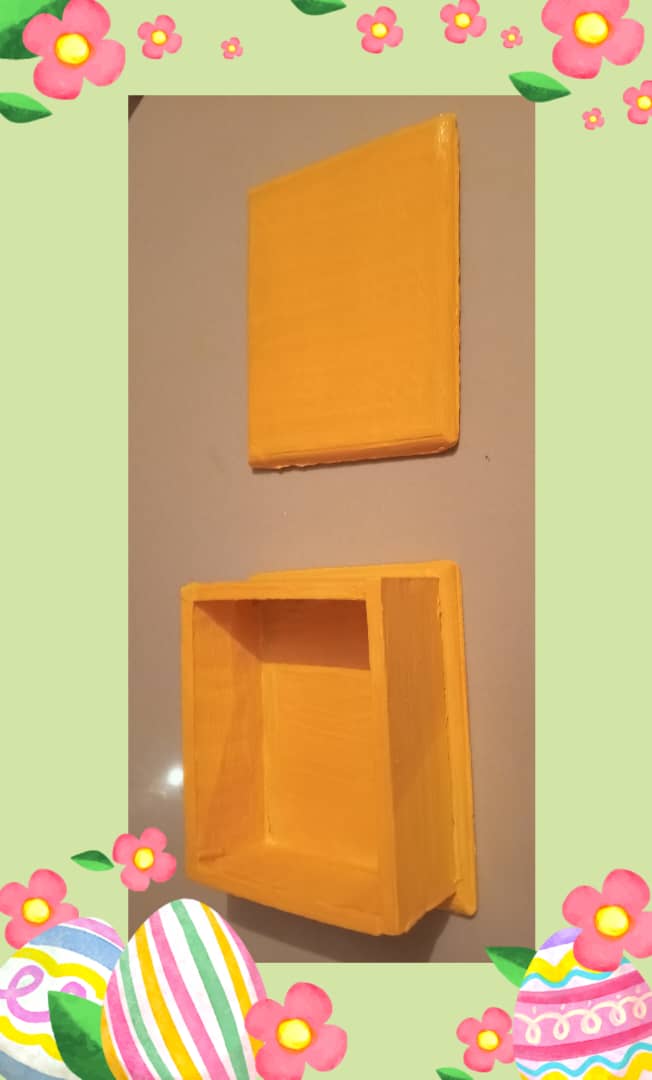
Paso 4: Luego se pinta con pintura al frío todo el cofre con el color amarillo.
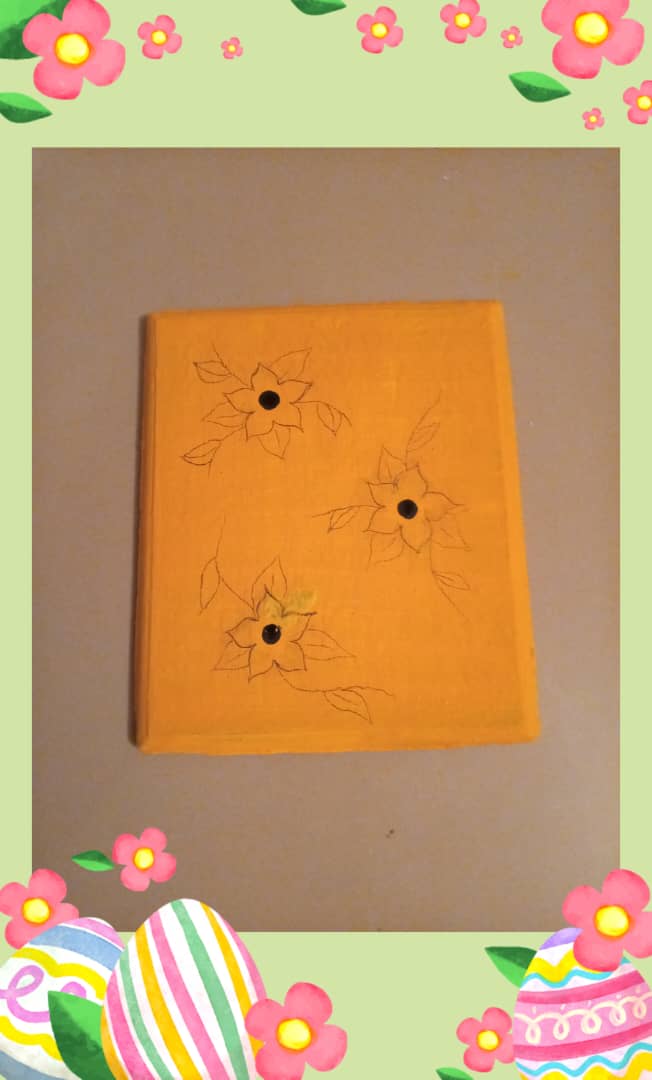
Paso 5: Después que se seca el cofre se procede a marcar la imagen que se va a colocar en la tapa del cofre.
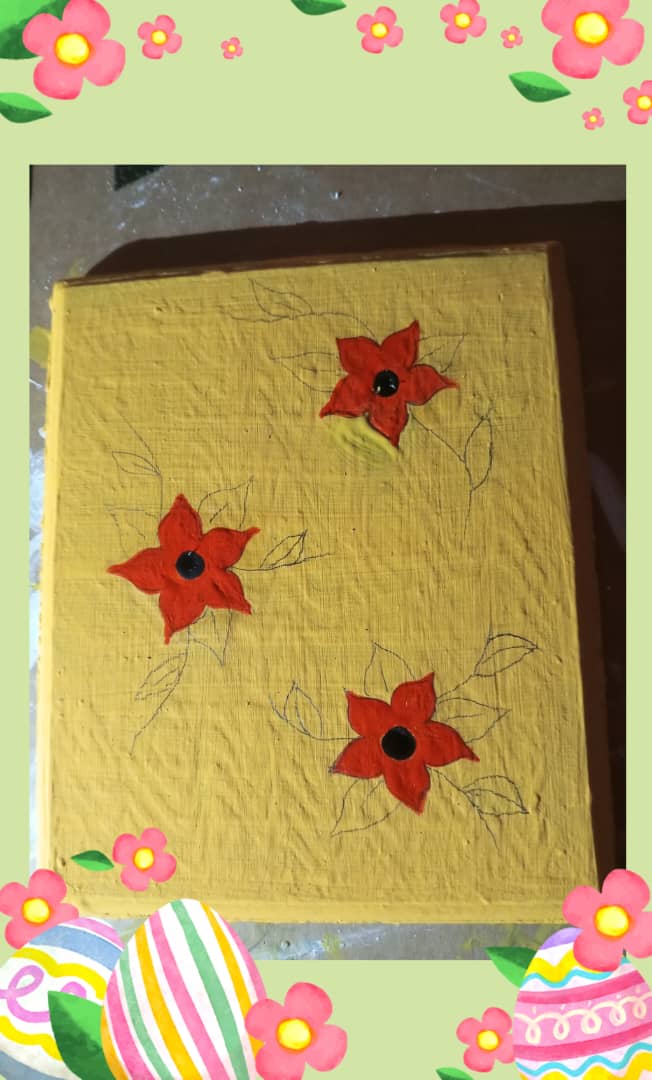
Paso 6: Luego, se pinta la imagen que se marcó con anticipación en el cofre.
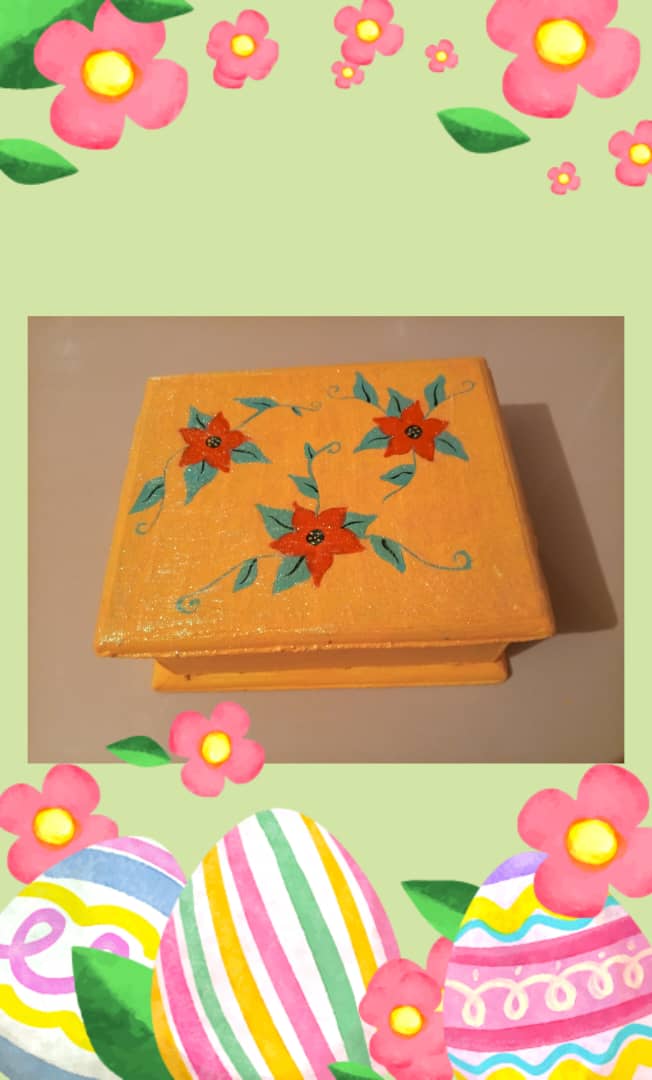
Paso 7: Después se termina de pintar las flores en la tapa del cofre de madera con la pintura al frío.
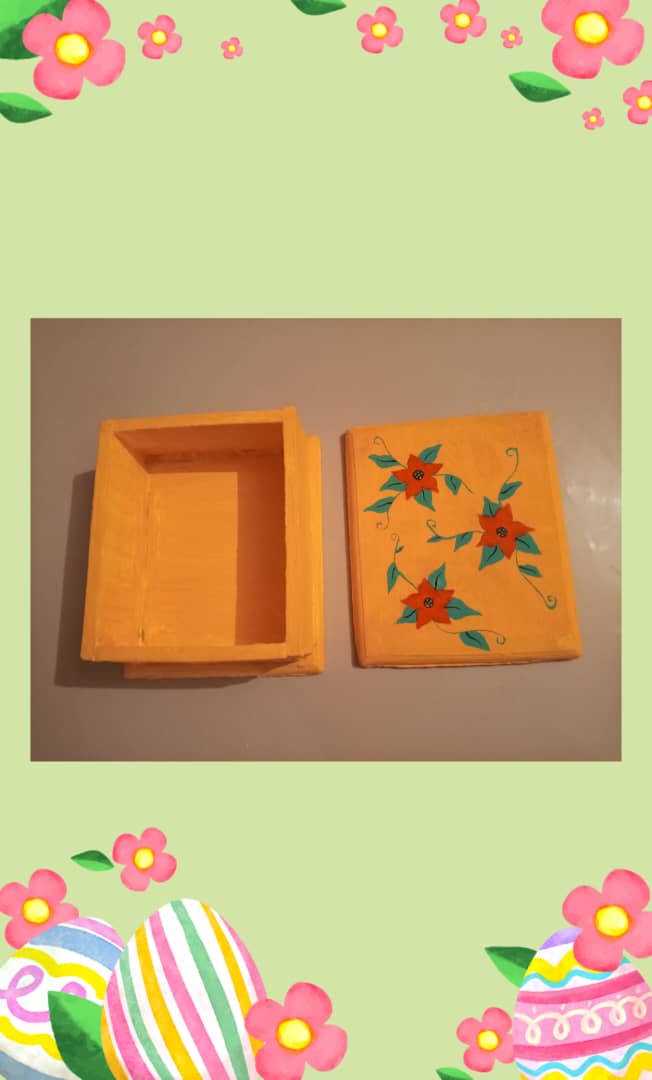
Paso 8: Finalmente se le dá una capa de pintura al frío de Gel de Nácar para que le dé brillo al cofre de madera y para que se vea bonito y para que se conserve la pintura y no se dañe, y vuala! ¡listo!
Nota: Fotografías tomadas de mi celular TECNO SPARK 20C y con ayuda del programa Photo collage GridArt.
ENGLISH
SPANISH
RECYCLED WOODEN CHEST - COFRE DE MADERA RECICLADO - COFRE DE MADERA RECICLADO - COFRE DE MADERA RECICLADO - COFRE DE MADERA RECICLADO - COFRE DE MADERA RECICLADO(ESP/ENG).
Good morning DIYHub friends, today I bring you a recycled craft that you will surely love and you can use it to store your jewelry and accessories, I hope you like this craft. Materials: 1 used wooden chest. Cold paints of different colors. 1 Silicone stick. 1 Silicone gun. Brushes of different thickness. 1 White glue. 1 hammer. Small nails.
Step 1: The nails are placed in the chest and hammered through the sides that is broken.
Step 2: Then glue with silicone on the sides of the chest. Step 3: Then proceed to paint the chest white so that the paint can grab the color and q can absorb the other color that will be placed later.
Step 4: Then cold paint the entire chest with the yellow color.
Step 5: After the box is dry proceed to mark the image to be placed on the box lid.
Step 6: Next, the image that was marked in advance is painted on the chest.
Step 7: Then finish painting the flowers on the wooden chest lid with the cold paint.
Step 8: Finally give it a coat of Nacre Gel cold paint to give the wooden chest a shine and to make it look nice and to preserve the paint and not damage it, and vuala! ready!
Note: Pictures taken from my TECNO SPARK 20C cell phone and with the help of the Photo collage program GridArt.