Greetings dear creative hivers, I hope you are all already having a fabulous week. the weather over here has been extremely hot lately, which has been somewhat challenging getting the right outfit to stay cool both outdoors and indoors, hence, I decided to start working on outfits that suit this weather condition,
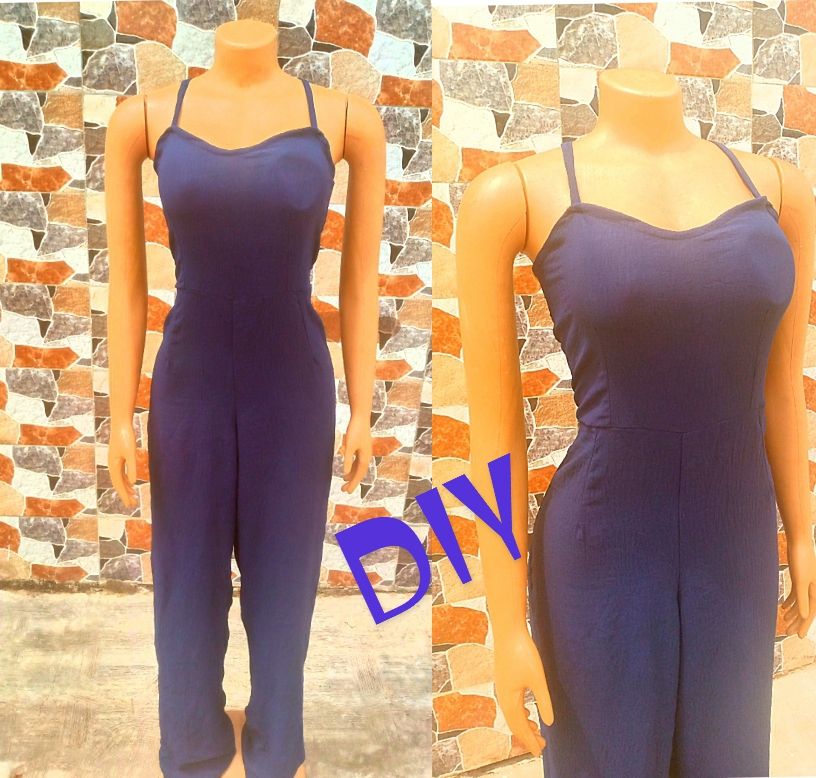
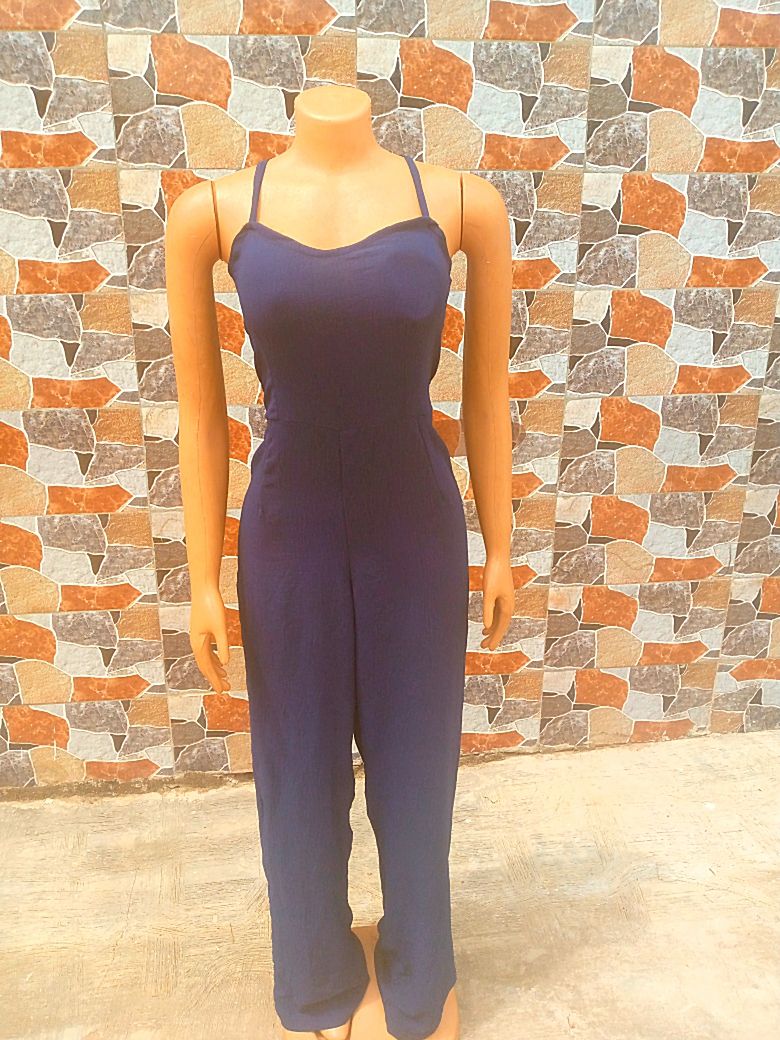
I thought to myself, it has to be made of a lightweight fabric, breathable, not excluding the fashionable aspect of it, because a girl has to look elegant at least most of the time, whether it's hot or cold, and after some brainstorming, I was inspired to make a simple yet stunning jumpsuit that would keep me cool and confident. In this post, I will be sharing with you how to make this beautiful piece, so you can also stay stylish and comfortable during this hot/summer weather period.
It is one of the simplest sewing one can make, especially if you are a beginner, learning how to sew simple outfits, I'm sure this post will inspire you, as it requires minimal and basic sewing knowledge.
I'm sure this post will inspire you to get creative and try your hand at sewing something new and elegant, as I will be sharing useful tips alongside the step-by-step process for easy understanding.
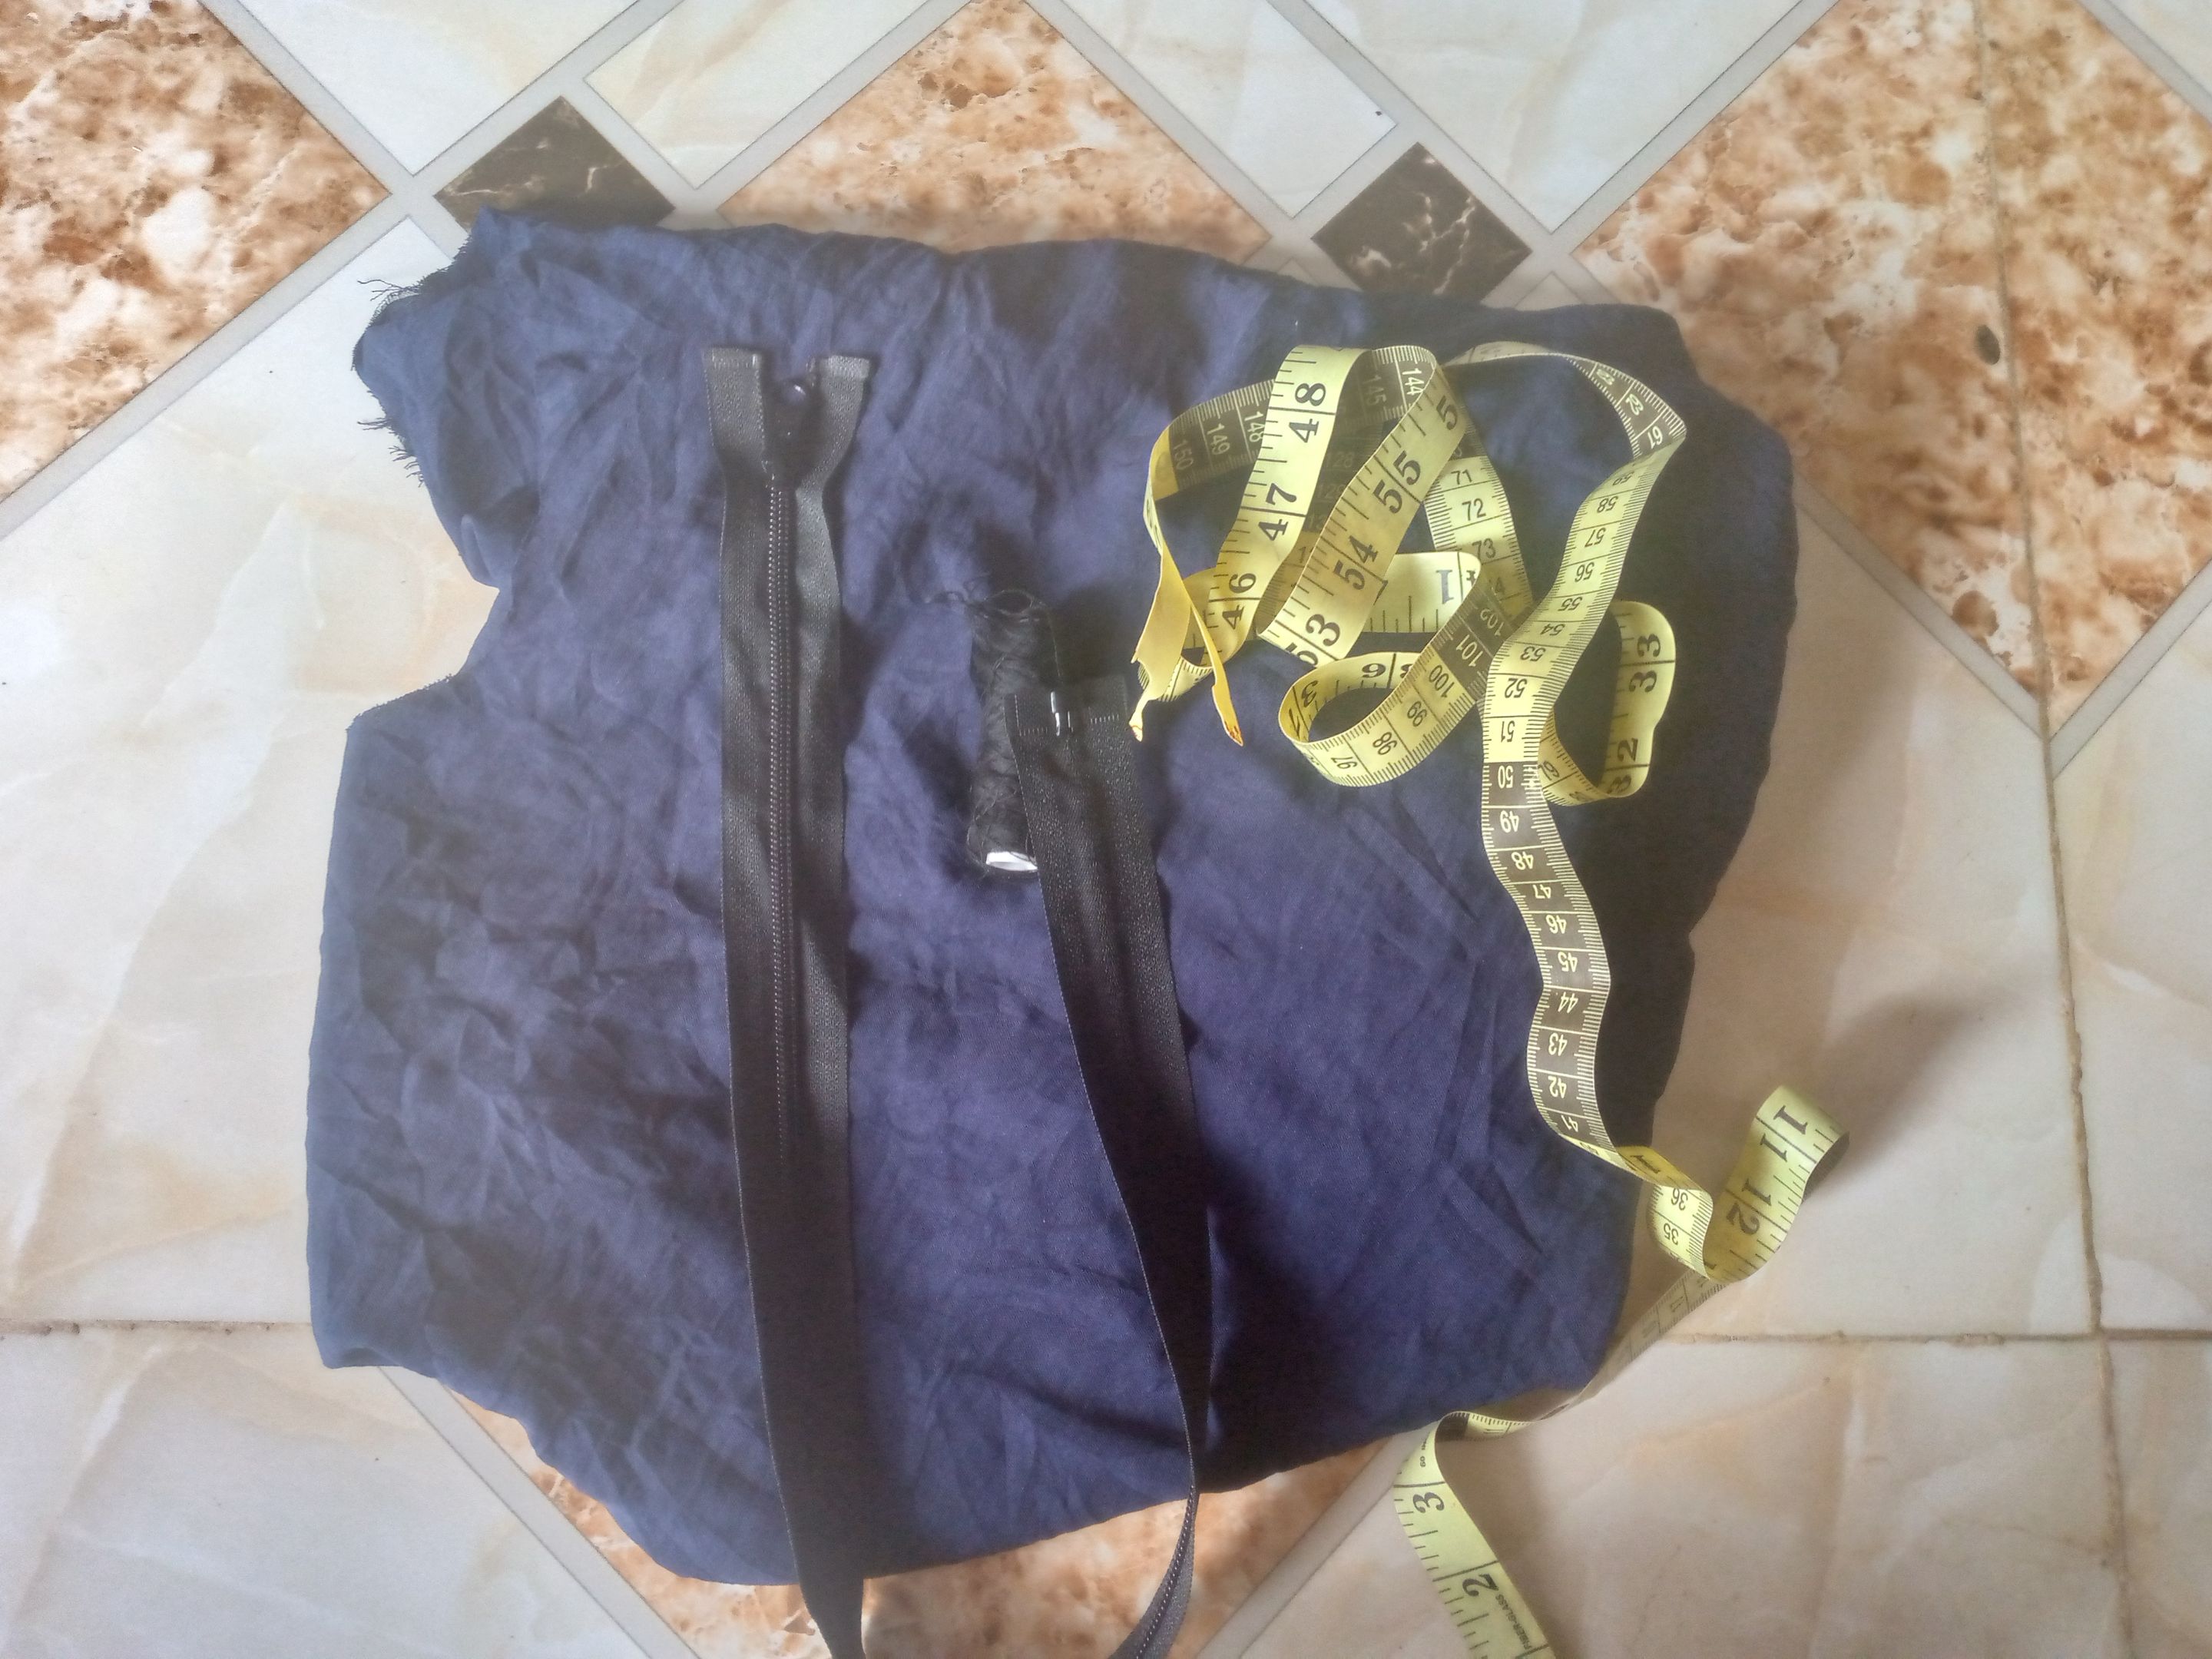
Materials used
- Light crepe fabric
- zipper
- bias
- same fabric colour thread
Cutting And Sewing Process
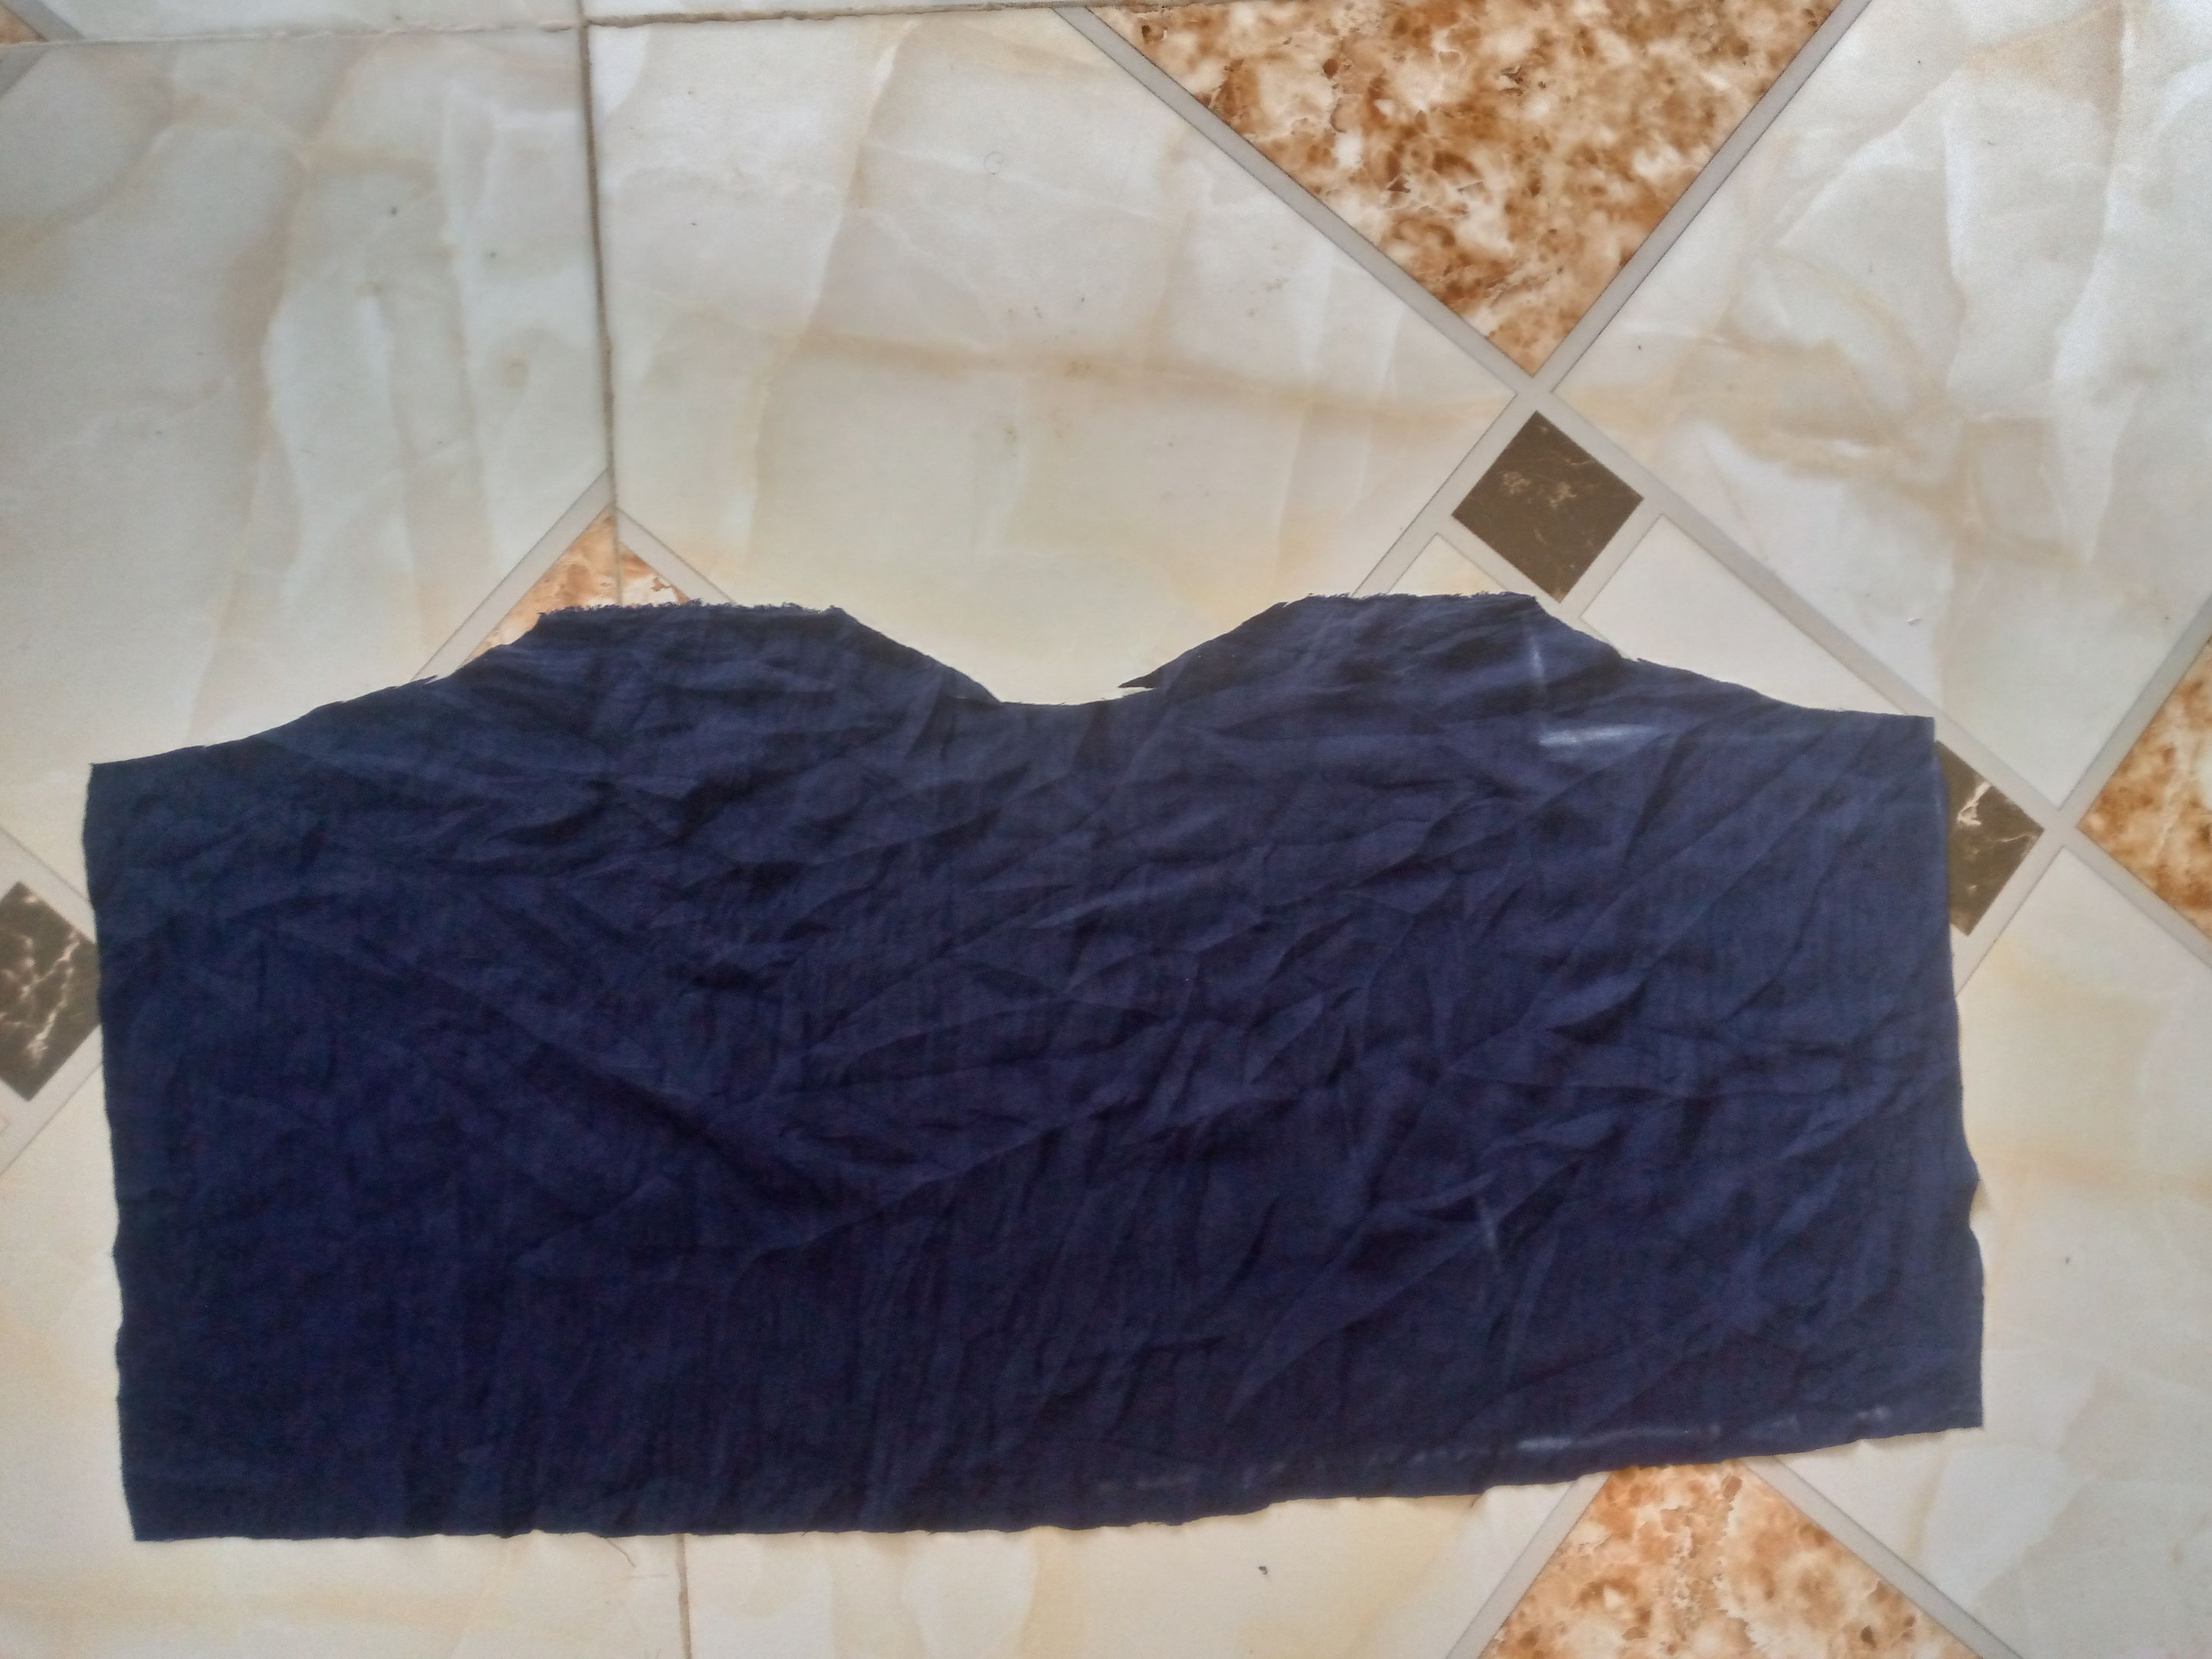
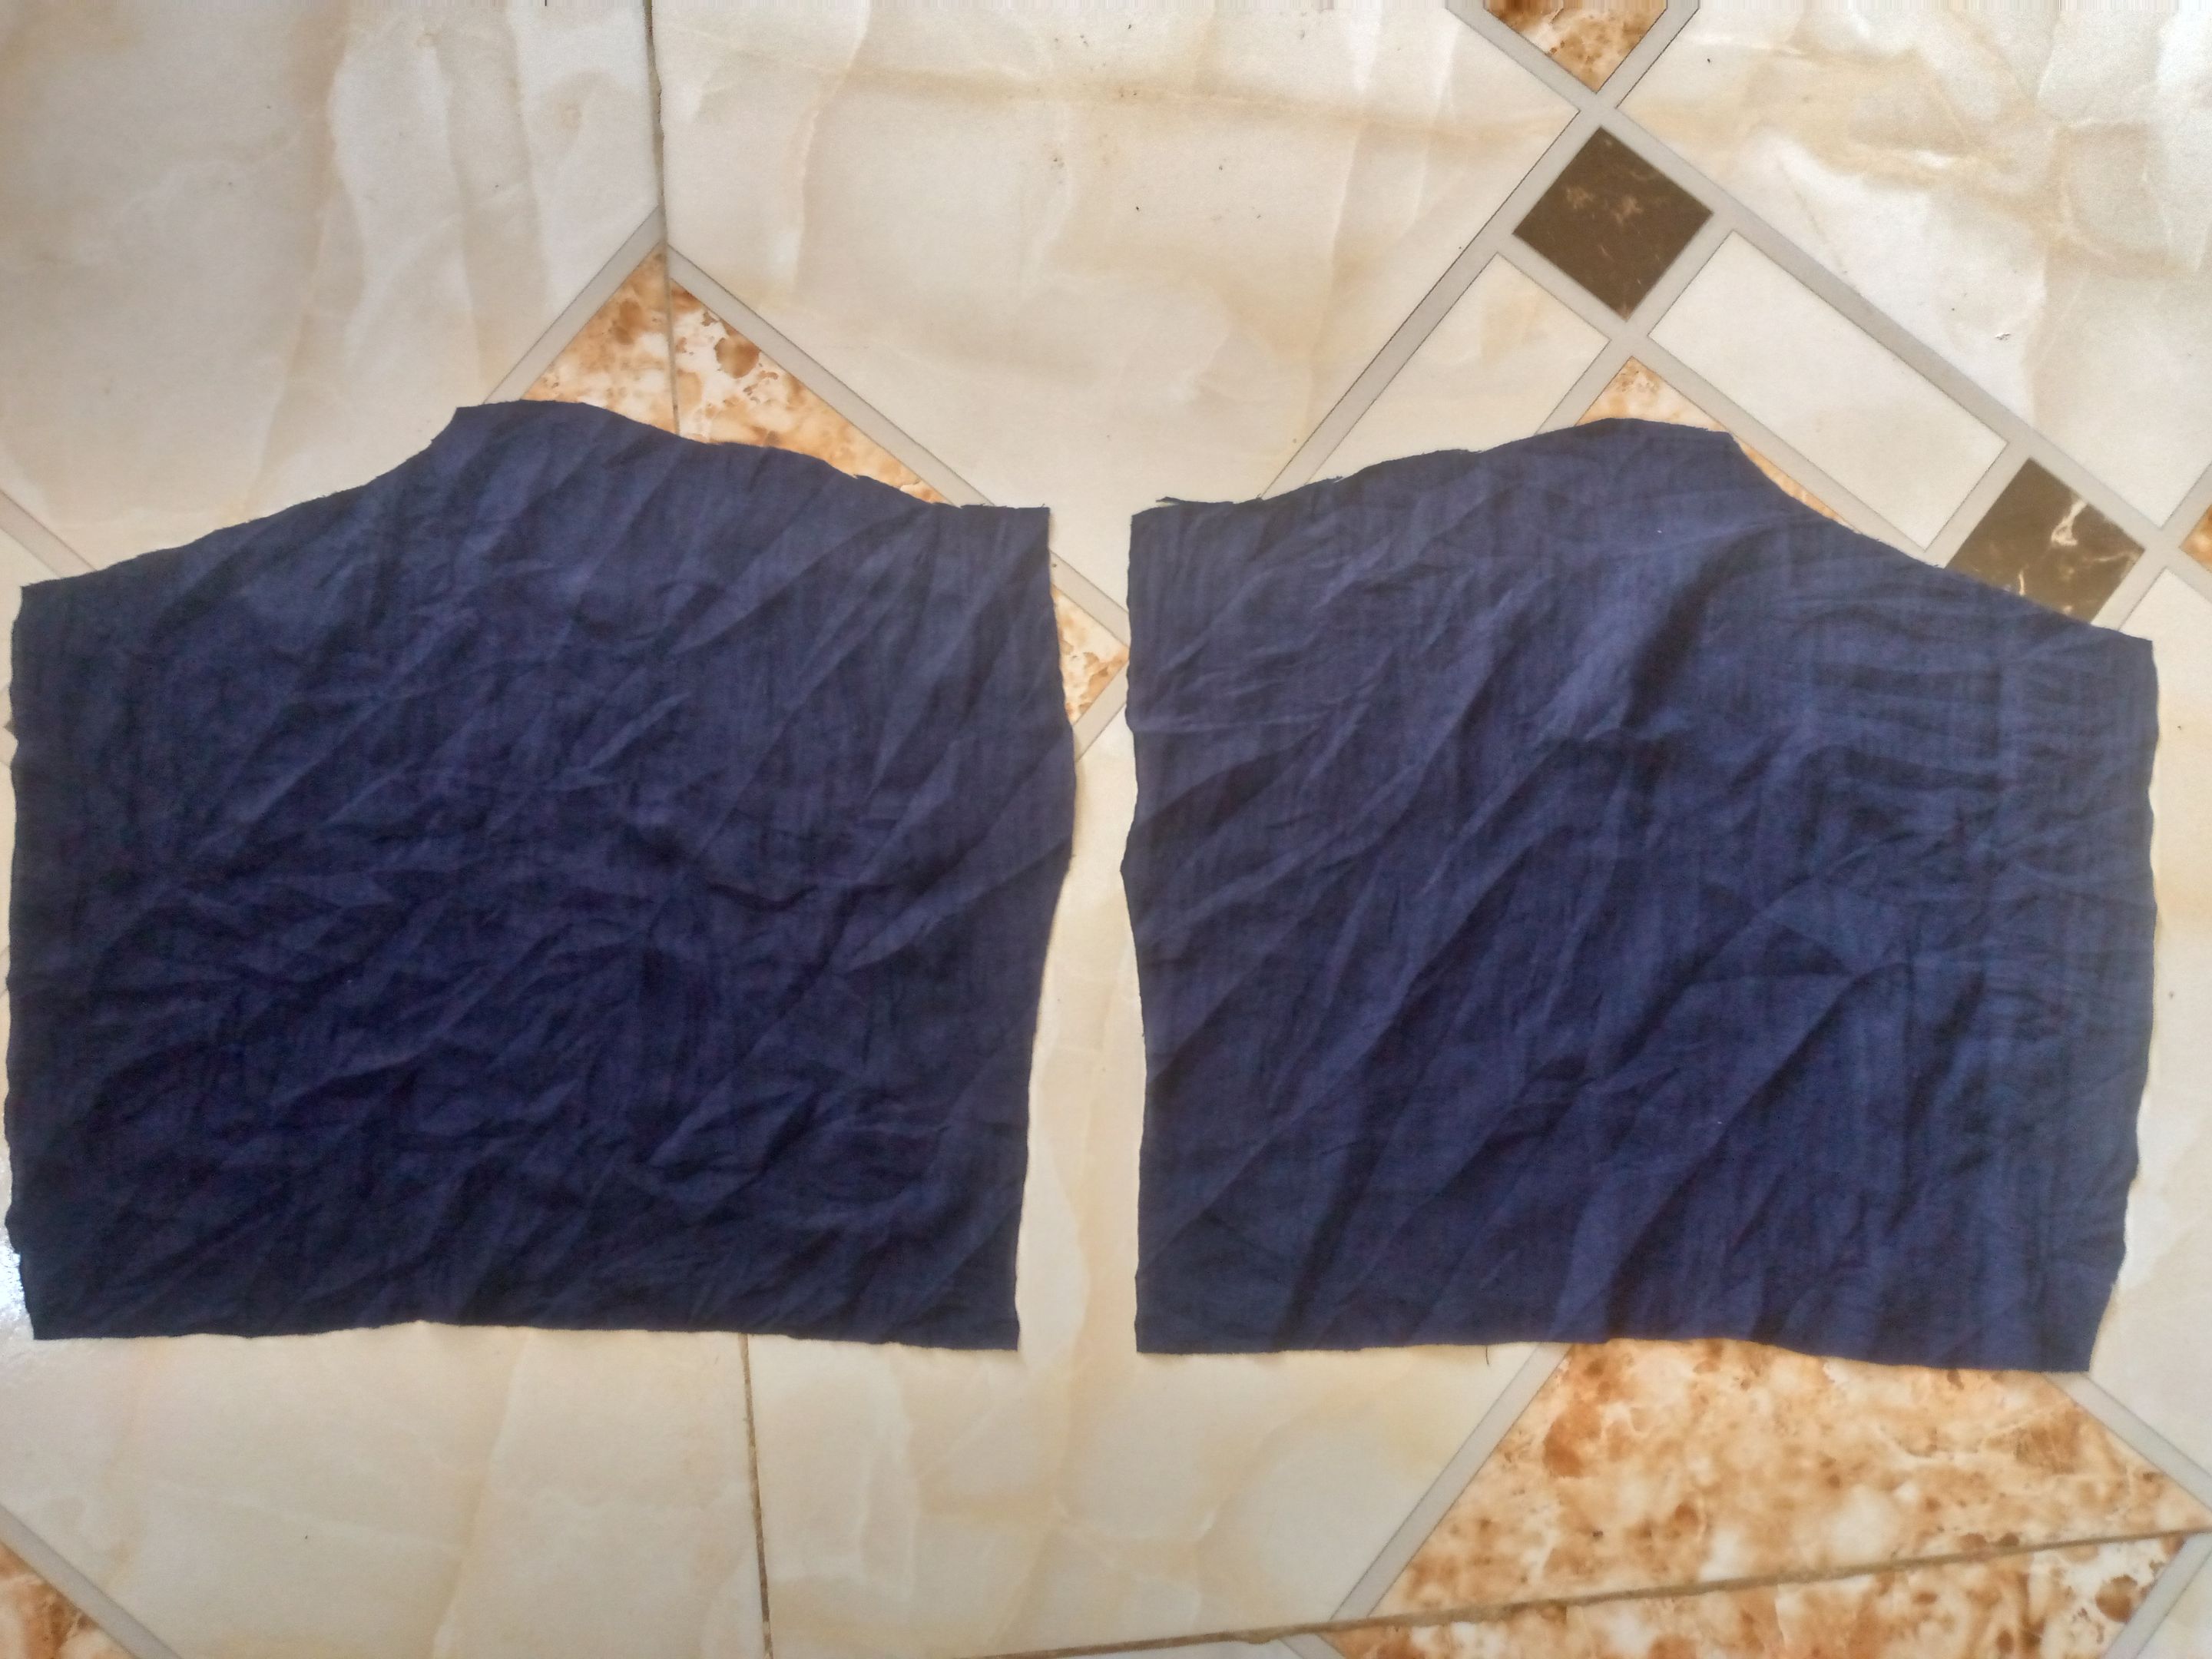
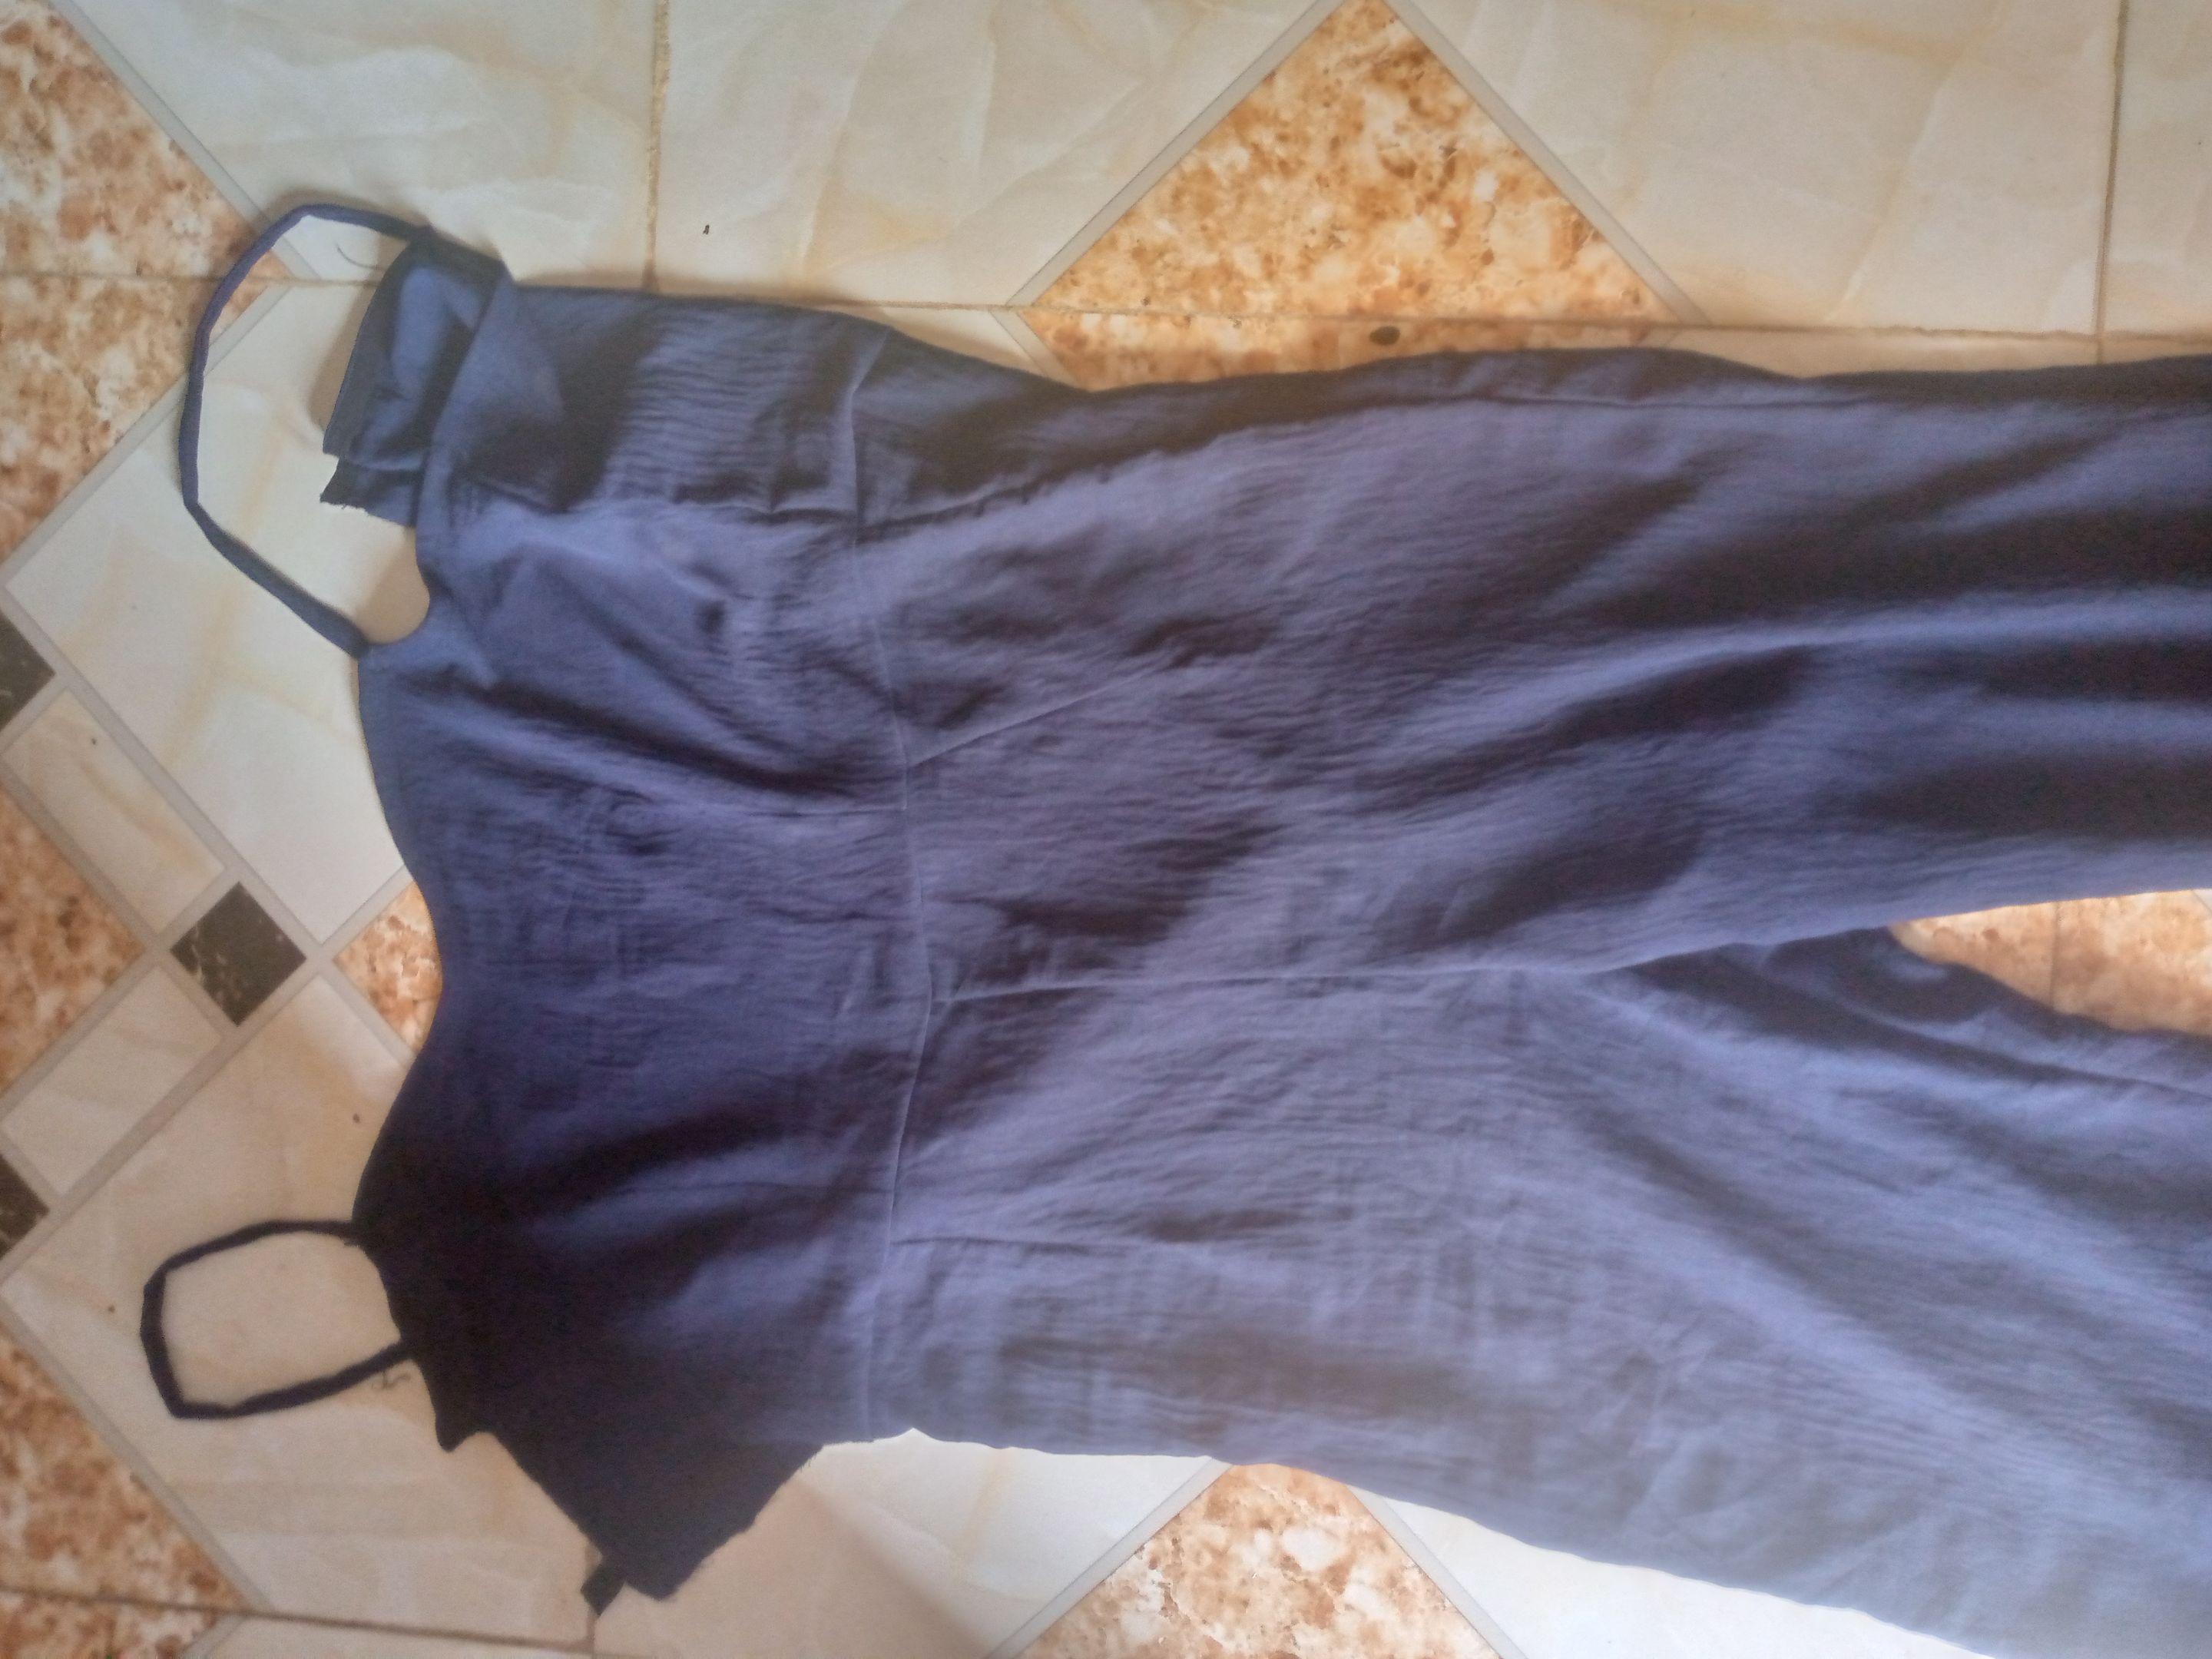
- Using an off the shoulder bodice pattern, I drafted the upper part of the jumpsuit, I excluded about 7 inches from the main bodice to achieve the off shoulder area, which as you can see were replaced with the tiny or spaghetti straps as it is commonly called.
- Next I held in the dart to give the bust area some contour, and also sewed the sides by the seam allowance left.
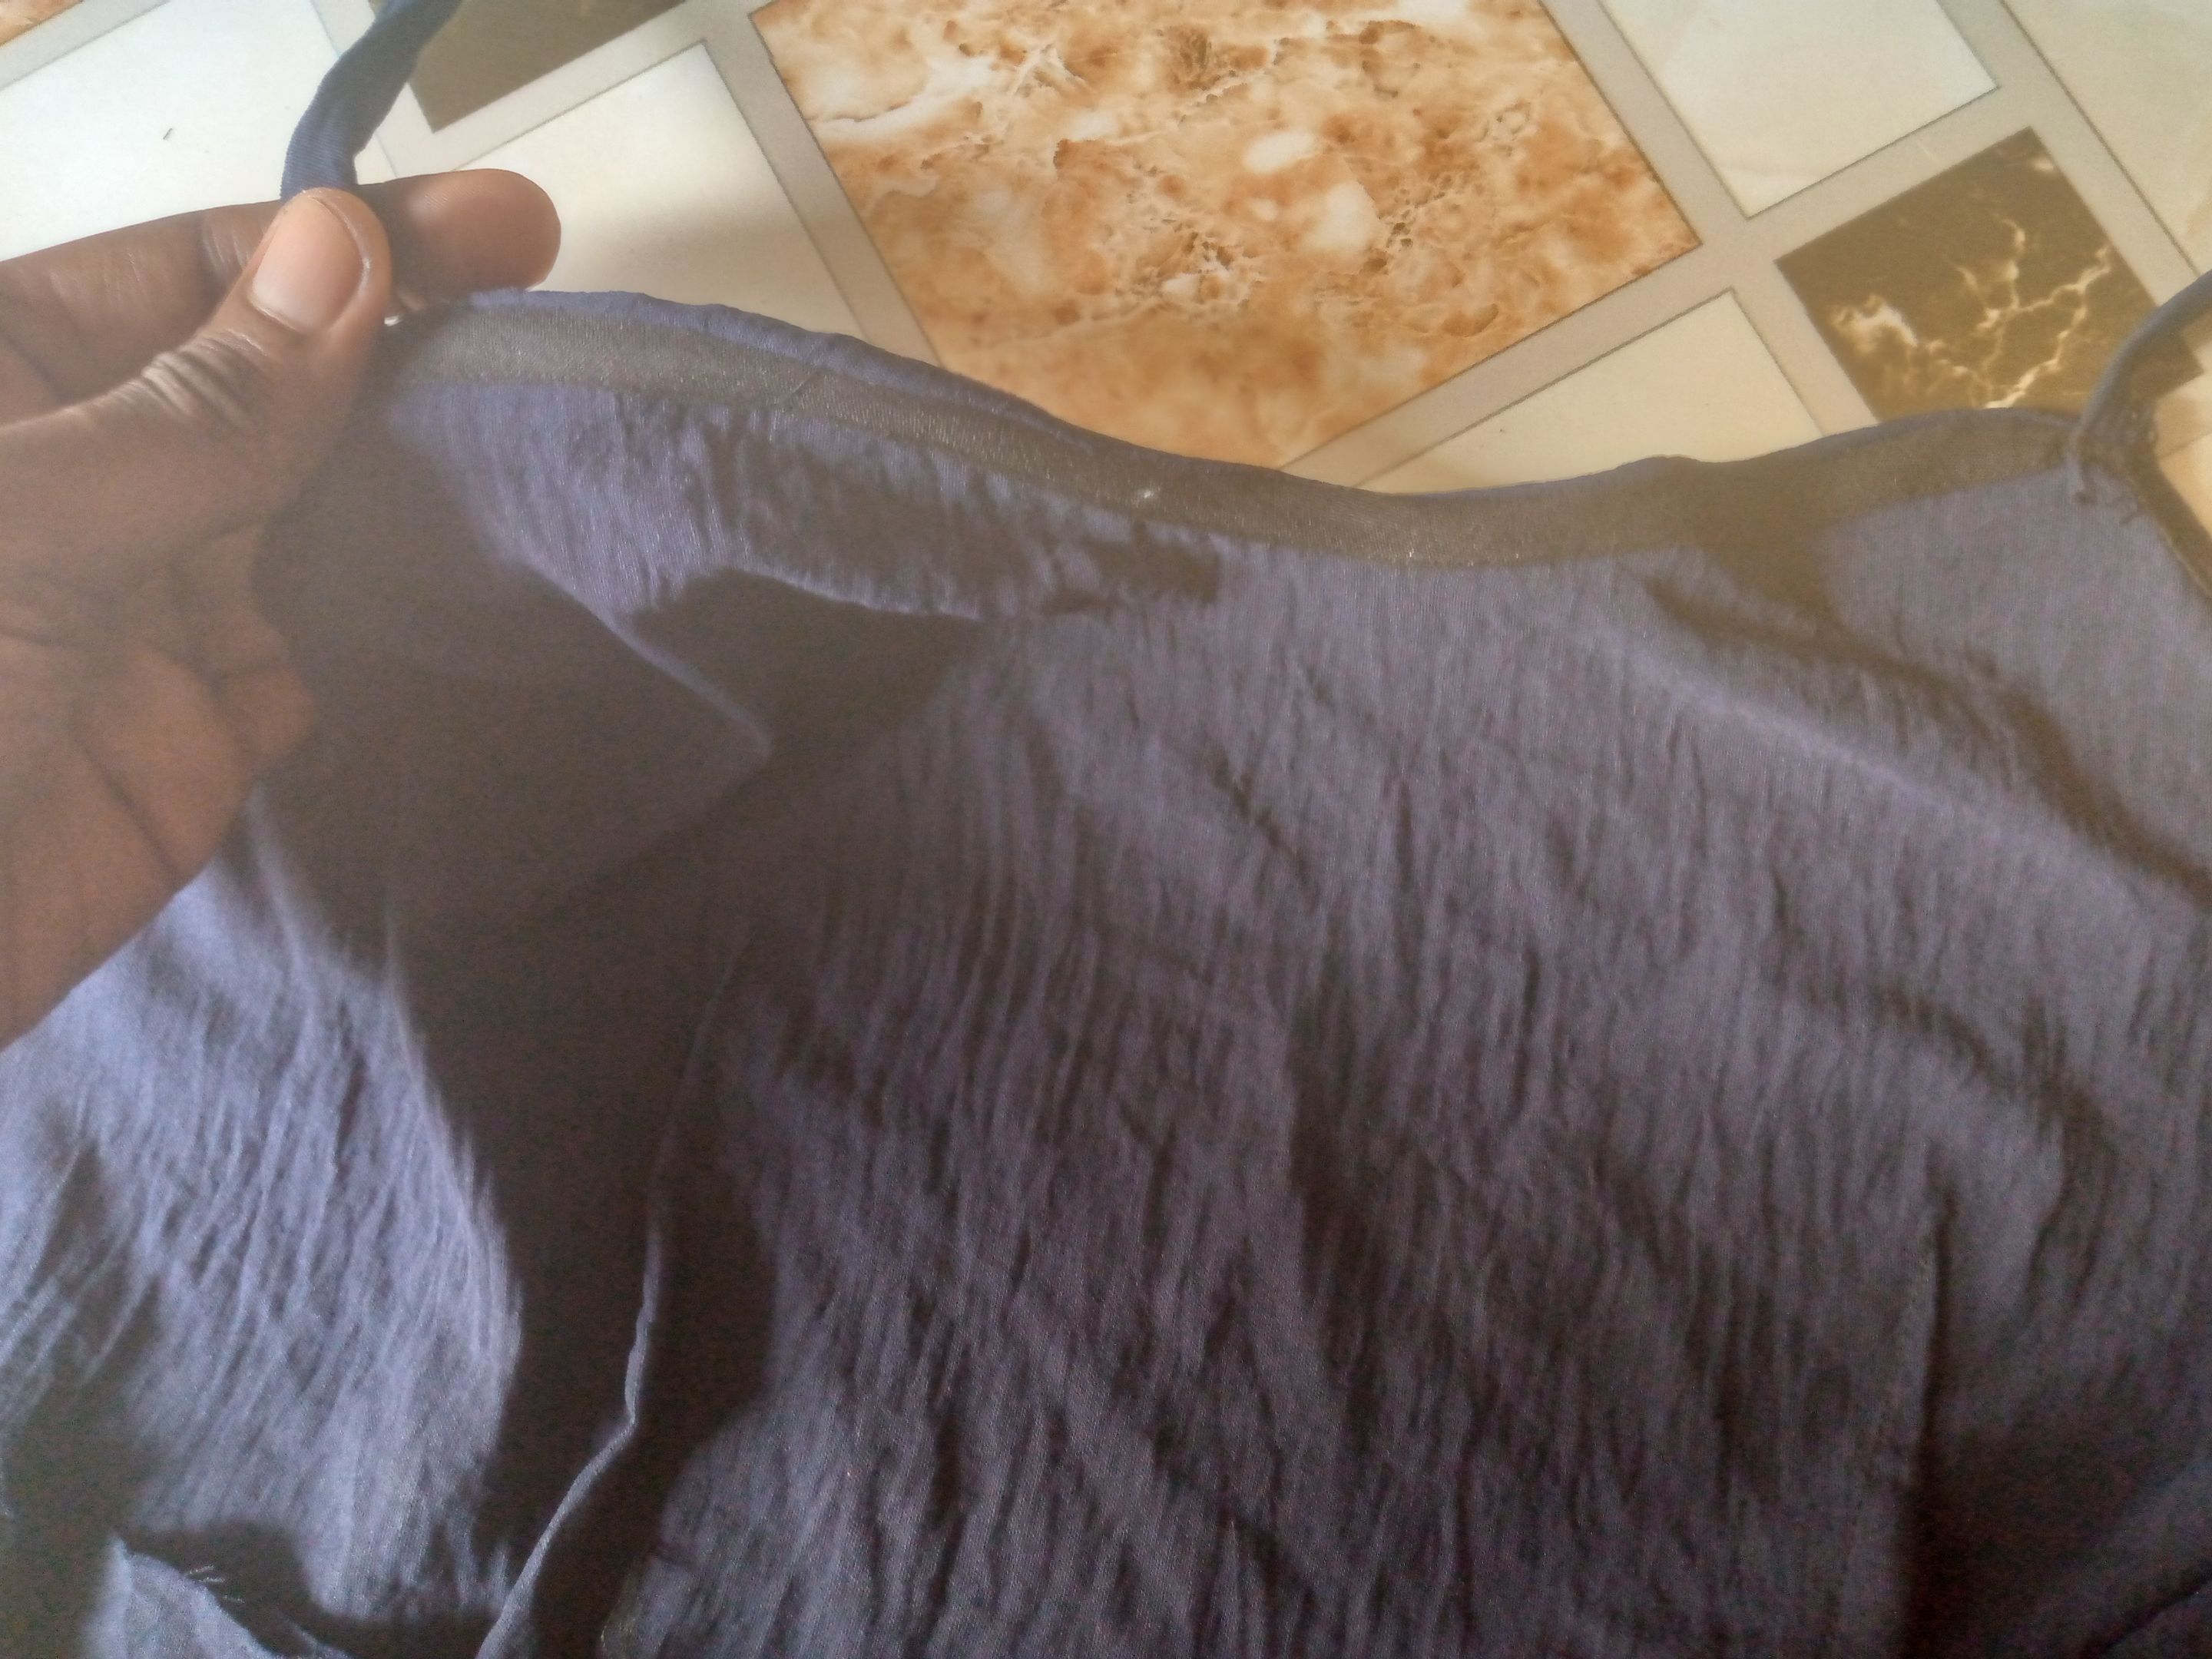
- To finish the chest area neatly, I used the bias tape to pipe around it both the front and back, then sewed in the straps to both armhole areas, the straps are both measured 14 inches each
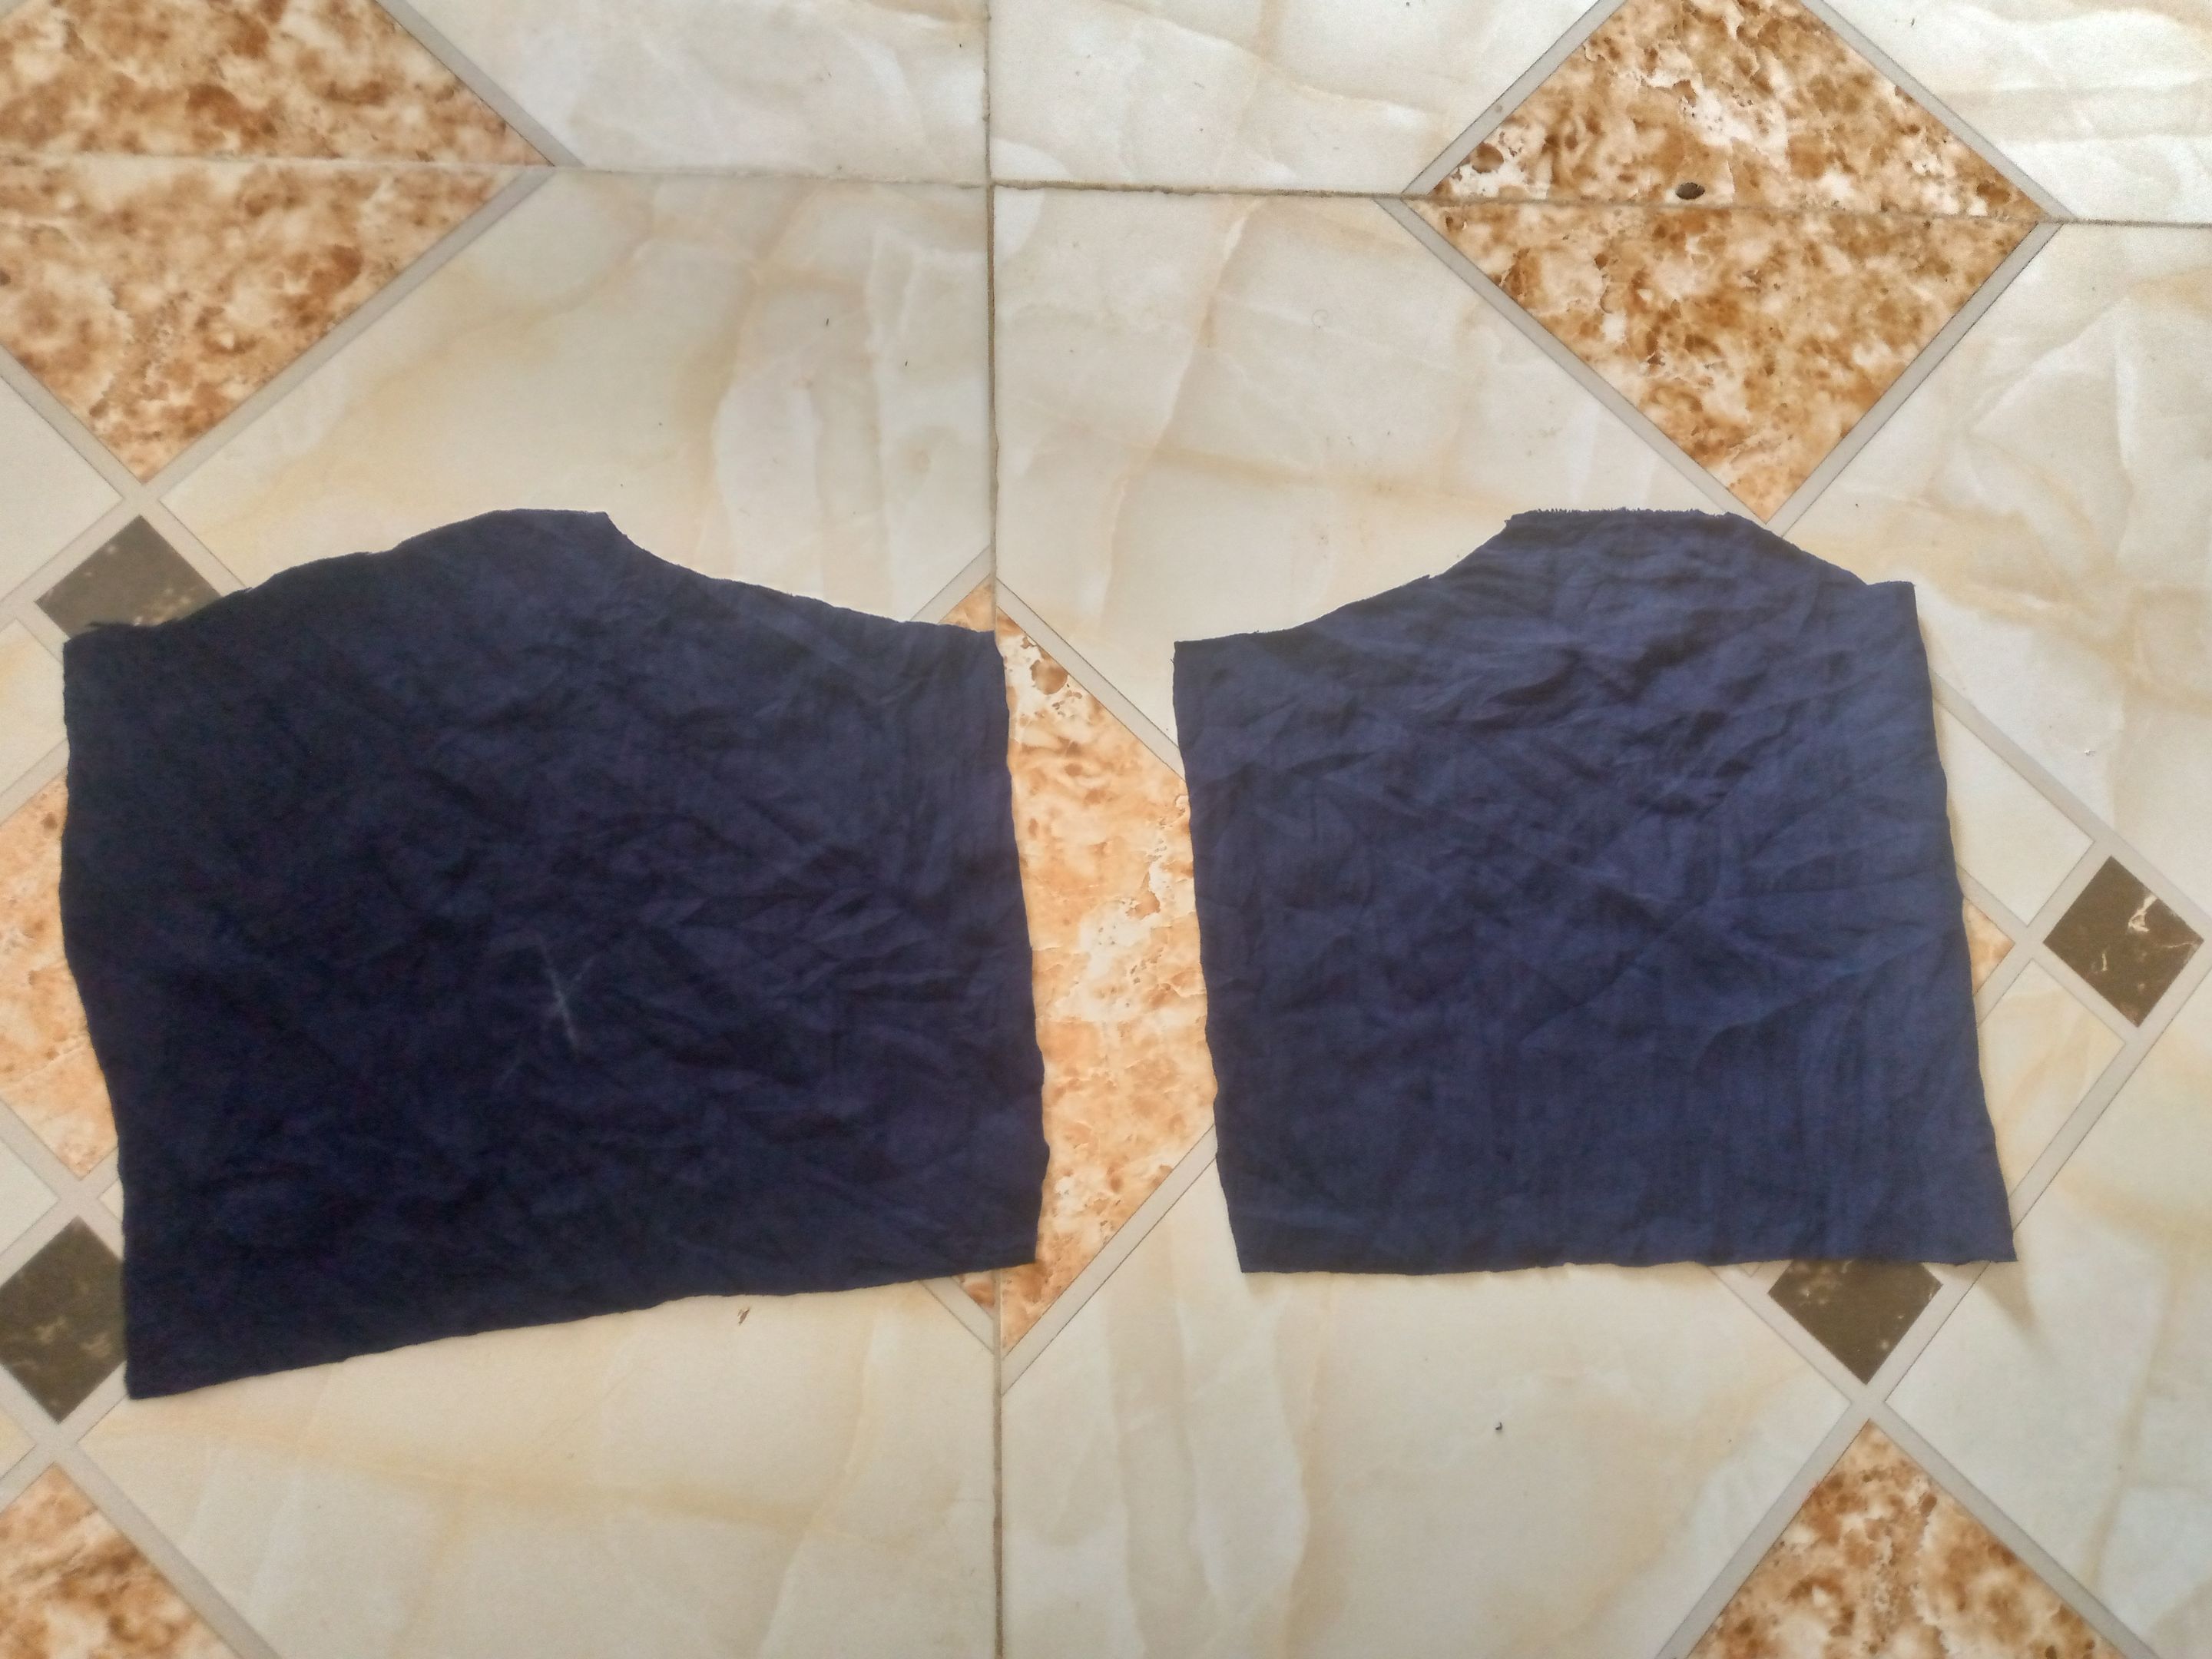
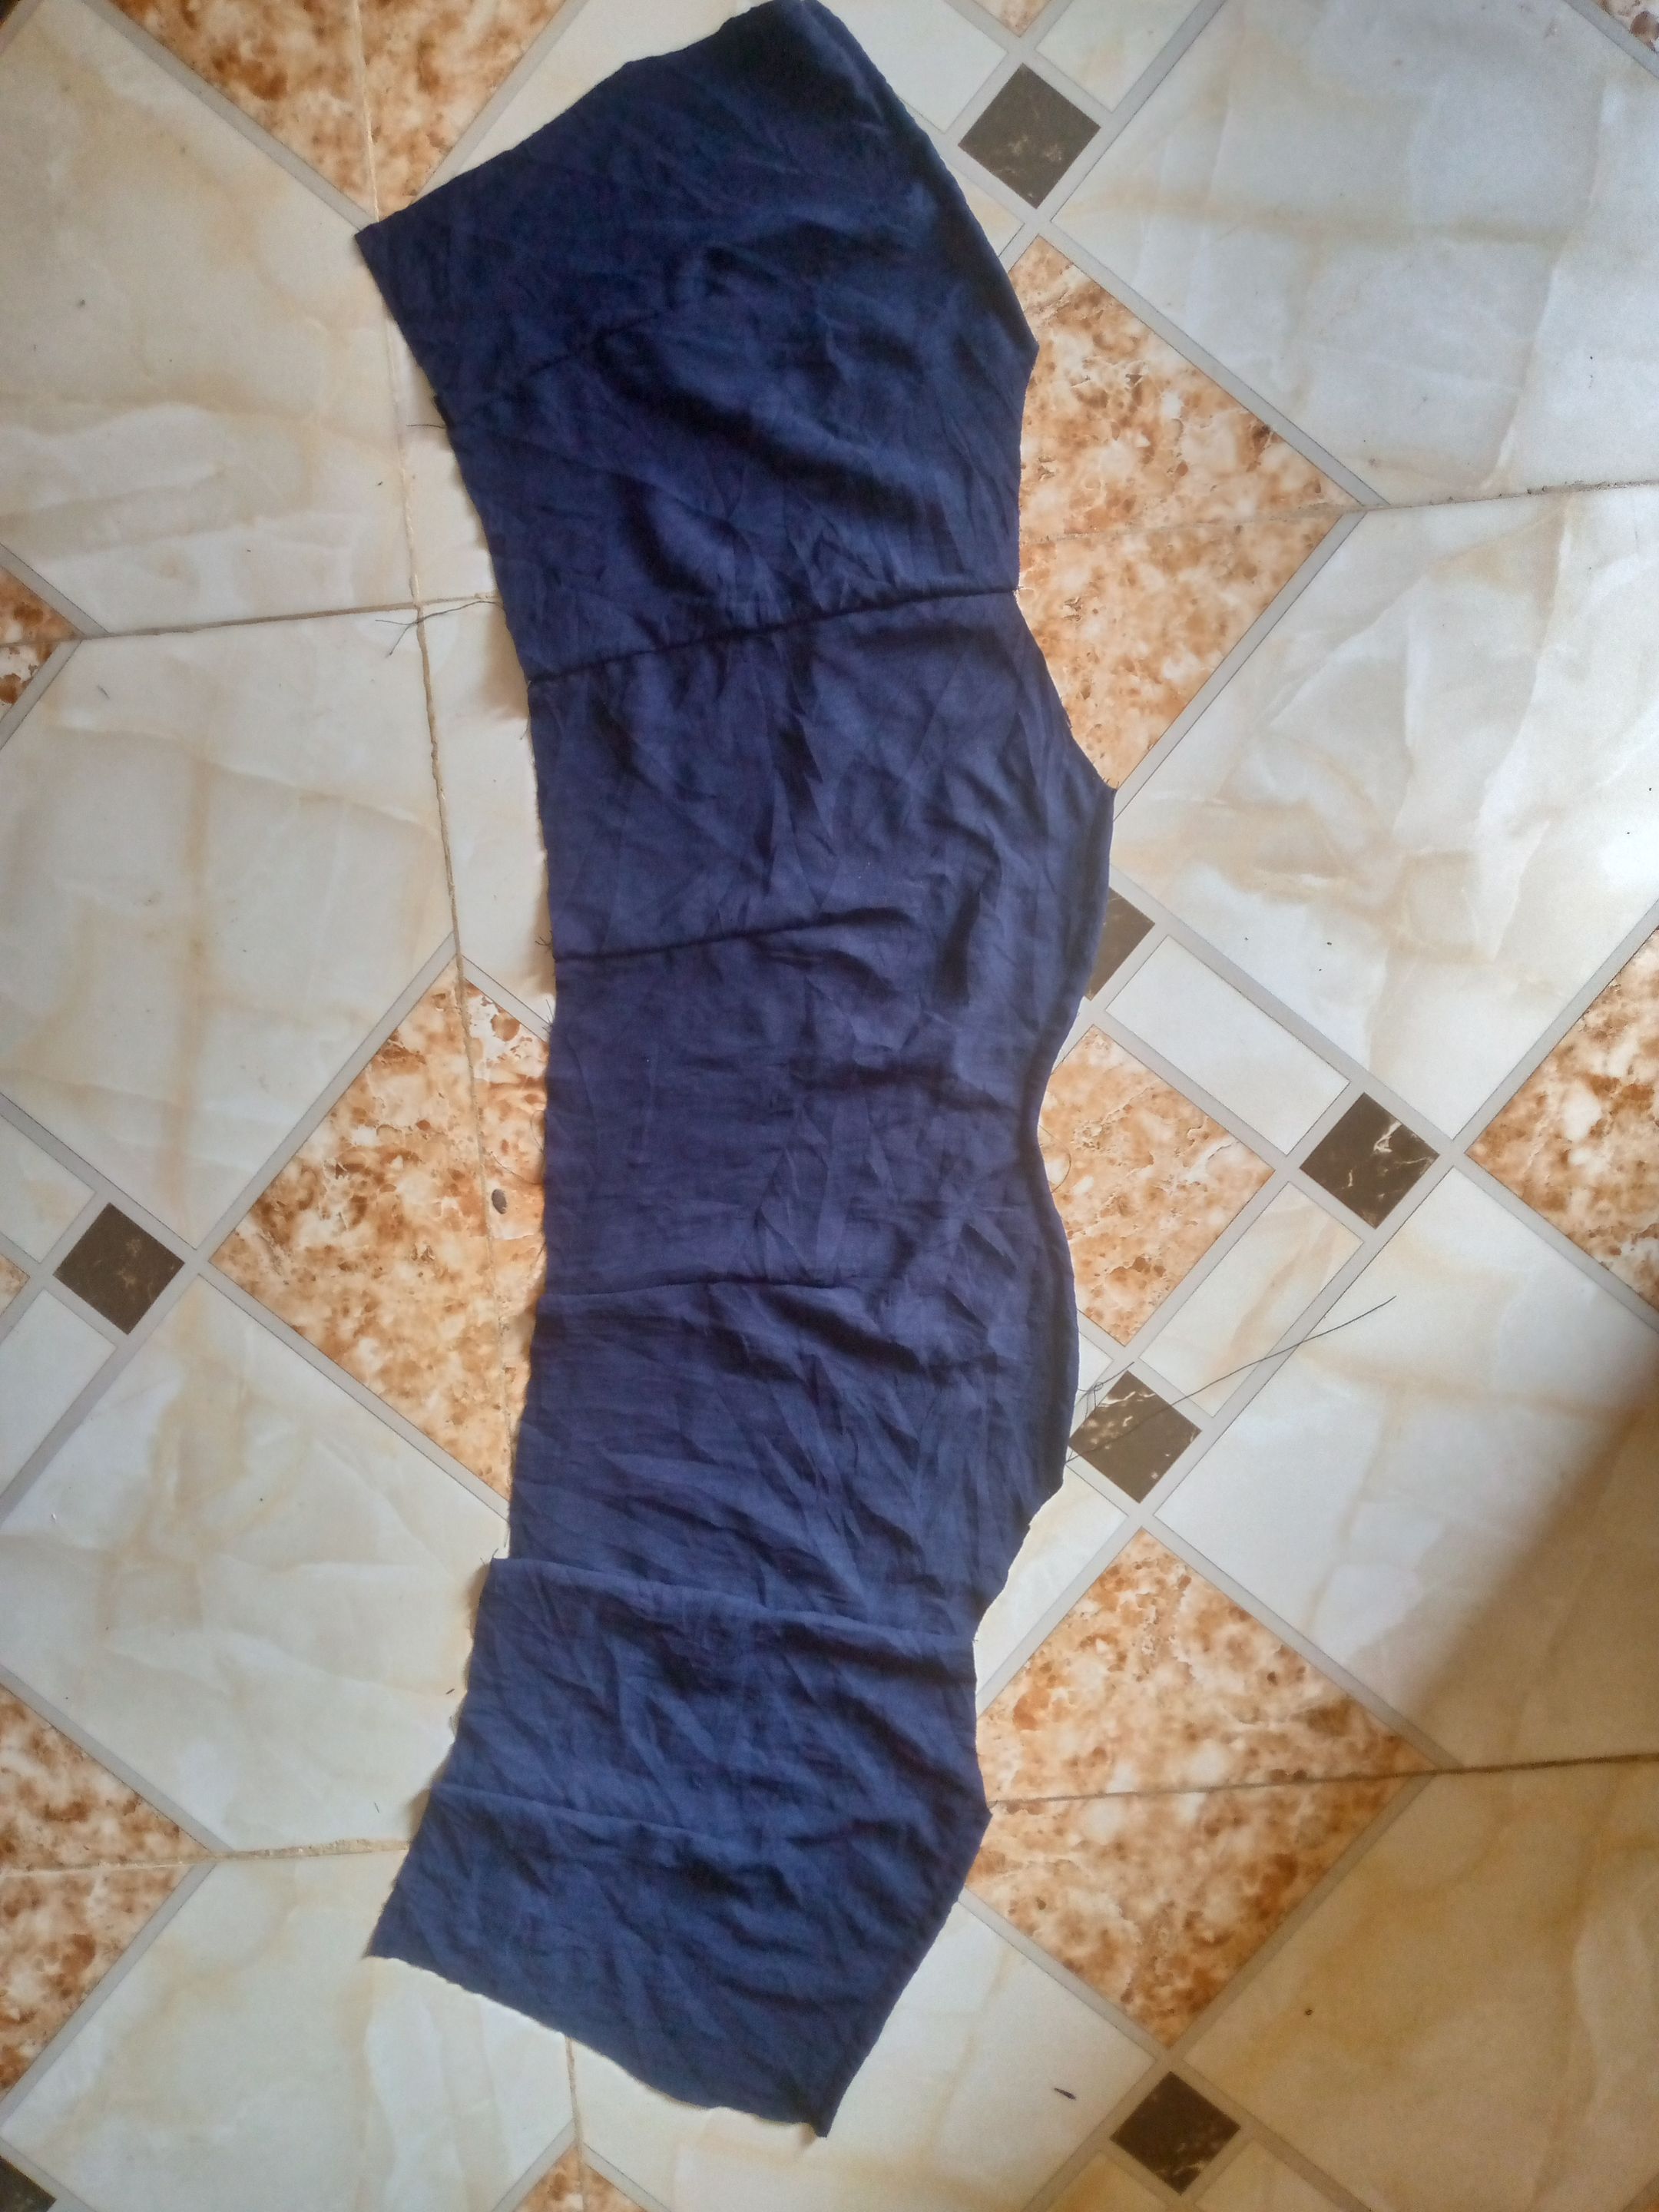
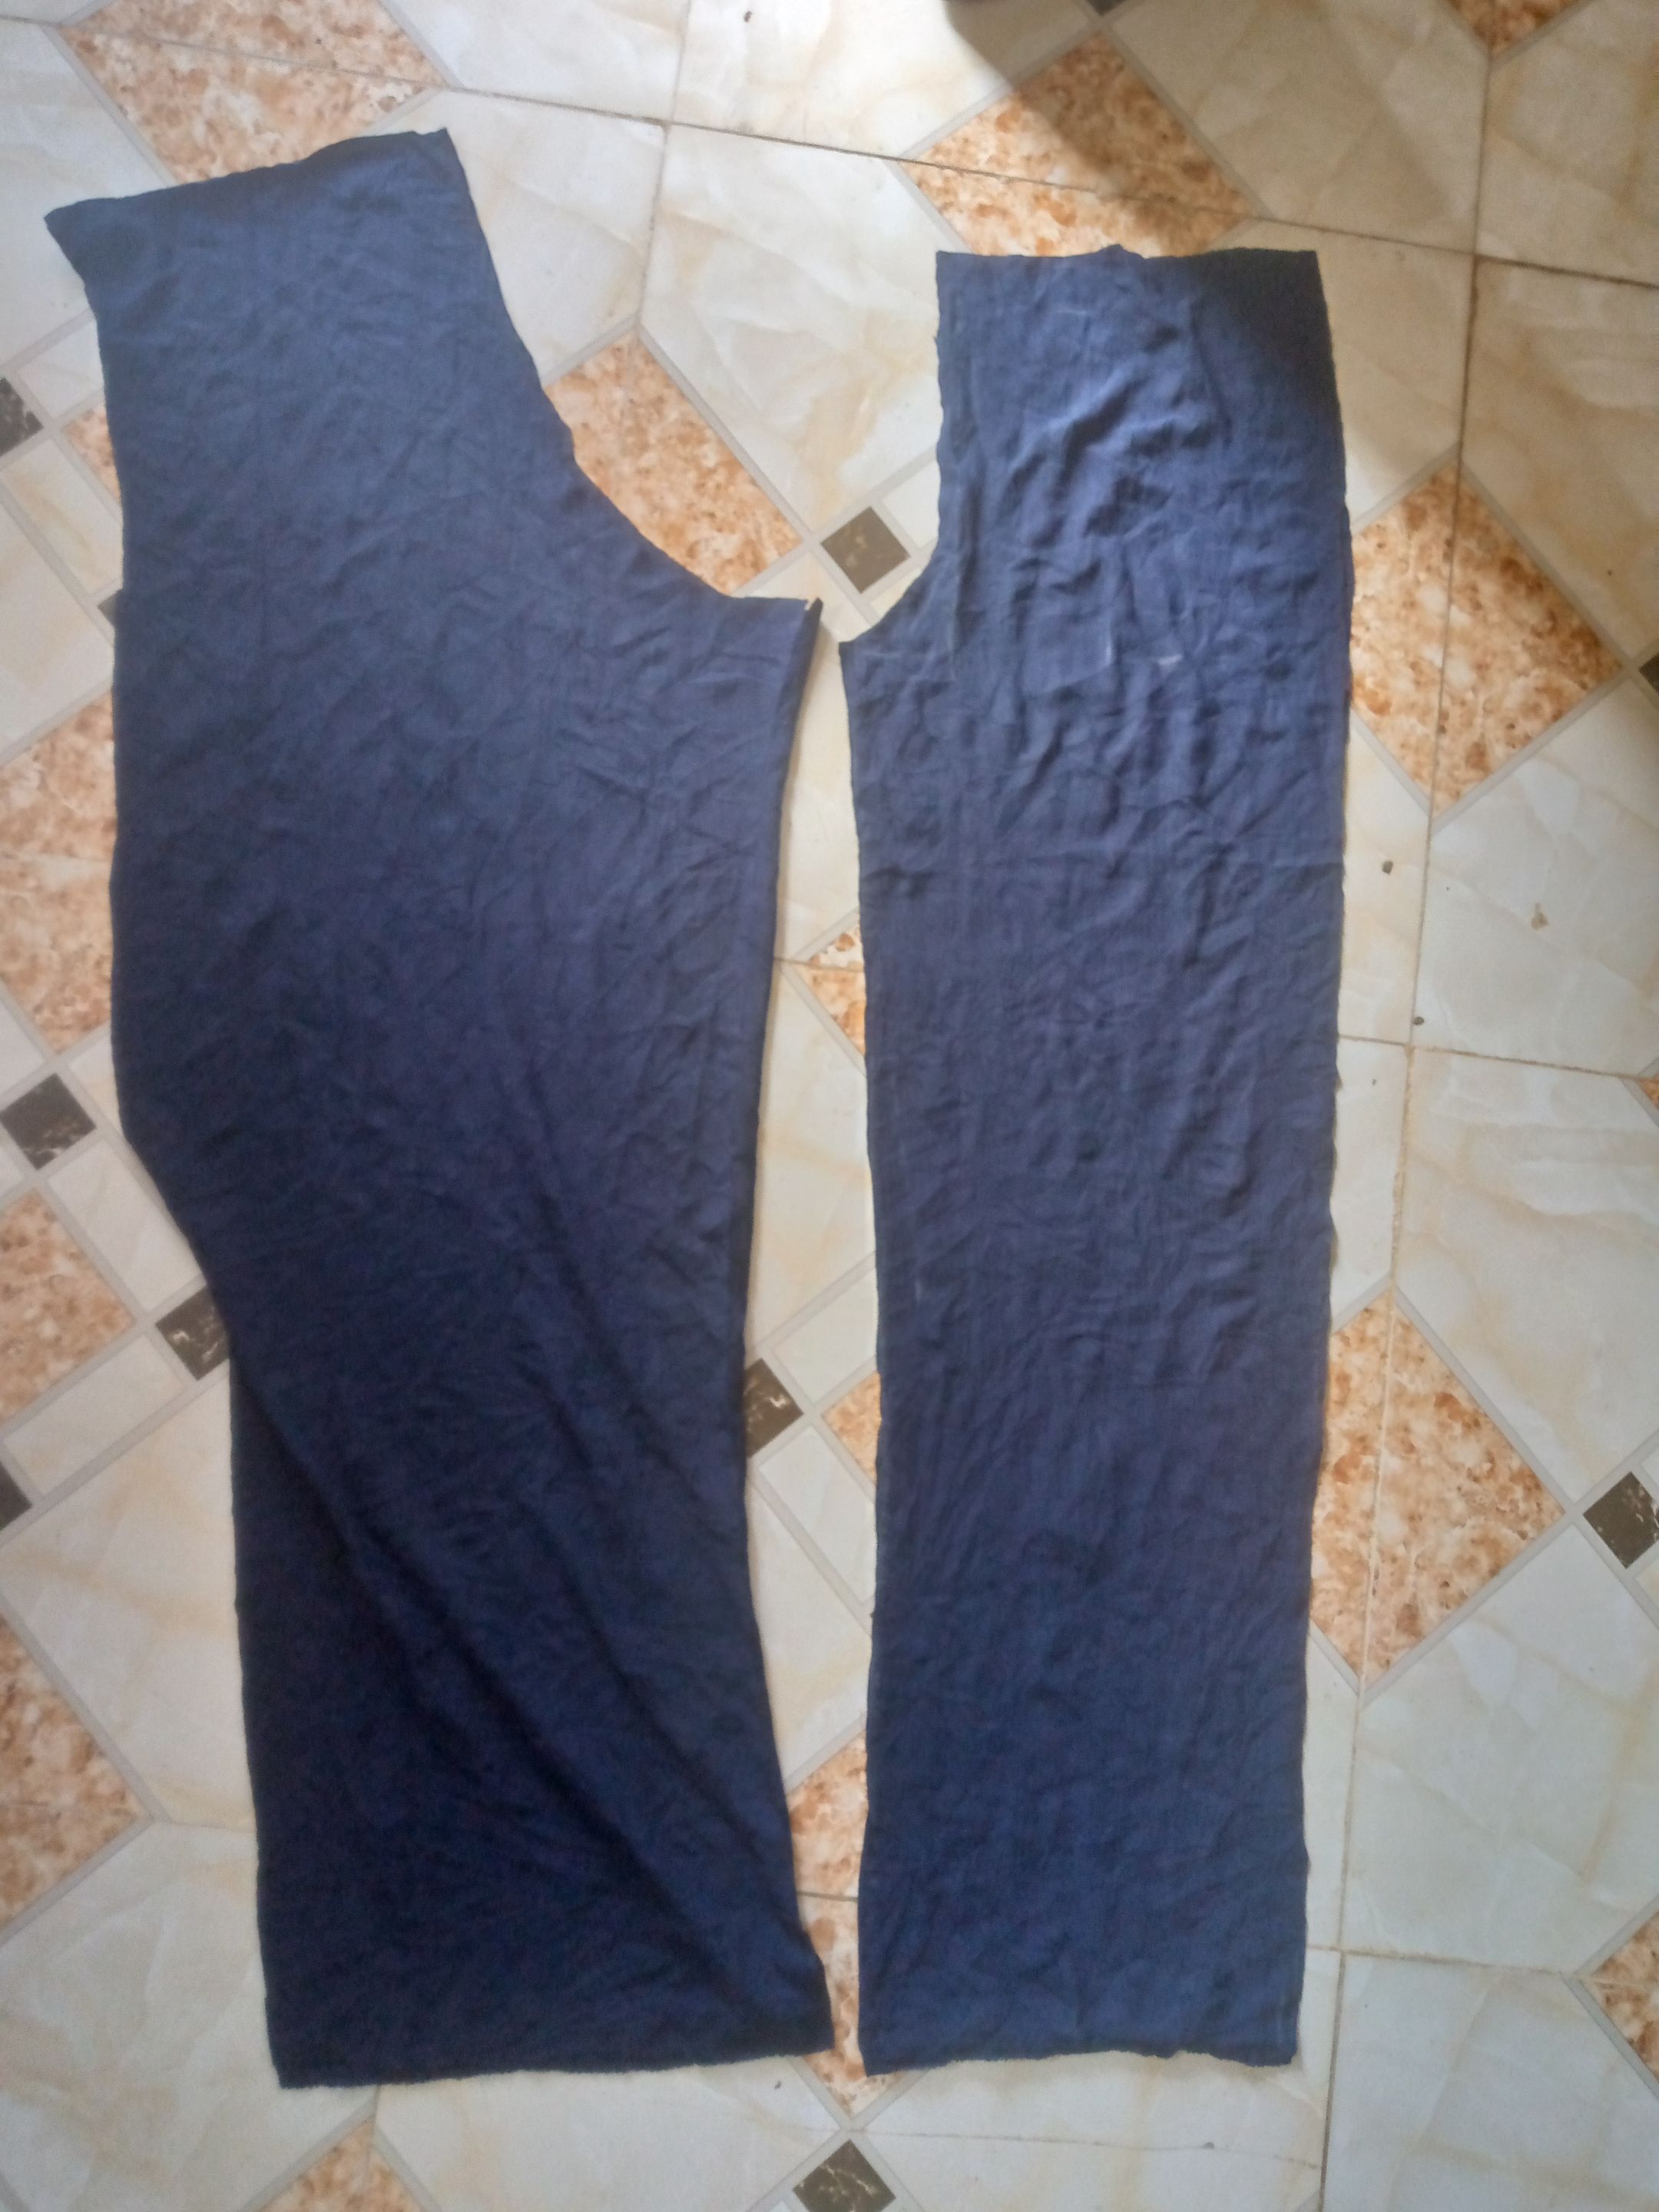
- For the lower part of the jumpsuit, I drafted a palazzo trouser pattern, elongating the crotch area by 2 inches so it will balance around the crotch area and not get too tight.
Continuing, I sewed the crotch of both the front and back pattern, then sewed the side seams, joining both the front and back
Then I went further, joining the trouser area to the upper part of the jumpsuit,
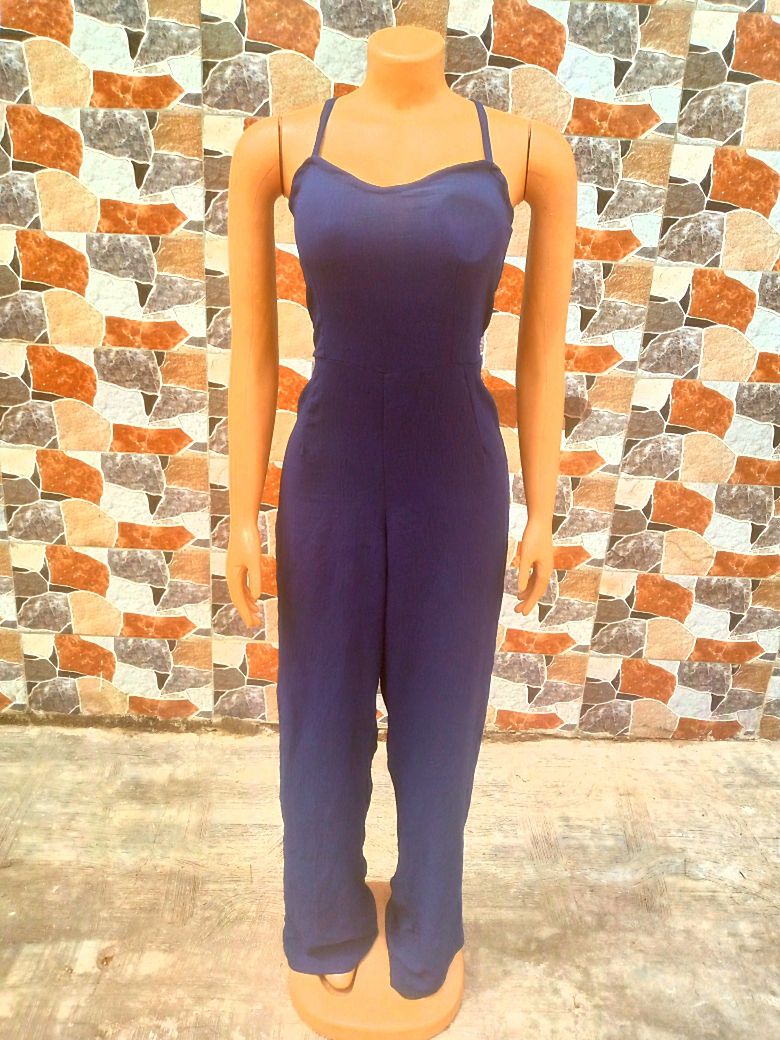
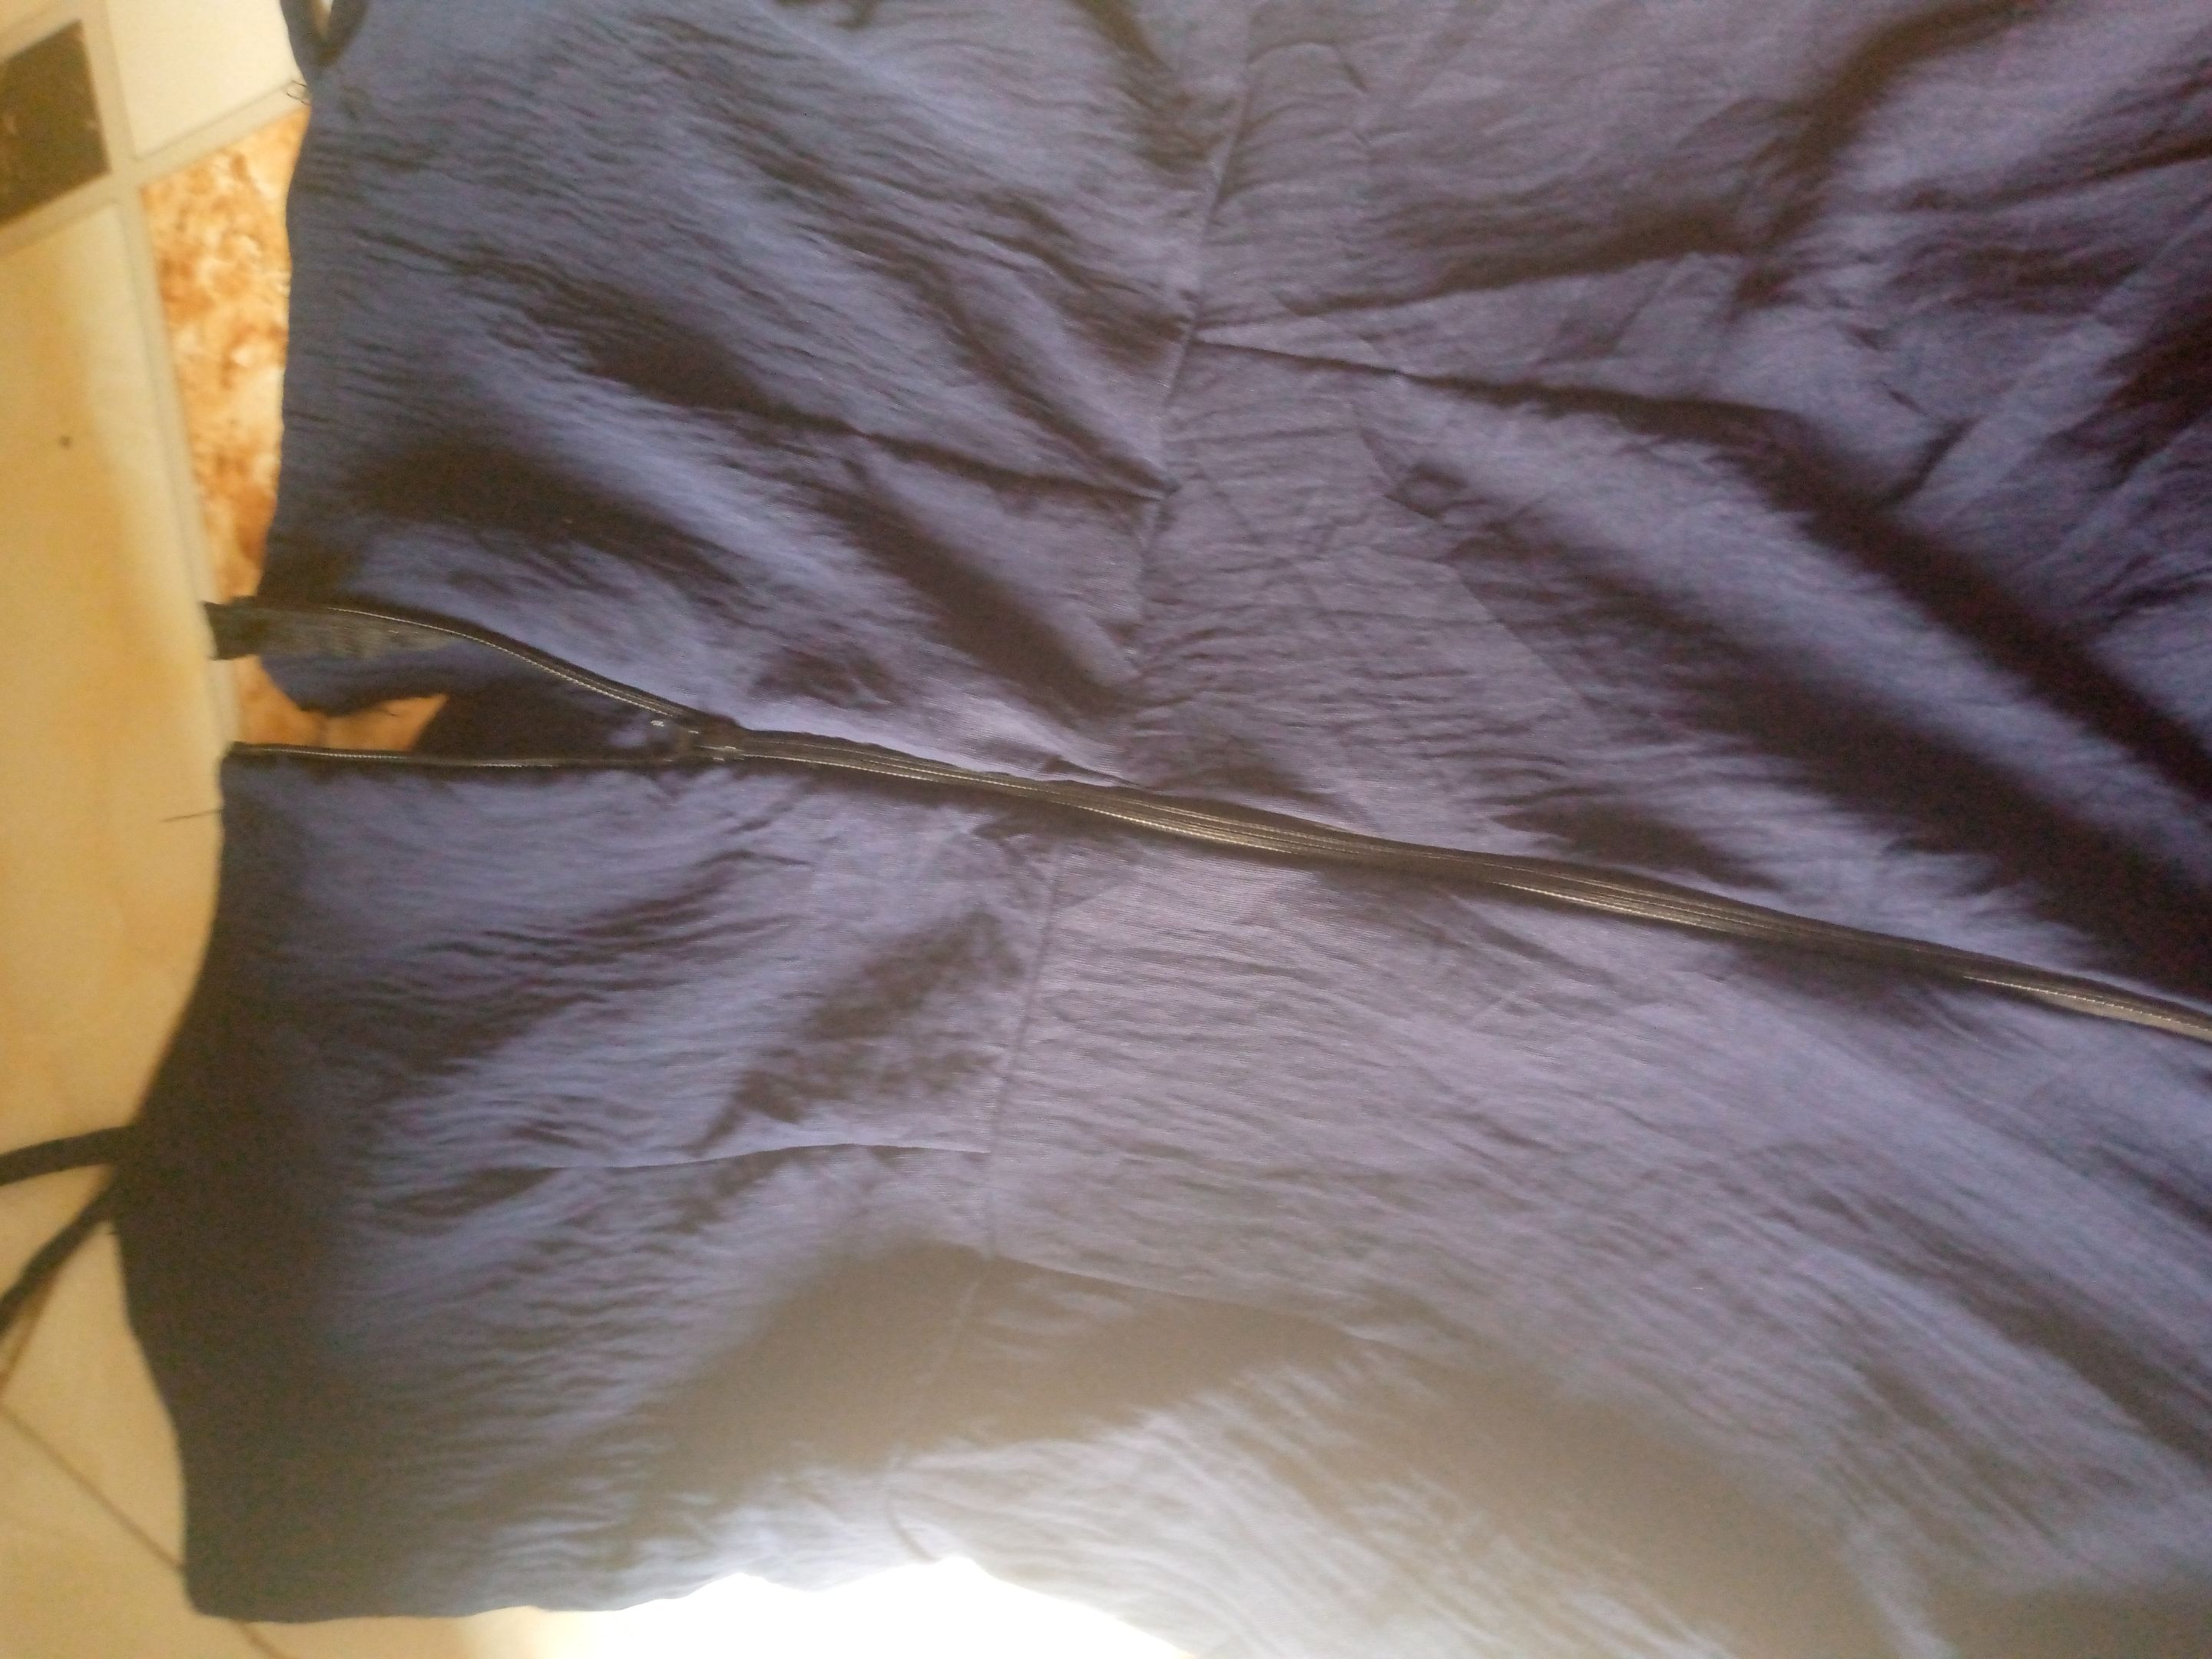
- Finally, I sewed in the zipper to the back side of the jumpsuit, and also folded and sewed its hem, and that completes the making of this elegant jumpsuit.
I hope you find this post easy to follow, you can always leave a comment anywhere you need further explanation, and I will be more than happy to explain further, also you can get creative styling yours with any fabric of your choice, floral patterned or plain as well. Making our own clothes gives us a unique confidence boost, and also saves cost, imagine someone complimenting your outfit, and you go like 'Oh thanks, I made it myself' That's one of the perks of DIYs.
I hope this post inspires you, have a great day.
Thank you for reading.❤❤