DIY: Bolsa para compras / Shopping bag (Esp/Eng)

2025-05-13T04:00:00
[Esp]
¡Hola querida comunidad!
¡Qué importante es reciclar! O en este caso guardar lo que nos queda en telas y materiales.
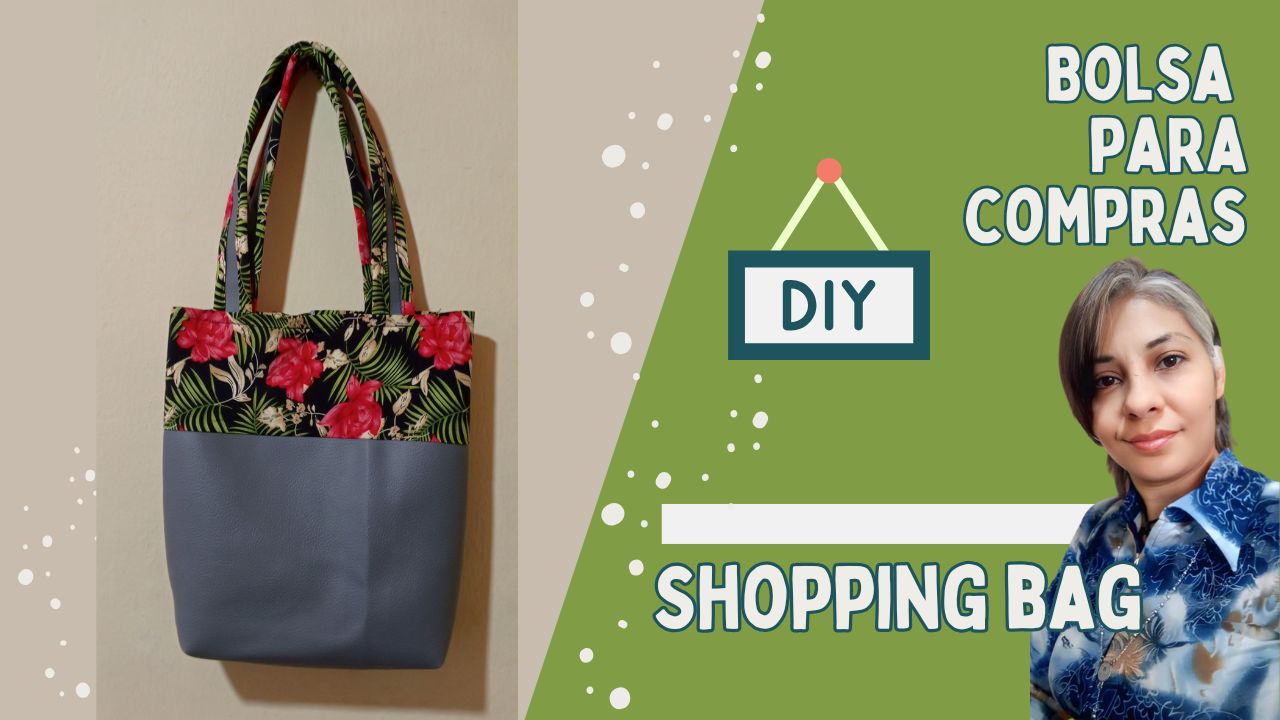
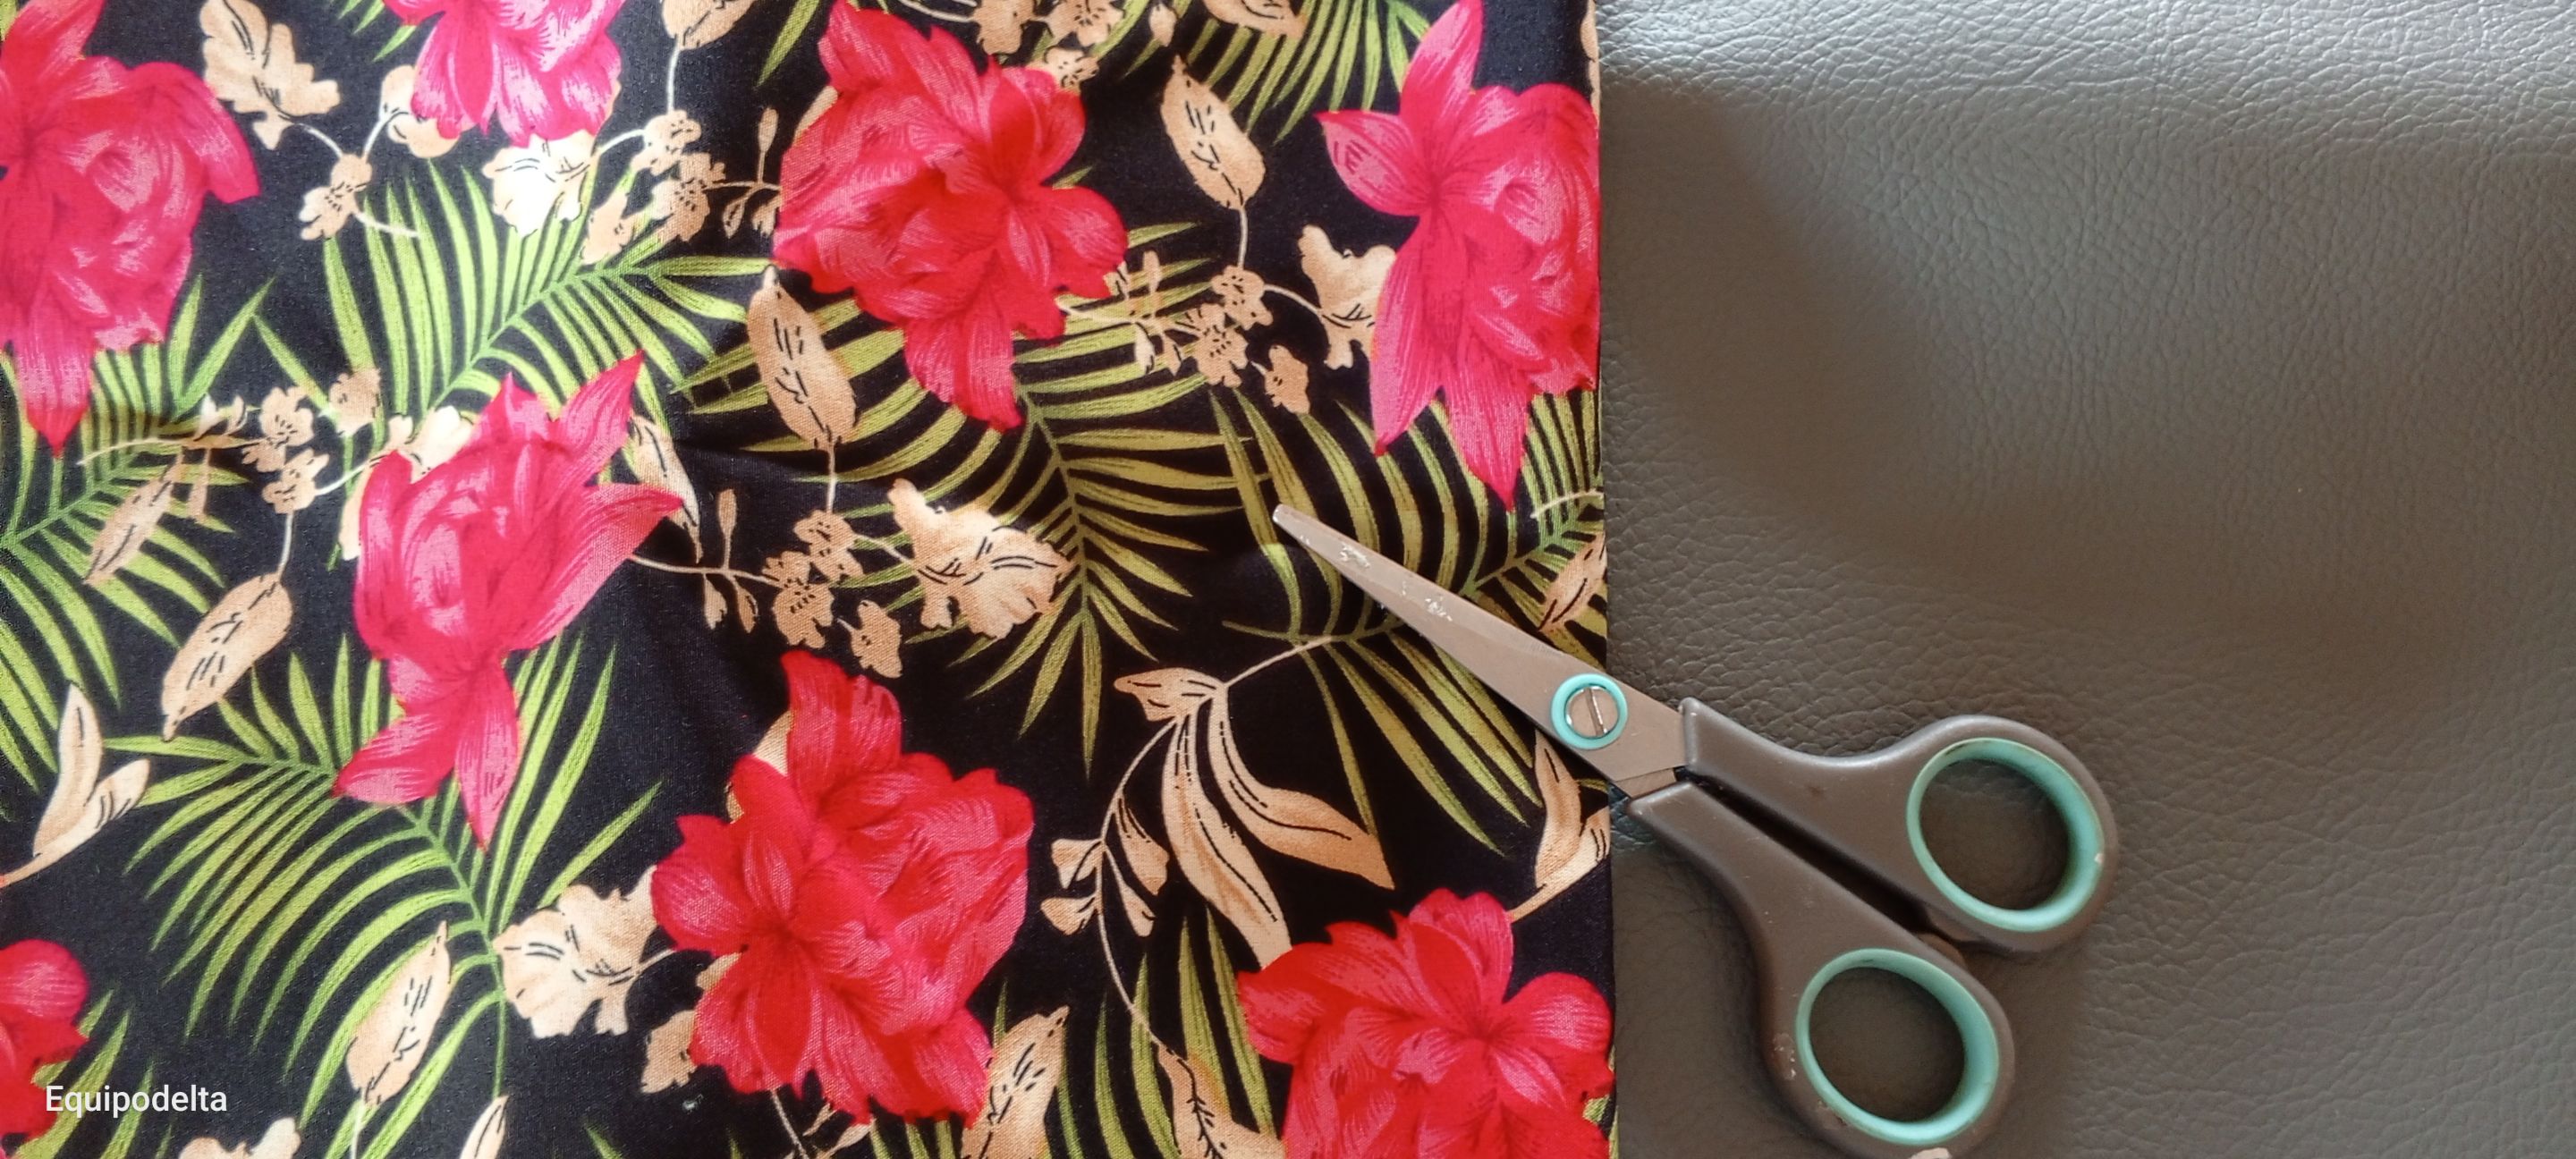
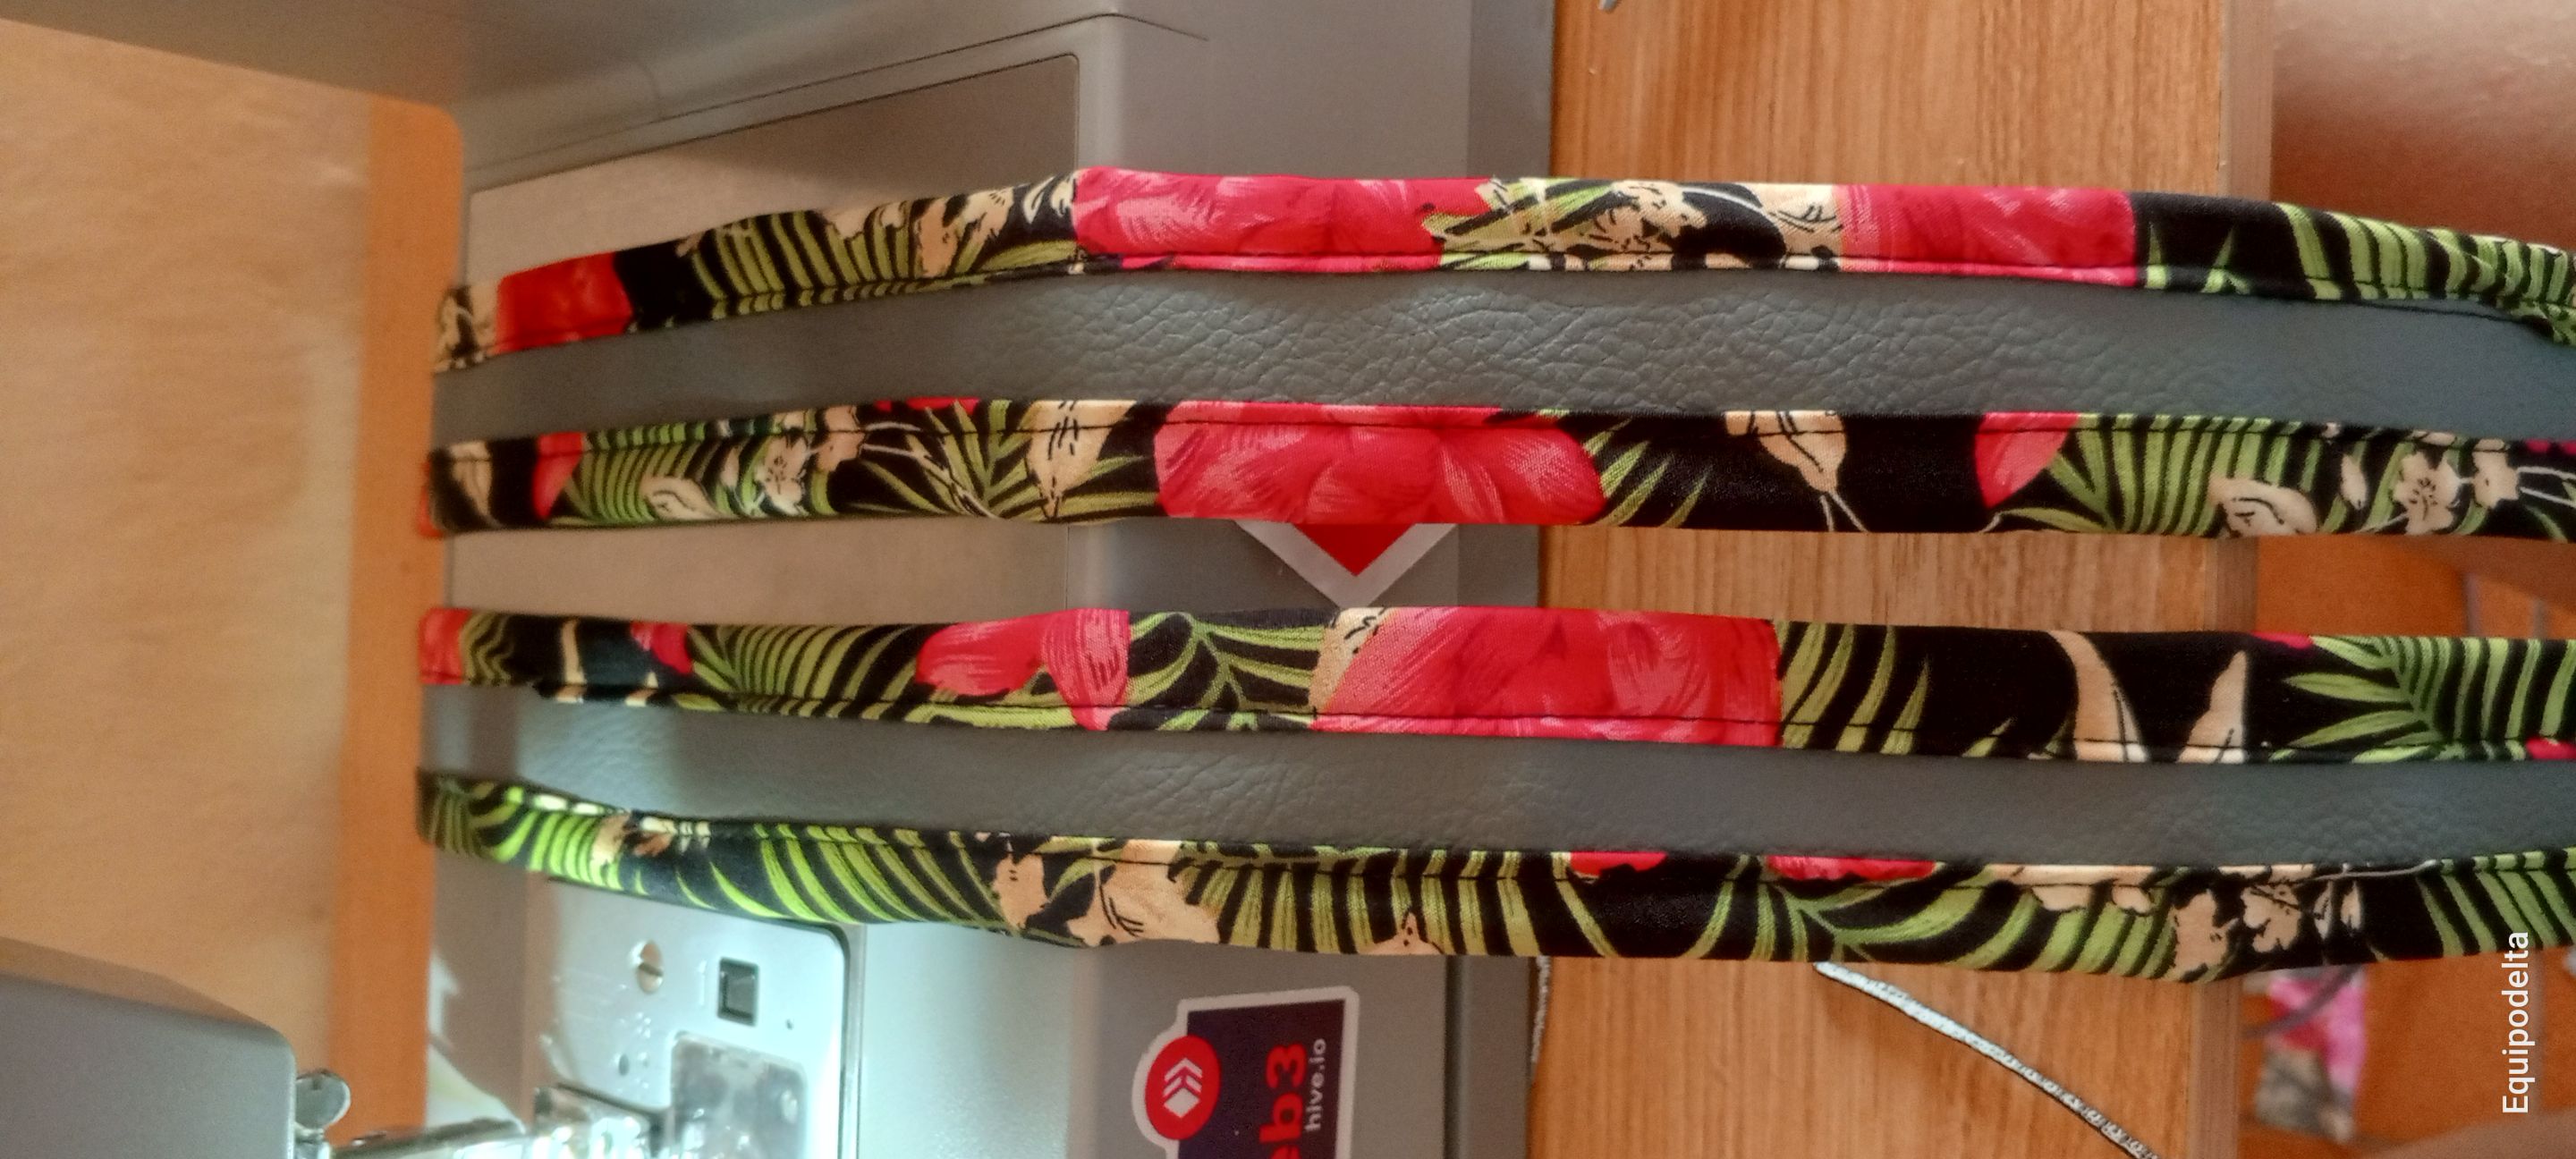
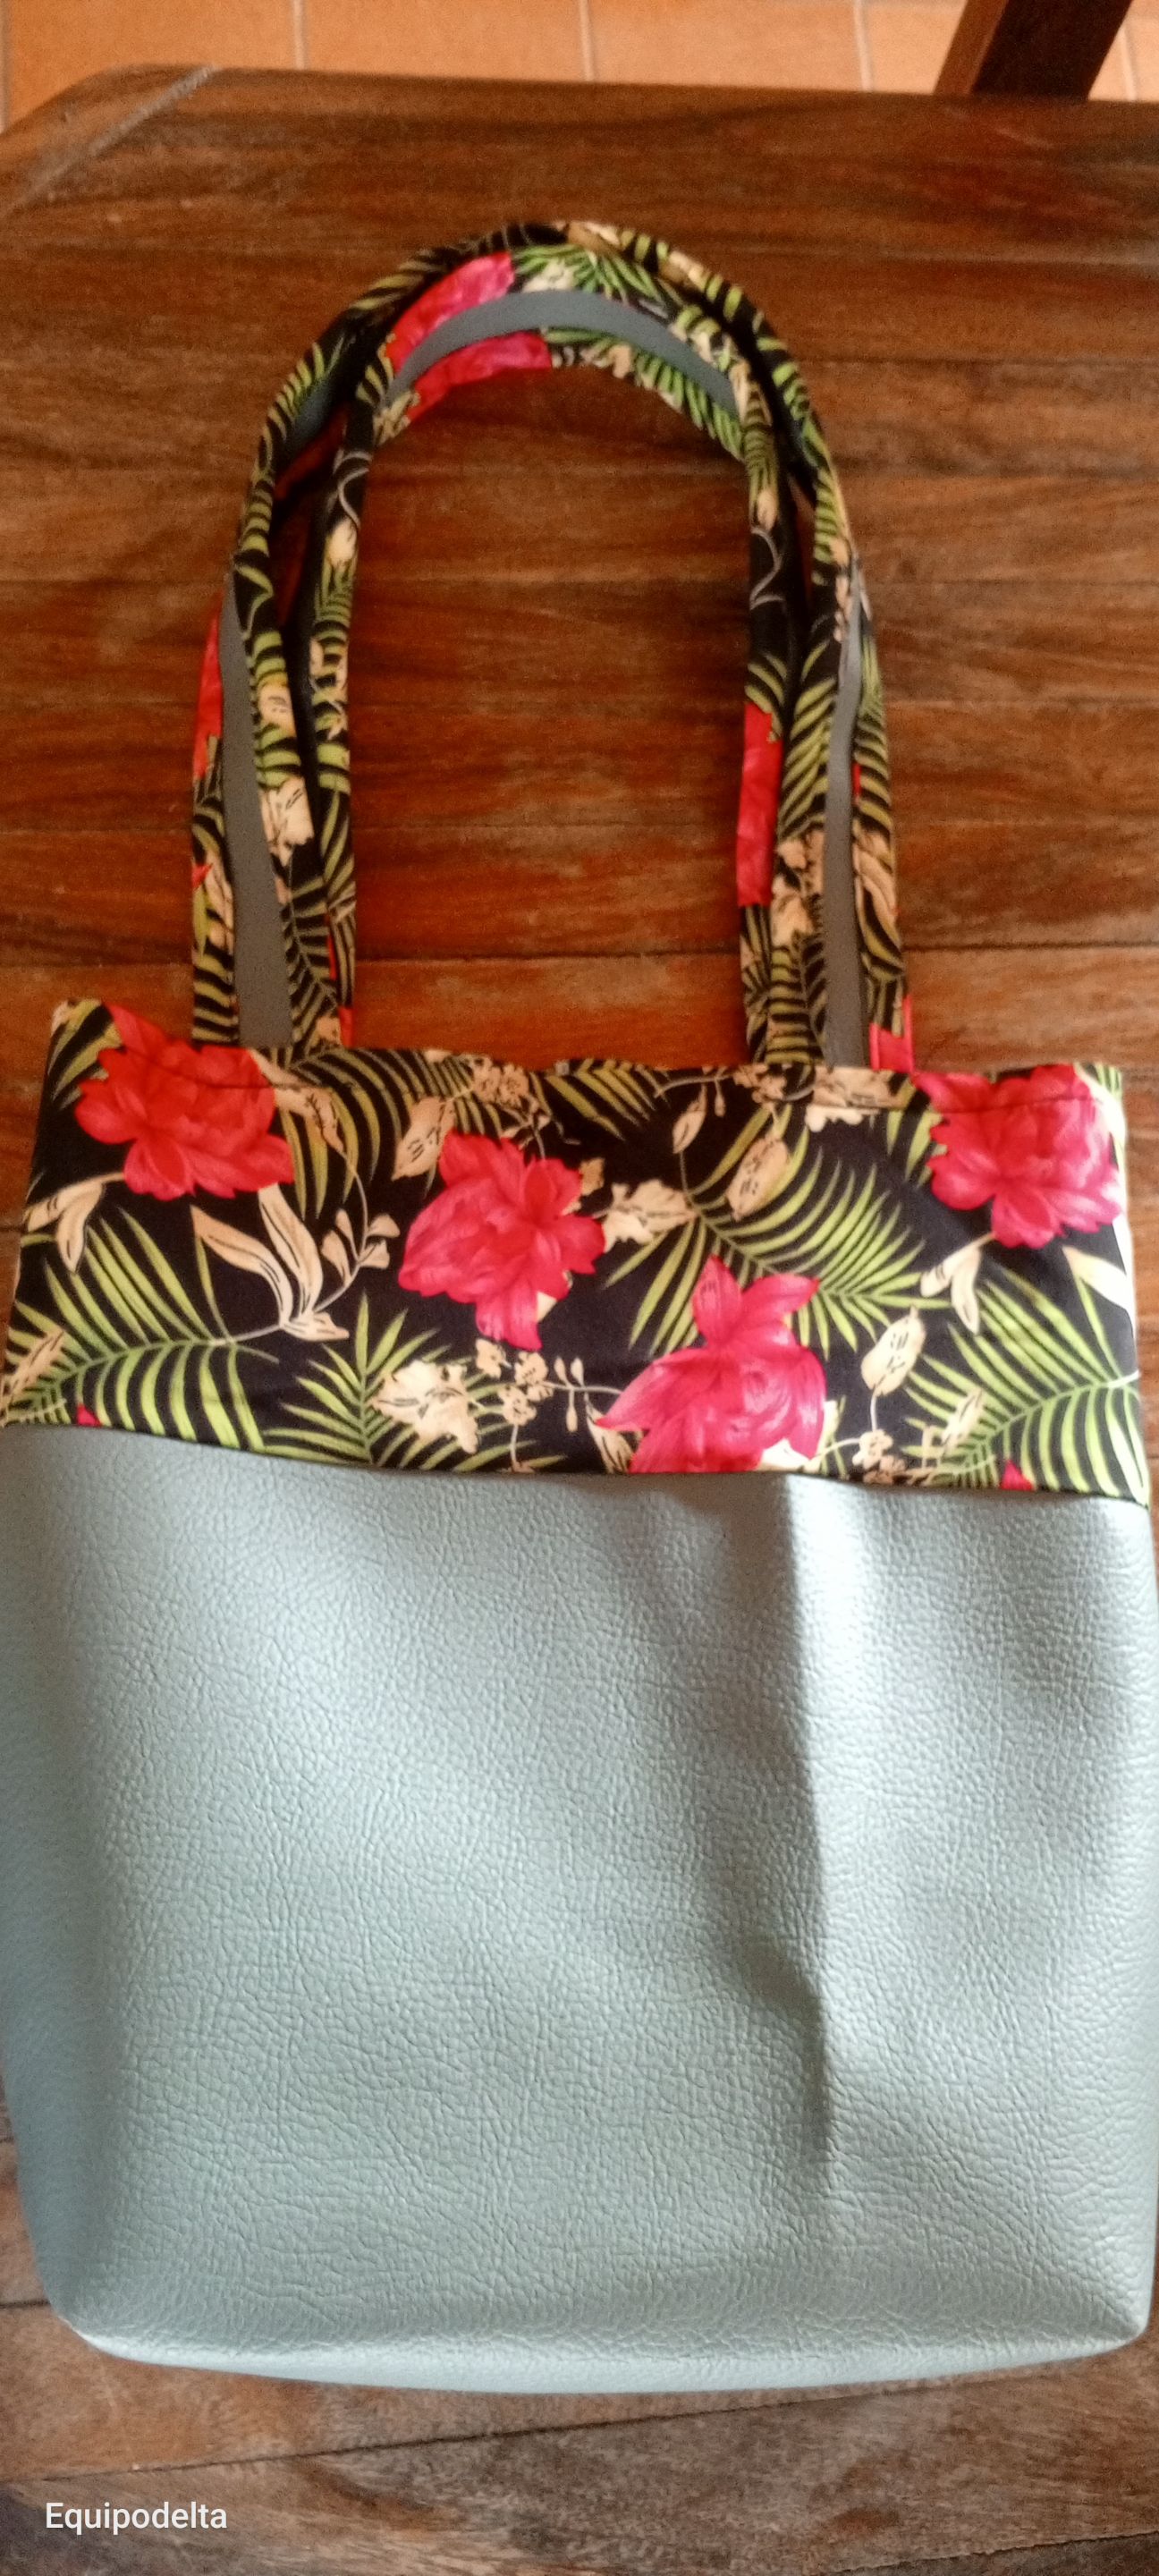
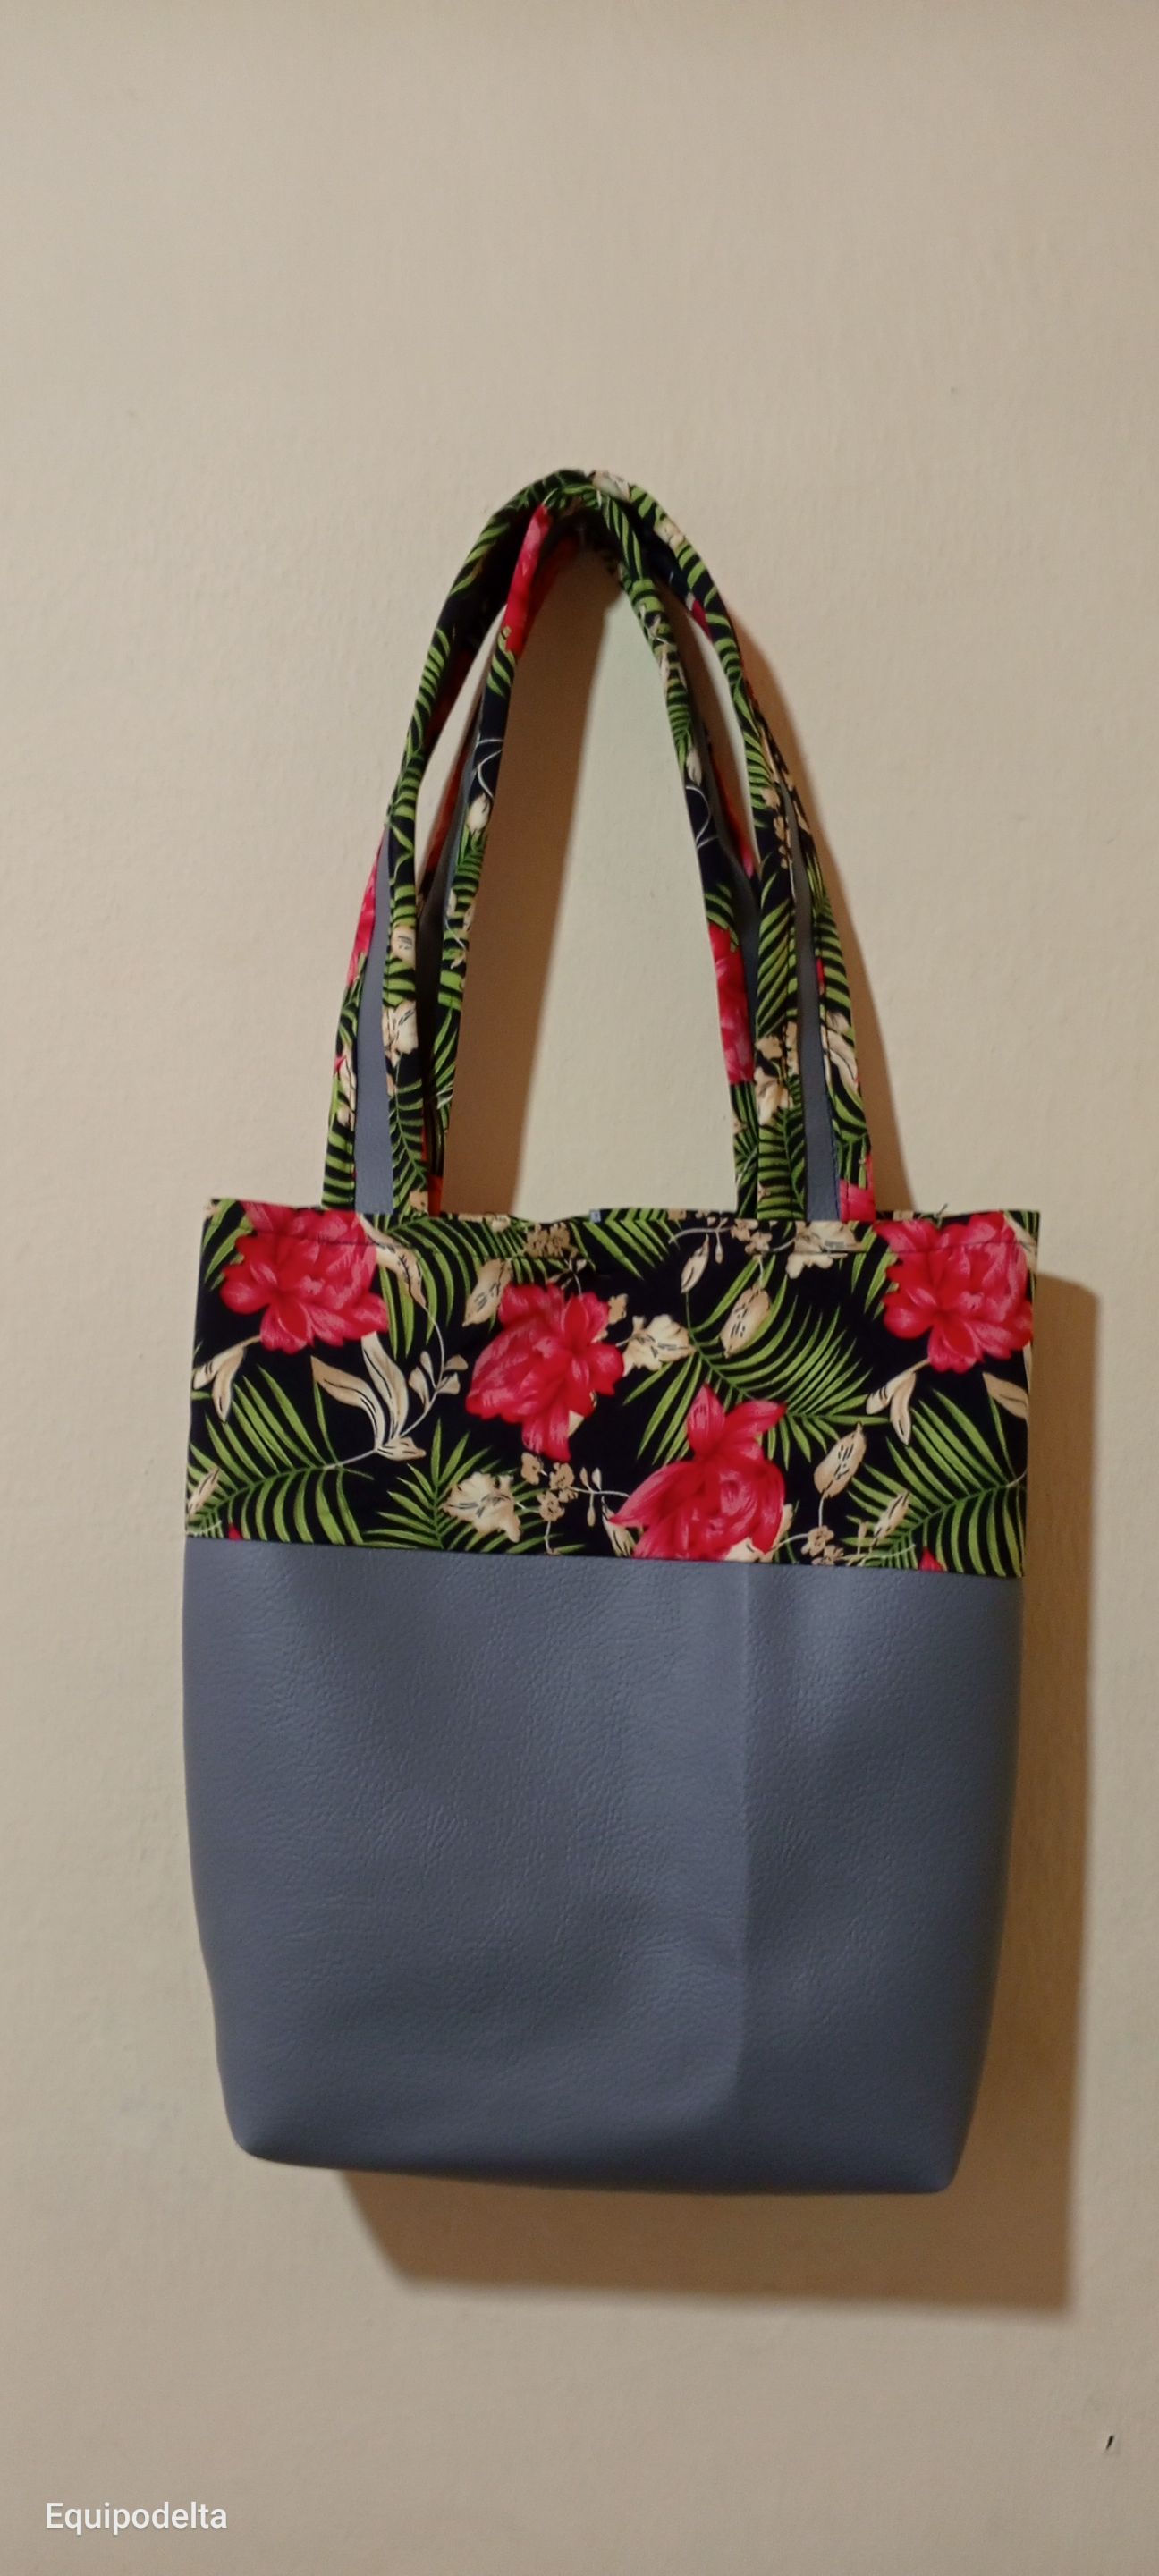
De mis muebles que tapicé me quedó un pedazo de semi cuero que ya había pensado inmediatamente en hacerme un bolso, solo esperaba el tiempo y la creatividad. De la blusa que hice algún tiempo que es de flores, también me quedó un pedacito de tela que también visualicé en algún bolsito. Me pareció estupenda la combinación de los colores del semi cuero y la tela floreada, así que procedí hacer un bolso para compras, ya que a veces voy al supermercado y las bolsas que nos dan lastima mucho mis manos, a veces no puedo con el peso, entonces termino metiendo algunas cosas en mi cartera y no es lo ideal puesto que podría dañarla por el peso. Entonces este pequeño bolsito puede ser de mucho ayuda para mí, les presento la idea y el sencillo paso a paso a realizar.
Espero les guste.
! [English version]
Hello dear community!
How important it is to recycle! Or in this case to save what we have left in fabrics and materials.
From my furniture that I upholstered I had a piece of semi leather that I had already thought immediately to make a bag, I was just waiting for the time and creativity. From the blouse I made some time ago with flowers, I also had a little piece of fabric left that I also visualized in some little bag. I thought the combination of the colors of the semi leather and the flowered fabric was great, so I proceeded to make a shopping bag, because sometimes I go to the supermarket and the bags that give us a lot of pain in my hands, sometimes I can not with the weight, then I end up putting some things in my purse and it is not ideal since it could damage it by the weight. So this little bag can be very helpful for me, I present the idea and the simple step by step to do.
I hope you like it.

Materiales / Materials


Paso a paso / Step by Step


Step 1️⃣/ Paso 1️⃣


[Esp]
Tomé las medidas de ambas telas de acuerdo a mi tamaño, 60 centímetros de ancho por 35 de alto para el semi cuero, más 4 tiras de 50 centímetros de largo por 2.5 centímetros de ancho.
Para la tela estampada las medidas son 4 tiras de 2.5 centímetros de ancho por 50 centímetros de largo y una tira de 16 centímetros de ancho por 50 centímetros de largo.
Une dos piezas de las largas, colócalas viendo hacia afuera y cose con zig zag, estas serán las asas, repite esto con la otra pieza.
! [English version]
I took the measurements of both fabrics according to my size, 60 centimeters wide by 35 centimeters high for the semi leather, plus 4 strips of 50 centimeters long by 2.5 centimeters wide.
For the printed fabric the measurements are 4 strips of 2.5 centimeters wide by 50 centimeters long and one strip of 16 centimeters wide by 50 centimeters long.
Join two long pieces together, place them facing outwards and sew with a zig zag stitch, these will be the handles, repeat this with the other piece.

Step 2️⃣/ paso 2️⃣


[Esp]
Vamos a coser un bies de cada lado con la tela floreada.
Coloca la tela floreada con el derecho hacia adentro y cose una recta en el semi cuero.
Voltea la tela al contrario para hacer el bies y cose una recta. Repite este procedimiento con la otra asa.
! [English version]
We are going to sew a bias binding on each side with the flowered fabric.
Place the flowered fabric right side in and sew a straight stitch on the half leather.
Turn the fabric inside out to make the bias binding and sew a straight line. Repeat this procedure with the other handle.

Step 3️⃣/ paso 3️⃣


[Esp]
El bies va de cada lado de la asa y lo repites en ambas asas.
Toma la medida de donde quieres que la tela estampada se vea por la parte de afuera, yo medí 11 centímetros y allí coloqué la tela floreada con el derecho hacia el semi cuero y cosí una recta a lo largo de la pieza. Luego volteé para ver el resultado.
! [English version]
The bias binding goes on each side of the handle and you repeat it on both handles.
Take the measurement of where you want the printed fabric to show on the outside, I measured 11 centimeters and there I placed the floral fabric with the right side facing the semi leather and sewed a straight line along the length of the piece. Then I flipped it over to see the result.

Step 4️⃣/ paso 4️⃣


[Esp]
Dobla la tela estampada hacia adentro y cose una recta por la parte de afuera (el derecho de la tela)
Cierra el bolso por los laterales con una costura recta.
Dobla el bolso por la mitad, luego cierra la parte de abajo del bolso con una recta. procurando que la costura del cierre del bolso quede en el centro. Cuando pases por la costura abre por la mitad y cose como indica la imagen.
Toma las esquinas de la parte de abajo del bolso y abre para formar un triángulo, puedes ayudarte con una pinza o agujas.
! [English version]
Fold the printed fabric inside and sew a straight seam on the outside (right side of the fabric).
Close the bag on the sides with a straight seam.
Fold the bag in half, then close the bottom of the bag with a straight seam, making sure that the seam of the bag's closure is in the center. When you pass through the seam, open in the middle and sew as shown in the picture.
Take the corners of the bottom of the bag and open to form a triangle, you can help yourself with tweezers or needles.


[Esp]
Ahora cose una recta formando un triángulo como indica la primera imagen. Este procedimiento lo repites en el otro lado.
Con esto hicimos de una manera muy sencilla la base del bolso. Recorta el excedente.
Toma la medida donde van las asas y usa unas agujas para saber dónde vas a coser, este procedimiento lo repites con la otra asa.
Cose las asas por la costura que hiciste previamente para que no se note. Cose las 4 asas y con ello terminamos este sencillo pero bello y muy útil bolso para compras.
Espero sea de su agrado.
! [English version]
Now sew a straight line forming a triangle as shown in the first picture. Repeat this procedure on the other side.
With this we made in a very simple way the base of the bag. Trim the excess.
Take the measurement where the handles go and use some needles to know where you are going to sew, repeat this procedure with the other handle.
Sew the handles along the seam you made previously so it won't show. Sew the 4 handles and with that we finish this simple but beautiful and very useful shopping bag.
I hope you like it.


Créditos / Credits


💜💜💜

1 👉 1 👉 1 👉 1 👉 1
Here / Bríndame un café
Posted Using INLEO
473
20
24.65
20 Replies