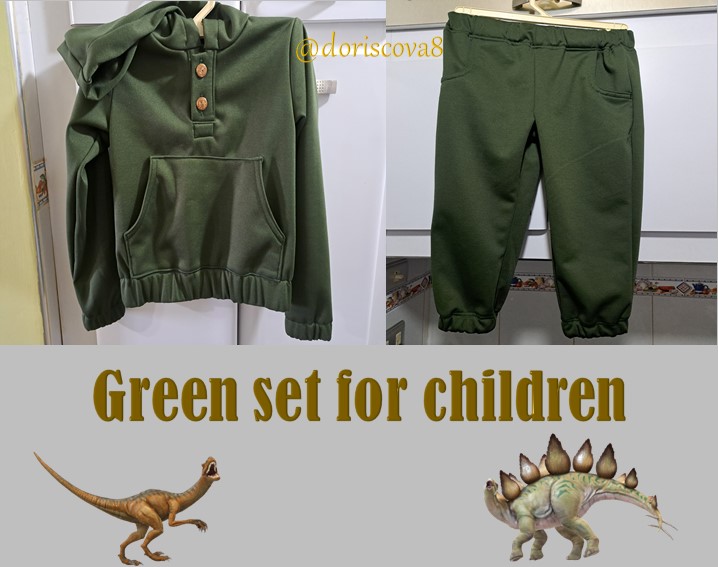
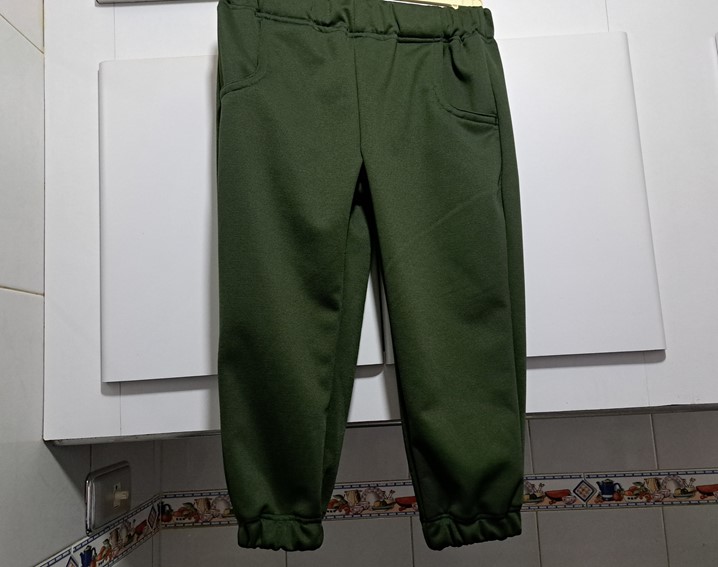
Greetings dear friends on this Monday of threads, fabrics and sewing, here I am again to share with you a beautiful project that I made for my grandson, which let me tell you that he liked it very much, because without knowing it I made it in his favorite color, because when he got the expression of my child was that this was his favorite color, which flattered me even more.
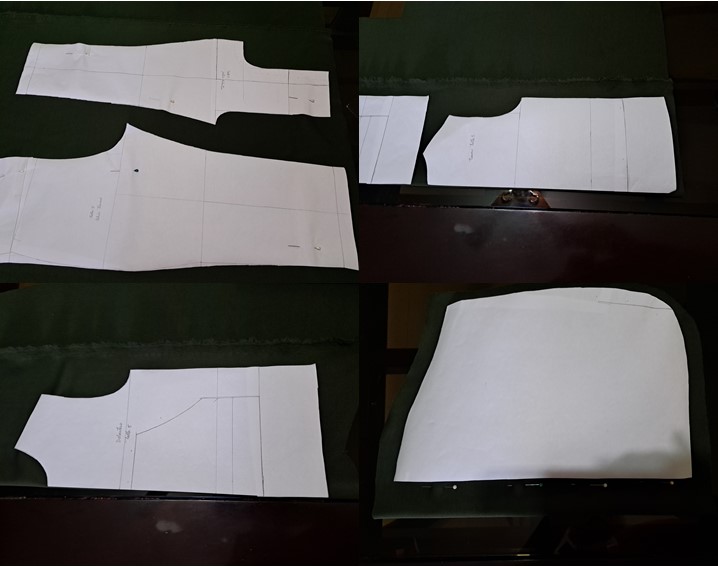
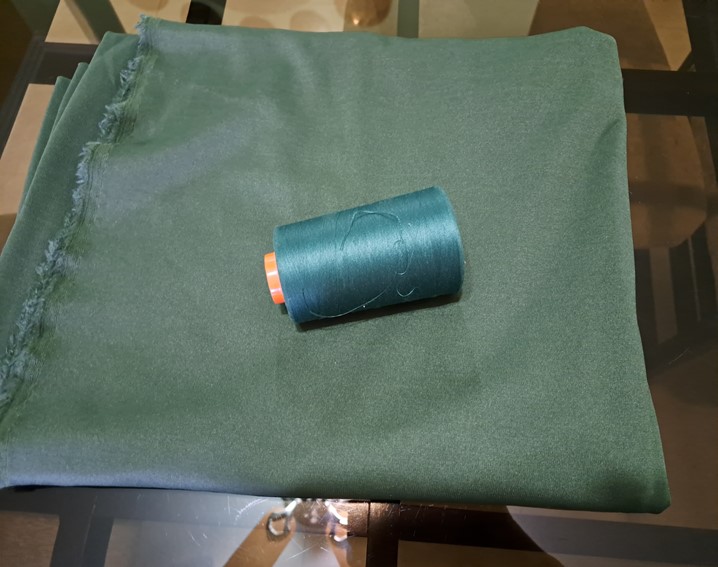
To make this conjuntico, the first thing I did were the patterns to calculate how much fabric I would need for its execution, since looking on pinterest some model for child I liked the one I made so taking out the molds I determined that I needed 1.50 meters of fabric 1.40 cm wide, so I set out to go to the store to buy it, I was actually looking for a checkered fabric, as the model, but I did not get, so I decided to go for that bottle green.
Materials
1.50 m of fabric 1.40 cm wide
Elastic
2 buttons
Scissors
Molds
Thread
Tape measure
Pins
Sewing machine
Procedure
With the molds already made, I cut all the pieces of the outfit for the boy, then I started sewing, starting with the pants.
To sew the pants, I started by placing the pockets and polishing the edges of both front pieces.
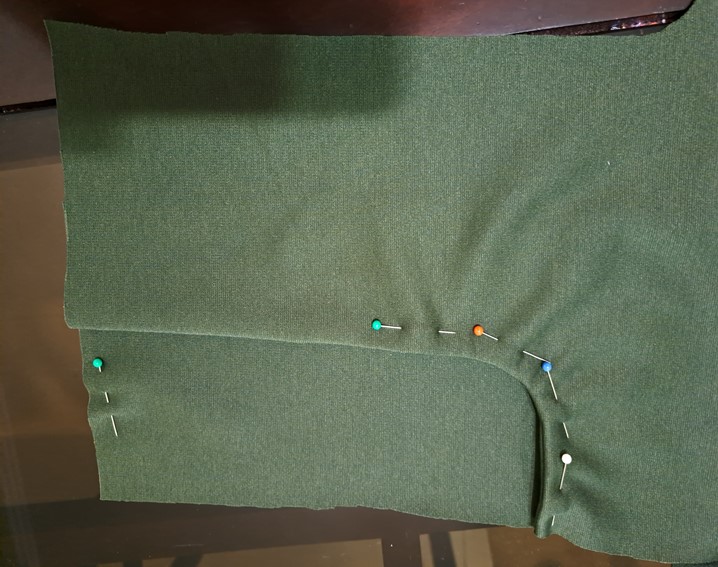
Next, I joined the front and back pieces together along the center seam, and then sewed the sides, joining the front and back pieces together, and then sewed the crotch seams.

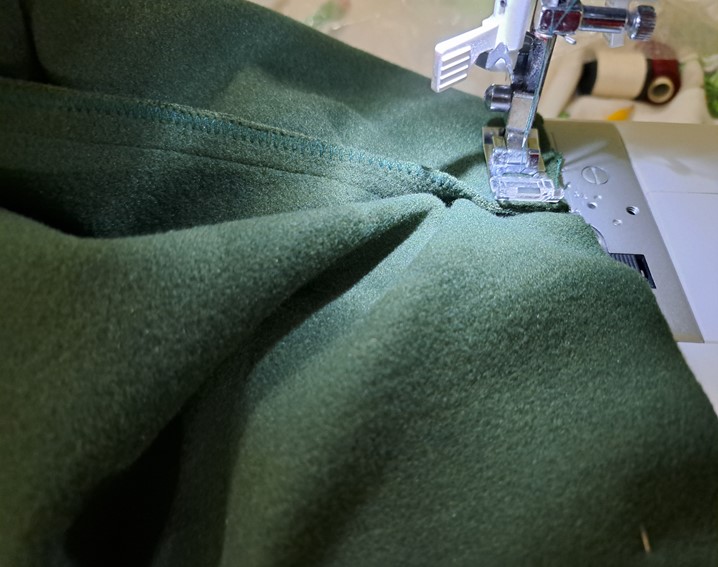
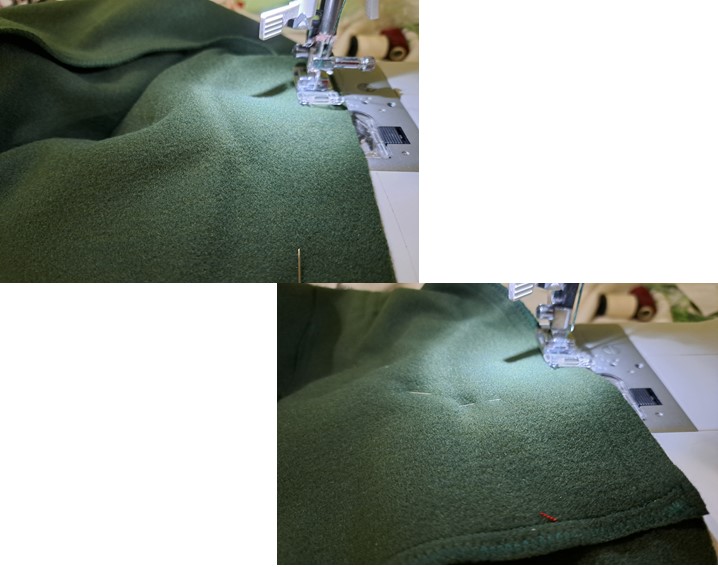
Then I proceeded to place the elastic in the waistband, for this I first made a drawstring according to the thickness of the elastic, and then introduced the elastic to close the drawstring completely.
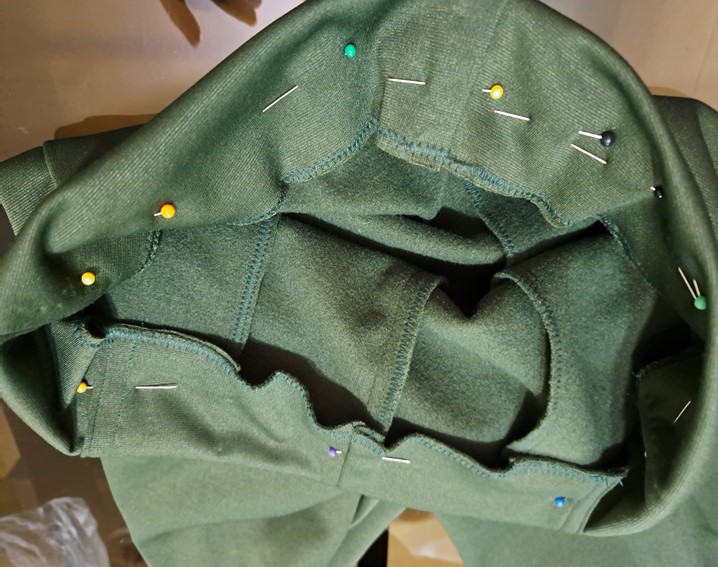
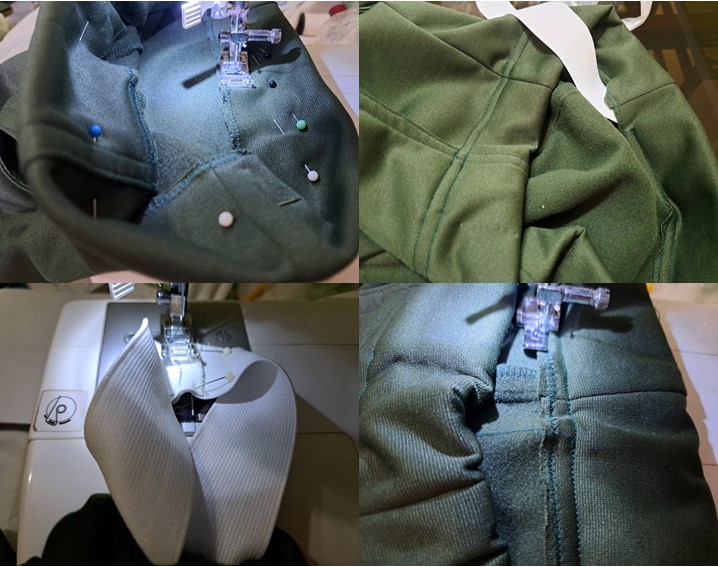
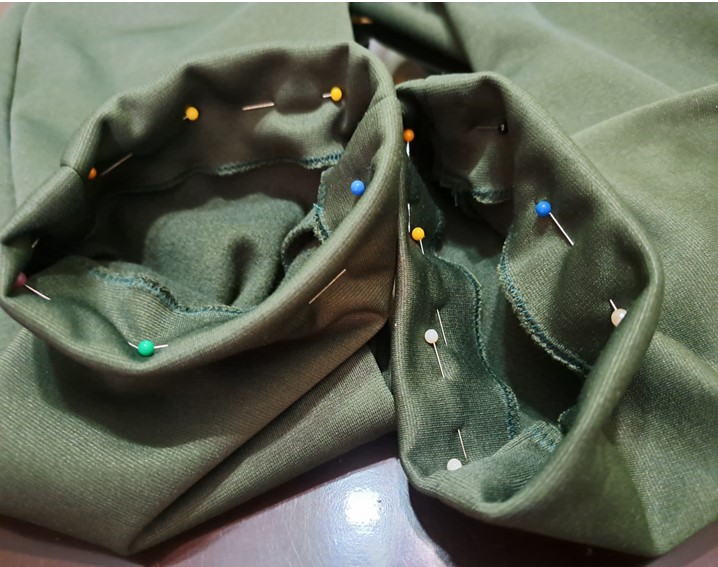
As this model also has elastic at the bottom of the hems, I also first made the drawstring and then inserted the elastic, and in this way I finished the pants.
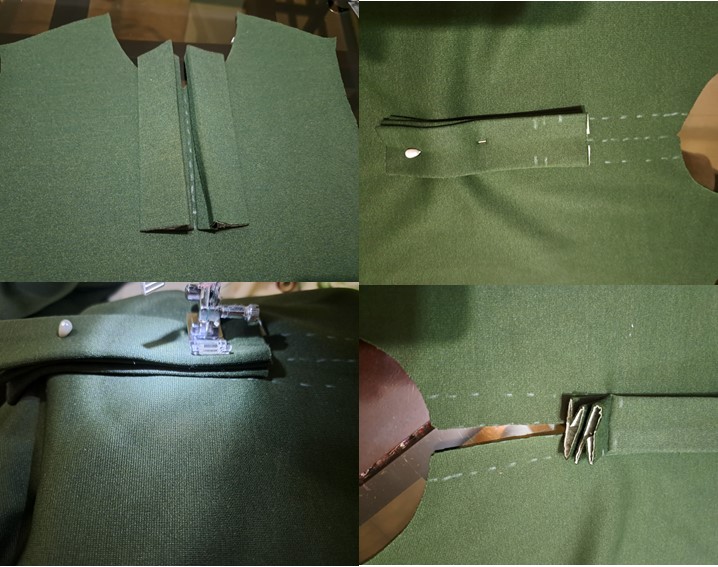
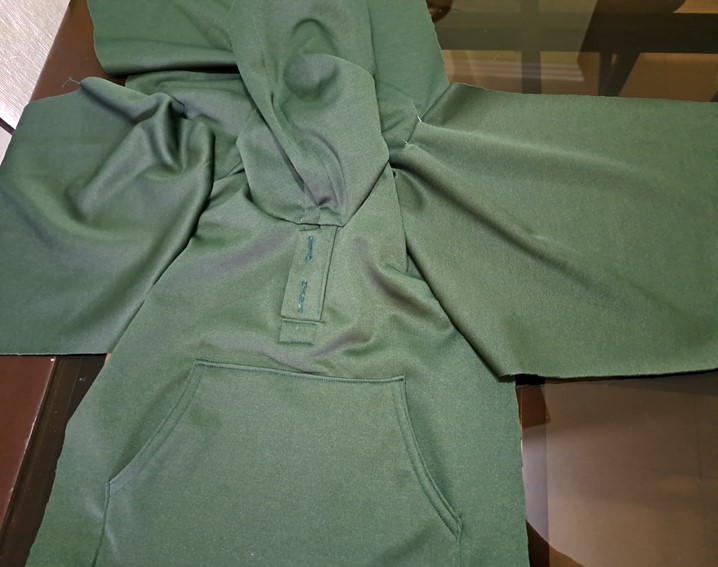
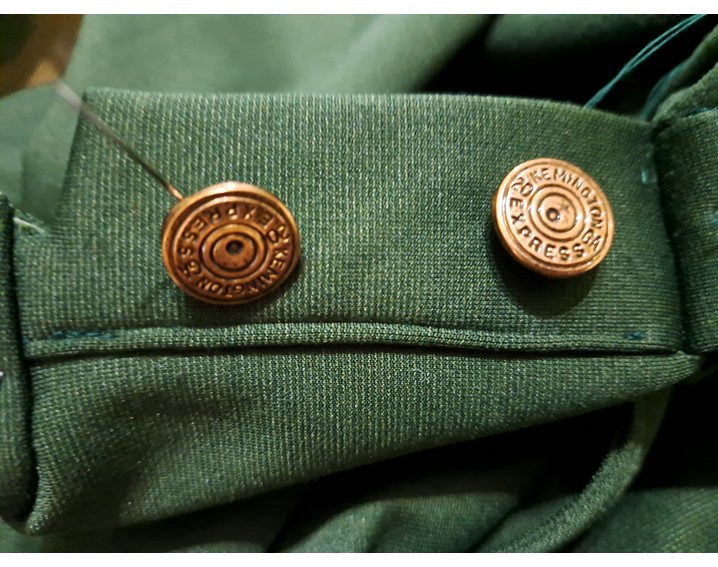
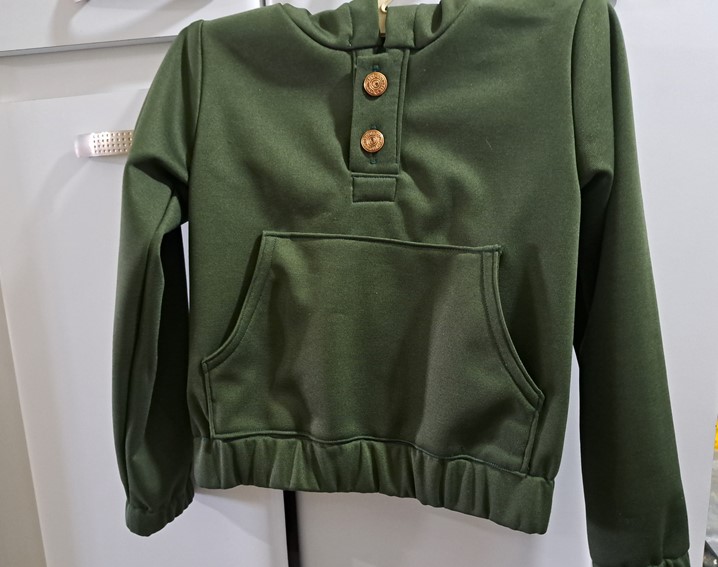
To make the hooded jacket, I first make the Chemi collar with 2 buttons and polish the edges on the front of the jacket, and then I put the pocket, which I have already polished the edges.

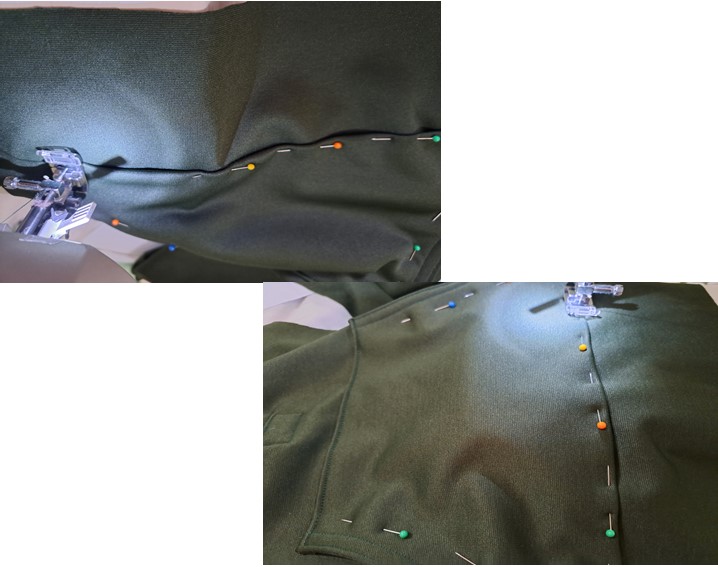
Next, I join the front part with the back part by the shoulder seam, to then place the hood, which I first joined its two parts in the center, polishing the edges and making hems on the front part.
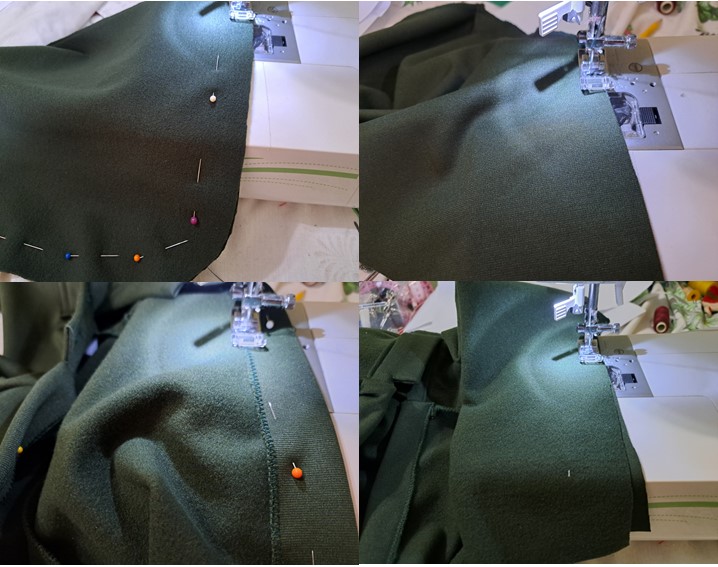
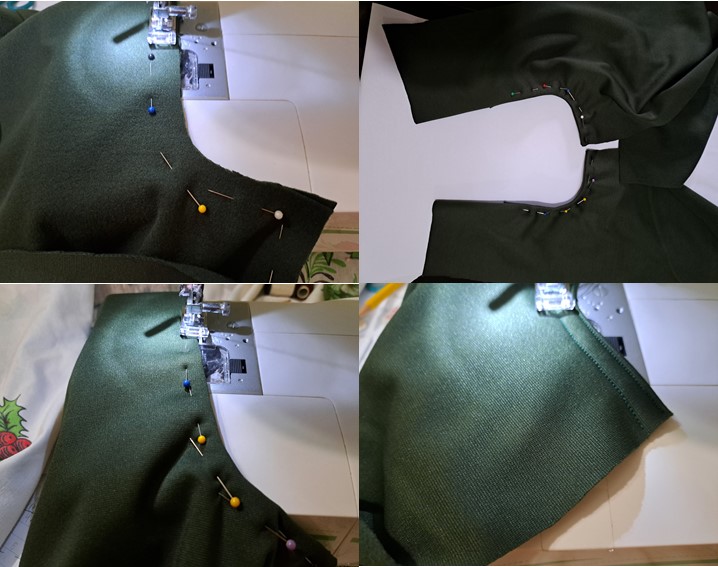
Then I started to place the sleeves, first, I pinned them to make sure they were perfect, then I sewed both sleeves to the body.
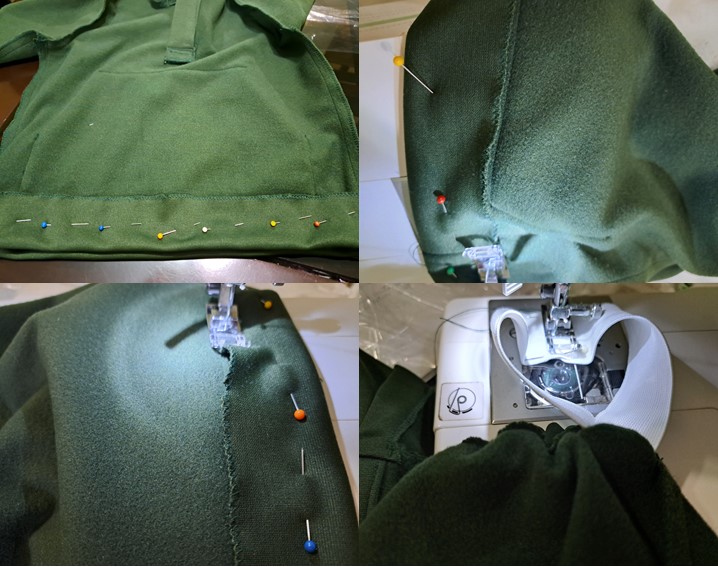
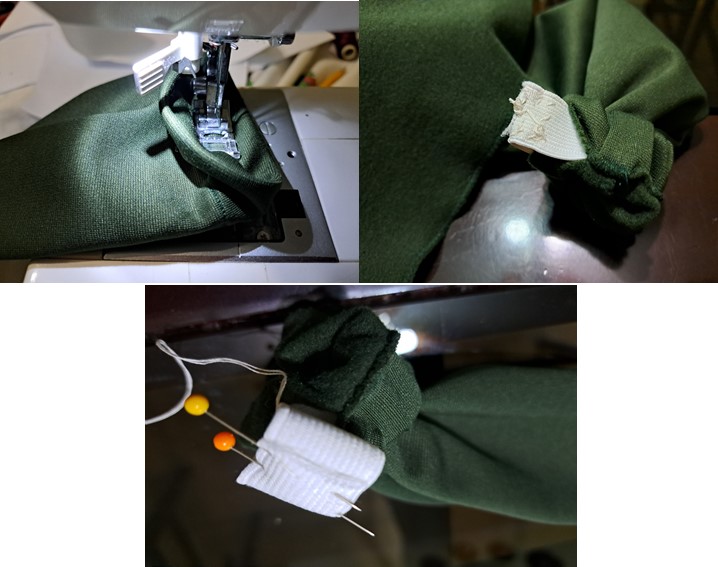
As this model has sleeves at the waist, I made the drawstring and then placed the elastic and finished polishing the edges.
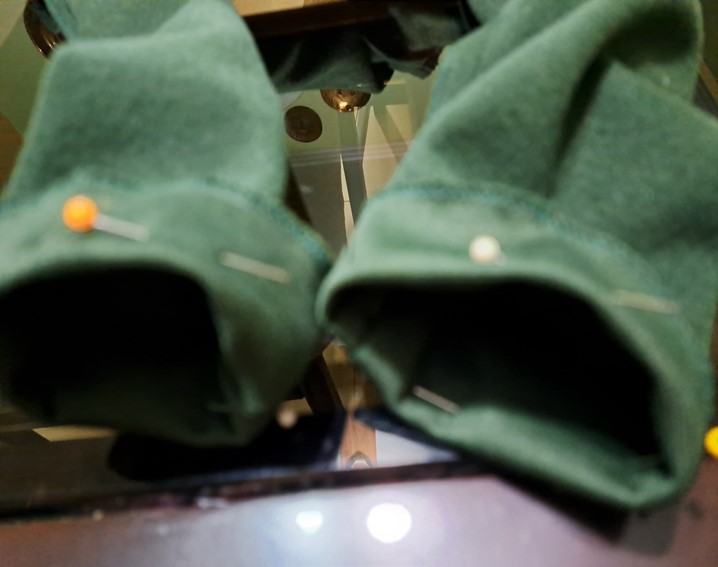
I also did the same procedure to place the elastic on the sleeves, and to finish I made the two buttonholes to place the two buttons that go on the front of the jacket.
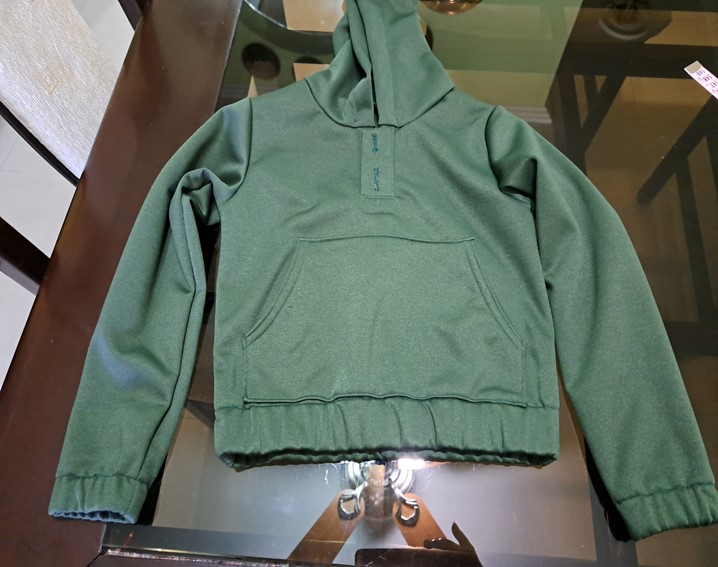
The truth is that I loved making this outfit for my grandson, I hope you liked this project that I made with much affection, and I am very pleased to share it with this beautiful community.

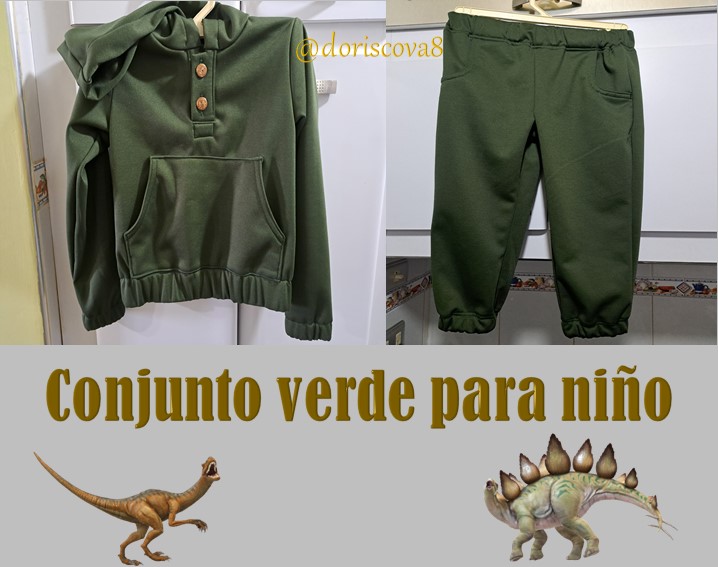
Saludos estimados amigos y amigas en este lunes de hilos, tejidos y costuras, por acá estoy nuevamente para compartirles un hermoso proyecto que le hice a mi nietecito, lo cual déjenme decirles que le gustó muchísimo, porque además yo sin saberlo se lo hice en su color favorito, ya que cuando le llego la expresión de mi niño fue que ese era su color favorito, cuestión que me halago más aún.
Para realizar este conjuntico, lo primero que realice fueron los patrones para calcular cuánto de tela necesitaría para su ejecución, ya que buscando en pinterest algún modelo para niño me gusto ese que realice por lo cual sacando los moldes determine que necesitaba 1,50 metros de tela de 1,40 cm de ancho, por lo cual me dispuse a ir a la tienda a comprarla, que en realidad estaba buscando una tela de cuadros, como el modelo, pero no conseguí, por lo cual me decidí por esa de color verde botella.
Materiales
1,50 m de tela de 1,40 cm de ancho
Elástico
2 botones
Tijeras
Moldes
Hilo
Cinta métrica
Alfileres
Máquina de coser


Procedimiento
Con los moldes ya realizados corté todas las piezas del conjunto para el niño, luego empecé a coser, empezando por el pantalón.
Para la costura del pantalón, inicie colocando los bolsillos y puliendo los cantos de ambas piezas delanteras.


Seguidamente, uní las piezas delanteras y traseras entre sí por la costura central, para luego coser los costados uniendo las piezas delanteras con las traseras, para luego realizar las costuras de las entrepiernas.


Luego procedí a la colocación del elástico en la cintura, para ello primero realicé una jareta de acuerdo al grosor del elástico, para luego introducir el elástico para luego cerrar la jareta completamente.


Como este modelo lleva también goma en la parte inferior de los ruedos, también realice primeramente la jareta y luego introduje el elástico, y de esta manera culmine el pantalón.


Para la realización de la chaqueta con capucha, primeramente, realizo el cuello tipo de Chemi que llevaría 2 botones y puliendo los cantos en la parte delantera de la chaqueta, para luego colocarle el bolsillo, que ya le he pulido los cantos.


Seguidamente, uno la parte delantera con la trasera por la costura de hombros, para luego colocar la capucha, que primeramente uní sus dos partes por el centro, puliendo cantos y realizando dobladillos en la parte delantera.

Después me dispuse a colocar las mangas, primeramente, las agarre con alfileres para constatar que quedaba perfecta, luego pase costura uniendo ambas mangas al cuerpo.

Como este modelo lleva elástico en la cintura realicé la jareta para luego colocar el elástico y terminar de pulir los cantos.

Igualmente, realice el procedimiento para colocar los elásticos en las mangas, y para culminar realice los dos ojales para colocar los dos botones que van en la parte delantera de la chaqueta.


La verdad que me encanto la realización de este conjunto para mi nietecito, espero les haya gustado este proyecto que realice con mucho cariño, además me complace mucho compartirlo con esta hermosa comunidad.


Translated with
www.DeepL.com/Translator (free version)
Fuente de imágenes: Archivo Personal.
