Hola querida comunidad, espero se encuentren muy bien.
Hoy les quiero compartir está linda manualidad que realice con unos stickers que me encontré y como tenían mucho tiempo guardado, y habían perdido el pegamento adherible.
Y como eran muy lindas las figuritas en esos tiernos colores, no quise botarlo...recordé que había visto un vídeo en la web que encapsulando en silicona caliente, está los haría más fuerte y los haría más duradero.
Así que me busque mi pistola 🔫 y manos a la obra...y sí funcionó, por lo que a todos los stickers les di un baño doble con silicona caliente ☺️ y me salieron estas lindas manualidades.
Hello dear community, I hope you're all doing well.
Today I want to share this lovely craft I made with some stickers I found. They'd been sitting around for a while and had lost their adhesive.
And since the little figures were so cute in those tender colors, I didn't want to throw them away... I remembered I'd seen a video online that encapsulating them in hot glue would make them stronger and more durable.
So I got my glue gun 🔫 and got to work... and it did work. So, I double-dipped all the stickers in hot glue ☺️ and ended up with these lovely crafts.
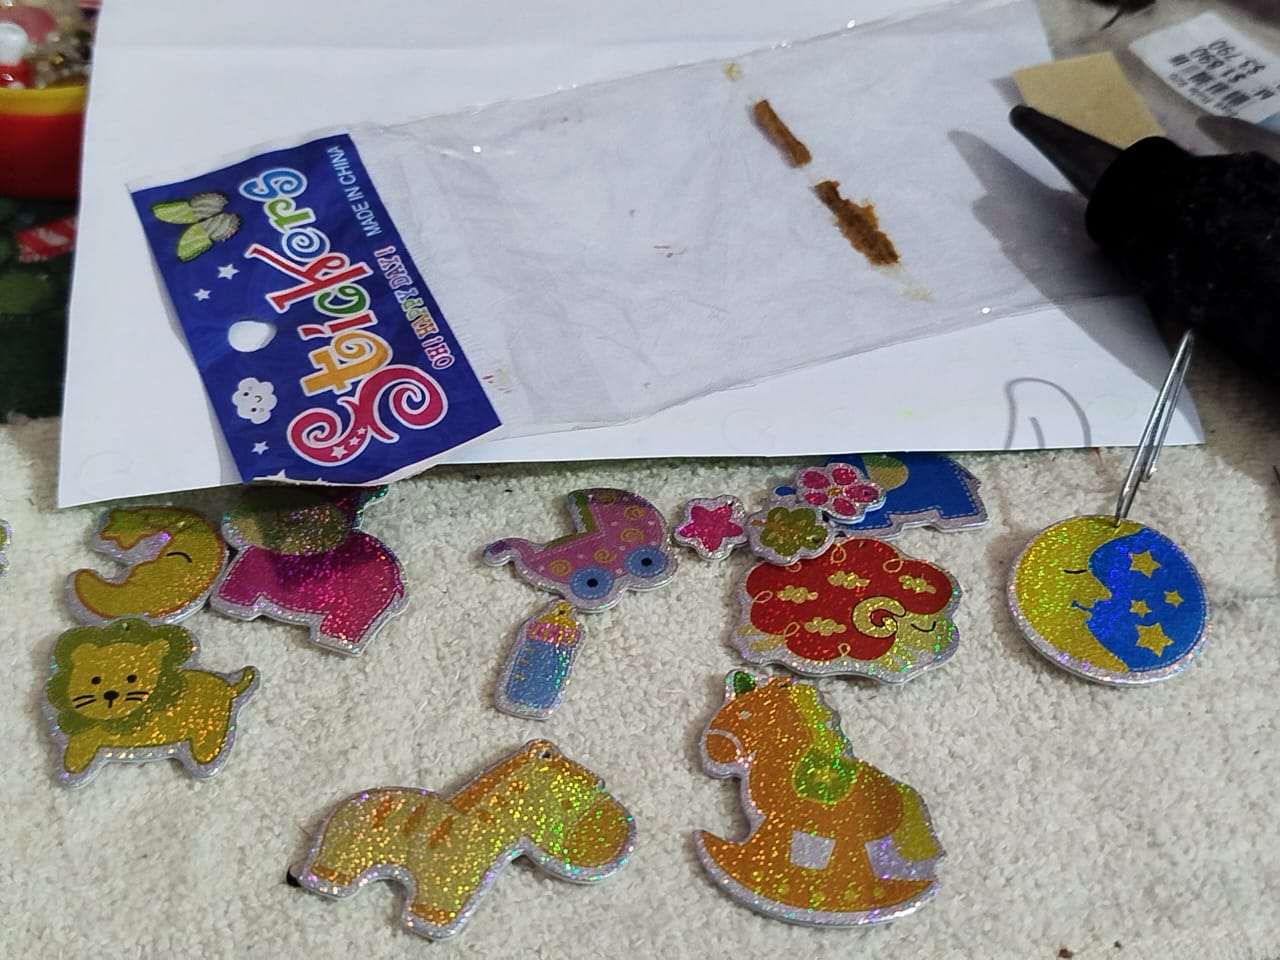
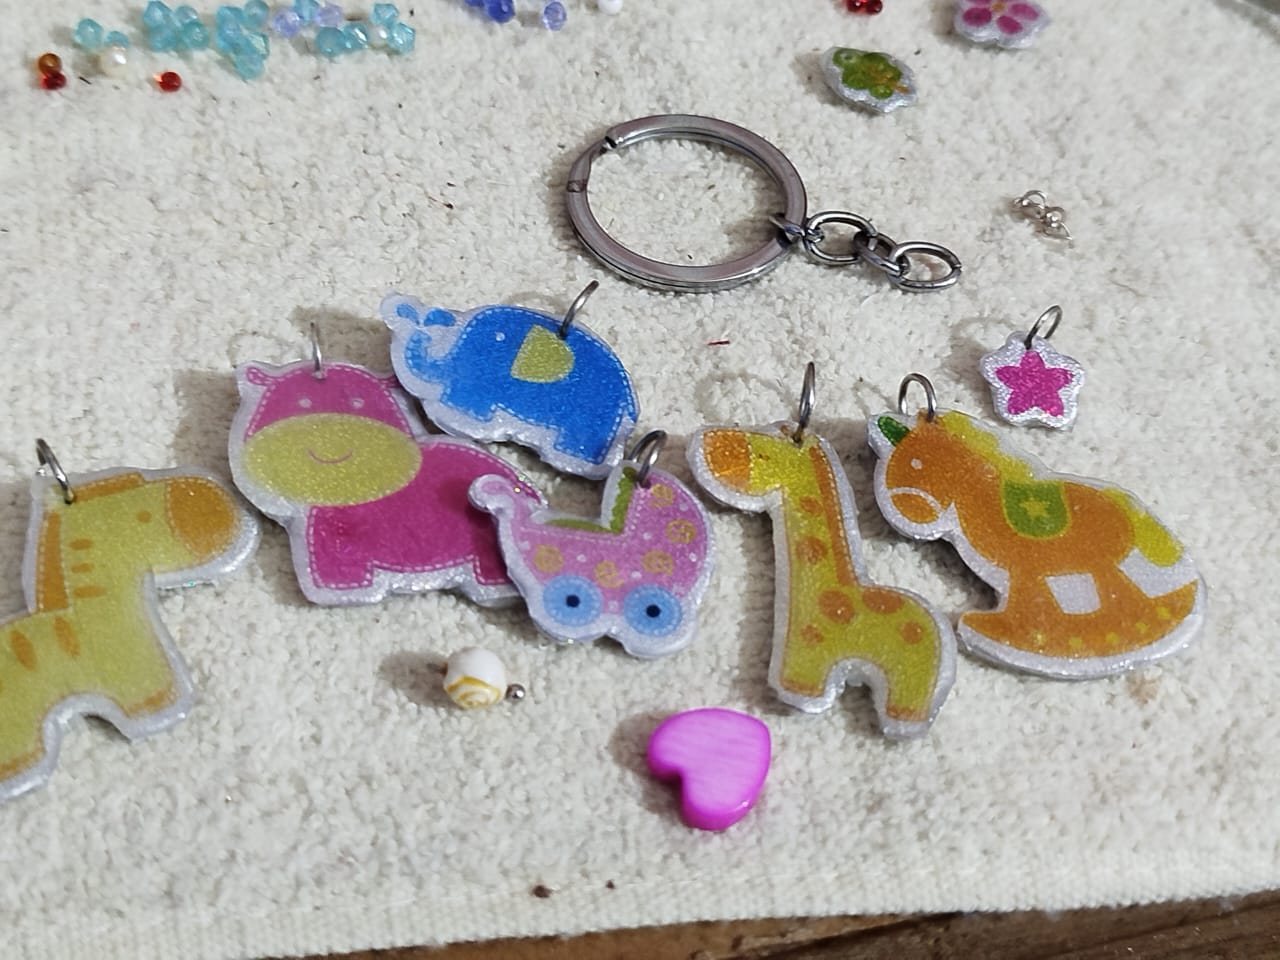
Les comento todo los materiales que emplee para su elaboración:
- Stickers de varias figuras y en colores.
- Silicona caliente.
- Brillo de uñas para barnizarlo.
- Un pedazo de papel encerado.
- Una aguja gruesa.
- Argollas.
- Aro para colgar.
- Hilo cola de ratón para la pulsera y cuentas de colores
- Collar de cuerina.
- Pinza y tijeras.
I'll tell you all the materials I used to make it:
- Stickers in various shapes and colors.
- Hot glue.
- Nail polish for polishing.
- A piece of waxed paper.
- A thick needle.
- Jump rings.
- Ring for hanging.
- Rattail thread for the bracelet and colored beads.
- Leatherette necklace.
- Pliers and scissors.
✨ Procedimiento ✨
✨ Procedure ✨
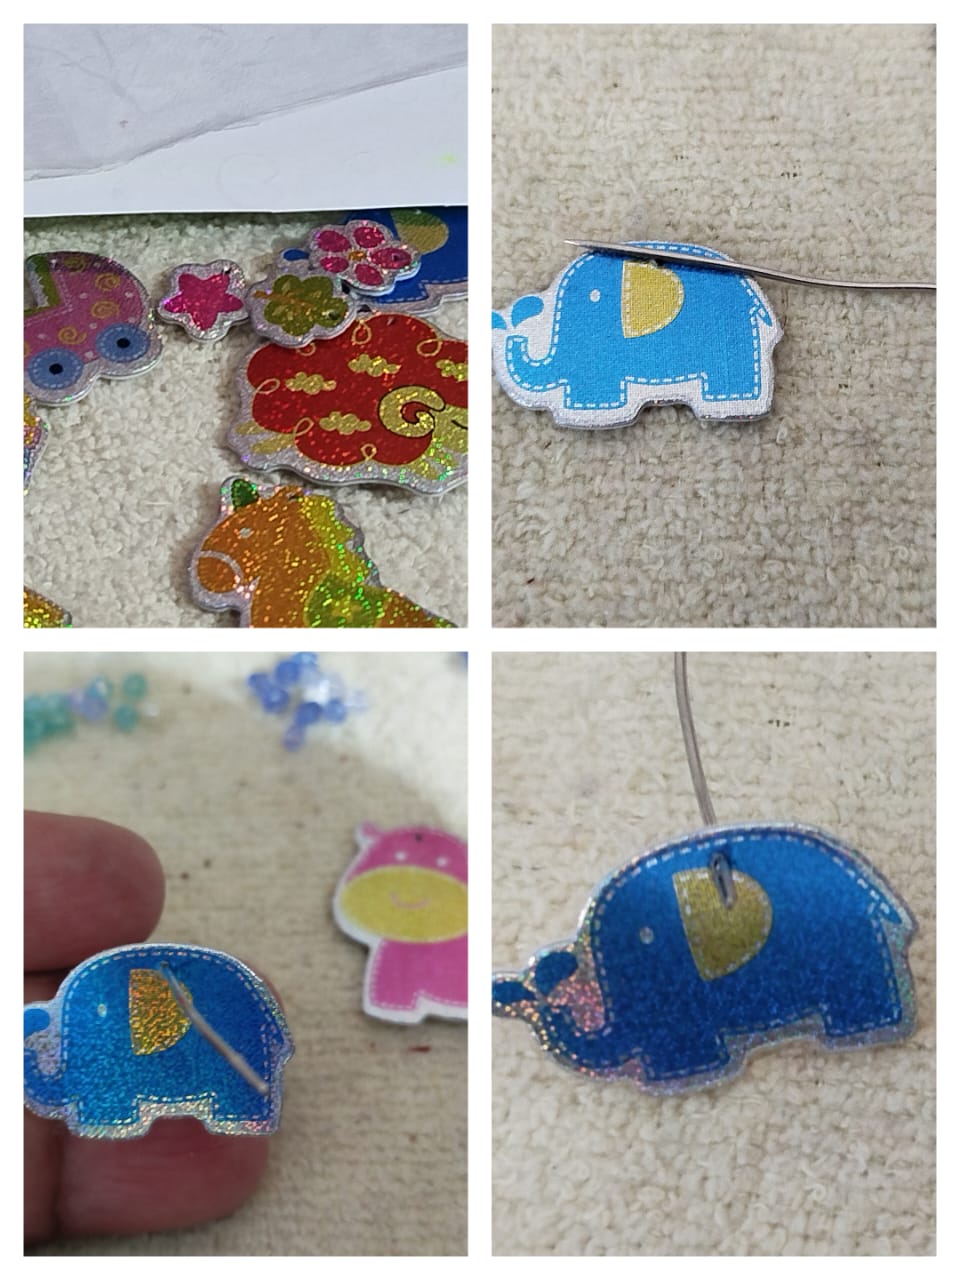
Paso # 01.
Teniendo todas las figuras en la mesa, lo primero que hice fué abrirles un orificio con la aguja, y así marcar para pasarla luego después de pasarla por el silicón.
Step 1.
With all the figures on the table, the first thing I did was make a hole in them with the needle, marking it so I could pass it through after passing it through the silicone.


Paso # 02.
El papel encerado lo doblo a la mitad, lo abro y le coloco silicón en la parte posterior del stick y lo pongo en el papel..luego lo cubro con la otra parte del papel y lo presionó con algo de peso para que el silicón se riegue de forma uniforme por la figura.
Lo voy haciendo con todas, hasta tener sellada con el silicón la parte posterior.
Step 2.
I fold the wax paper in half, open it, and apply silicone to the back of the stick. Place it on the paper. Then I cover it with the other part of the paper and press it down with something heavy so the silicone spreads evenly over the shape.
I do this with all of them until the back is sealed with silicone.
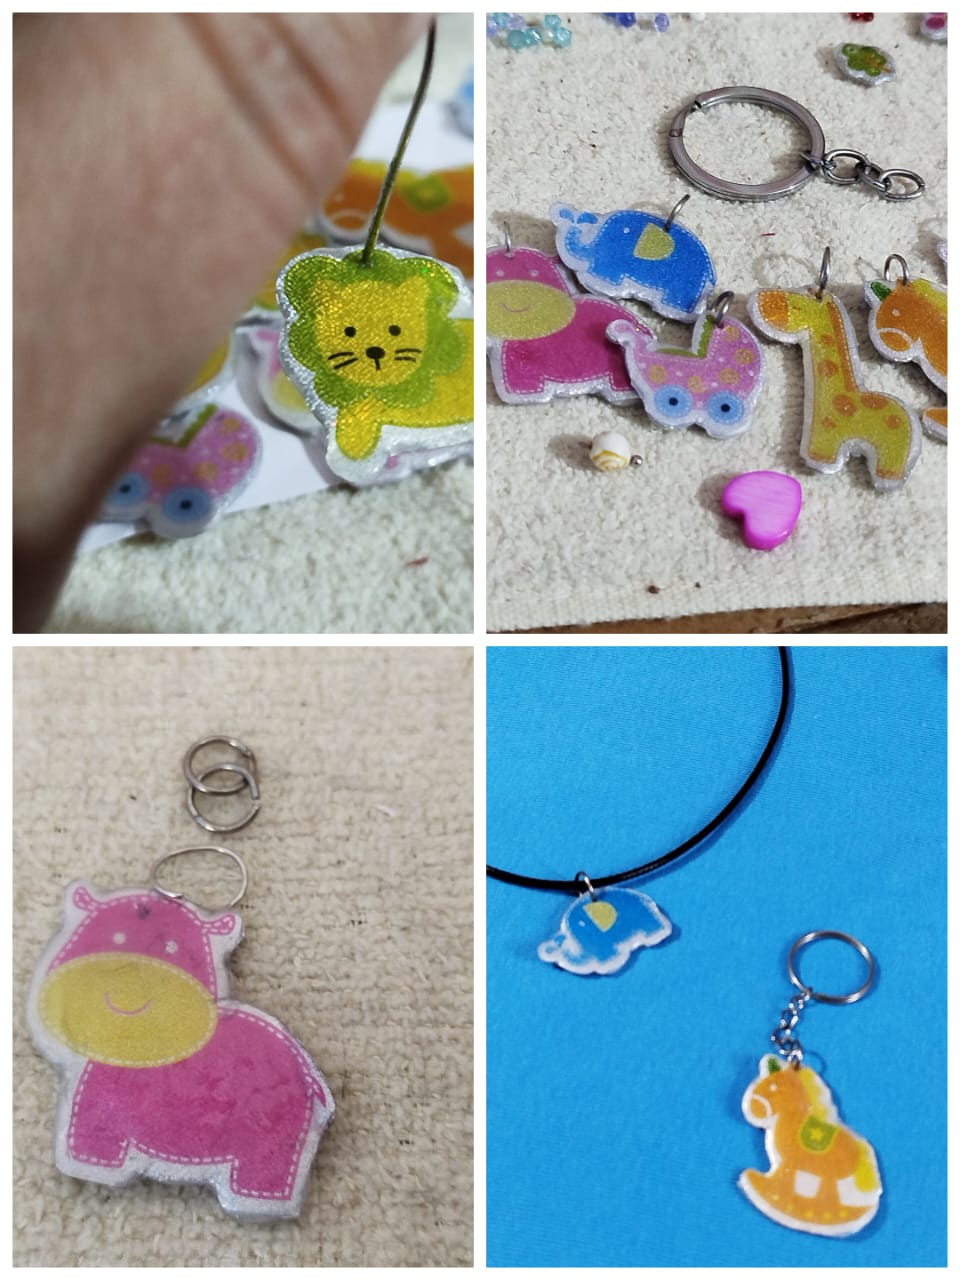
Paso # 03.
Luego le coloco silicón en la parte frontal, lo cubro con el papel y presión un poco.
Lo dejo que seque y después abro el orificio y coloco las argollas.
Step 3.
Then I apply silicone to the front, cover it with the paper, and press down a little.
I let it dry, then open the hole and insert the rings.
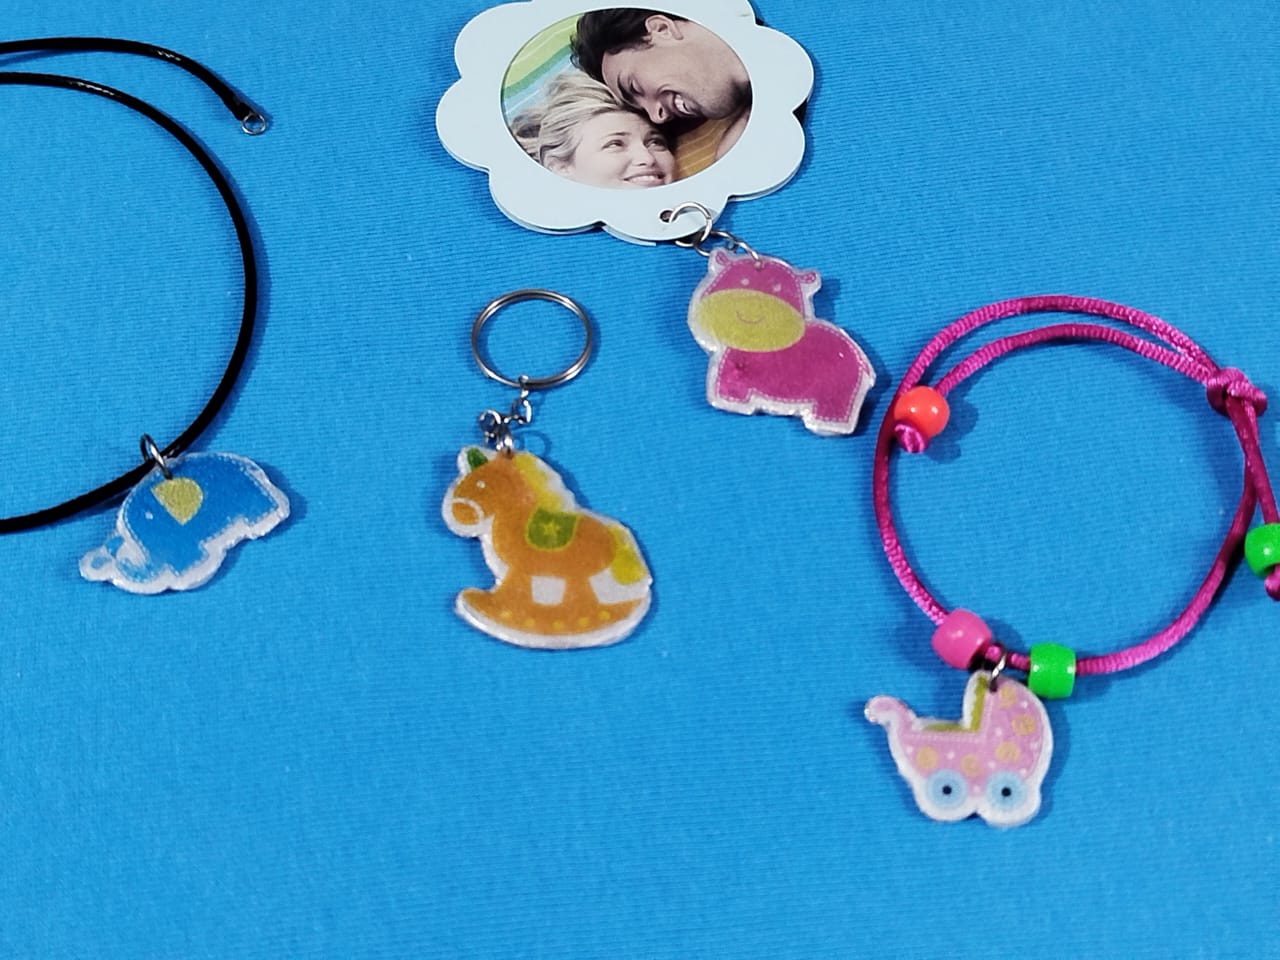
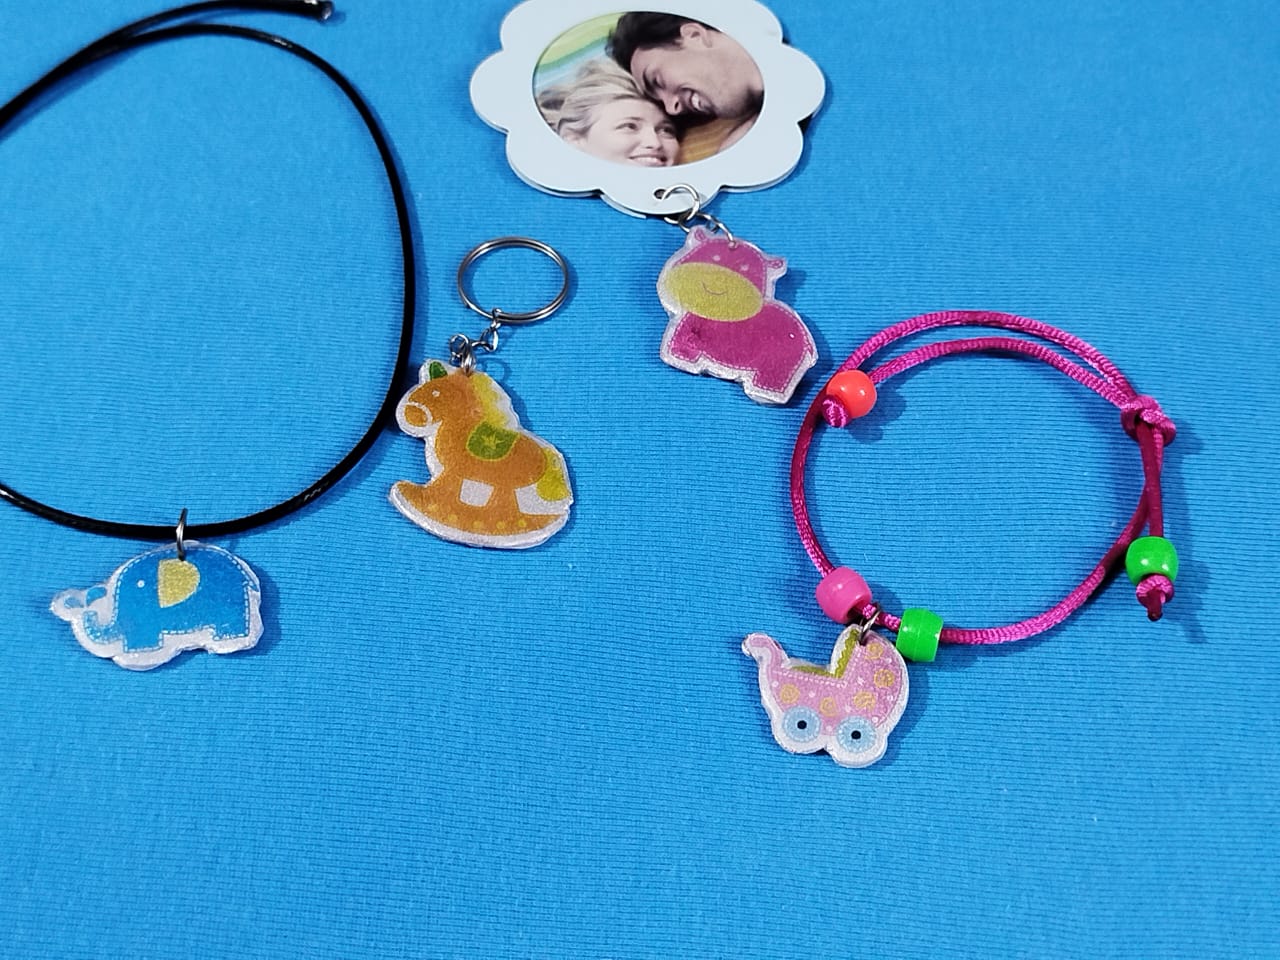
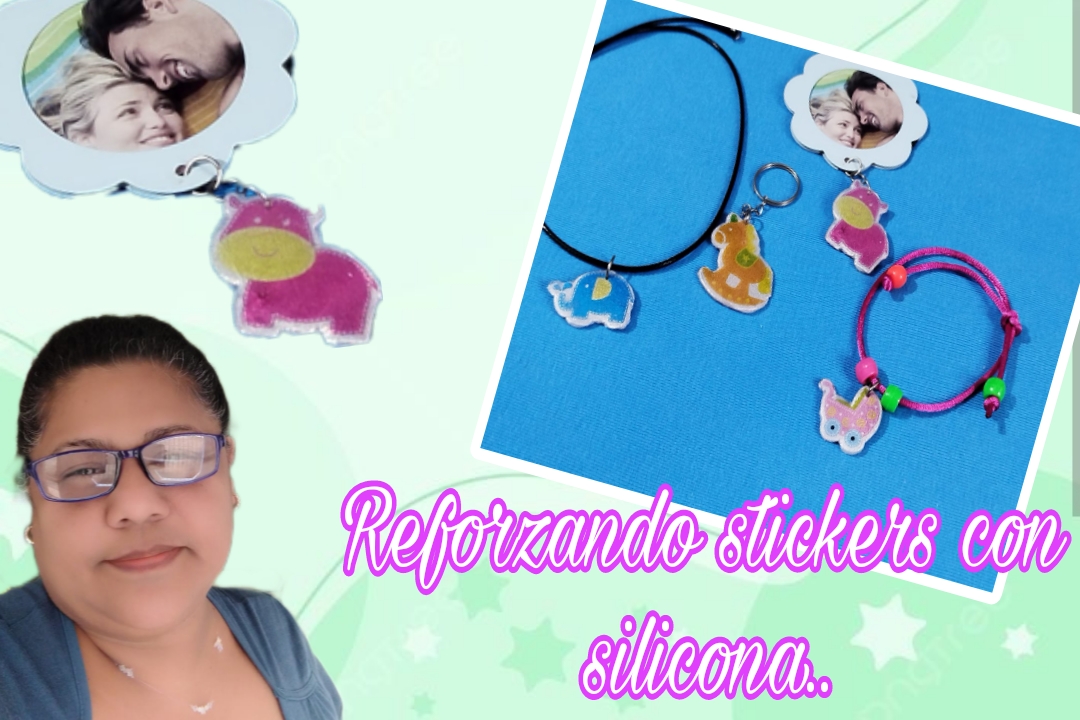
Y así quedaron estos libros dijes para usarlos y llevarlos como quieras. Espero les guste, nos vemos pronto!
And so these book charms turned out, ready to be worn and used however you like. I hope you like them. See you soon!