[Eng/Spa] WOOLITZ, HOLOZING. BEAUTIFUL CREATION

2025-03-22T00:37:18
Happy Friday, I'm @Brindyschi. It's a pleasure for me to share my creations with you. This is the first time I've shown you my art, and this time I was inspired by WOOLITZ, creating a beautiful, kawaii-style sheep. I ended up using a guitar because this artist loves music, and it inspires and mentally relaxes you in preparation for battle.
I hope you like it and enjoy it, just as I enjoy every creation.
Here's the step-by-step guide.
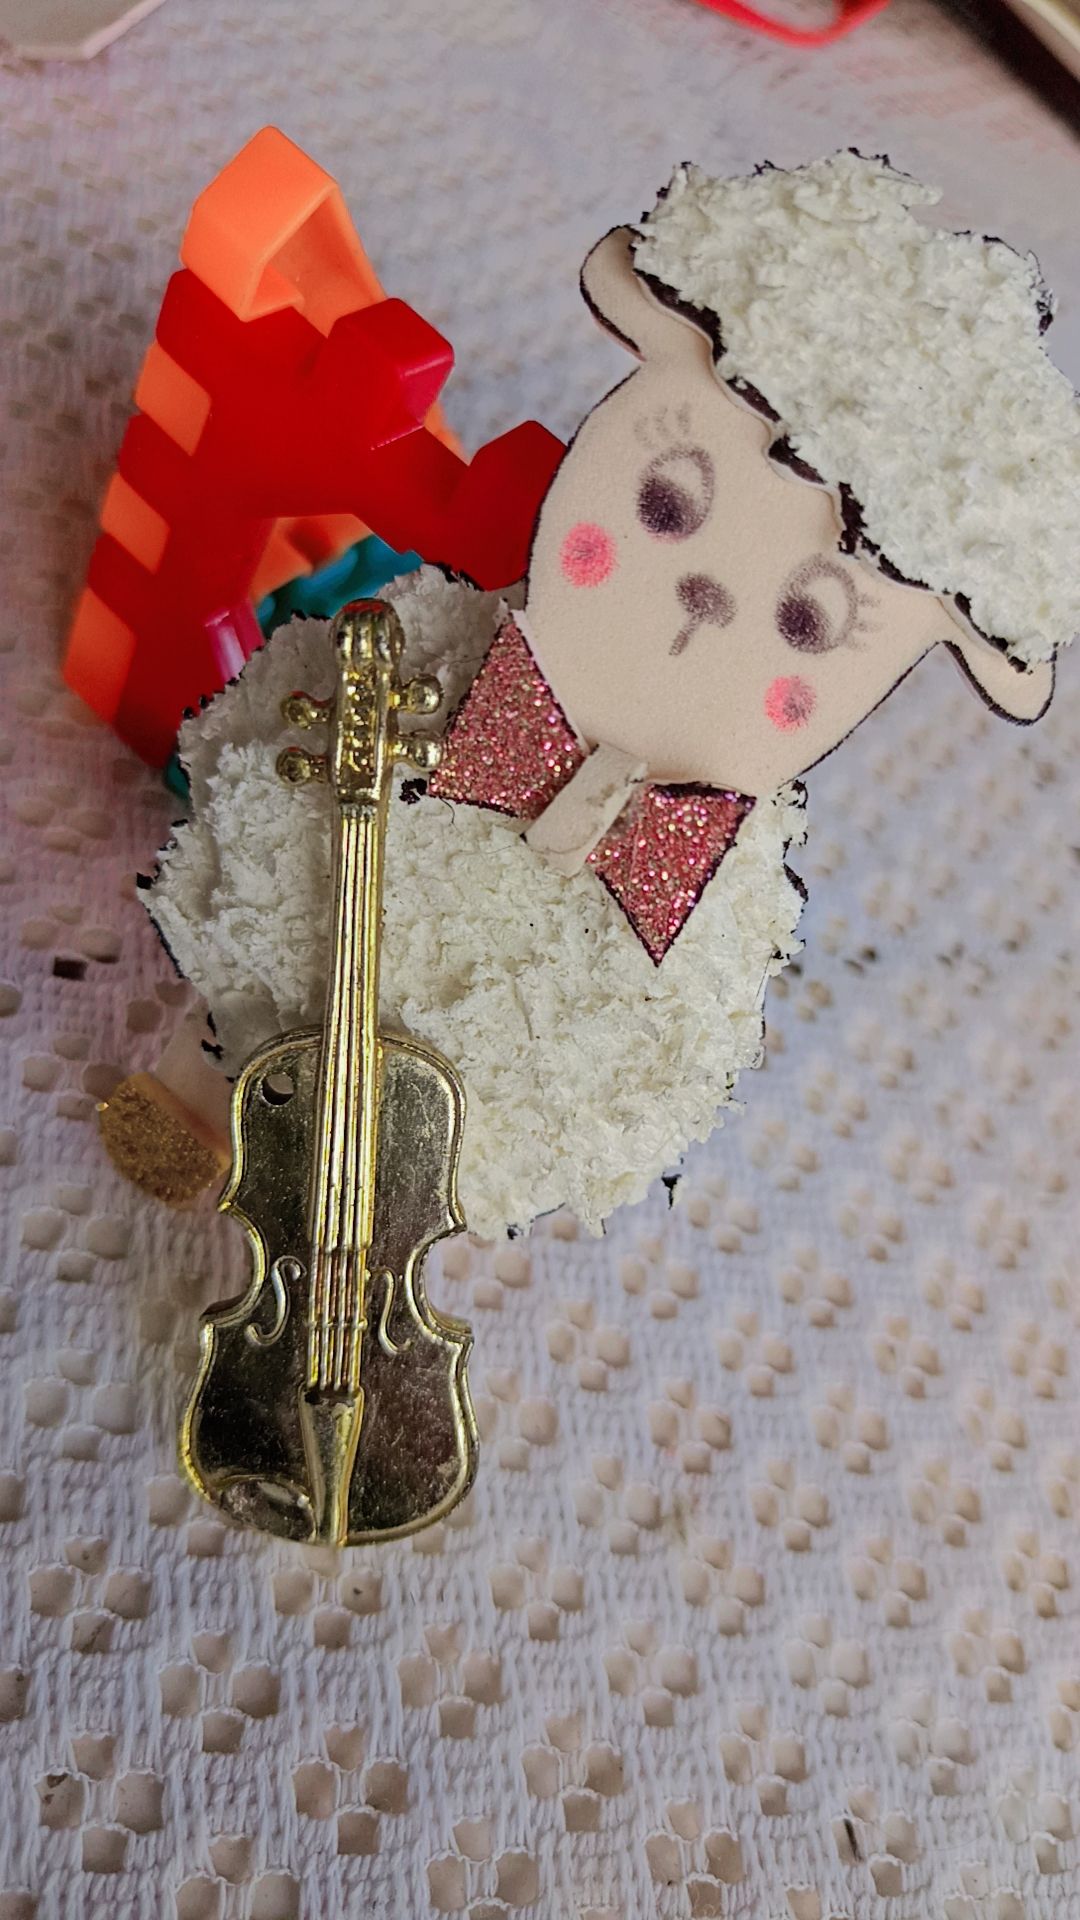
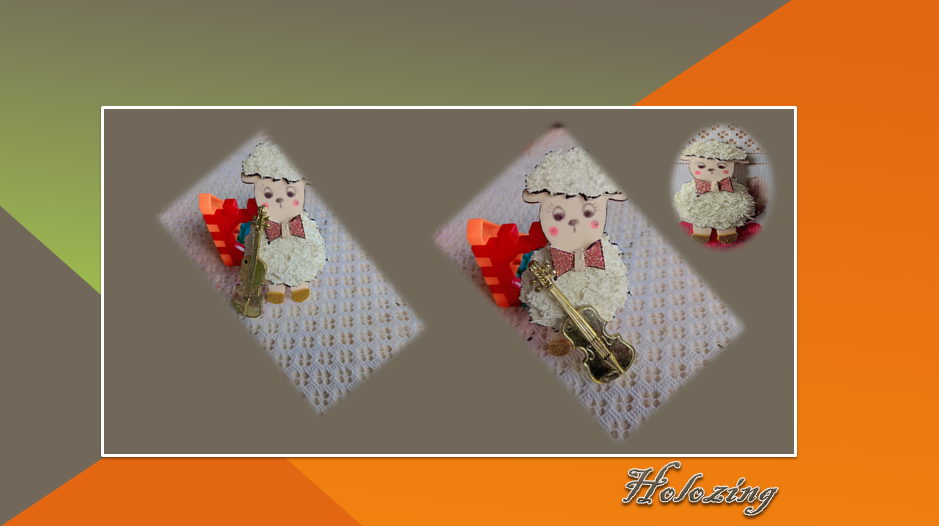
Feliz viernes, me presento soy @Brindyschi un placer para mí poder compartirles mis creaciones, les comento que es primera vez que les mostraré mi arte, y en esta oportunidad me inspire en WOOLITZ, creando una hermosura, una ovejita con estilo kawaii, al final use una guitarra porque a este arte le gusta la música y con ella se inspira y se relaja mentalmente para prepararse para una batalla.
Espero que les guste y puedan disfrutar de ella, así como yo, disfruto cada creación.
A continuación, el paso a paso.
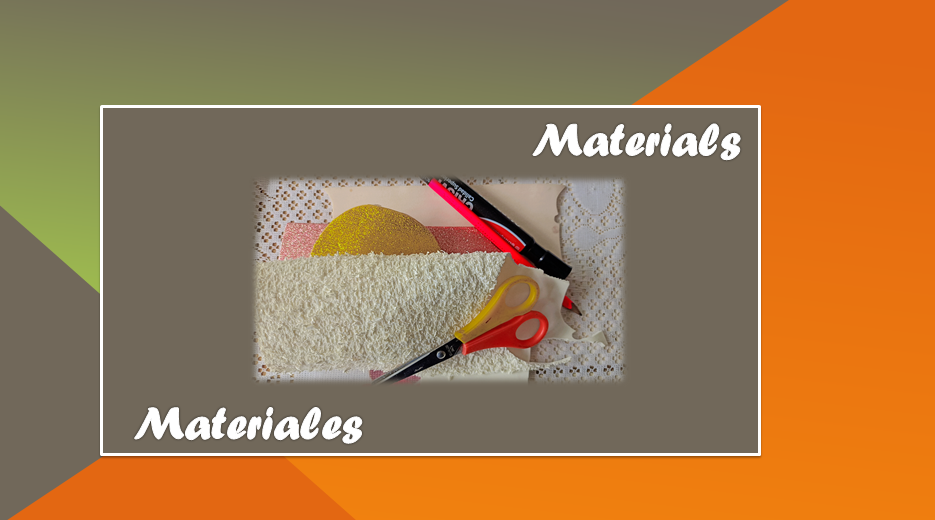
WE BEGIN - COMENZAMOS

Materials:

Graphite pencil.
Silicone and scissors.
Fluffy foam.
Skin-colored foam.
Gold frosted foam.
Pink frosted foam.
Lápiz grafito.
Silicon y tijera.
Foami con contextura de pelusa.
Foami color piel.
Foami escarchado dorado.
Foami escarchado rosado.

Step 1 / Paso 1:

Let's get started, friends. The first thing I did was use the skin-colored foam. I drew our sheep's head and legs. Then, with the fuzzy foam, I made what will be its fur, drawing it in the shape of clouds. To decorate this sheep, I made a bow with the pink frosted foam.
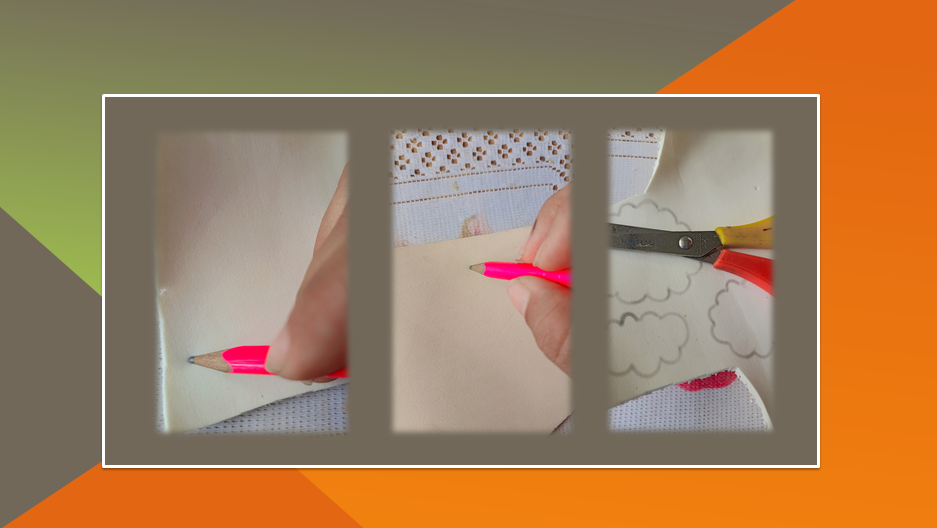
Comenzamos amigos y amigas, lo primero que hice fue utilizar el foami color piel. Dibuje la cabeza y las patas de nuestra oveja. Por consiguiente, con el foami con contextura de pelusa le realicé lo que será su pelaje, lo dibuje en foma de nubes. Para adornar a esta oveja le hice un lazo con el foami escarchado Rosado.


Step 2 / Paso 2:

As a second and final step, all the finished parts are shown. I began shaping this creation, using silicone as glue, and gradually joined each part together.
Images below.
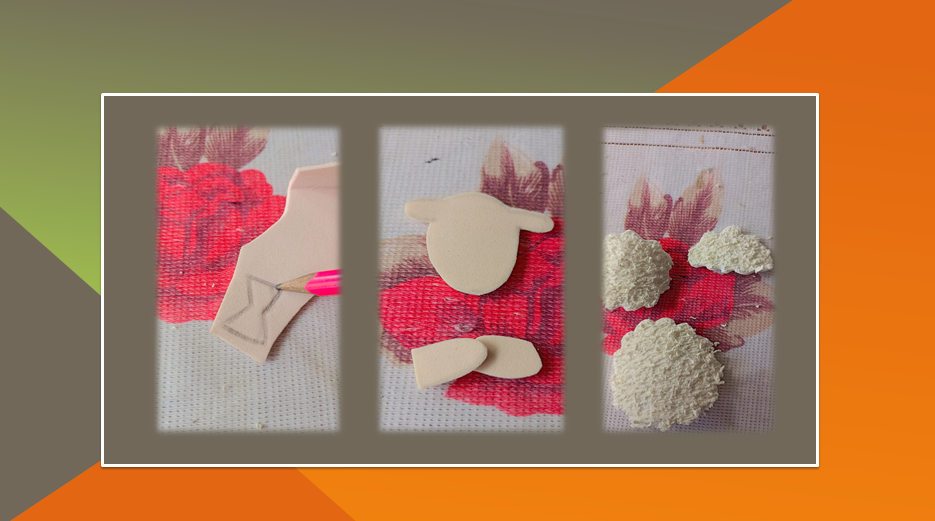
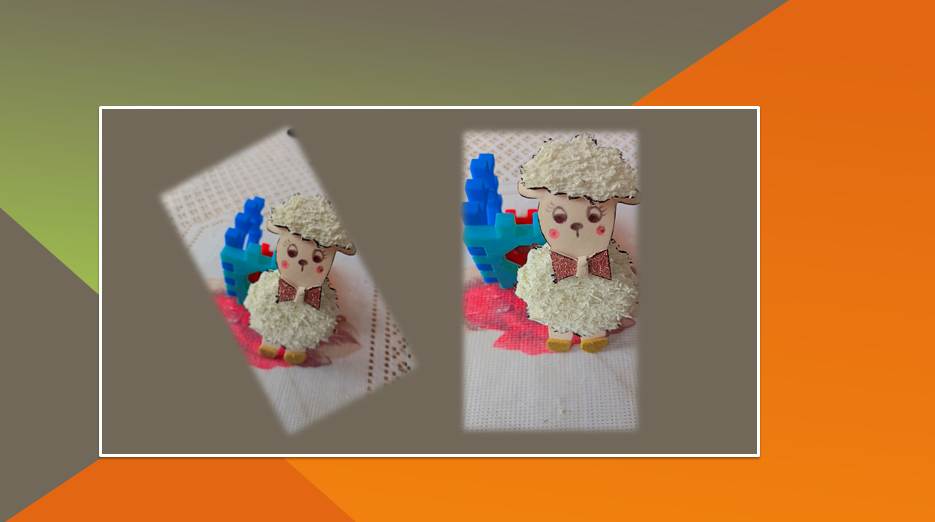
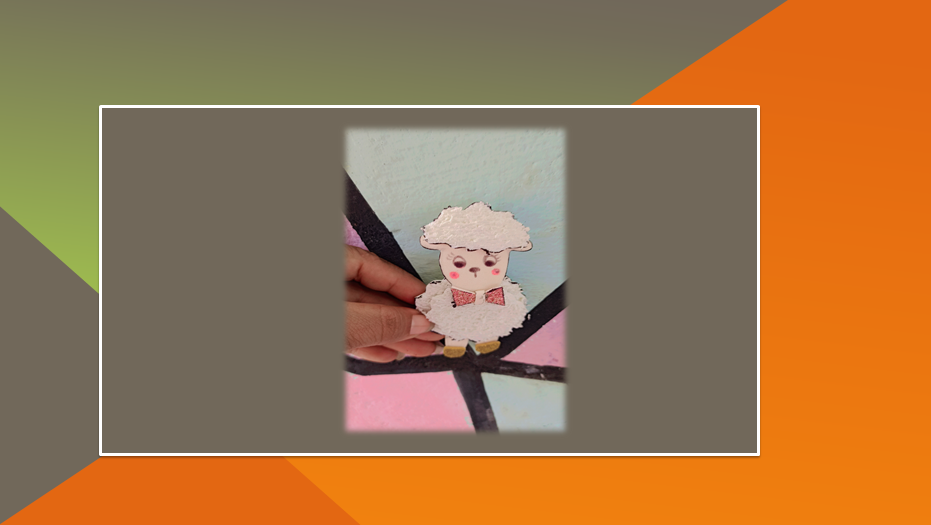
Como segundo y último paso, se muestran todas las partes listas. Comencé a darle forma a esta creación, utilicé como pegamento el silicon, y fui dándole forma uniendo cada parte.
Imágenes a continuación.

FINAL ART / ARTE FINAL:

Referencia
🌺 My name is @Brindyschi 🌺
yoo.png/yu.jpg/
Until a future opportunity
Success for all 👊
7
0
4.37