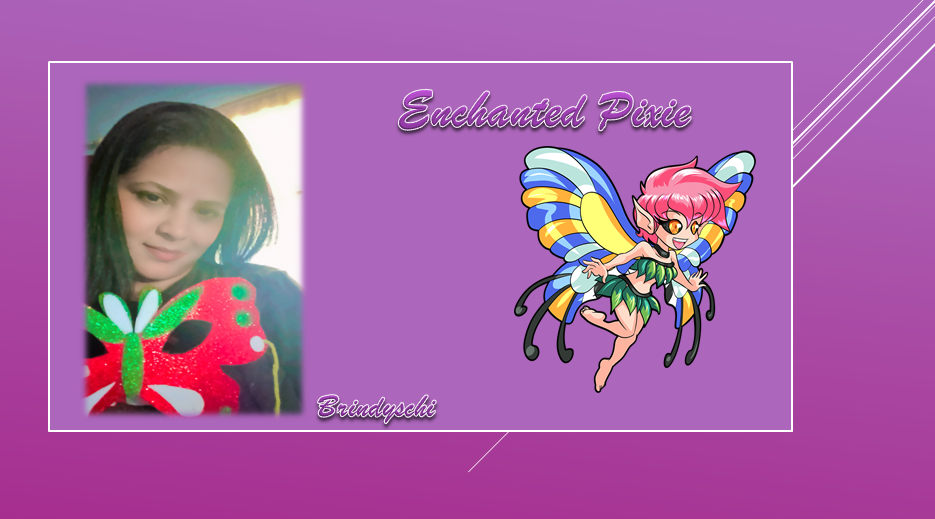
Happy Tuesday! Greetings from @Brindyschi, happy because I don't have to go to work today, friends, and I took some time to make this creation and come here to share it with you. This Splinterlands card caught my eye, and I had the idea to make a beautiful butterfly mask based on it, in her honor.
Therefore, the reference card is Enchanted-pixie. Without further ado about this art, I hope you like it and feel free to share your opinion.
Martes de alegría, les Saluda
@Brindyschi, feliz porque hoy no tengo que ir al trabajo, amigos, y me tome un tiempo para hacer esta creación y venir por aquí a compartirle, esta carta de splinterlands me llamo la atención y tuve la idea basándome a ella hacer una Hermosa mascara de mariposa, en honor a ella.
Por consiguiente, la carta de referencia es Enchanted-pixie. Sin más el detallado de este arte, espero que les guste y siéntate libre de dar tu opinión.
WE BEGIN - COMENZAMOS
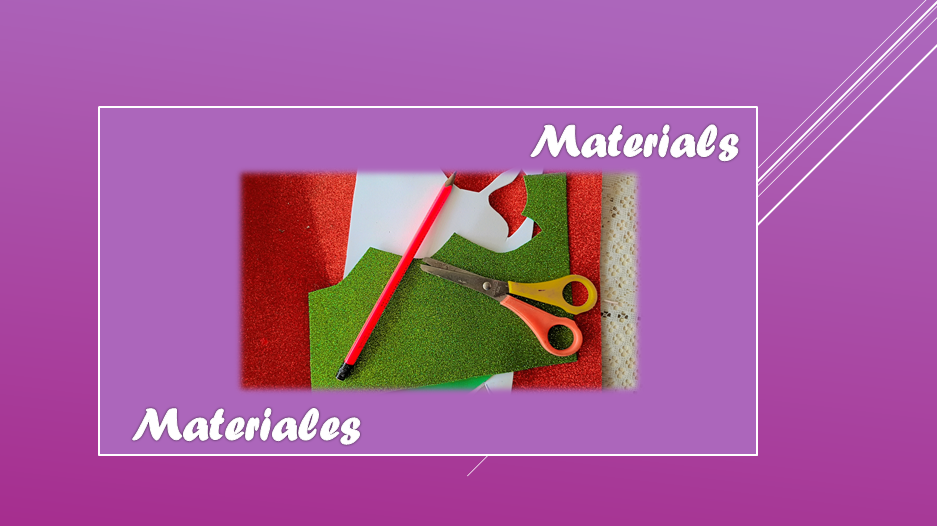
Materials:
Graphite pencil.
Silicone rubber and scissors.
White foam.
Frosted green foam.
Frosted red foam.
Lápiz grafito.
Silicon y tijera.
Foami blanco.
Foami verde escarchado.
Foami rojo escarchado.
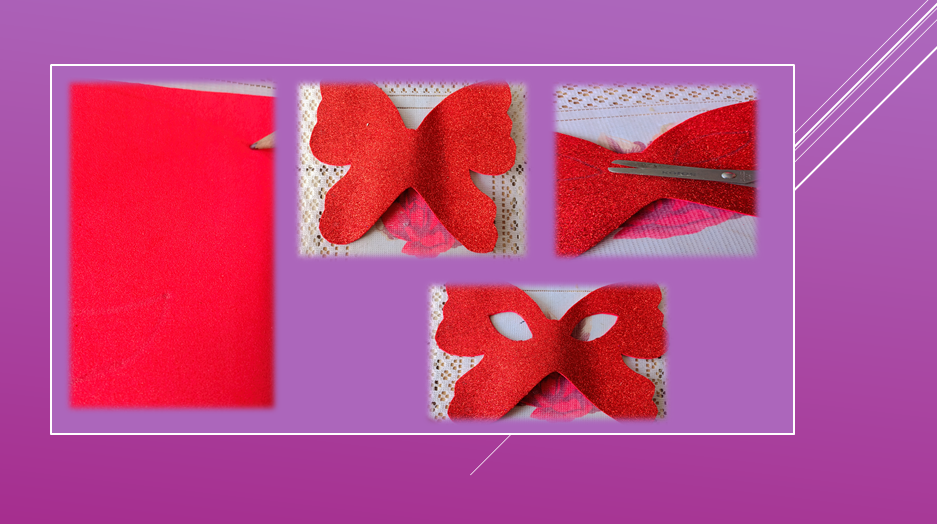
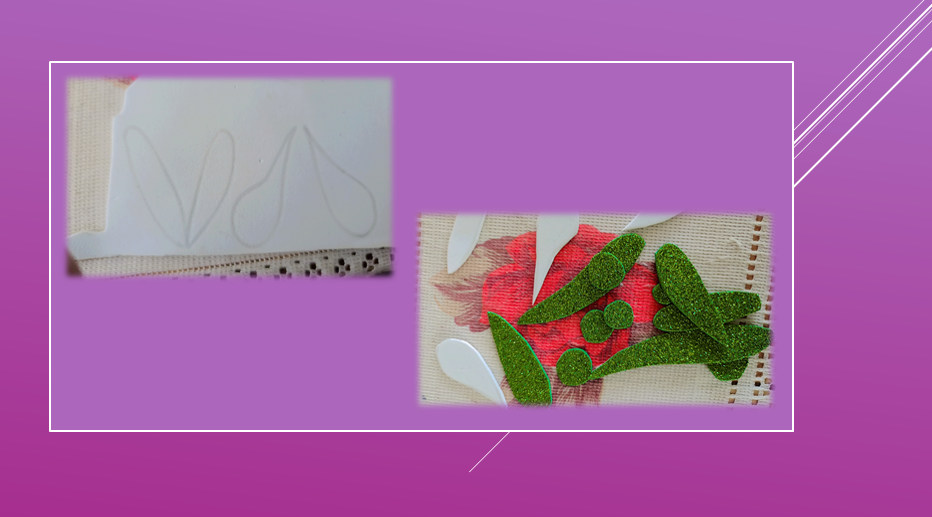
Paso 1:
First, use the frosted red foam, which will be the base for the butterfly-style mask. Draw all the markings, including the eyes that will allow us to see outside. Then cut them out to give them their shape.
Images below.
Primer paso, utilice el foami rojo escarchado, que será la base, la máscara con estilo de mariposa, la dibuje todo el marcado, así también los ojos por donde nos permitirá ver al exterior. Luego recorte para darle forma.
Imágenes a continuación.
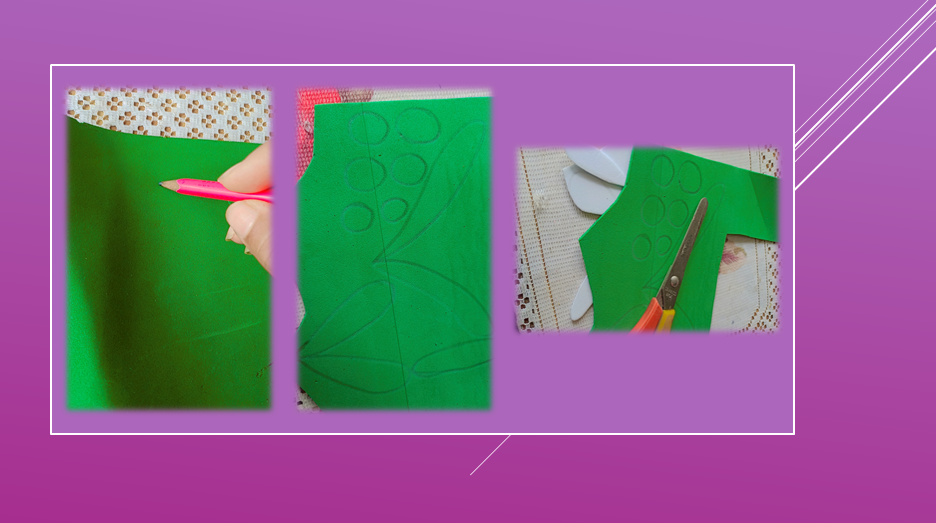
Paso 2:
As a second step, with the frosted green and white foam, I made the decorations for our mask, such as small circles, some small wings, and others a little larger, to give diversity to the decoration.
Como segundo paso, con el foami verde escarchado y el blanco, le realicé los adornos de nuestra máscara como unos pequeños círculos, unas alas entre pequeñas y otras un poco más grandes, para darle diversidad a la decoración.
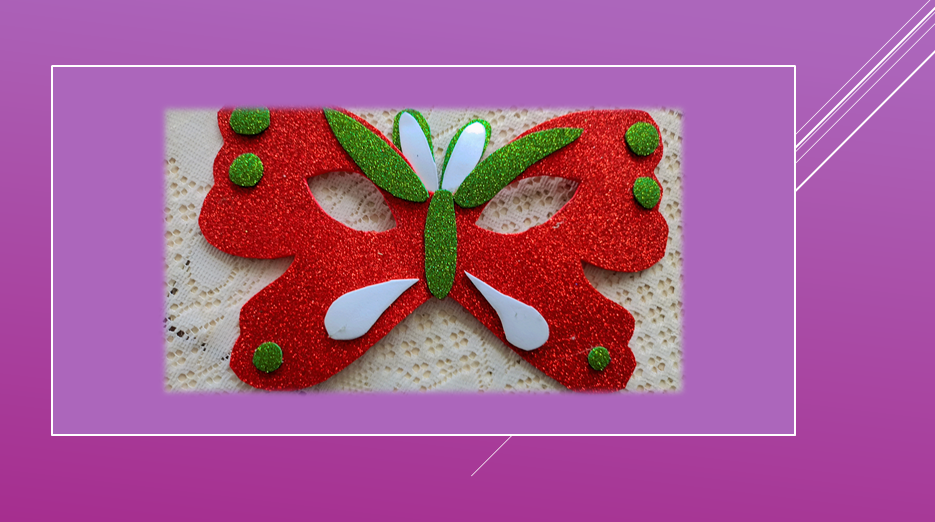
Paso 3:
As a third step, once I had all the parts cut out, I proceeded with assembling and shaping this art.
Como tercer paso, al tener todas las partes recortadas, procedí con el armado y darle forma a este arte.
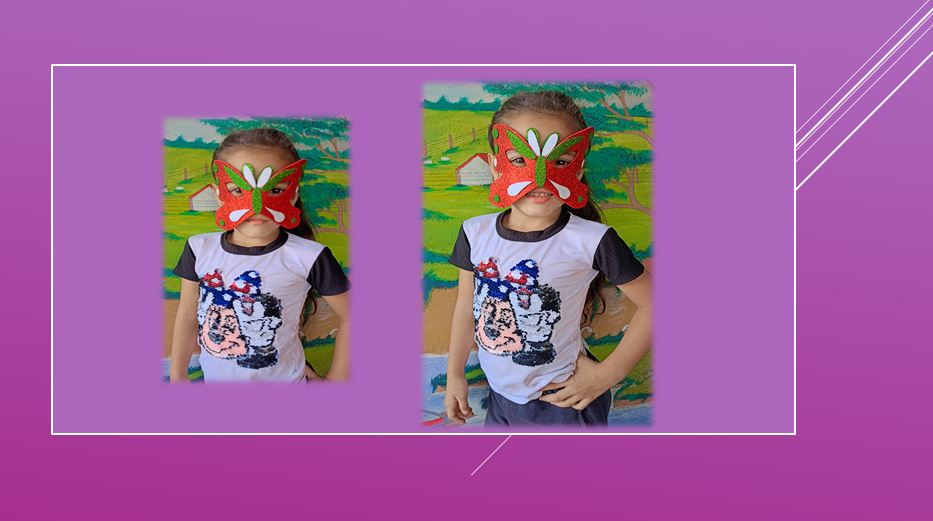
Paso 4:
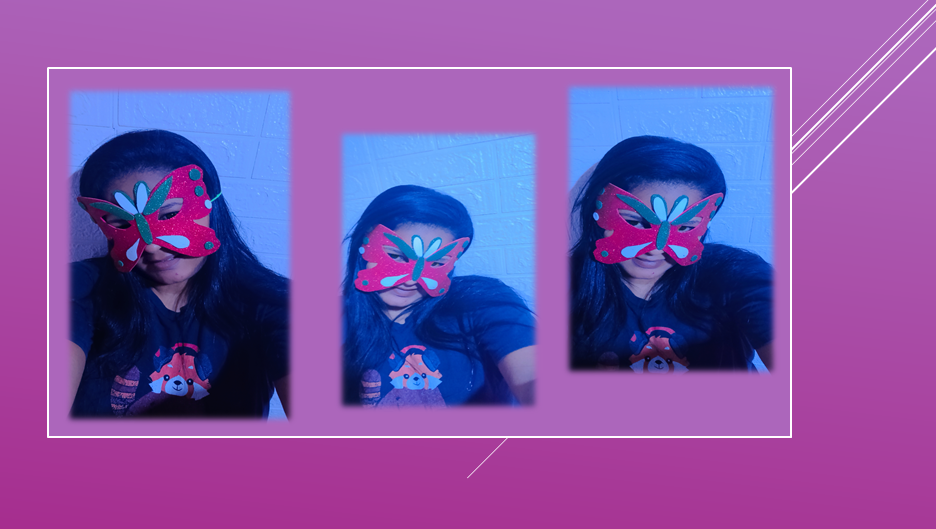
Here's my great model, my daughter showing you how the final artwork turned out.
Finished work.
Enjoy it.
Aquí está mi gran modelo, mi hija mostrándole cómo quedó el arte final.
Trabajo finalizado.
Disfrútenlo.

Until a future opportunity
Success for all 👊