Hello there, my fellow artisans and handcrafts enthusiasts!
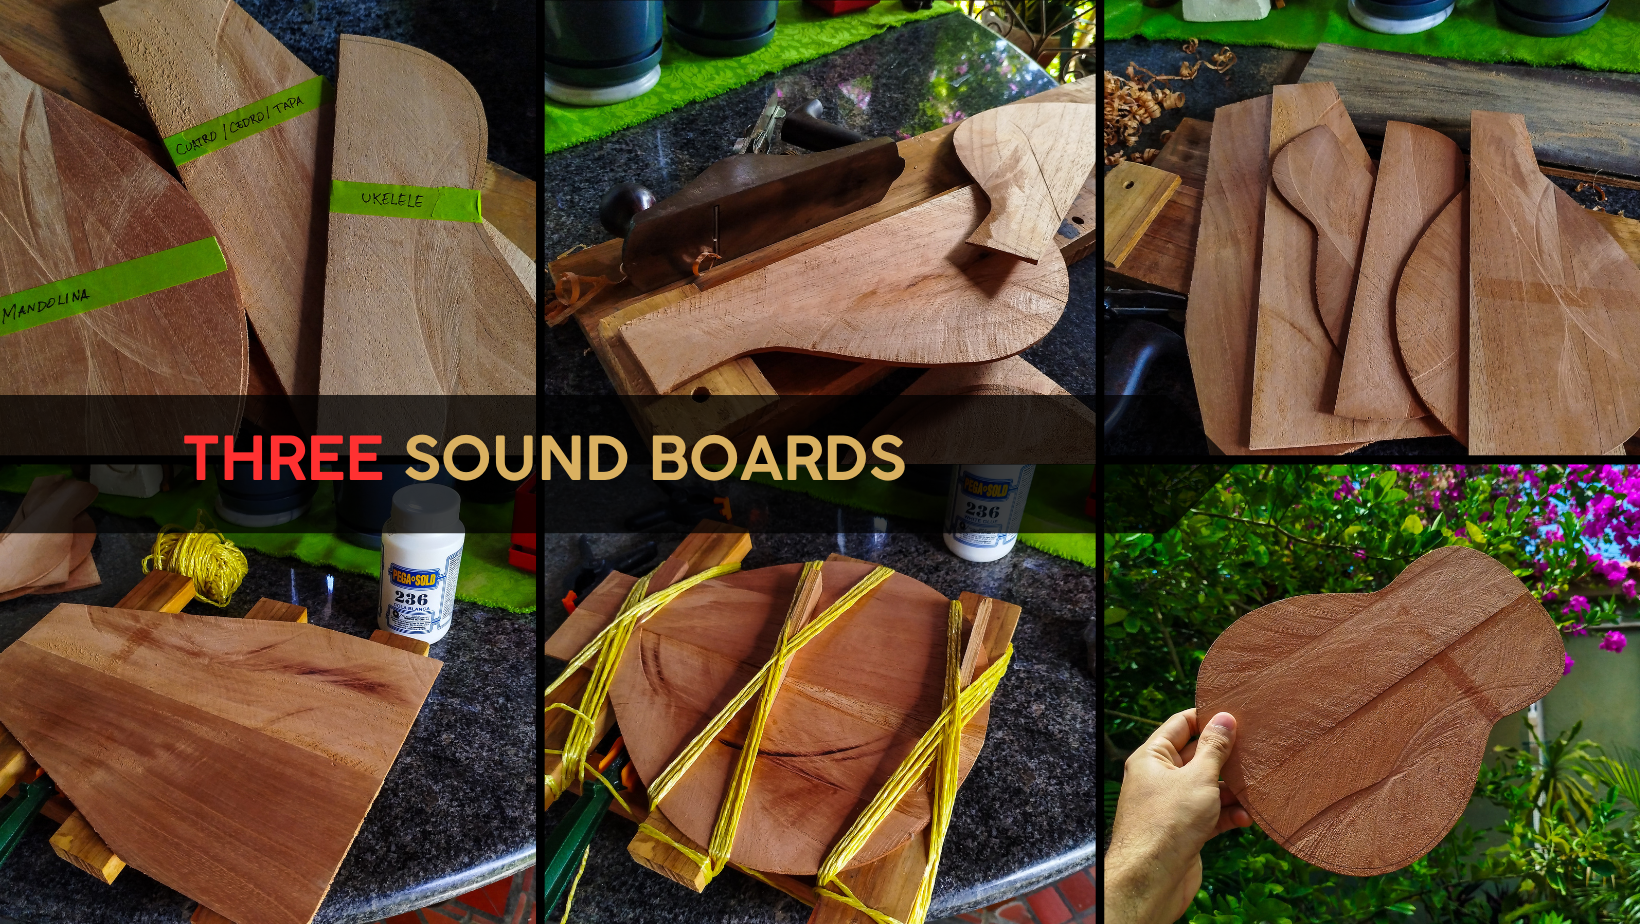
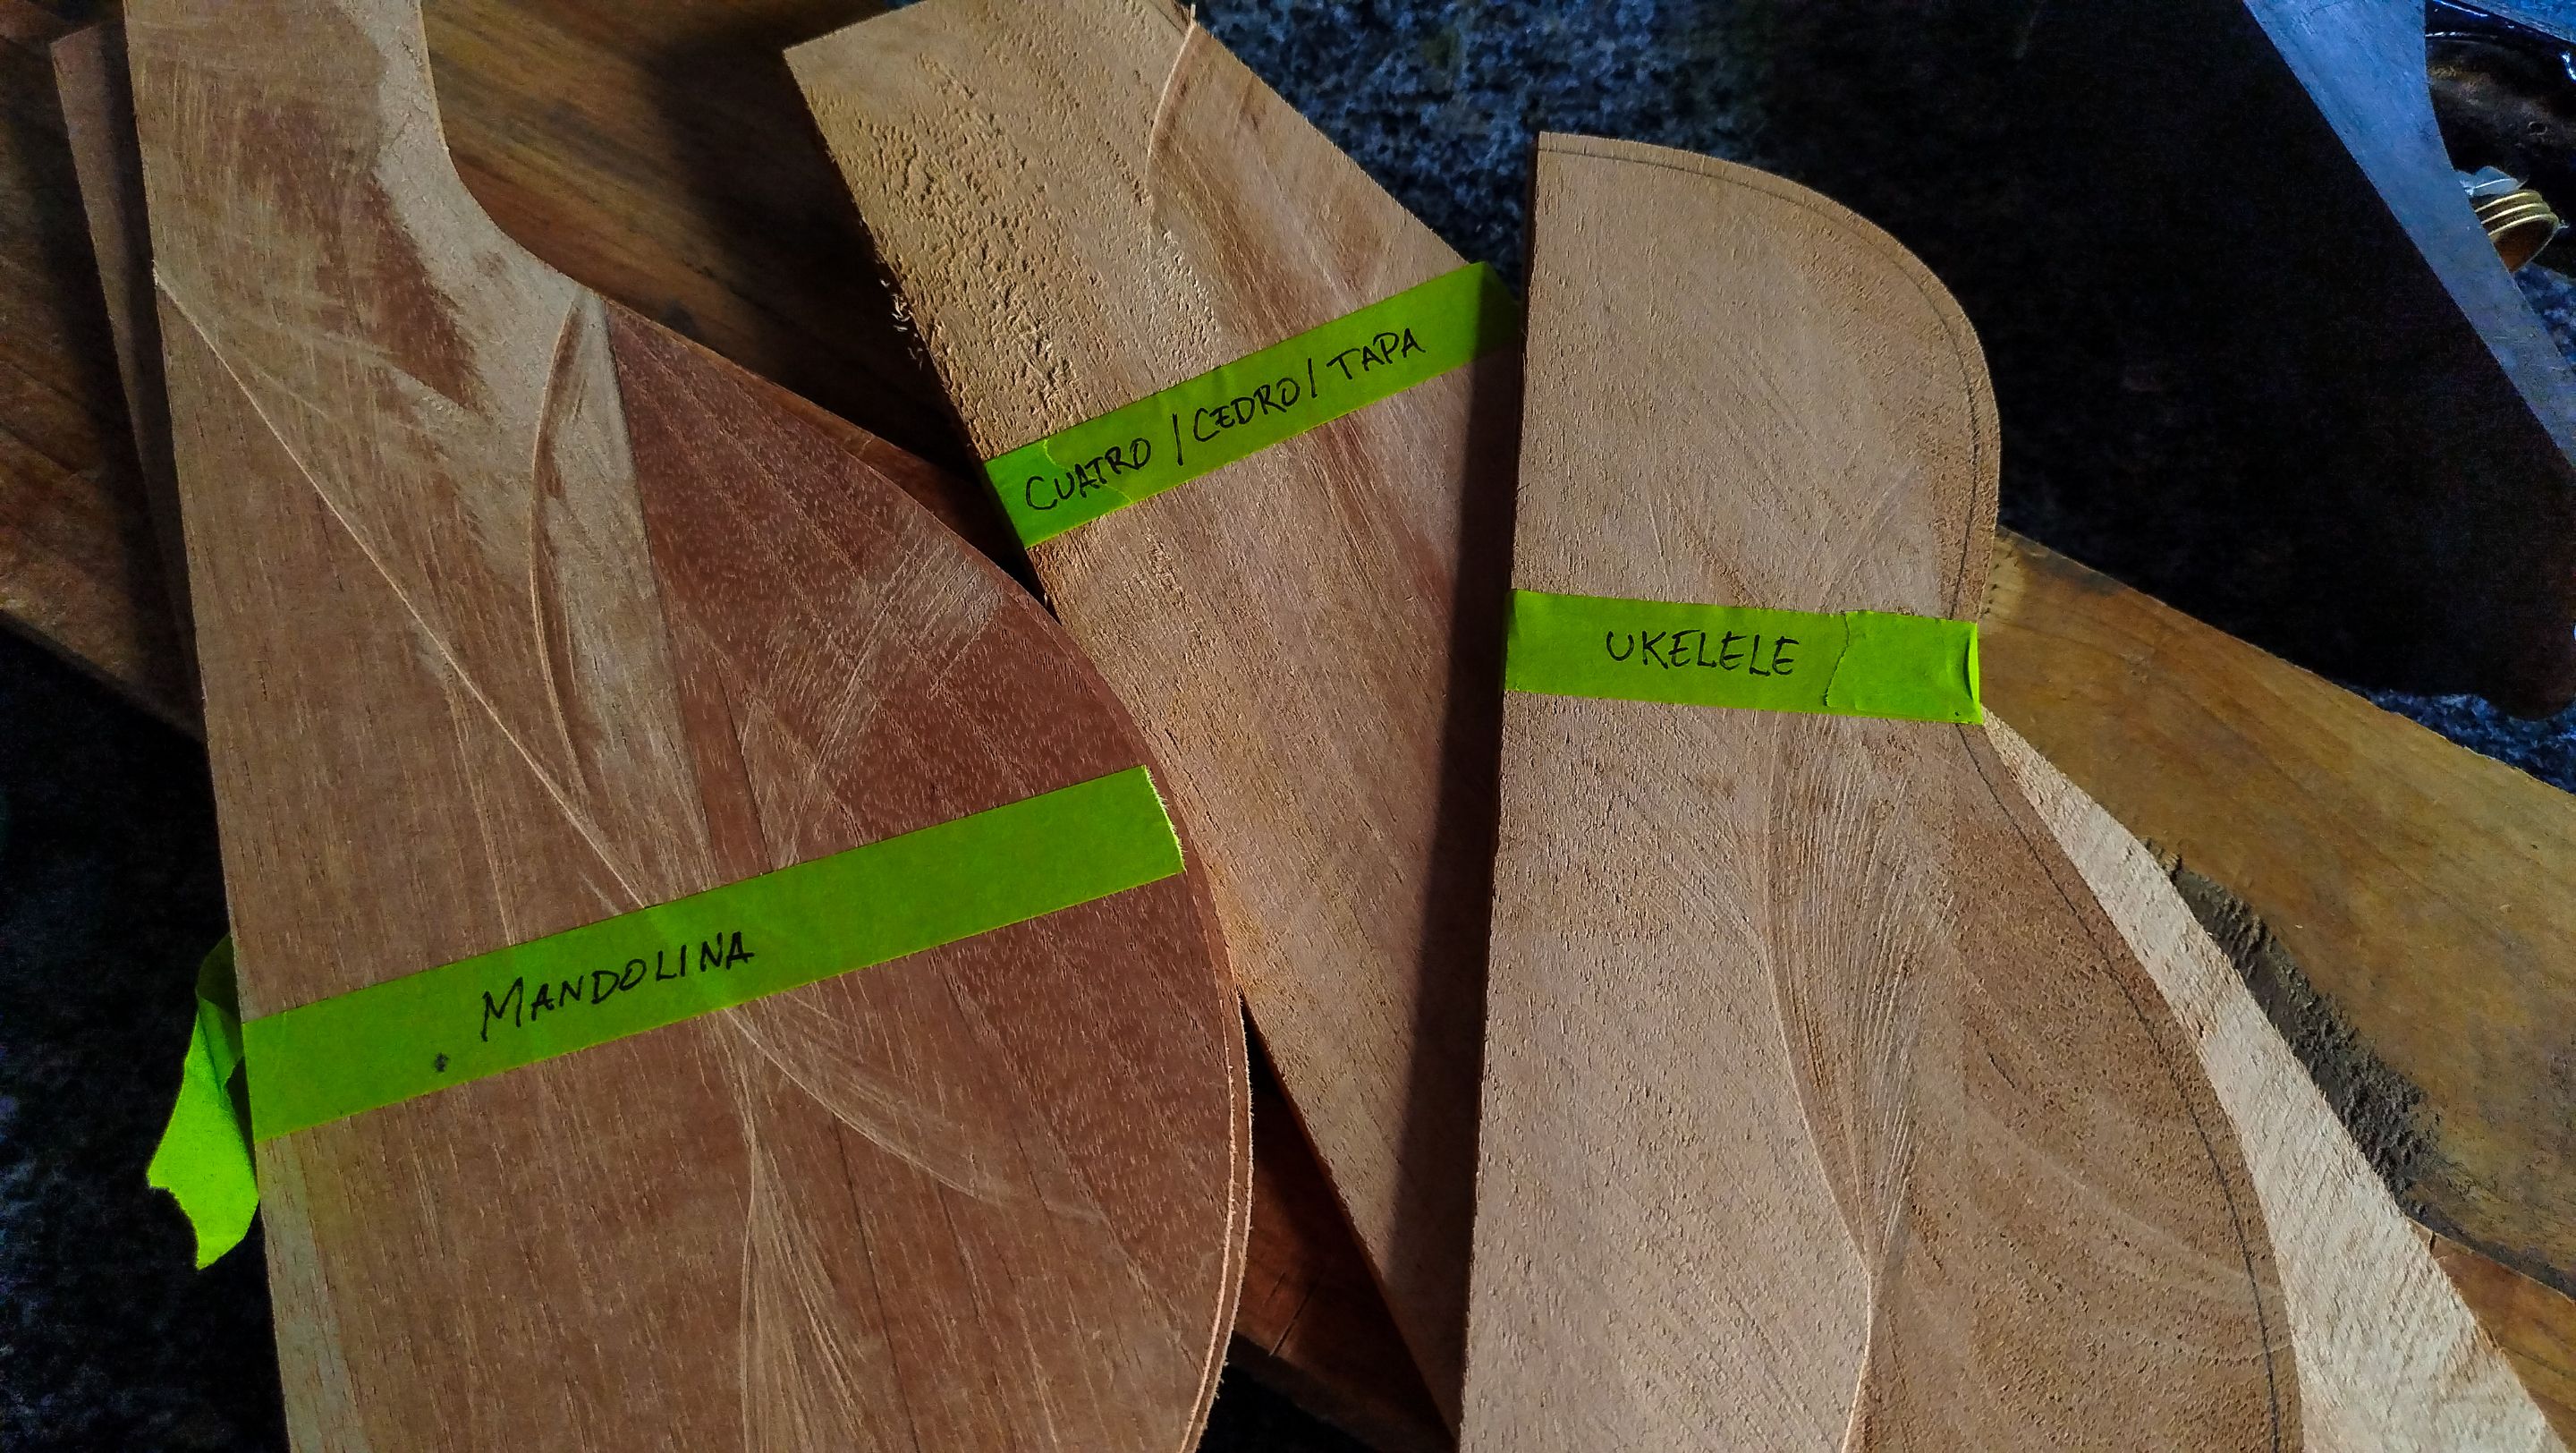
Welcome back! Today marks the beginning of a new series. There is enough material to start three instruments. So the first thing showcased in this entry will be the joinery of the sound boards for each of them. If you're interested in knowing the identity of them, this what will be on the table: a ukulele, a mandolin, and, of course, a Venezuelan Cuatro. The order will be decided later.
For the time being, let's get to it!
Joinery

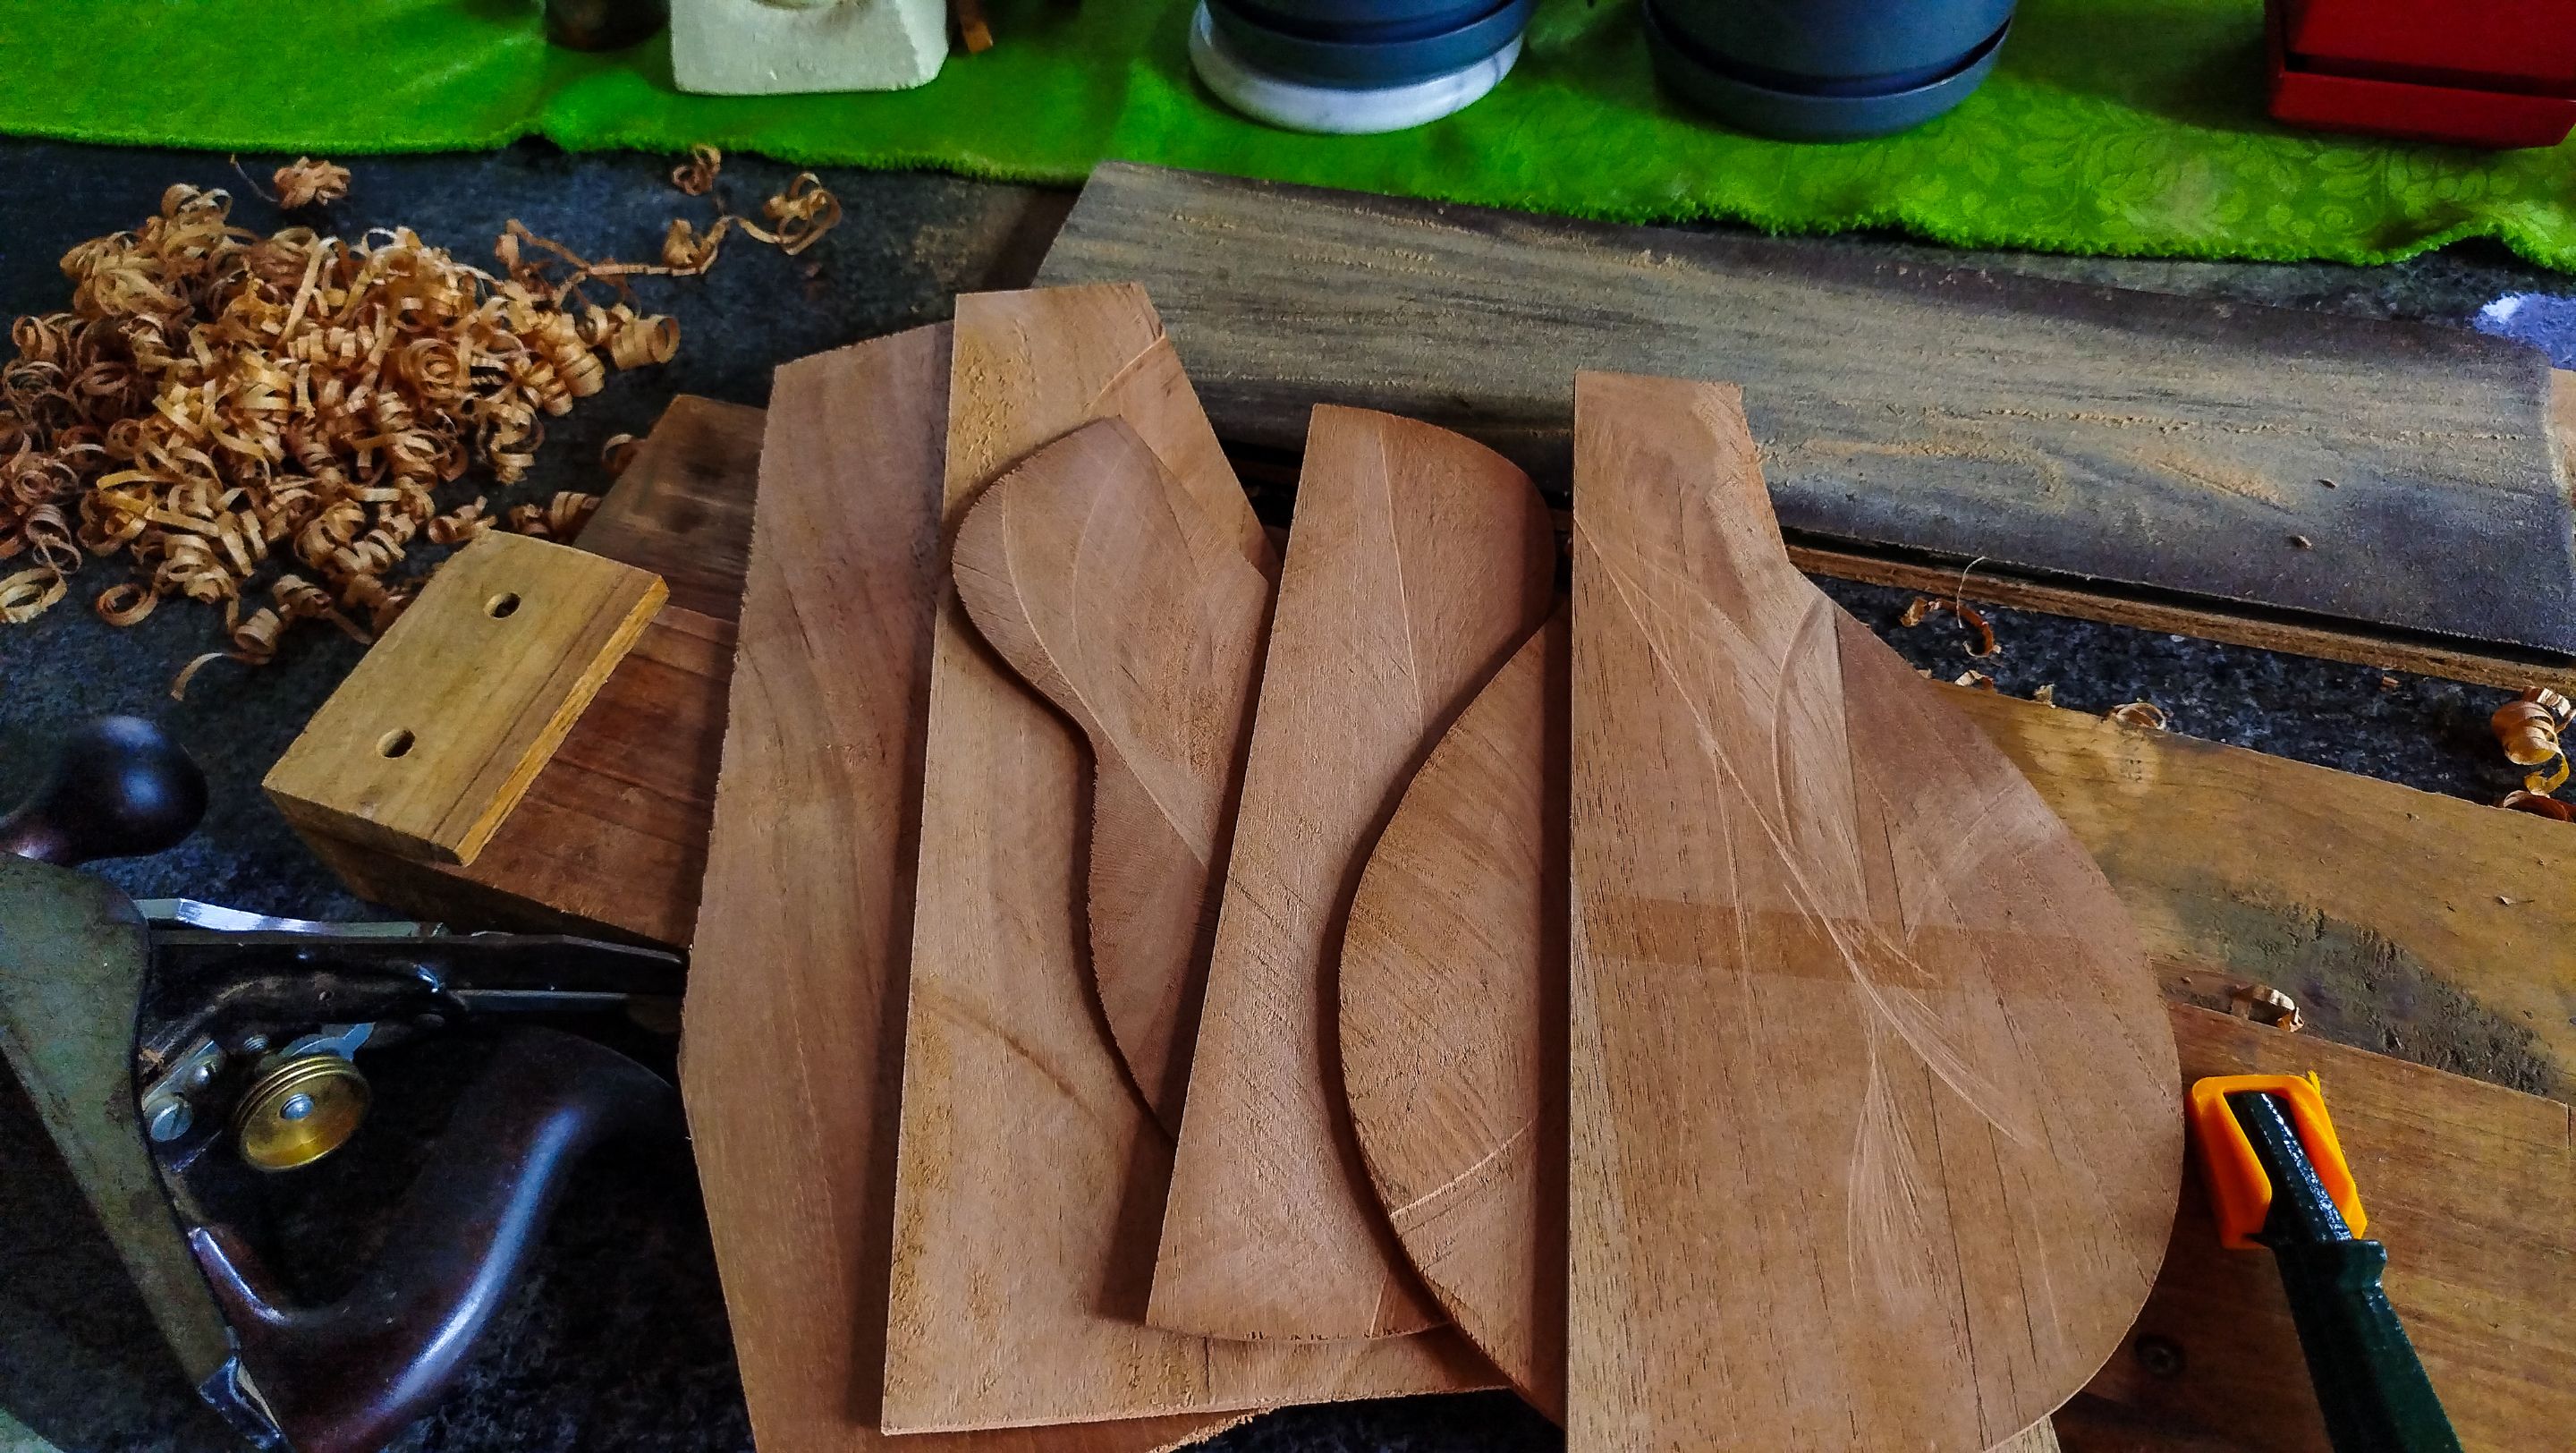
Swipe to see the photos
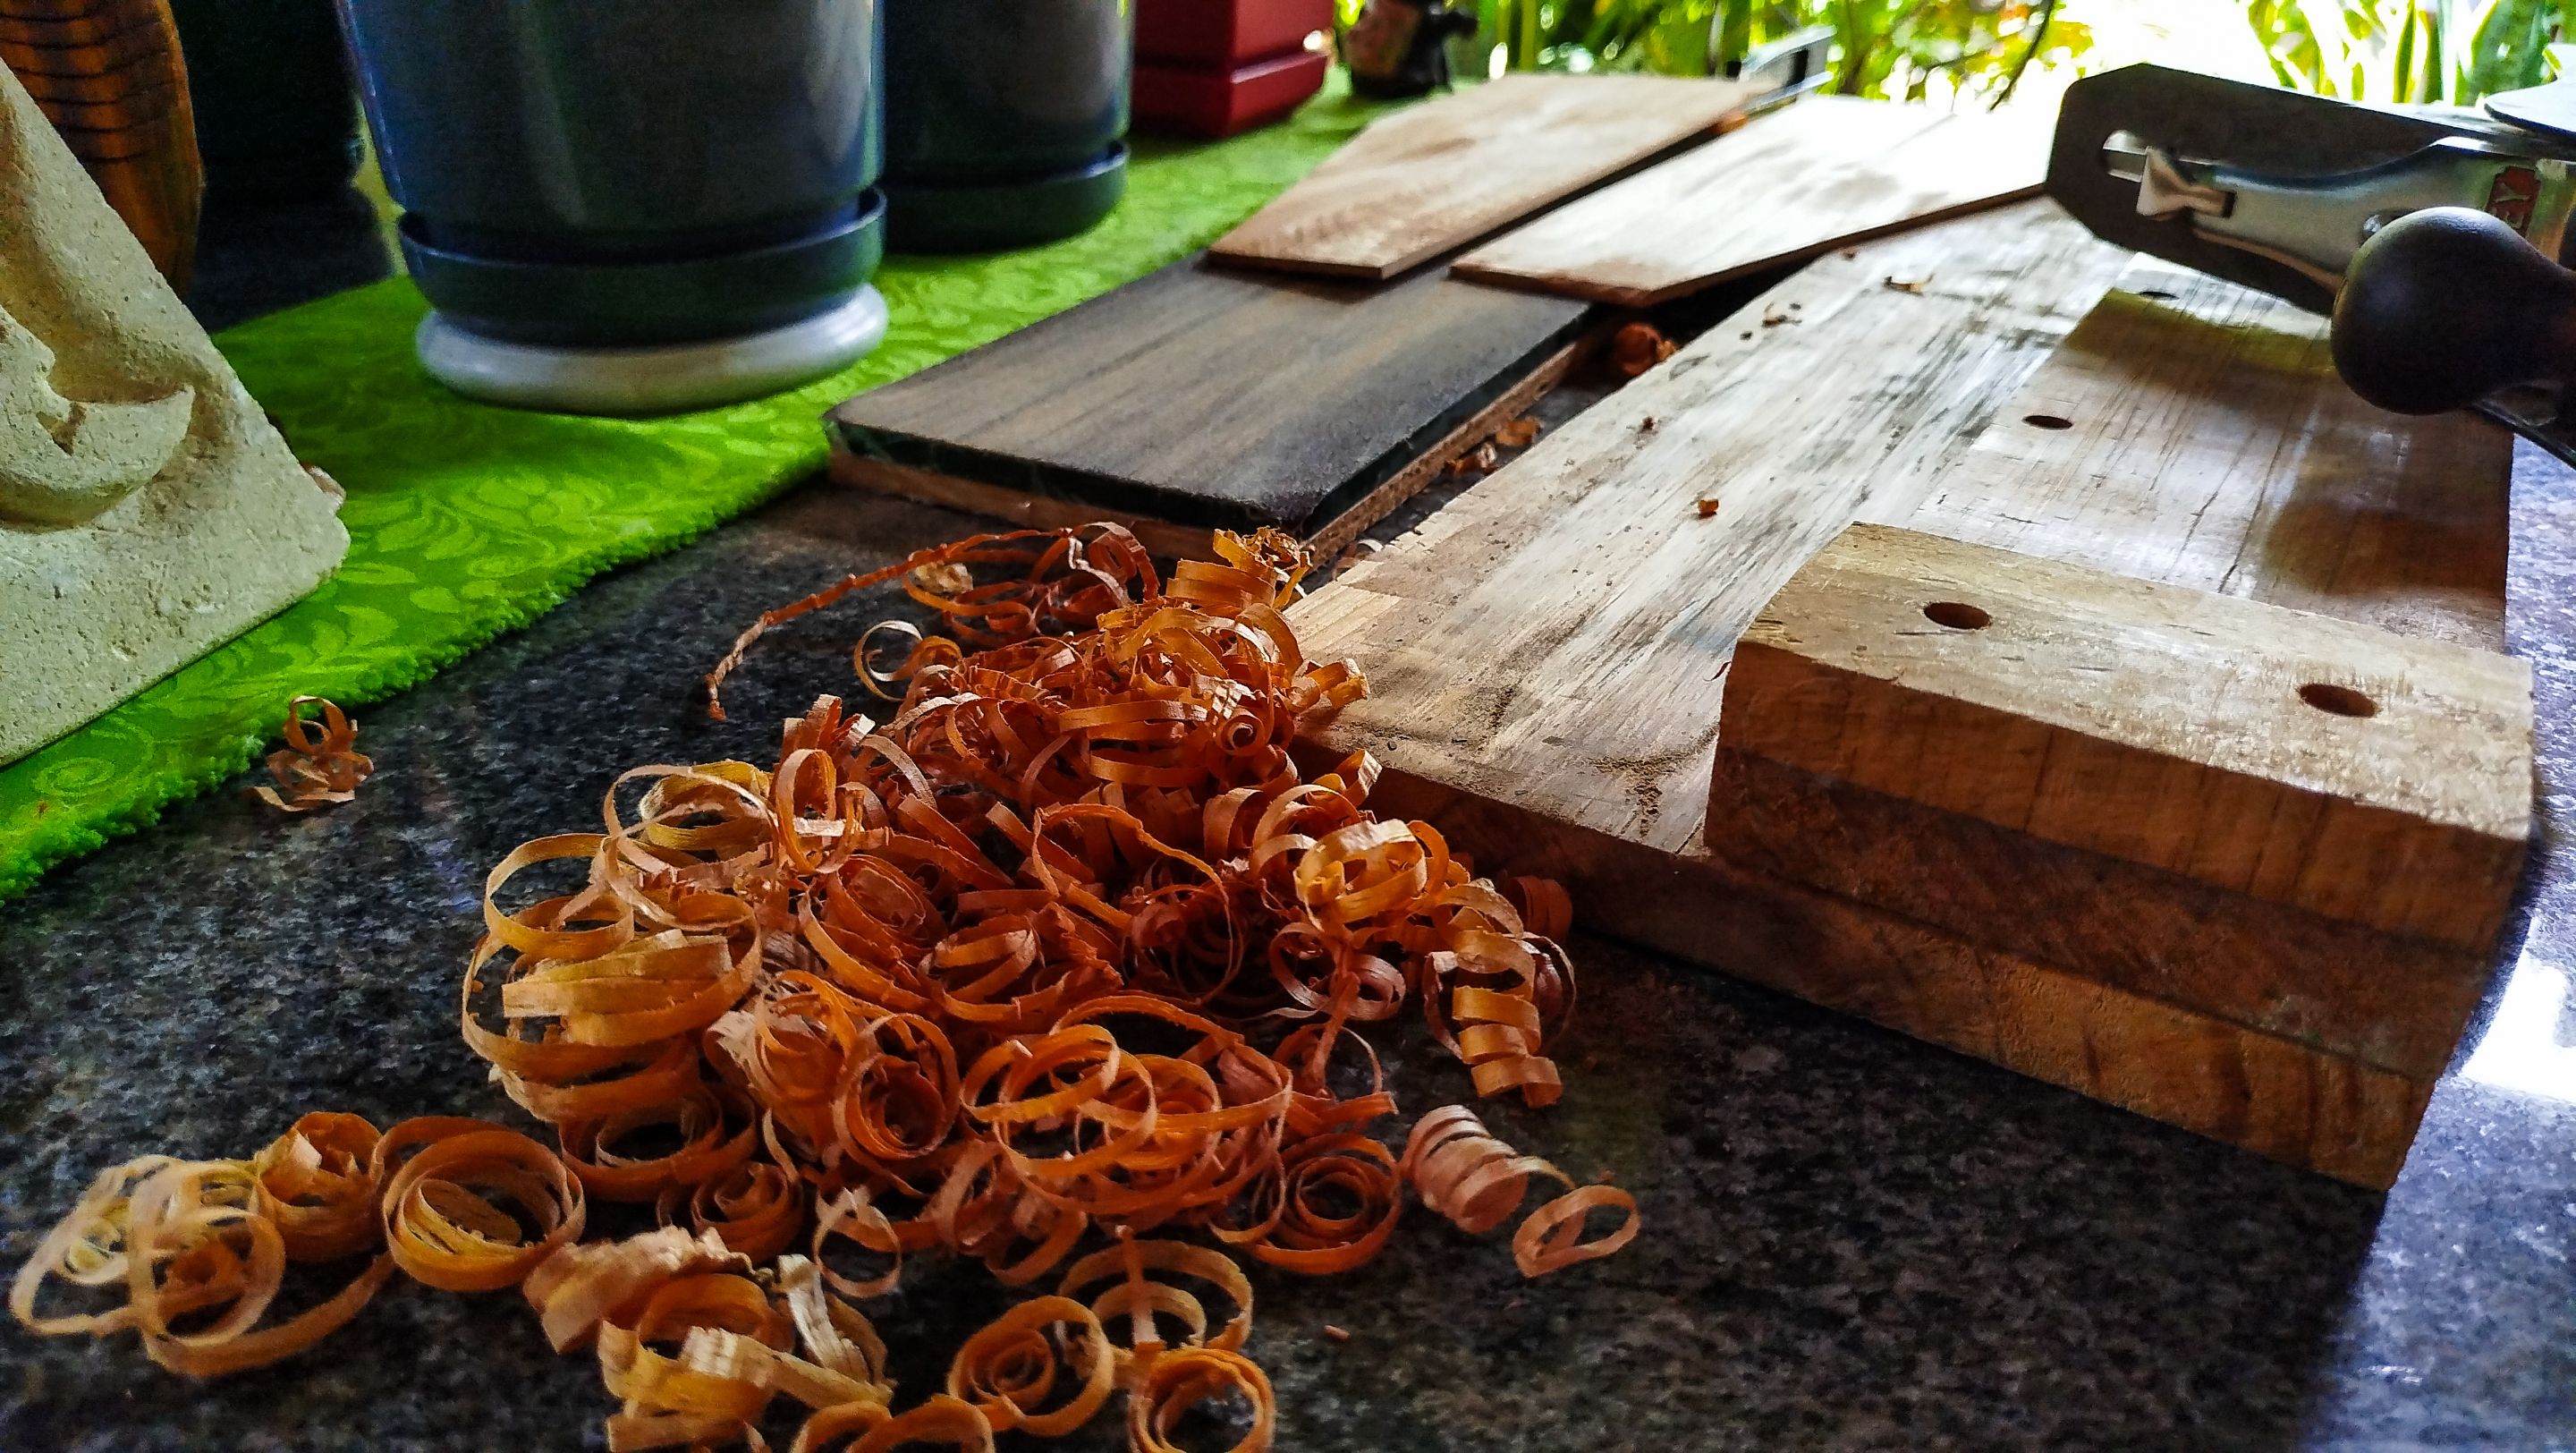
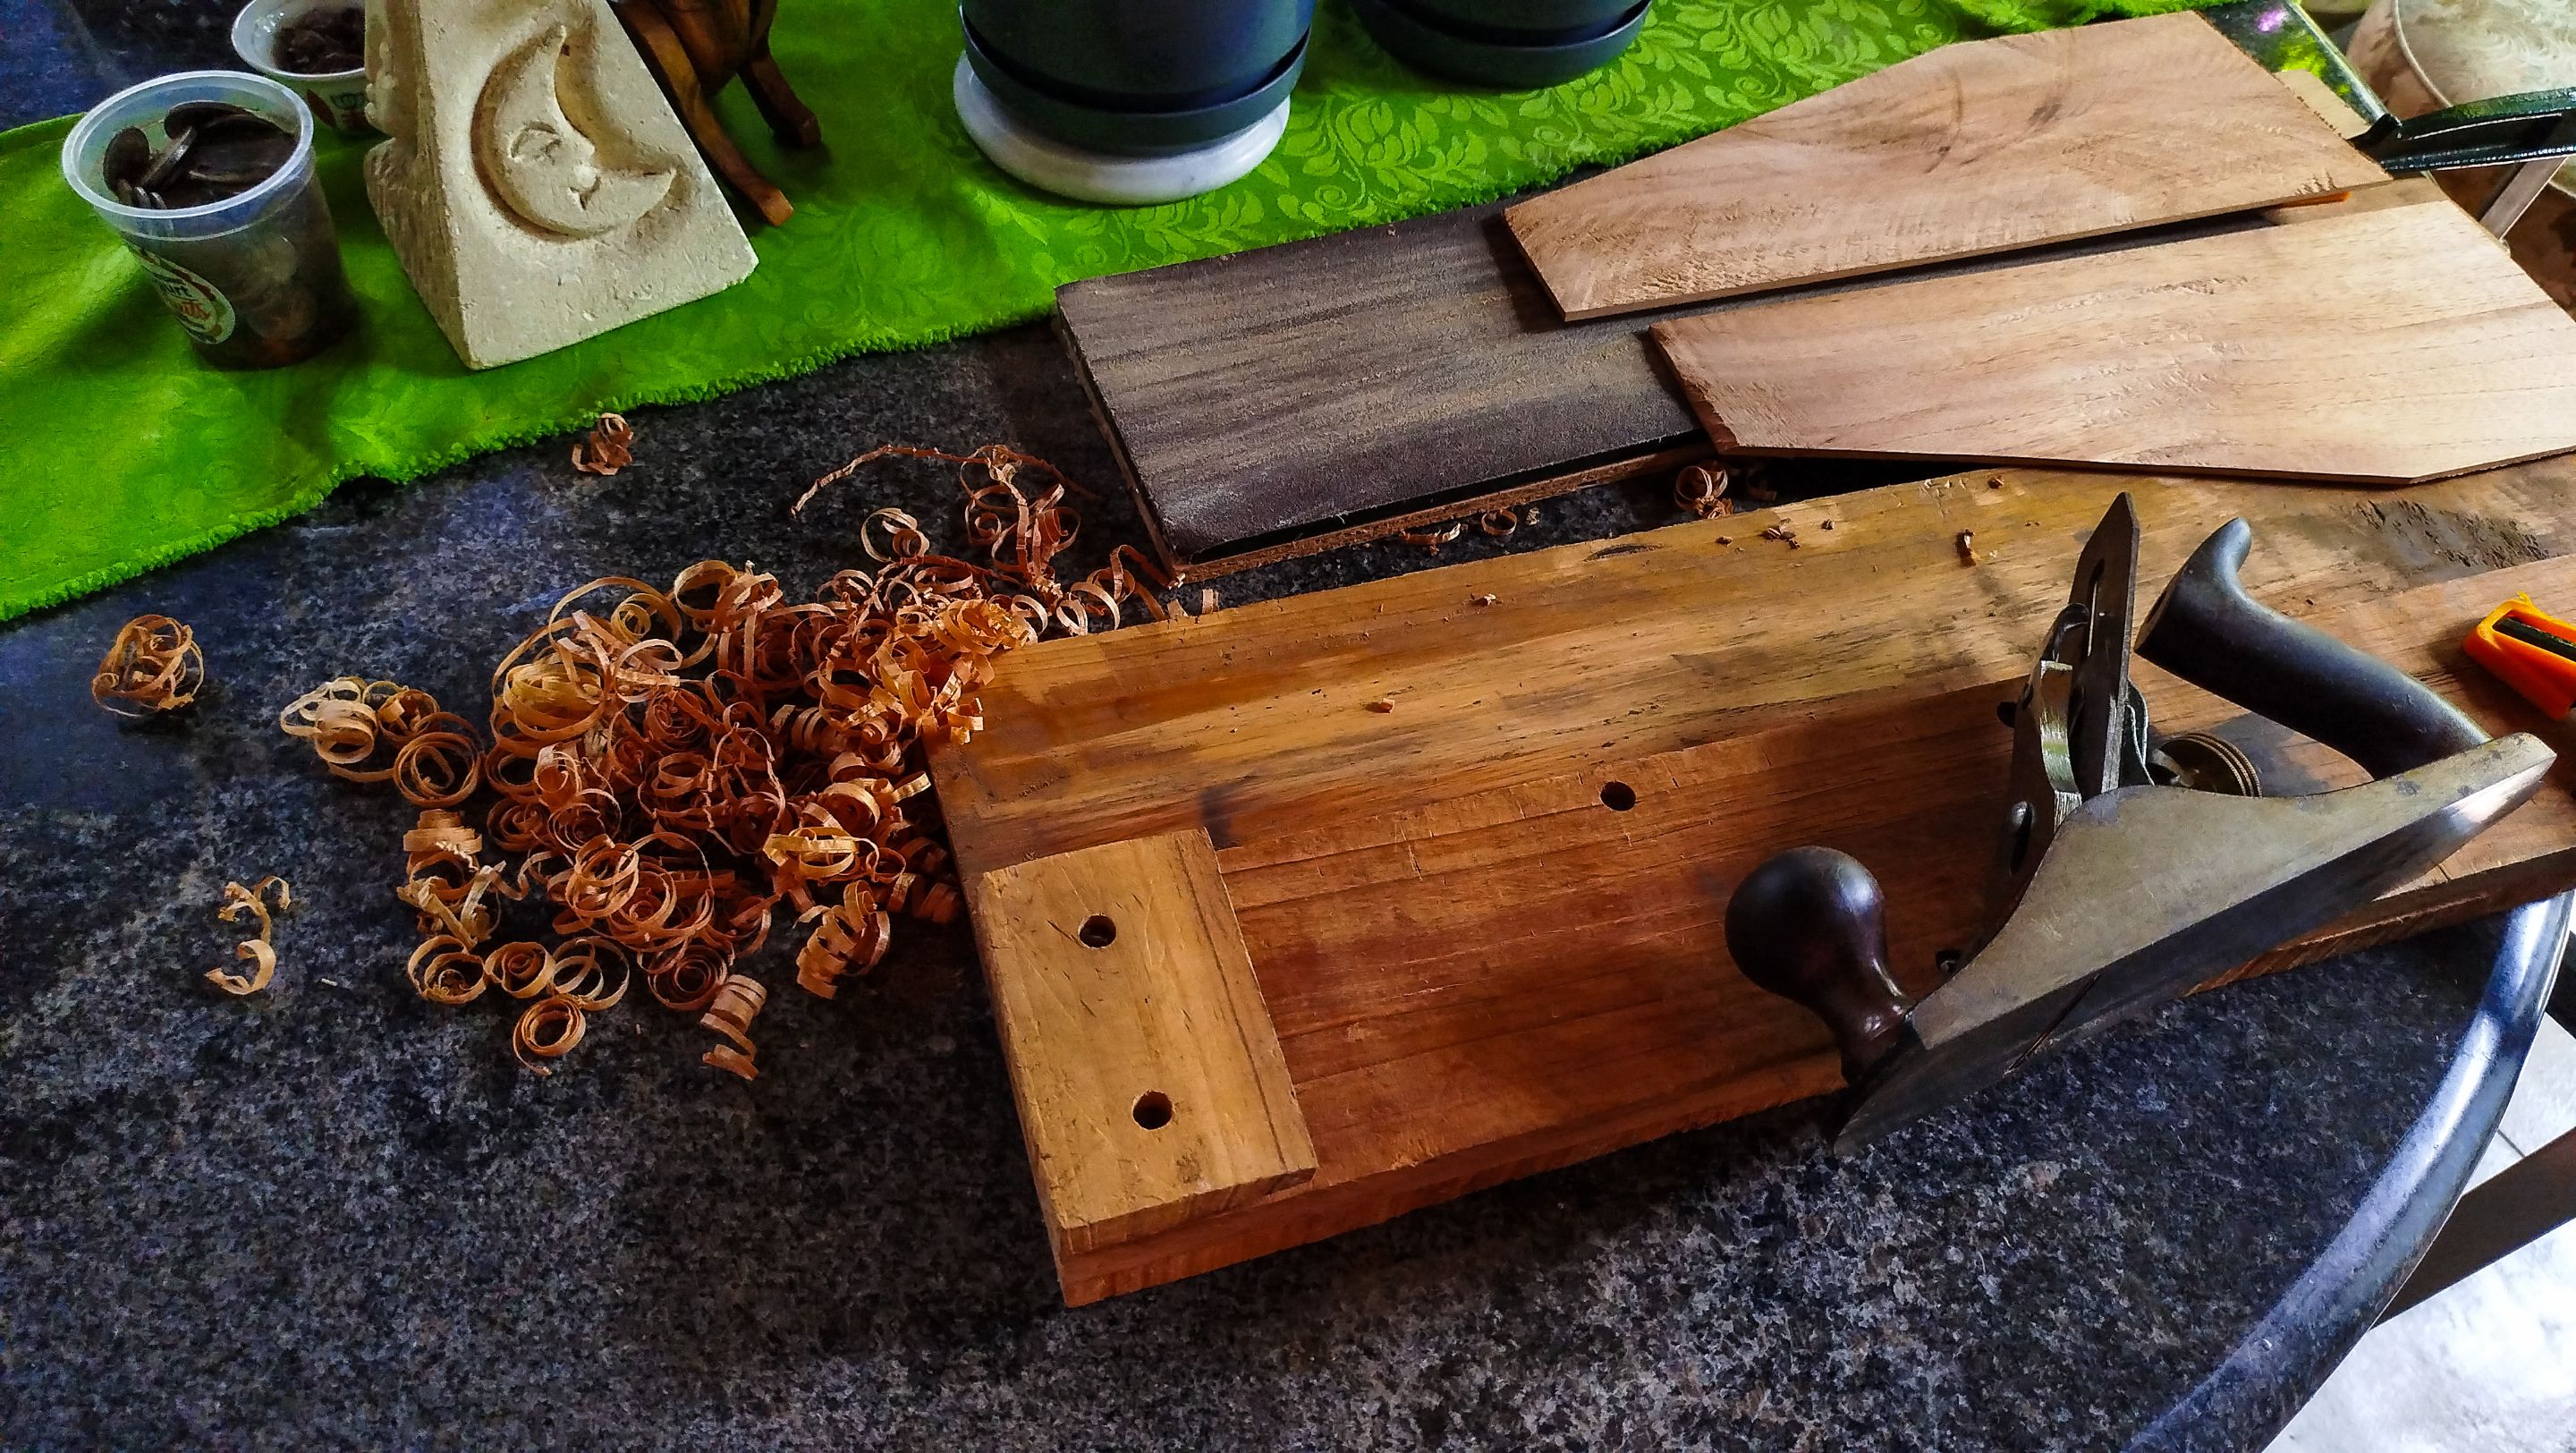
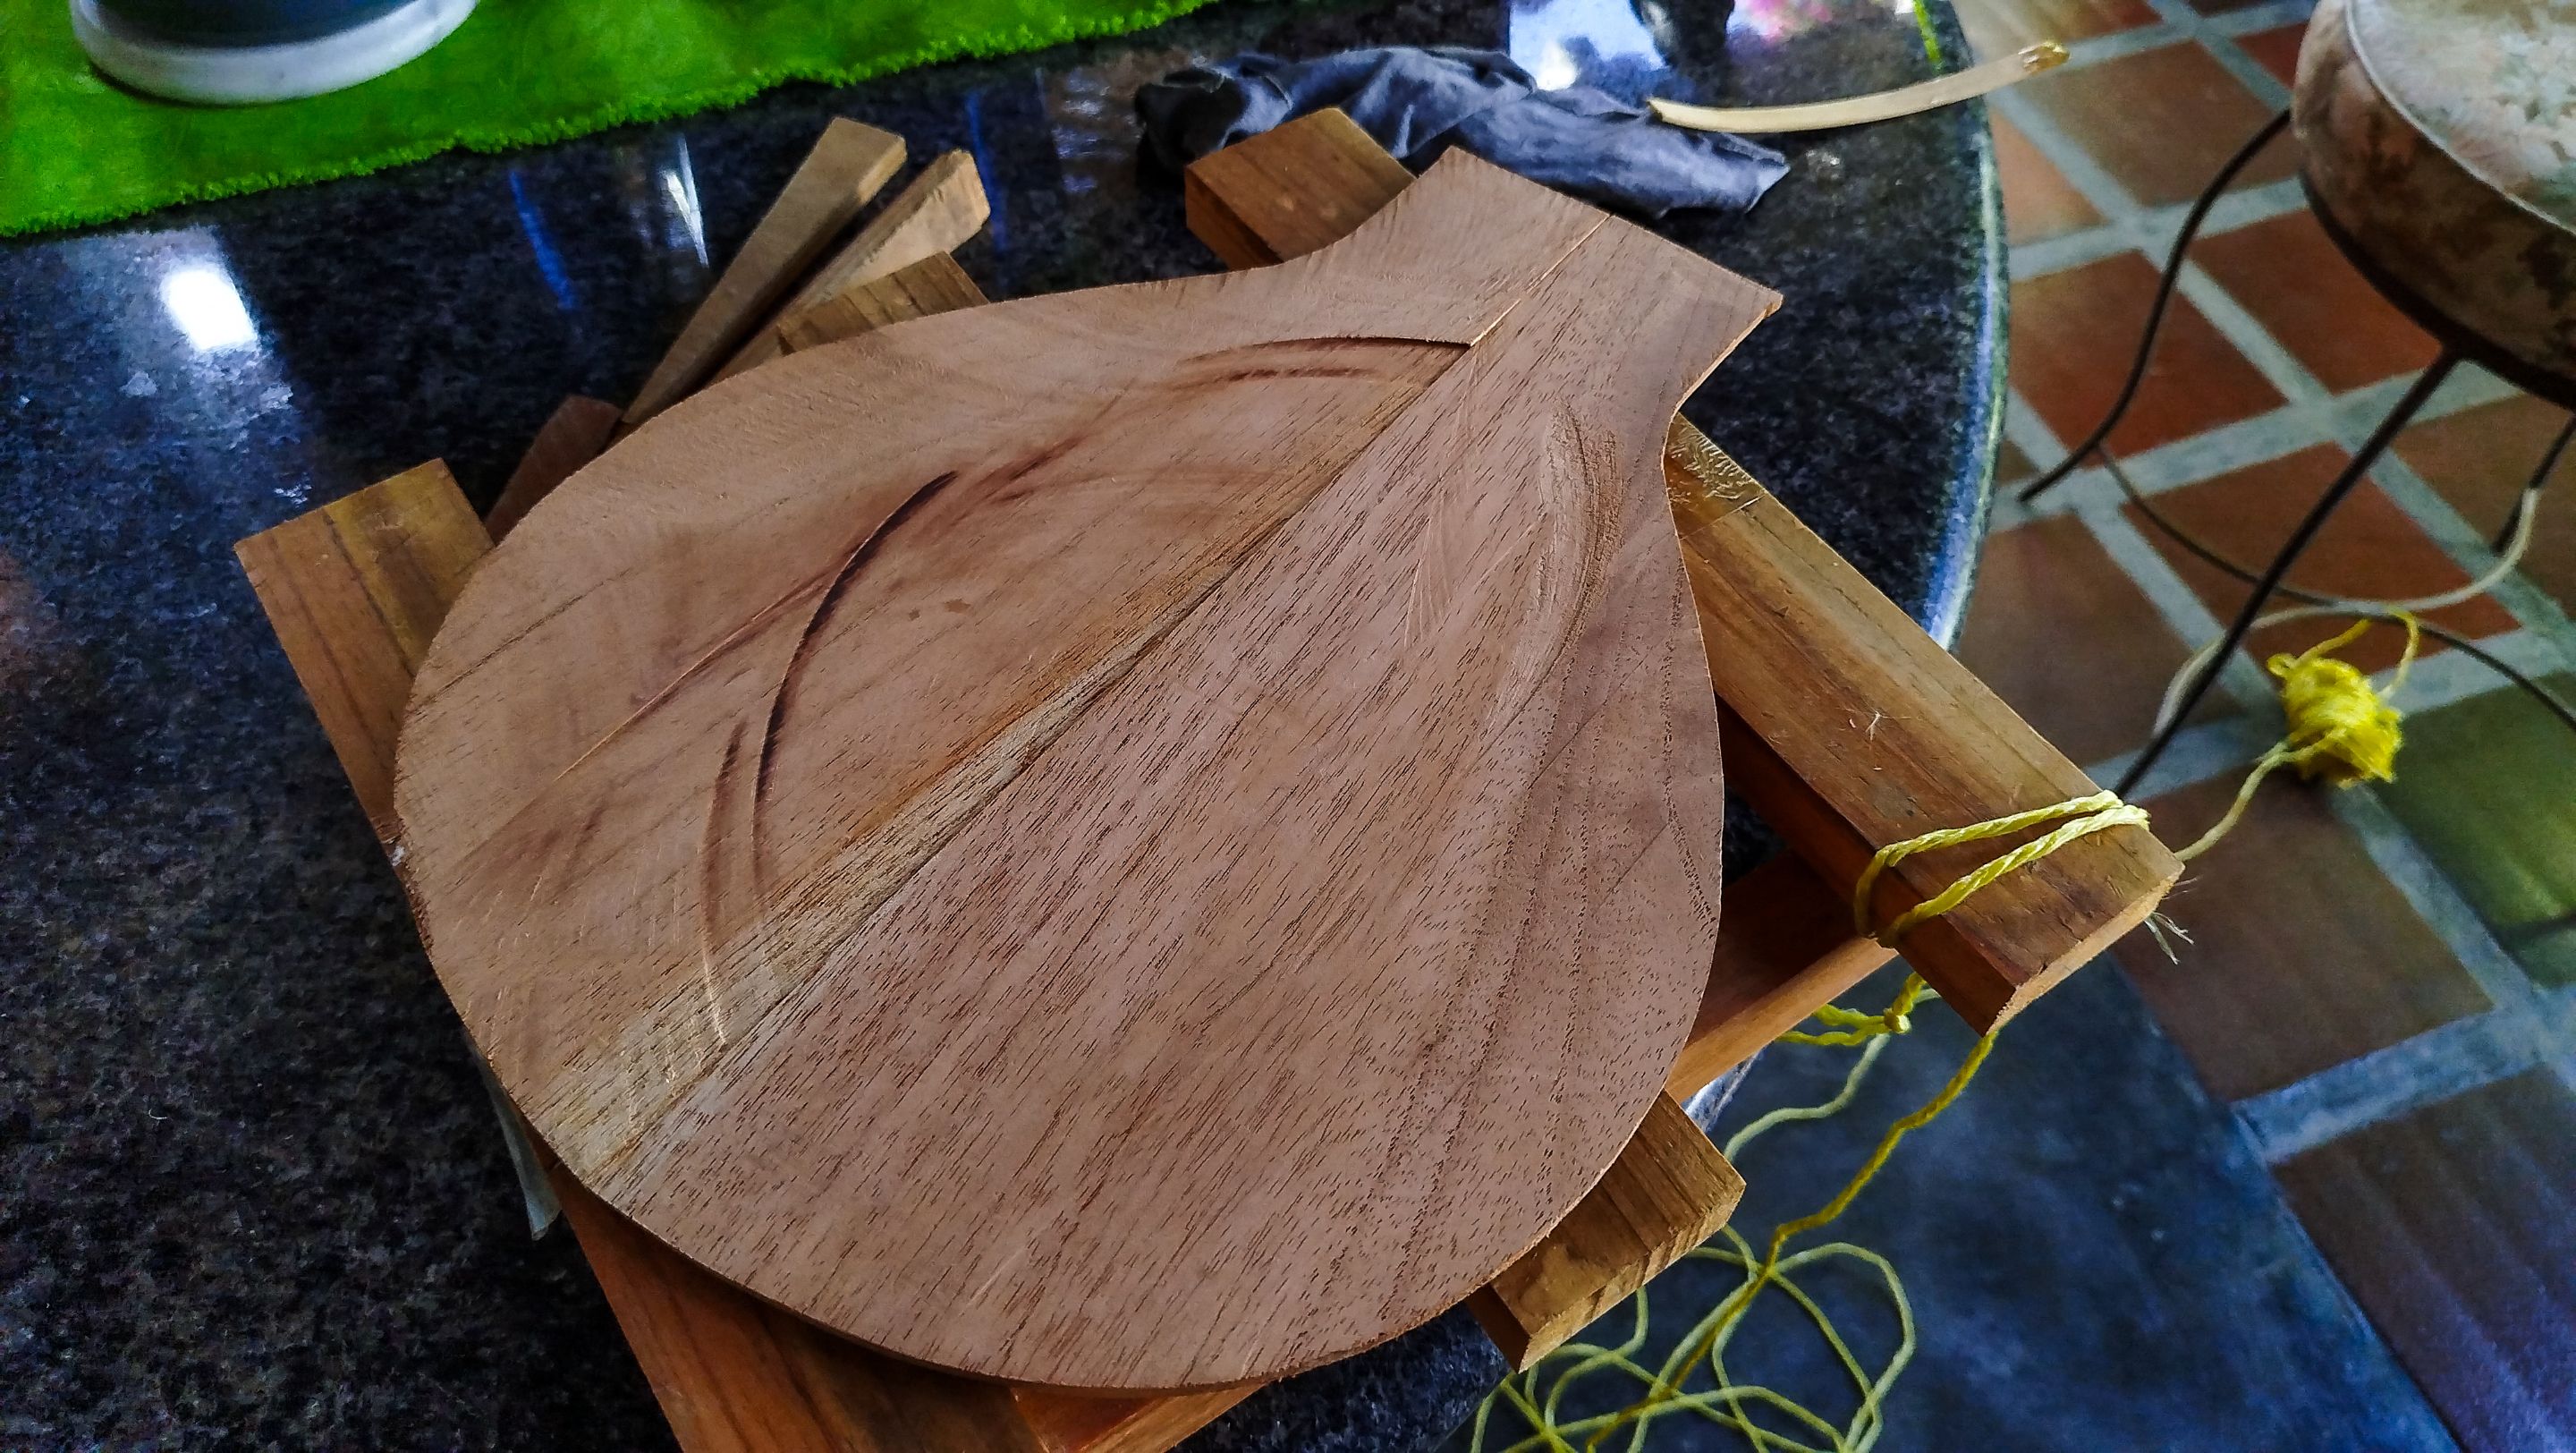
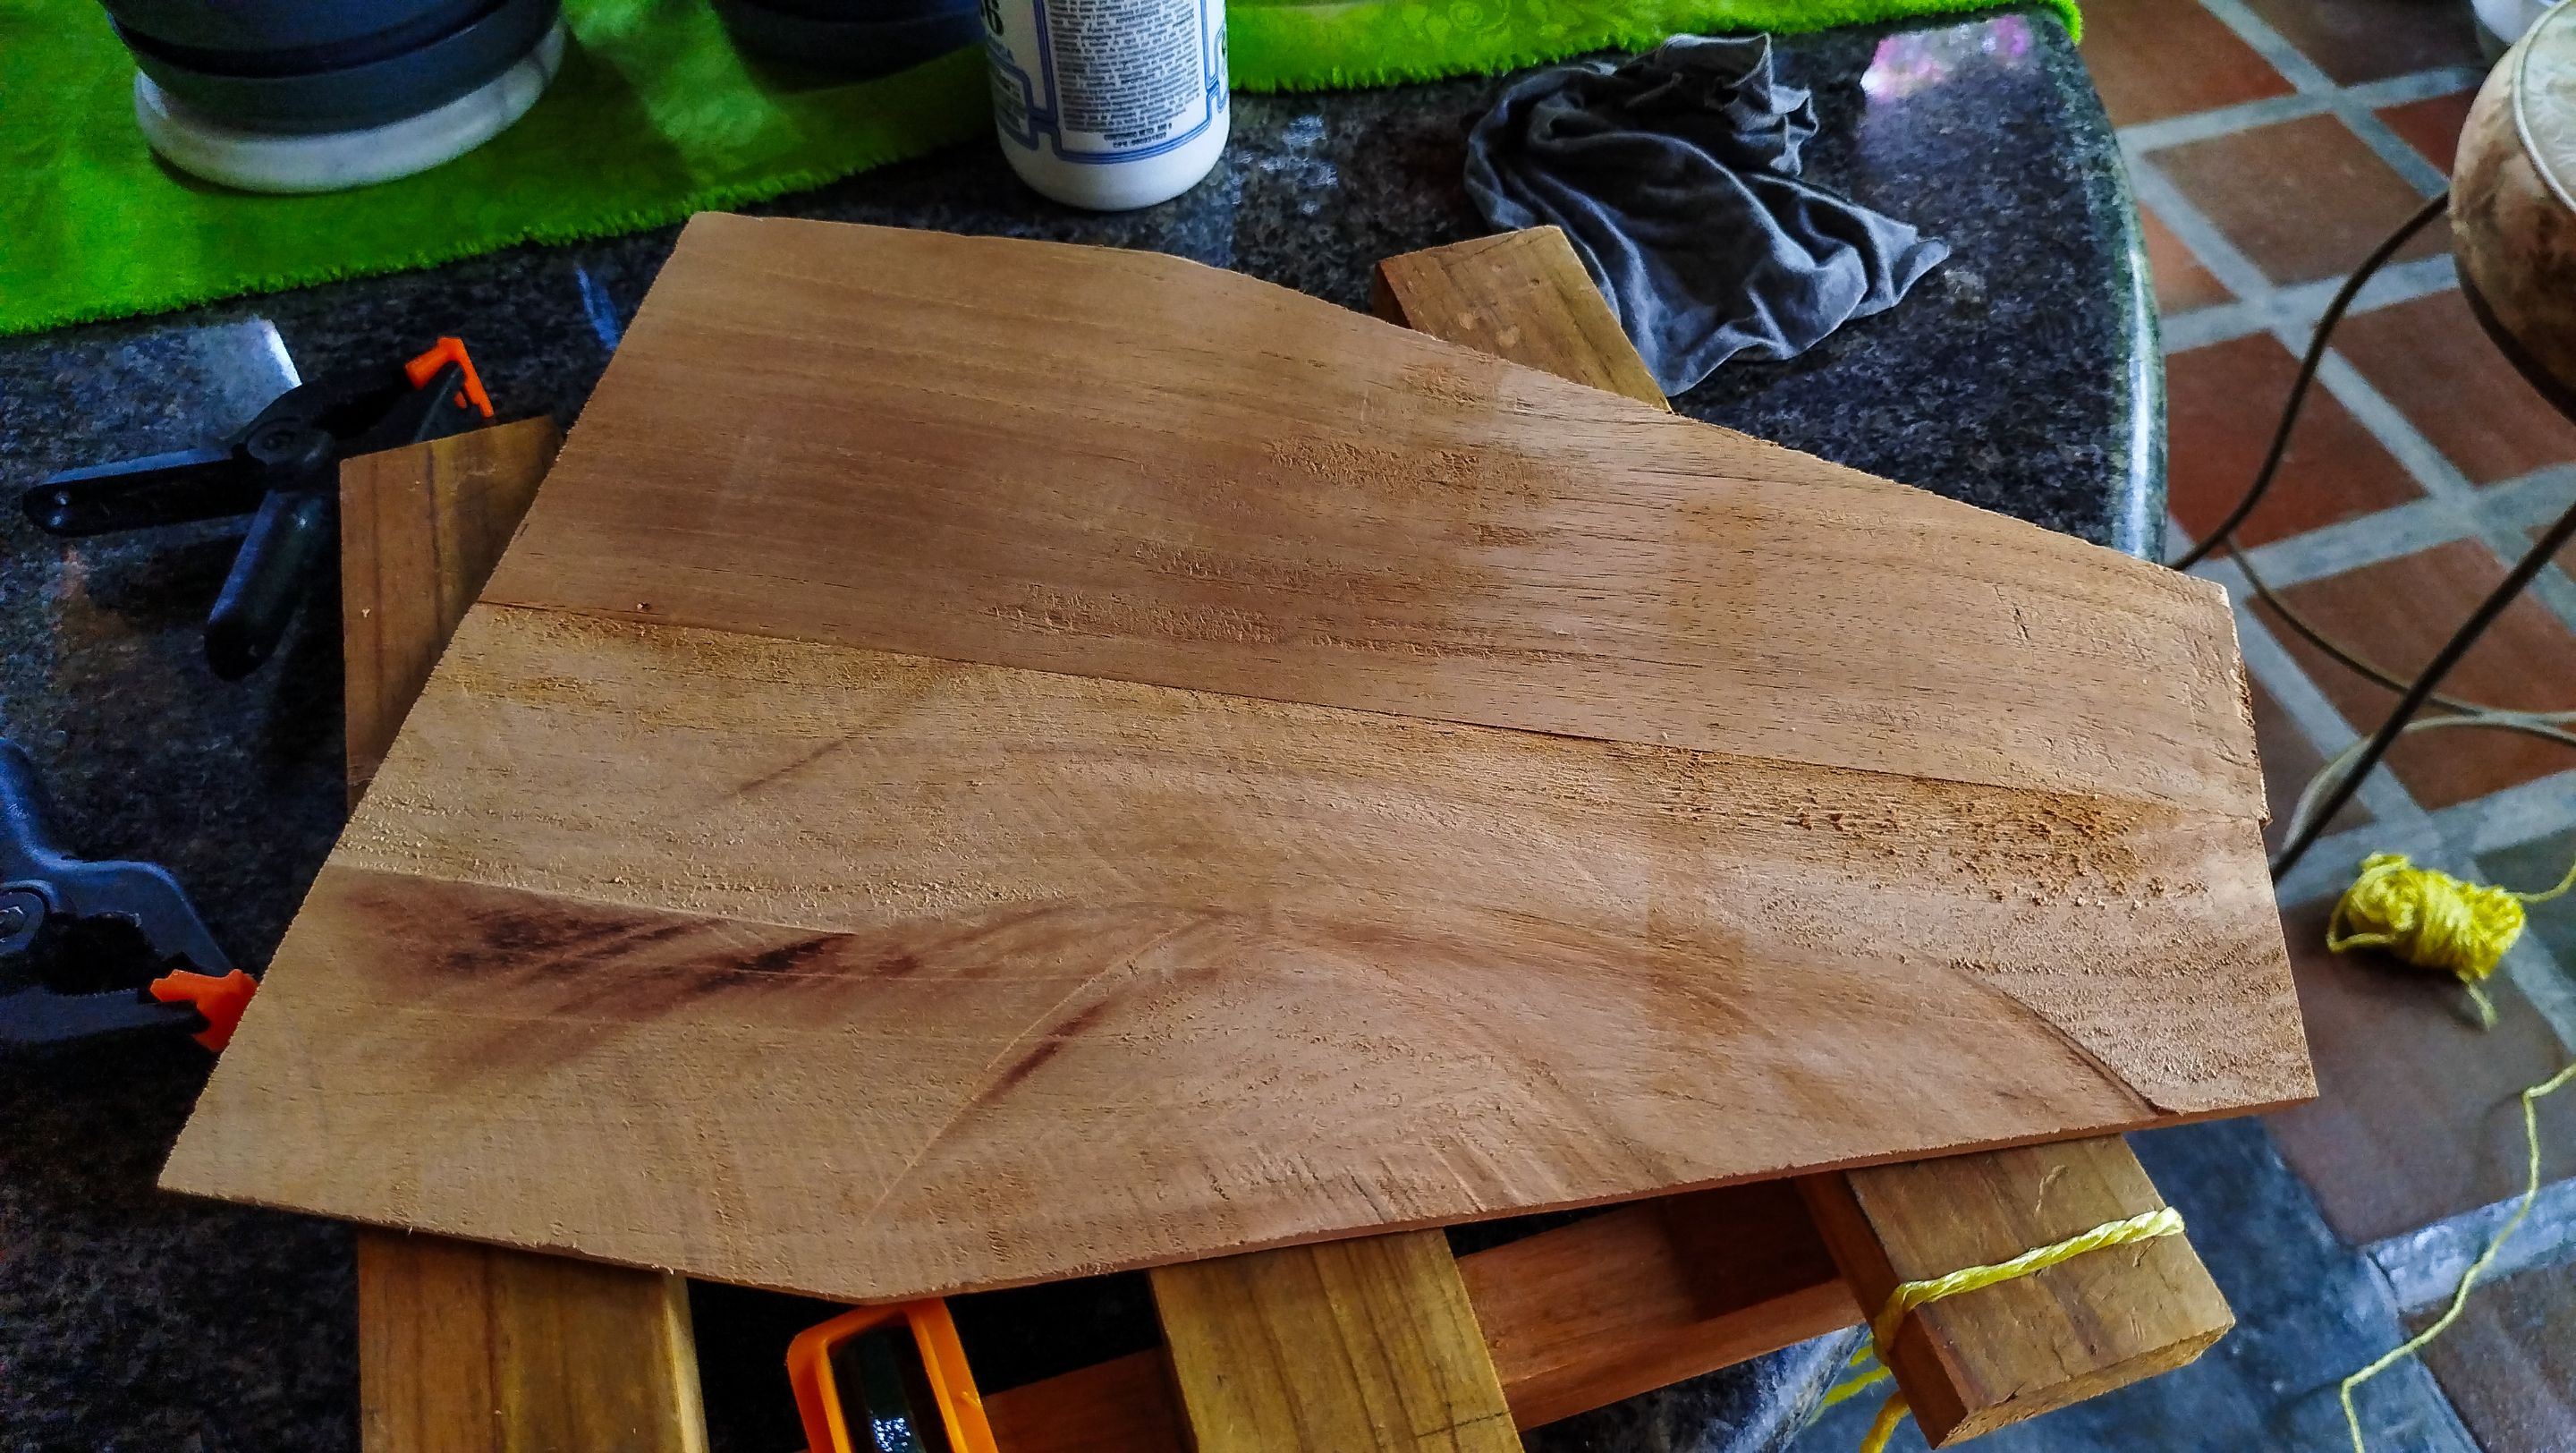
This has to be my least favorite part of the work. It tends to require too much adjustment. Not only of the tool, but of the surface where we are doing this edge work. We need to make the edges of both pieces of each sound board as even as possible. The usual trick to know if the joint is good is to hold them against a light and see if any light gets between the pieces. This is also a good way to understand where you need to adjust the cutting of the hand plane.
The tough part here isn't working when the top and/or bottom portions of the boards are aligned. When the middle is the part giving problems, you need to channel your patience and start working bit by bit. Only then the boards will have a good joinery work. You can also cheat a bit using a sanding board to get those last microns worked and make sure no light can get between the pieces. The reward of this task is having a seamless sound board. That's is a sign of a job well done. Not only providing better aesthetics, but making sure the sound board was built to last.
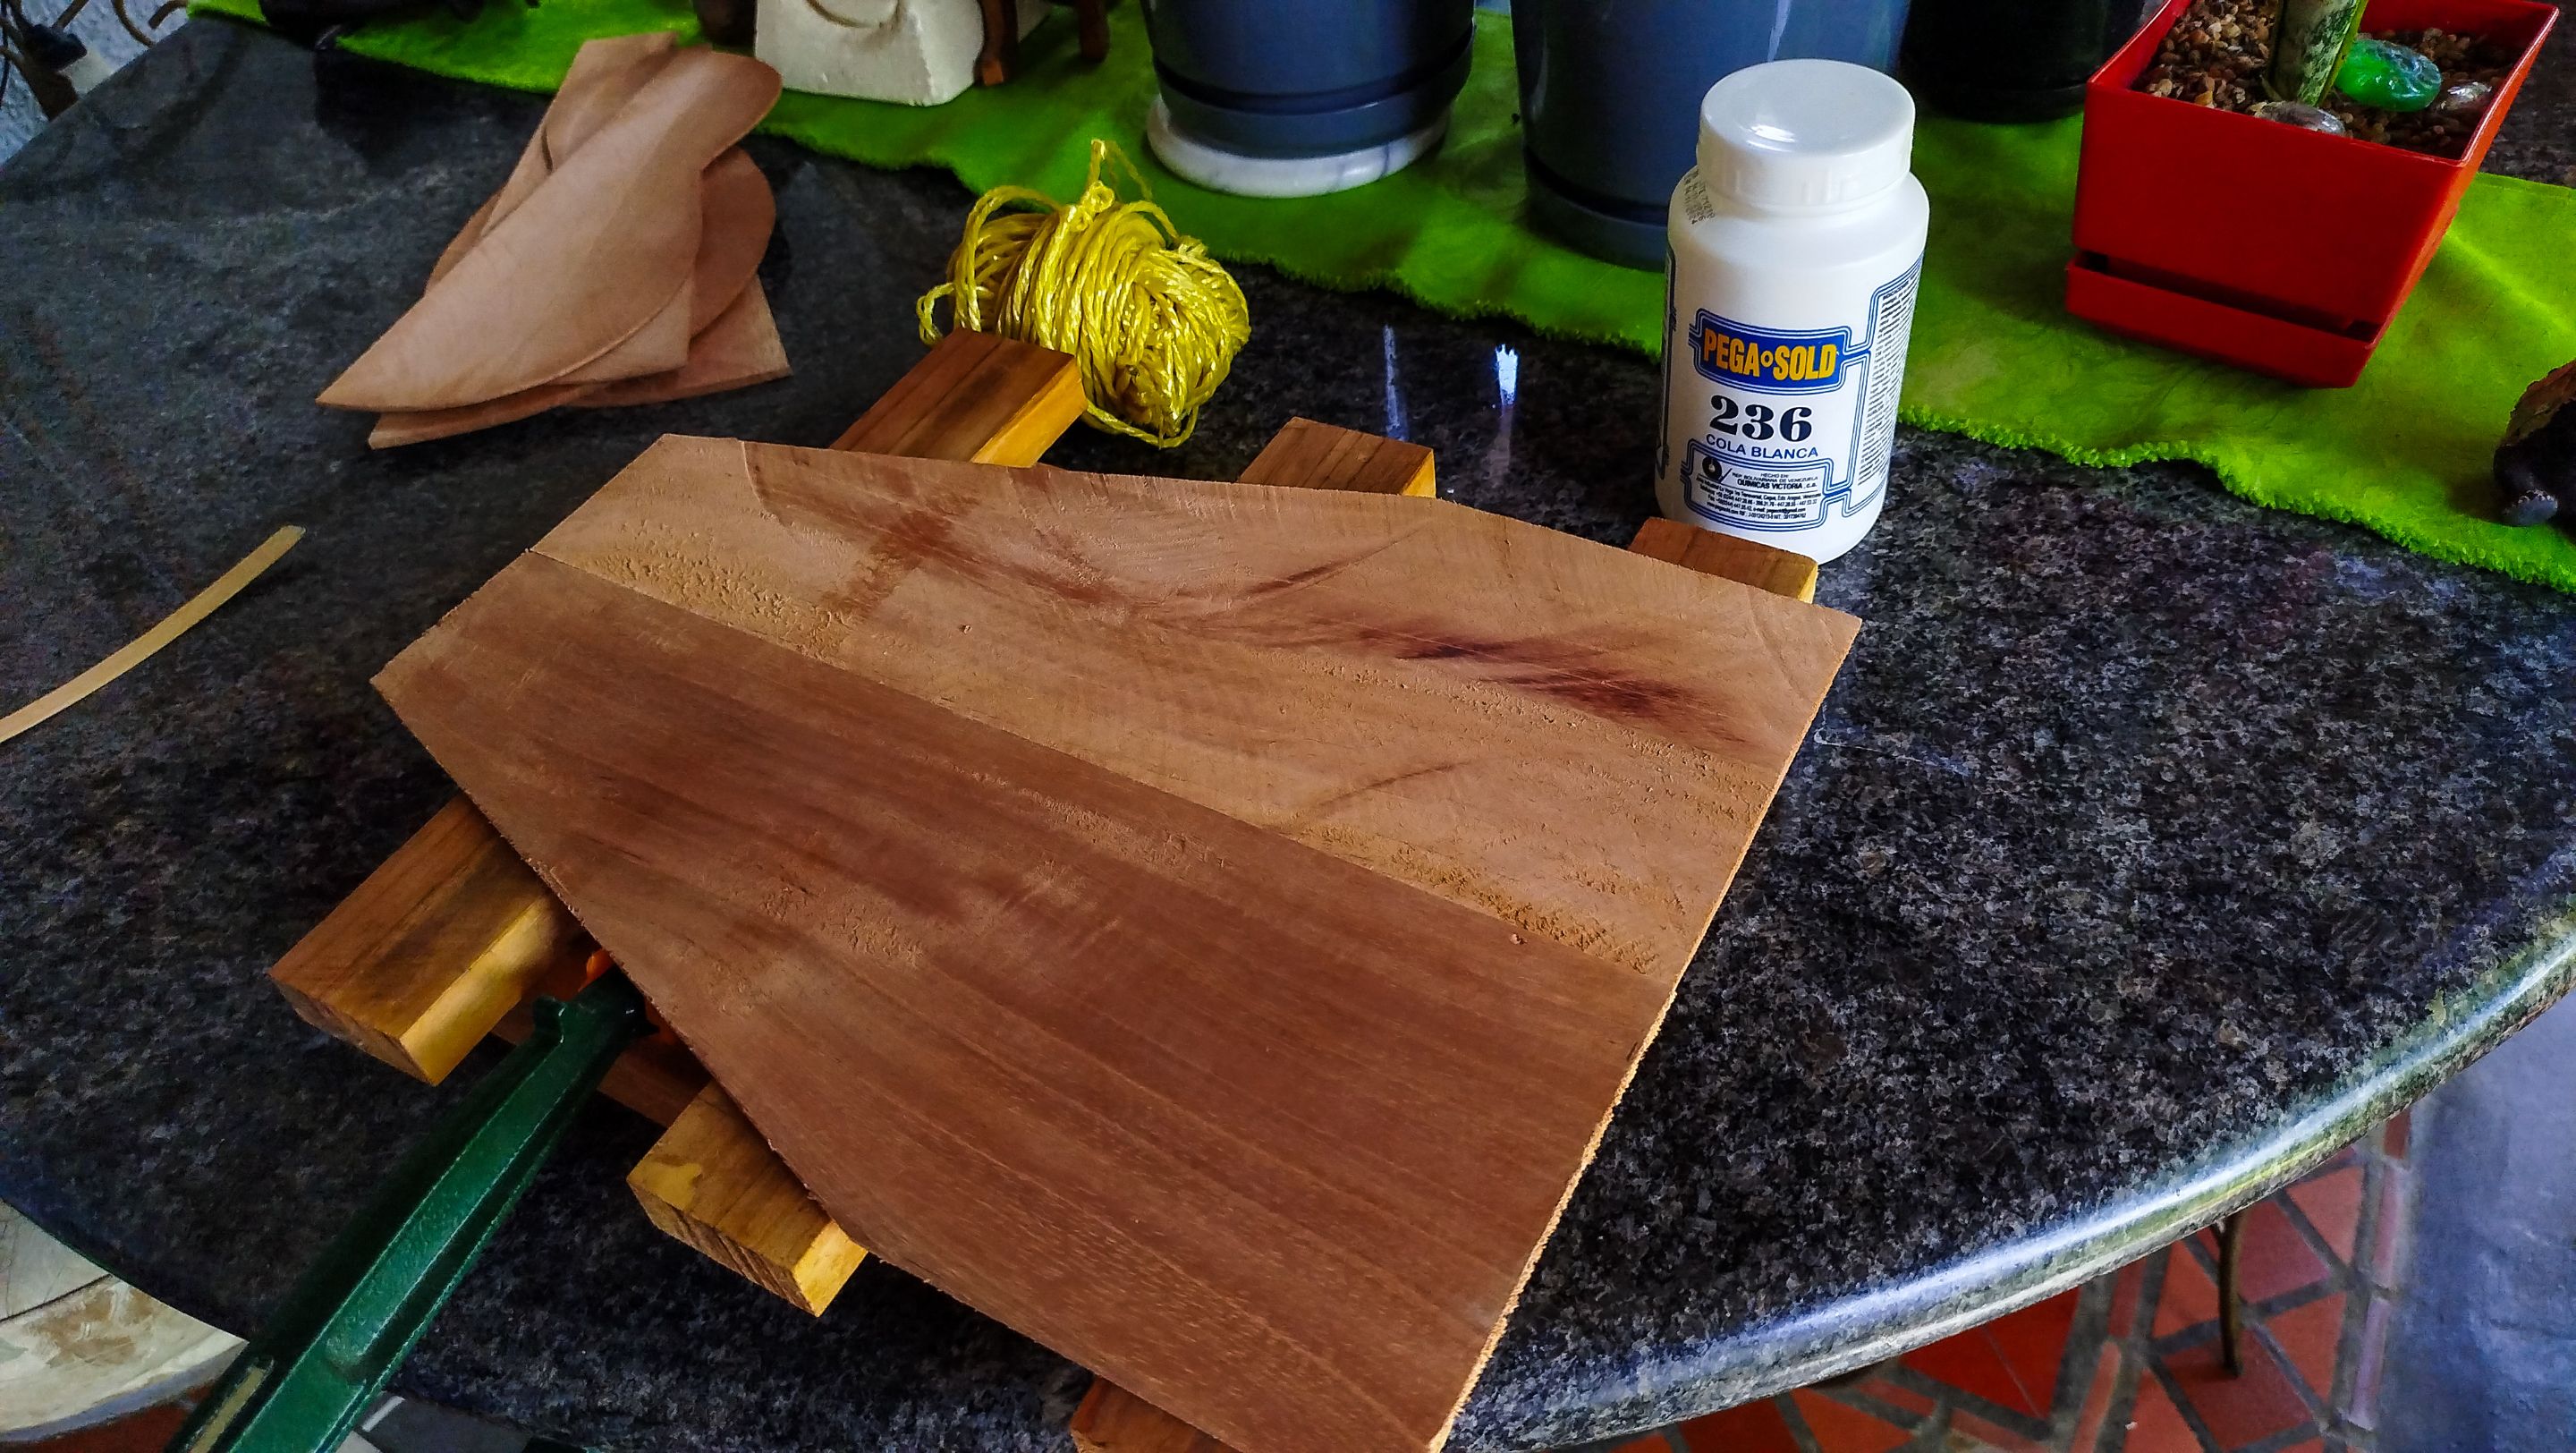
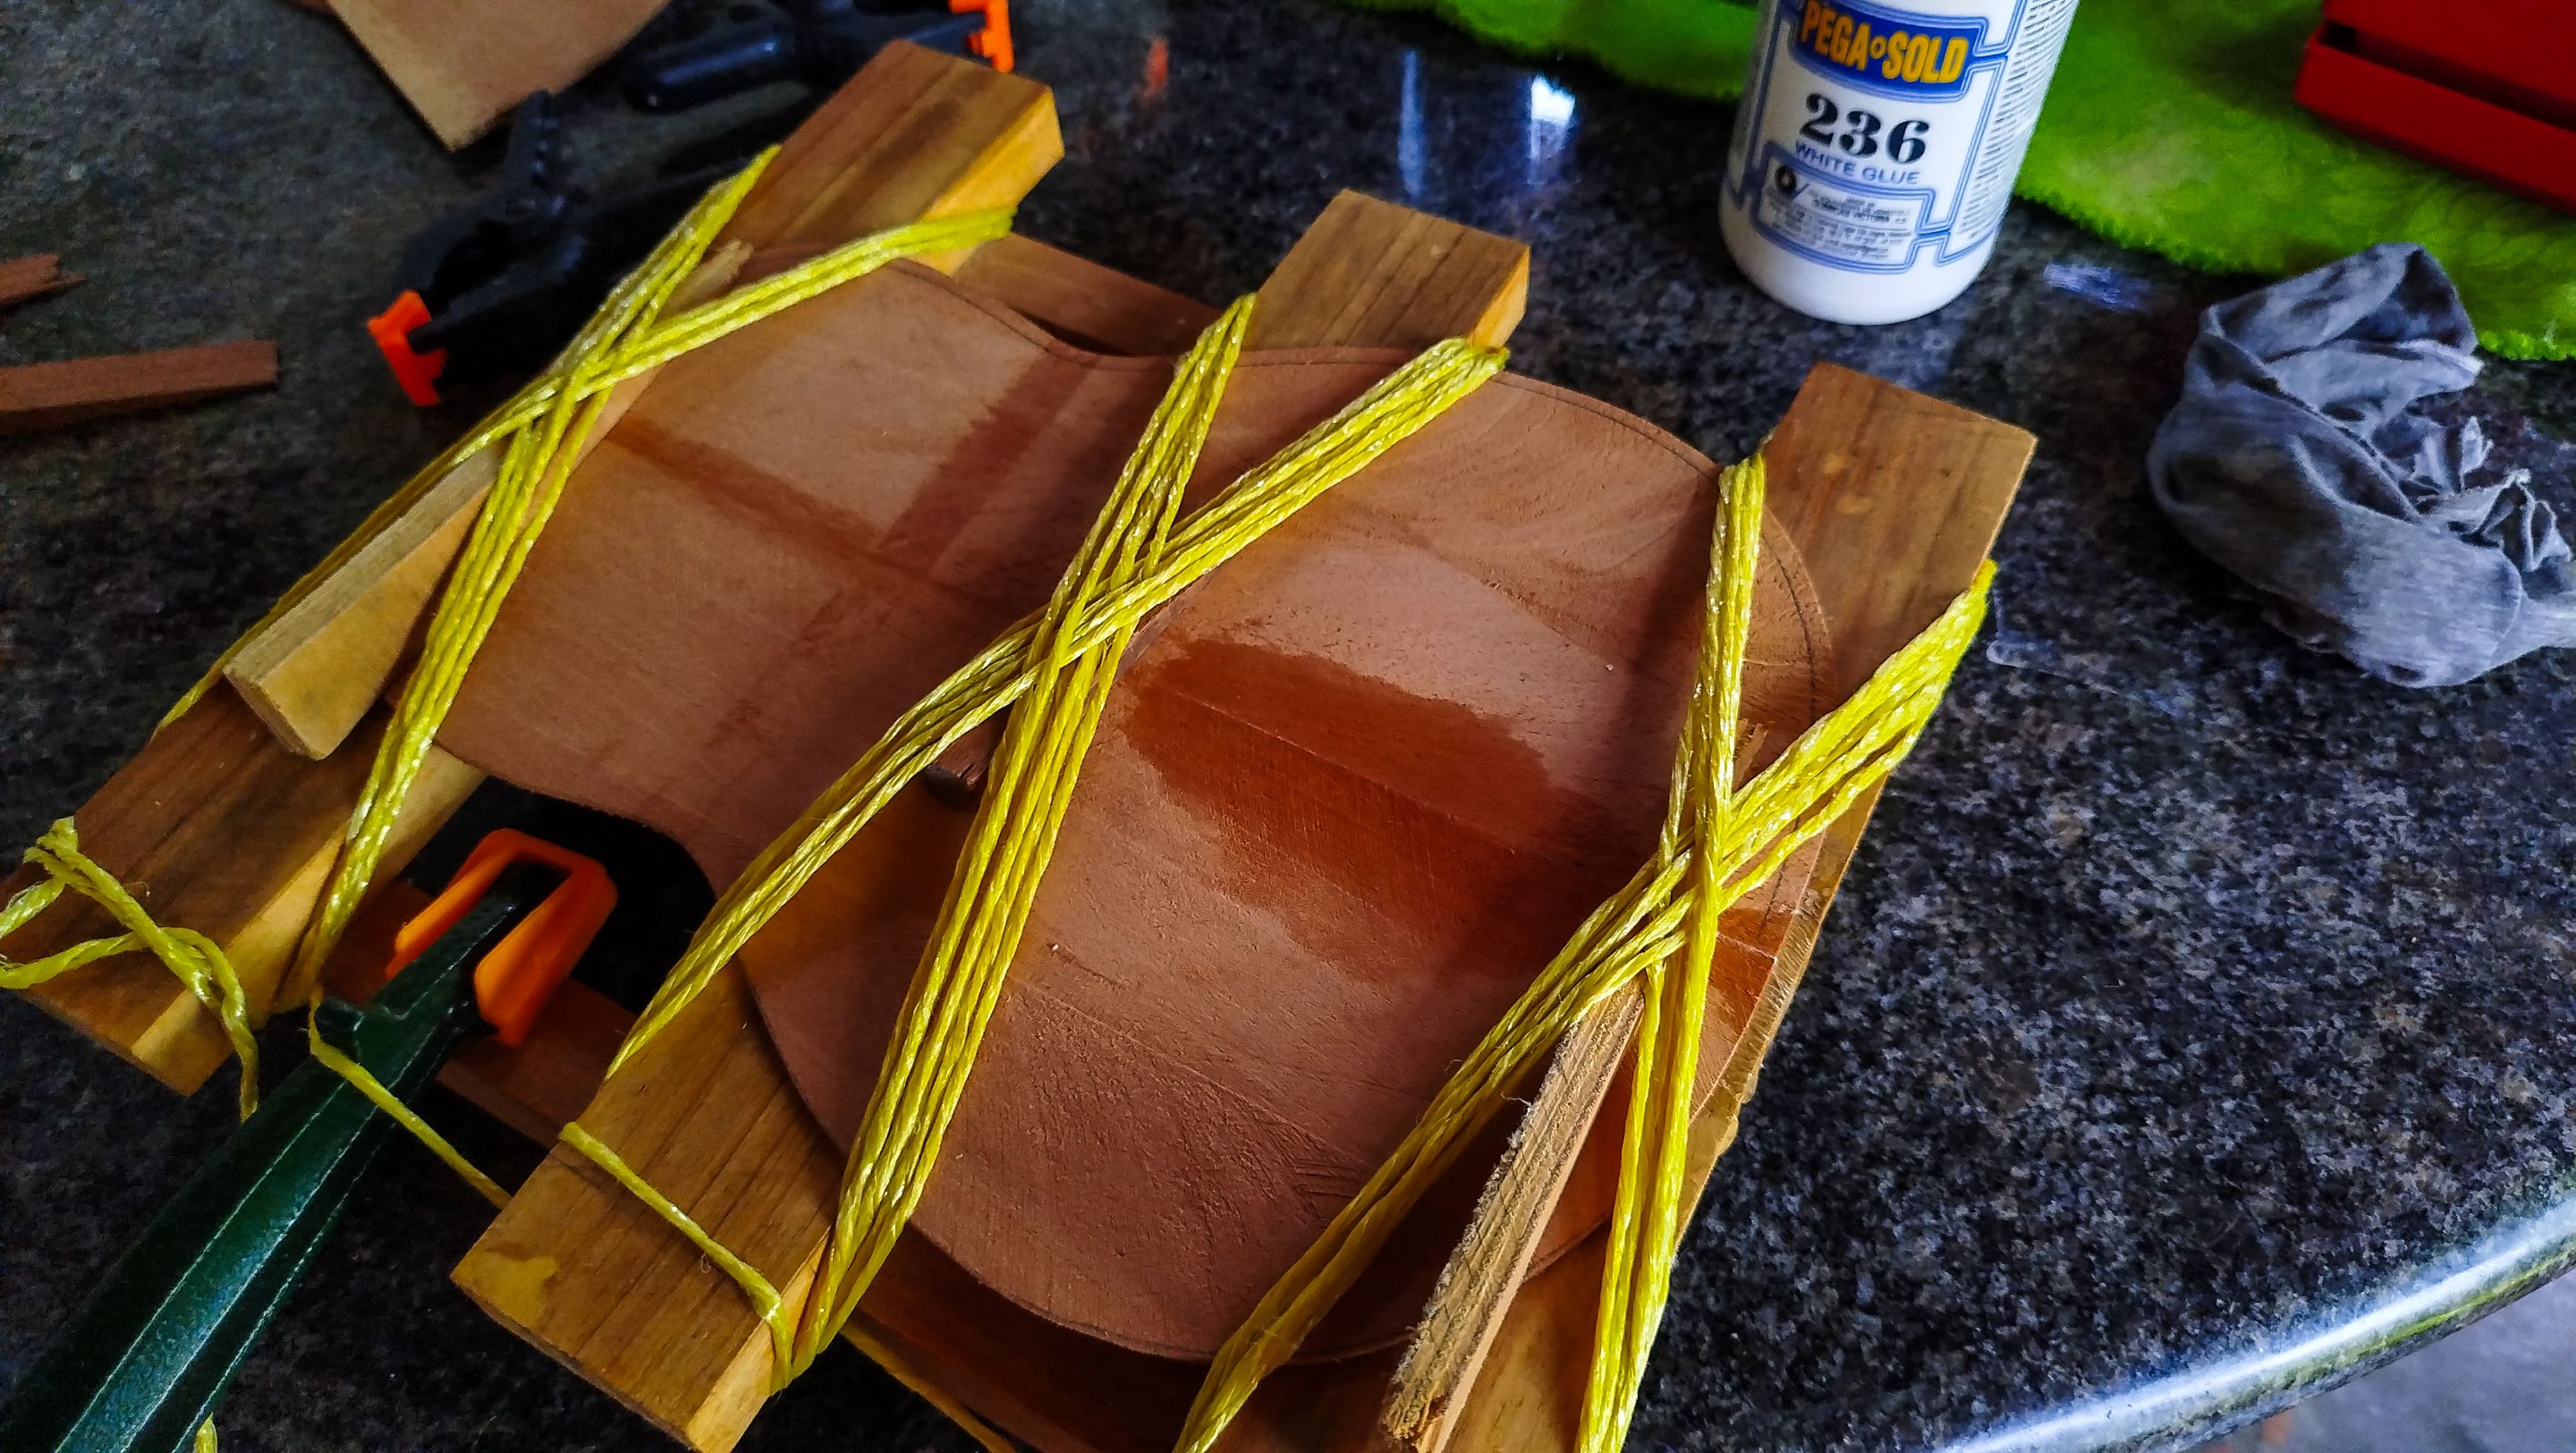
Tie them up

Swipe to see the photos
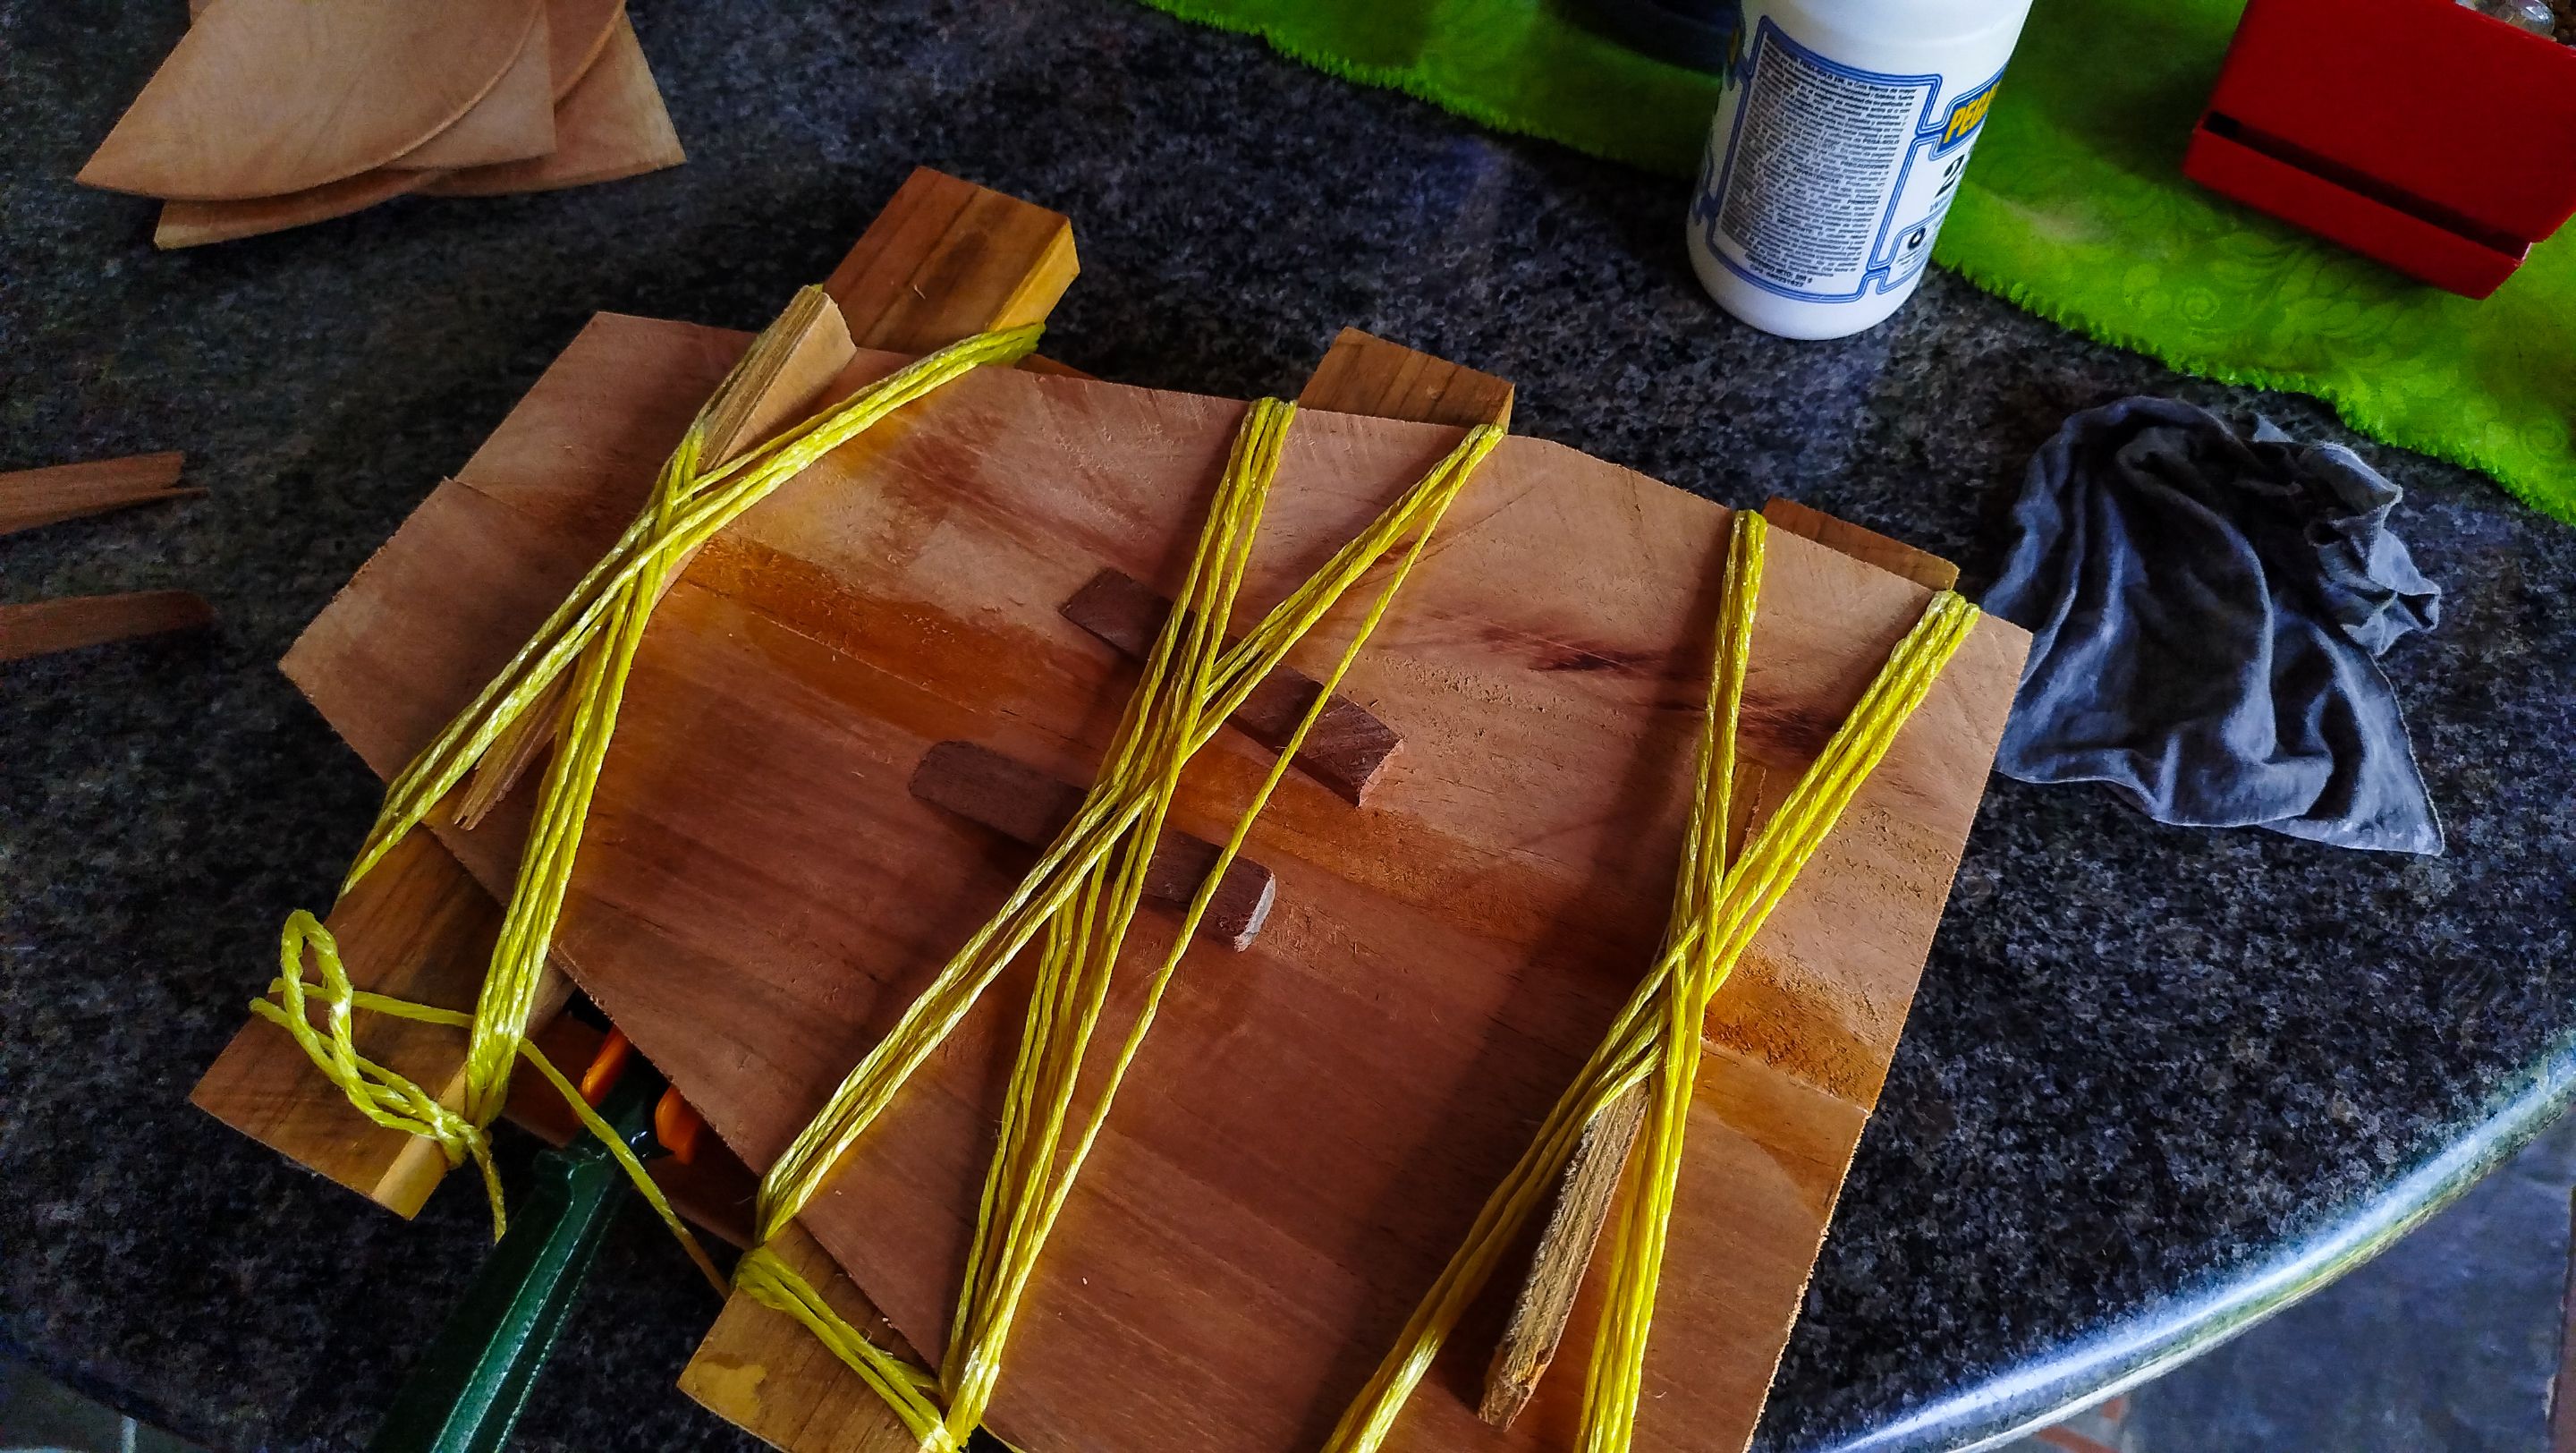
There are many variations of the jig used to glue the sound board together. The simplest one is composed of six pieces of wood that you can put at different places along the sound board. Then you get the others on the reverse side of the piece. Now you have all the room to use chord or rope to tie in the sound board. The best part is that the pieces of wood have two functions. They are the place where the chord will tighten. And they also keep the pieces of the sound board leveled.
While gluing all these boards, I found out the length and size of my jig is only comfortable when trying to make sound boards for Venezuelan Cuatros. This is something I'll need to address in the future by making another jig that gives the right amount of room for any form and size of sound board. And that works using the same configuration. It will be a challenge.
However, in this opportunity, placing the sound board more to the middle of the jig, helped compensate for the length of each one. The ukulele one was by far the most troublesome as the rope was barely holding the narrowest part together. Luckily, using some wedges also helps holding the pieces together.
The Sound Boards
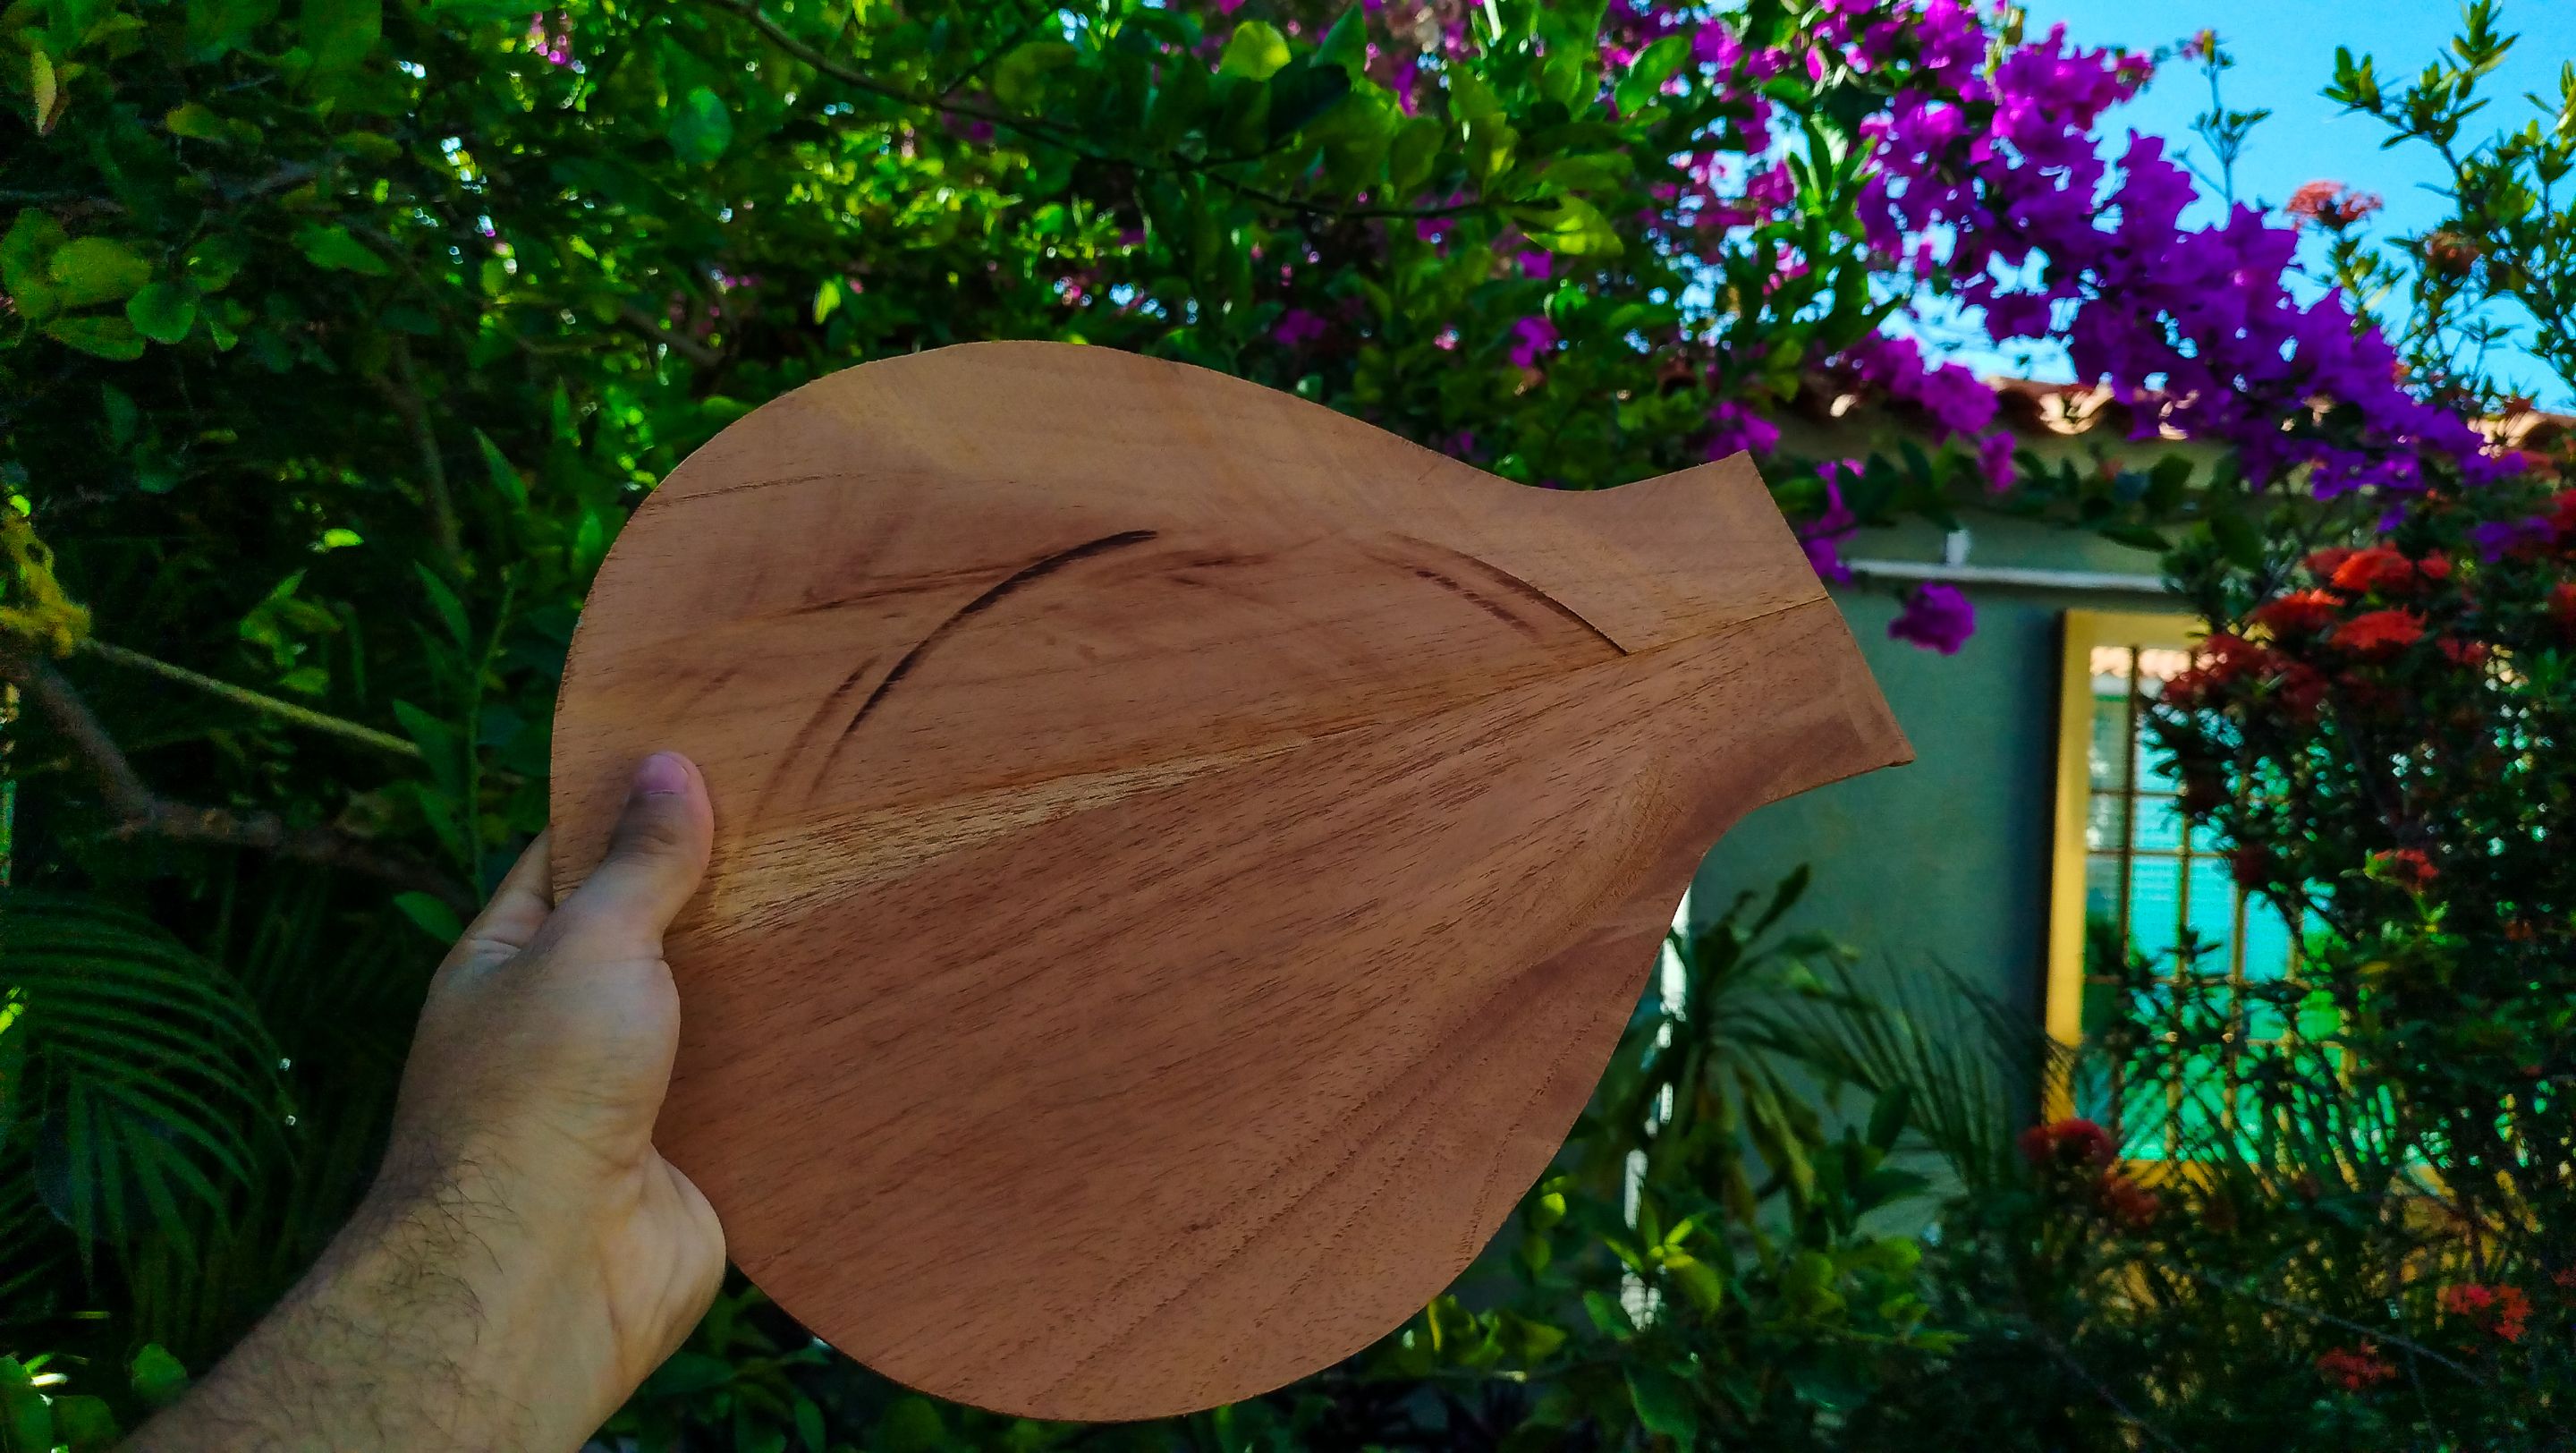
Swipe to see the photos
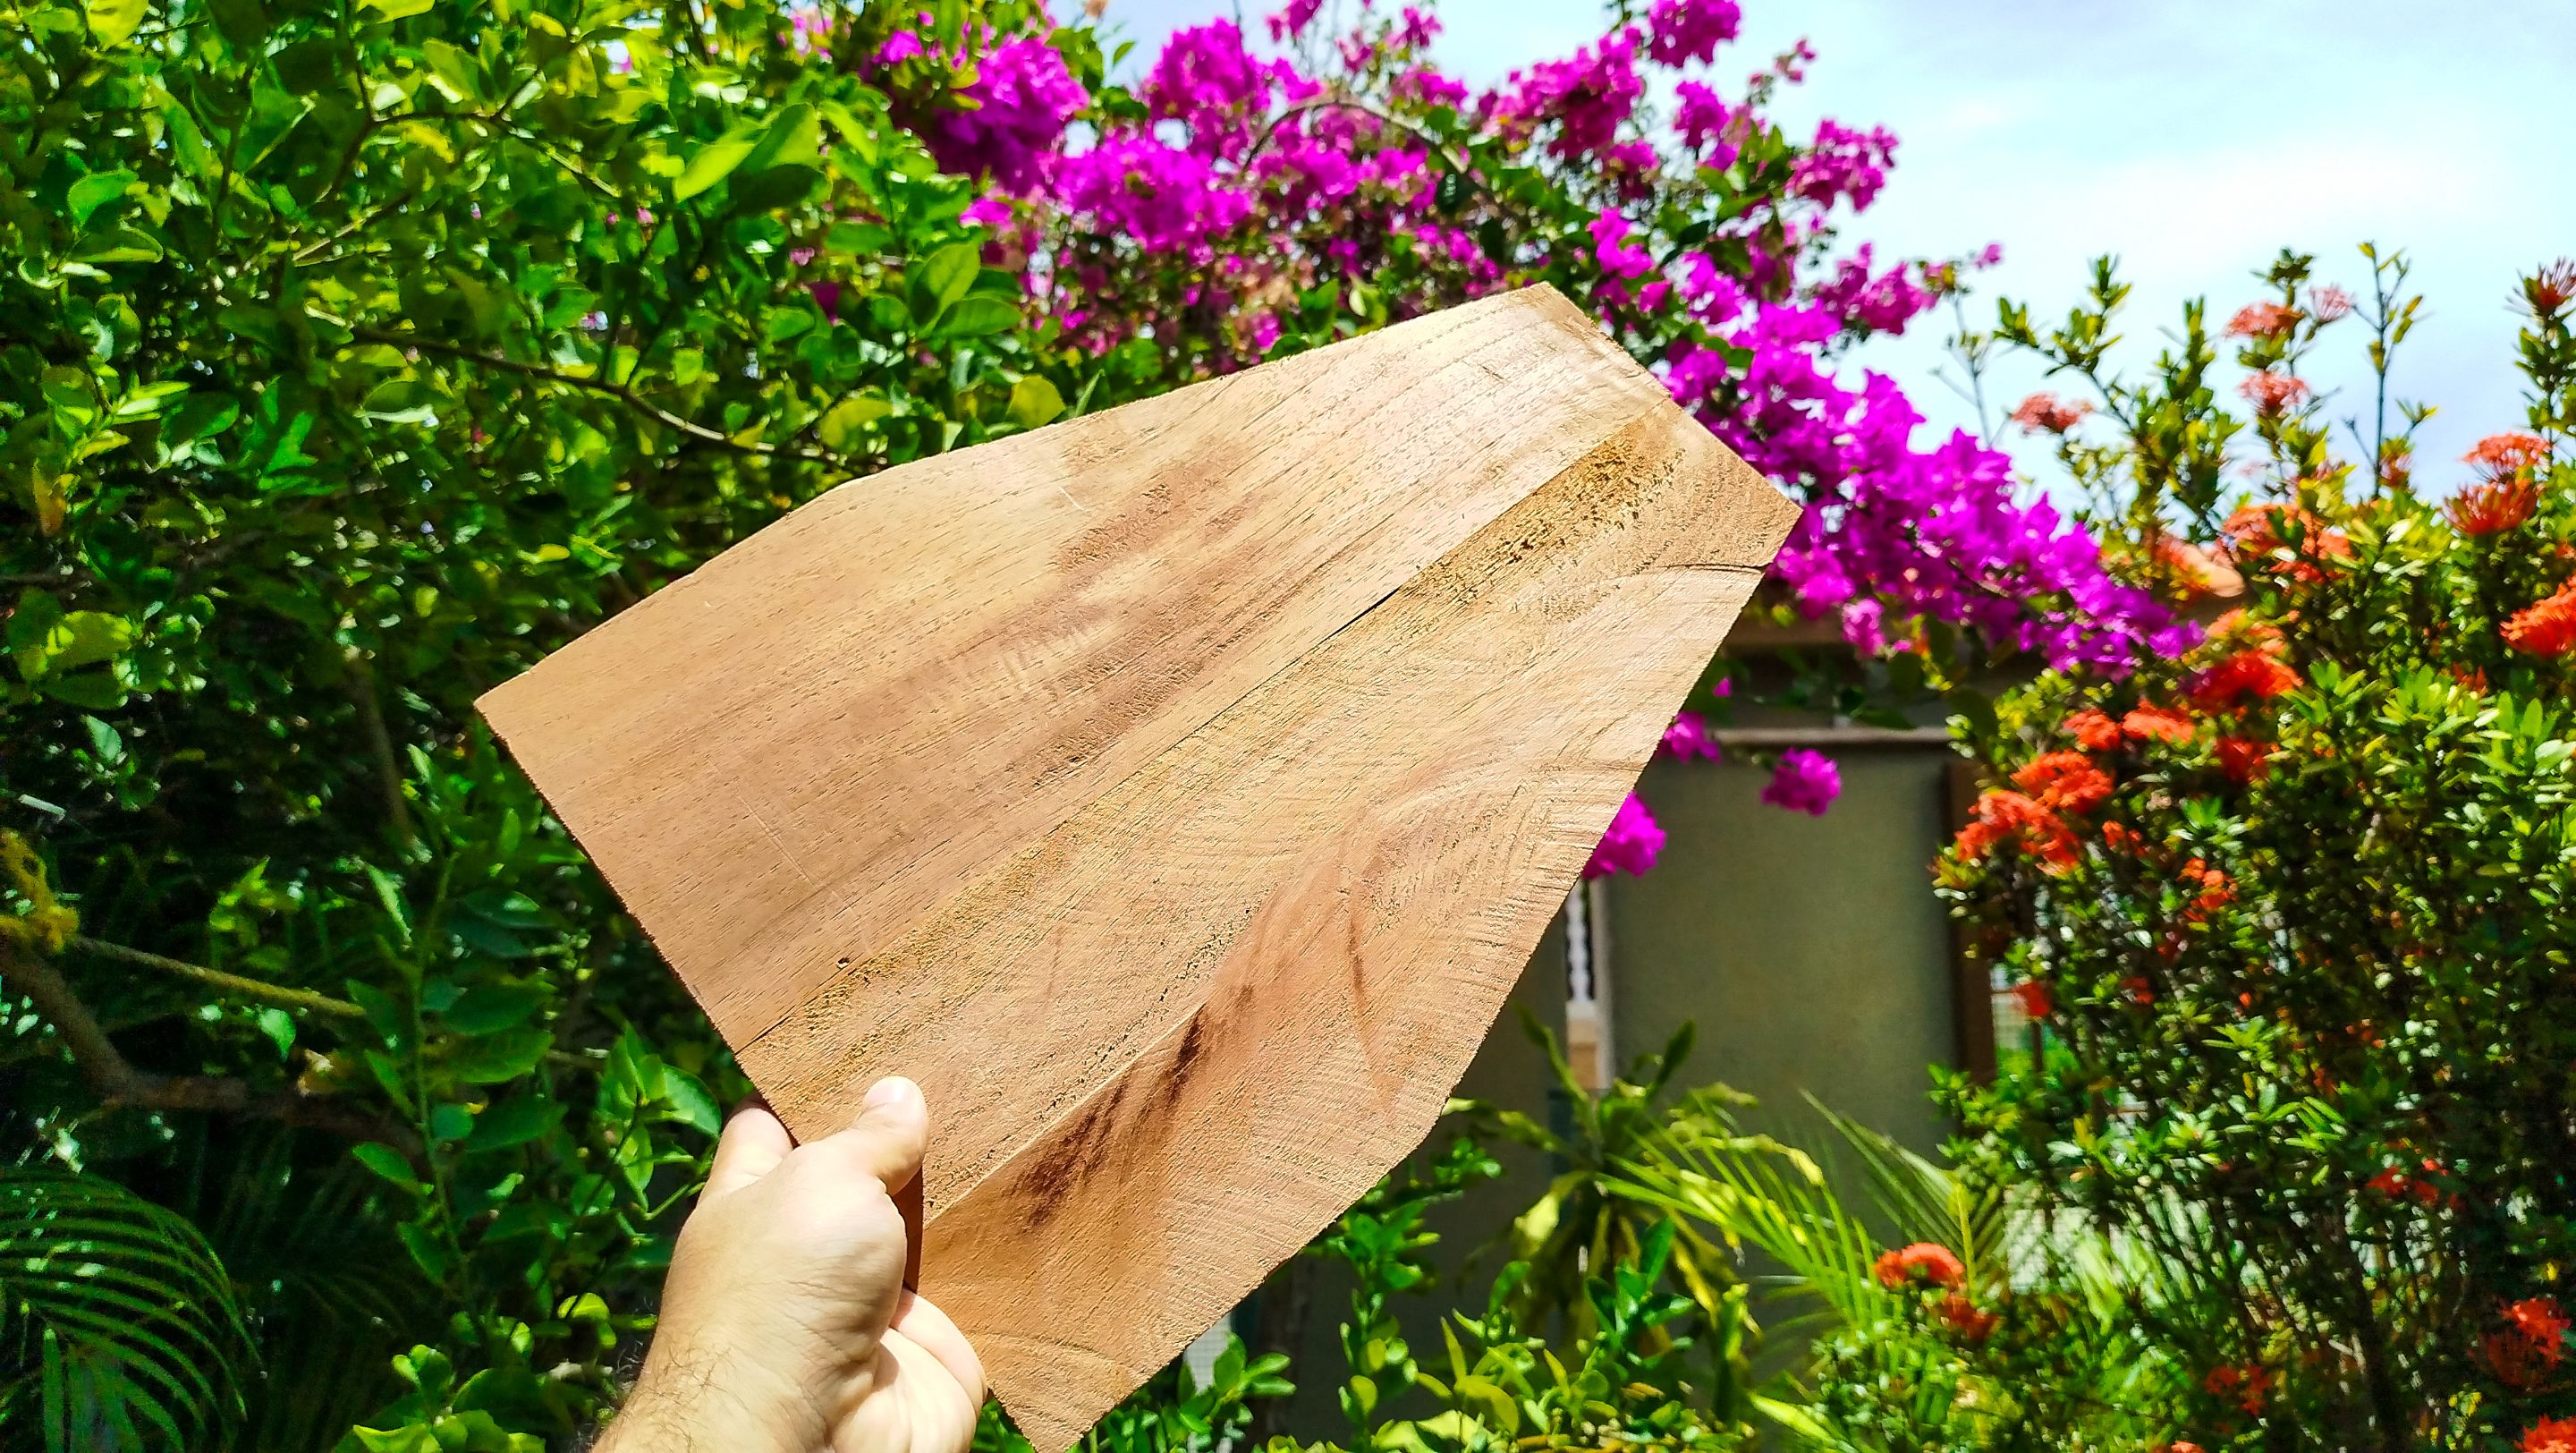
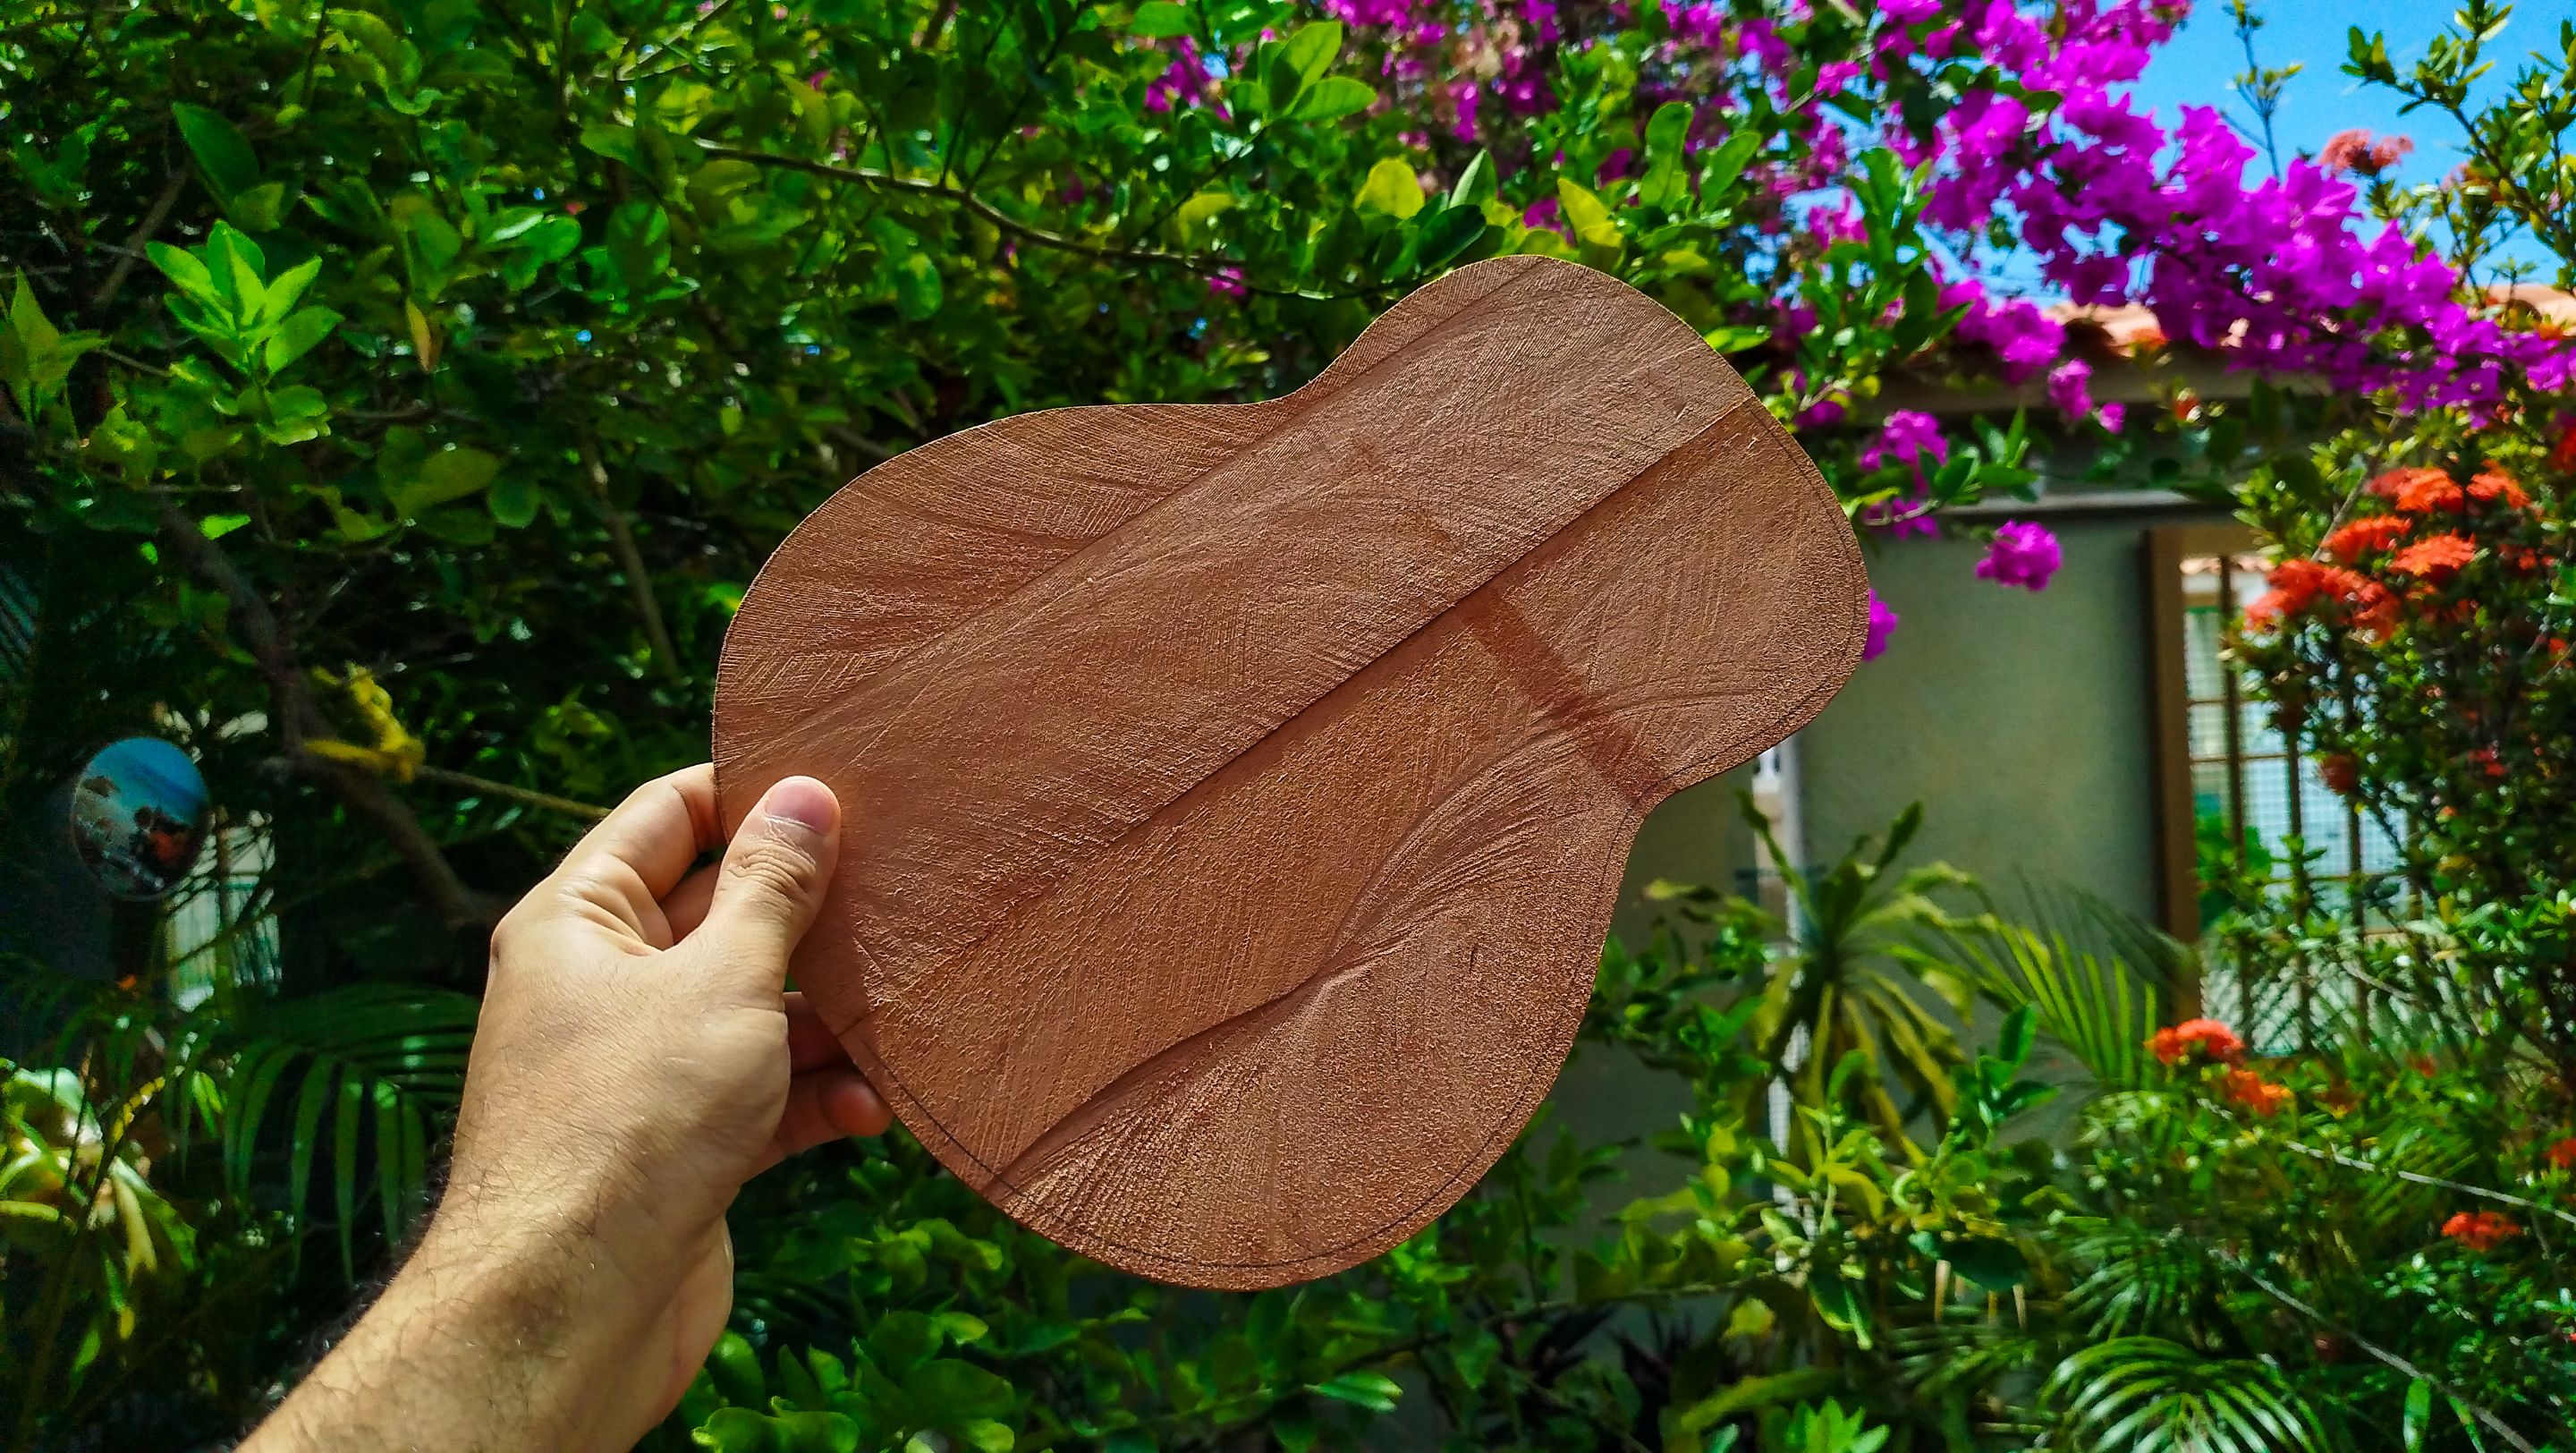
These are the results of the work. Three sound boards for three new instruments that will be done in the workshop. Hopefully, these will help funding the workbench I've been needing to level up my work. I'll keep my fingers crossed for that. For now, I like to admire cedar wood on my usual photo for completed tasks and stages. It is not only beautiful, but the smell is amazing. Any time I get to work on this kind of wood, the front yard always ends up smelling amazing.
Now back to the order of making these instruments. Since ukuleles are the smallest kind of plucked-strings instruments I'll be making for some time, that will be the first one. Besides, I've had the urge to make an ukulele for a long time. It will be a concert ukulele. And you'll get to see each step on the following posts. When that one is finished, we'll get into making a mandolin. The last one will be the Venezuelan Cuatro since it is the instrument I know how to make the most.
Thanks for reading! See you at the start of the new project!
Follow me on Instagram for enquires and commission. If you'd like to help the workshop grow, you can make a donation here. You can find me at discord as bertrayo#1763