Here's a quick tutorial on how to use it to make your own 2d animated characters.
First, Generate the sprite sheet
Join
my discord server, and come to the artspam channel if you haven't yet.
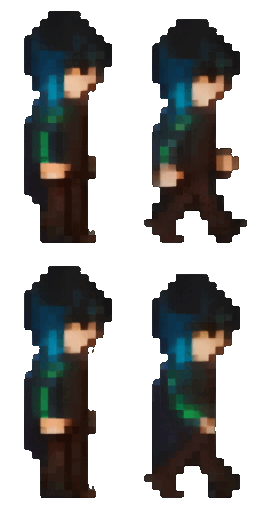
The first step will probably take the longest, depending on how specific your desired subject is it can take some prompt tweaking and generating a few variations to get something you're happy with.
The bot command to use the spritesheet generator is
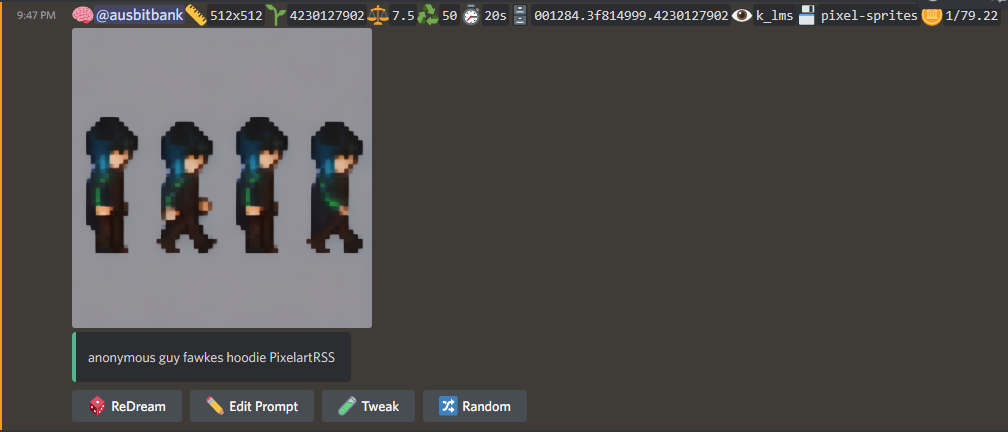
!dream SUBJECTHERE PixelartRSS --model pixel-sprites
Swap out SUBJECTHERE for your specific idea, eg anonymous guy fawkes hoodie
The PixelartRSS is a special keyword that generates sprites walking to the right, you can also swap RSS for LSS/FSS/BSS for left/front/back side sprites.
So for my example I typed this into the #artspam chat room:
!dream anonymous guy fawkes hoodie PixelartRSS --model pixel-sprites
Second, remove the background
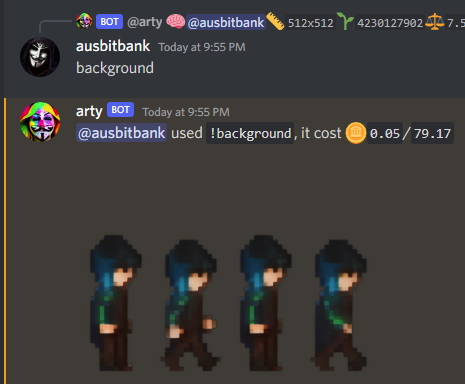
For this, we can use the bot again. Simply
reply to the render result you want with
background and it will
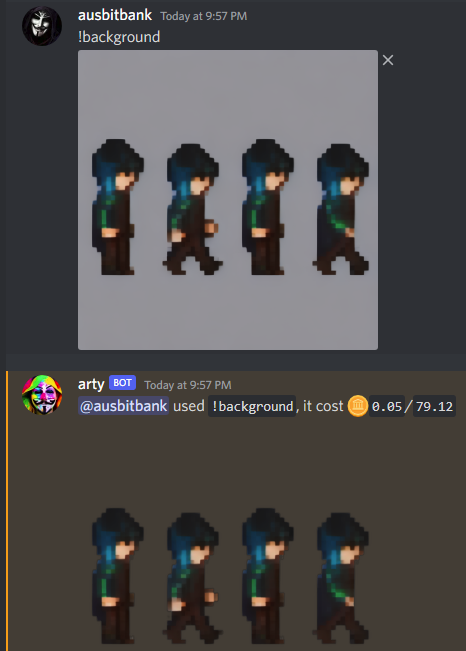
automagically detect the background and reply with a transparent .png image.
This background-removal tool works with almost any image, and can also be triggered by sending a non-reply message in the channel with just !background and attaching the image to the message
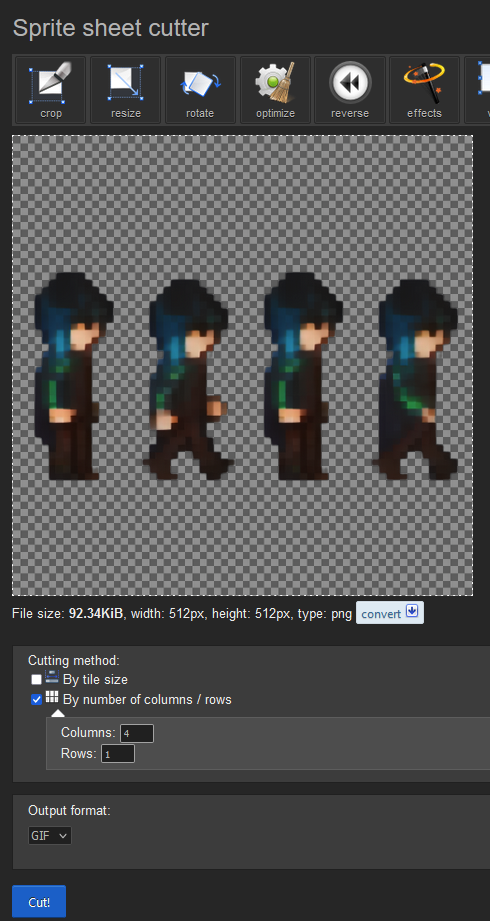
Third, slice up the sprite sheet into individual frames
The easiest tool I've found for this so far is at
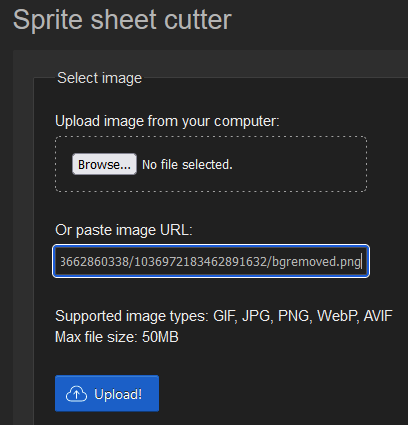
ezgif.com/sprite-cutterClick your new image with the freshly removed background, then click "open original" to get the full address of the image. Copy it to clipboard
Go to
ezgif.com/sprite-cutter and paste your image address into the image URL box and click Upload
On the next screen,tick the box under "cutting method" marked "by number of columns/rows ", set it to 4 columns, 1 row with an output format of GIF , then hit the CUT button
Fourth, create the gif
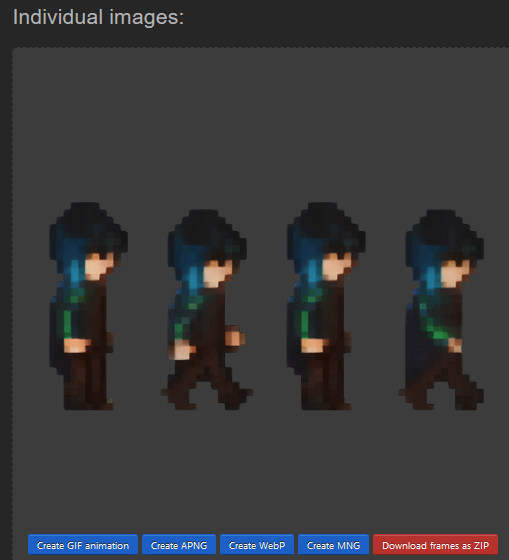
The previous step will spit out the 4 individual images, at this stage you could download the frames as ZIP for later use in other tools.
For the tutorial we want to click "Create GIF animation"
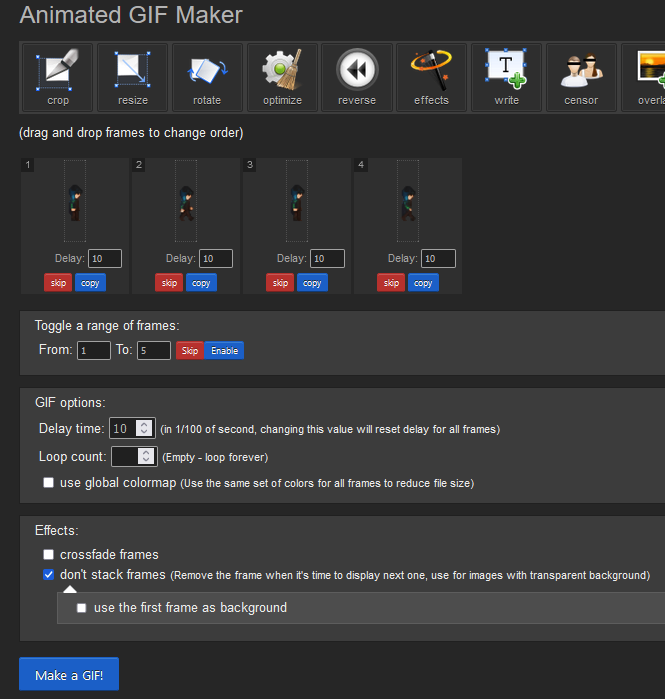
..bringing you to this screen where I edit the "delay time" to 10 , and tick the "don't stack frames" box before clicking "Make a GIF"
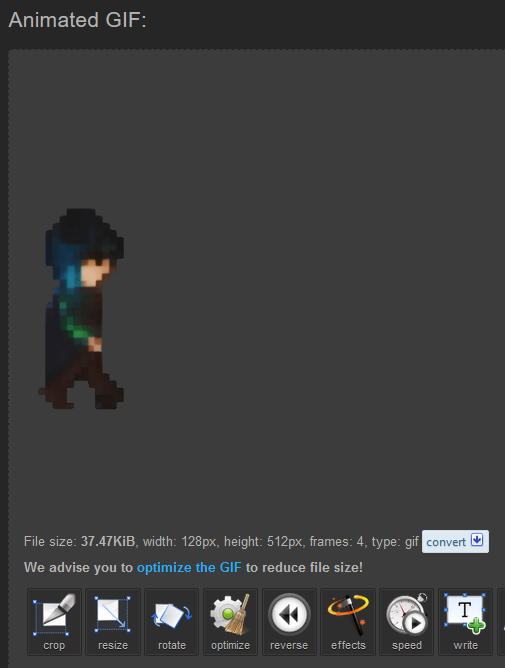
The next screen looks like this, at this point I click the left "crop" button
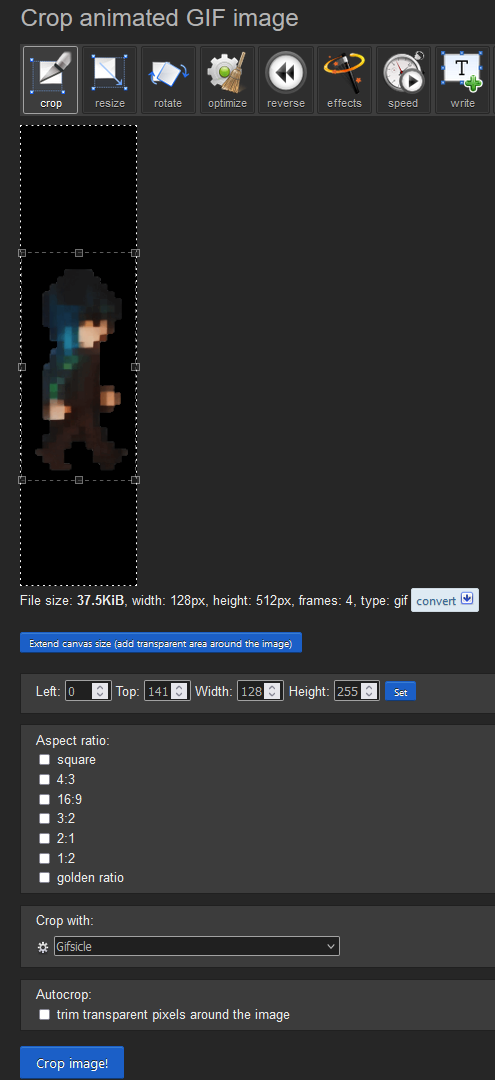
Bringing you to this screen where I just drag a box around the character to get rid of that excess height, then click "Crop image!"
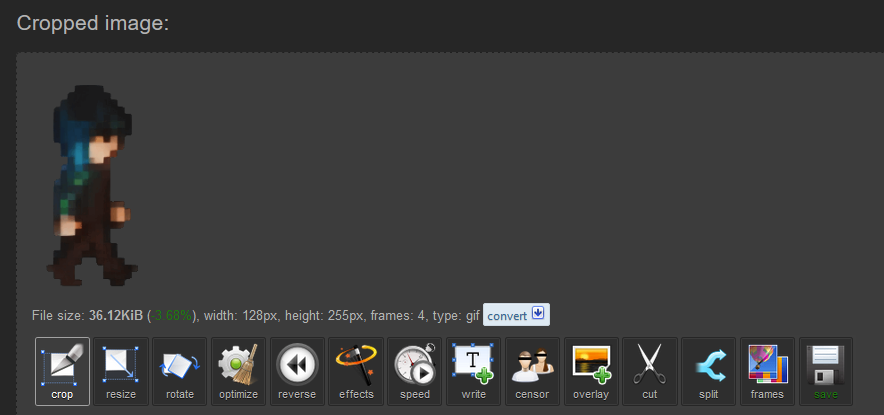
Once cropped we see this screen, and you just click the 💾 "save" button on the far right to download your final result
That's it! Here's the animated gif I ended up with after this process. It takes less then a minute after some practice
Conclusion
This sprite sheet model is a lot harder to customise then the other models installed in arty so far. If you want a very specific result it's going to take some tweaking.
For advanced users chasing extremely specific niche subjects I think you would get the best results by merging
this model with your own custom model trained on photos of your subject.
It's still far from perfect, but I thought this was too cool not to share!
I'll keep playing around with this and hopefully one day arty will be able to do all of the above in a single command :)
I hope someone finds this useful, I'll try to find time to write some more tutorial posts about all of the other cool features I've added recently
This post sends 10% rewards to @hive.fund , 90% to the @ausbit.dev arty GPU upgrade fund
