

🌸Hola amigos ,les deseo una linda bienvenido a mi blog de costura.🧵/🌸Hello friends, I wish you a lovely welcome to my sewing blog.🧵
Les quiero mostrar como puedes hacer fácilmente una blusa sin mangas con un recorte de tela de 40 cm ,espero puedas acompañarme a ver el proceso creativo de esta blusa y ver cómo queda ,no te pierdas cada detalle en este tutorial ,¡vamos con los materiales!.
I want to show you how you can easily make a sleeveless blouse with a 40 cm piece of fabric. I hope you can join me to see the creative process of this blouse and how it turns out. Don't miss a single detail in this tutorial. Let's get started with the materials!
Materiales: | Materials:
- 40 cm de tela microfibra
- Hilo de coser
- Tijera
- Máquina de coser
- alfileres
- Medida como referencia para el corte o patrones
- 40 cm of microfiber fabric
- Sewing thread
- Scissors
- Sewing machine
- Pins
- Measurements for cutting or pattern reference
Pasos a seguir: | Steps to follow:
.jpg)


Paso 01
Step 01
I had already taken my client's measurements, so I proceed to cut the pieces: front and back pieces with a square neckline. For the lining, I will cut two pieces identical to the straps and neckline, but these pieces will be cut to the middle of the armhole. We cut two pieces; these are the fundamental pieces for the blouse.


Paso 02
Step 02
We start sewing the shoulder piece on top of the blouse, then the shoulder pieces from the lining of the straps, and we are going to place them from the inside out, we sew them on the underside and place pins to hold the pieces, and we are going to sew the neck part, then we turn the fabric right side out and topstitch the neck with a straight stitch.


Paso 03
Step 03
We sew the edge of the lining part of the blouse and then seal the sides with overlock stitching and straight stitching.


Paso 04
Step 04
For the final and easiest step, I sewed the armhole edge of the blouse and, with a hem folded inwards, I sewed the armhole. We also sewed the edge of the blouse, that is, the hem, with an overlock stitch and made a two-centimeter hem, leaving the opening at the sides of the blouse. With that, we finish it.
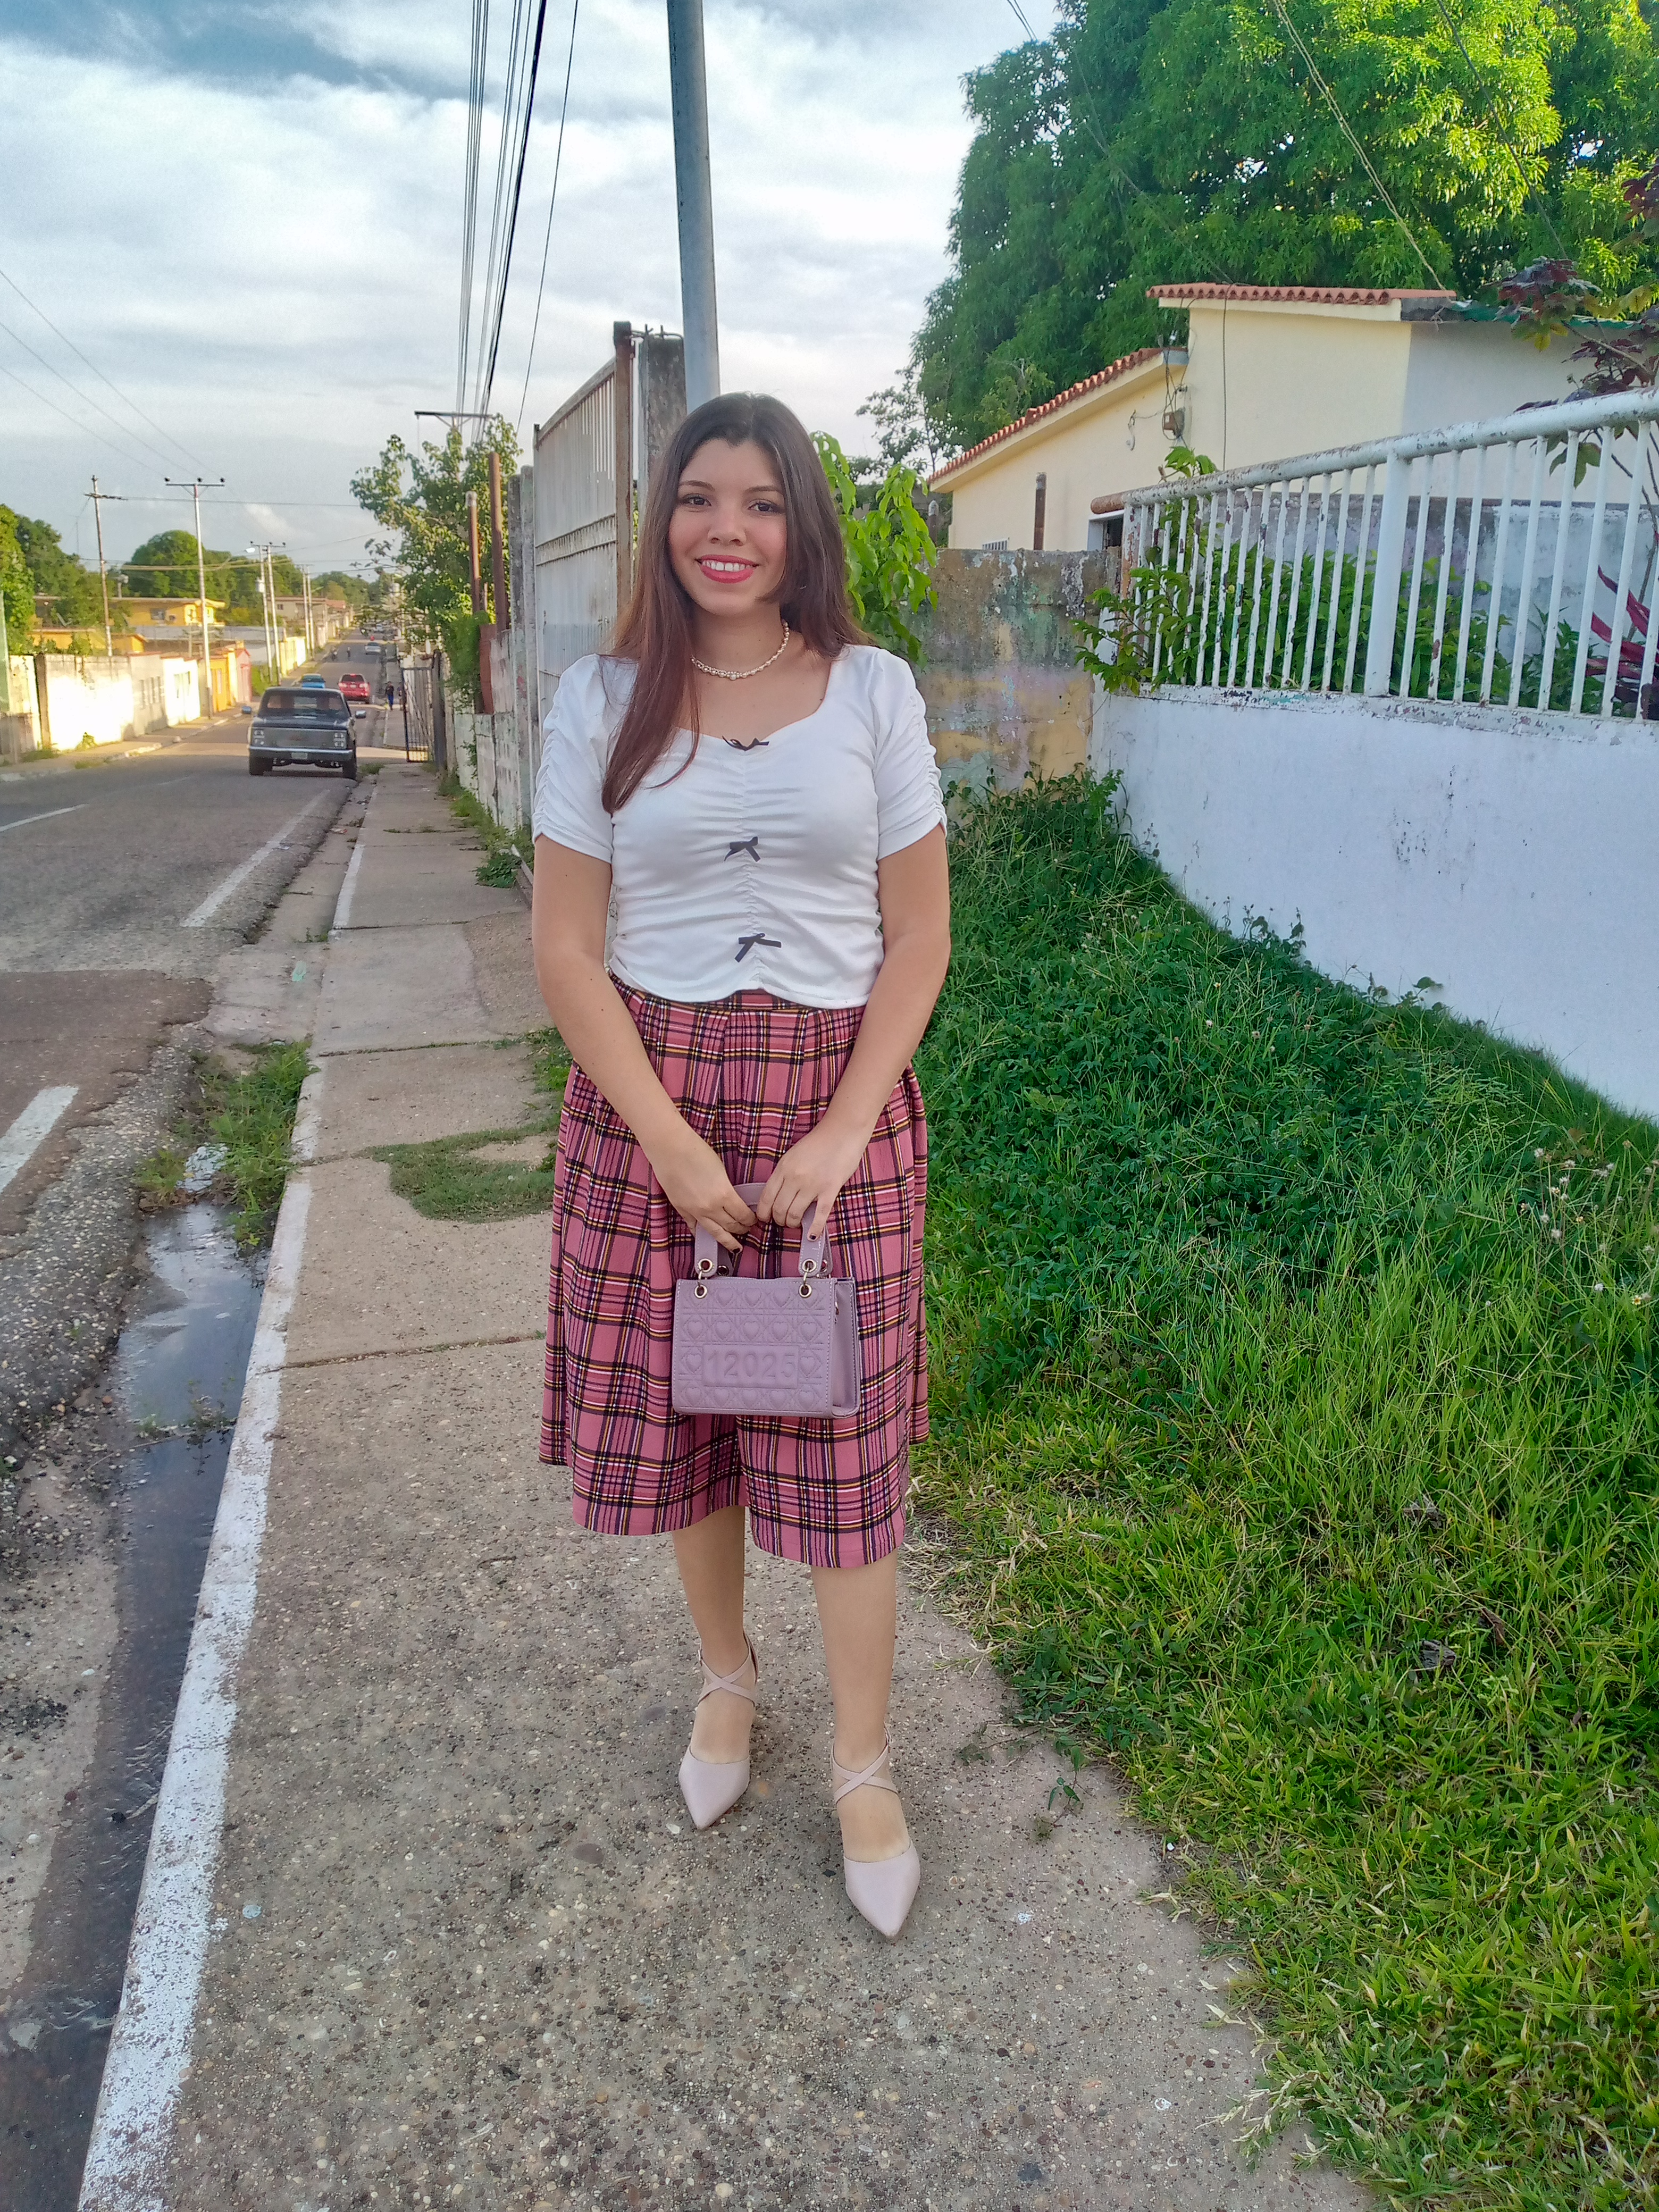
Resultado: | Result:
Miren como se ve de sencilla y bonita nuestra blusa ya terminada, espero te guste mucho este trabajo y puedas hacer tus blusas y para tus clientes con pequeños retazos de tela que te salvan la vida 🤭,gracias por visitarme amigos nos vemos en otro tutorial creativo,feliz tarde se les quiere pasen una excelente tarde ❤️✨.
Look how simple and pretty our finished blouse looks! I hope you really like this project and can make your own blouses for you and your clients with those little scraps of fabric that are lifesavers 🤭. Thanks for visiting, friends. See you in another creative tutorial. Have a wonderful afternoon! ❤️✨


¡Hola!...Soy Annie
Una chica que le apasiona el diseño,la costura las manualidades y crear cualquier cosa de mucho uso con mis manos,tengo como hobbie la música ,el maquillarme,la pintura y el dibujo,expresar mis ideas y sentimientos en un dibujo es algo que me gusta hacer,amo la naturaleza,un atardecer ,la playa y disfrutar con mis familiares de los buenos momentos de la vida.❤️
Creando las cosas con amor🌷♥️ | Creating things with love🌷♥️
**Images:**my own work | **Edited by:**Canva® and PicsArt © | **Translator:**Google Translate |**Device:**TecnoSpark 8C .
