🐈‍⬛ Kitten earrings made by me 🐈‍⬛

2025-04-26T23:35:18
Hello everyone, I hope you're all well. Thank you so much to everyone who's been supporting me. I'm truly grateful for the support and acceptance. This time, I'm bringing you a craft you've requested, and I'll show you how to make it step by step.
For this craft we will need cold porcelain or modeling clay as you know it and acrylic or oil paint in the color of your choice to give it color.
Some sculpting tools use body oil or cream, but if they have hand cream, that's a great option too.
A smooth, clean surface is a priority because cold porcelain tends to get dirty very easily, so it is recommended that you wash your hands thoroughly before using it.
Hoops, silver or gold, and earring hooks, and last but not least, white glue.
Step 1: We start by choosing a bit of the dough we are going to use and using acrylic or oil paint we give it the color of our preference.
Step 2: Cut the dough ball into equal parts
Step 3: We shape it into a droplet of water and twist the tip a little to create a curve.
Step 4: Make a smaller ball of dough and divide it in half.
Step 5: Flatten half of the dough to make an oval, cut out some identical triangles and glue them together. Let it dry a little and when it is a little stiff, make a hole, insert the rings together with the hook and close the ring, and that's how we have the cat's head.
Step 6: With a small portion of dough, make a roll and adhere it with glue to the teardrop-shaped piece, and wait for it to dry a little.
Step 7: After moistening with water and polishing the details of the body so that the joint between the body and the tail is not noticeable, we apply a little white glue to the top where the head will be.
Step 8: Glue the head and let it dry a little, just enough to make it a little taut.
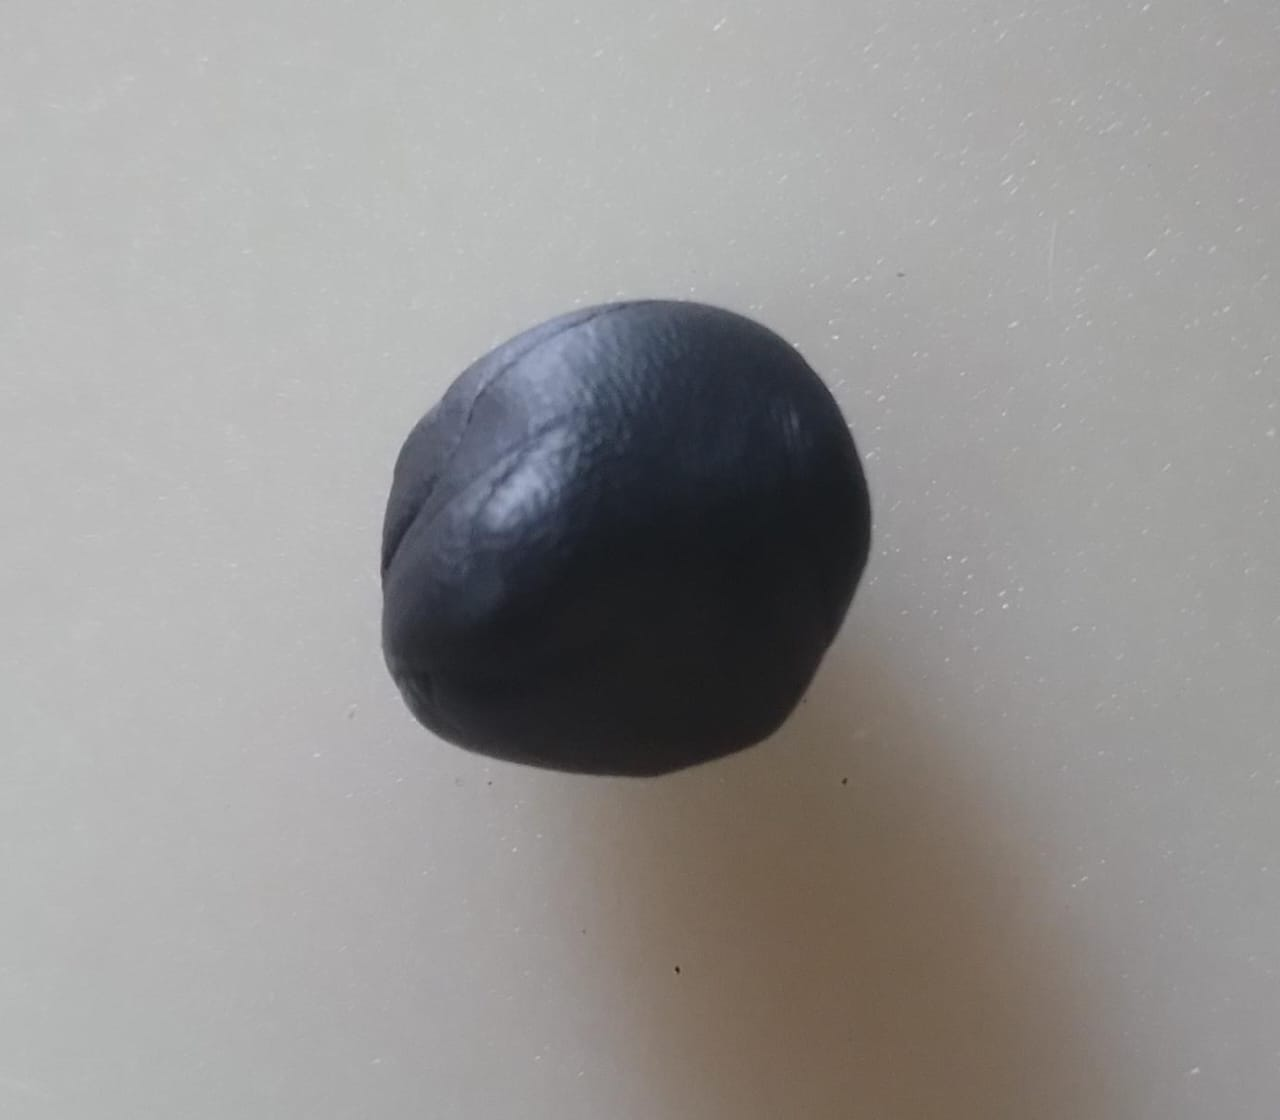
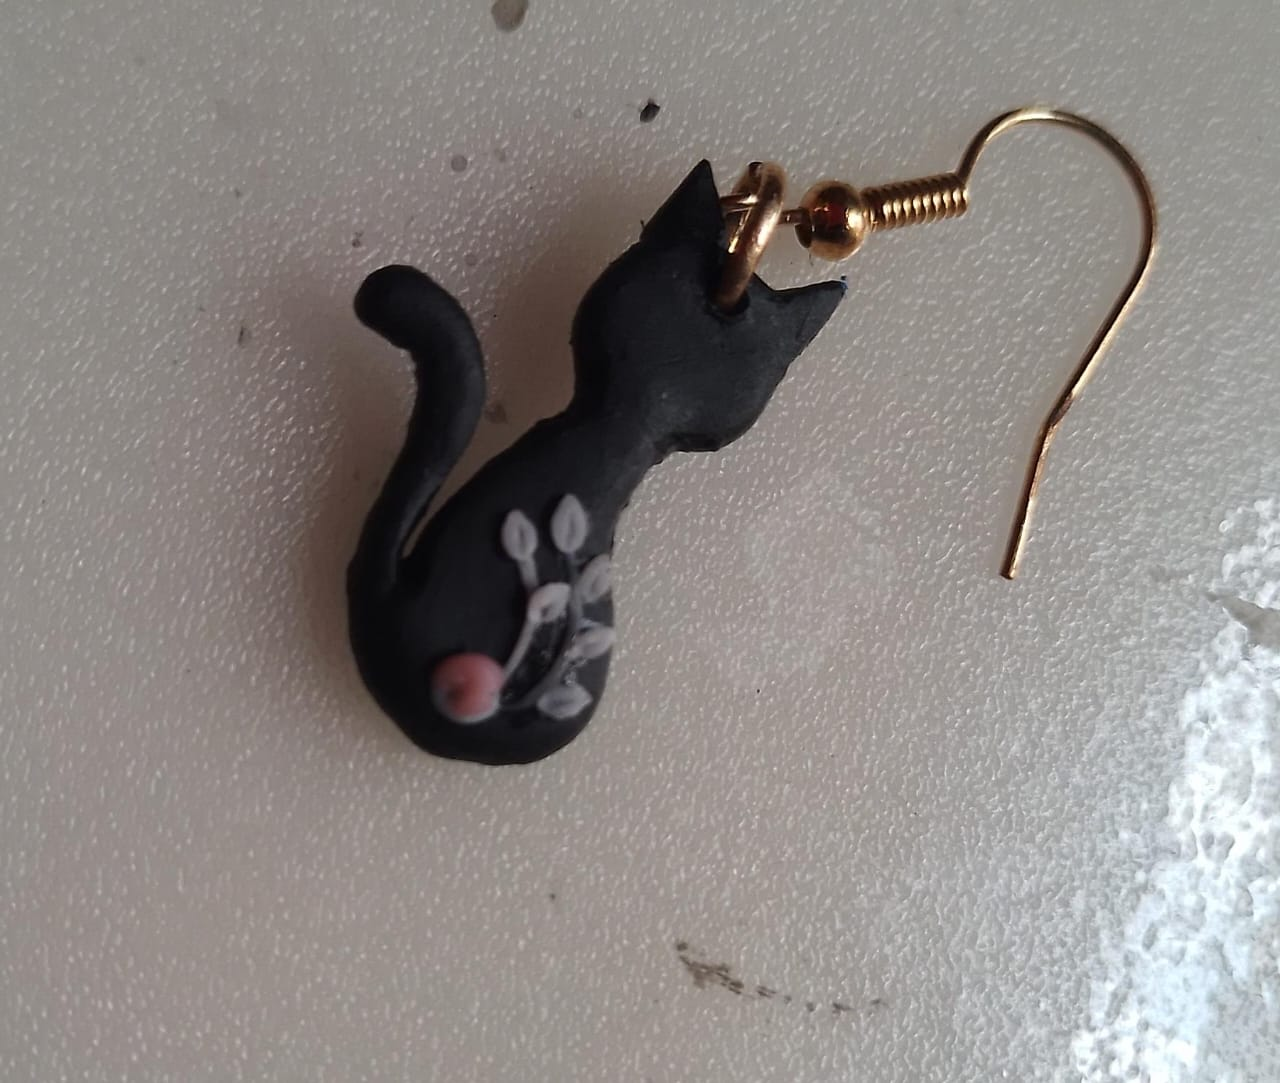
Step 9: We color a small amount of dough to cure or seal the joints between the head and bodies, then moisten it a little with water to soften the texture.
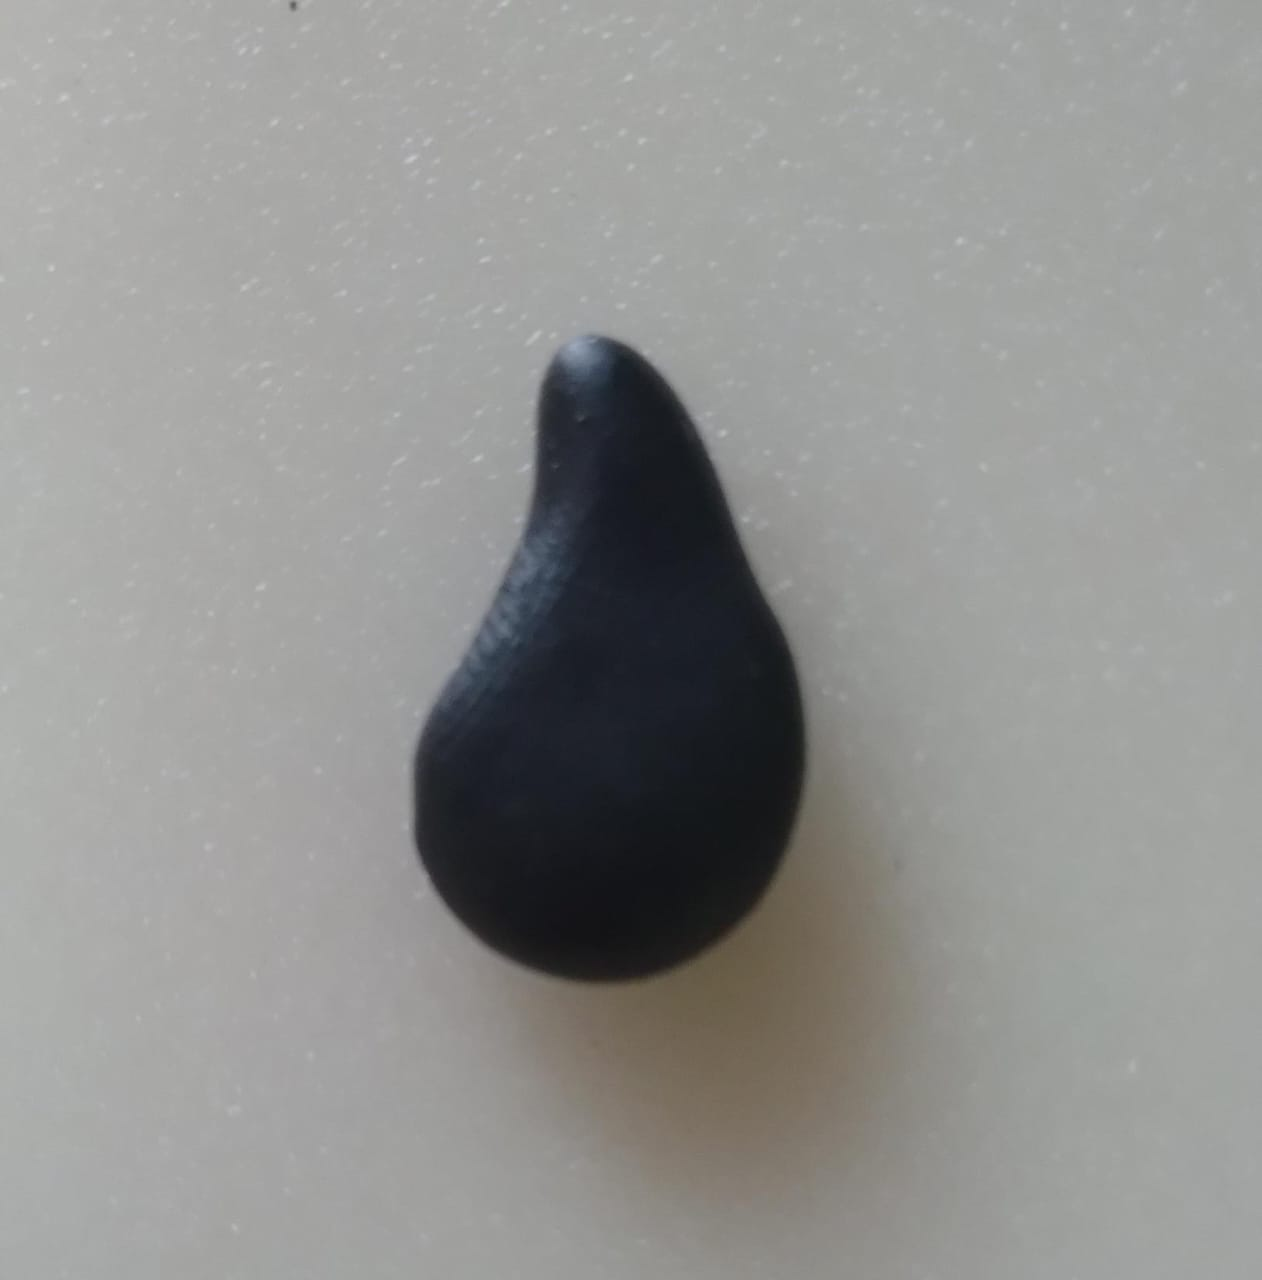
Step 10: We decorate our earrings, making some thin rolls and gluing them with portfolio glue to look like branches, where later some leaves will go, made from dough in the shape of droplets and marked in the middle to give the allusion that it is a leaf, and they are glued.
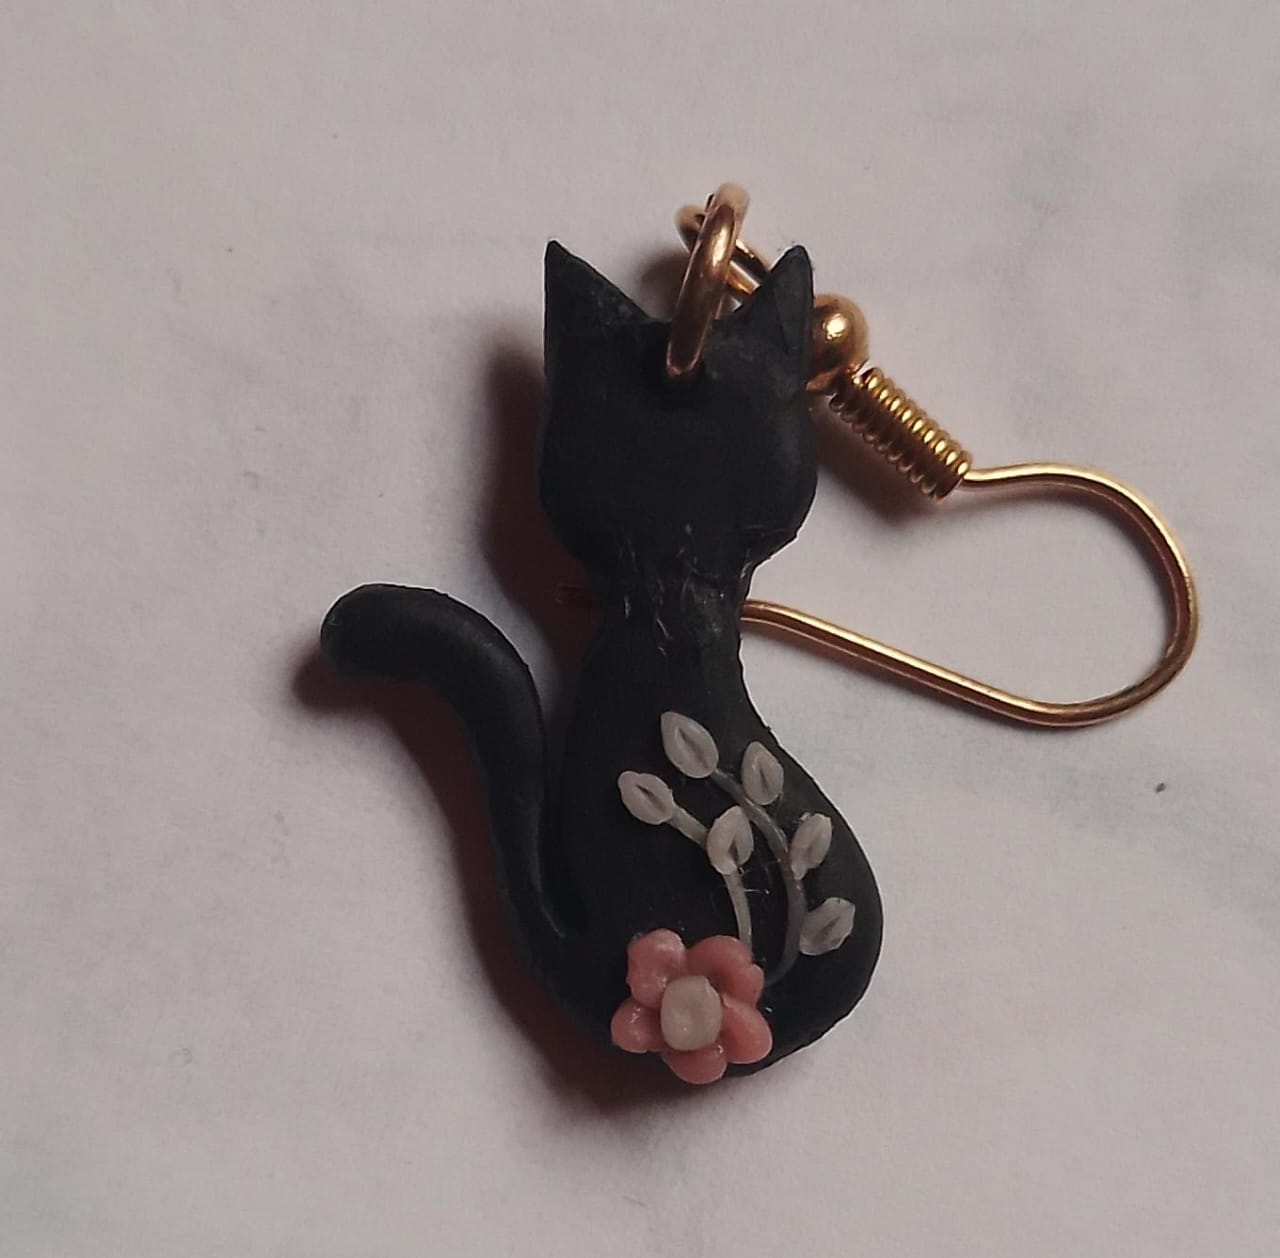
Step 11: We continue gluing leaves until the branches are full.
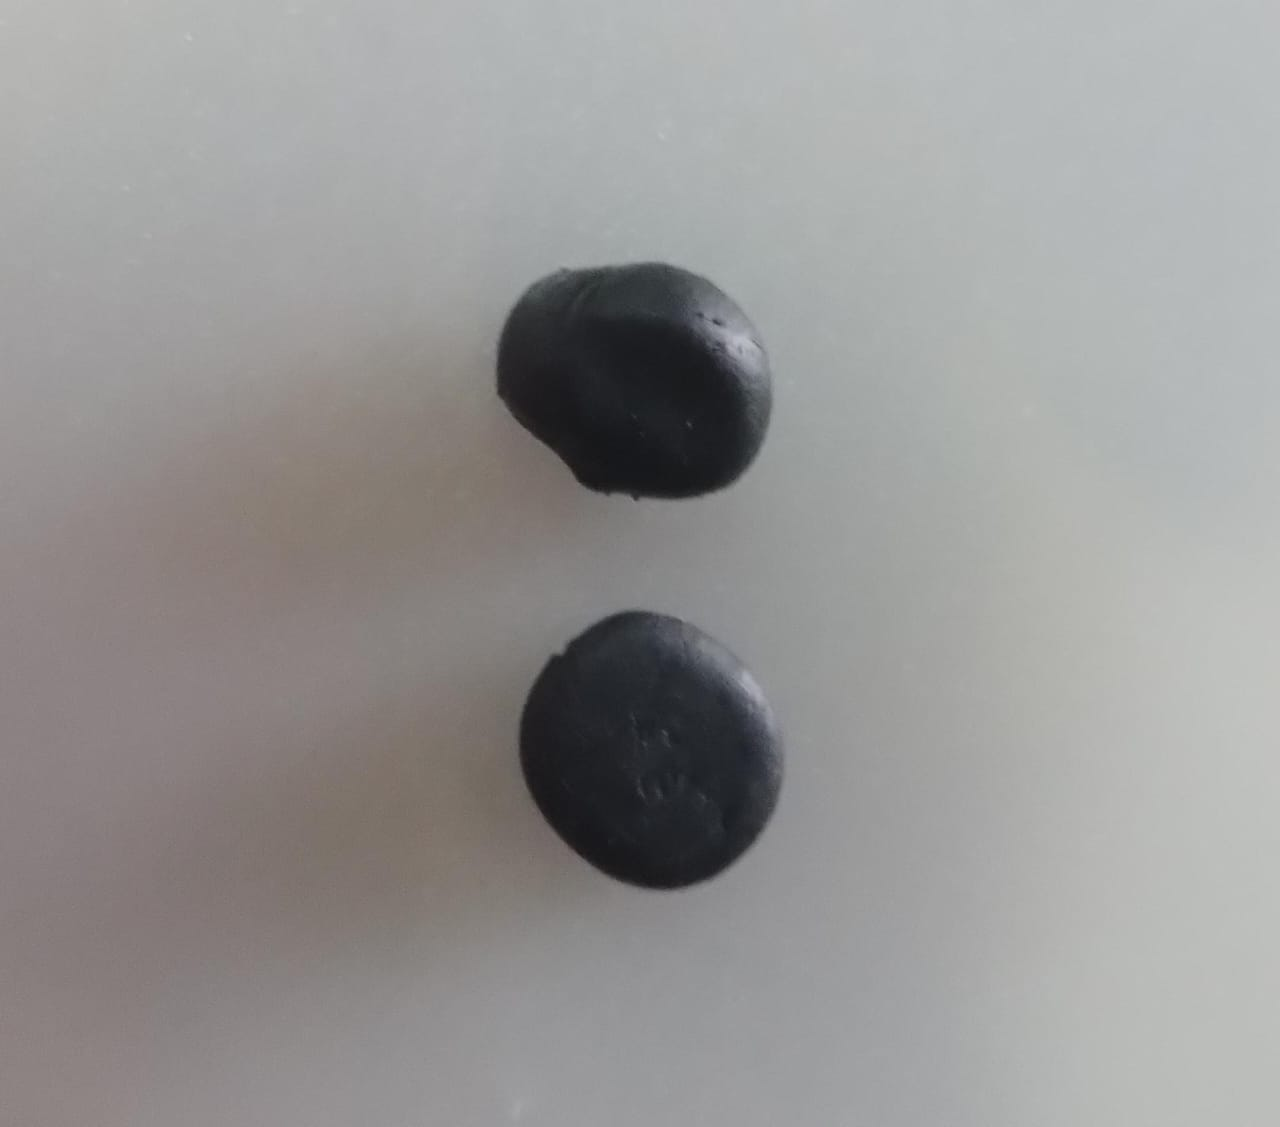
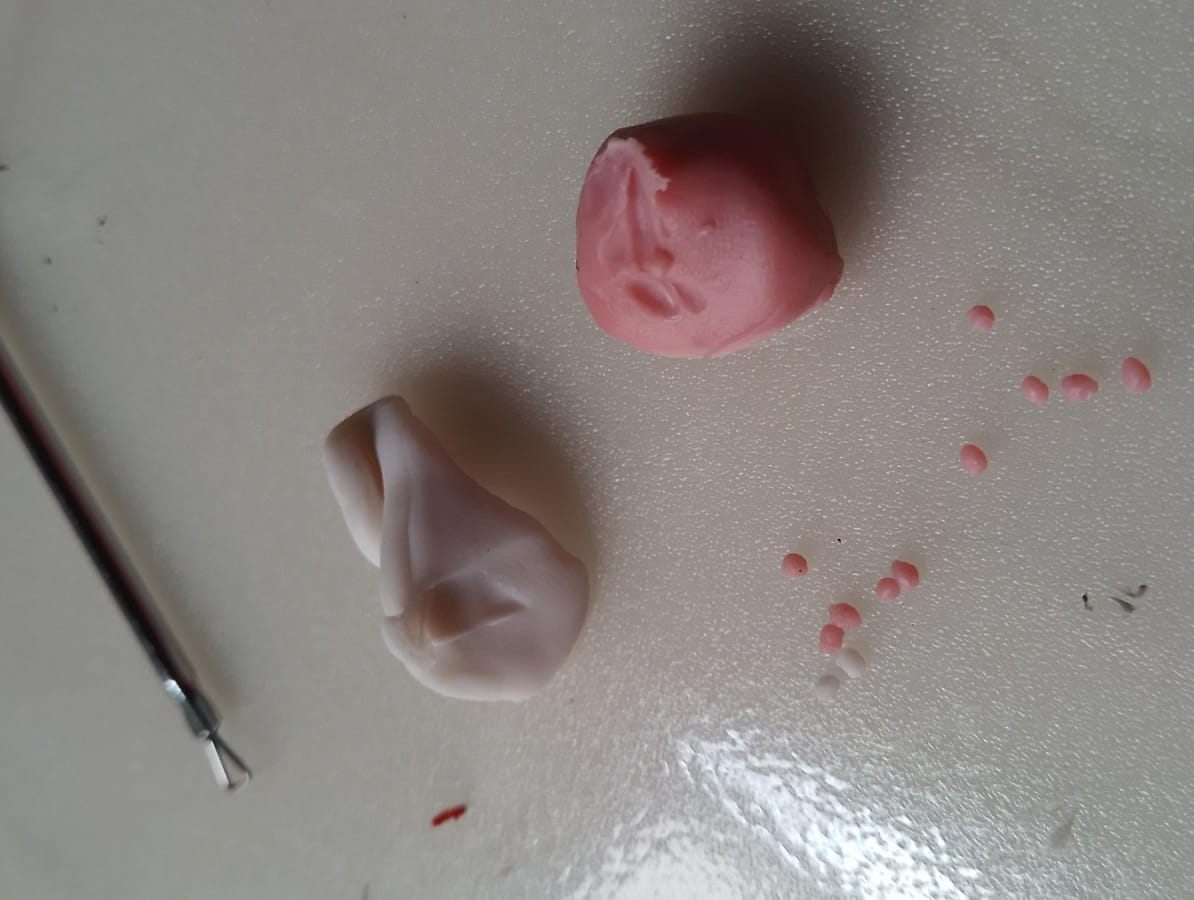
Step 12: Color a small amount of dough in the color of your choice and make some tiny spheres. Apply a small amount of white glue, then place the sphere on top and mark the edge. This is the same process used for the leaves.
Step 13: We continue gluing more balls simulating the shape of a flower and in the middle we glue another mini sphere.
SOCIAL MEDIA
Facebook Angel Dayana
Discord User: angi.arts
Discord Server Bokura no digital world
Instagram: angeldayana26
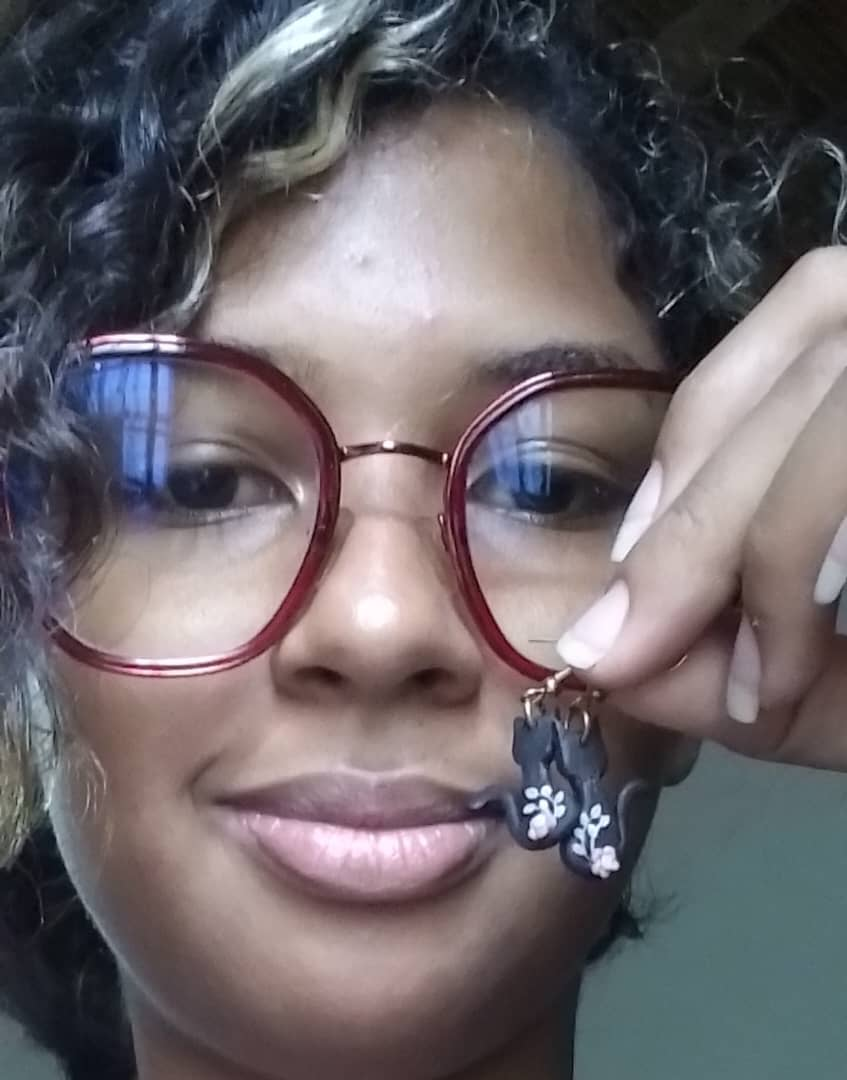
UNTIL NEXT TIME!! <3
360
16
9.15
16 Replies