Feliz dia mis queridos amigos de diyhub! Es una alegría volver a saludarles y compartir un nuevo proyecto con todos ustedes.
Happy day, my dear friends at diyhub! It's a pleasure to greet you again and share a new project with you all.
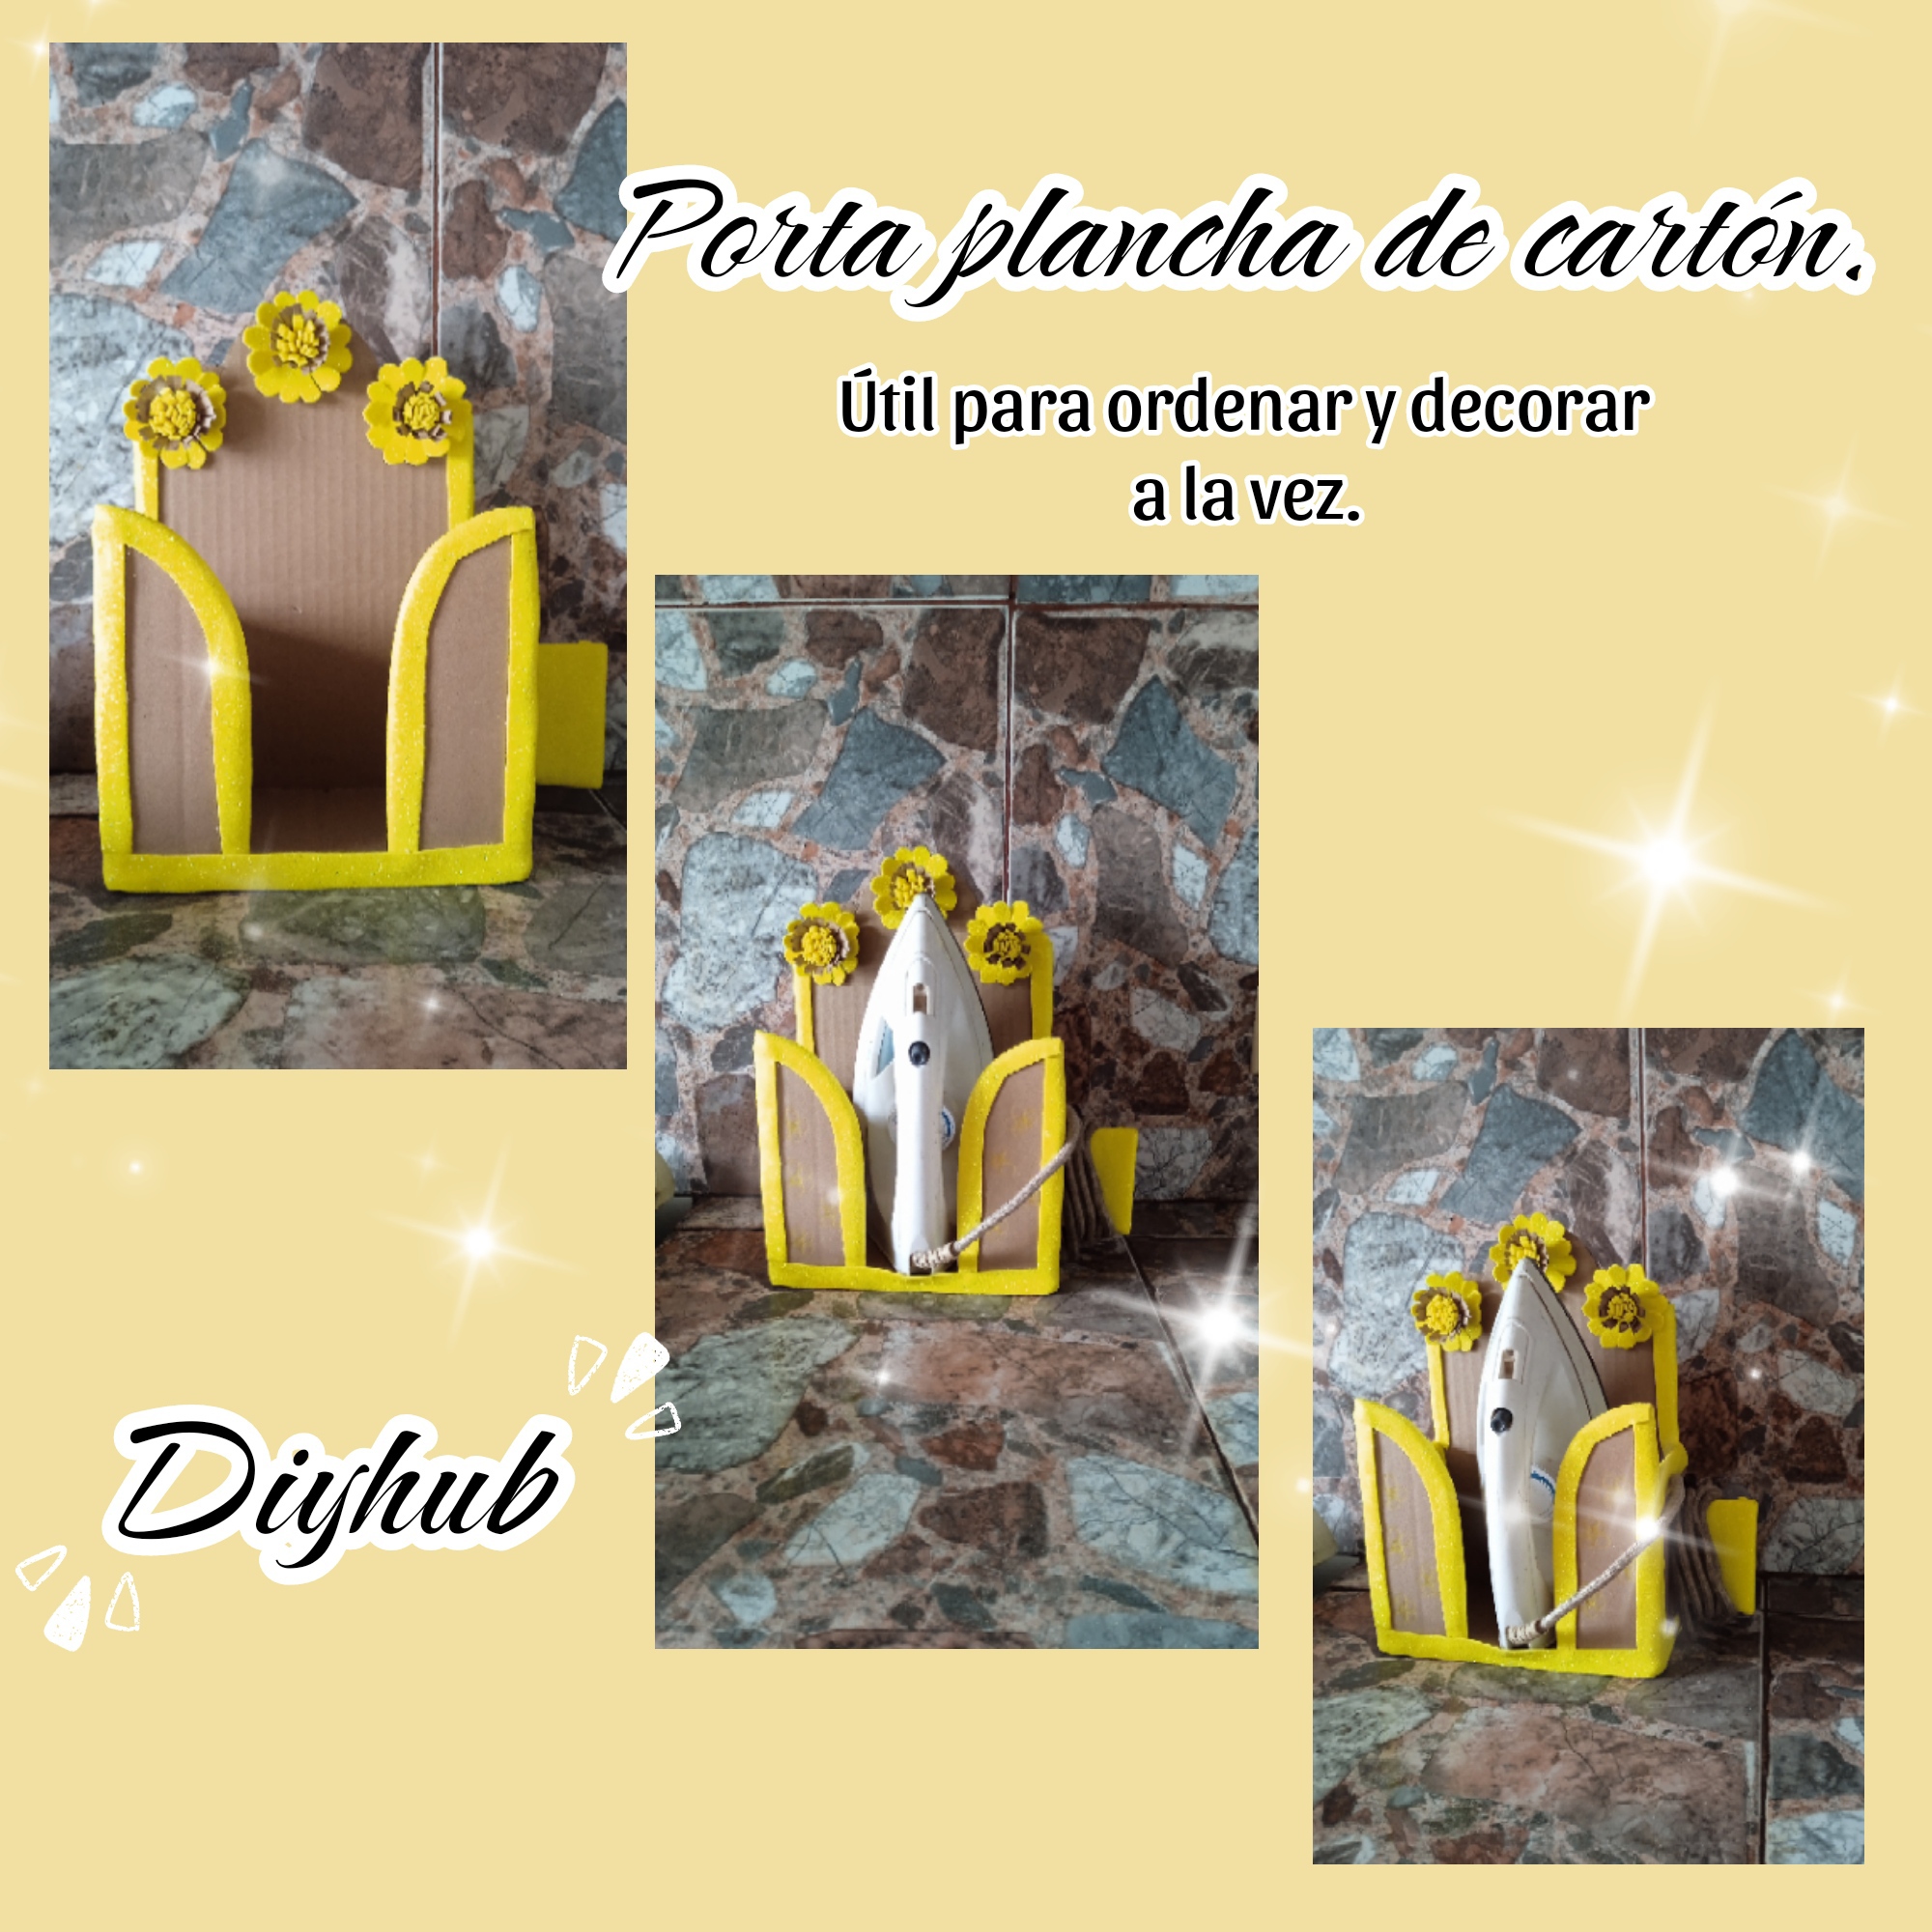
Ayer estuve un poco ocupada con las tareas del hogar, pero dispuse un tiempo para hacer esta linda manualidad. Se trata de un porta-plancha de ropa que no solo las mantendrá en un lugar específico y organizada, sino que también decorará el espacio donde la ubiquemos y quedará muy bonito. Este es un nuevo proyecto que me ayudará a tener mi plancha en un lugar específico y a mano cuando la necesite. Para este proyecto, usé cartón y foami. Es muy sencillo y fácil de hacer, así que los invitamos a leer hasta el final. ¡Acompáñenme!
Yesterday I was a bit busy with housework, but I found time to make this lovely craft. It's an ironing board that will not only keep my clothes in one place, but will also decorate the space where we put it and look very pretty. This is a new project that will help me keep my iron in one place and close at hand when I need it. For this project, I used cardboard and foam. It's very simple and easy to make, so please read on to the end. Join me!
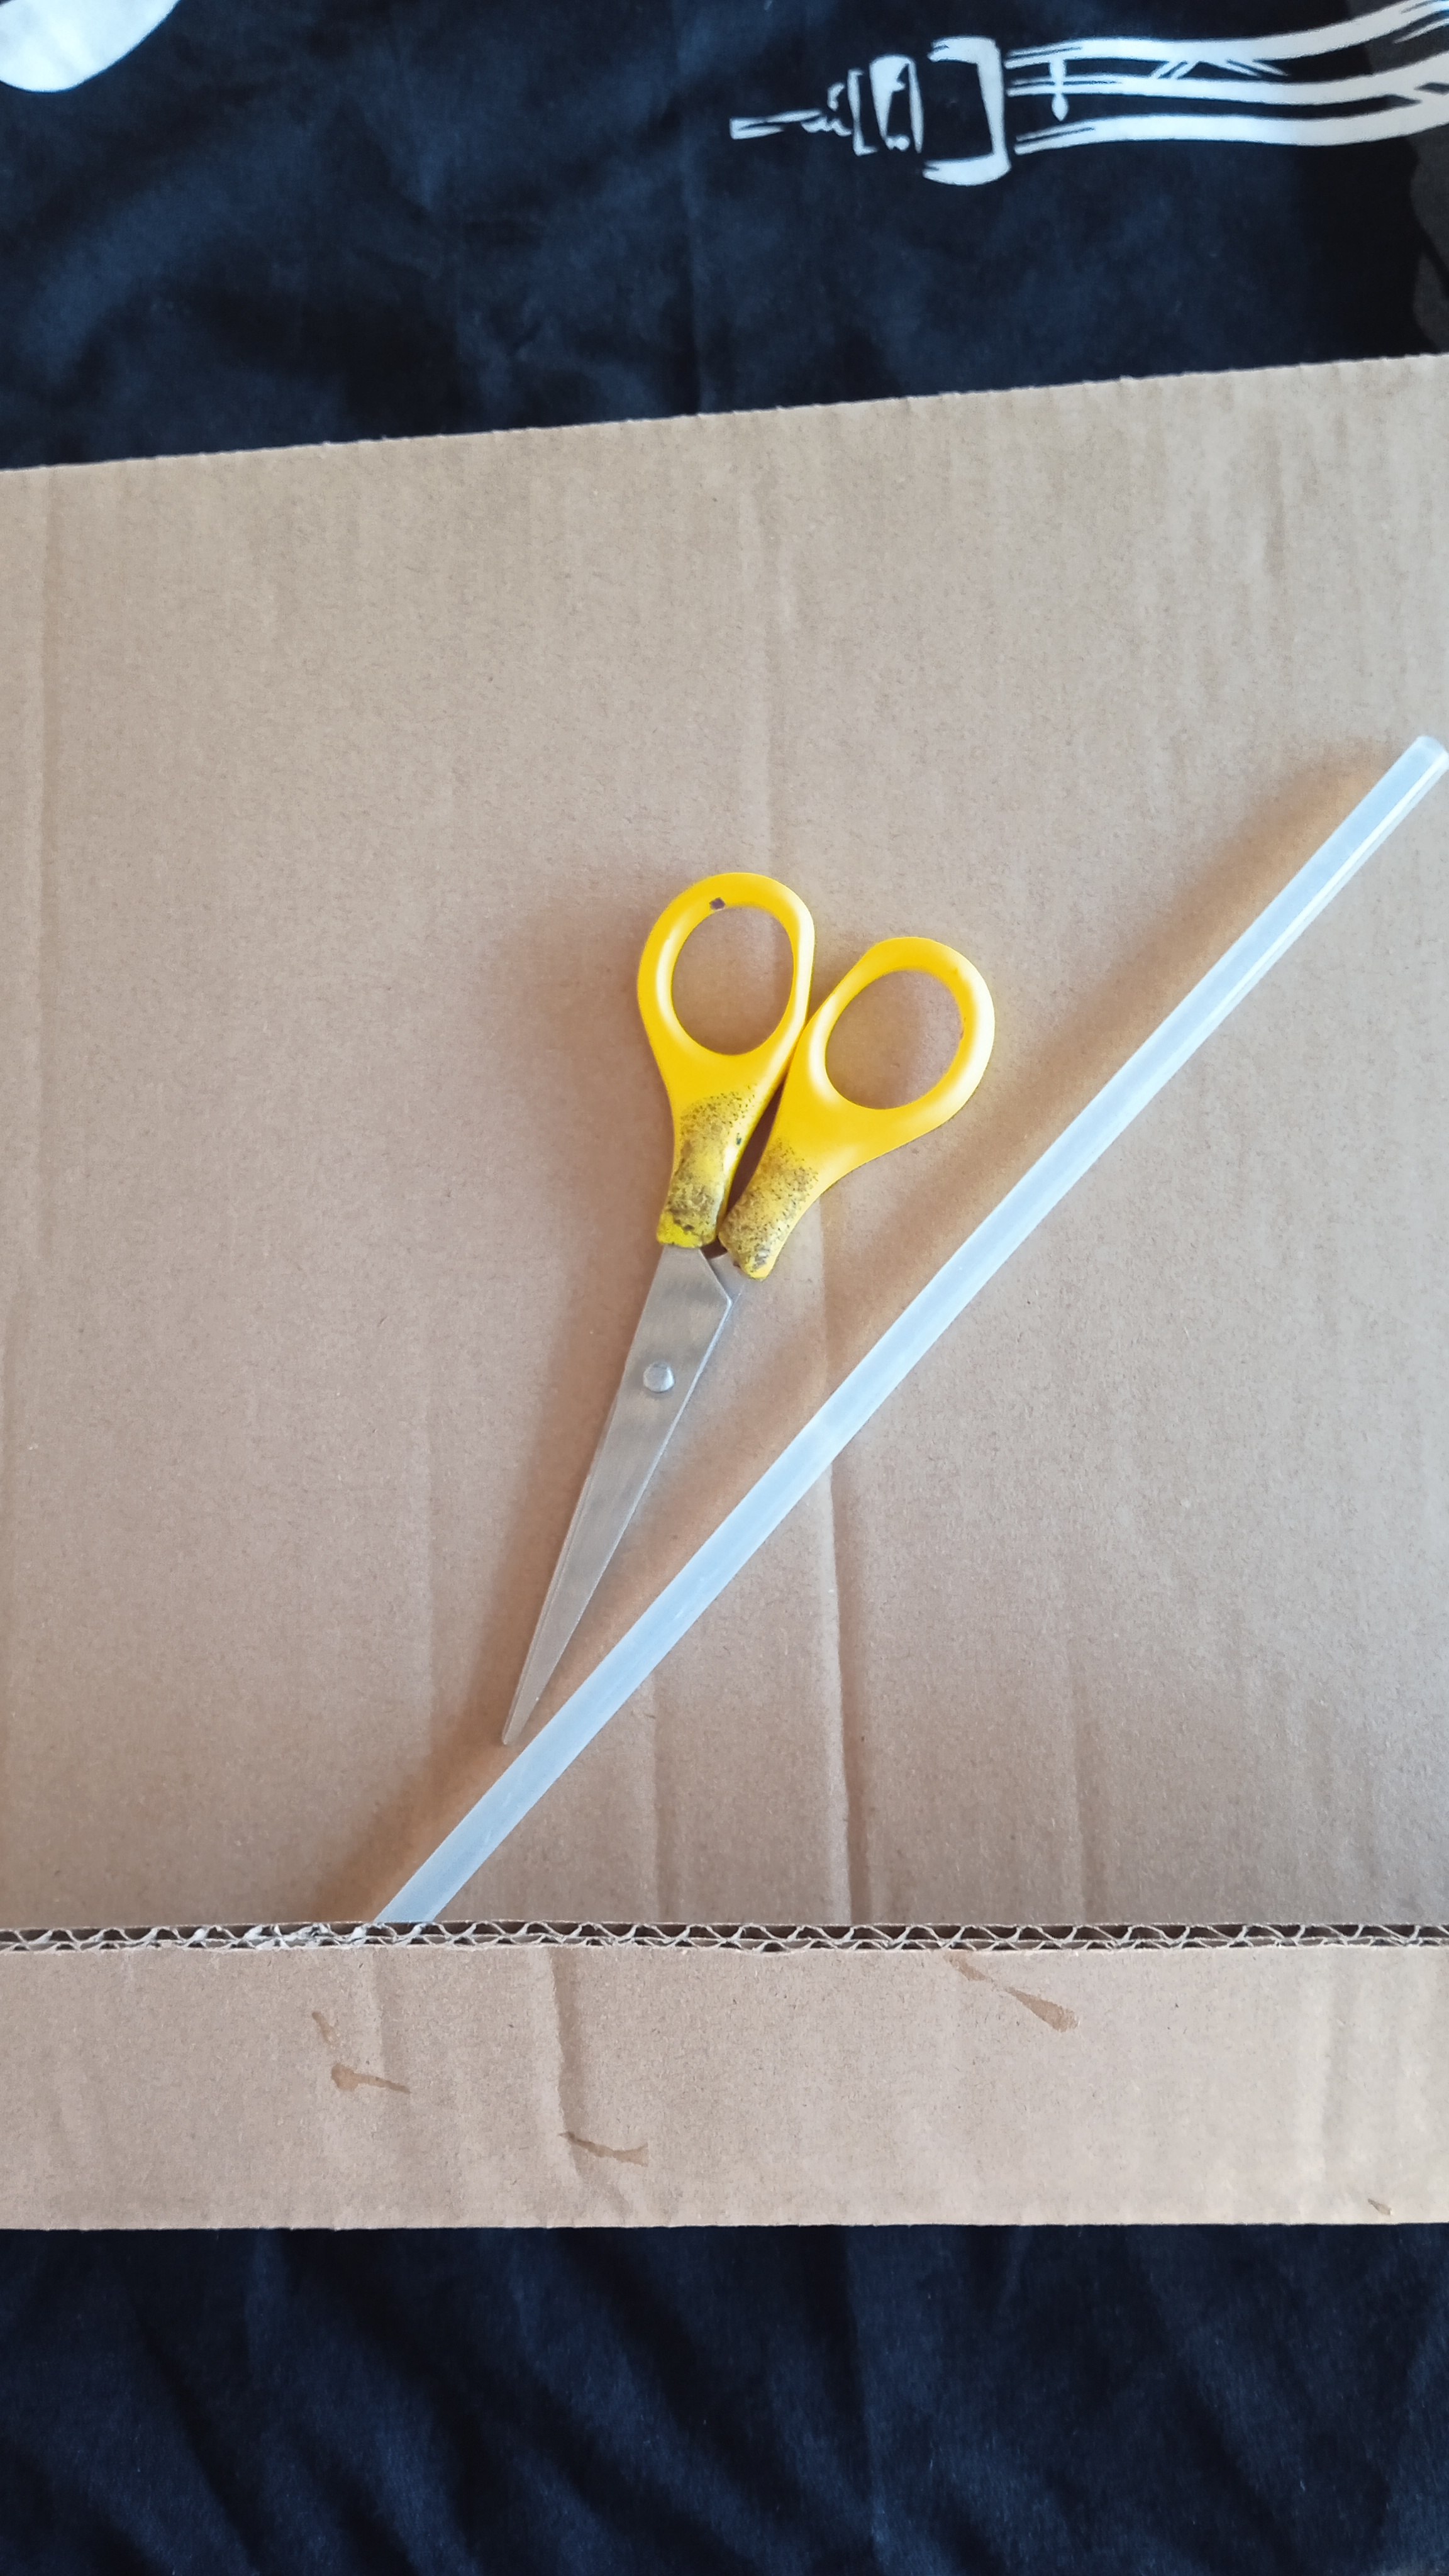
Los materiales que utilice son:
- Cartón.
- Foami.
- Silicona liquida o en barra.
- Tijera
- Lápiz y una regla.
The materials used are:
- Cardboard.
- Foam.
- Liquid or stick silicone.
- Scissors.
- Pencil and ruler.
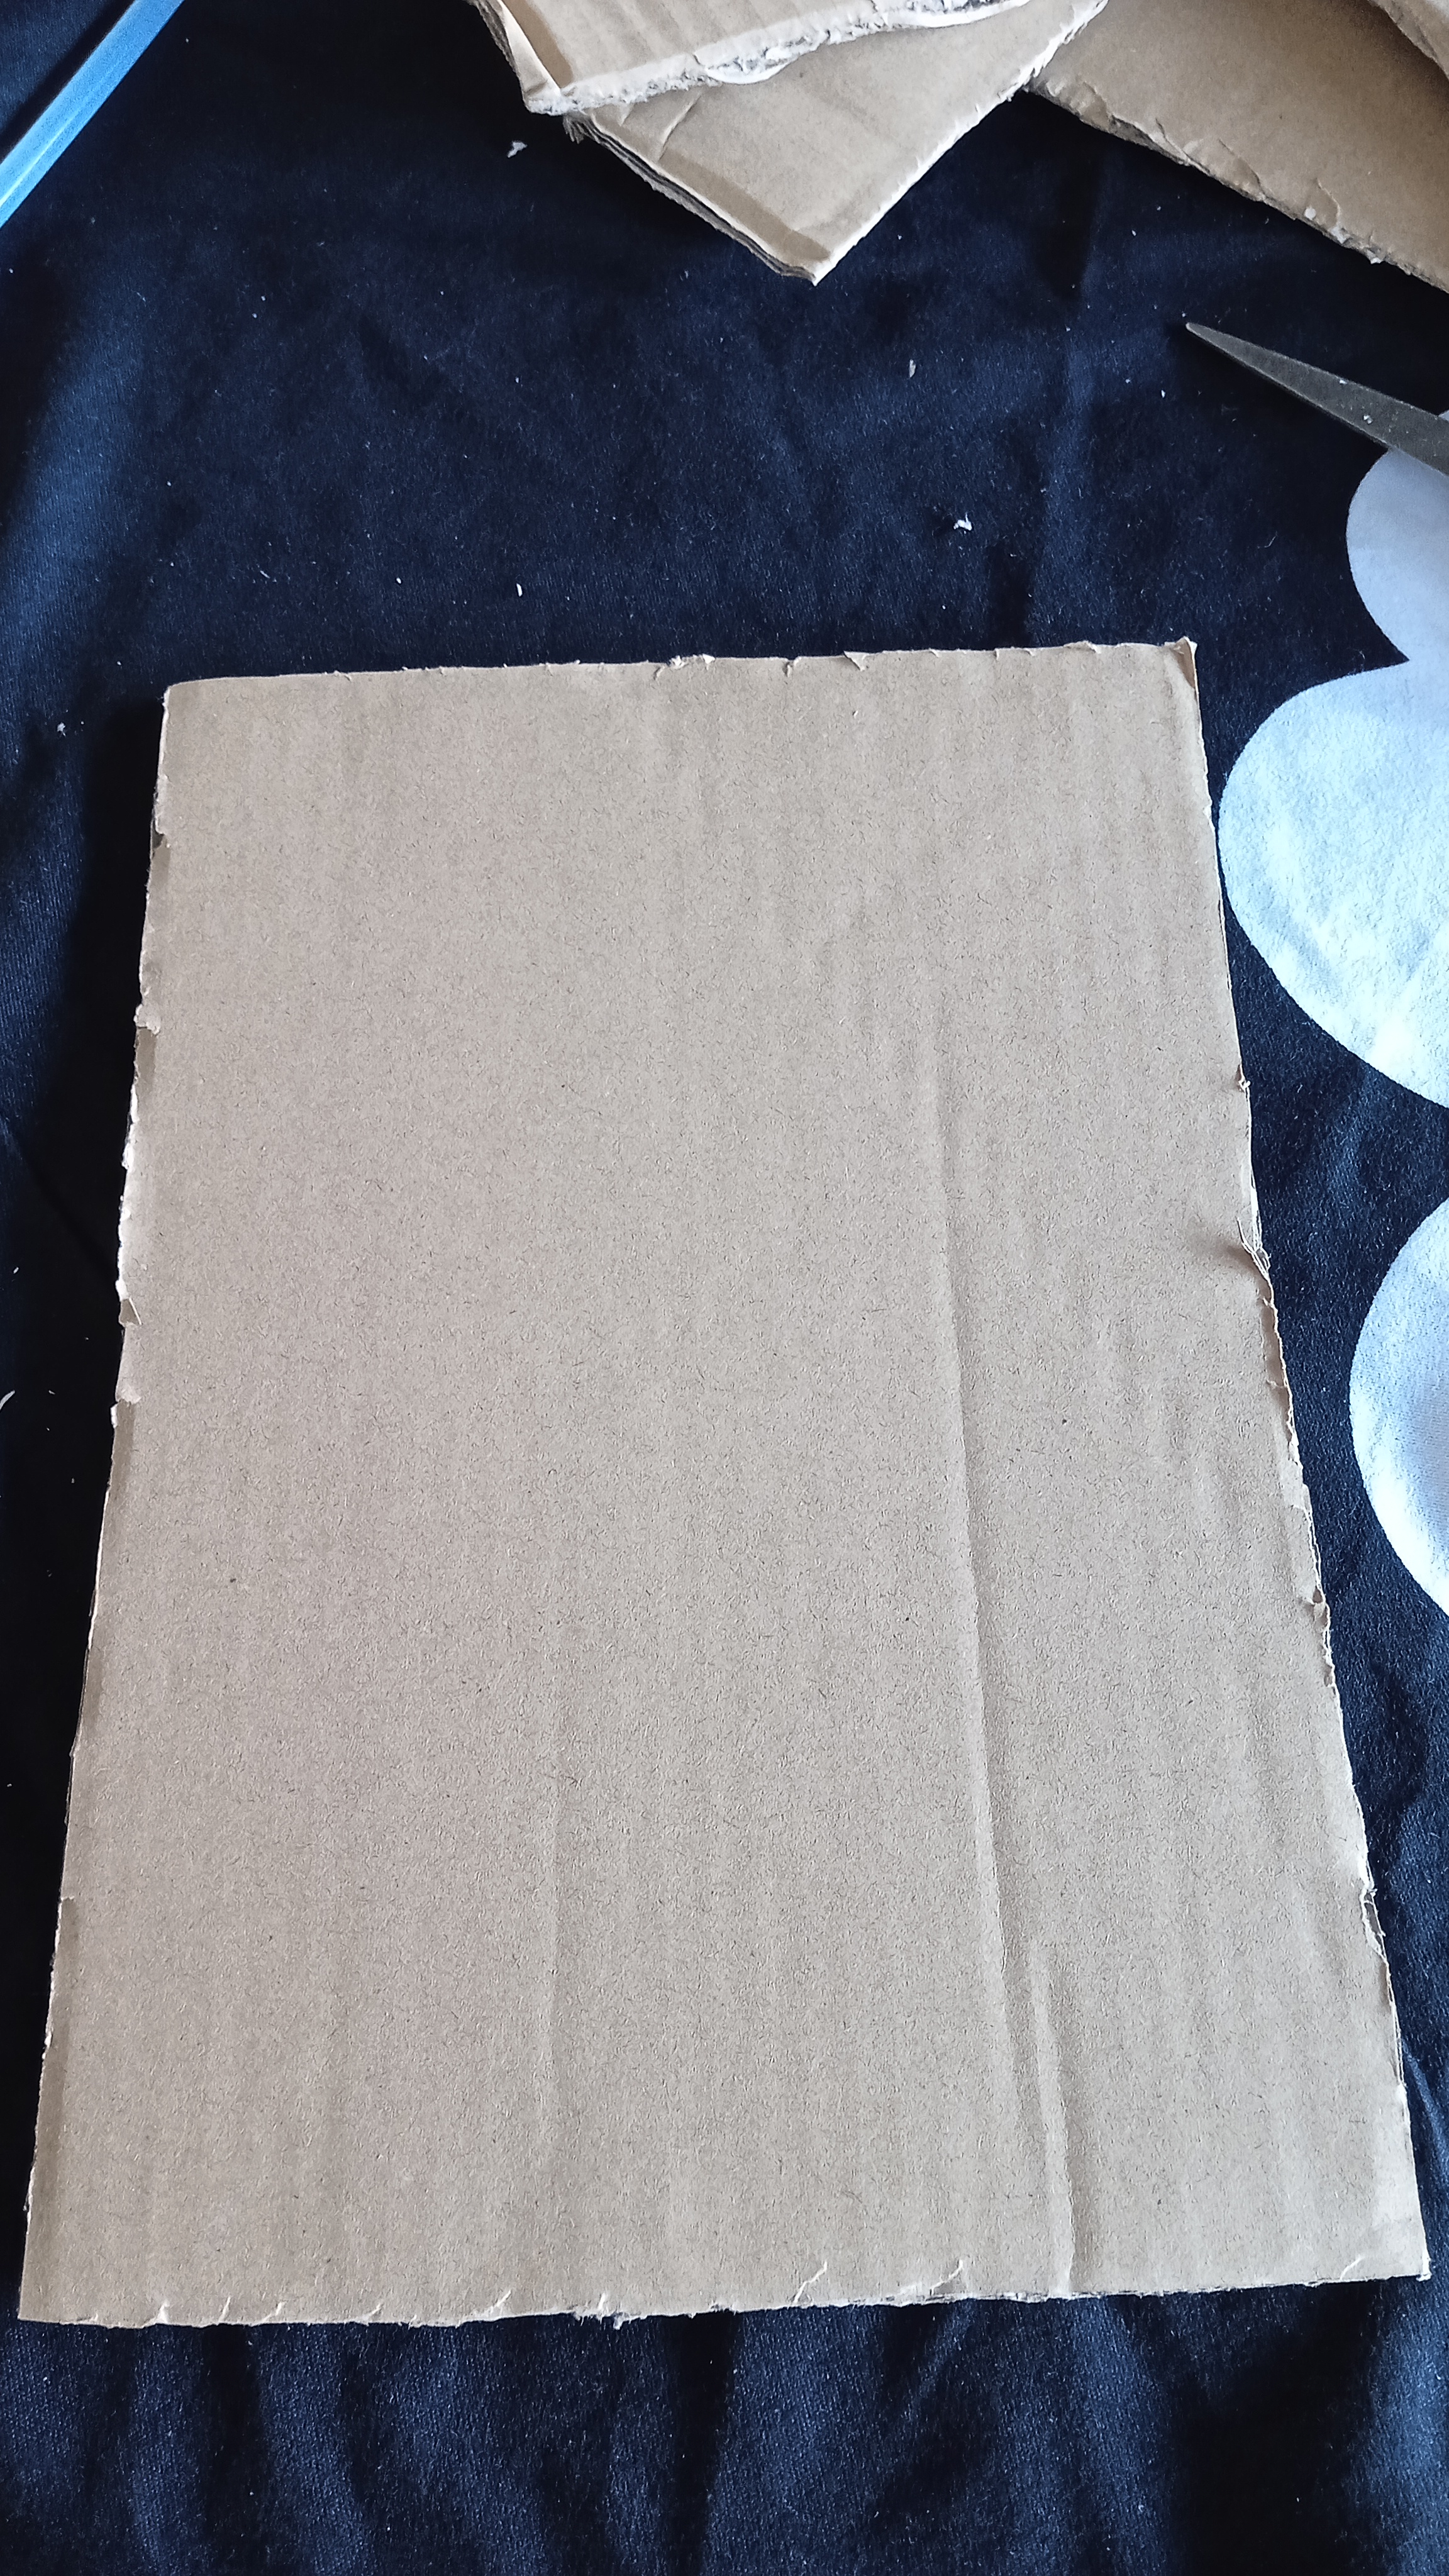
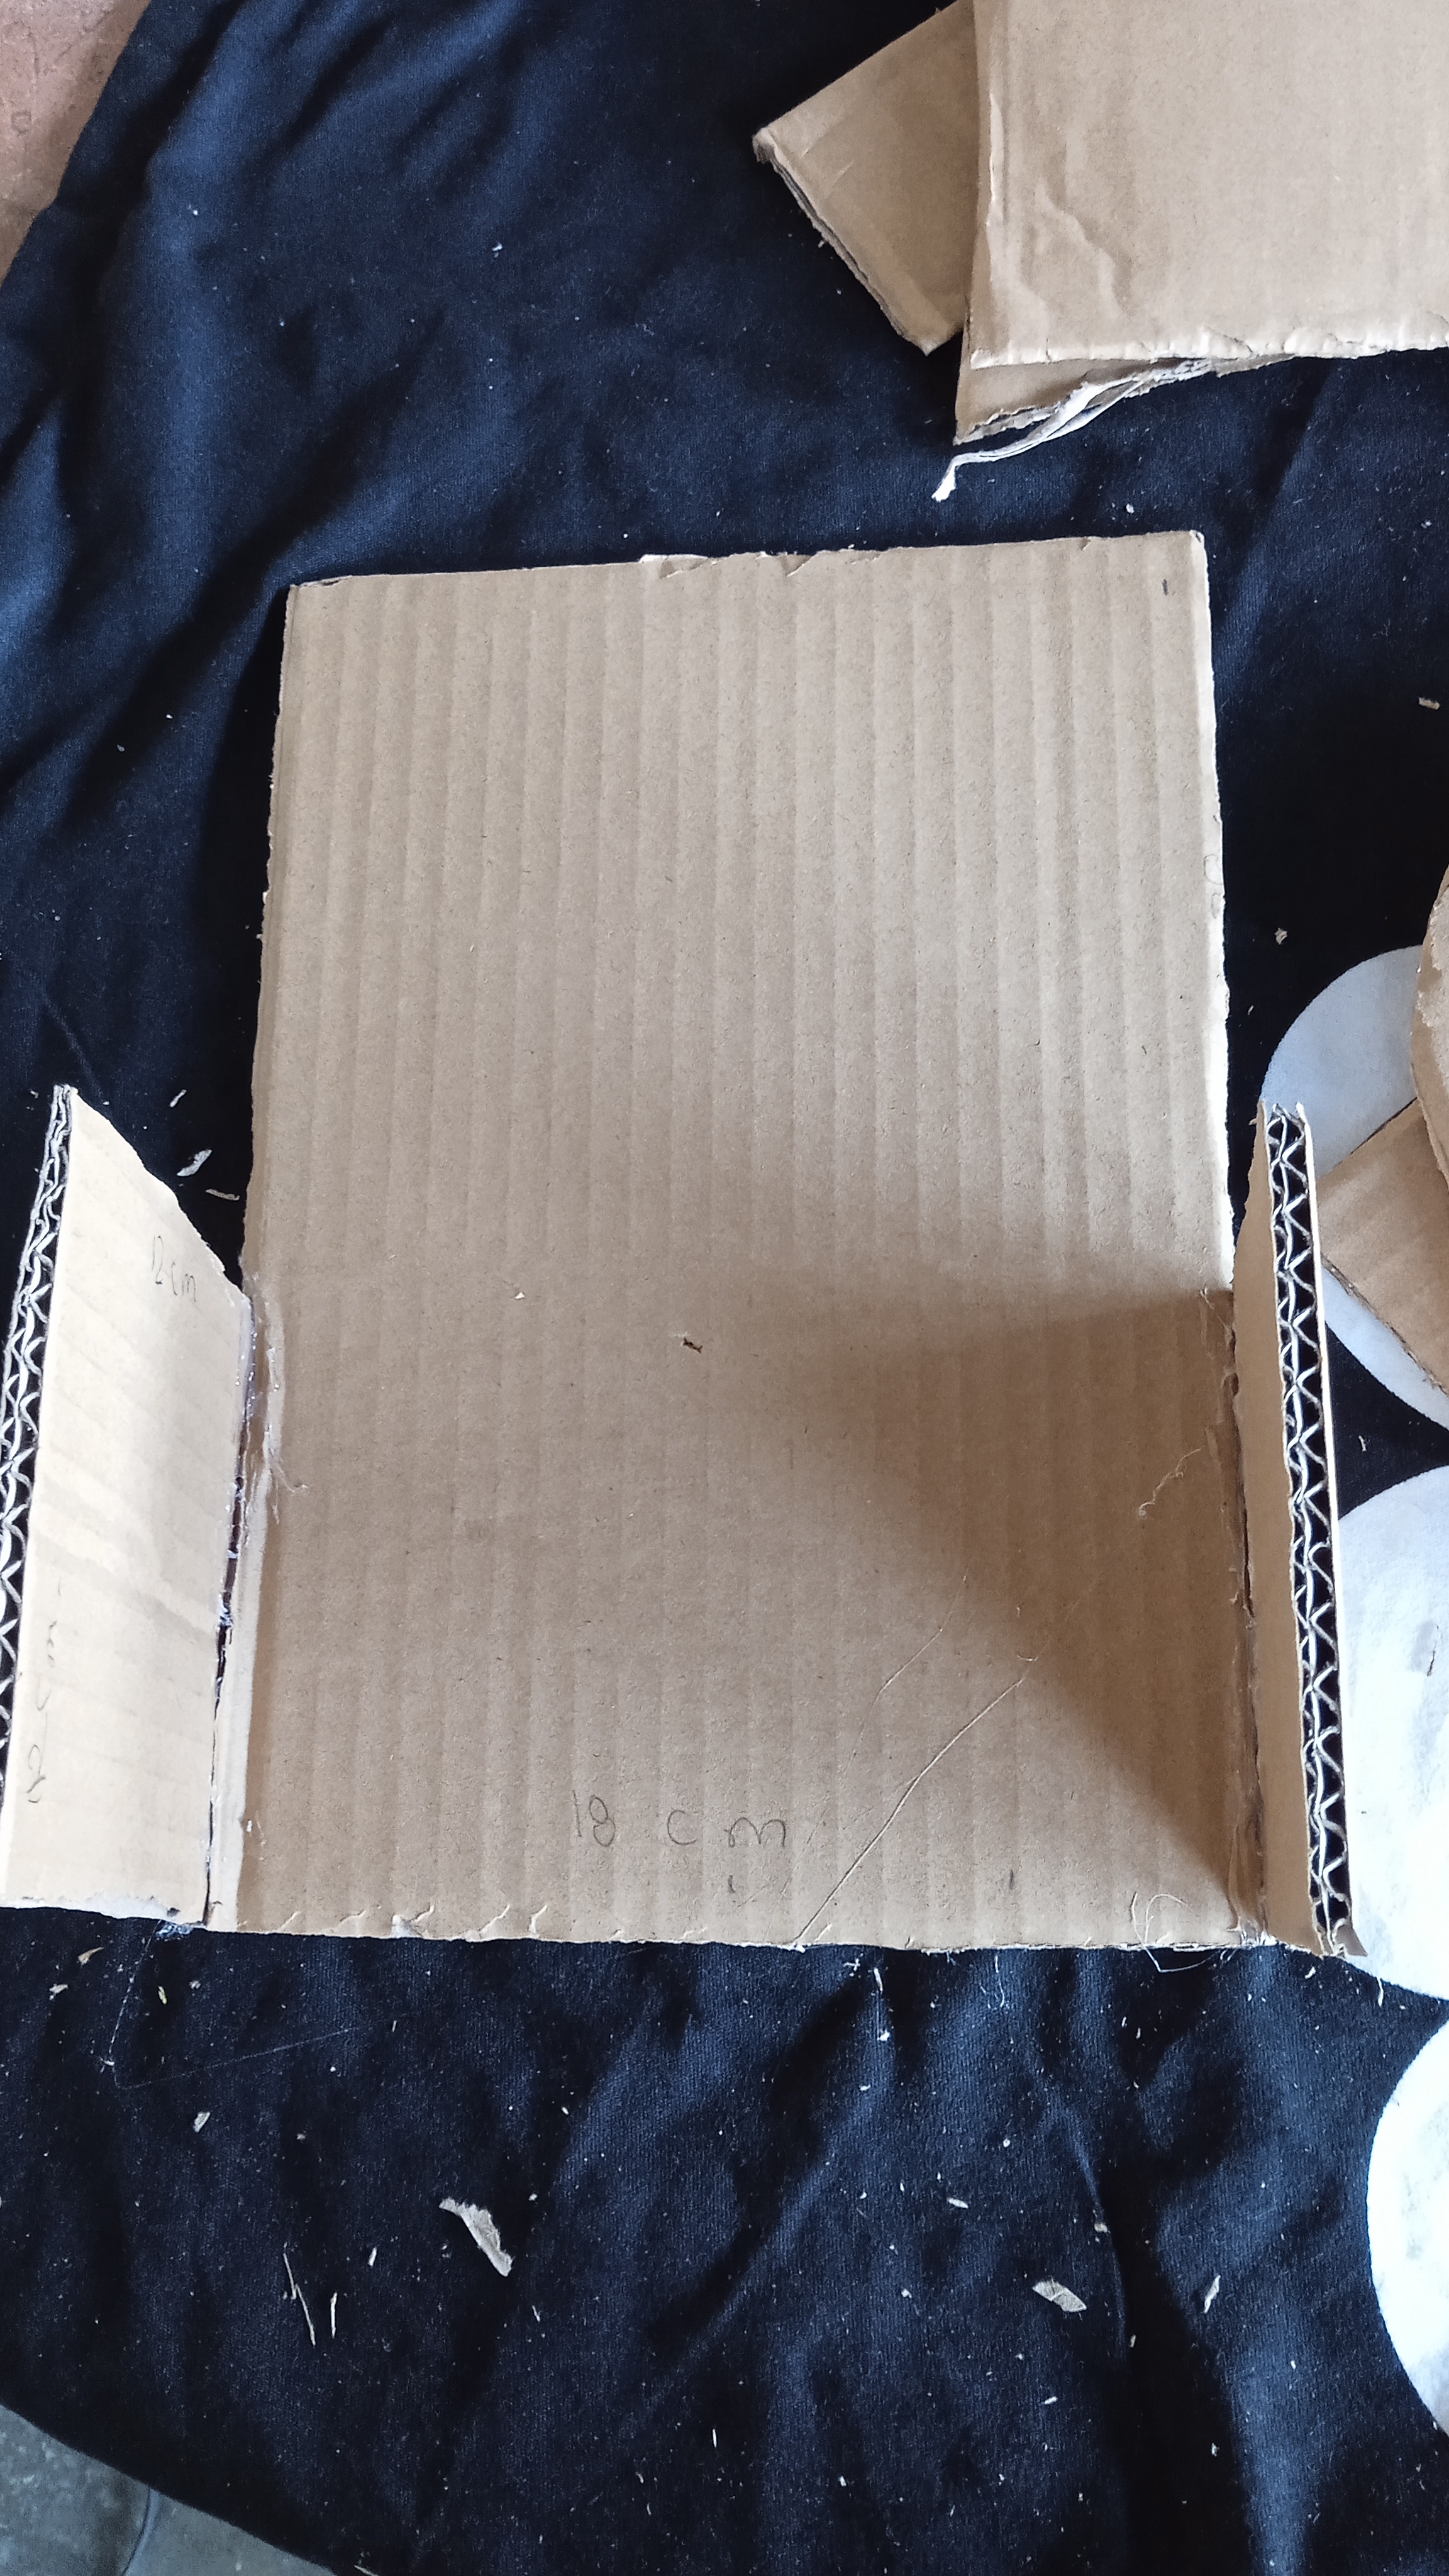
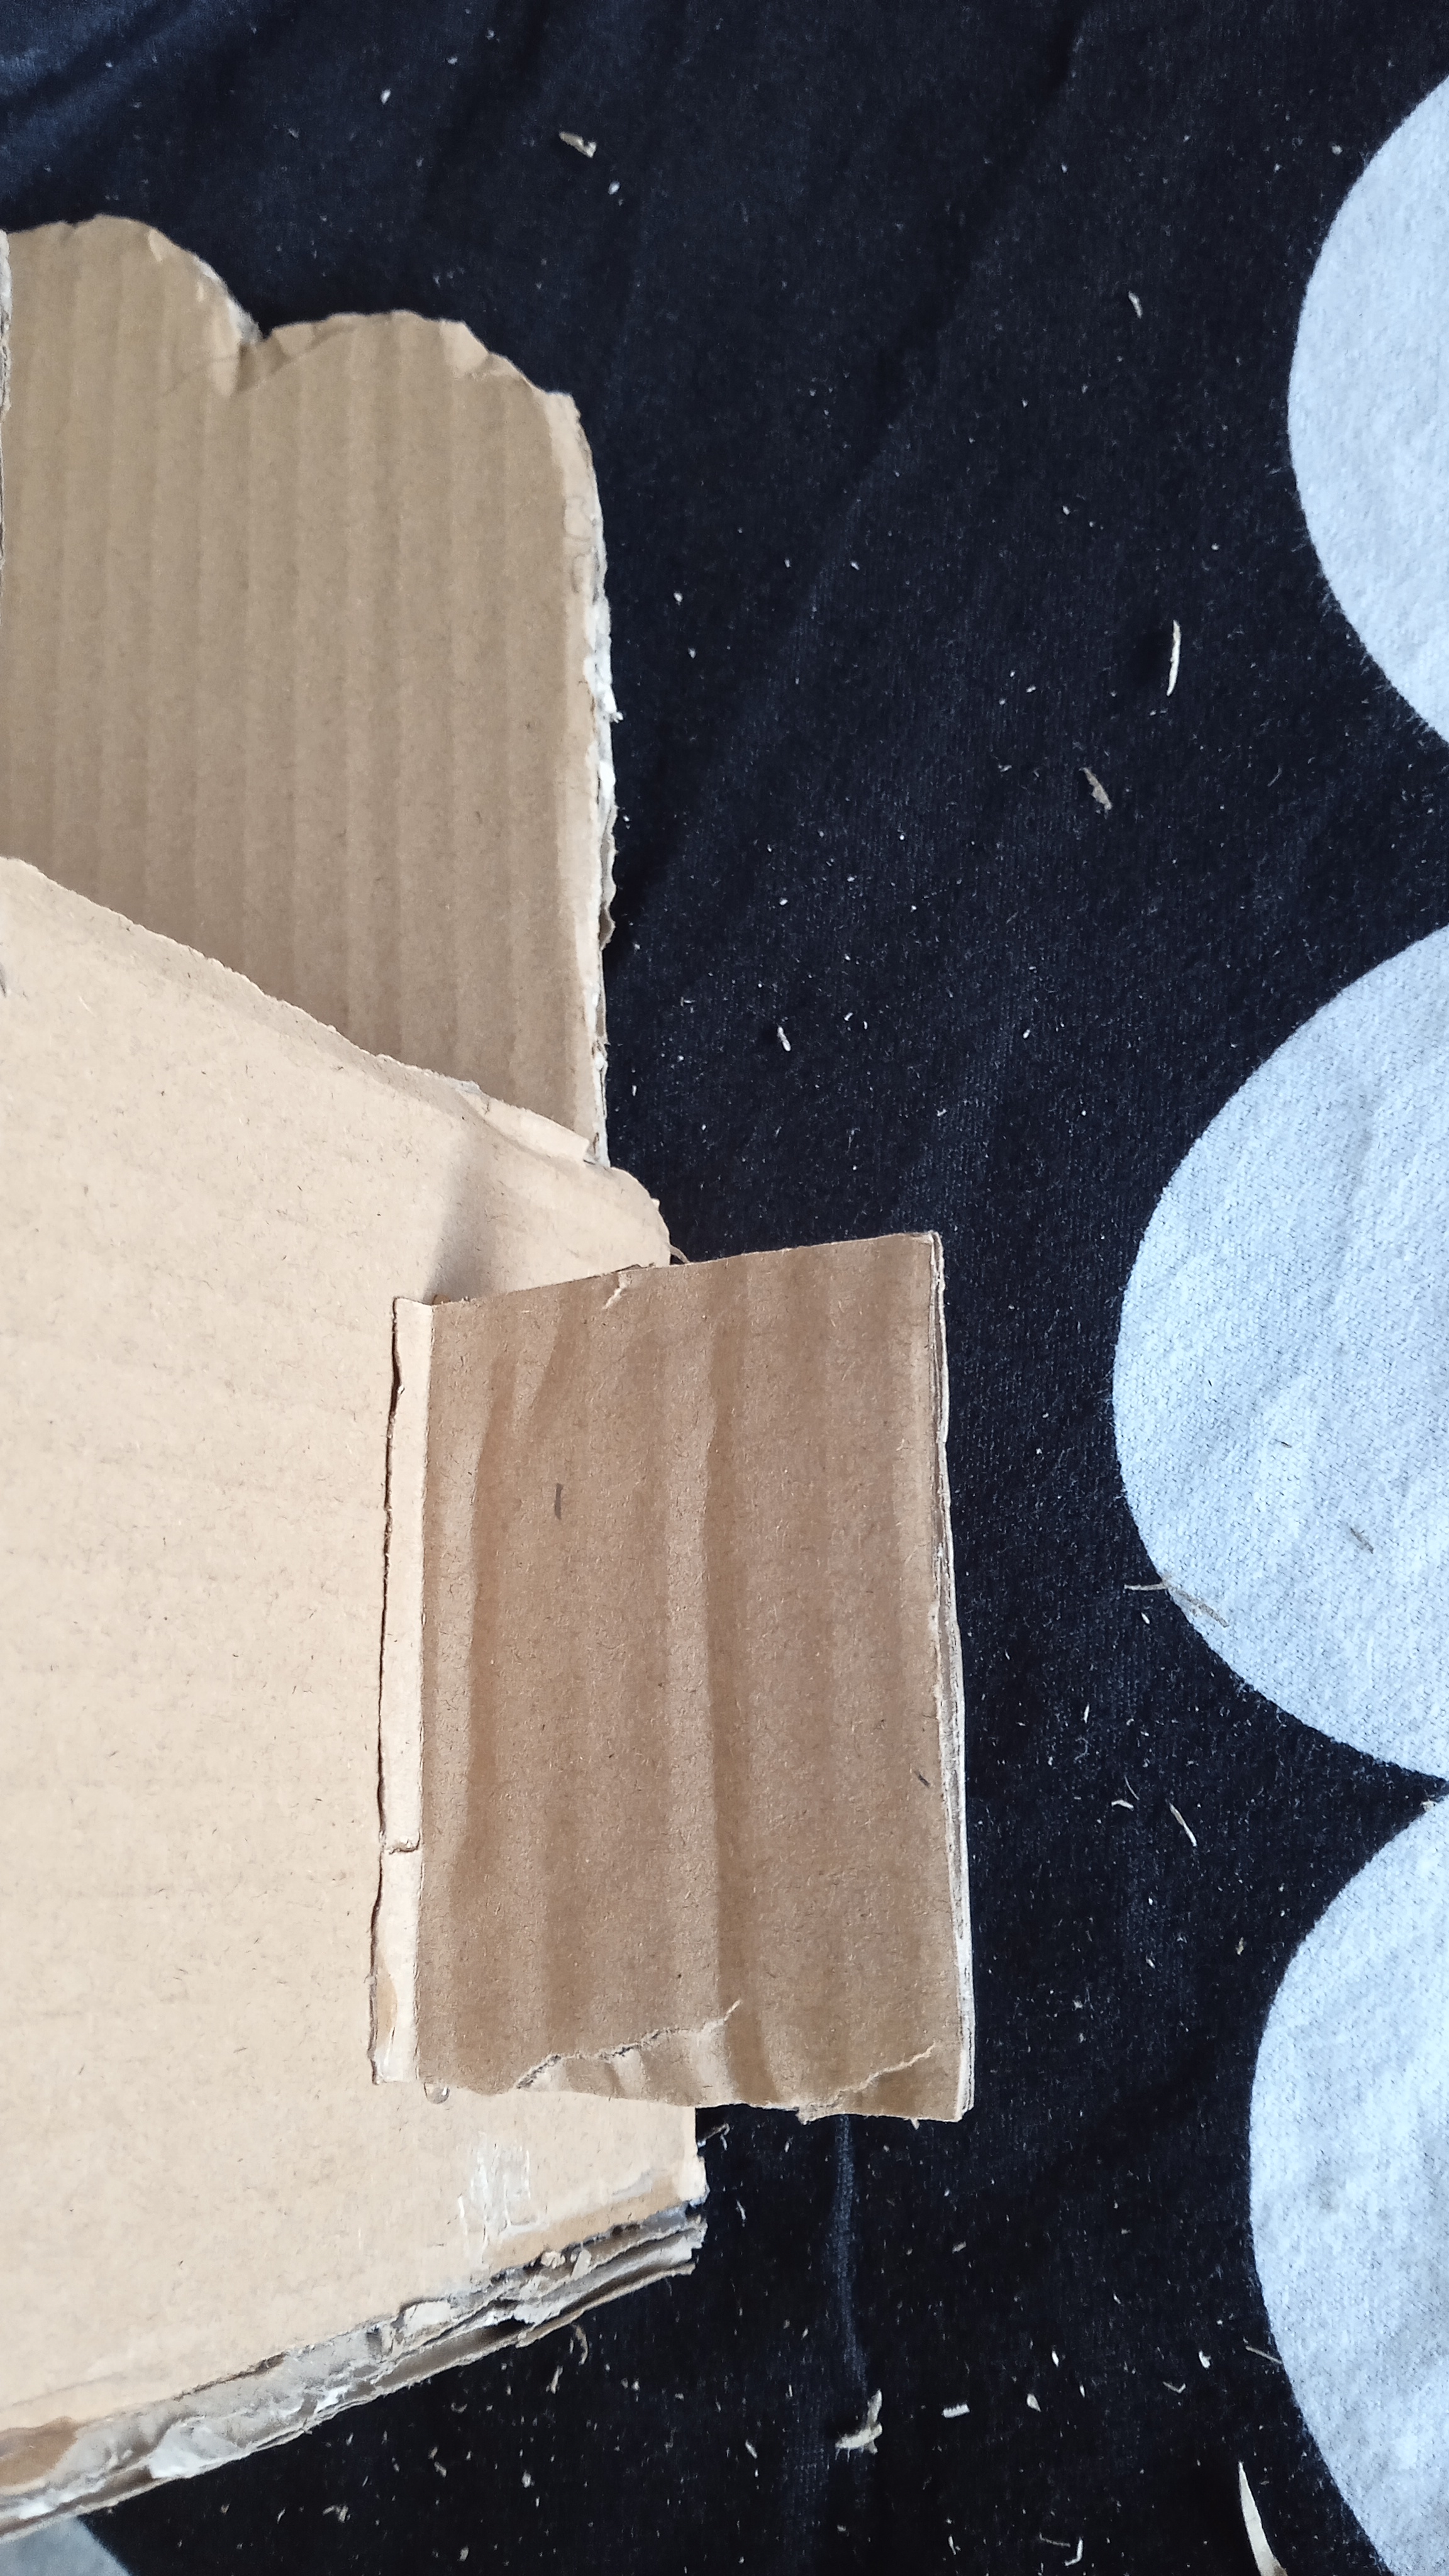
Para comenzar lo primero que haremos es medir el cartón 18 cm x 18,5 cm de longitud y lo cortamos para obtener la pieza de atrás.
To begin, the first thing we will do is measure the cardboard 18 cm x 18.5 cm long and cut it, this way we will obtain the back piece.
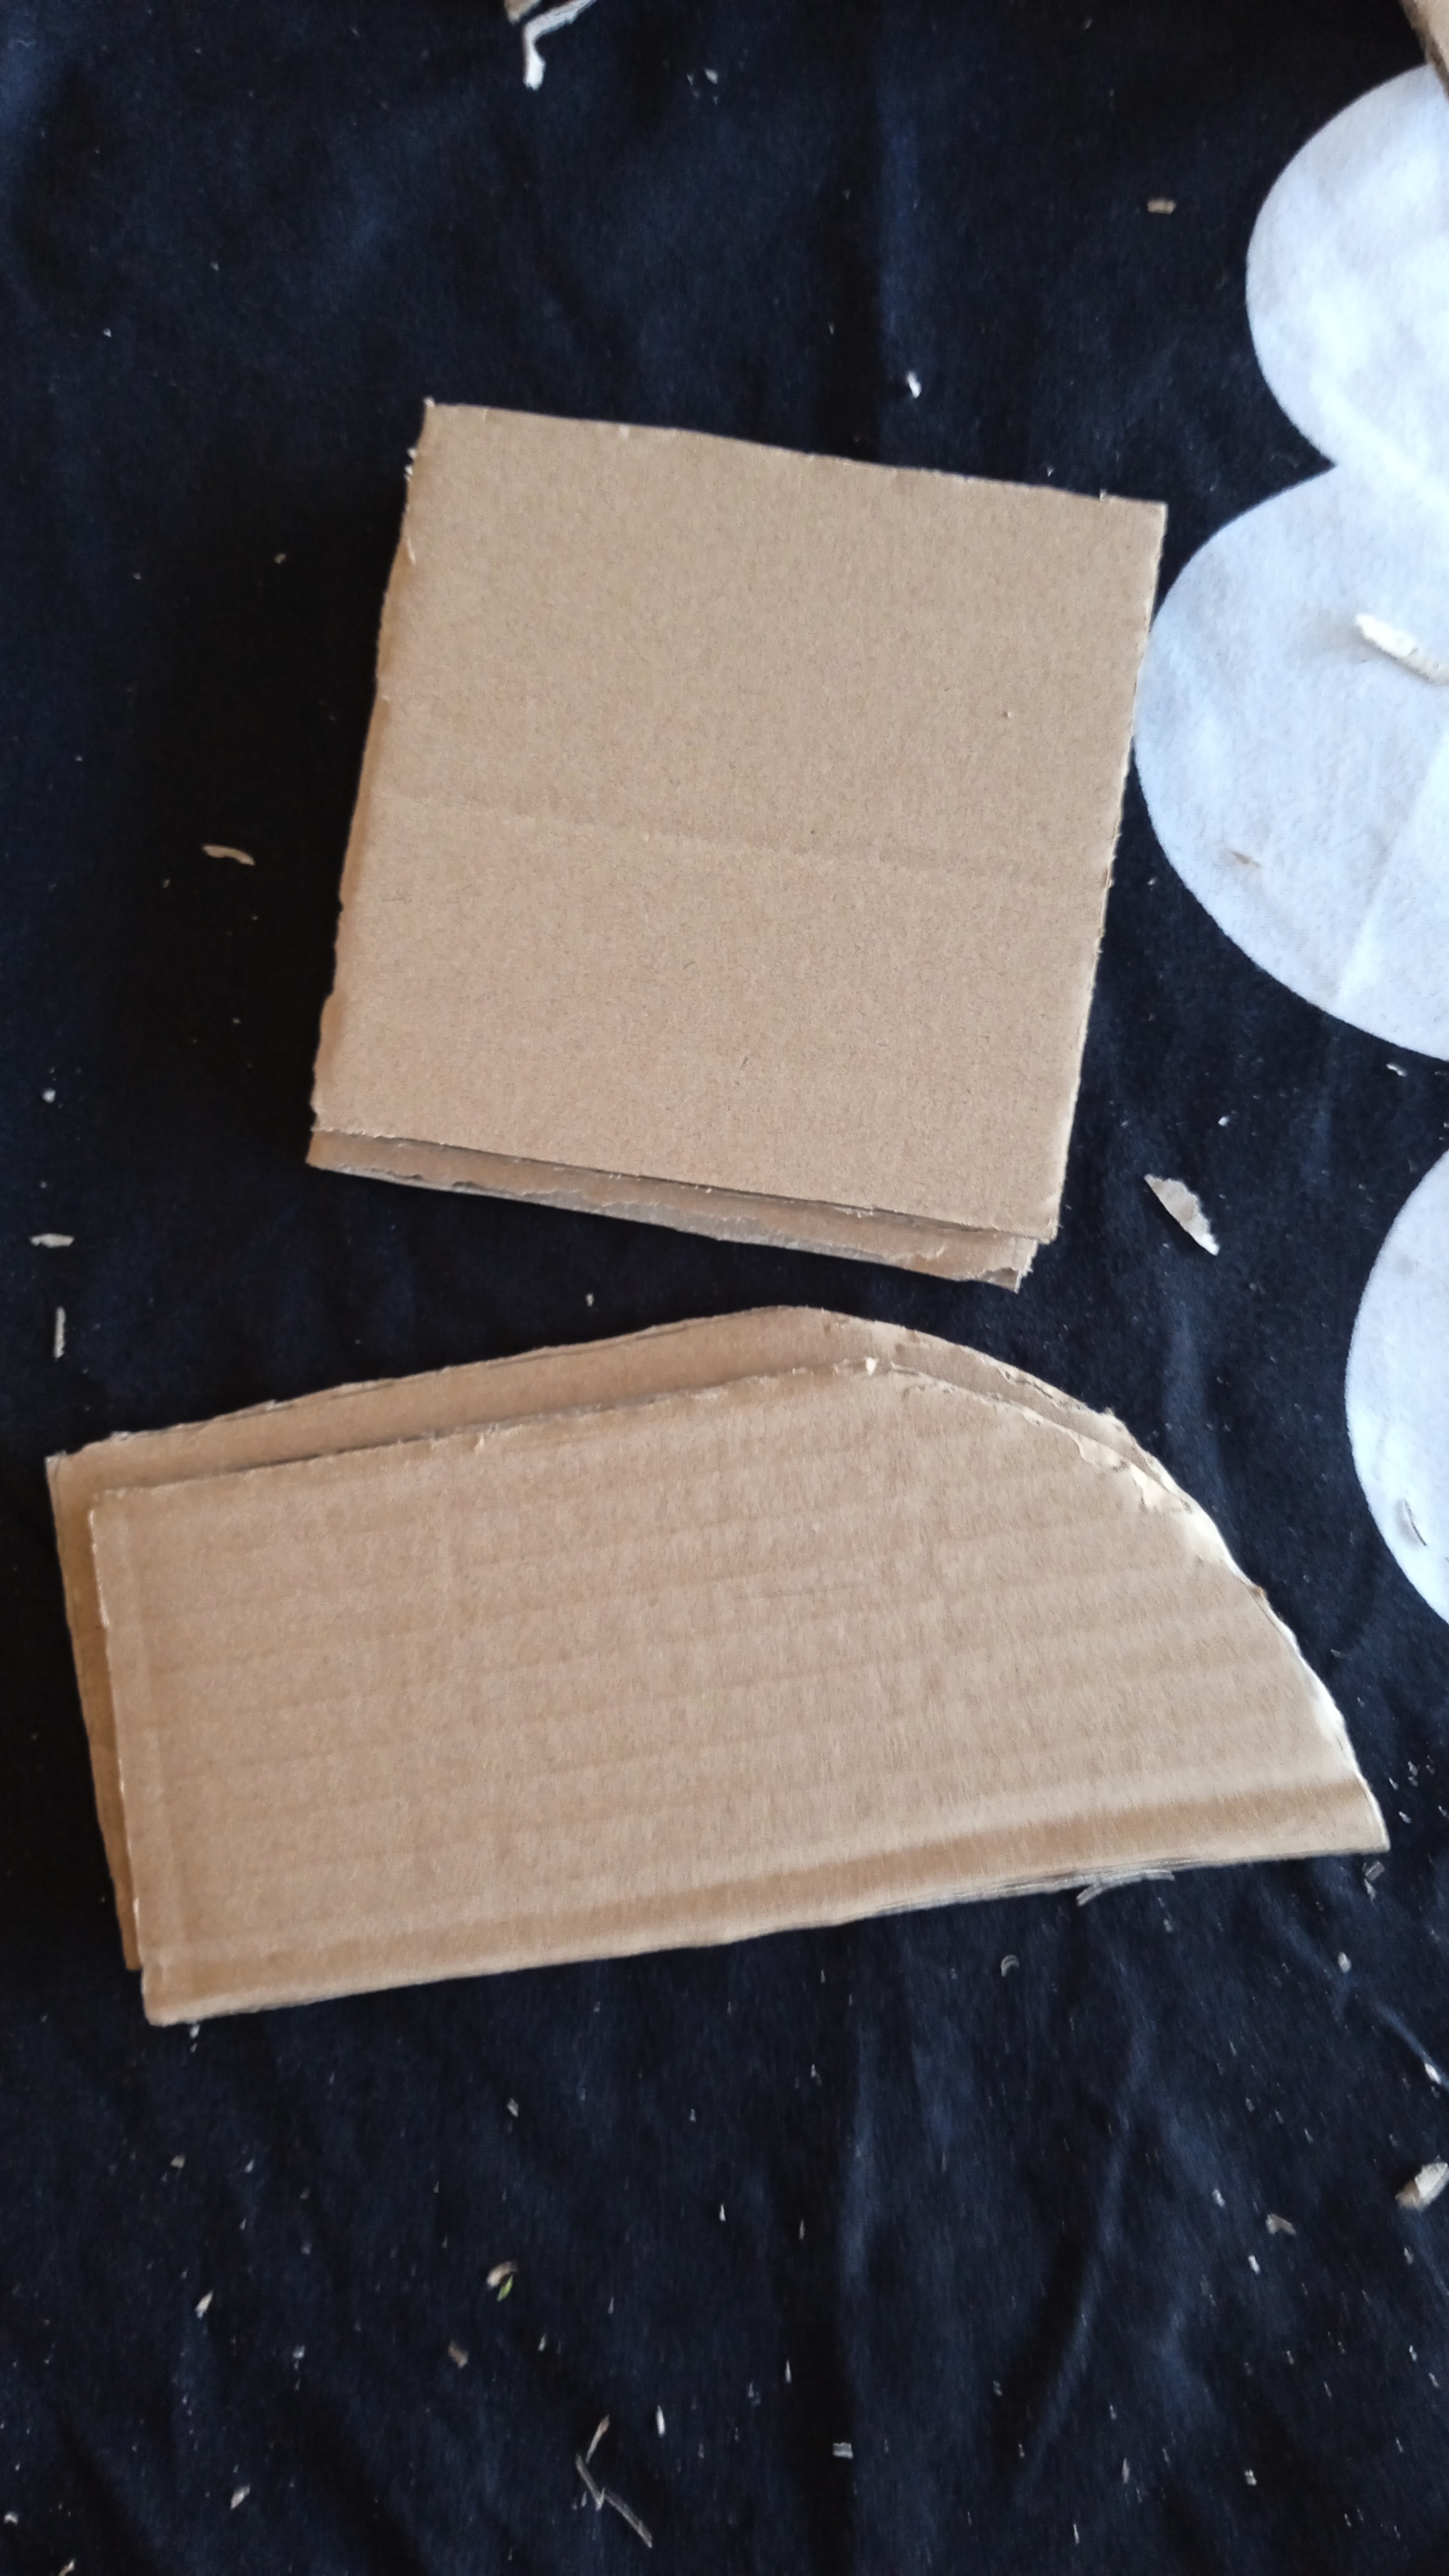
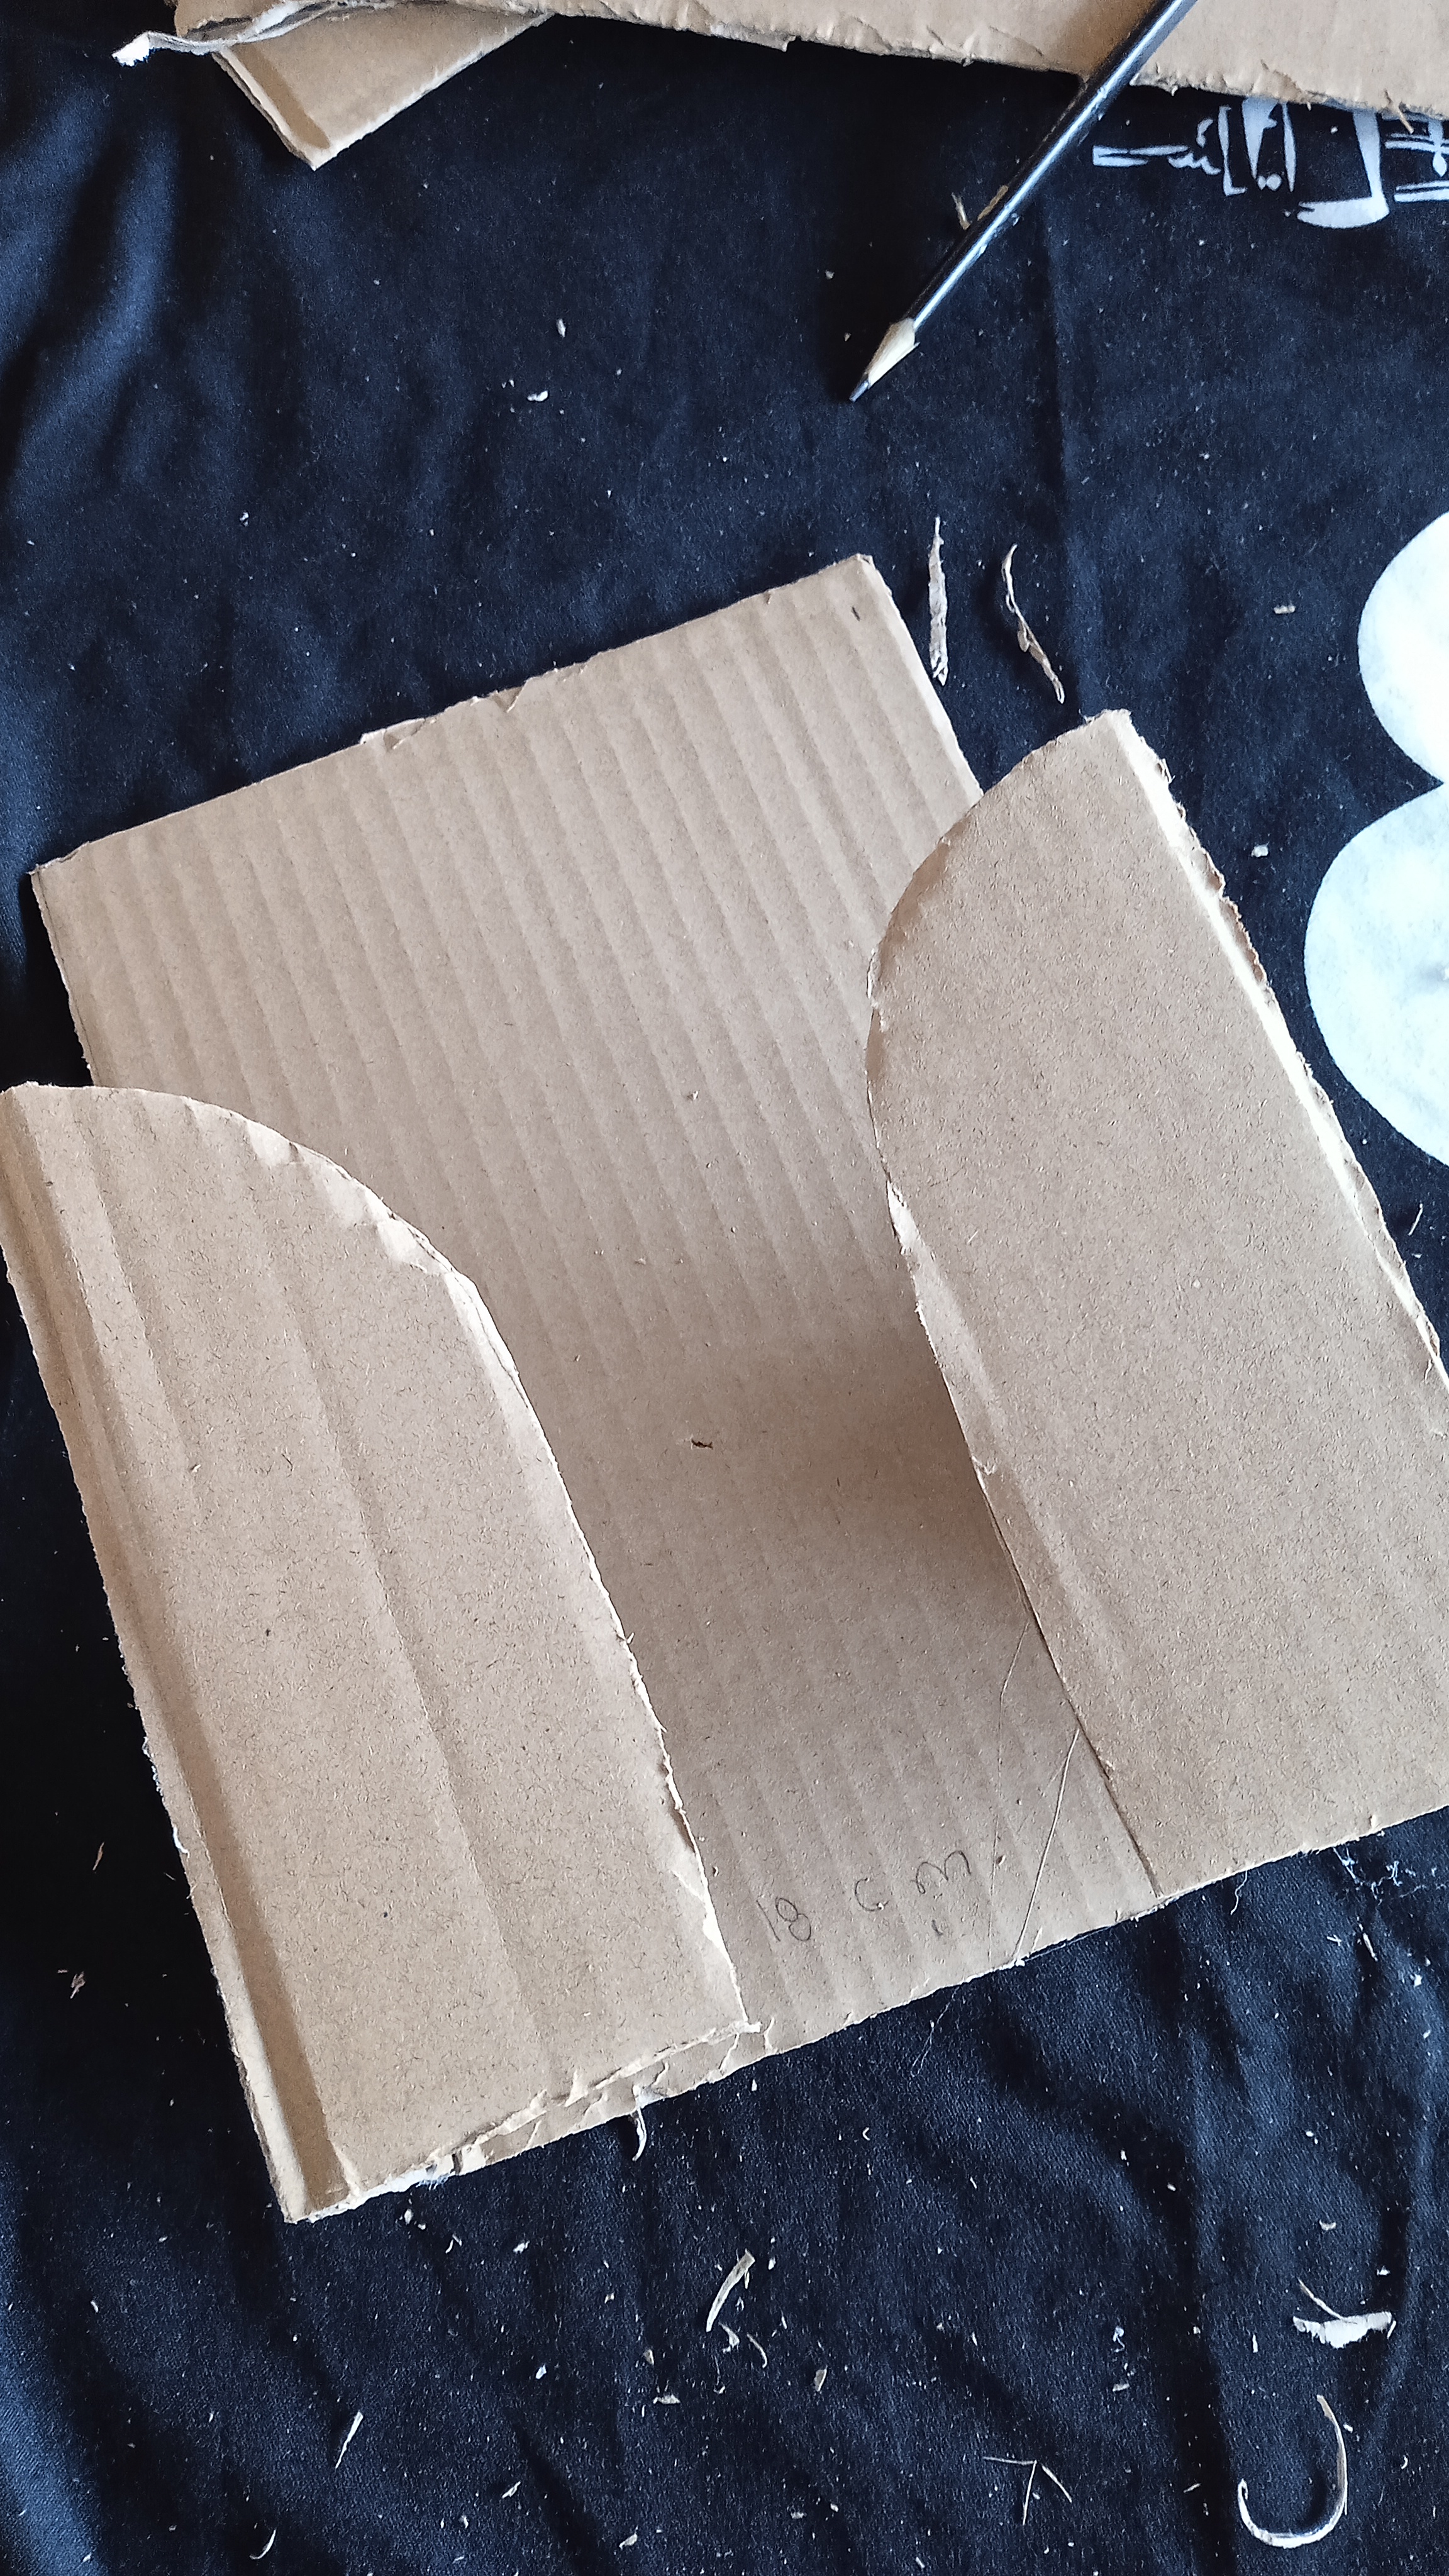
Ahora vamos a cortar las piezas que irán a los lados y al frente. Recortamos un par de cuadrados y unos rectángulos a los que le damos forma curva en la parte de arriba.
Now we're going to cut the pieces that will go on the sides and front. We'll cut out a couple of squares and some rectangles, giving them a curved shape at the top.
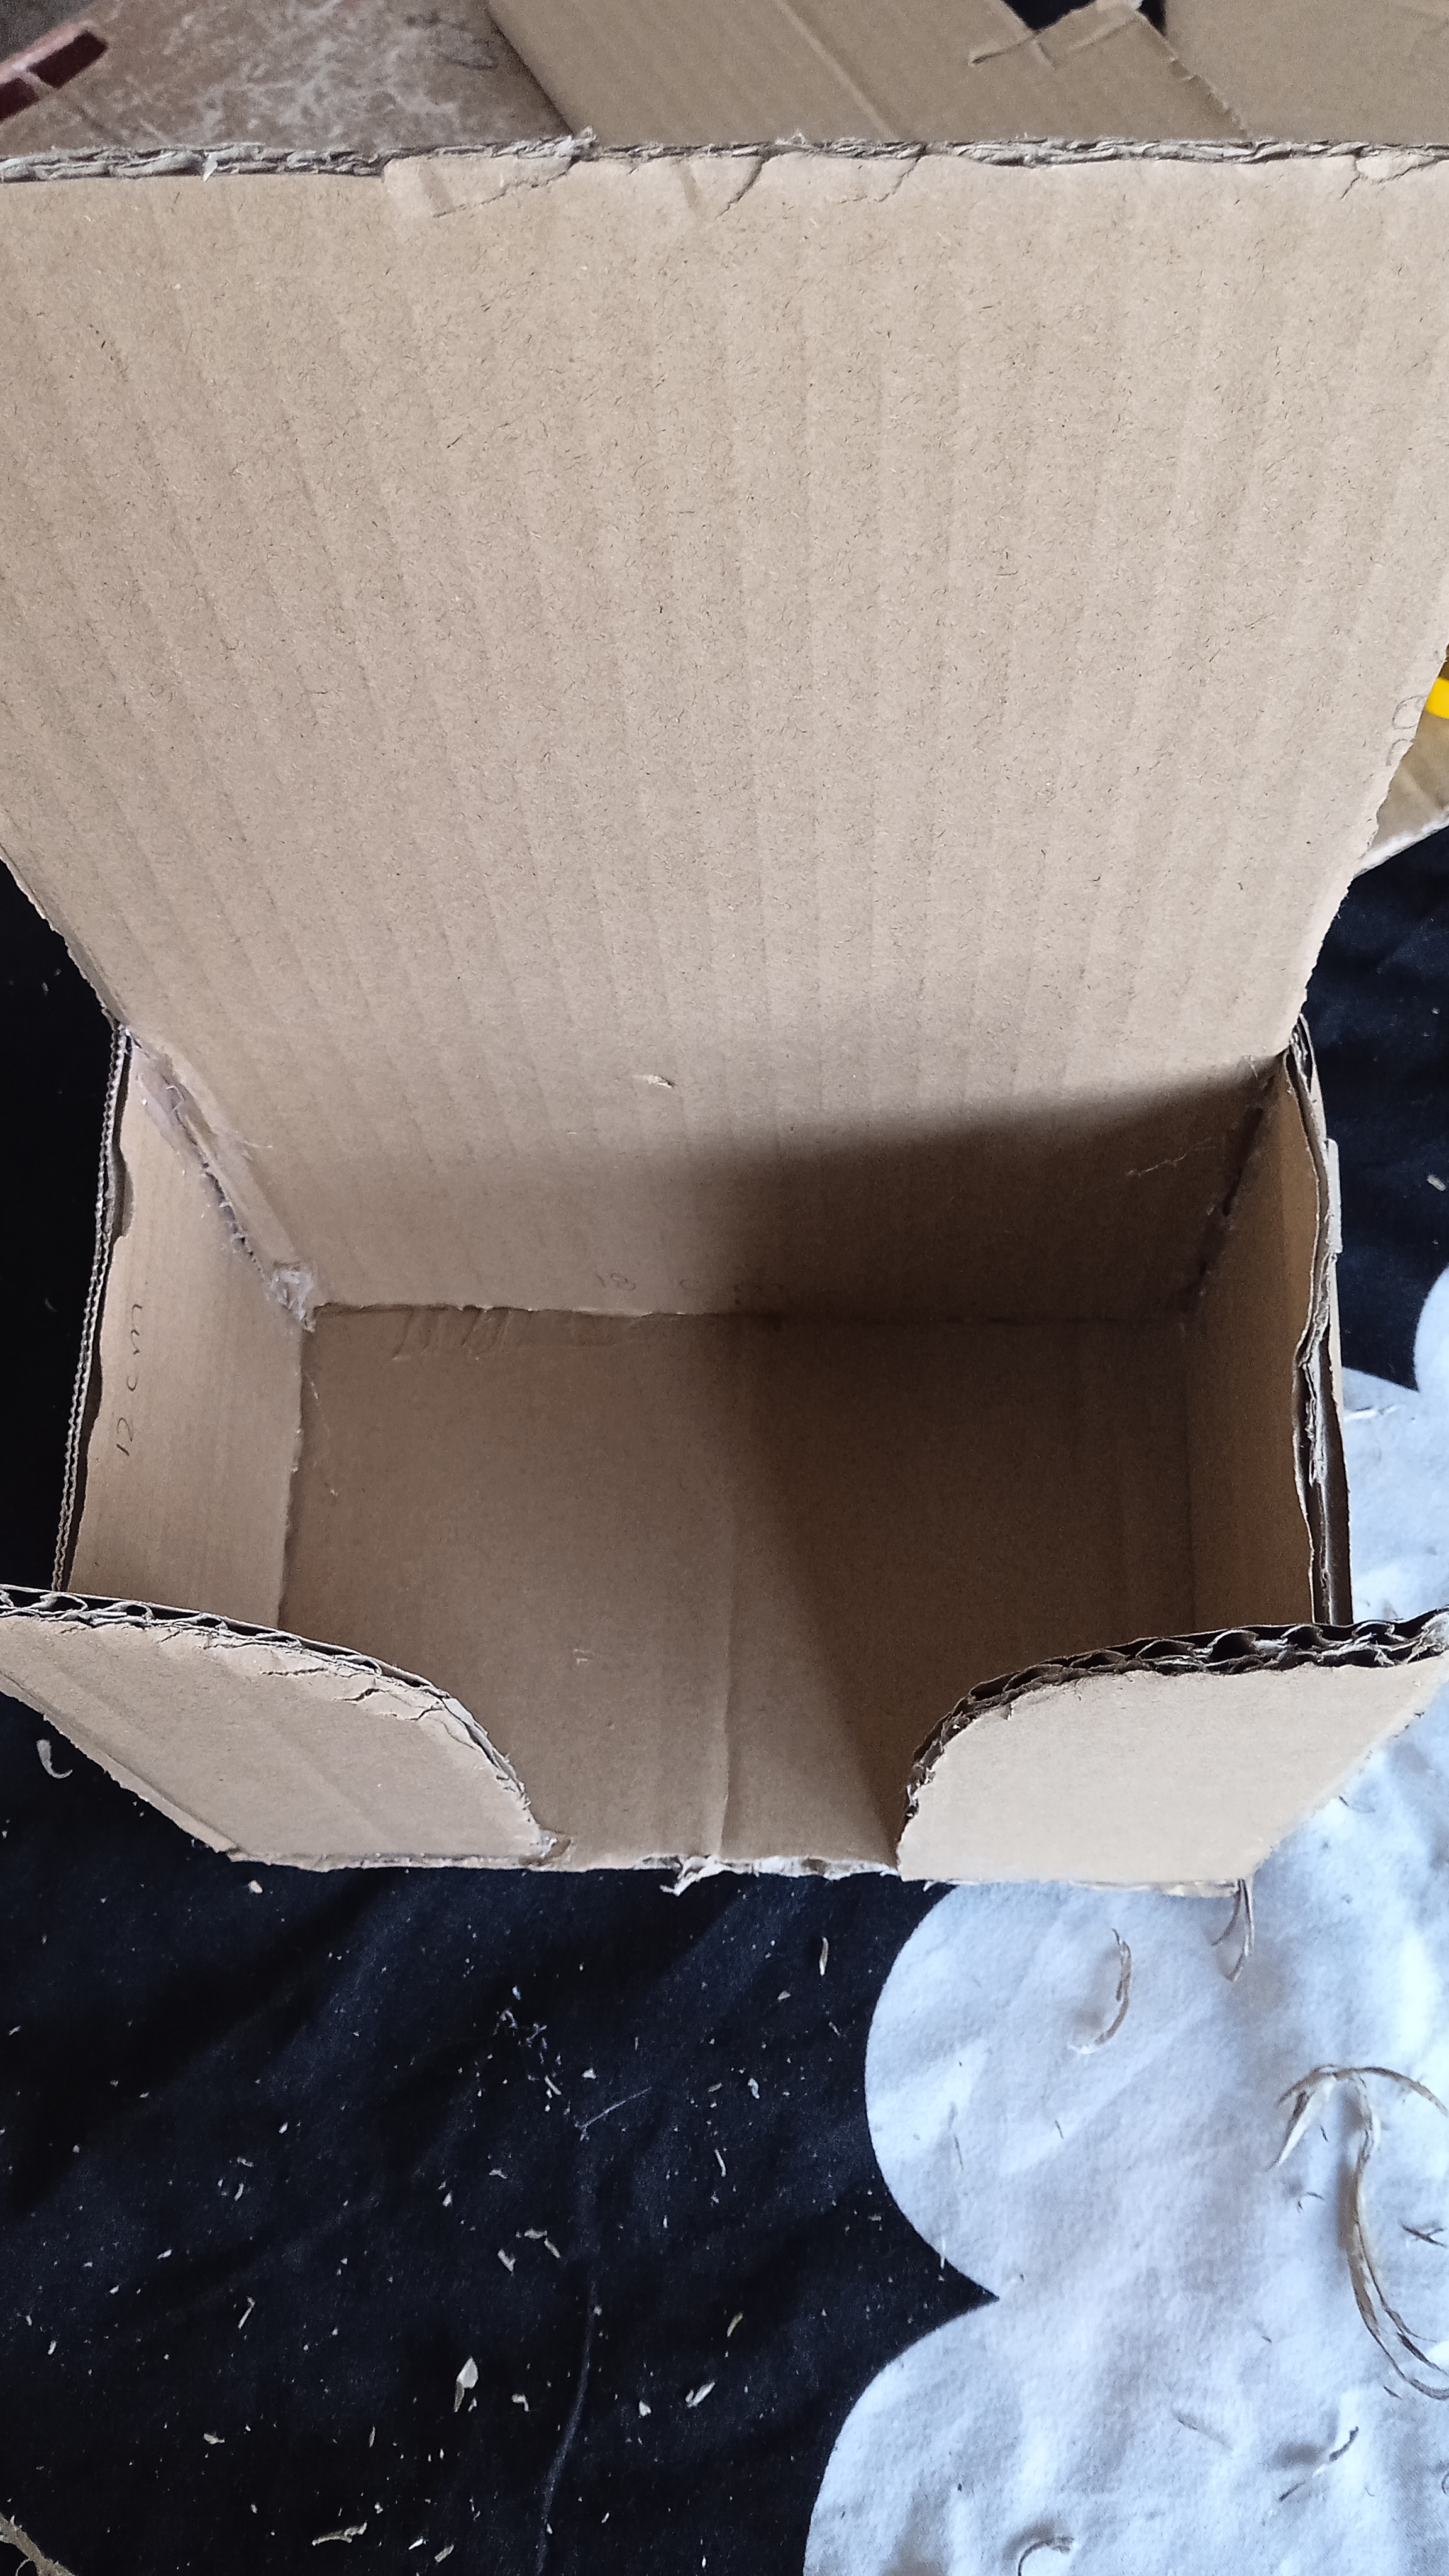
Pegamos estás piezas cuadradas a lados de la pieza grande, observen como debemos quedar.
We glue these square pieces to the sides of the large piece, see how they should look.
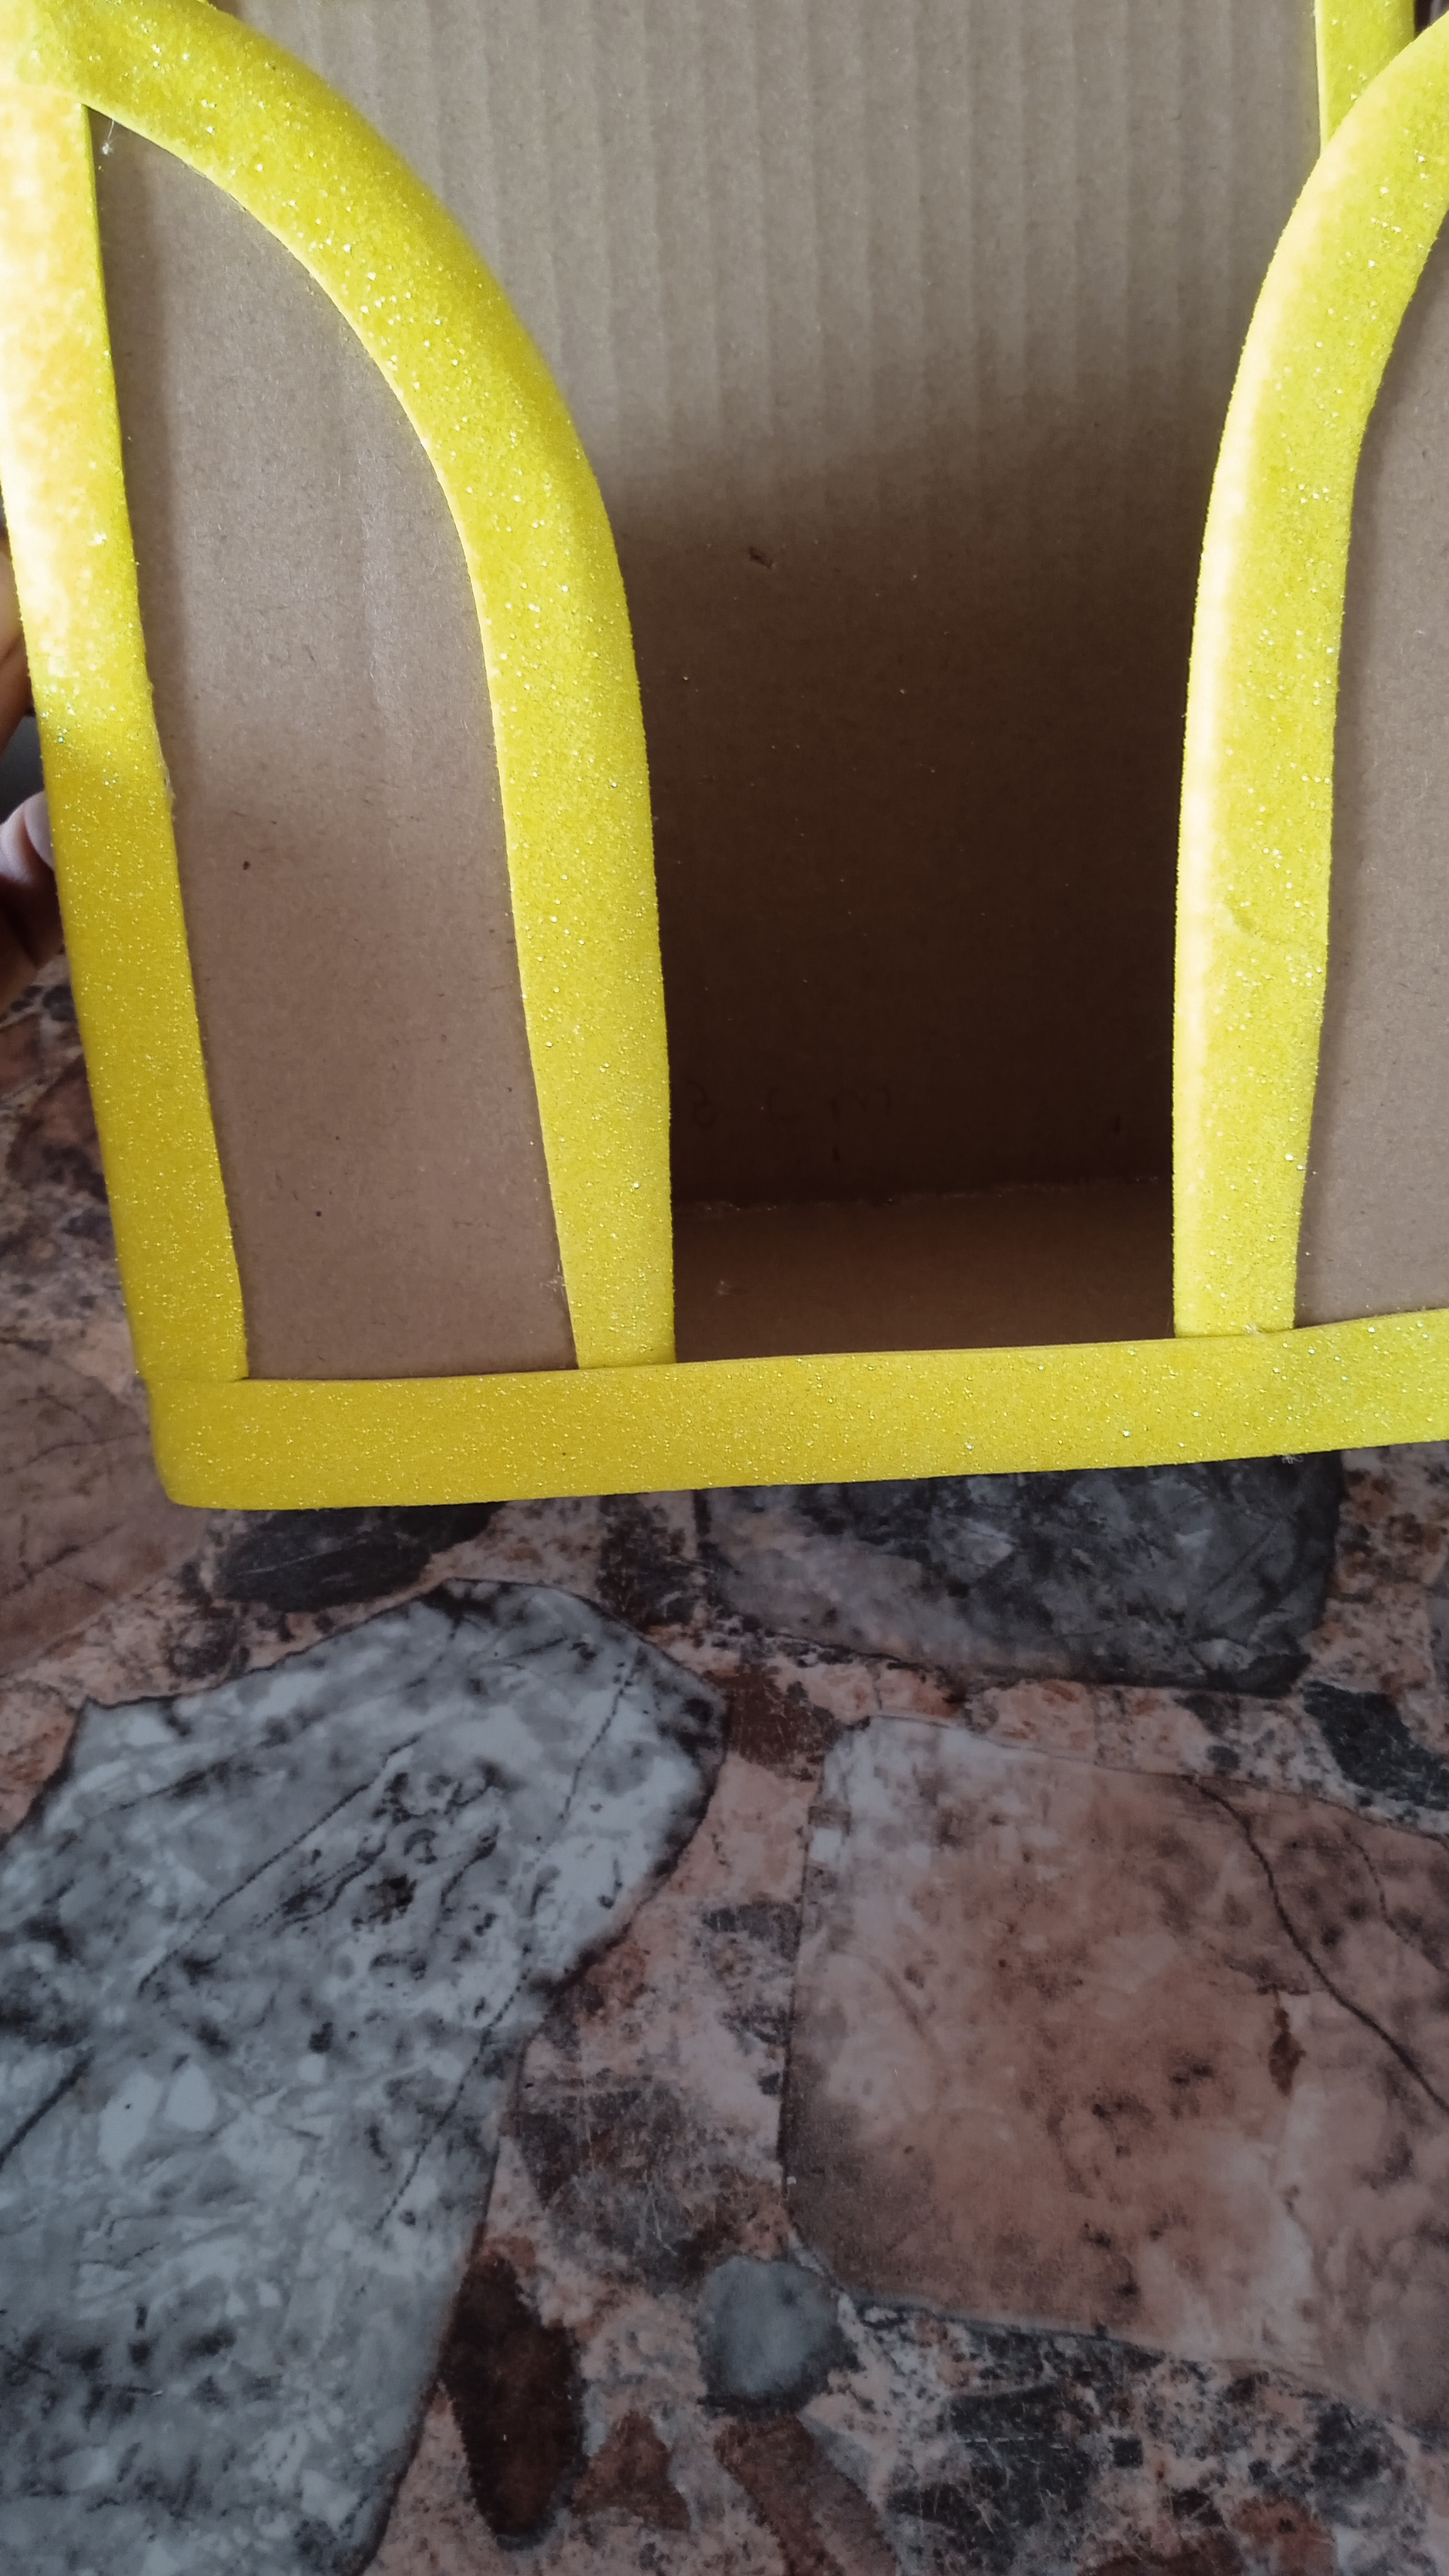
Una vez que hayamos terminado de pegar los cuadrados y que la silicona se seque, vamos a pegar las piezas mas delgadas que van en la parte del frente.
Once we've finished gluing the squares and the silicone has dried, we'll glue the thinner pieces that go on the front.
Continuamos con la elaboración, vamos a agregar silicona en el borde de la parte de abajo y pegamos a un trozo de cartón luego recortamos para que quedé la base de este organizador.
We continue with the elaboration, we are going to add silicone to the edge of the bottom and glue it to the cardboard, then we cut it so that it becomes the base of this organizer.
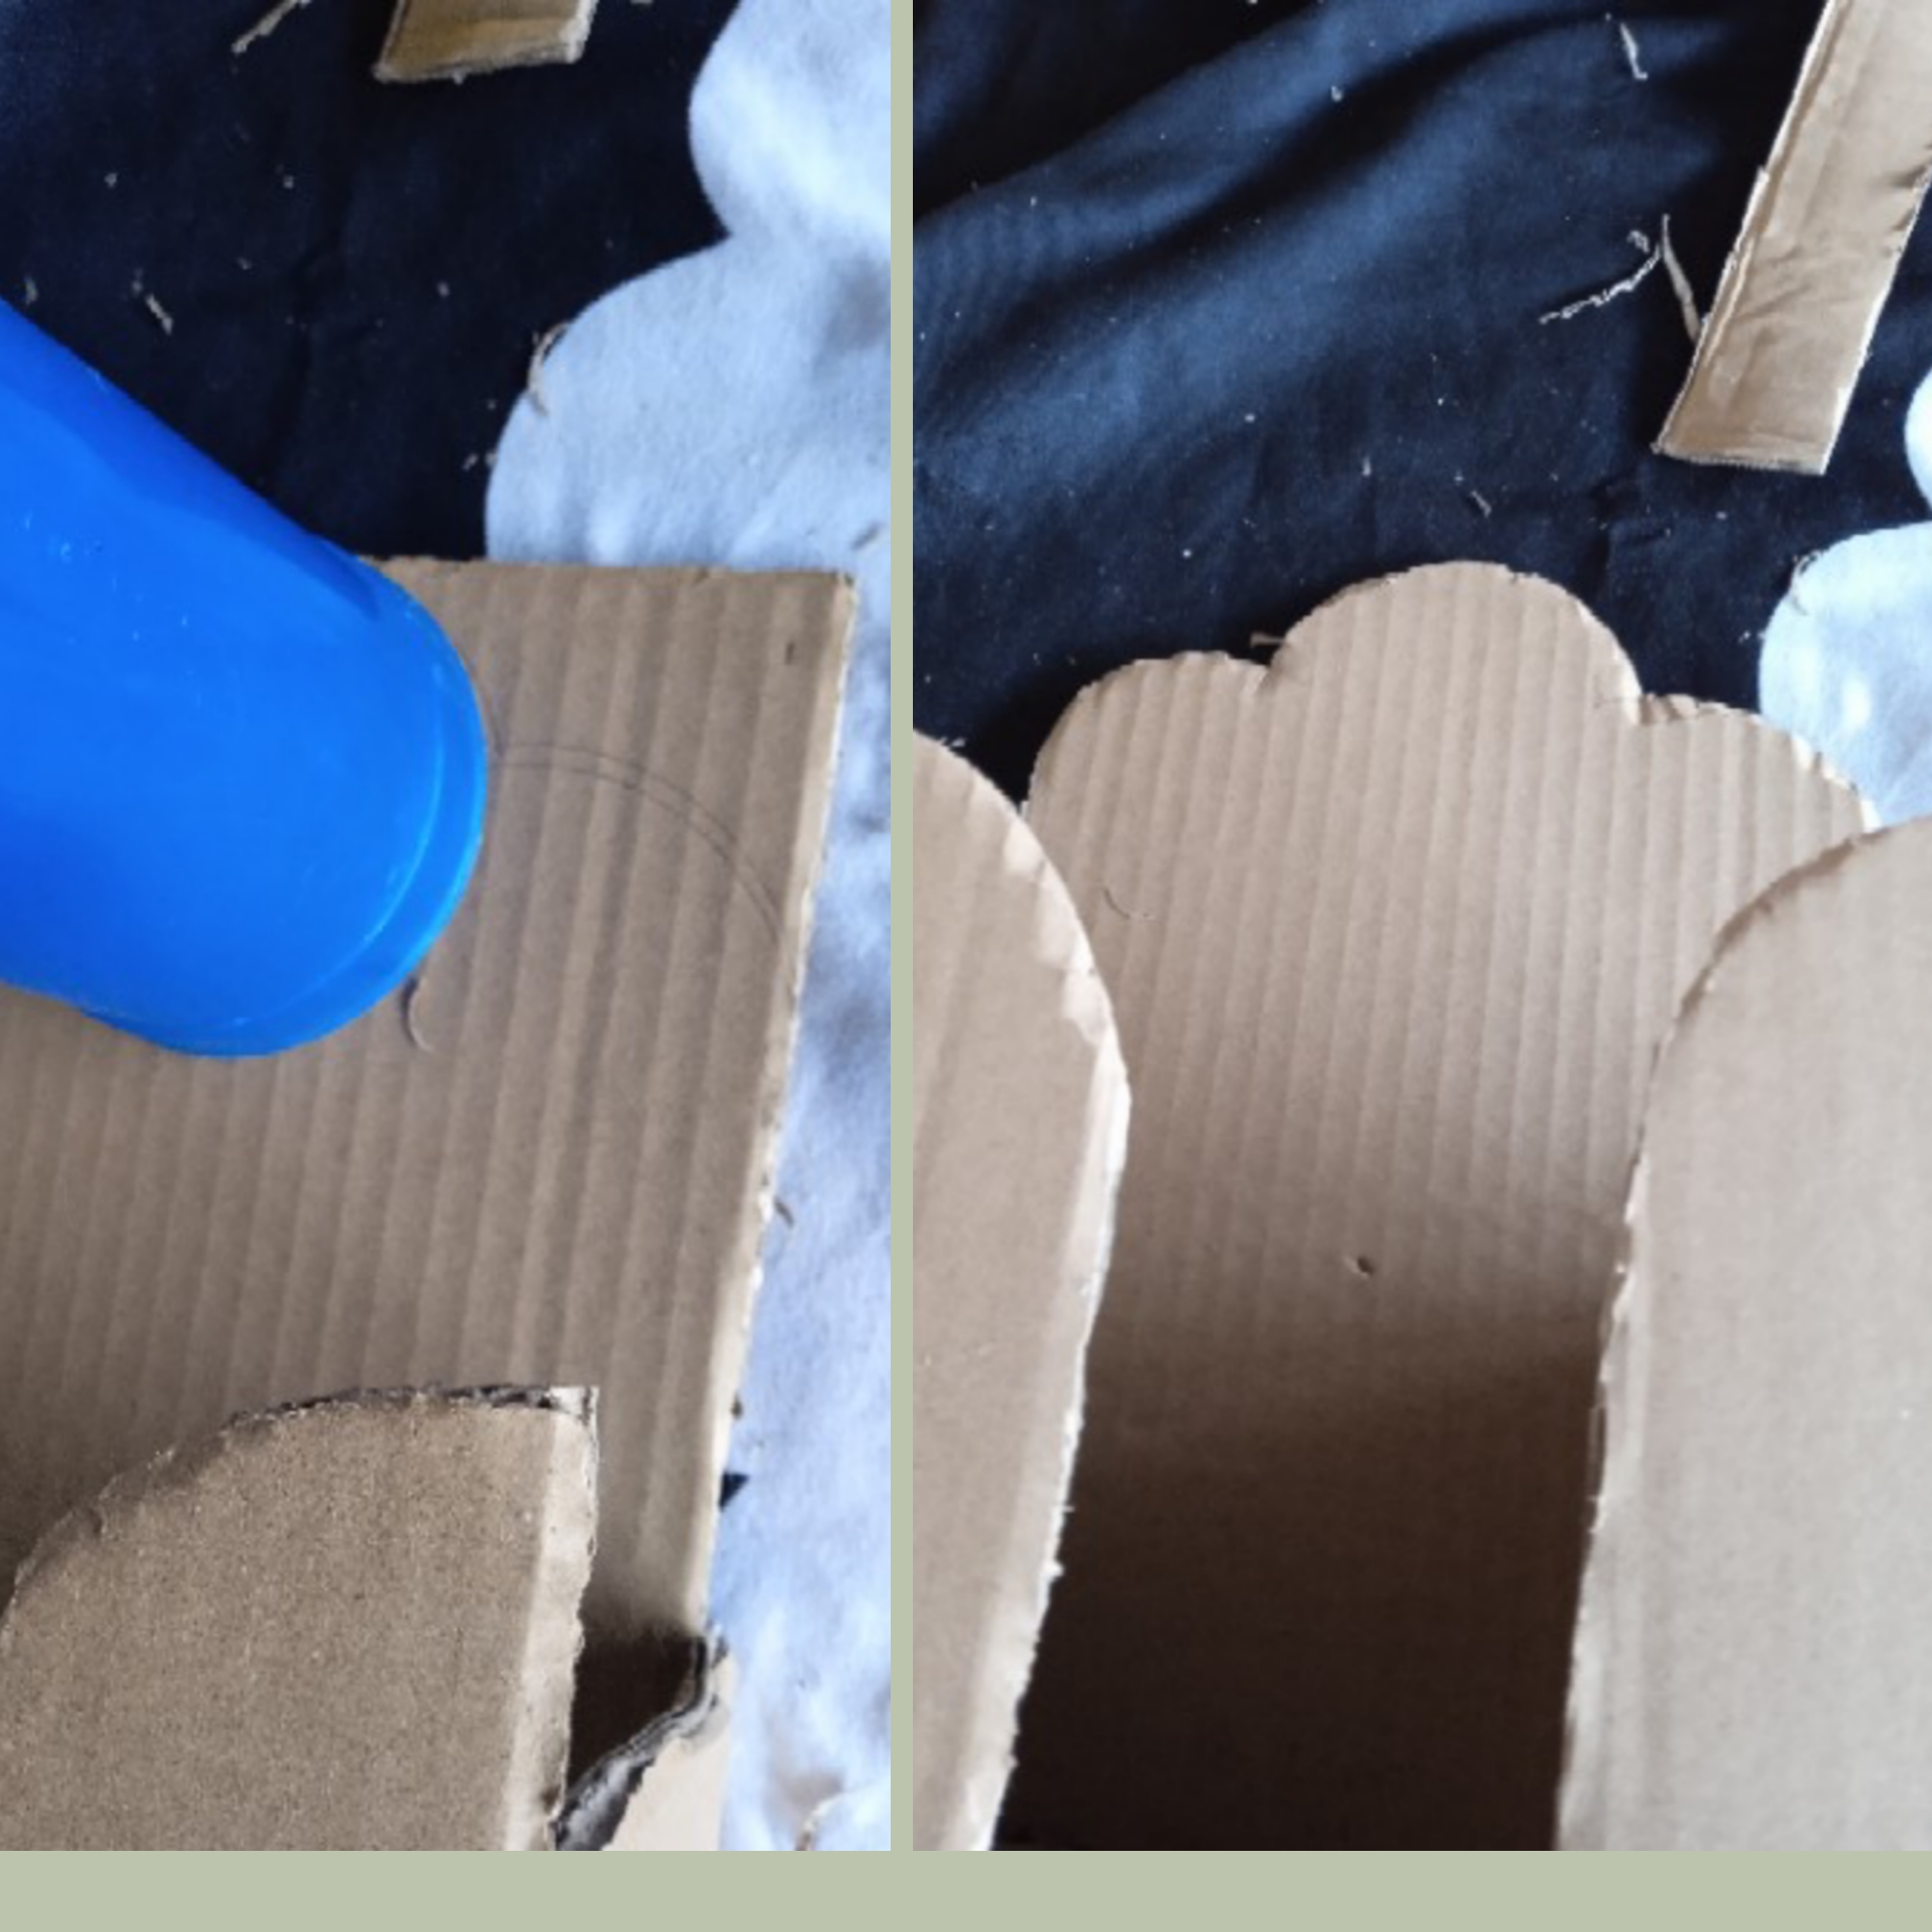
Al principio, quería dejar esta pieza cuadrada, pero me pareció un poco simple, así que redondeé la parte superior, coloqué un vaso y tracé su contorno para darle la forma deseada.
At first, I wanted to leave this piece square, but I felt it was a bit simple, so I rounded the top. What I did was place a glass and trace around the outline to give it the desired shape.
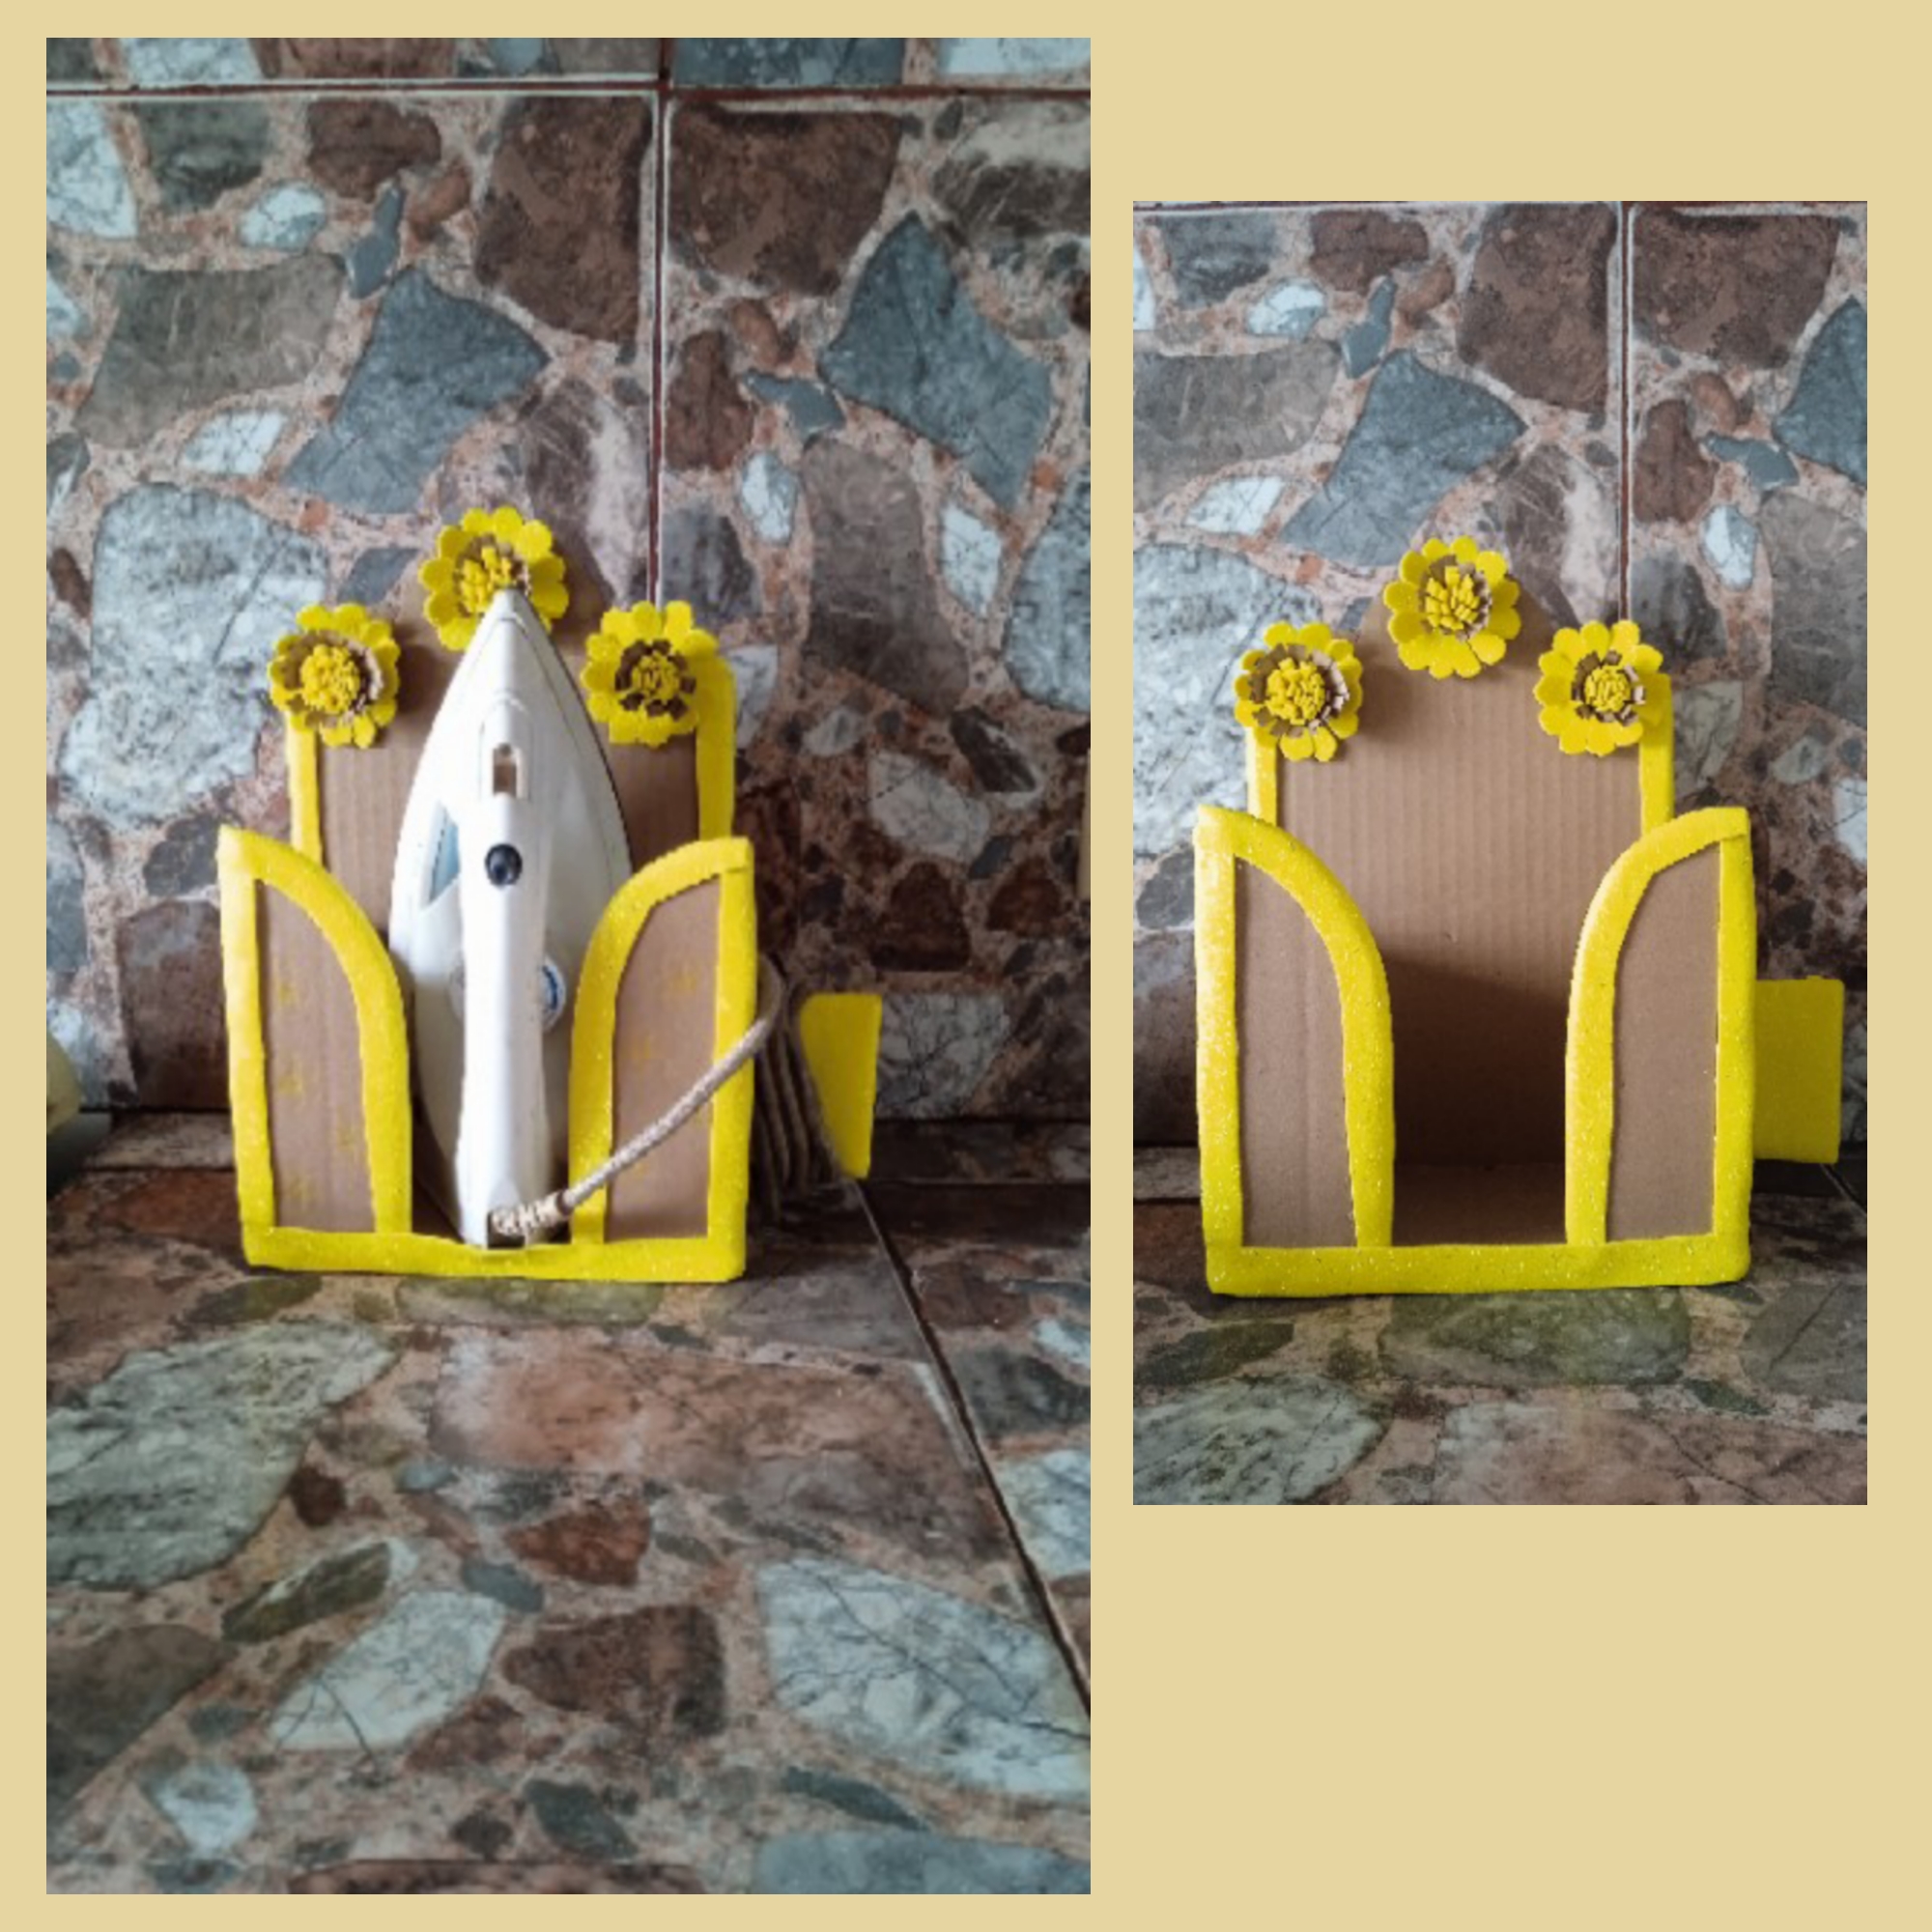
Cortamos un pequeño rectángulo para colocarlo y pegarlo a un lado que servirá para enrollar el cable de la plancha en este organizador.
We cut a small rectangle to place it and glue it to one side so that it can be used to wrap the iron's cable in this organizer.
Casi para terminar pegamos tiras de foami a los lados y abajo para decorar, también pueden utilizar papel decorativo, tela o pintura.
To finish, we glue strips of foam to the sides and bottom to decorate. You can also use decorative paper, fabric, or paint.
Finalmente, hacemos flores con foami y cartón, cortamos cintas de ambos materiales para hacer el interior de las flores. Hacemos cortes verticales en estas cintas, las enrollamos y las pegamos con un poco de silicona. Finalmente, pegamos pétalos de foami para terminarlas.
Finally, we make flowers with foam and the same cardboard we used. We cut ribbons from both materials to make the interior of the flowers. We make vertical cuts in these ribbons, roll them up, and glue them together with a bit of silicone. Finally, we glue foam petals to finish.


Amigos, este es el resultado final: una manualidad preciosa que nos será muy útil a todas las amas de casa que nos gusta tener nuestras cosas organizadas y a mano. Pueden forrar este lindo organizador con foami, papel decorativo, tela, pintarlo o simplemente dejarlo como este que hice para que no pierda ese color del cartón que queda genial con el foami amarillo.
Friends, this is the final result: a beautiful craft that will be very useful to all of us housewives who like to keep our things organized and at hand. You can cover this cute organizer with foam, decorative paper, fabric, paint it, or simply leave it like this one I made so it doesn't lose that cardboard color that looks great with the yellow foam.
Gracias por acompañarme y leer hasta el final, espero que les guste este proyecto y que puedan elaborar uno en casa. Nos vemos en la próxima con más ideas para realizar, cuidense mucho, un gran abrazo.
Thanks for reading to the end. I hope you enjoy this project and can make one at home. See you next time with more ideas. Take care of yourselves. Big hugs.

Contenido de mí autoría.
Camara Xiaomi A10.
Editor PicsArt fotos y separadores.
Traductor Google.com
Content written by me.
Xiaomi A10 camera.
PicsArt photo editor and separators.
Google Translate.