
Saludos nuevamente mis abejitas artesanales, bendecidas con esas manos que tenemos con el don de crear, de todo hasta cosas que no creíamos, pero lo hacemos.
Entre esas manualidades o creaciones están las de hacer bandas para las reinas, tenia mucho tiempo sin hacer unas, desde que estaba en la escuela.
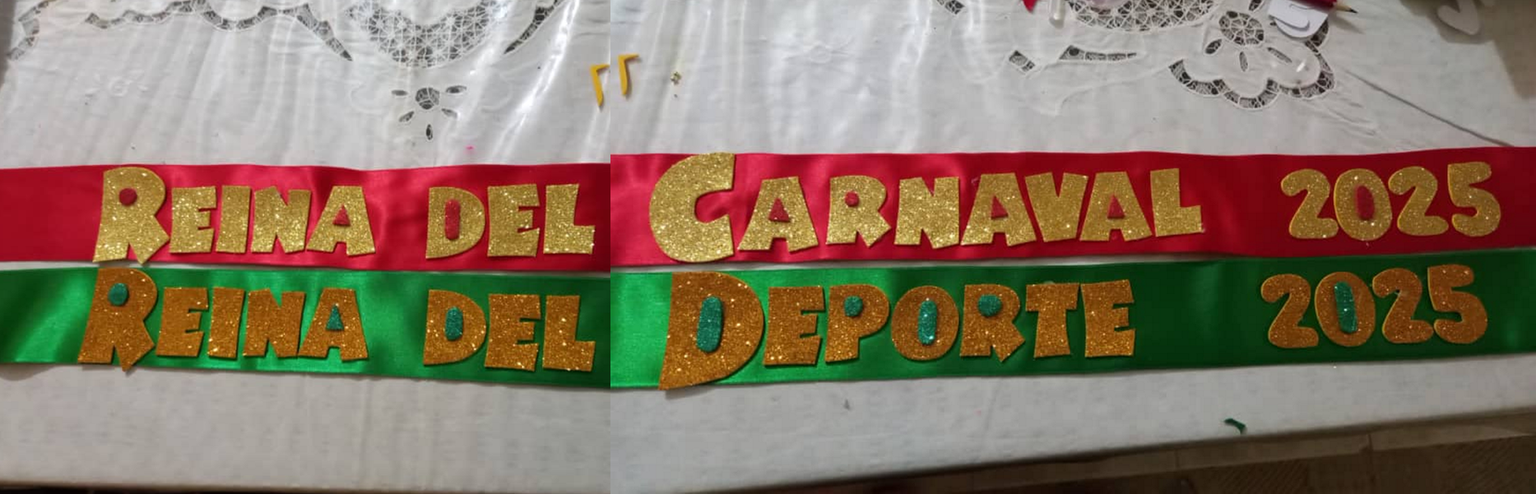
Hace poco hice unas si dos a una colega que trabaja en un liceo: la de carnaval y la del deporte, ambas con la misma técnica, así que les enseñare como hice una y al final verán las dos.
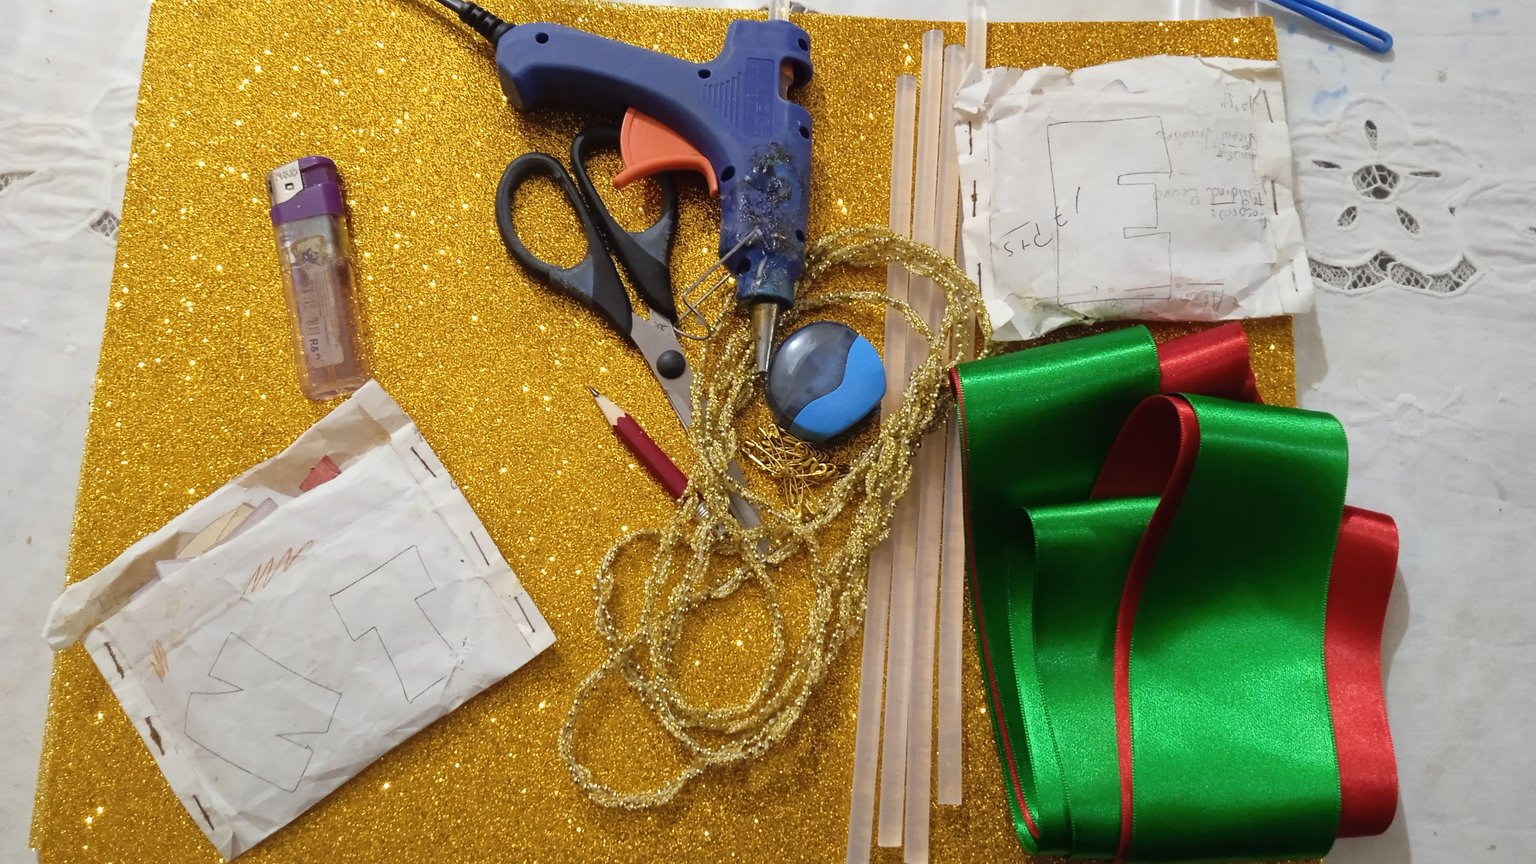
Materiales:
-Cintas de tela para bandas entre 6 y 8 cms de ancho.
-Foami escarchado.
-Alfileres o nodrizas.
-Tijera, lápiz, encendedor o yesquero.
-Moldes de letras.
Paso a Paso:
-Como las bandas son para muchachas ya algo grandes que es un liceo, sugerí que compraran 1.1/2 cms de cinta, compraron color verde navidad y el foami escarchado amarillo casi dorado.
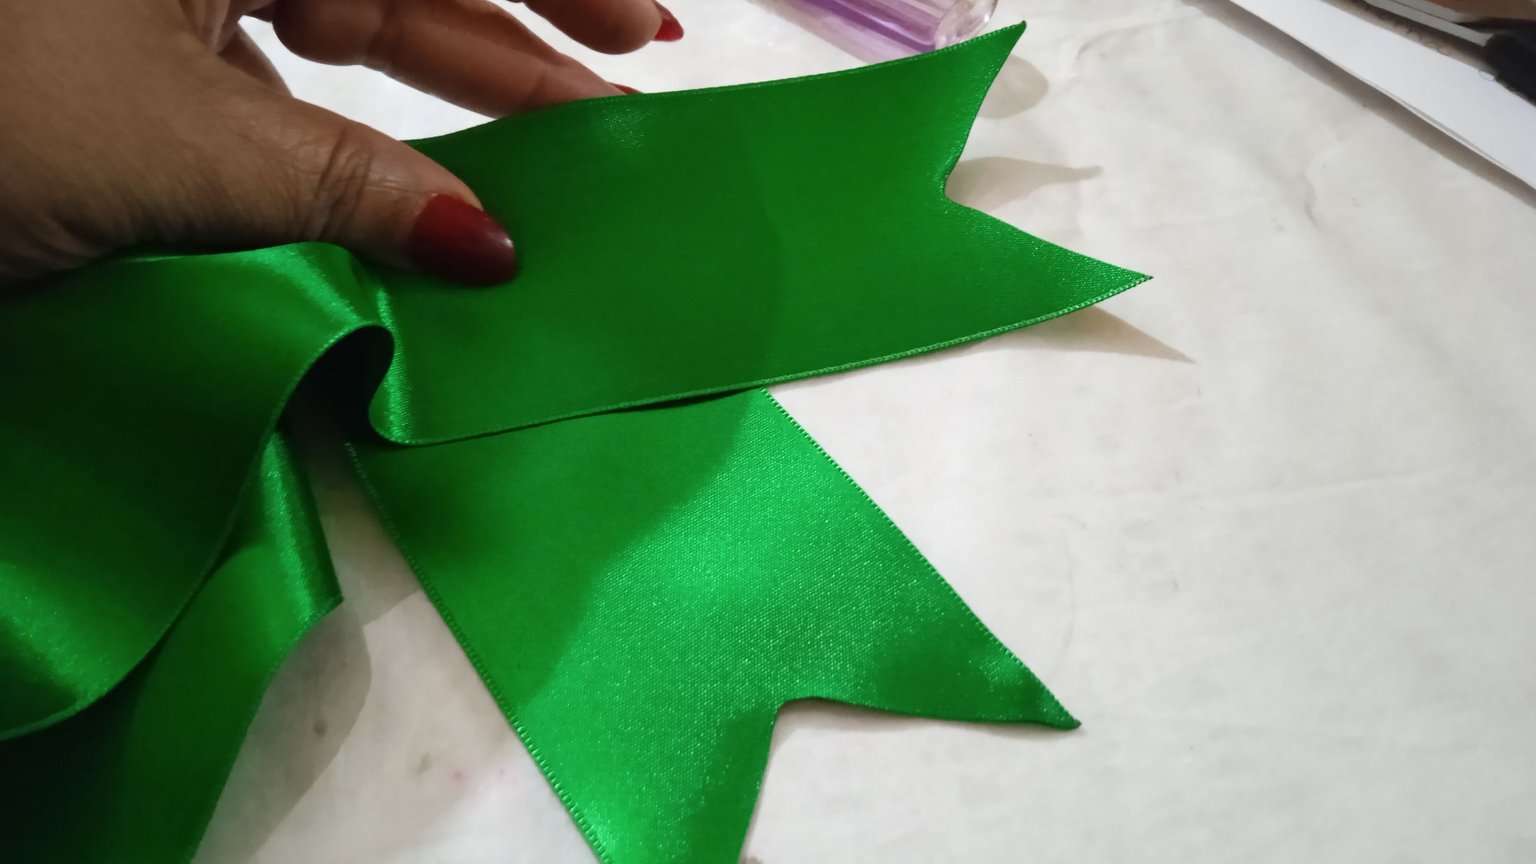
-Las puntas o extremos los corte como una V inversa, con el yesquero queme las orillas para evitar que se deshilache.
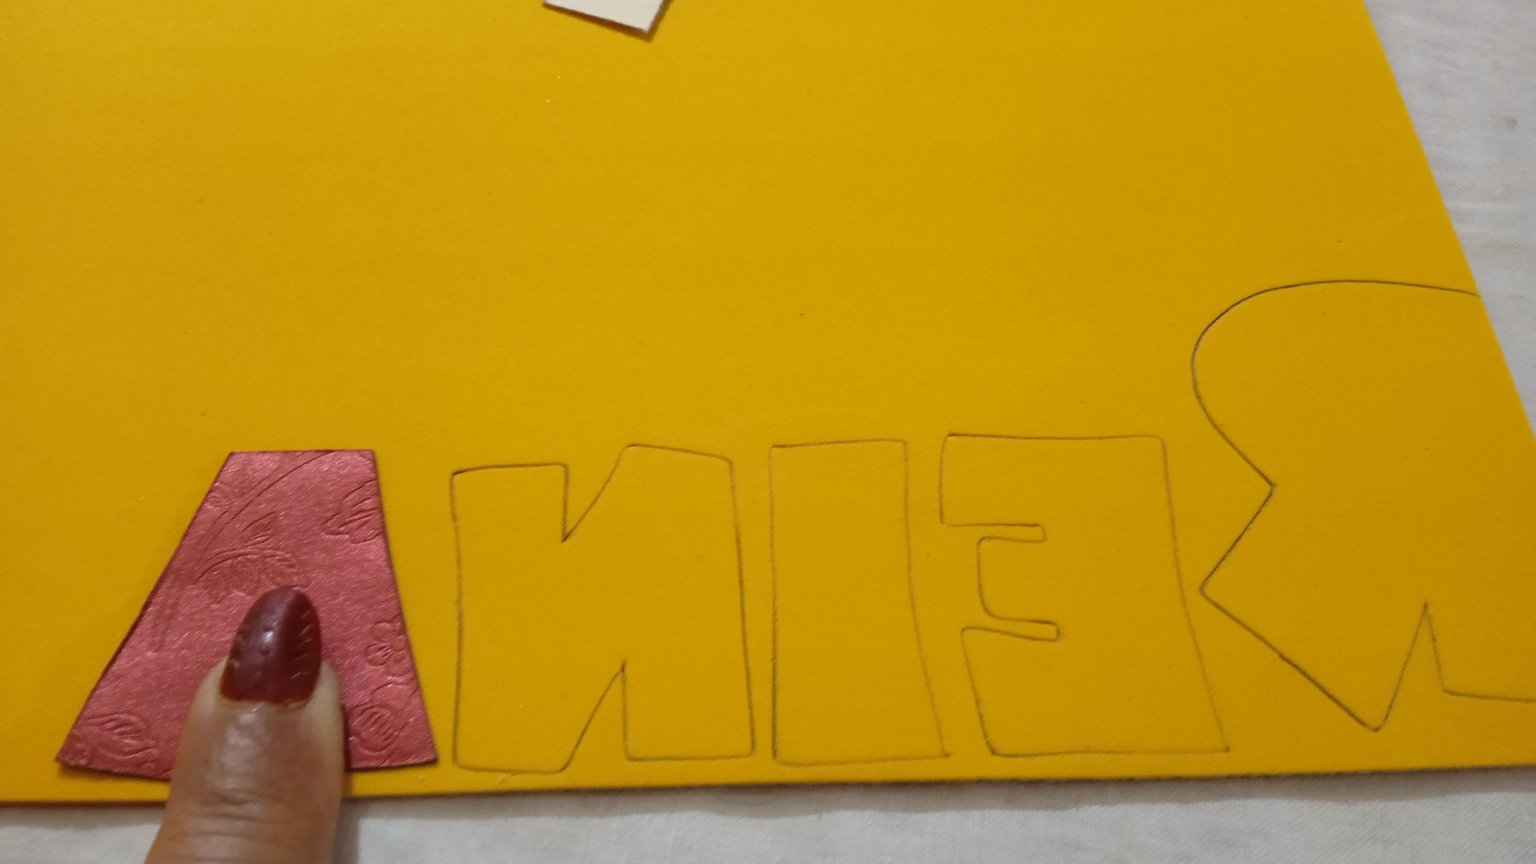
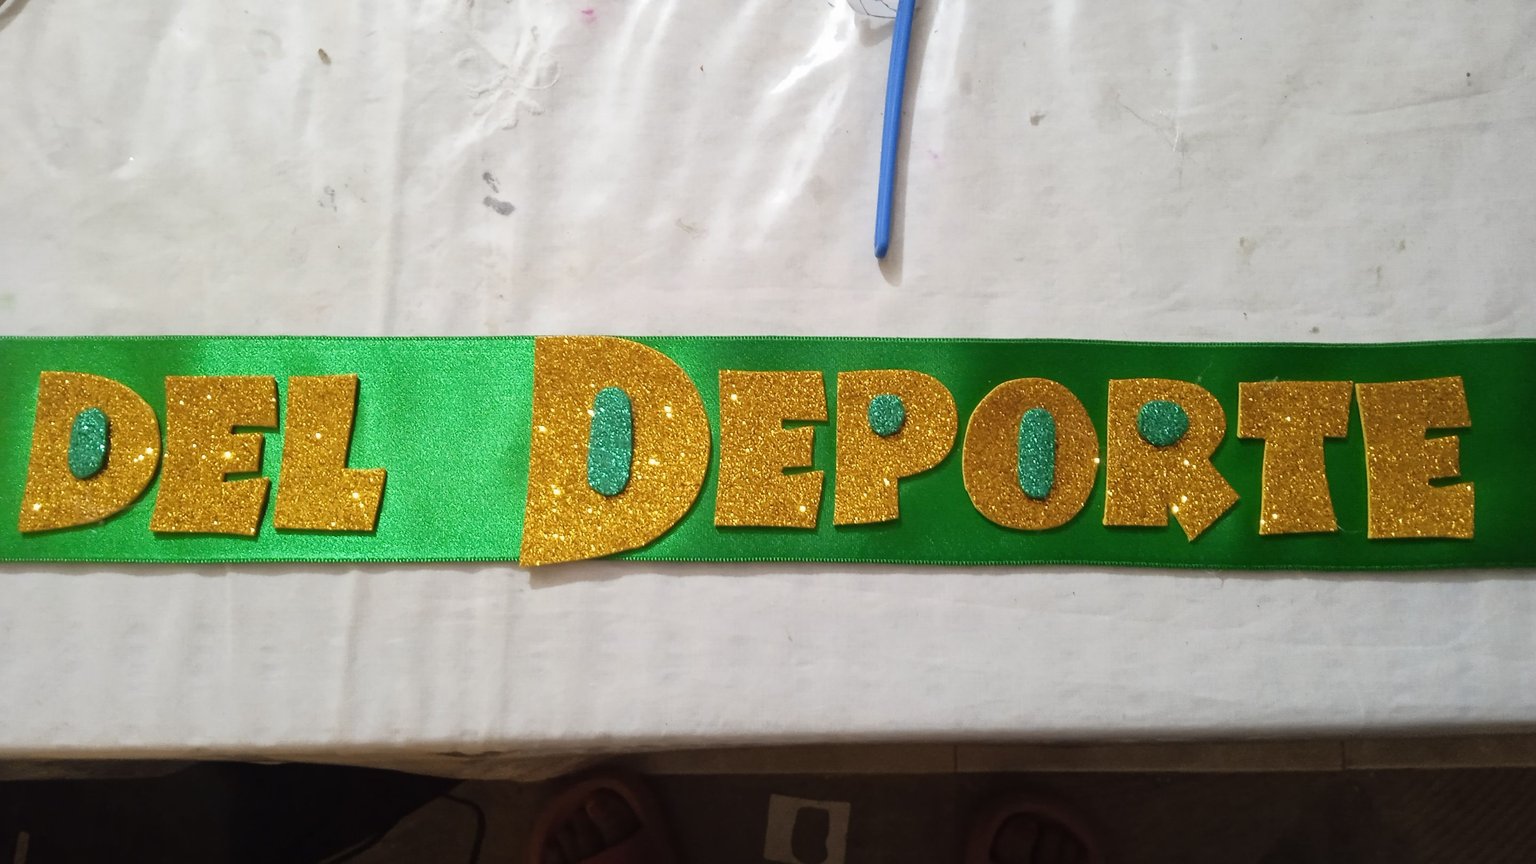
-Busque los patrones de las letras a ver cuál quedaría mejor, tengo dos del mismo tipo pero de dos tamaños, así que escogí la mas grande para el inicio de las palabras y la pequeña para las demás letras: Reina del Deporte.
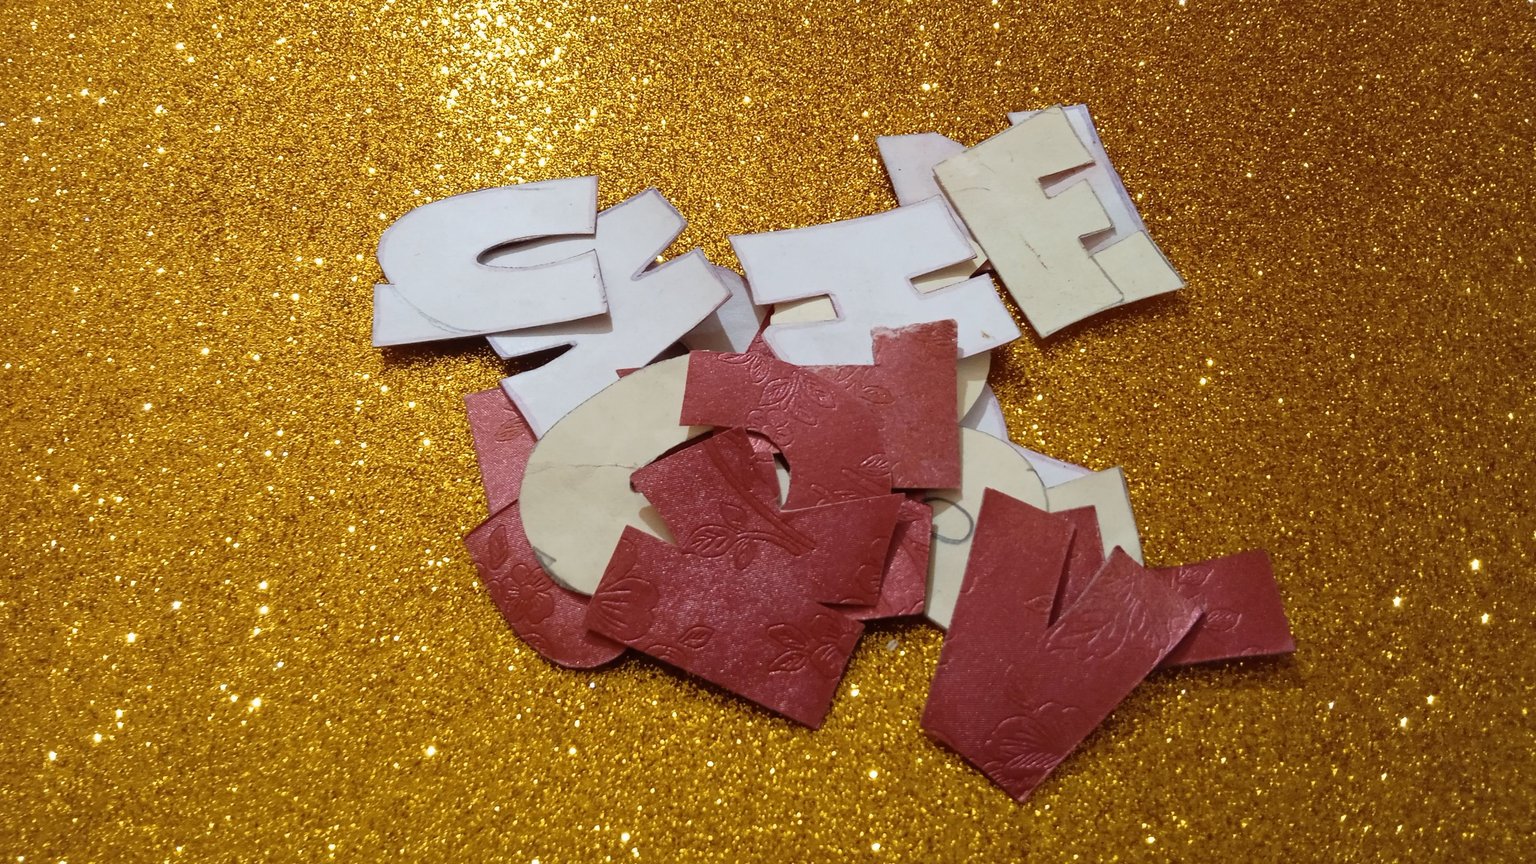
-Ya una vez listas las letras las pase al foami ambas al revés, marque con el lápiz, ya que con palillos no me gusta.
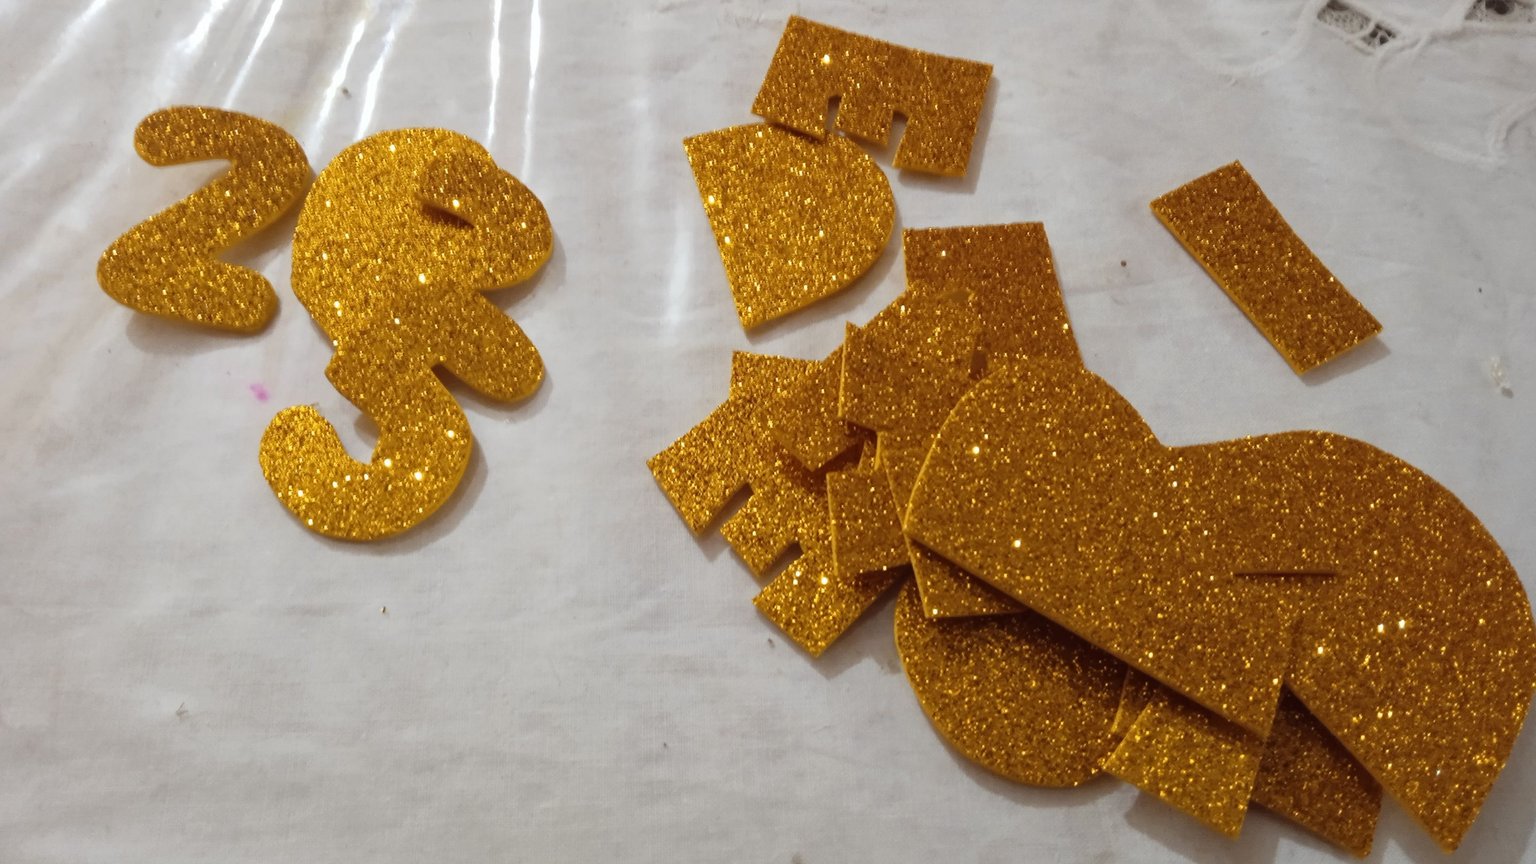
-Después recorte todas las letras, recortar también tiene sus secretos y estilos, un foami mal recortado se nota y queda feo el material.
-A manera de prueba las coloque sobre la banda sin pegarlas solo para ver como quedaría y el contraste de colores es muy importante, siempre deben ser diferentes al color de la banda que se lea a distancia.
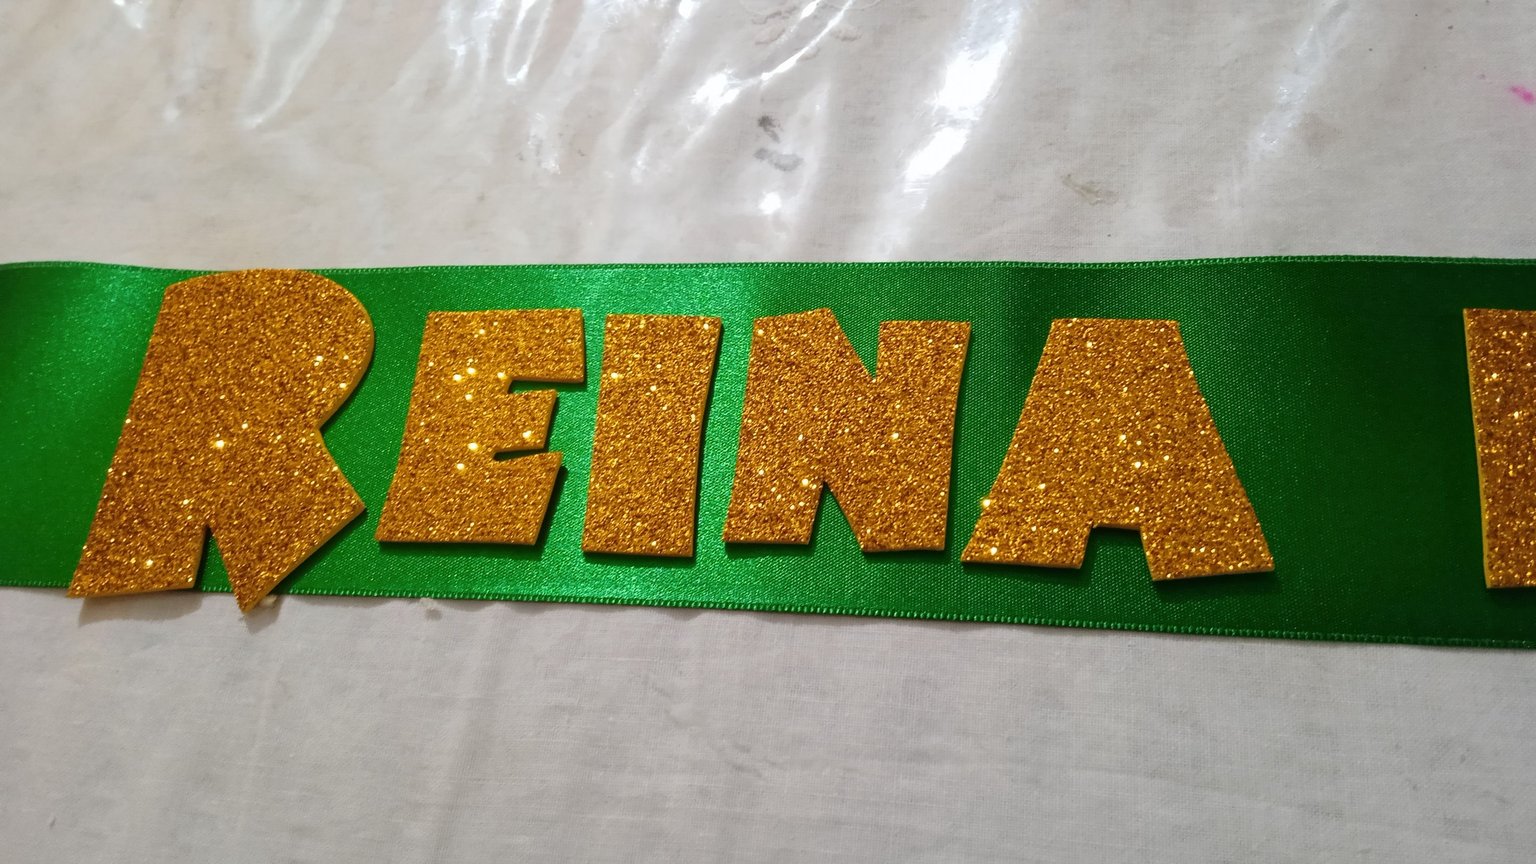
-Ya una vez viendo que quedan bien sin quitarlas y una a una las voy pegando con silicón caliente.
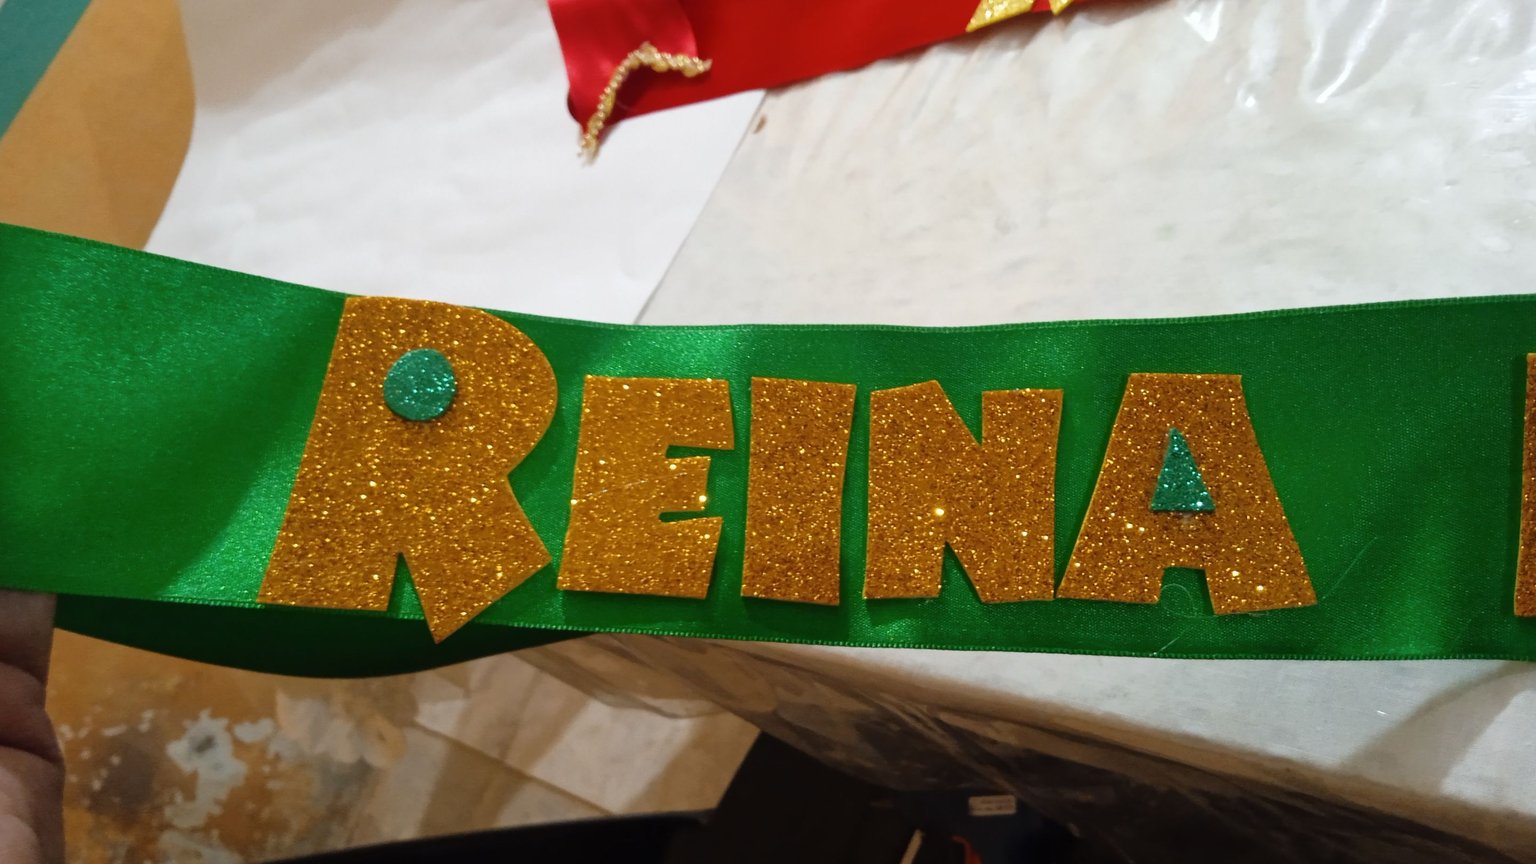
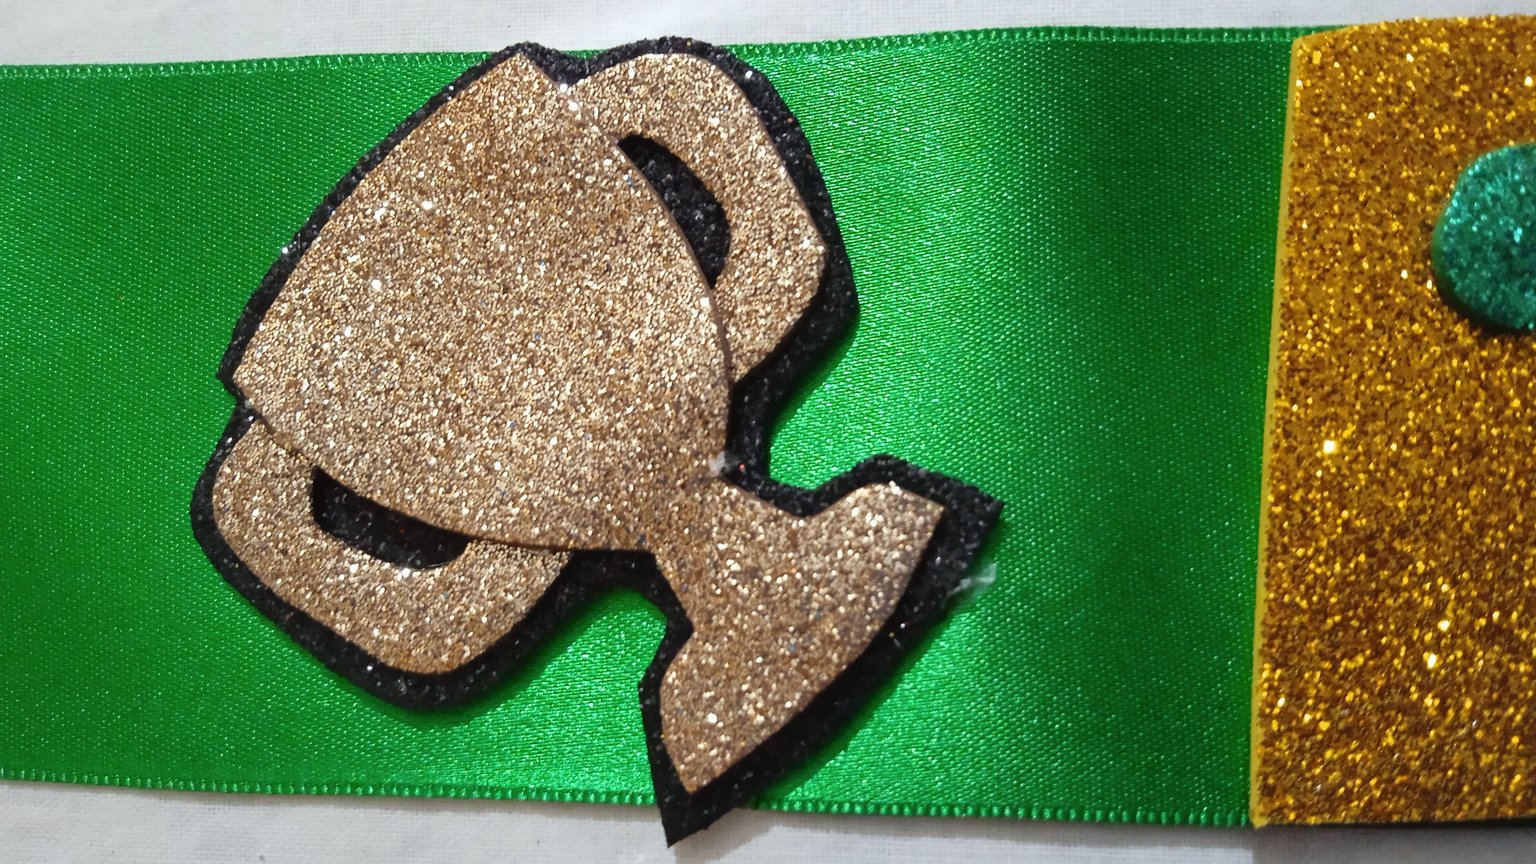
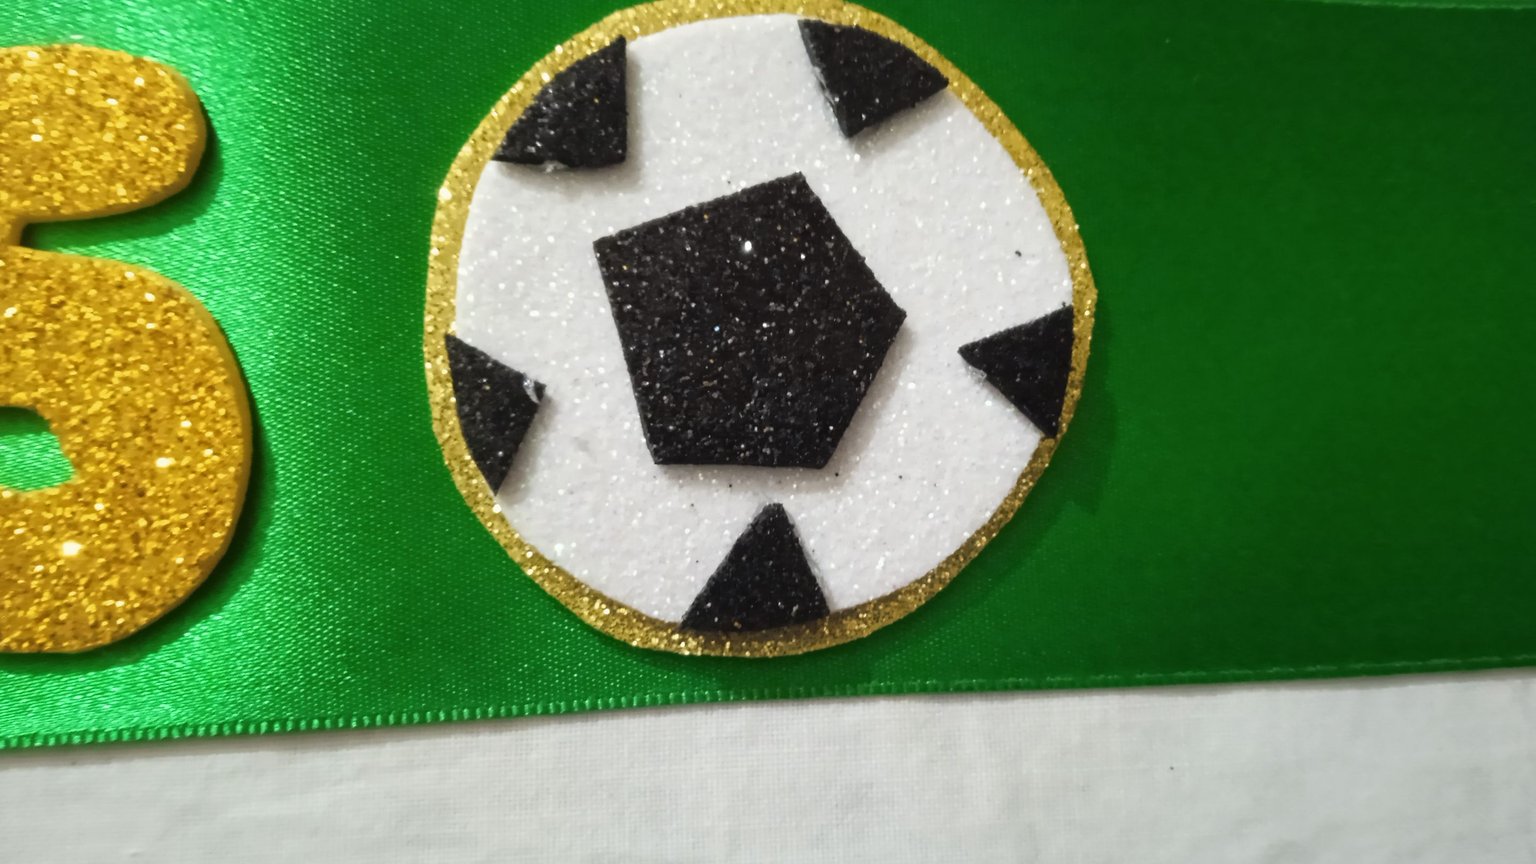
-Como es para una reina del deporte, y para que no se viera tan solo las letras, busque unas imágenes alusivas al deporte y las hice en foami, las pegue en ambos extremos.
-Para finalizar en los extremos donde están los cortes en V, pegue una cinta o algo similar en dorado.
-Ya lista la banda y luego hice la otra como dije el mismo proceso pero para otra reina y en rojo con dorado.
Como pueden ver no es nada complicado, creo que antes si porque lo hacia con pega que esta el frasco tuviera una buena punta, buena caligrafia, para escribir bien sobre la tela con la pega y luego echarle escarcha o diamantina.
Es como todo si la tecnología va avanzando, las manualidades también nuevas técnicas, ideas y mas.
El paso a paso lo lleve a cabo con mi cámara Sony, que me da más nitidez.
Y así llegamos al final de esta publicación creo que me hare una que diga REINA HIVE je je je
Quede pendiente con hacer una corona, para que haga el juego una reina con banda y su corona, pero luego y despues les enseño.
Traducido con DeepL
Portada editada de PowerPoint, con fondo Freepik

Greetings again my little artisan bees, blessed with those hands that we have the gift of creating everything, even things that we did not believe, but we do it.
Among these crafts or creations are those of making bands for the queens, I had a long time without making some, since I was in school.
I recently made some if two to a colleague who works in a high school: the carnival one and the sports one, both with the same technique, so I will show you how I made one and at the end you will see the two.
Materials:
-Cloth ribbons for bands between 6 and 8 cms wide.
-Frosted Foami.
-Pins or nipples.
-Scissors, pencil, lighter or tinder.
-Letter molds.
Step by Step:
-As the bands are for girls already somewhat large that is a high school, I suggested that they buy 1.1/2 cms of tape, bought Christmas green color and yellow frosted foami almost golden.
-The ends were cut like an inverted V, with the tinder I burned the edges to prevent fraying.
-I looked for the patterns of the letters to see which one would look better, I have two of the same type but in two sizes, so I chose the bigger one for the beginning of the words and the smaller one for the rest of the letters: **Queen of Sport.
-Once the letters are ready, I put them on the foami, both upside down and mark them with a pencil, since I don't like to use toothpicks.
-Then cut out all the letters, cutting also has its secrets and styles, a badly cut out foami is noticeable and the material looks ugly.
-As a test I placed them on the band without gluing them just to see how it would look and the contrast of colors is very important, they should always be different from the color of the band that is read from a distance.
-Once I see that they are well without removing them and one by one I glue them with hot silicone.
-As it is for a sports queen, and so that not only the letters were visible, I looked for some images allusive to the sport and I made them in foami, I glued them at both ends.
To finish at the ends where the V-cuts are, glue a ribbon or something similar in gold.
-And then I made the other one as I said the same process but for another queen and in red with gold.
As you can see it is not complicated at all, I think it used to be complicated because I used to do it with glue so that the bottle had a good tip, good calligraphy, to write well on the fabric with the glue and then put frosting or diamantine on it.
It's like everything else if technology is advancing, the crafts also new techniques, ideas and more.
The step by step I did it with my Sony camera, which gives me more sharpness.
And so we come to the end of this publication I think I'll make one that says REINA HIVE hehehehehe.
I have yet to make a crown, so that a queen with a sash and crown can play the game, but I'll show you later.
Translated with DeepL
Edited PowerPoint cover, with background Freepik