I have finally decided to show you guys how a "clothed" character looks like. And since everyone are just after the print on the clothes,I decided to take it differently and use my stamps to " print" the design on the clay.
This will be another 2 part series because I wanted to show you guys the process on how I made these 2 figurines/ charms.
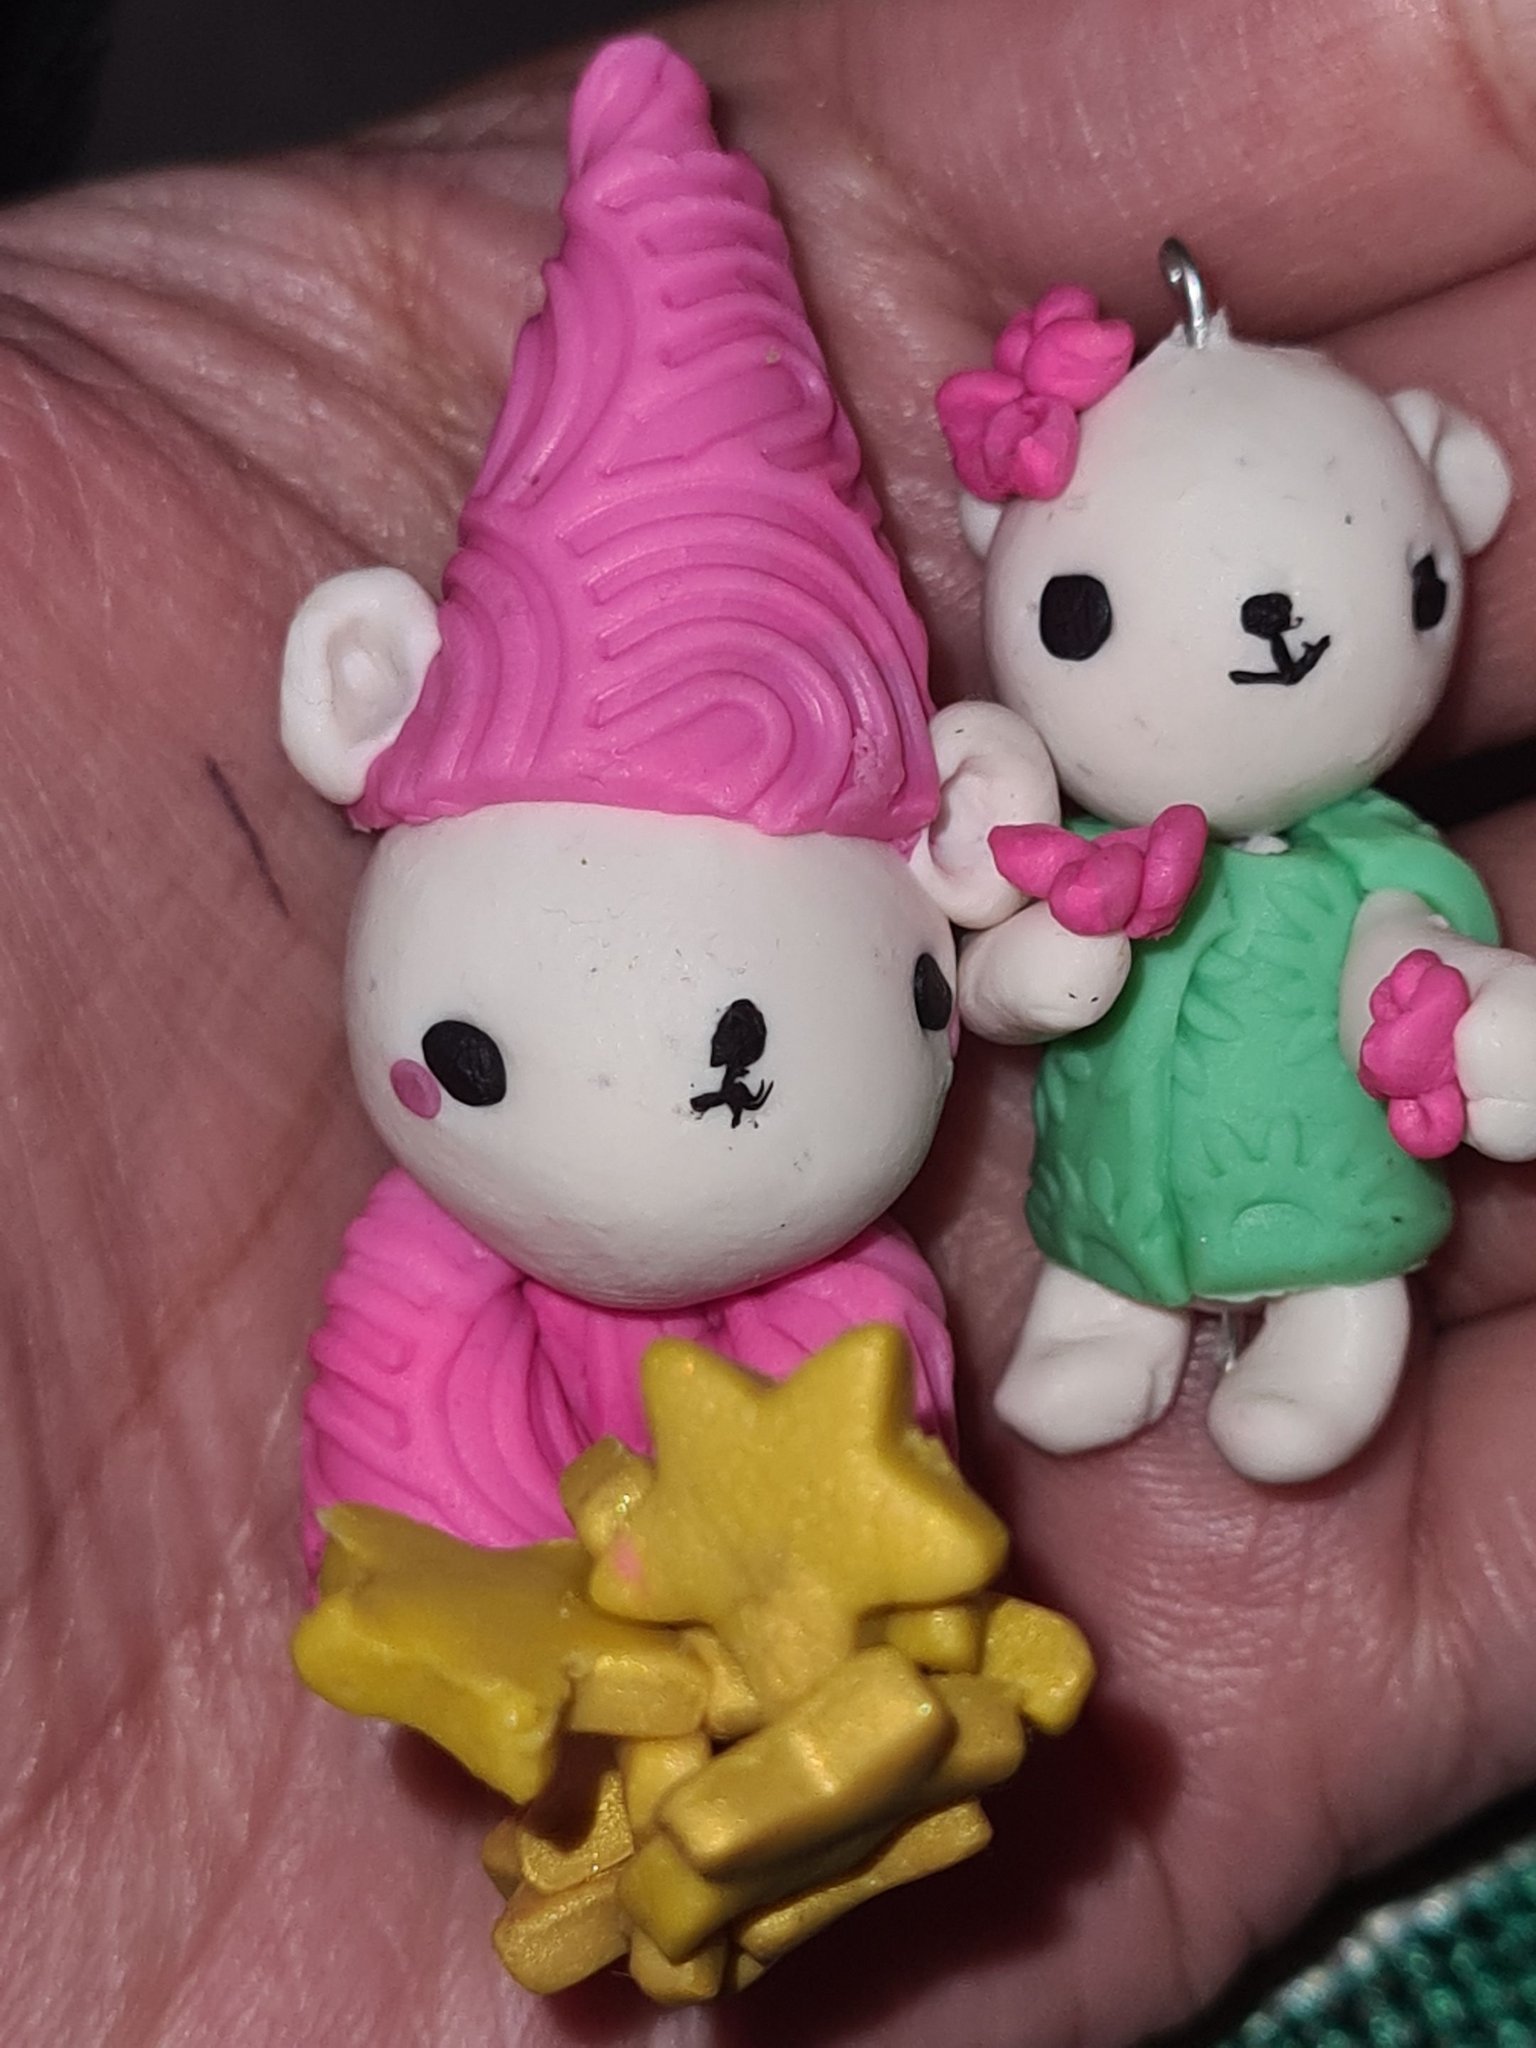
So this is the first charm.

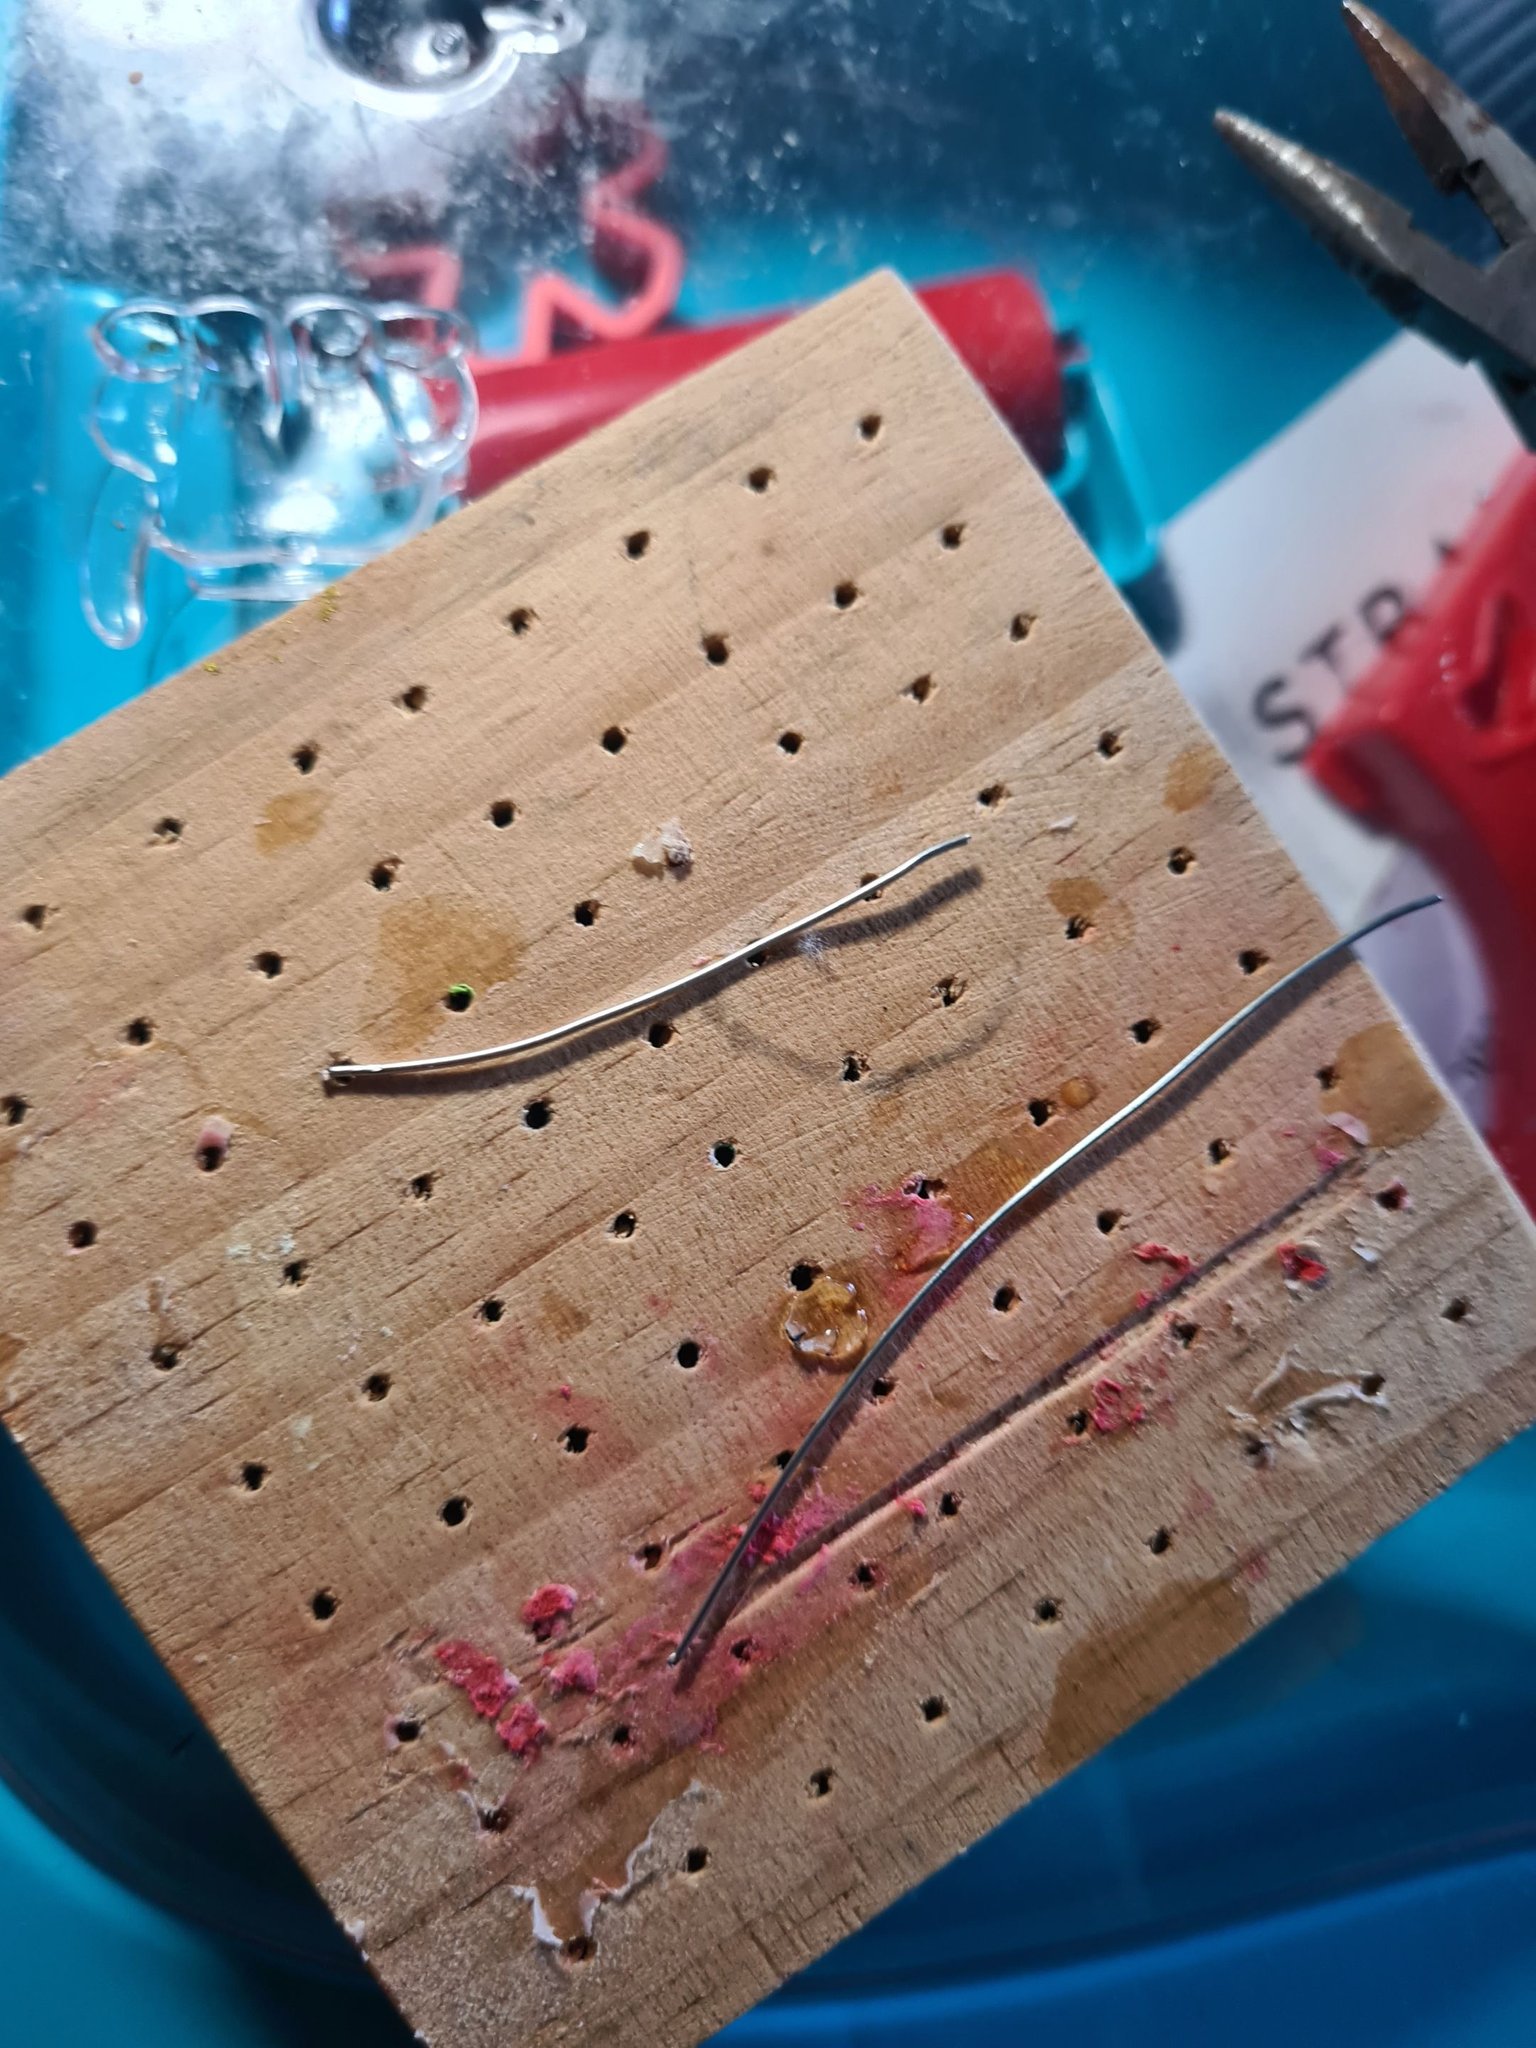
I started by showing you my "stand" and the wires I used to create the reinforcements in my figurines.
The wires have double use for me, it strengthens the overall piece and, its easier to hold the whole piece.
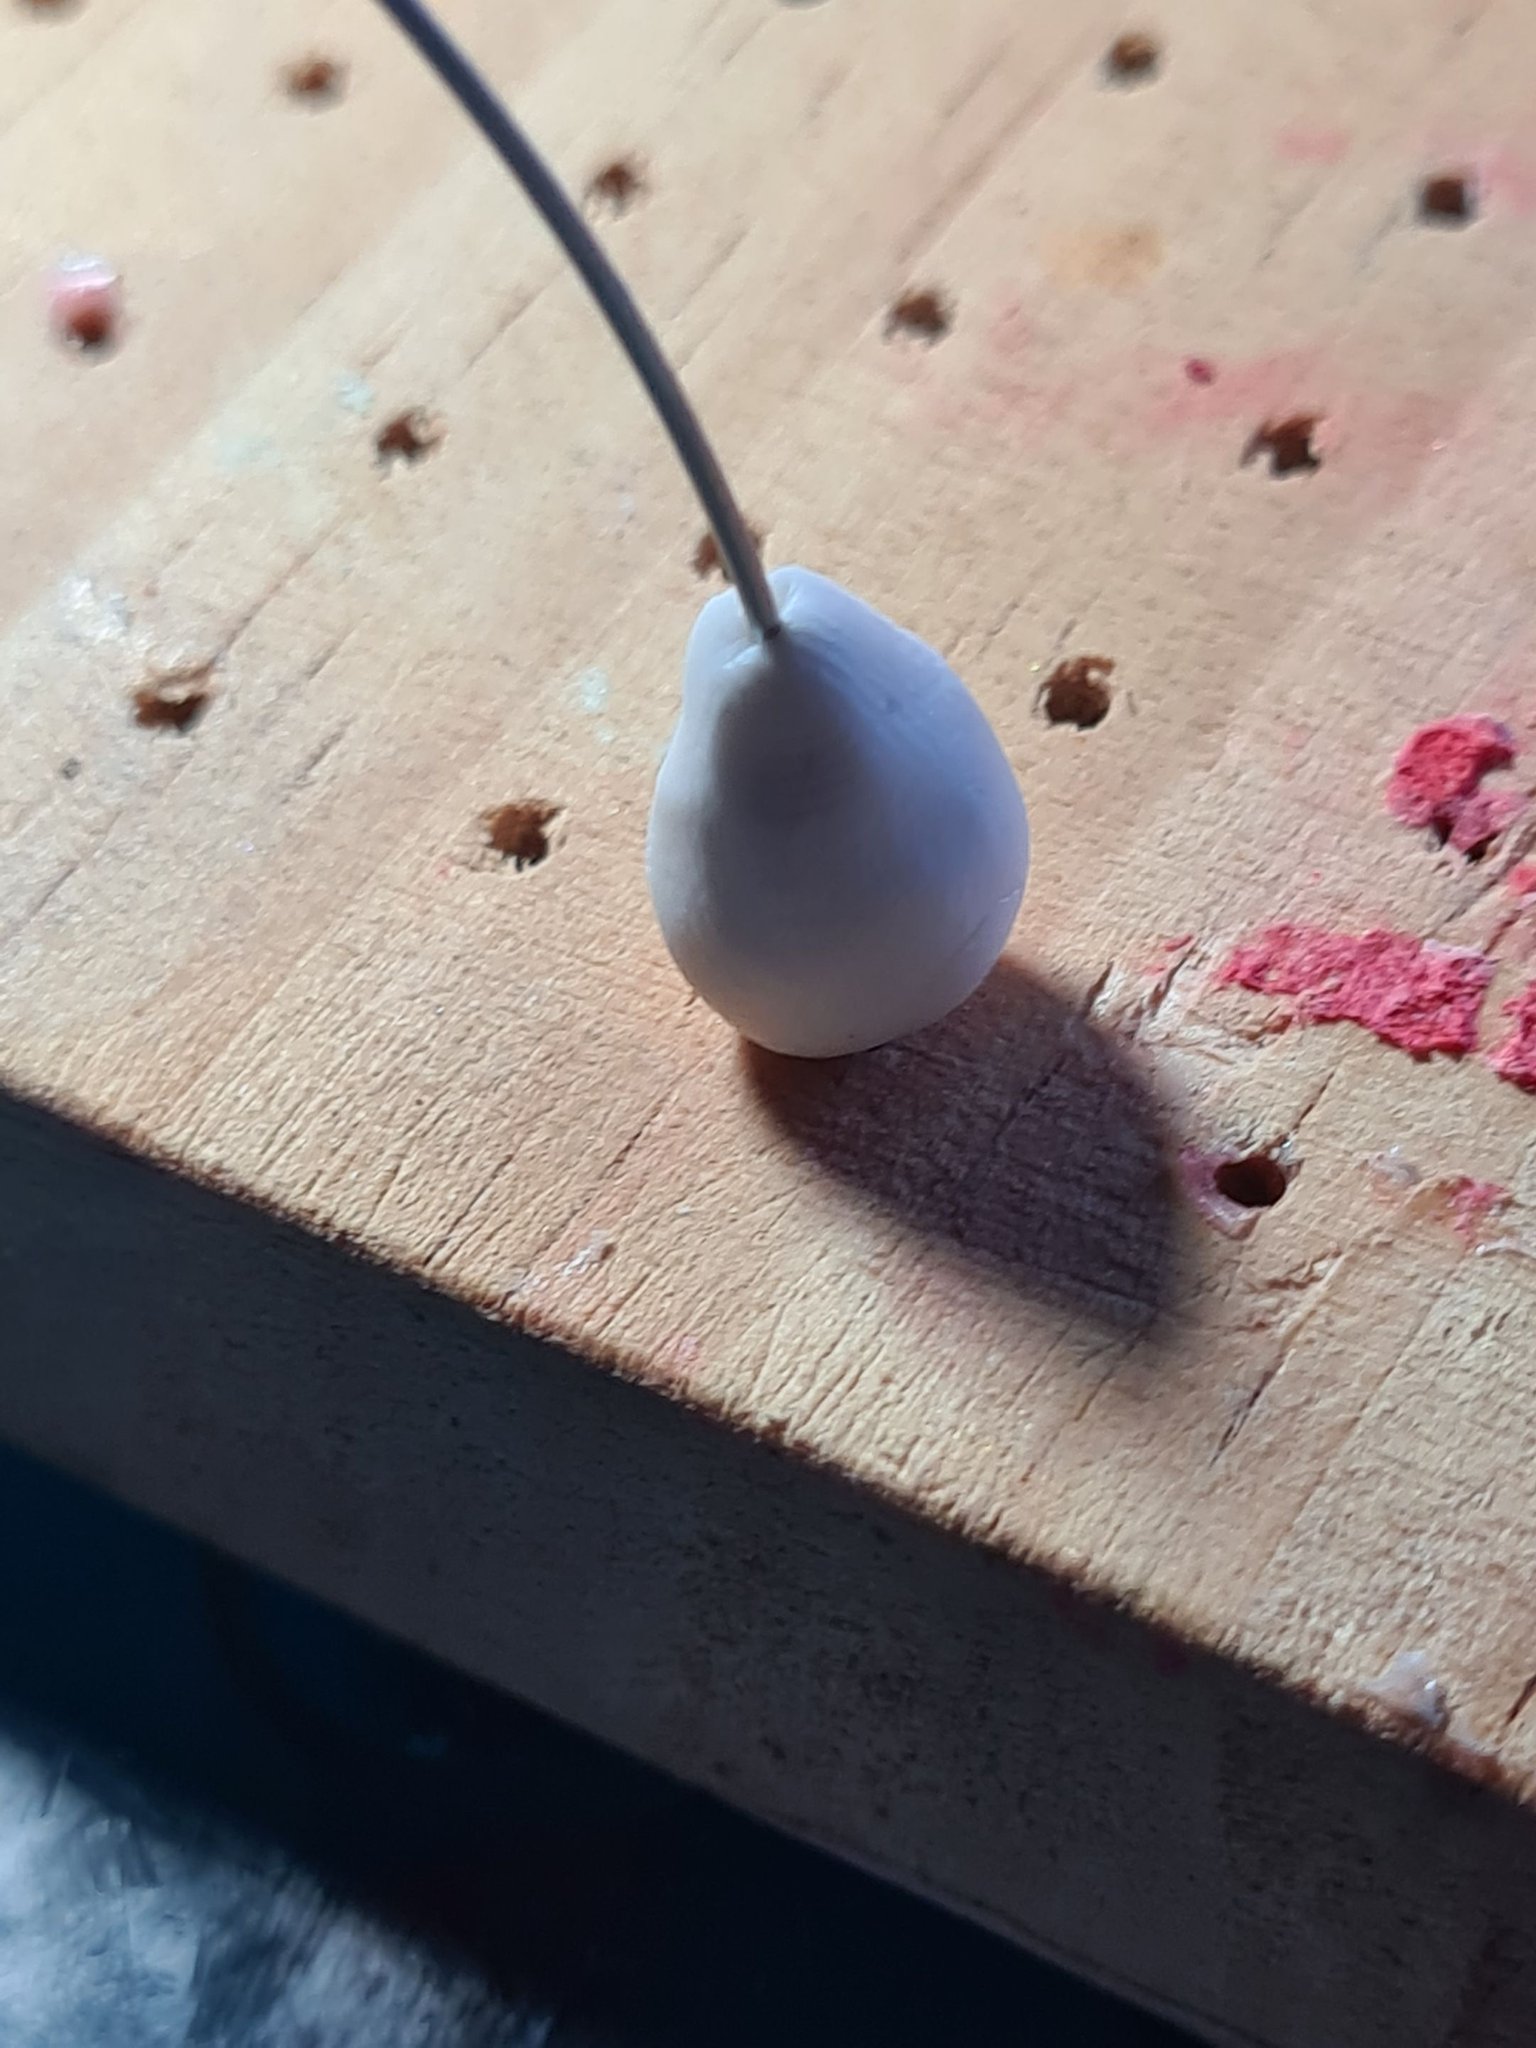
I started by making the body.
Then putting on the clothes.
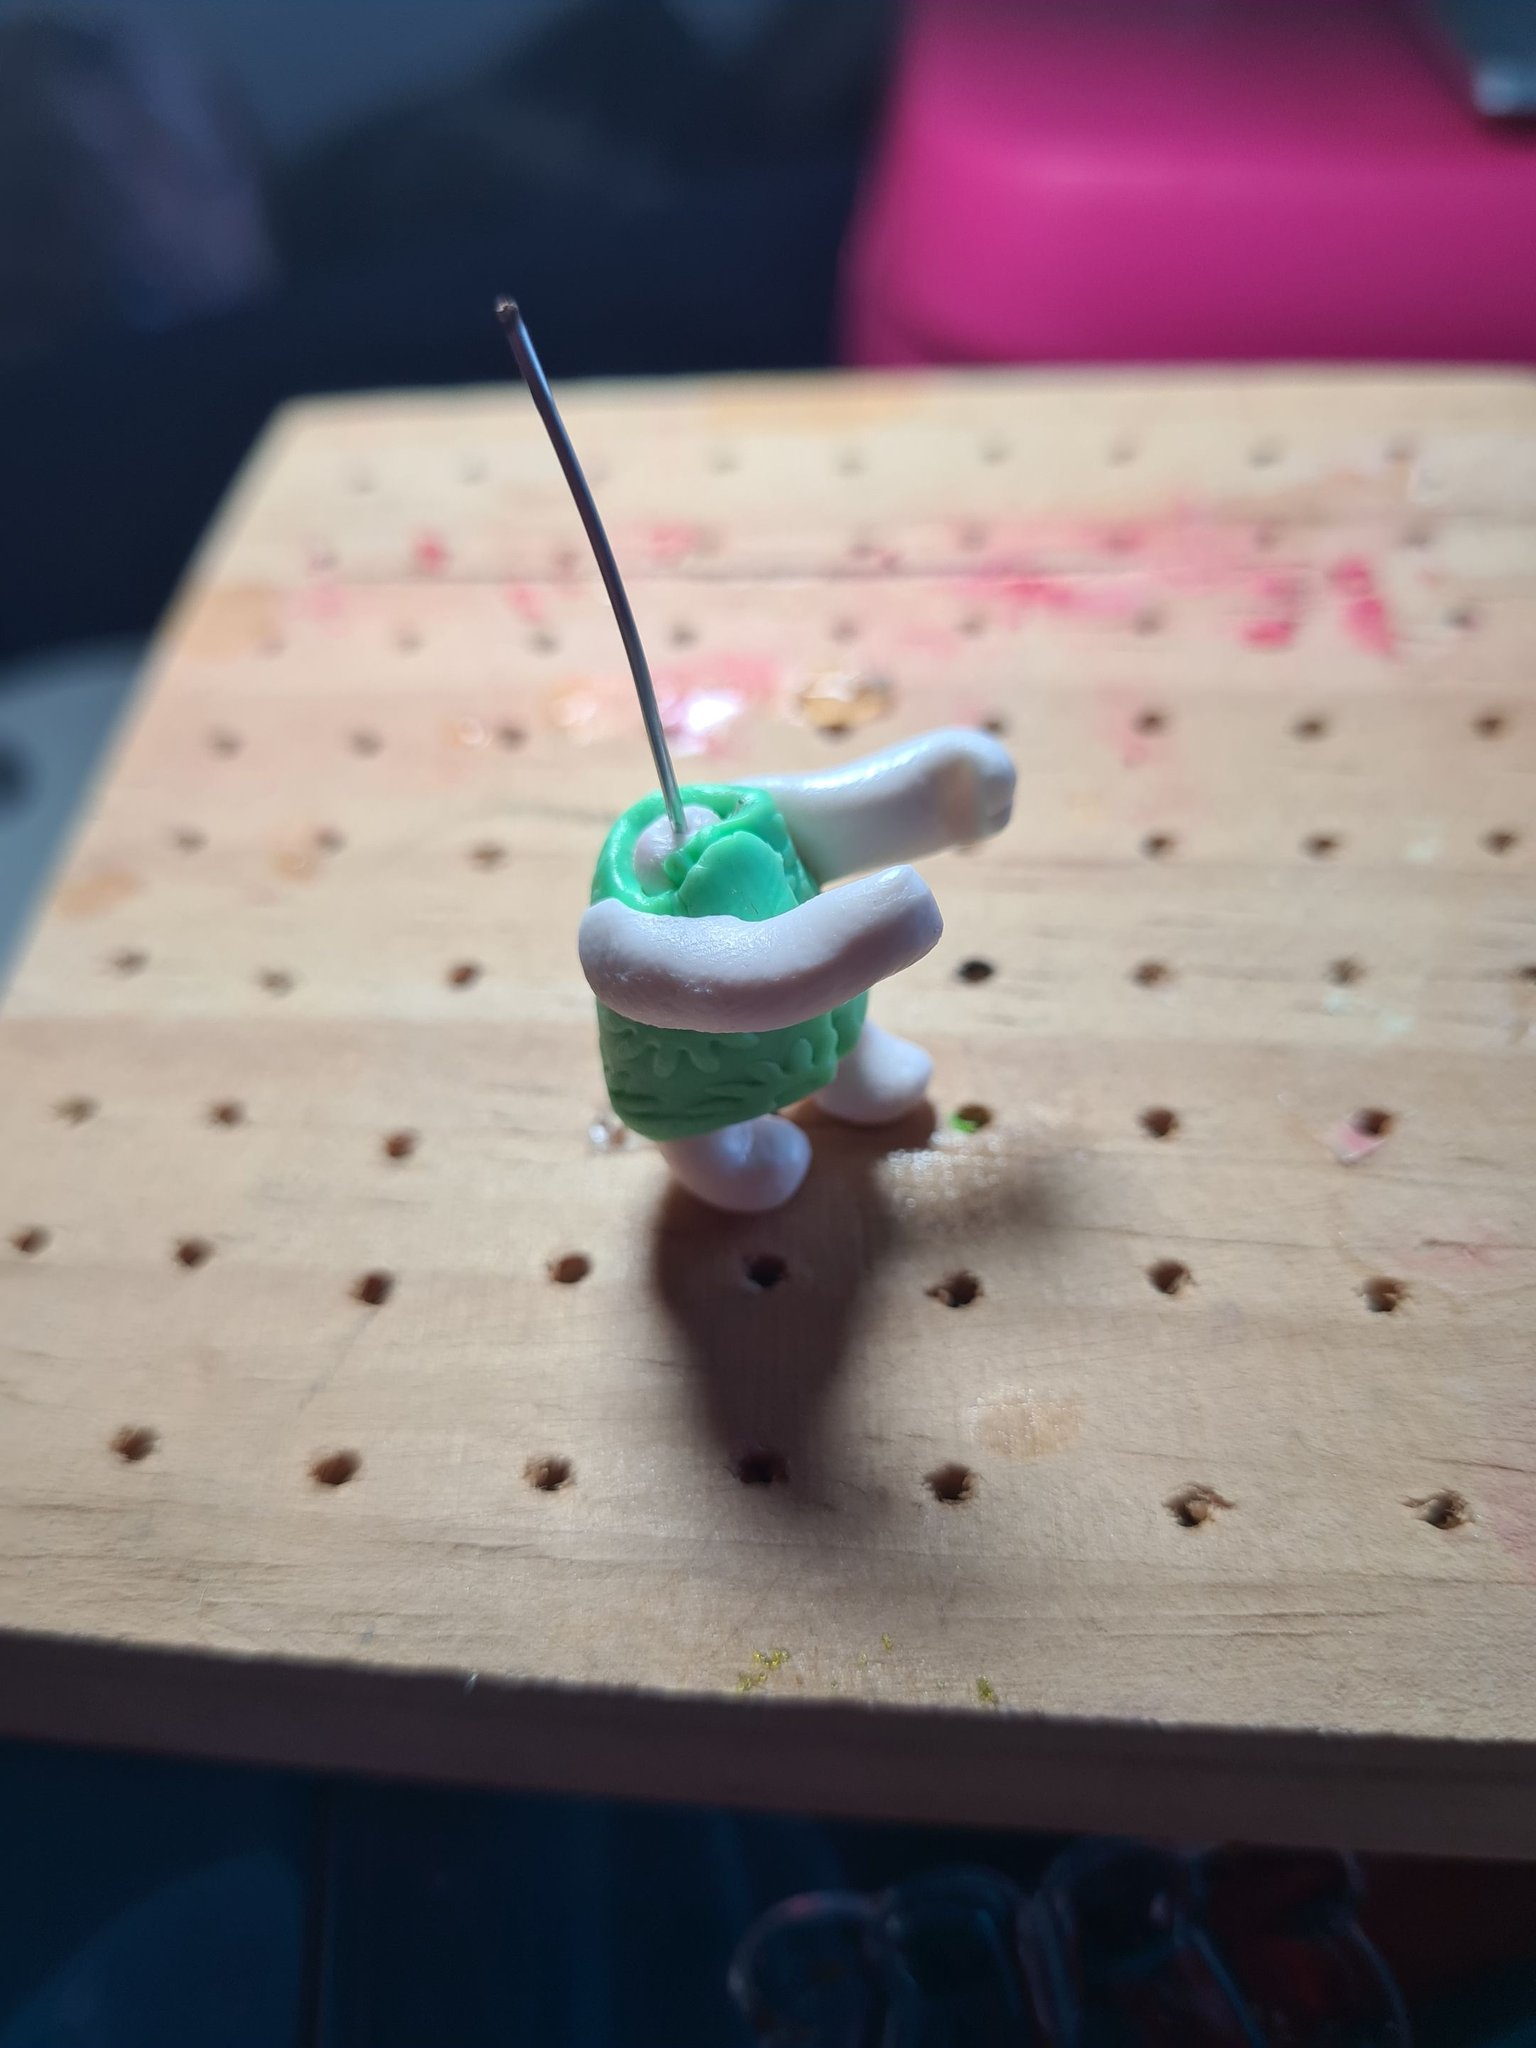
I know that I did not get a good look on my stamp on this but, this is how the stamped clay looks like.
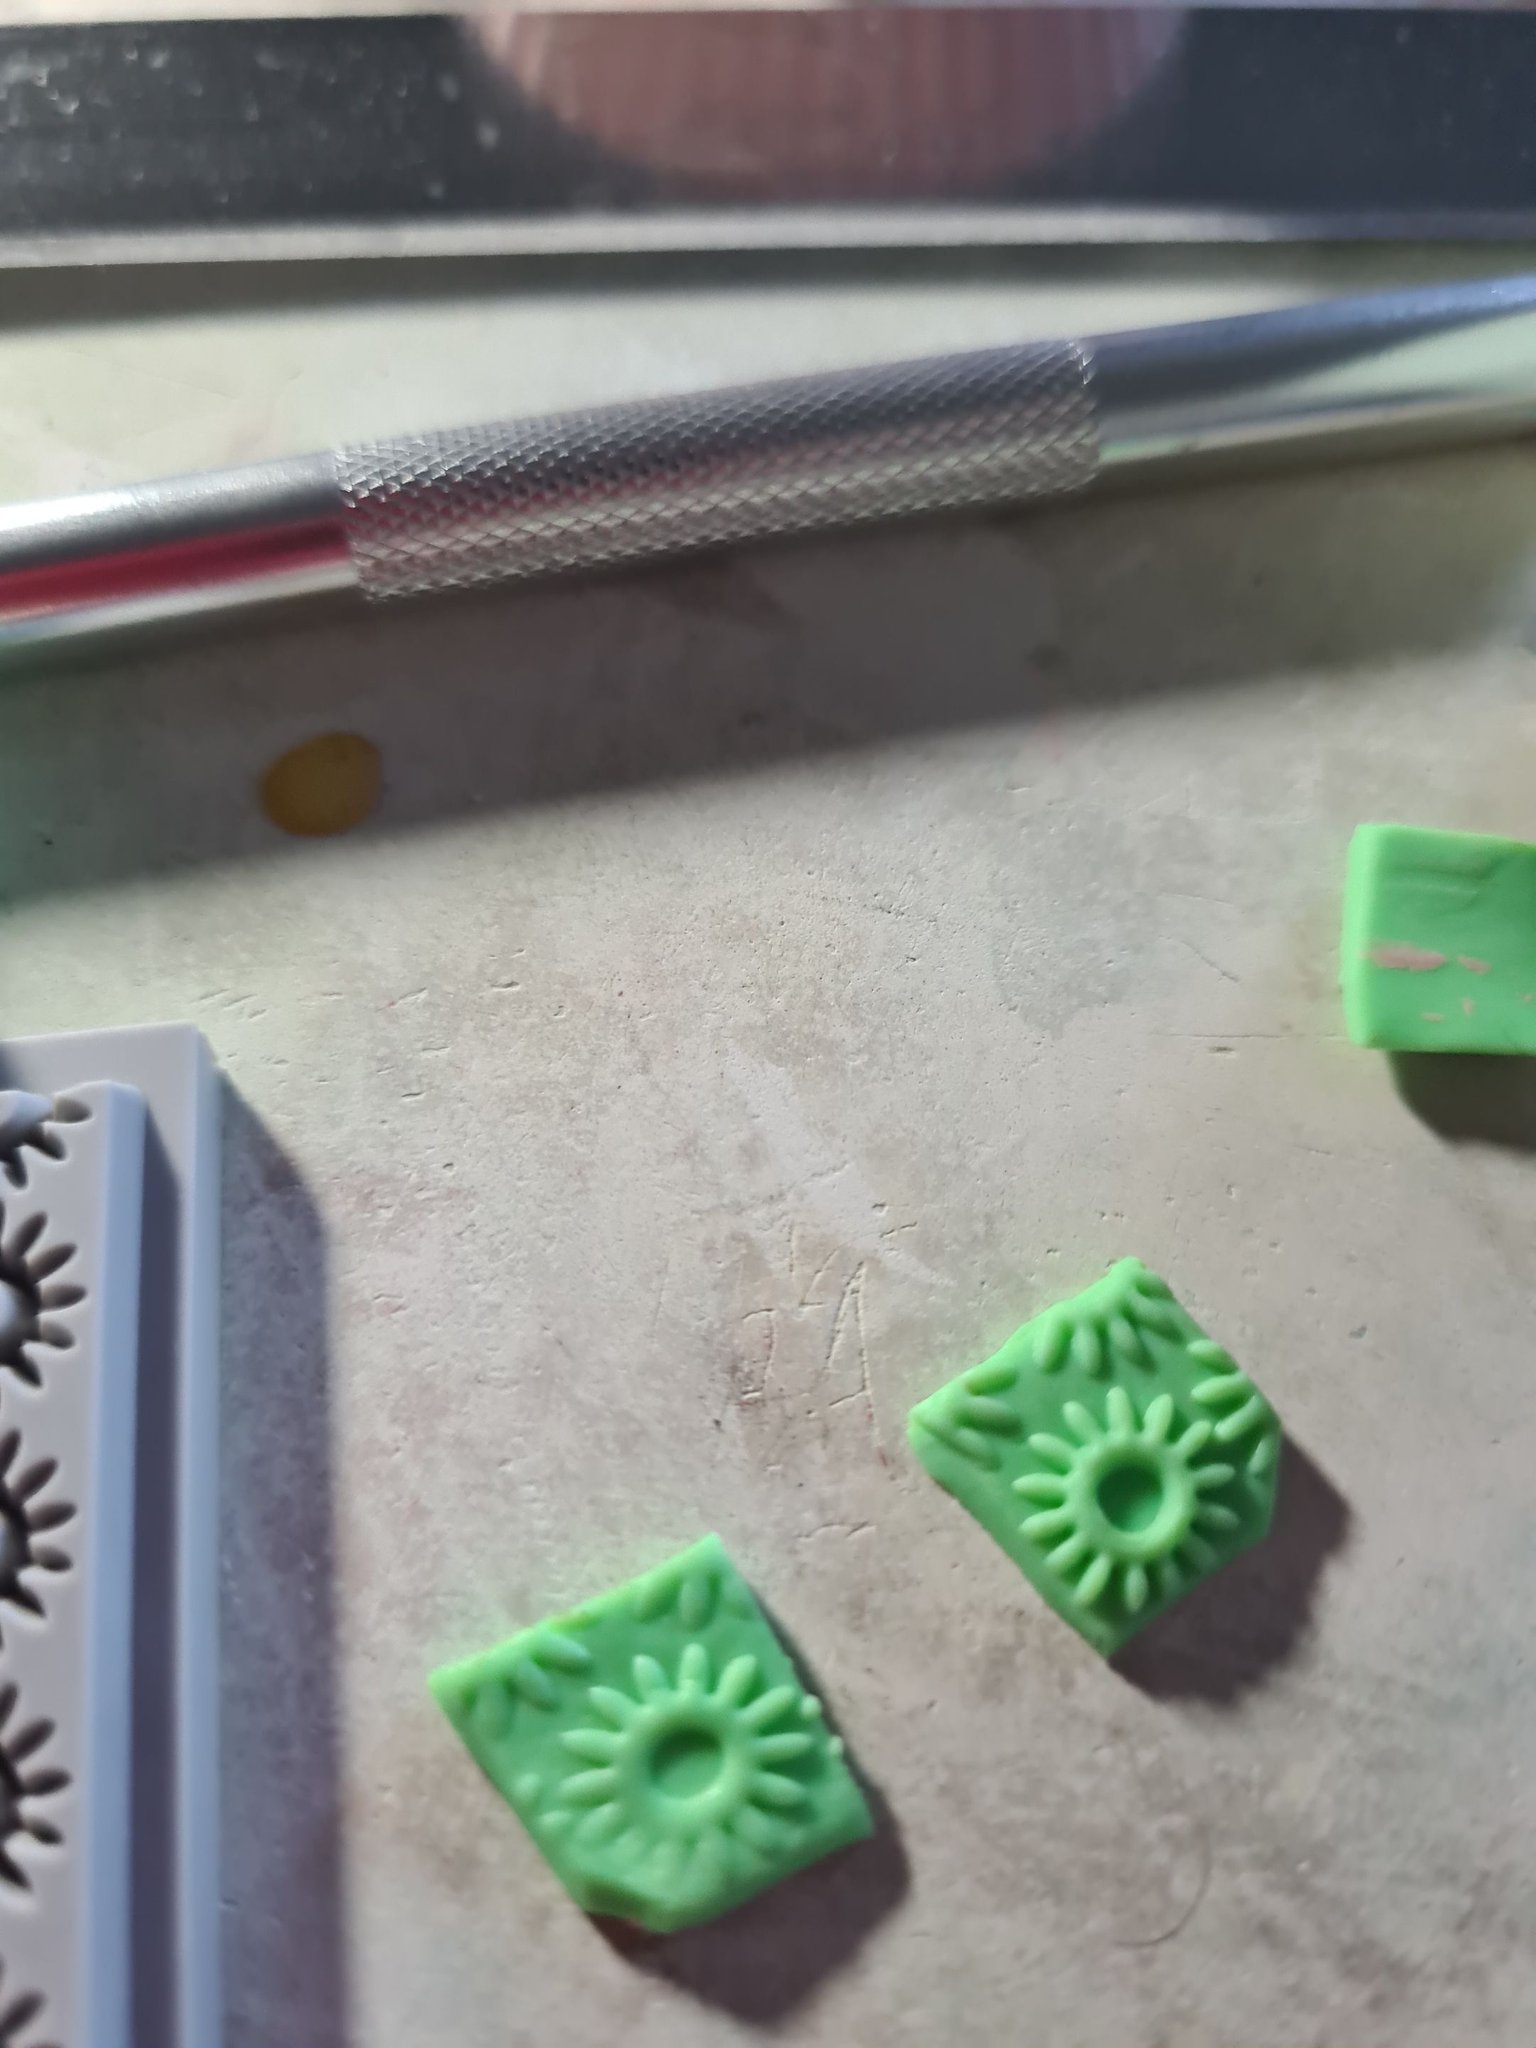
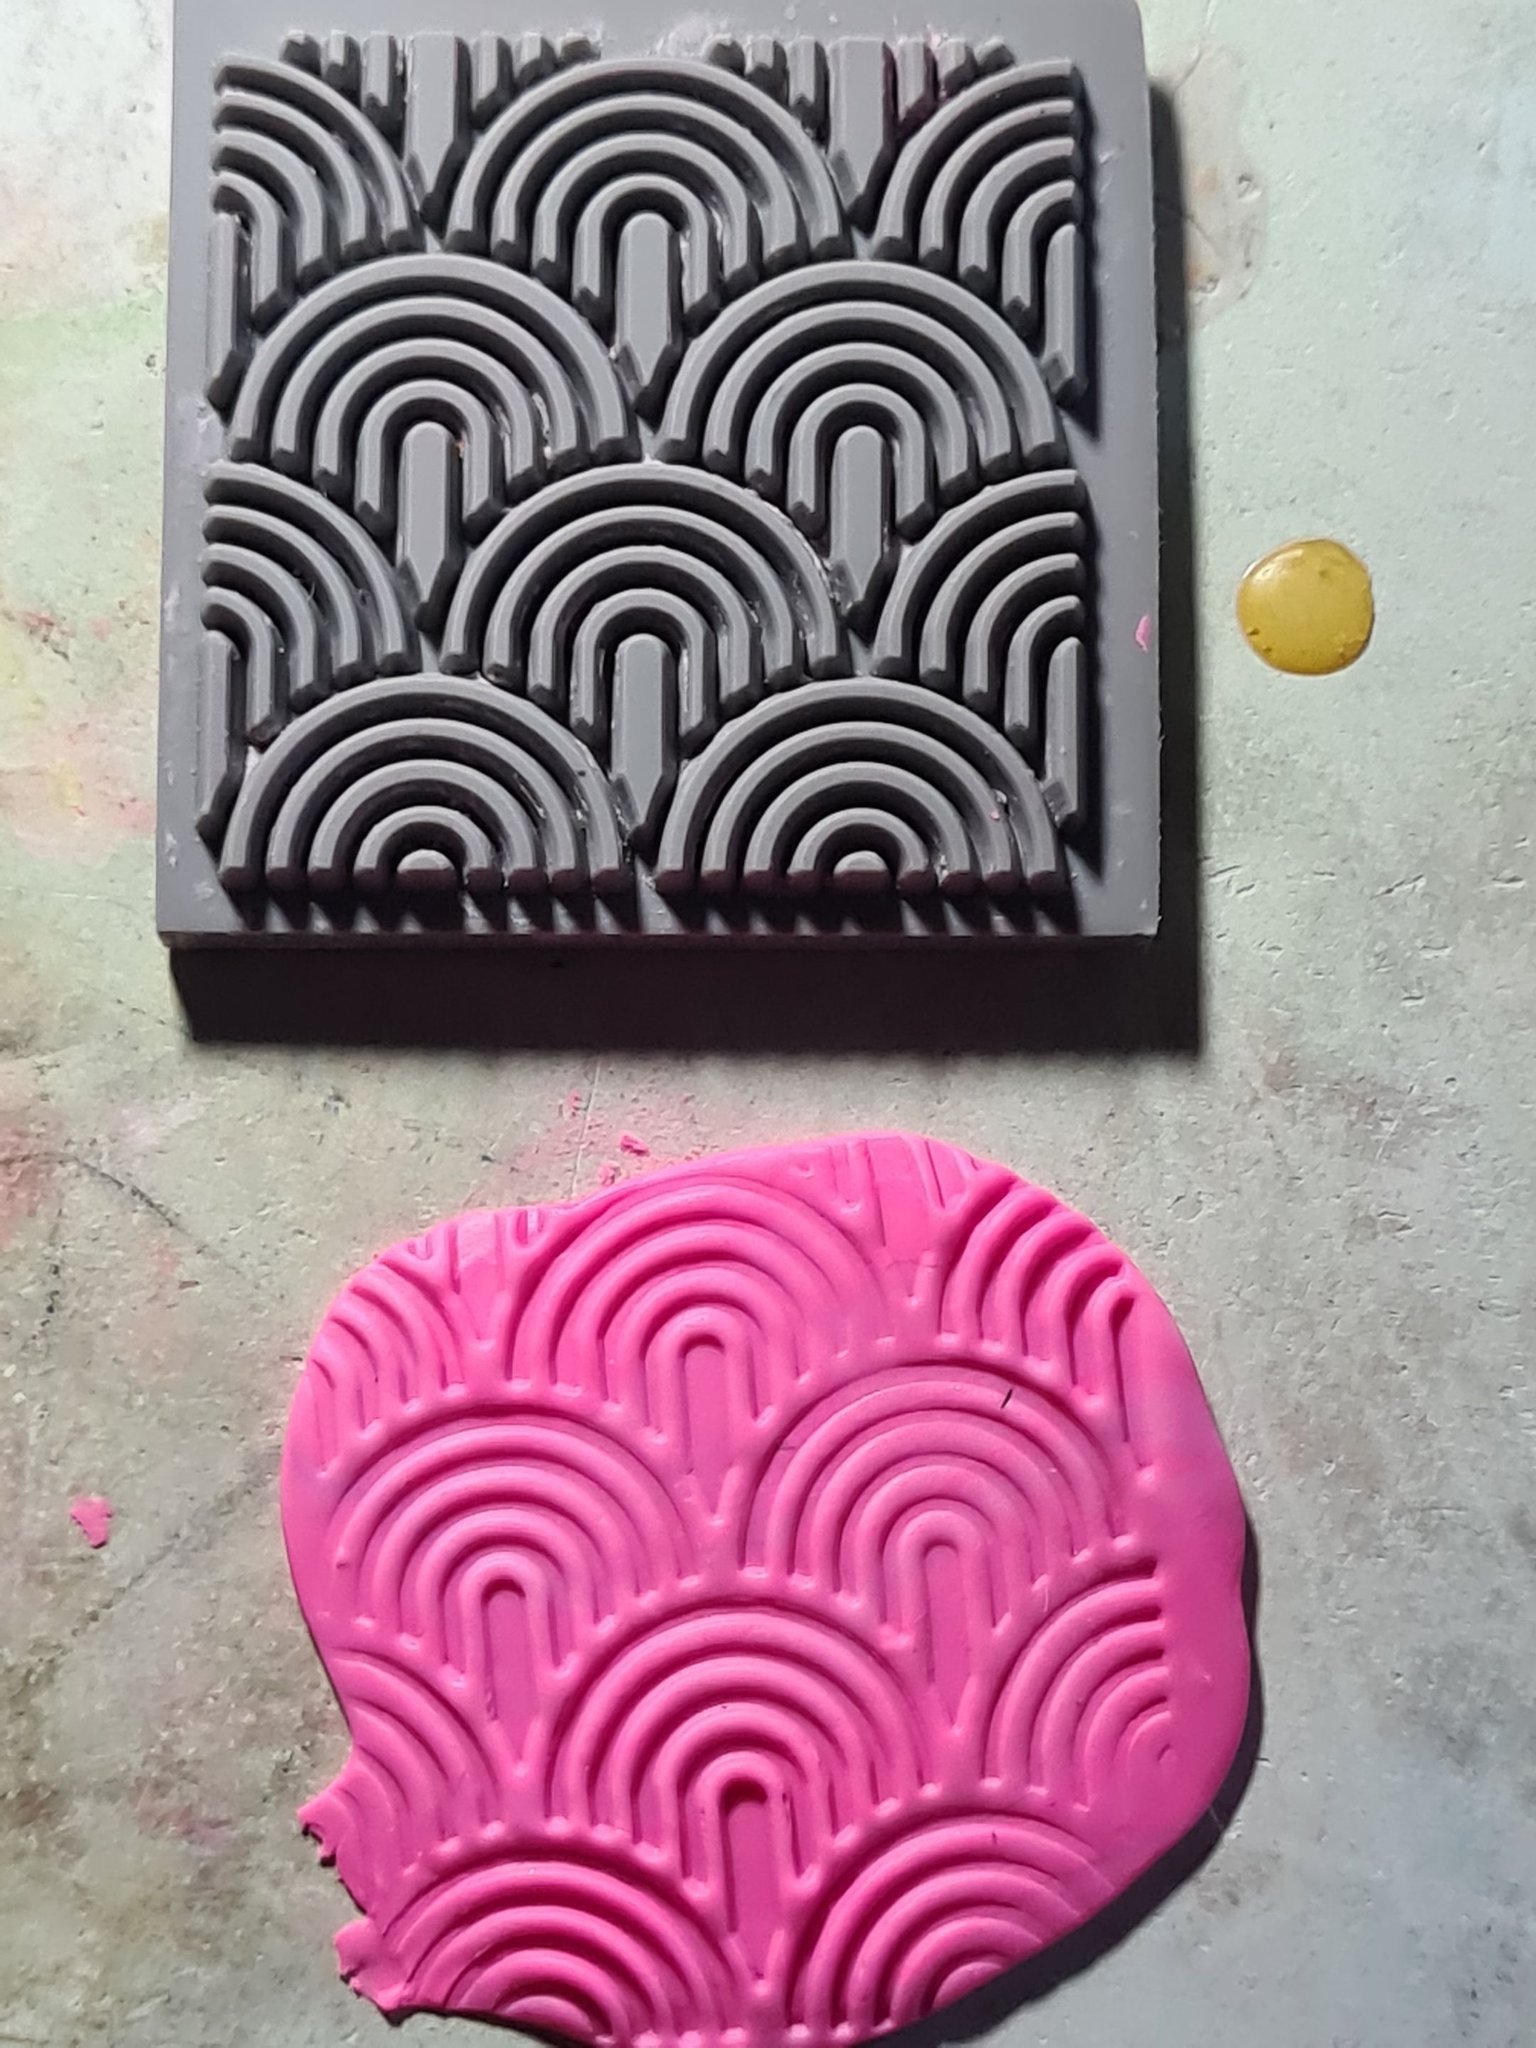
Here is the stamped clay from the other figurine- the set up is pretty much the same except for the color and design.
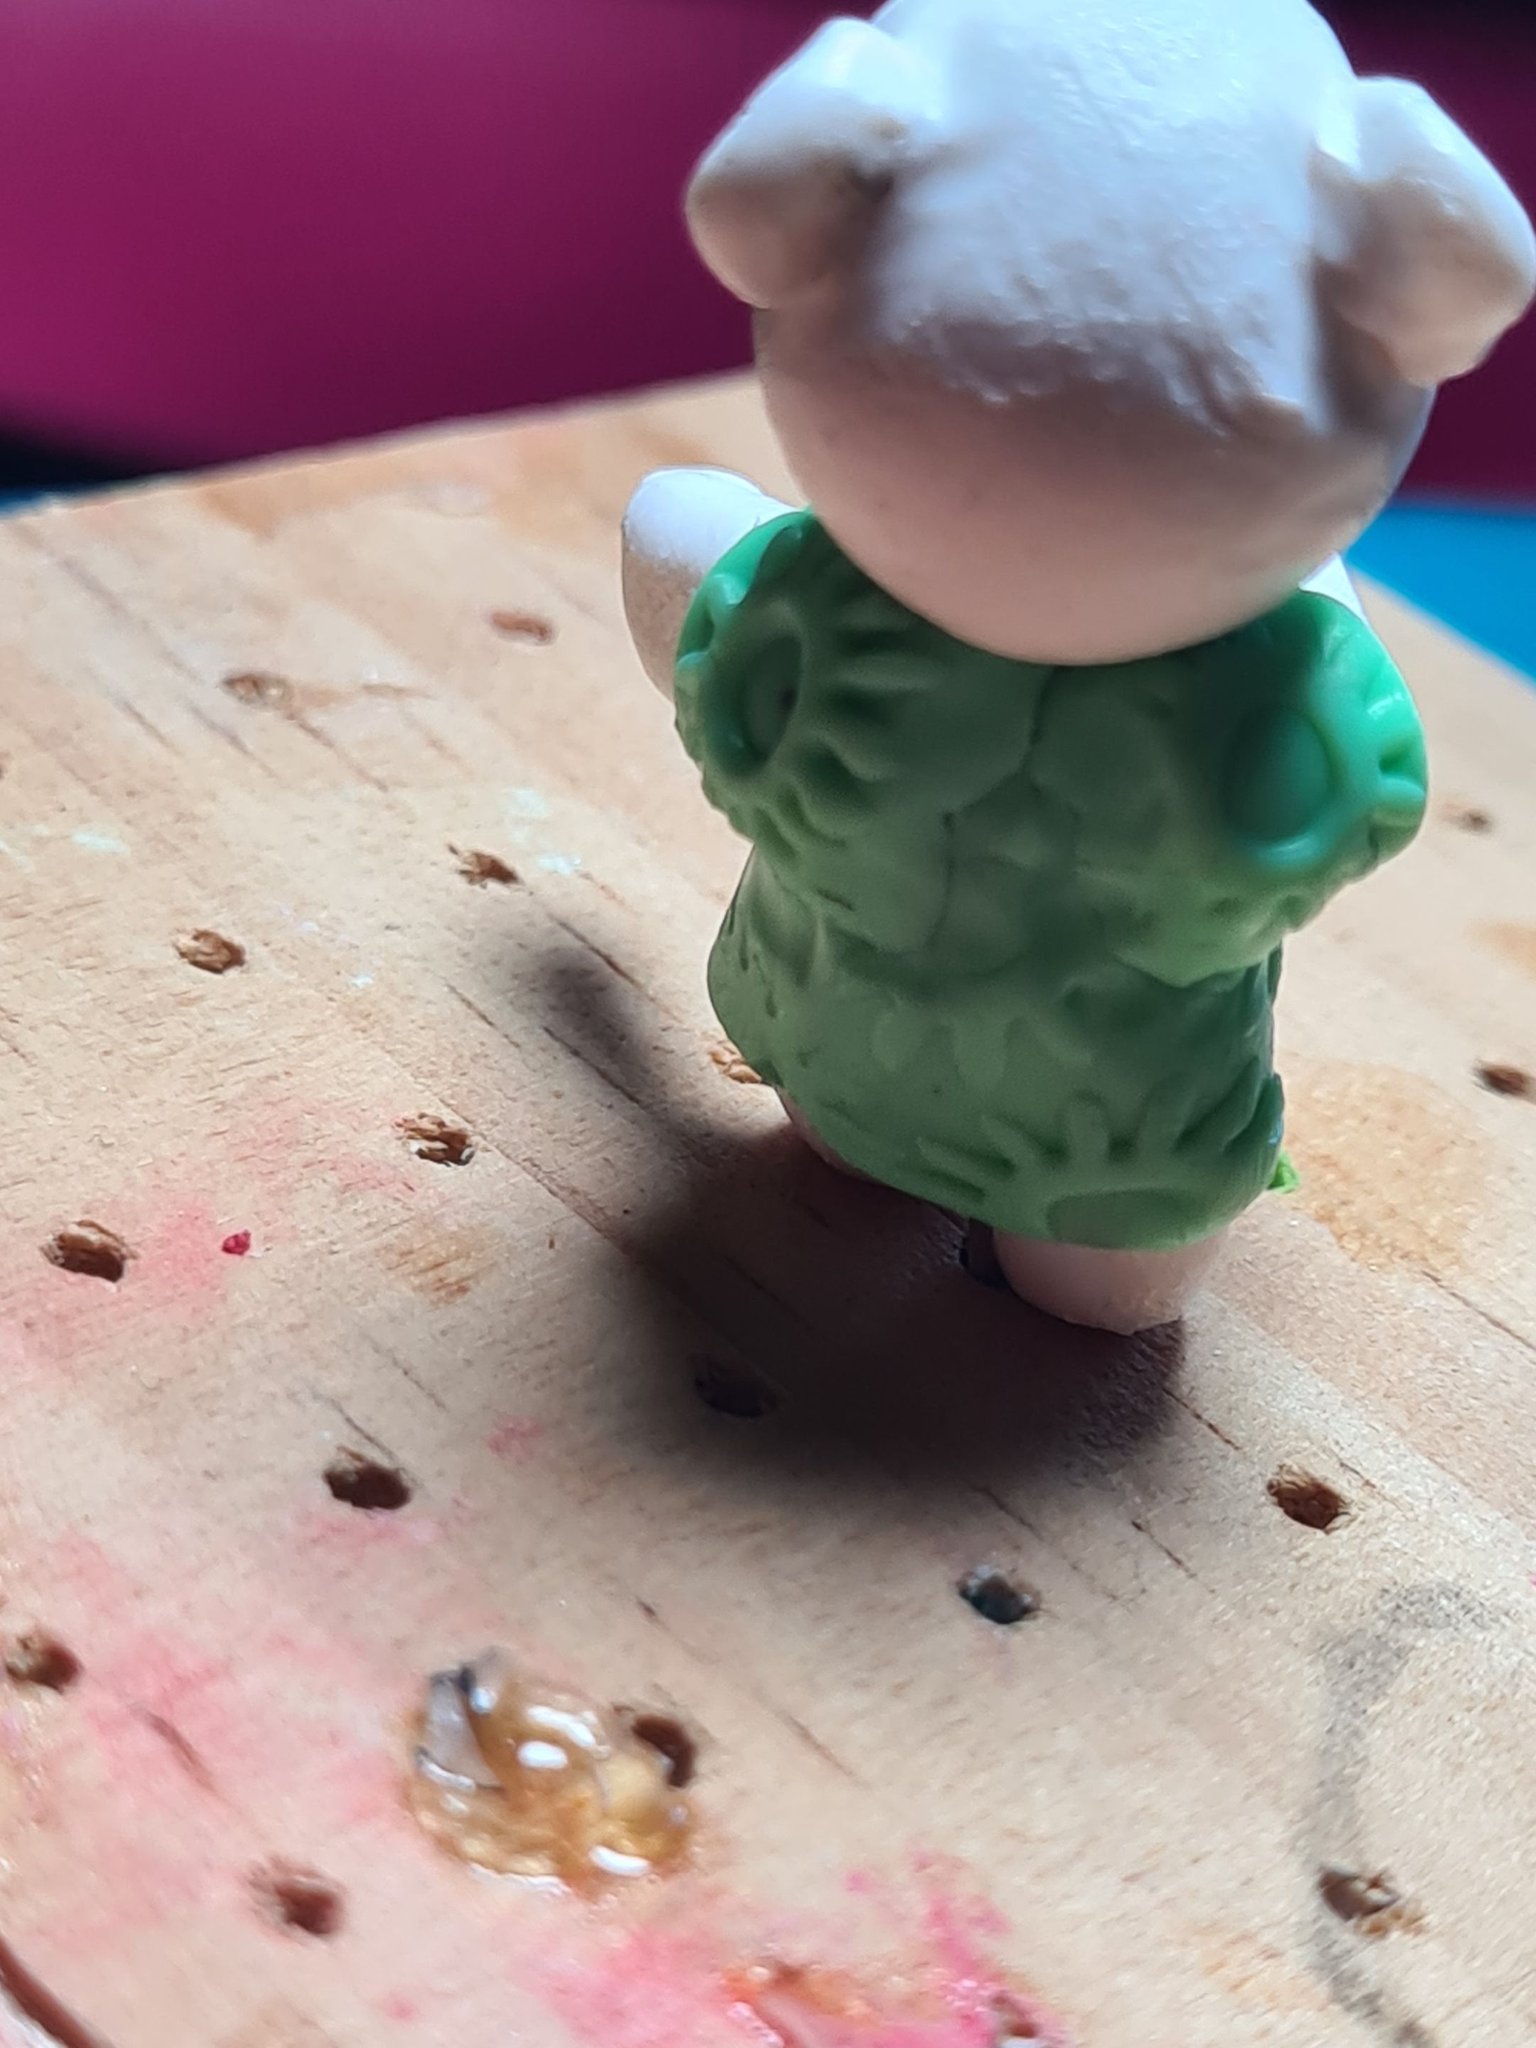
I used my tools to blend in the pieces and then I made the head.
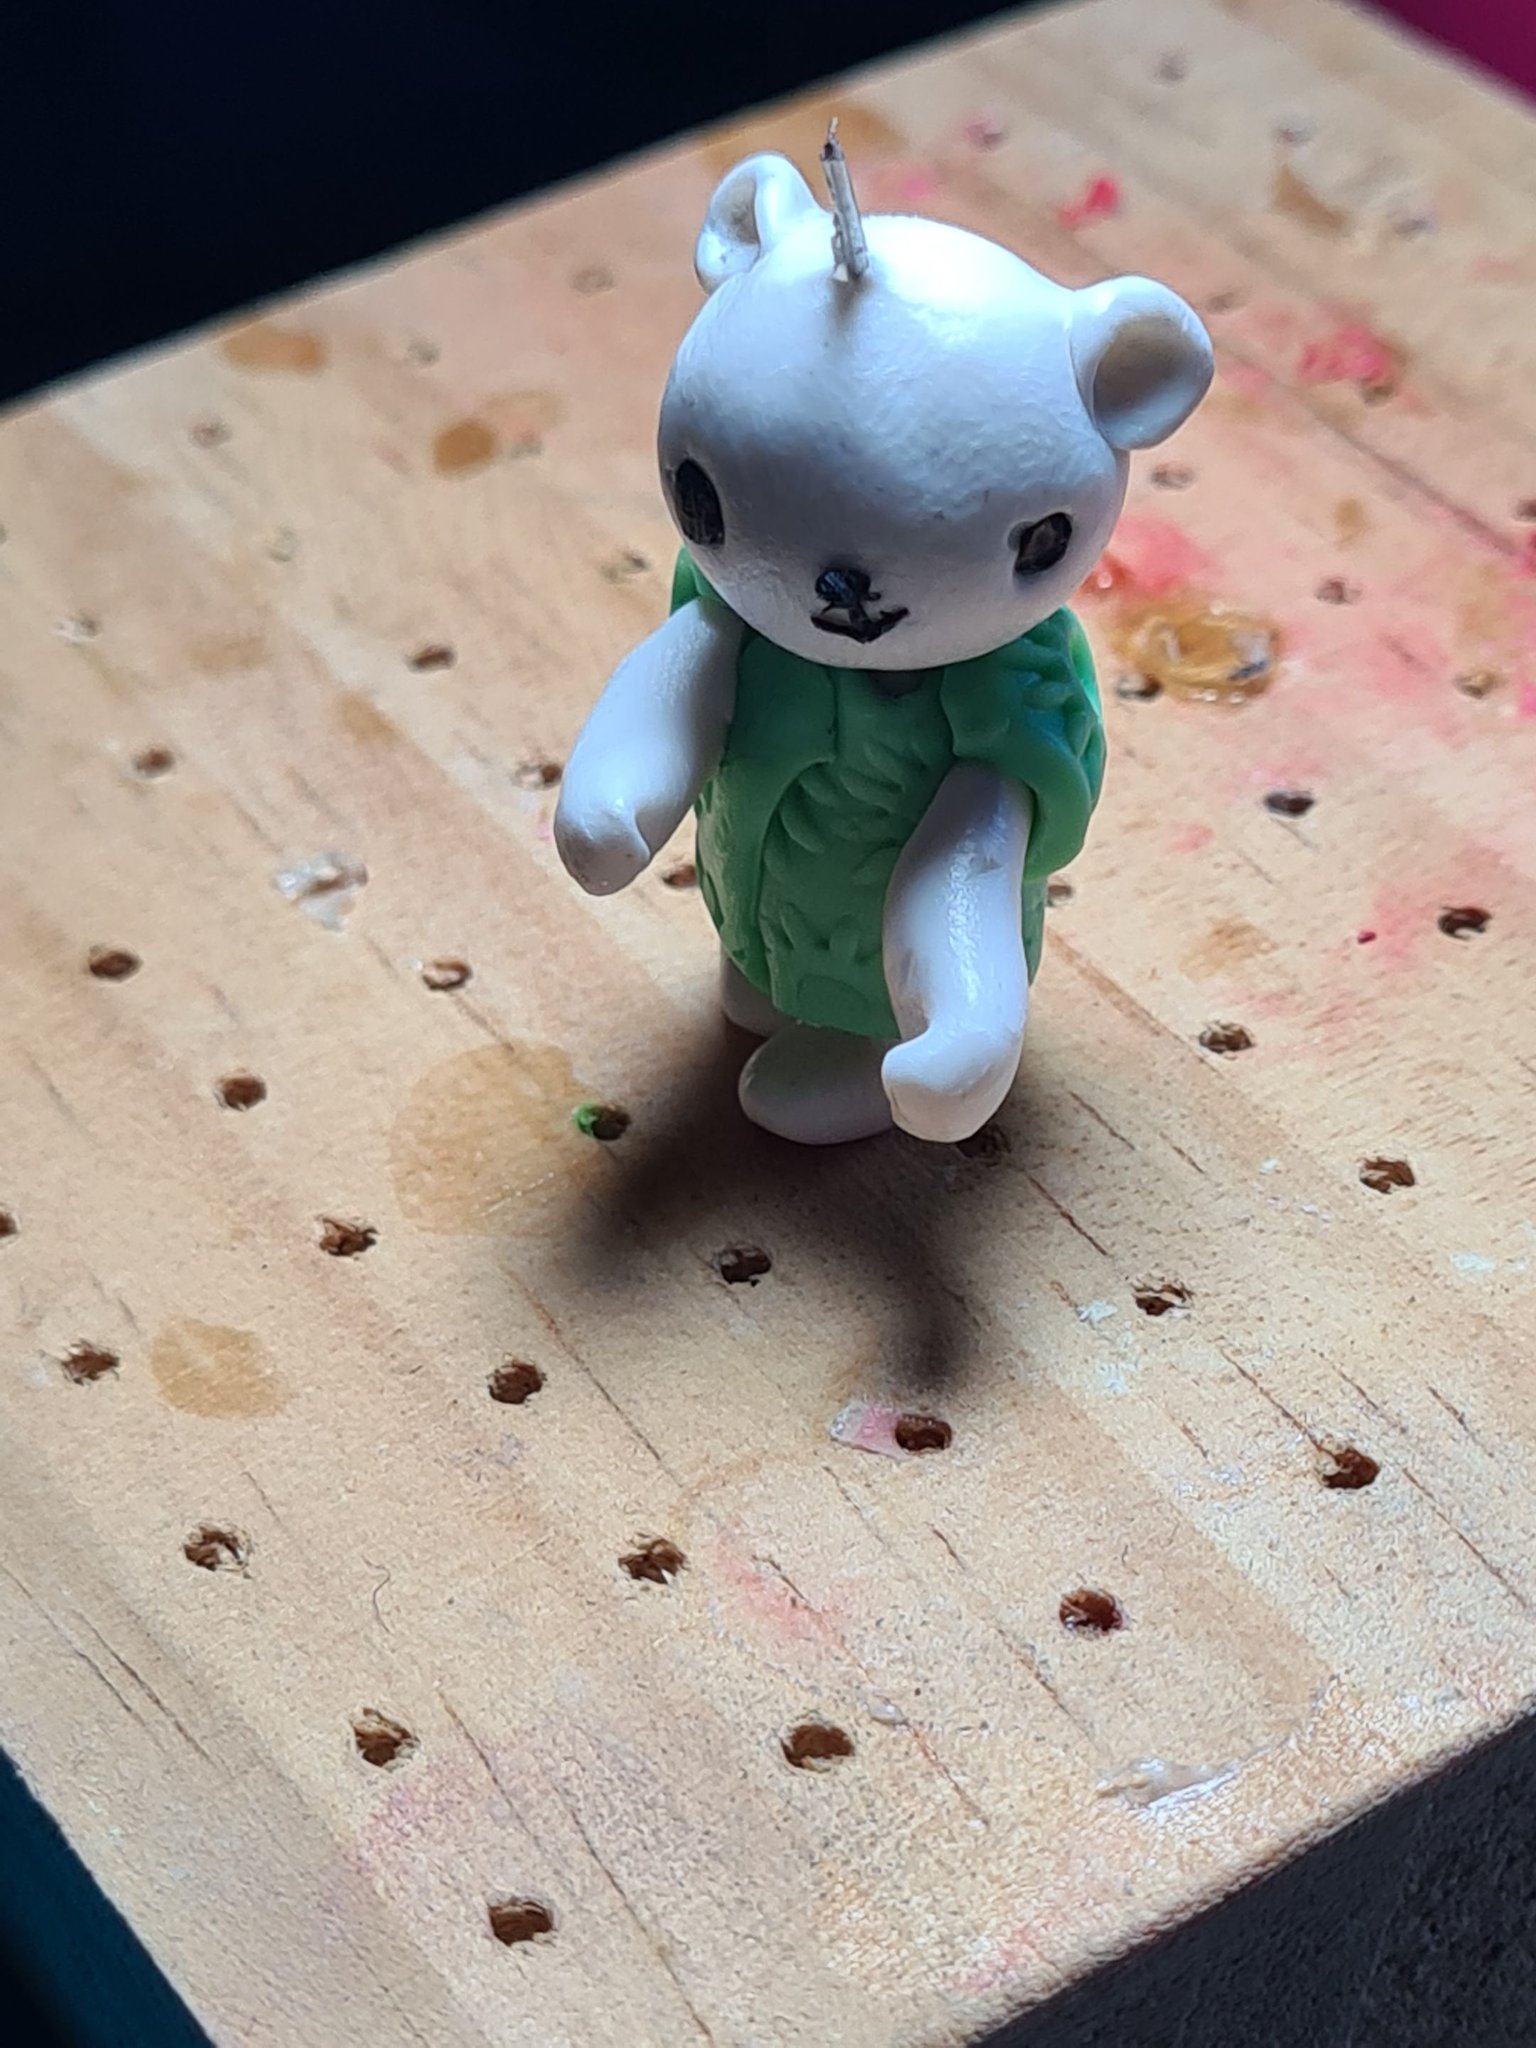
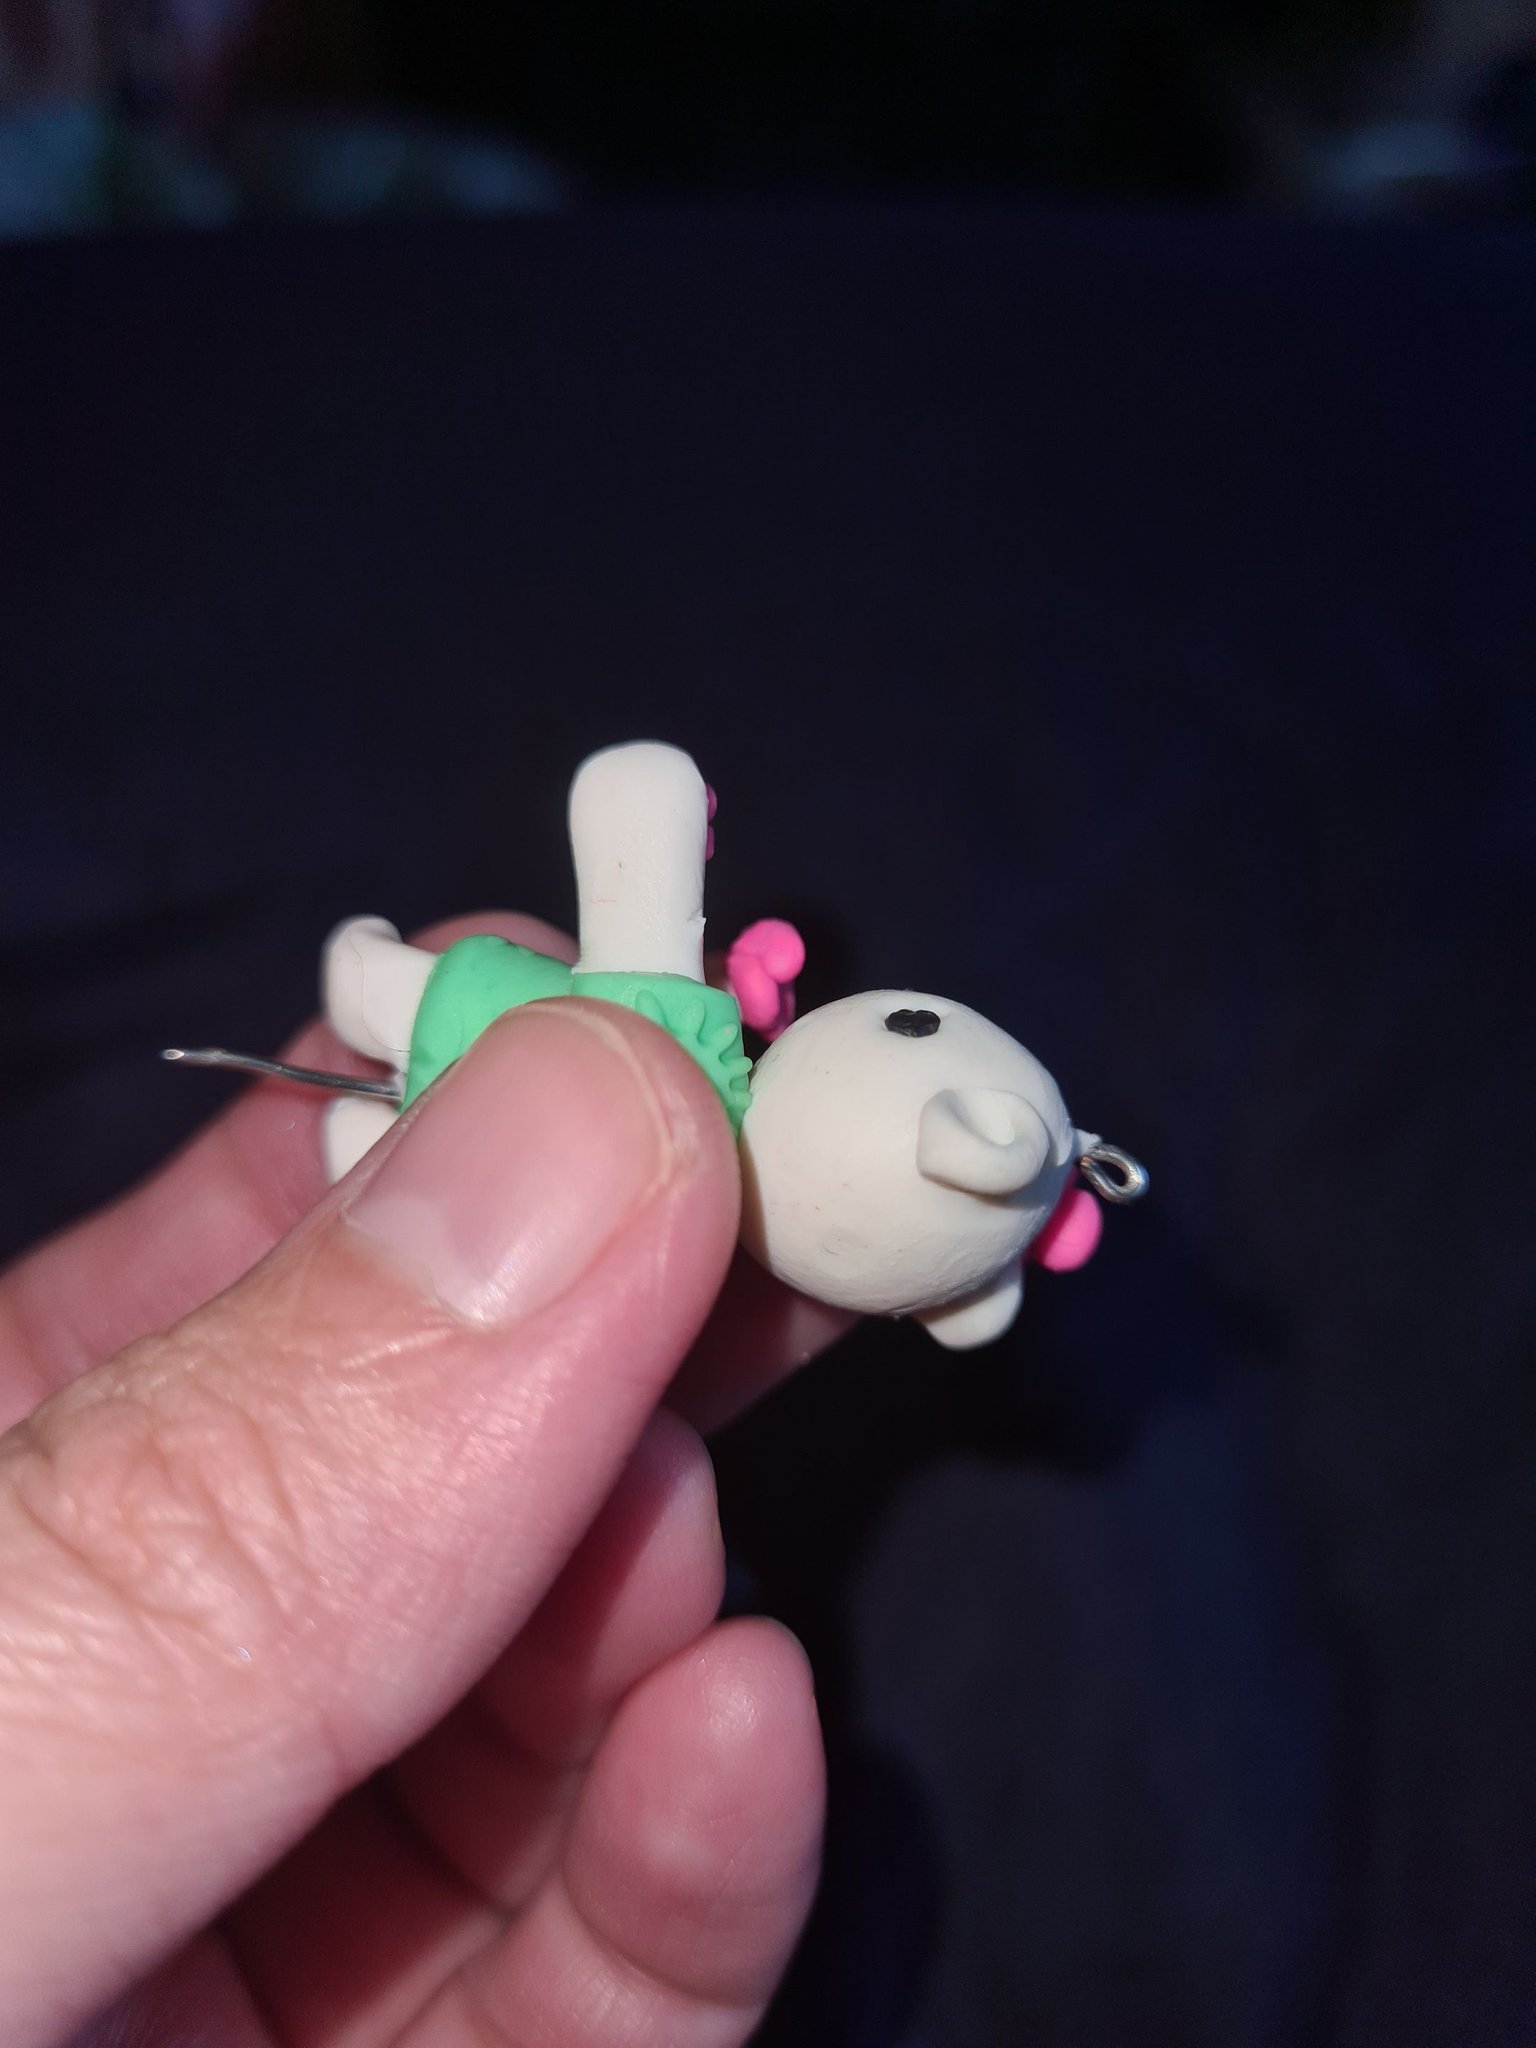
When I was about to bake my pieces, this set up made me nervous I was so concerned that positioning my pieces like this would ruin the whole print on the clothes.
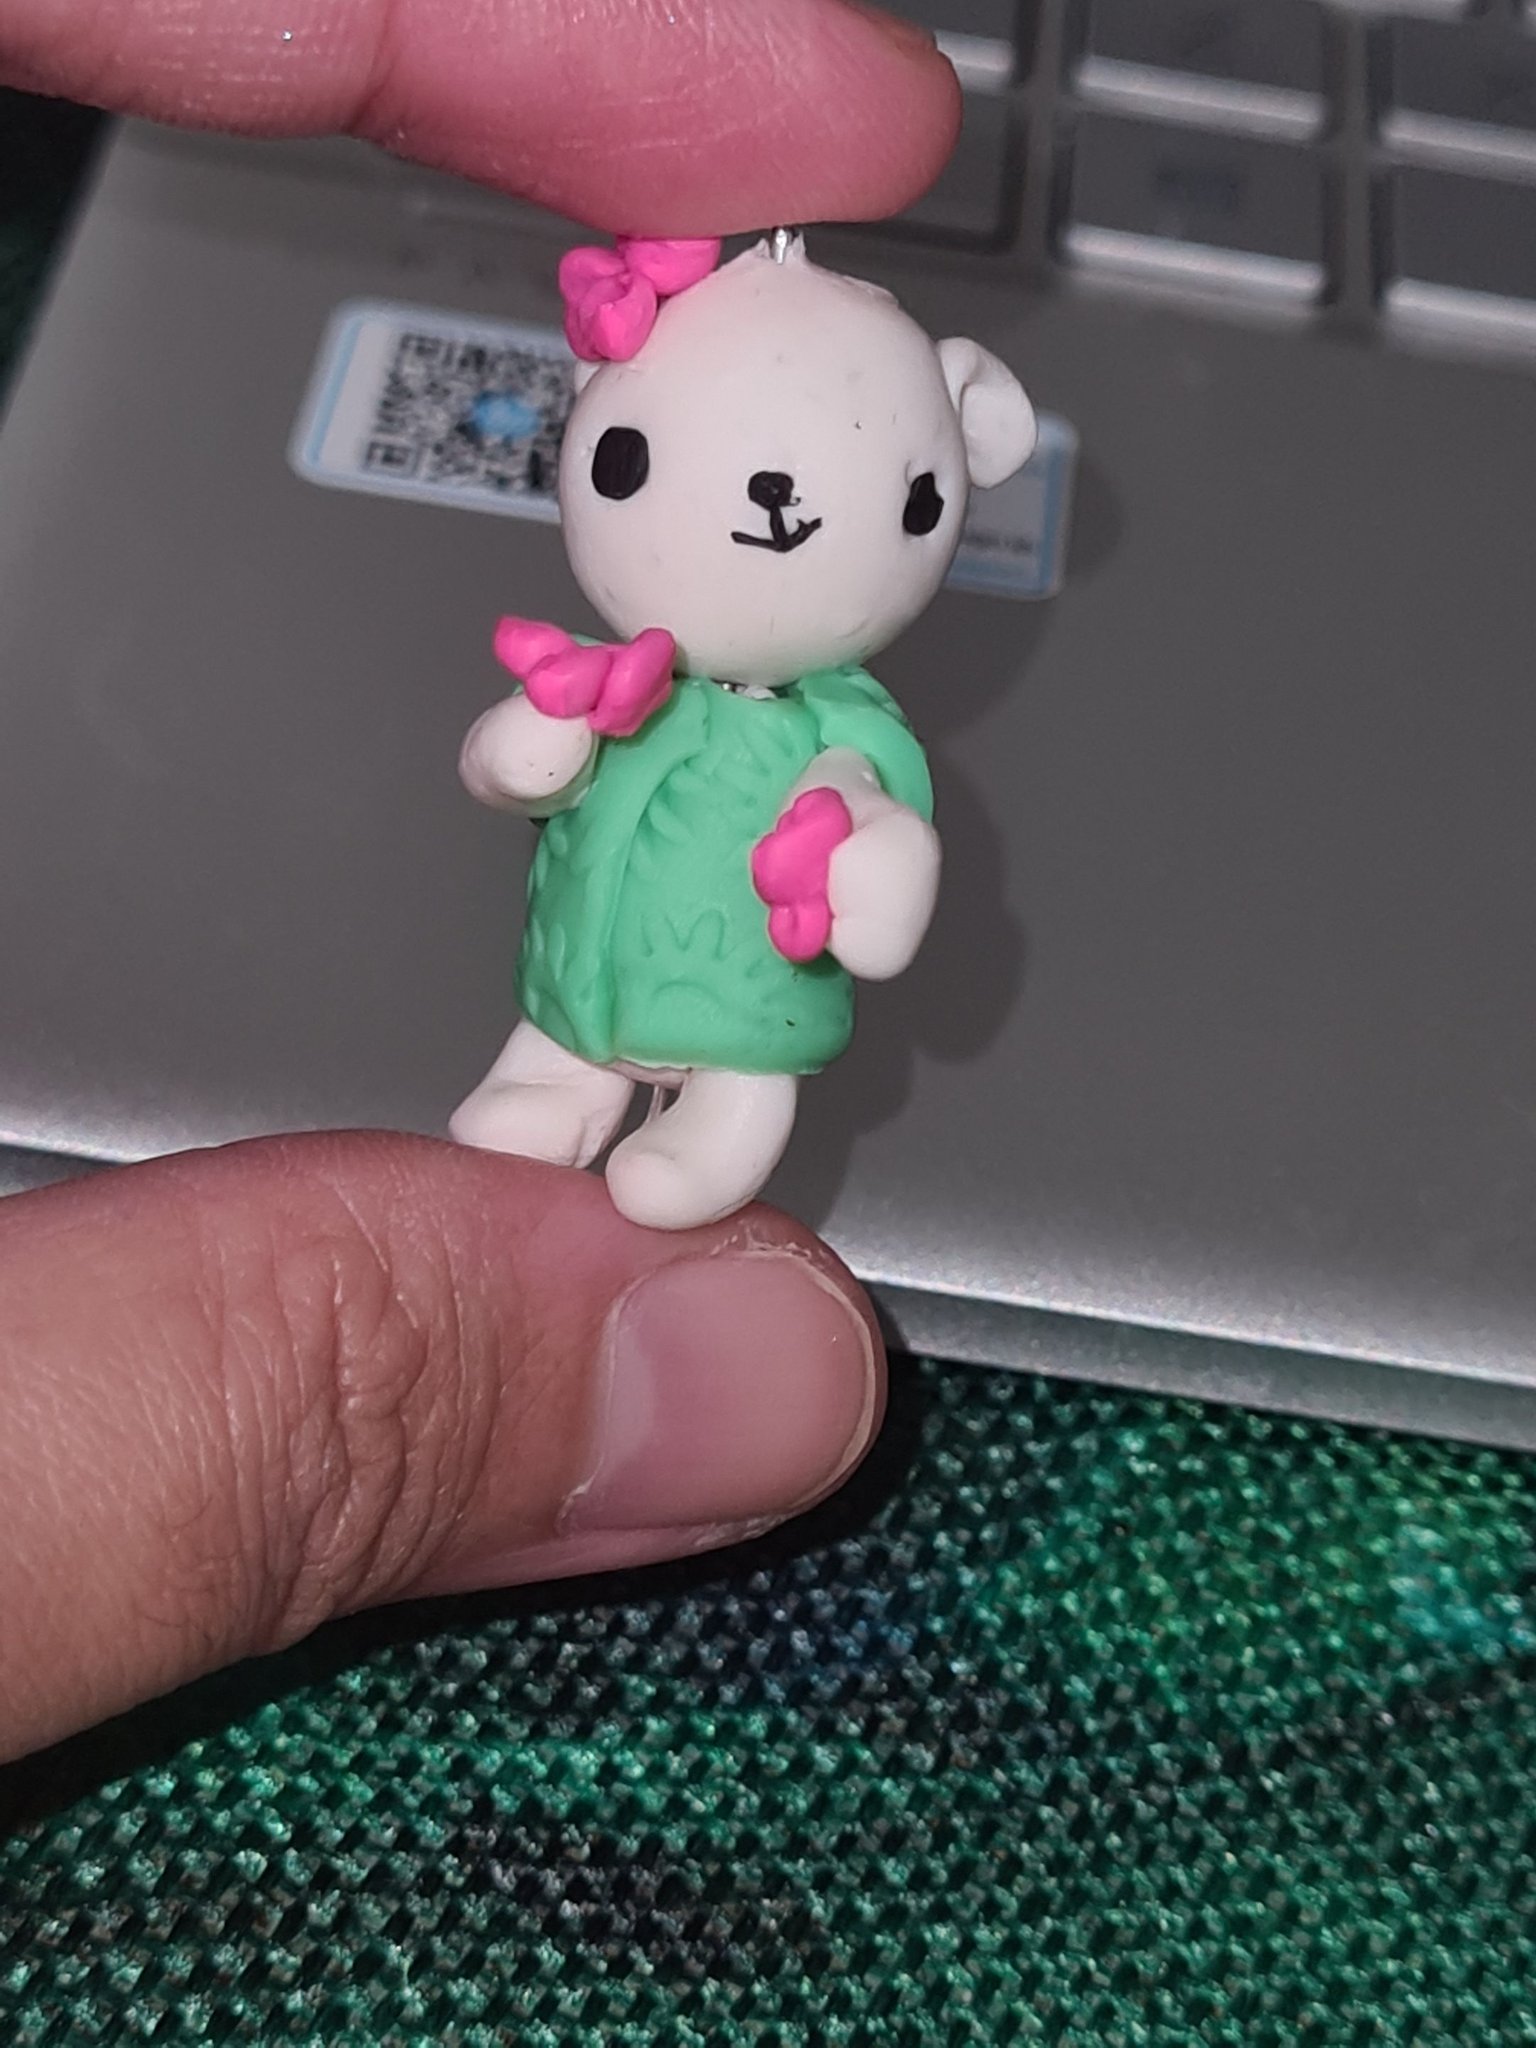
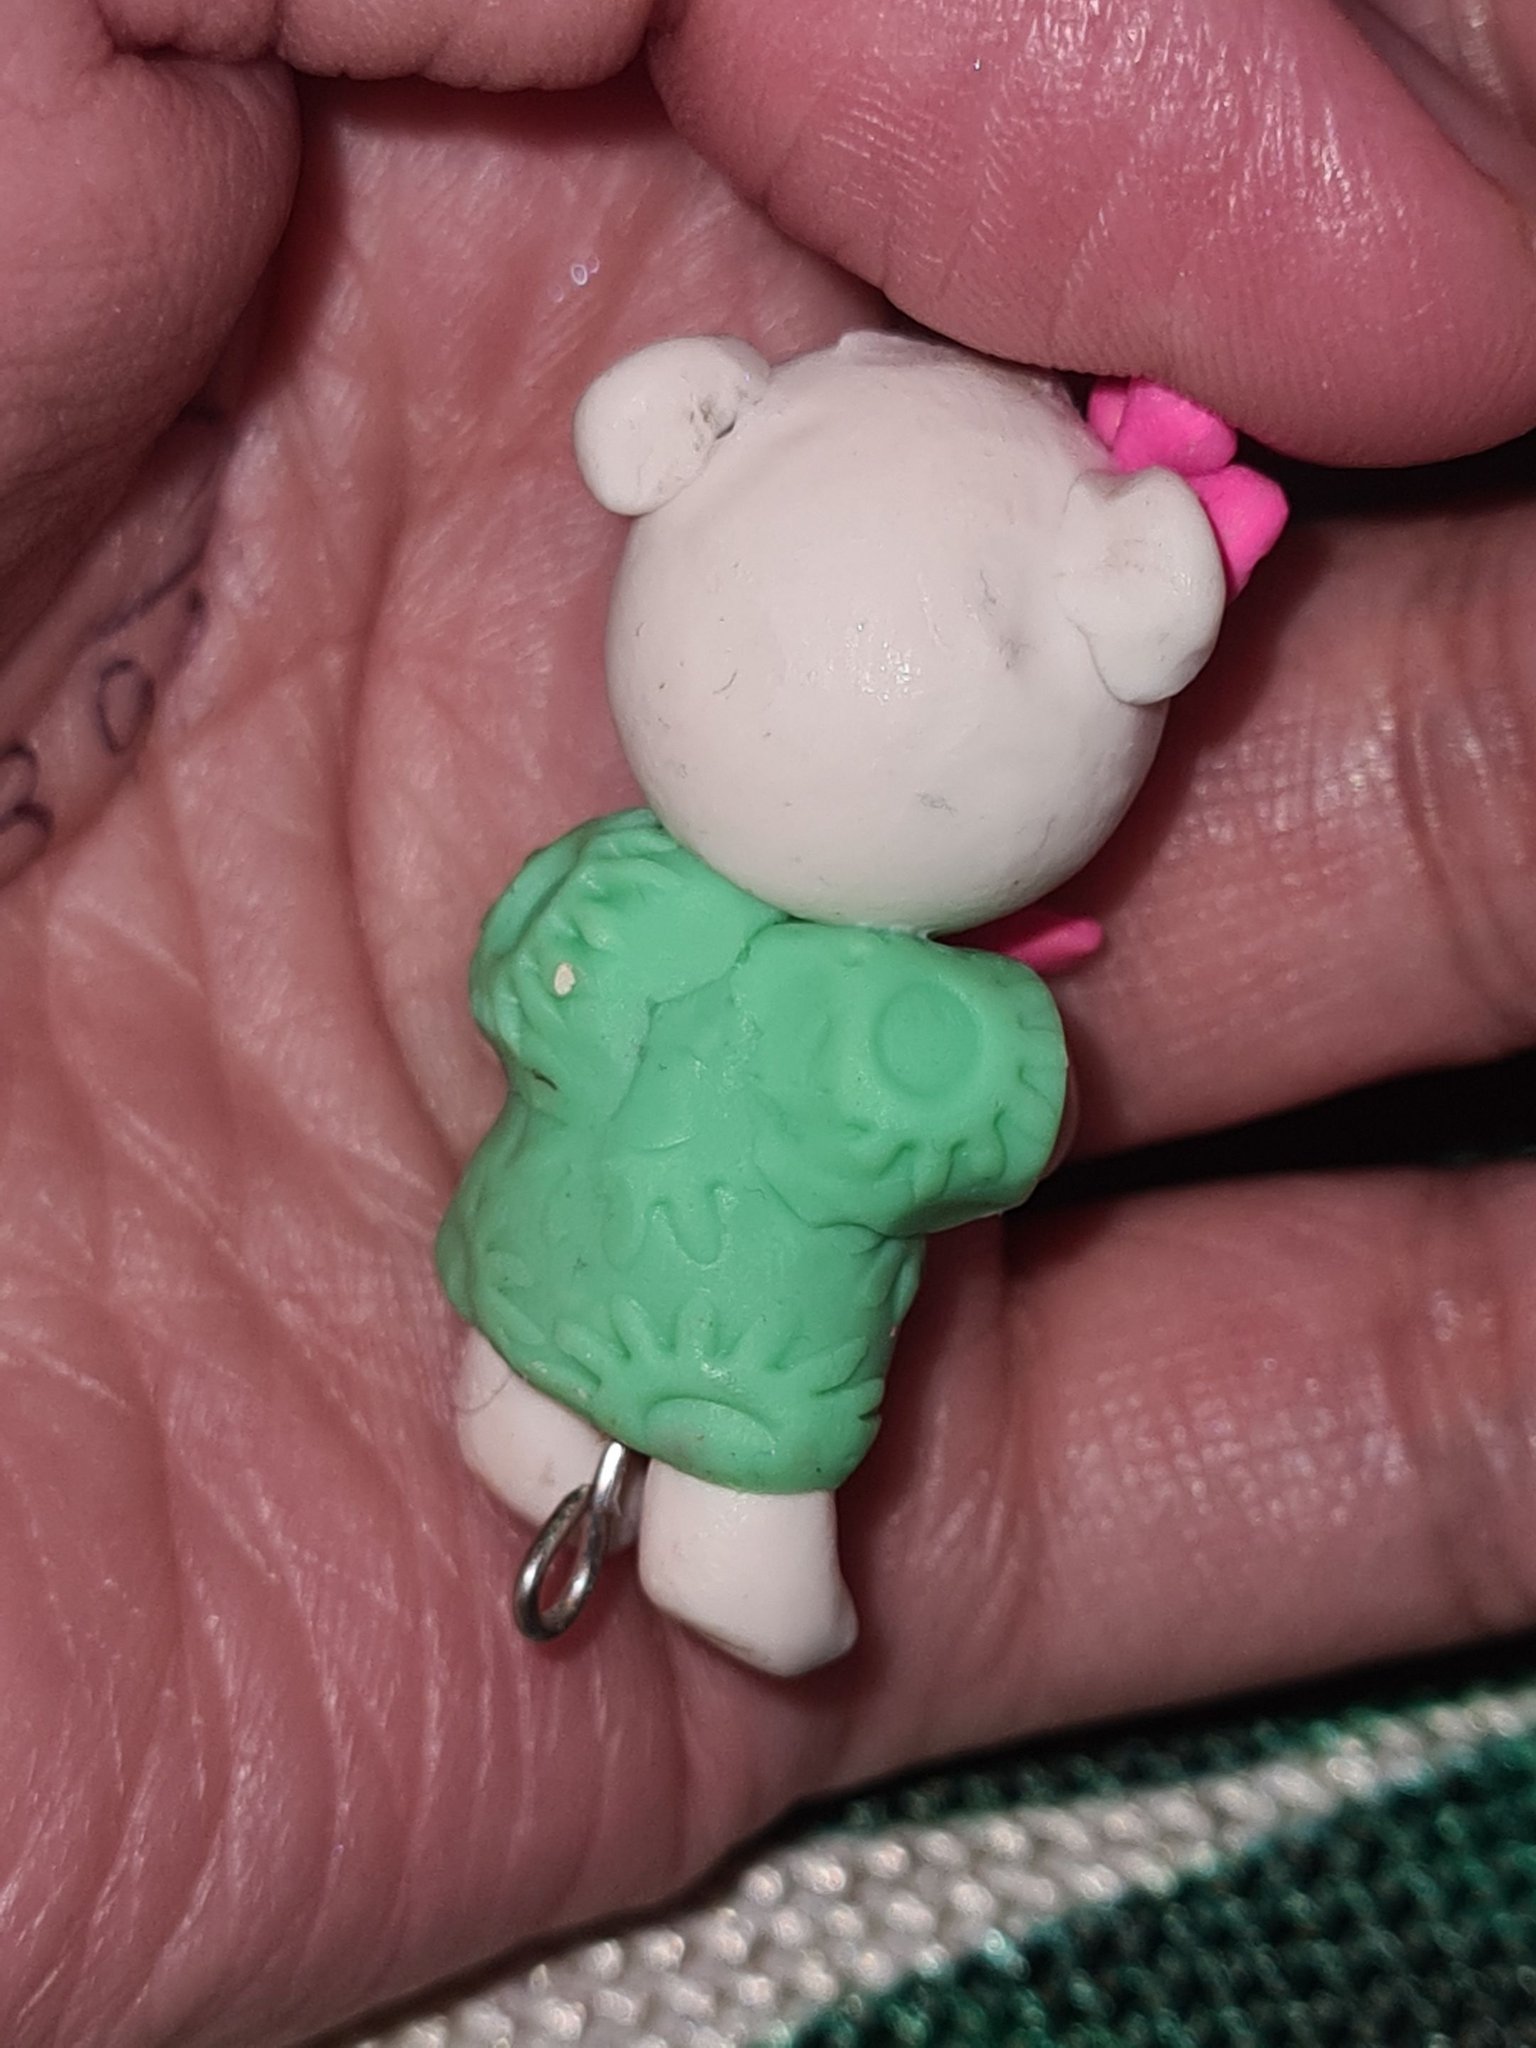
But they came out ok and this is the final piece. Post bake look. I used my pliers to just make an eye pin for this one. I have not yet decided if I am going to include this with other designs but, I am happy the way it looks now.
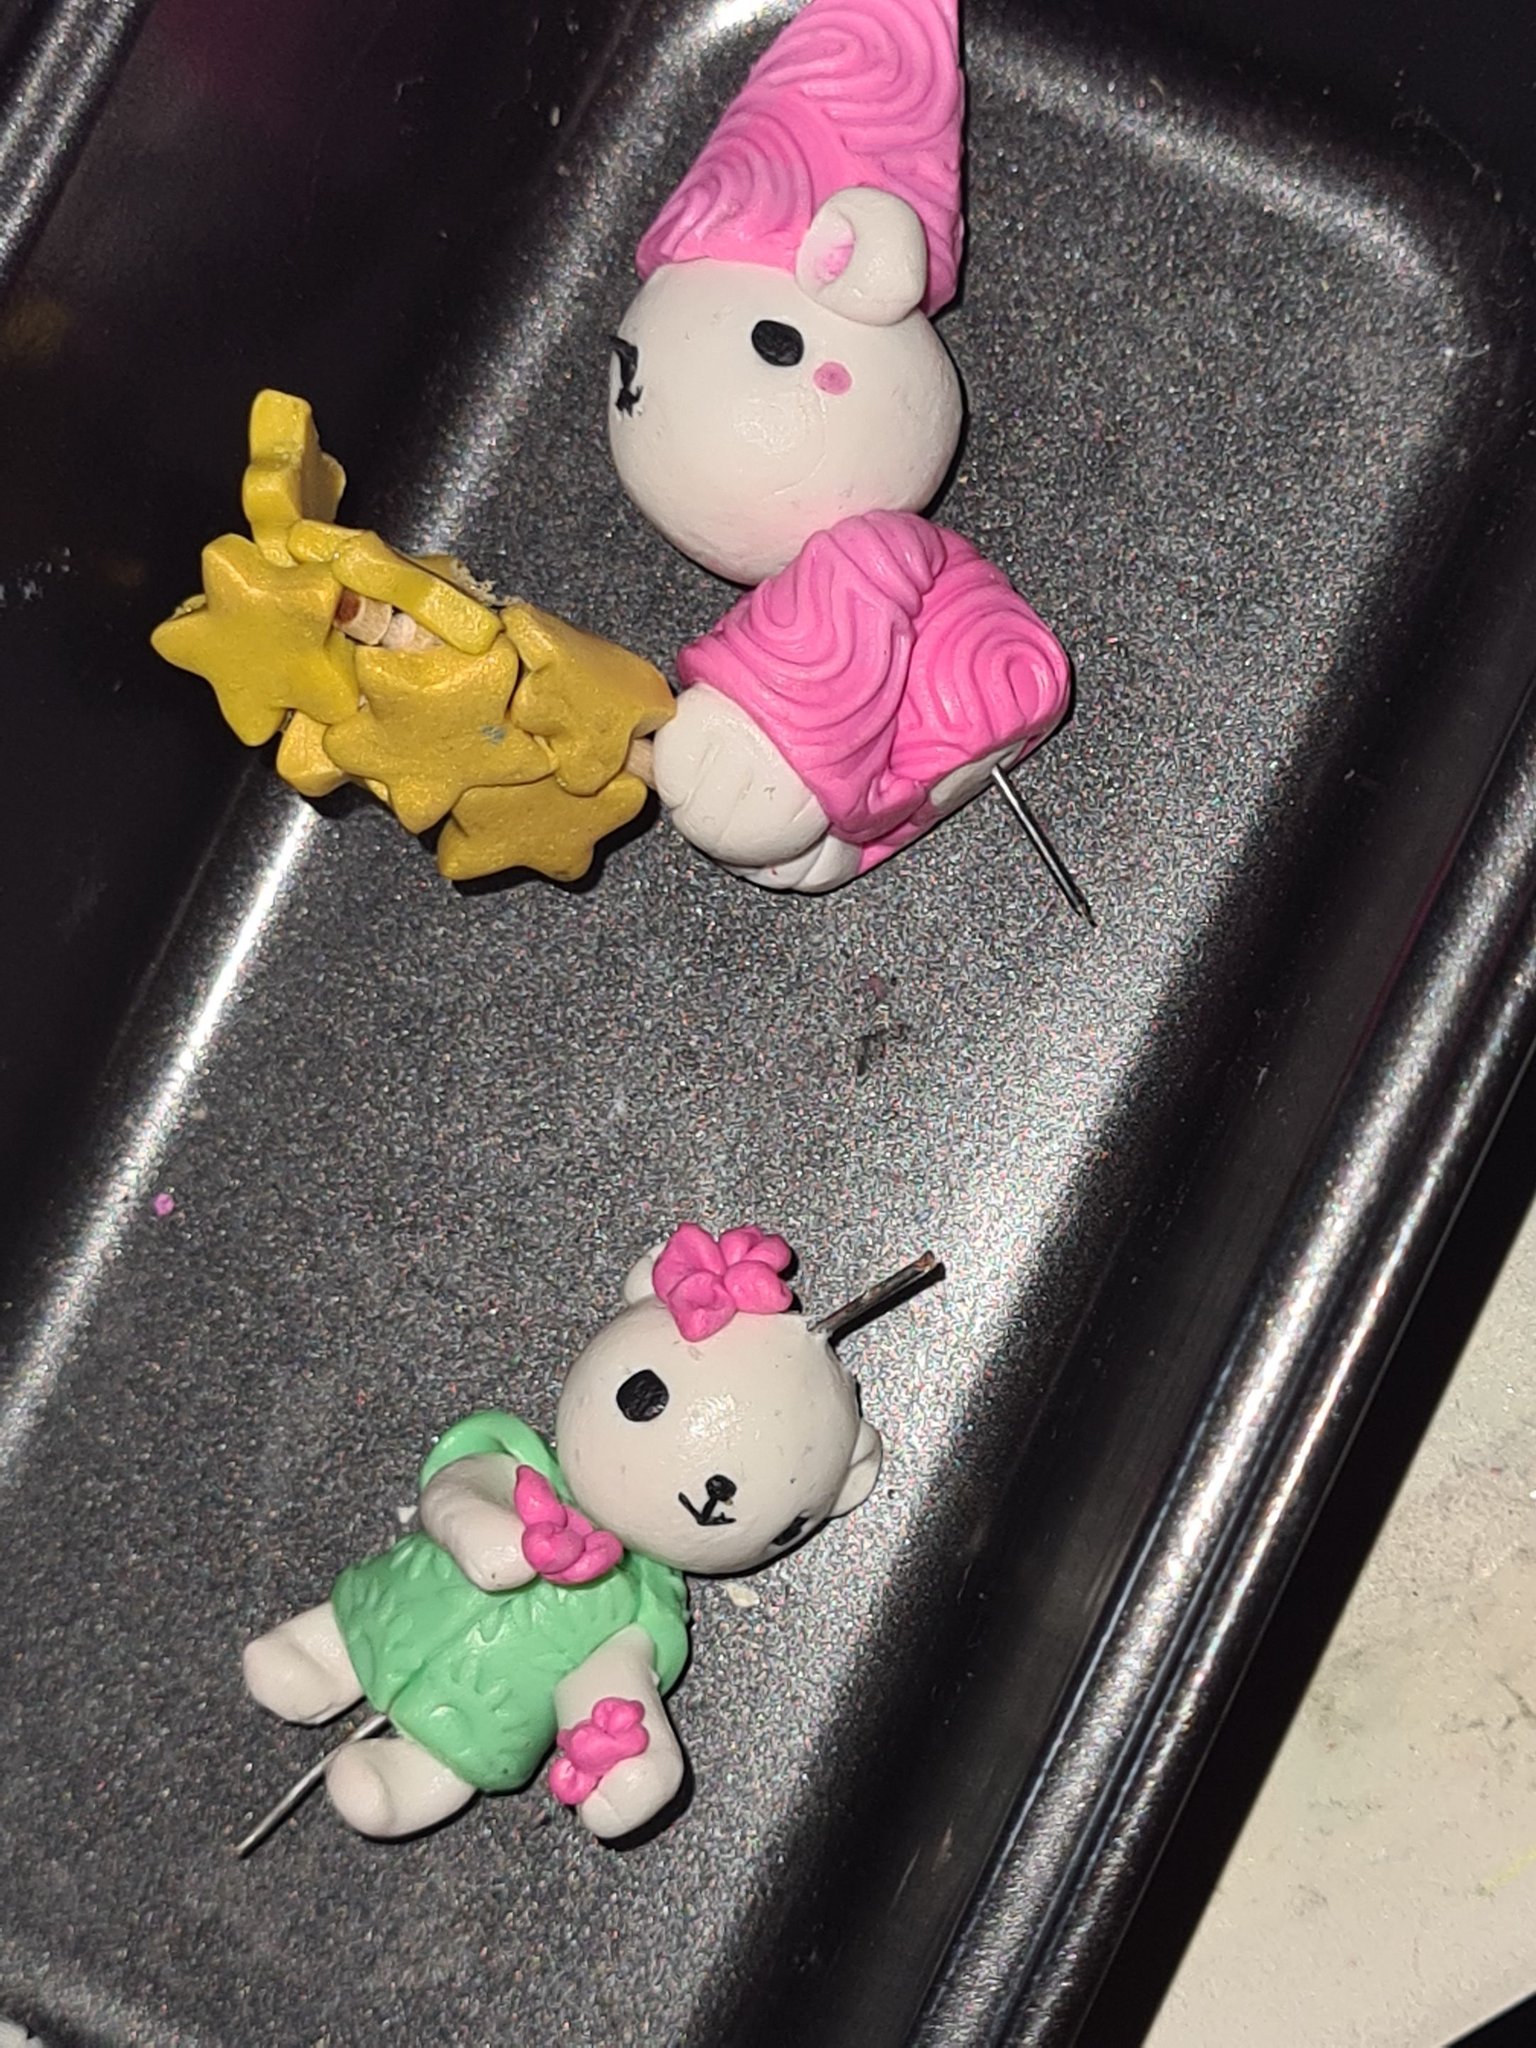
So this is how it looked like post baking- I just want to show you guys how tiny this thing is and, how the wires looked like.