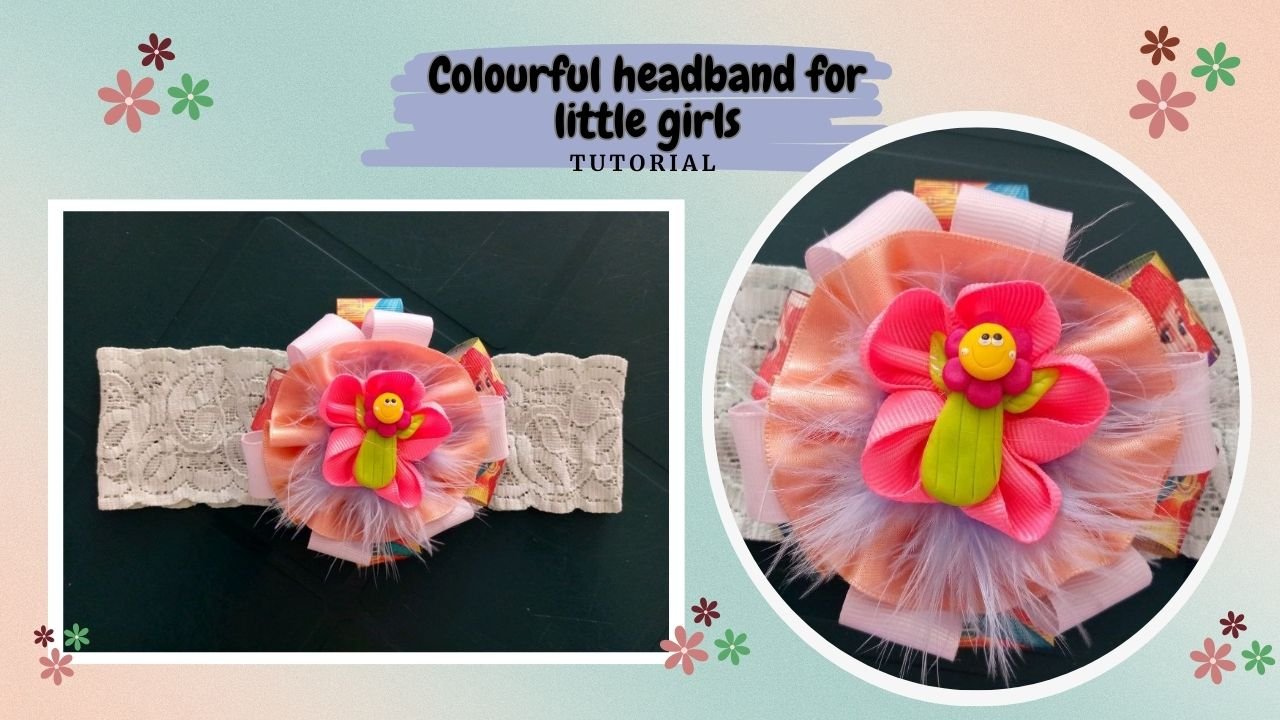

¡Hola, encantadora gente de la comunidad @hivediy!
Sigo haciendo diademas para mi sobrina y esta vez vengo a mostrarles como hice éstas tipo bandana con encaje elástico. Este lazo lo aprendí a hacer en un curso cuando vivía en Caracas y empezaba la moda de estos lazos con cintas de Gross. Es fácil de hacer y queda muy bonito por el volumen que aportan los lazos uno encima del otro.
Esta diadema es para niñas entre 1 y 3 años por la medida del encaje elástico que corté , pero puedes ajustarla a otro tamaño apoyándote en una tabla de medidas en internet.
Recomiendo usar apliques de masa flexible de buena calidad, con una bonita expresión, que tengan los ojos y boca bien hechos si se trata de caritas, esto hace la diferencia en el resultado final.
Ahora si vamos con los materiales a utilizar:
Hello, lovely people of the @hivediy community!
I'm still making headbands for my niece and this time I'm going to show you how I made these bandana headbands with elastic lace. I learnt how to make this bow in a course when I lived in Caracas and the fashion of these bows with ribbons from Gross was just starting. It is easy to make and looks very pretty because of the volume that the bows give one on top of the other.
This headband is for girls between 1 and 3 years old because of the size of the elastic lace I cut, but you can adjust it to another size using a measurement table on the internet.
I recommend using good quality flexible dough appliqués, with a nice expression, with well made eyes and mouths if they are little faces, this makes the difference in the final result.
Now on to the materials to use:
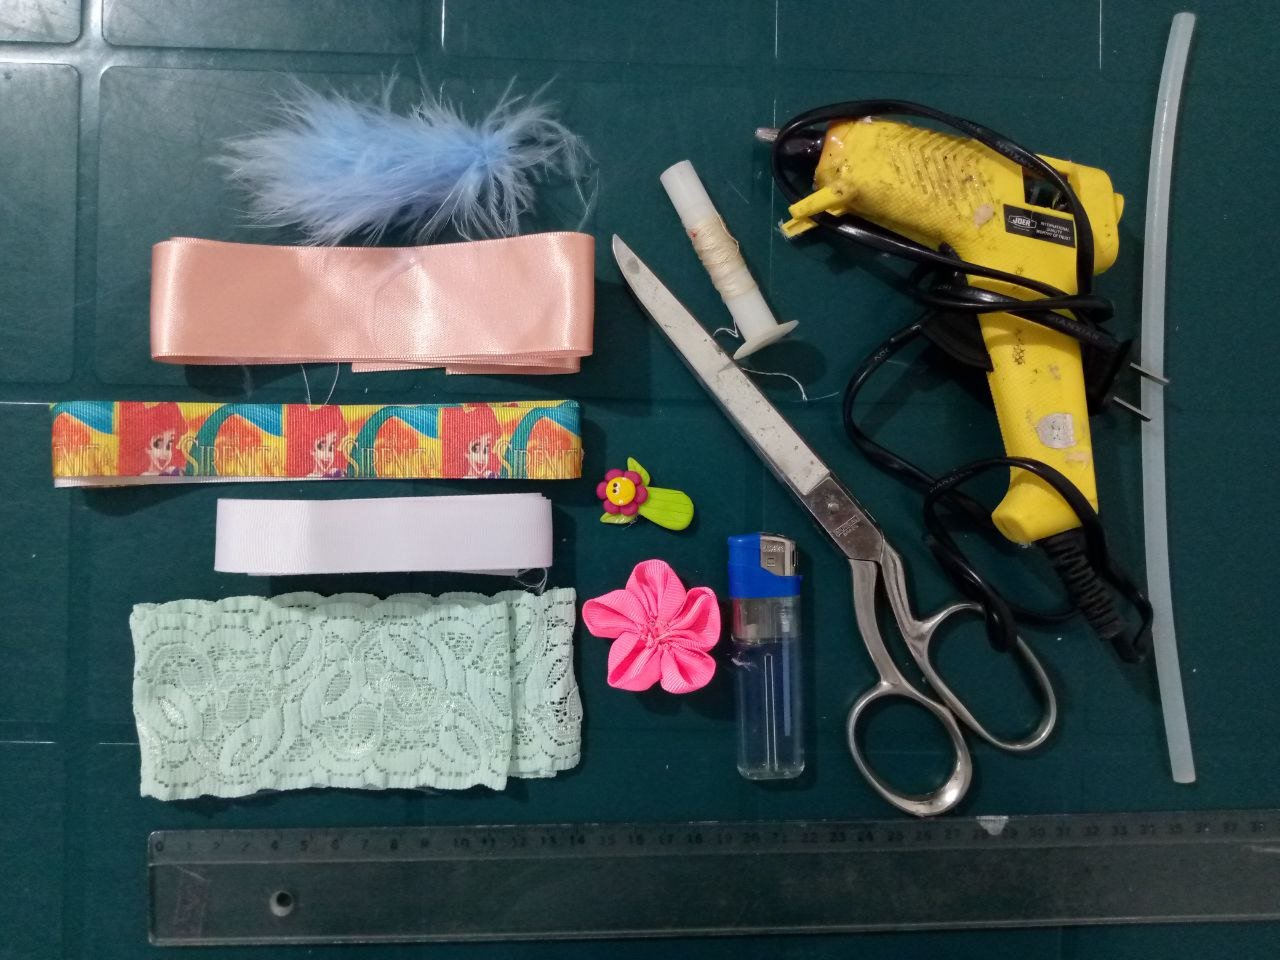
Materiales/ Materials
- Cinta de Gross # 5 estampada (1 metro)
- Cinta de Gross # 4 color blanco (1 metro)
- Cinta de Raso # 9 Color salmón (1/2 metro )
- Encaje elástico verde agua
- Pistola y barra de silicón
- Hilo y aguja
- Marabú color azul claro
- Flor hecha de cinta de Gross color fucsia
- Tijera de costura
- Cinta métrica o regla
- Aplique de masa flexible
- Yesquero
- Gross Tape # 5 printed (1 metre)
- Gross ribbon # 4 white colour (1 meter)
- Salmon coloured satin ribbon # 9 (1/2 metre)
- Aqua green elastic lace
- Silicone gun and silicone stick
- Thread and needle
- Light blue marabou
- Flower made of fuchsia coloured Gross ribbon
- Sewing scissors
- Tape measure or ruler
- Flexible dough appliqué
- Tinder
Paso a Paso / Step by Step
Paso 1 - Step 1
 |  |
|---|
 |  |
|---|
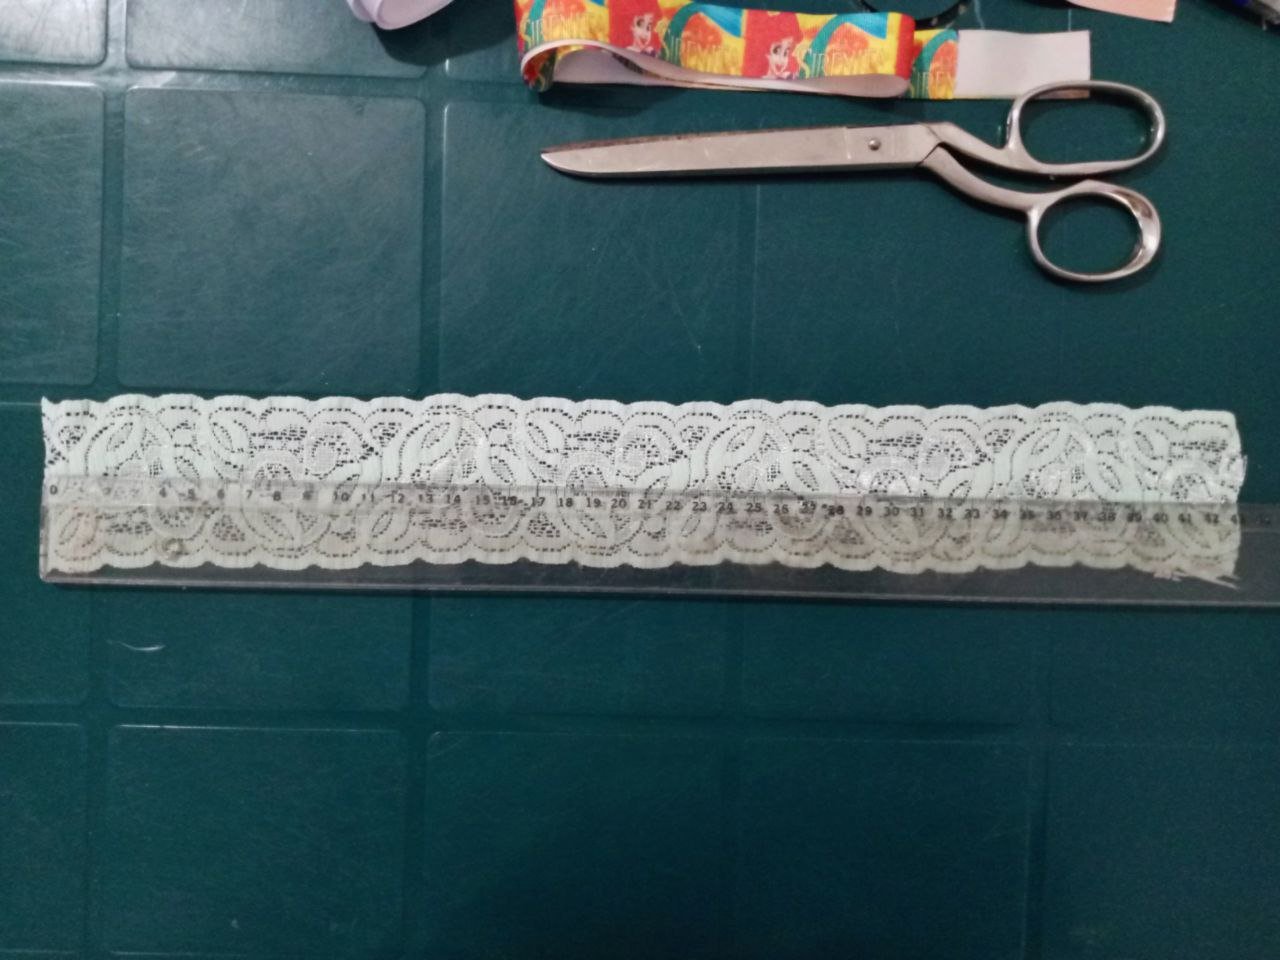
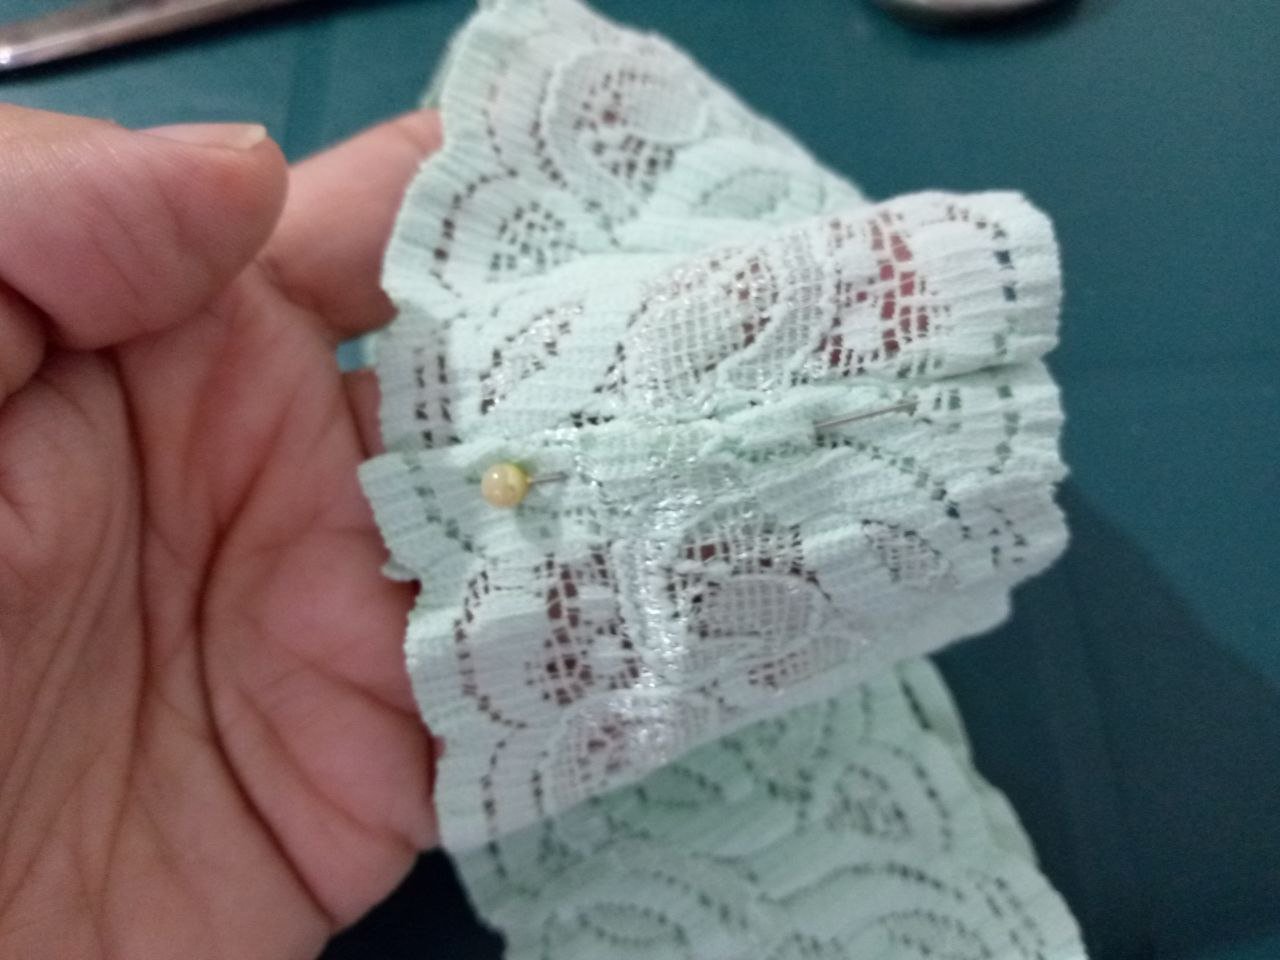
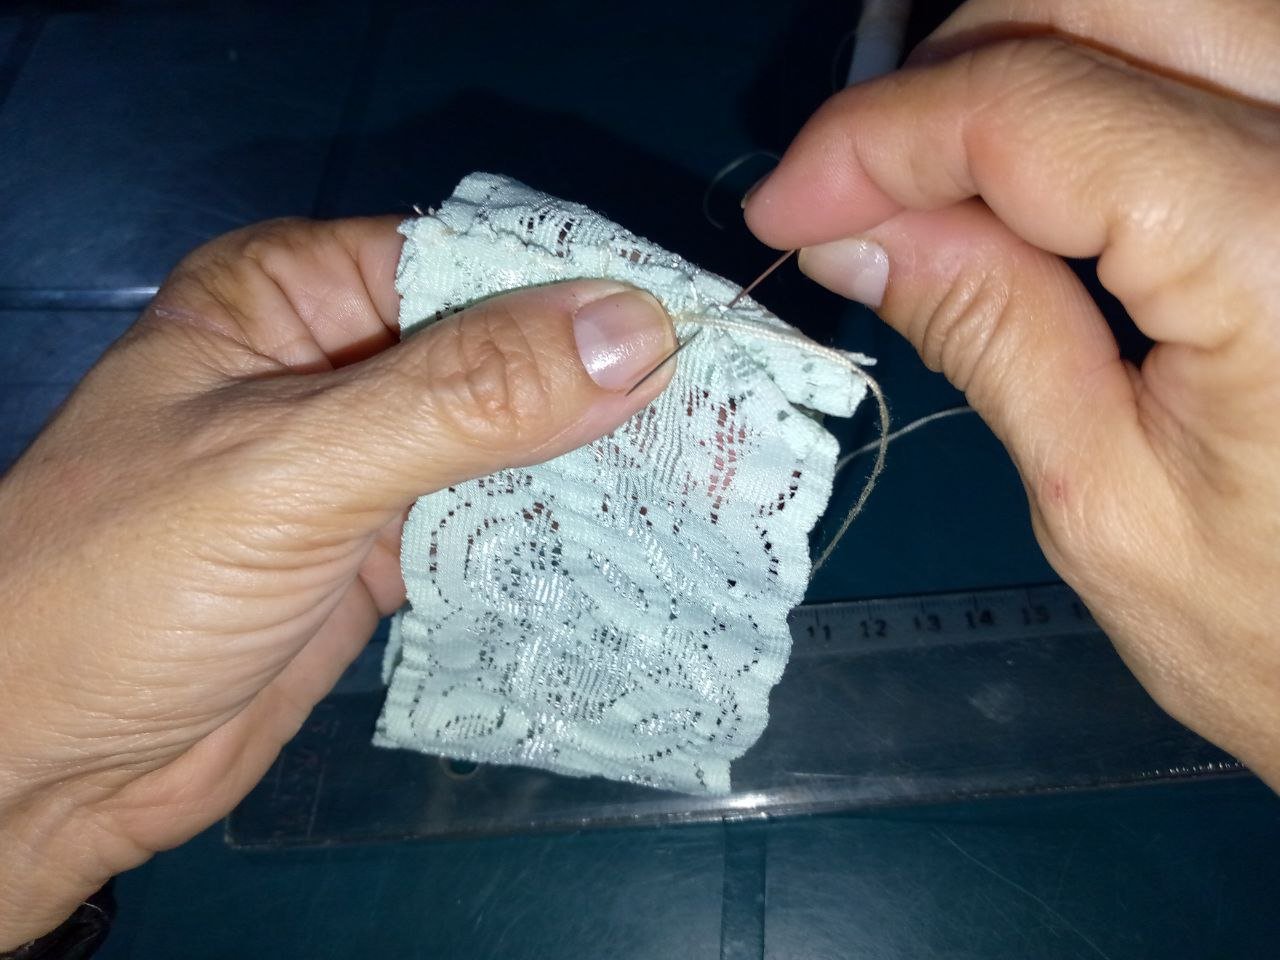
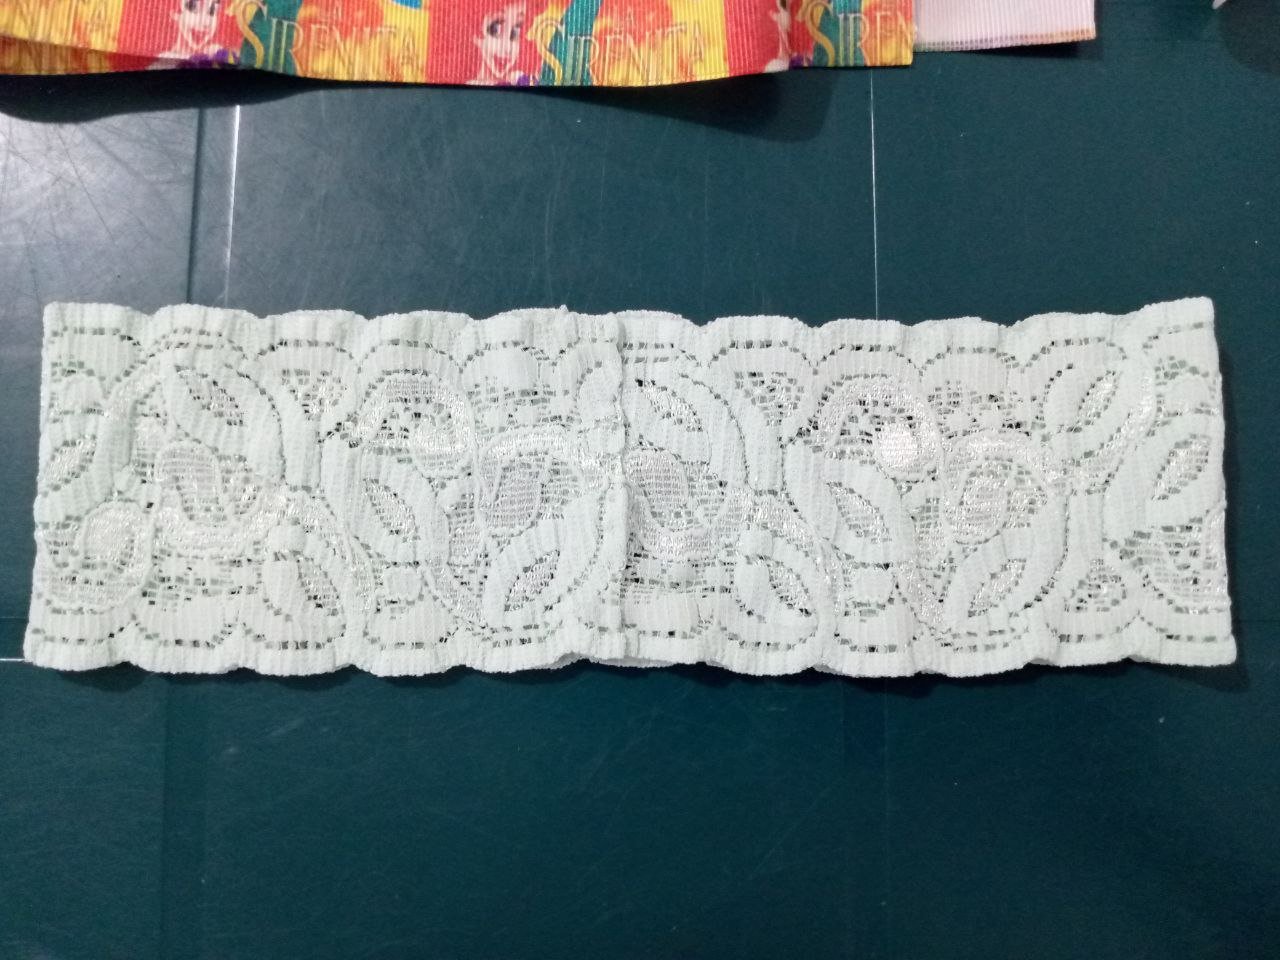
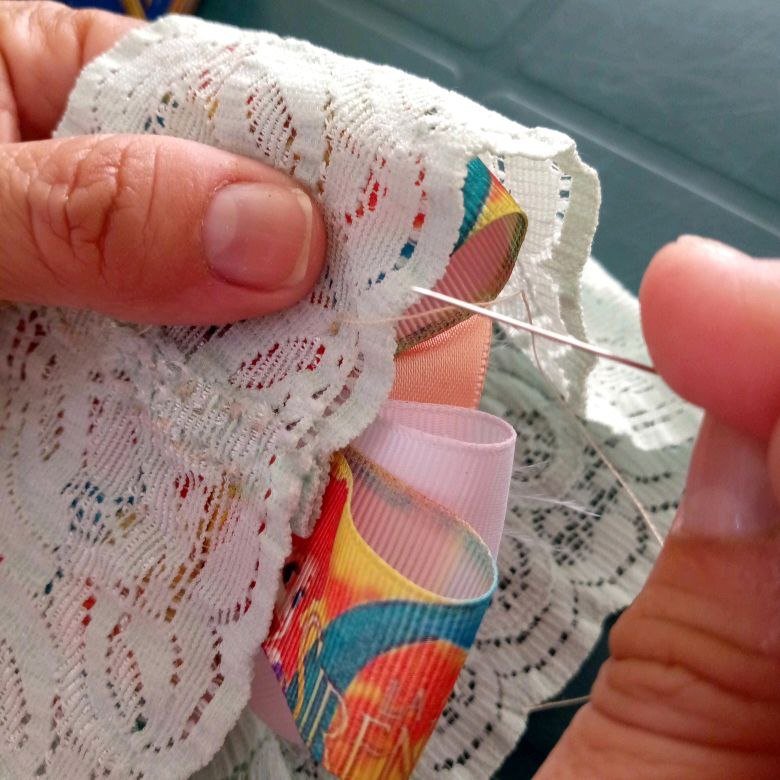
Corté el encaje elastico a 43 cm. Uní los extremos del encaje poniendo un extremo sobre el otro ( que quede de 1 cm) y sujeté con alfiler para luego coser a mano.
Si mides la cabeza de la niña debes restar 2-3 c.m ya que este material estira.
I cut the elastic lace to 43 cm. Join the ends of the lace by placing one end on top of the other (1 cm) and pin and then sew by hand.
If you measure the girl's head you should subtract 2-3 c.m as this material stretches.
Paso 2- Step 2


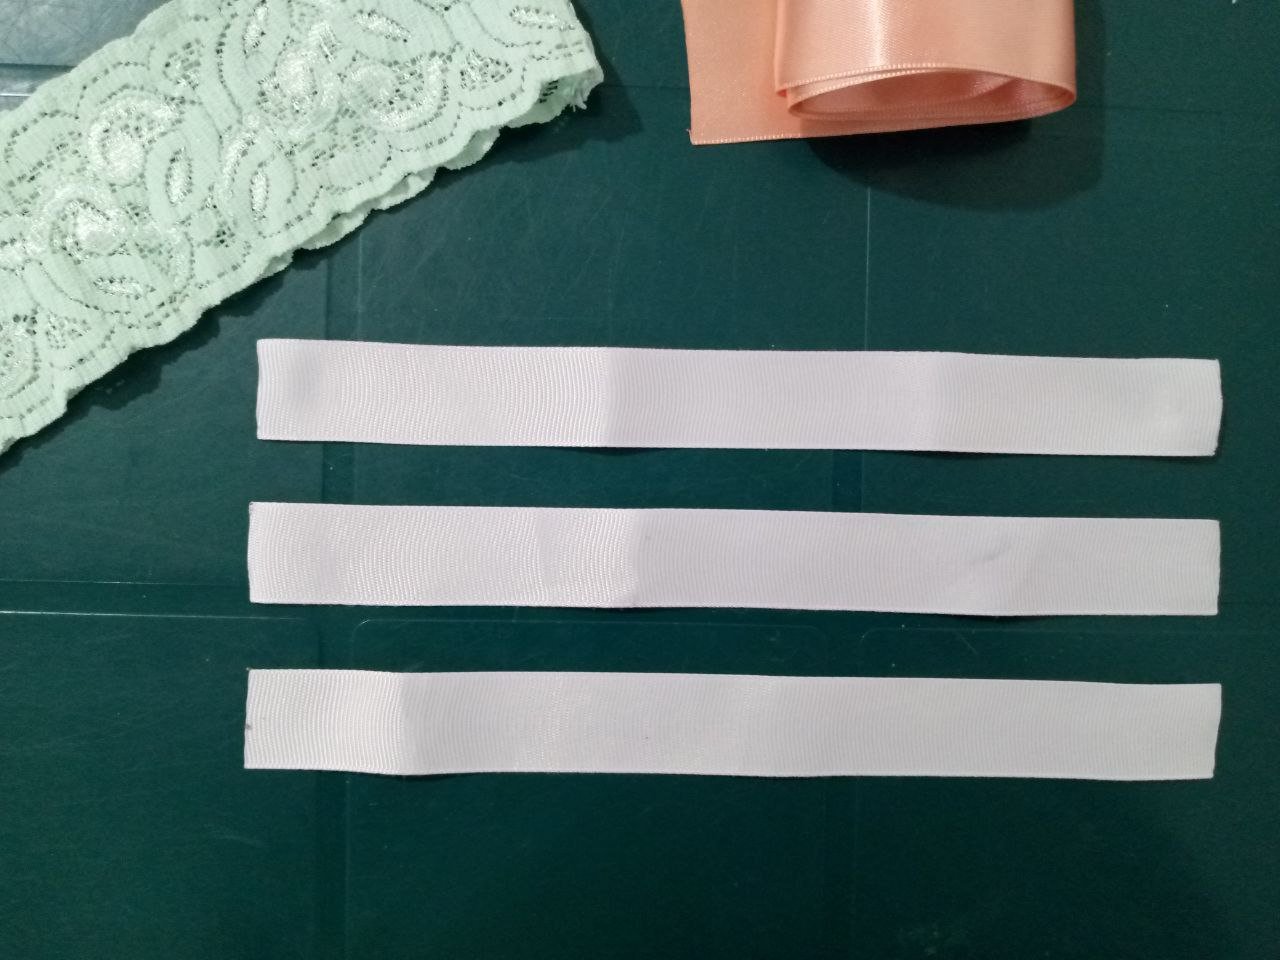
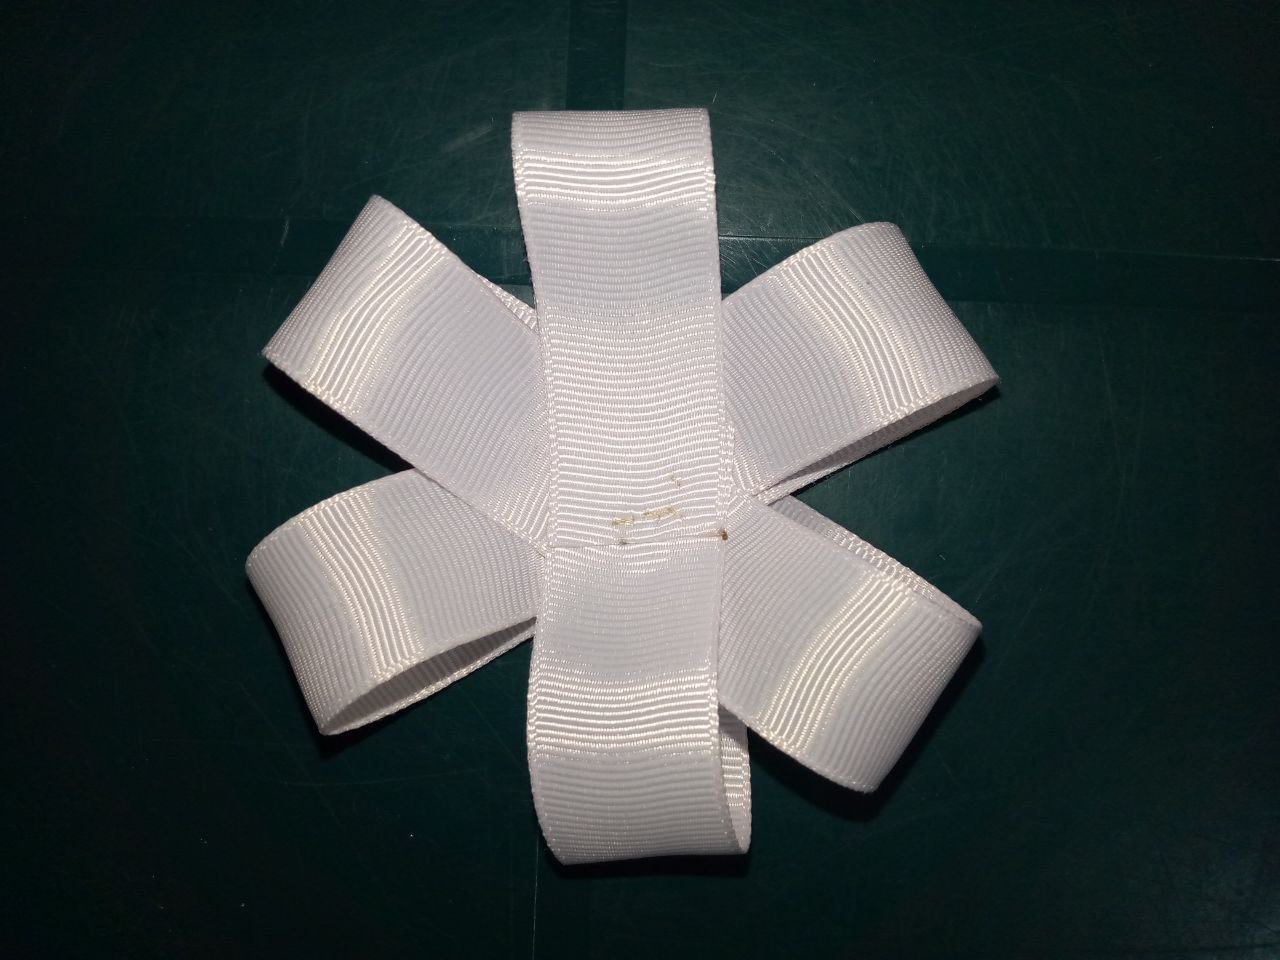
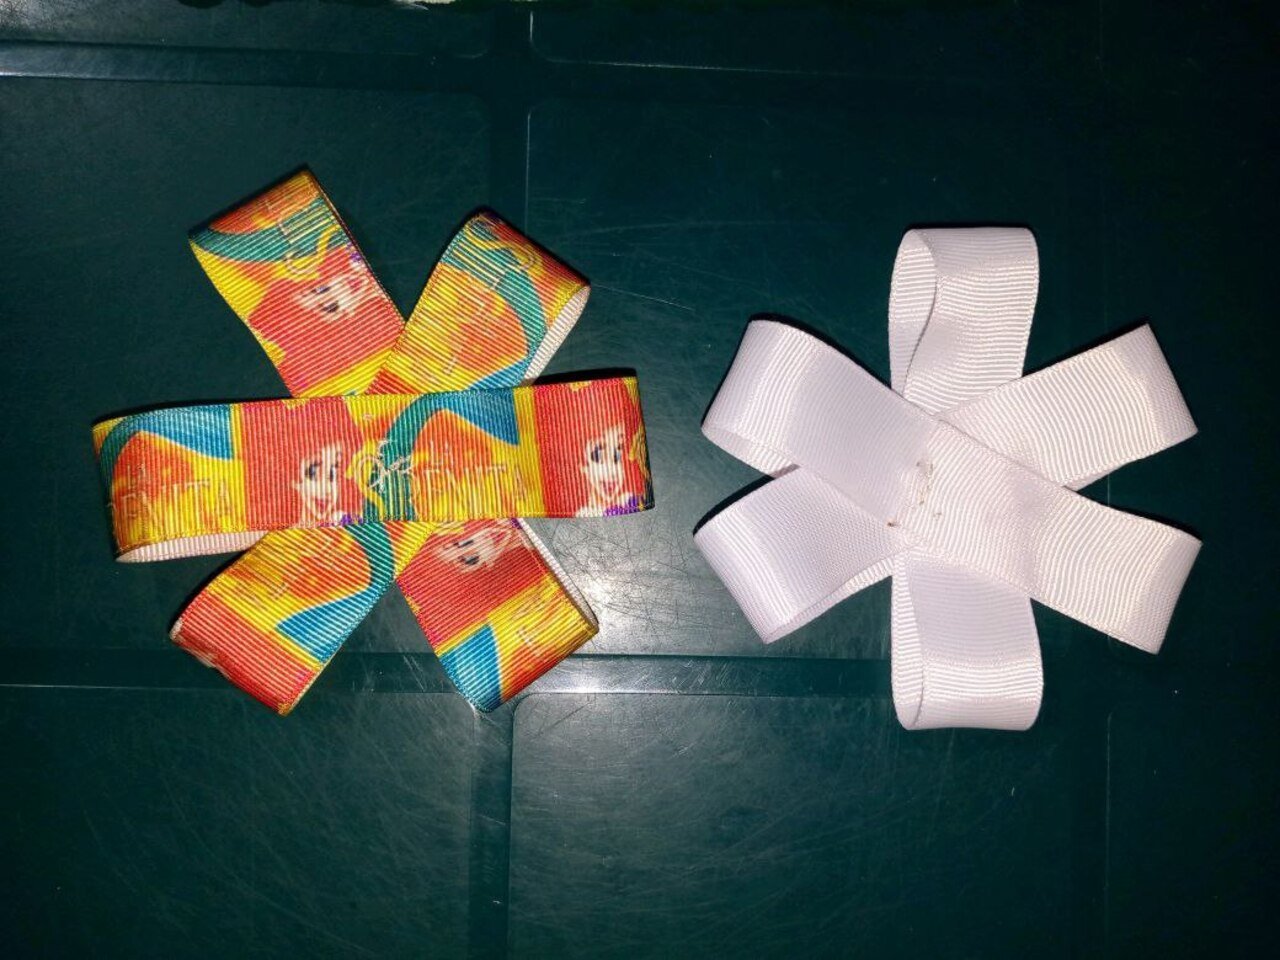
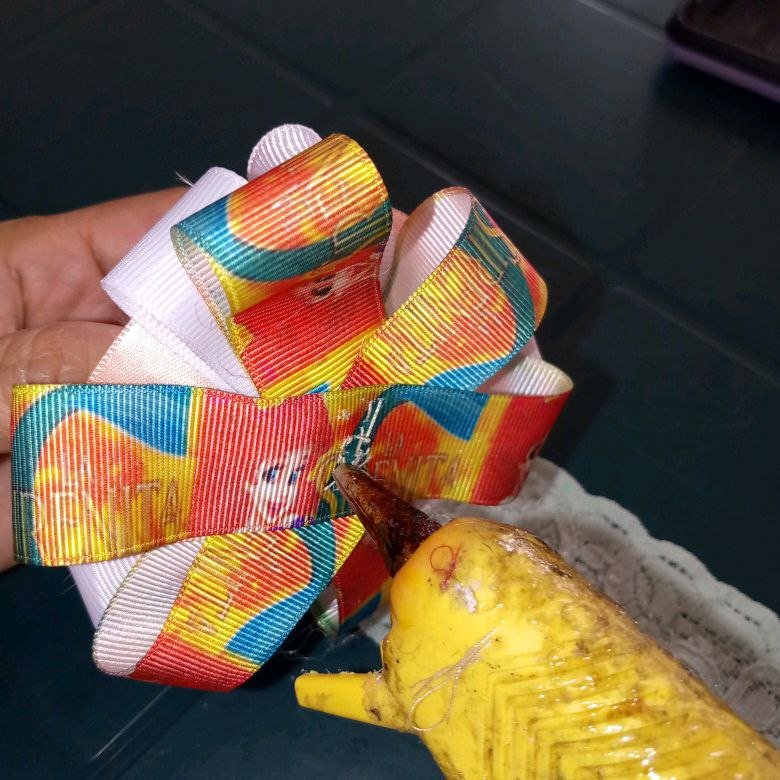
Cortamos la cinta estampada en tres piezas de 22 cm c/u y se divide en partes iguales , para esto toma los extremos de la cinta, doblamos por la mitad y con ayuda de la aguja marcar en el medio y abrir las cintas como en la foto, luego se llevan los extremos de las cintas al centro para formar una flor.
Para trabajar con todas las cintas se queman rápidamente las extremos con el yesquero para evitar que se deshilachen.
Cut the printed ribbon into three pieces of 22 cm each and divide it into equal parts, for this take the ends of the ribbon, fold it in half and with the help of the needle mark in the middle and open the ribbons as in the photo, then bring the ends of the ribbons to the centre to form a flower.
To work with all the tapes, the ends are quickly burnt with the tinder to prevent them from fraying.
I cut the elastic lace to 43 cm. Join the ends of the lace by placing one end on top of the other (1 cm) and pin and then sew by hand.
If you measure the girl's head you should subtract 2-3 c.m as this material stretches.
Paso 2- Step 2
| |
|---|
| |
|---|
Cortamos la cinta estampada en tres piezas de 22 cm c/u y se divide en partes iguales , para esto toma los extremos de la cinta, doblamos por la mitad y con ayuda de la aguja marcar en el medio y abrir las cintas como en la foto, luego se llevan los extremos de las cintas al centro para formar una flor.
Para trabajar con todas las cintas se queman rápidamente las extremos con el yesquero para evitar que se deshilachen.
Cut the printed ribbon into three pieces of 22 cm each and divide it into equal parts, for this take the ends of the ribbon, fold it in half and with the help of the needle mark in the middle and open the ribbons as in the photo, then bring the ends of the ribbons to the centre to form a flower.
To work with all the tapes, the ends are quickly burnt with the tinder to prevent them from fraying.
Paso 3- Step 3
 |  |  |
|---|
Cortamos la cinta unicolor en tres piezas de 22 cm c/u y repetimos el paso anterior (Paso 2)
Cut the unicolour ribbon into three pieces of 22 cm each and repeat the previous step (Step 2).
Paso 4- Step 4
 |  |
|---|
 |  |
|---|
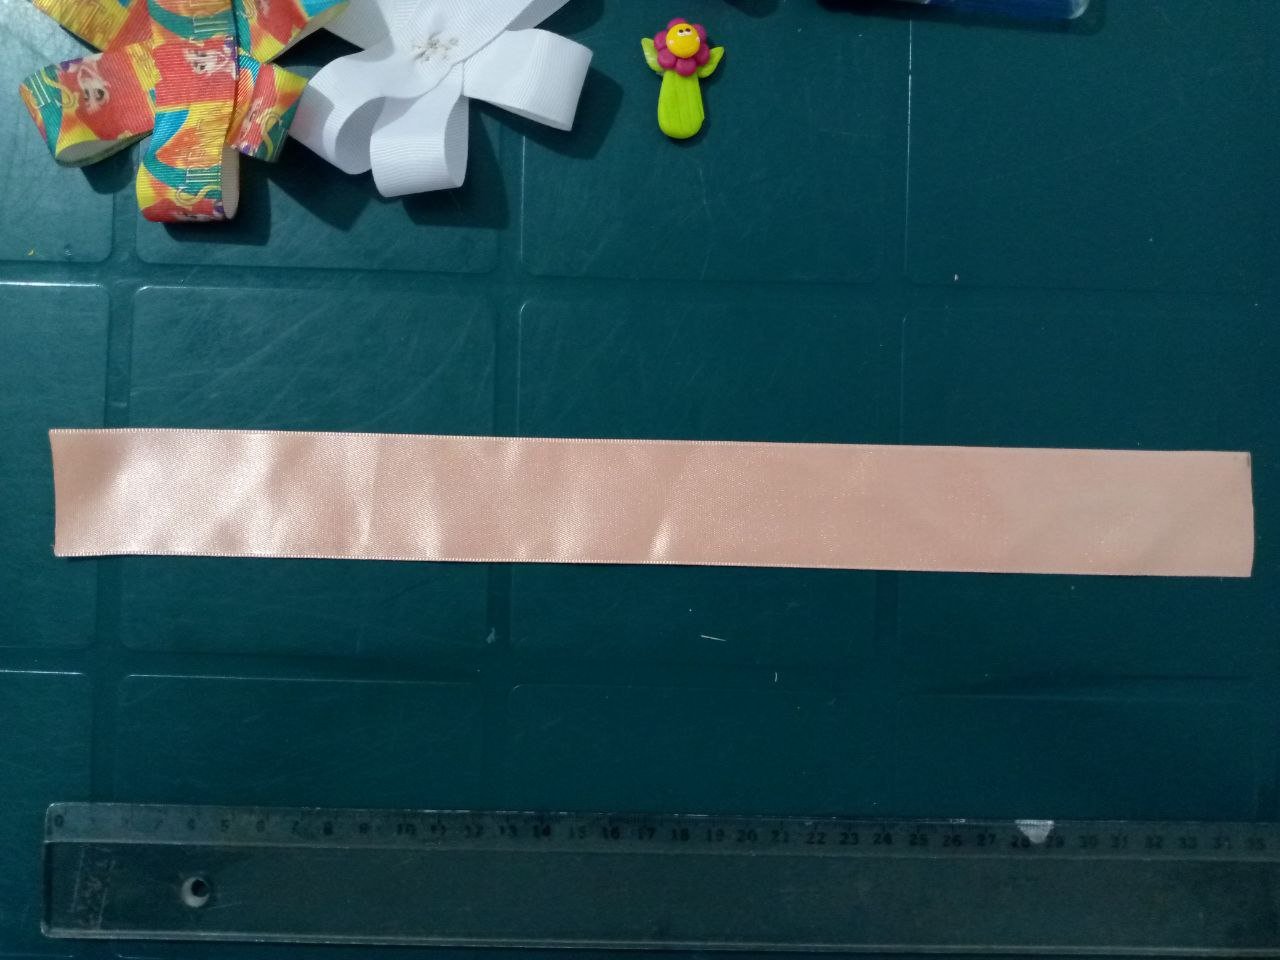
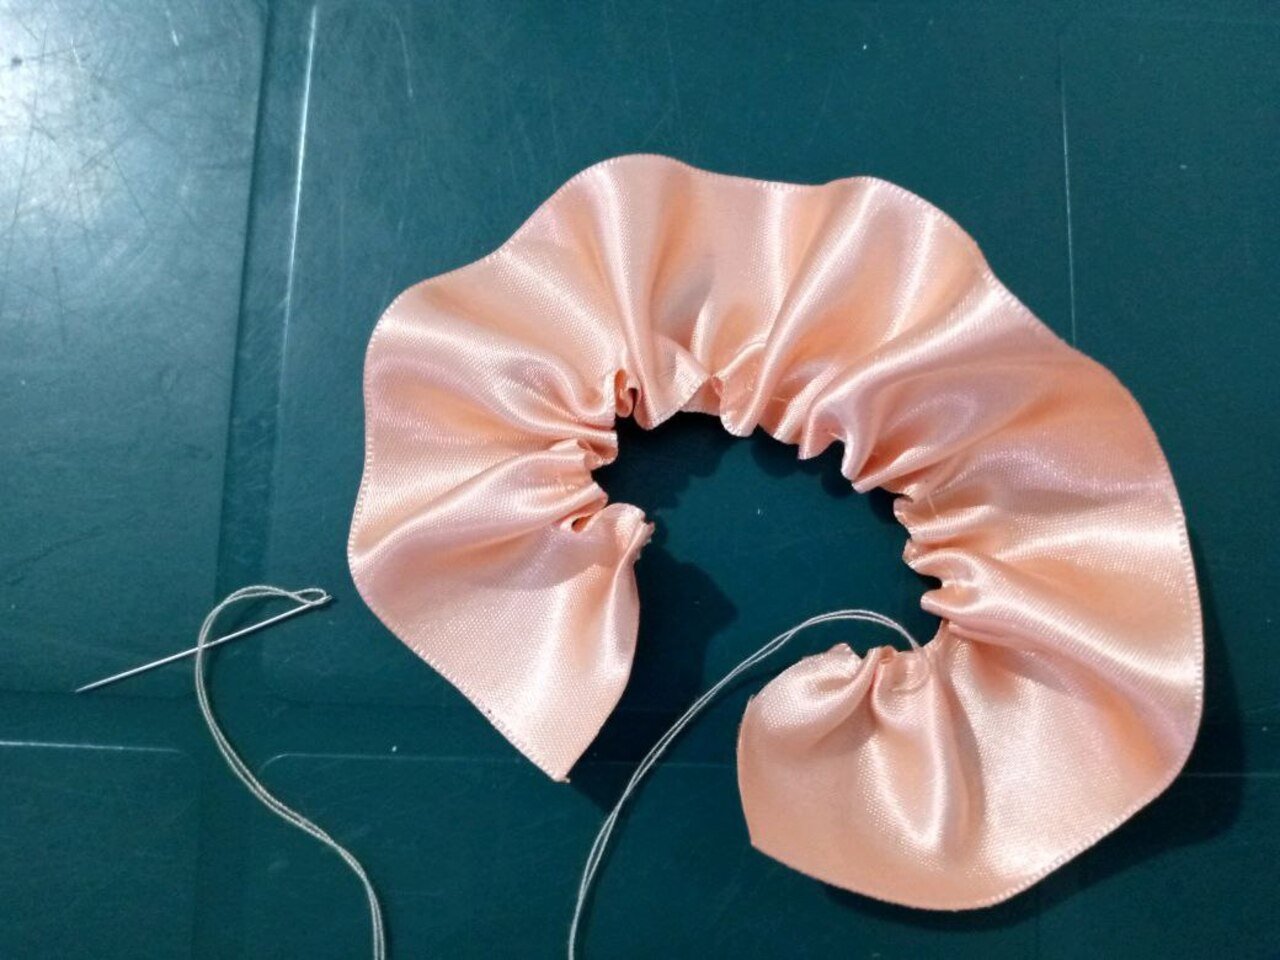
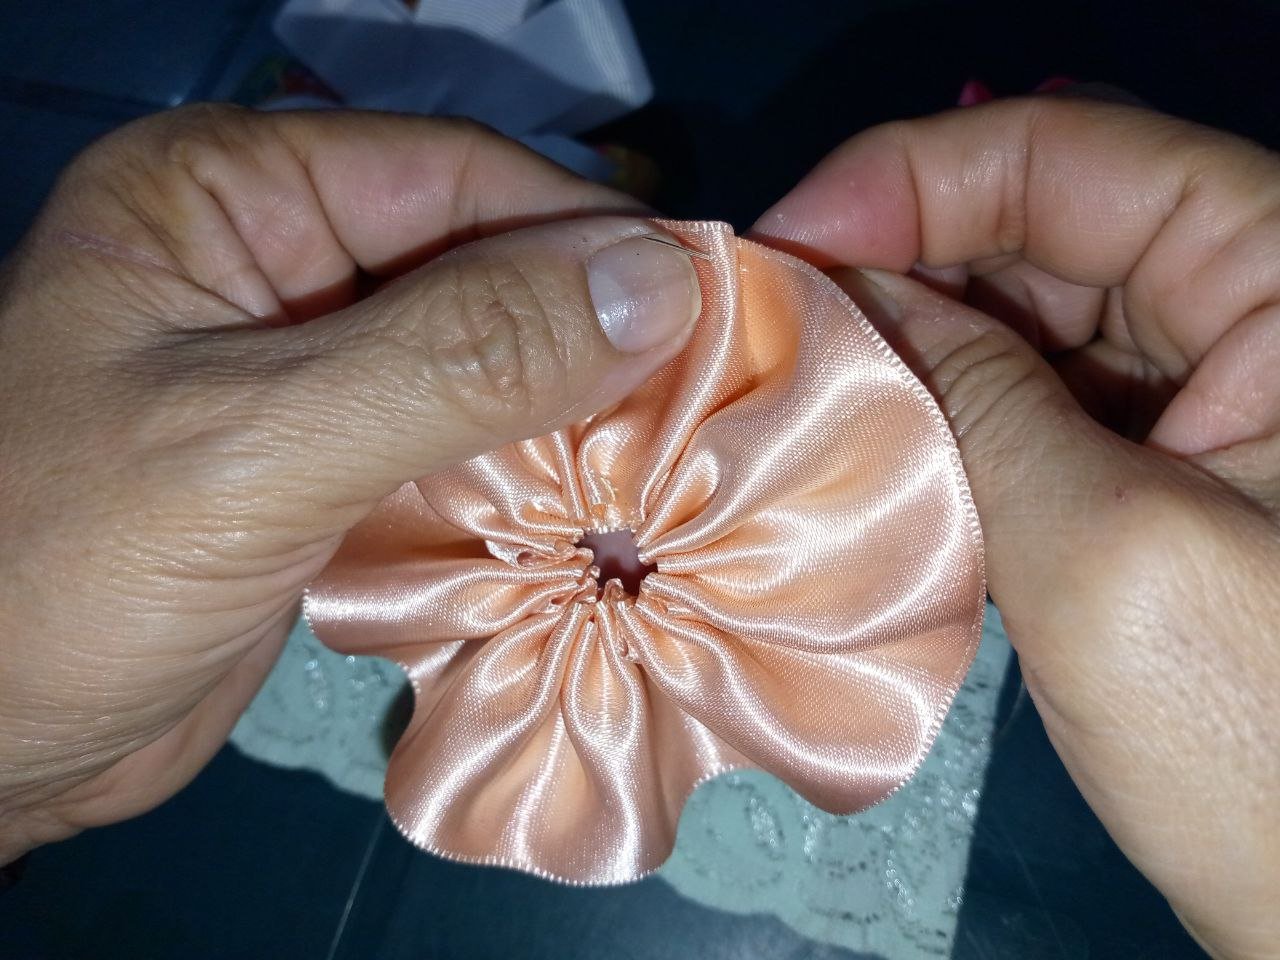
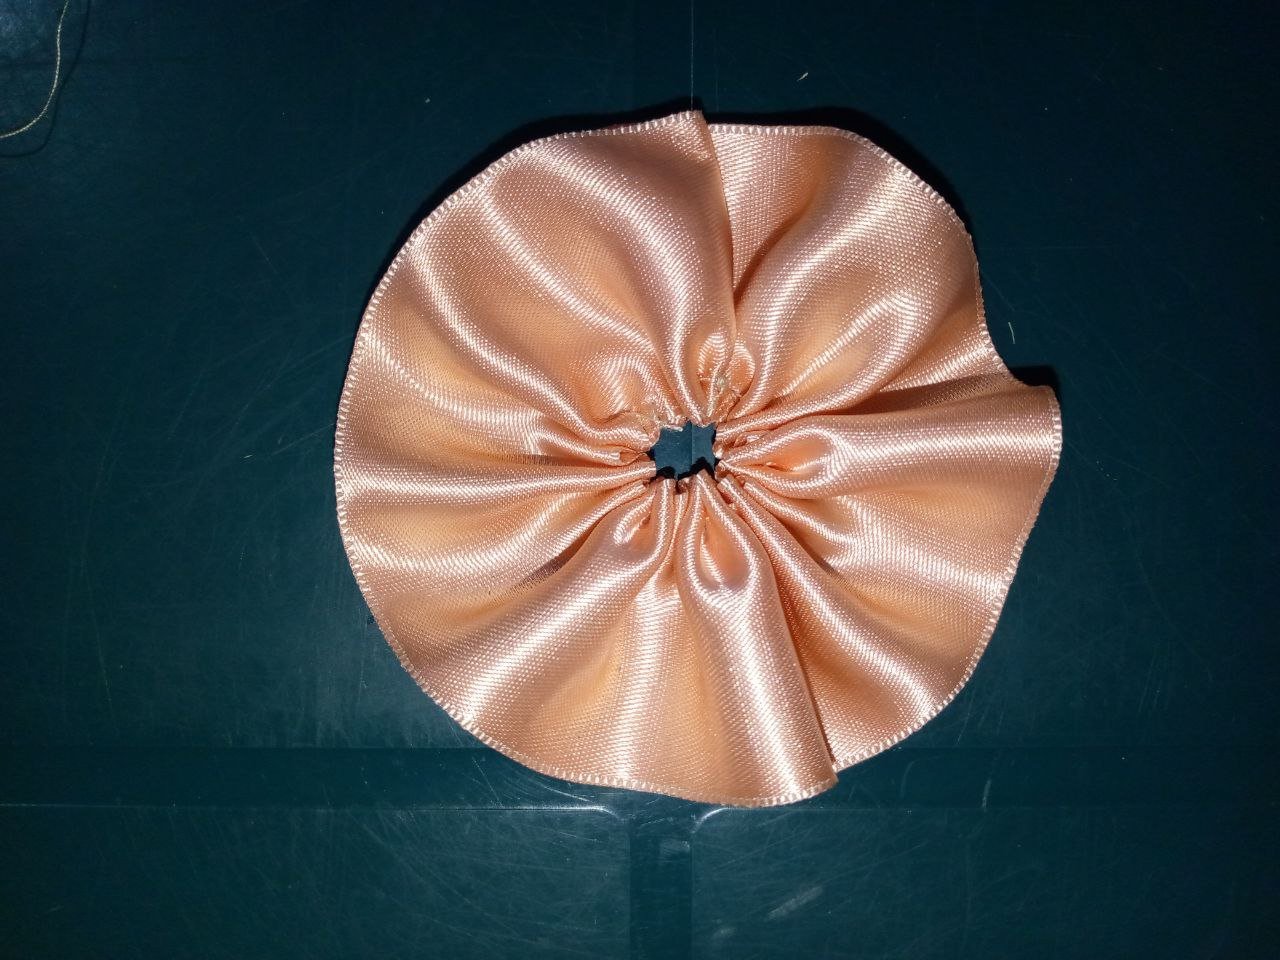
Cortamos la cinta de raso color salmón a 35 cm. Con hilo y aguja ruchamos y luego unimos los extremos.
Cut the salmon-coloured satin ribbon to 35 cm. With thread and needle we crimp and then join the ends together
Paso 5 - Step 5
 |  |  |
|---|
 |  |
|---|
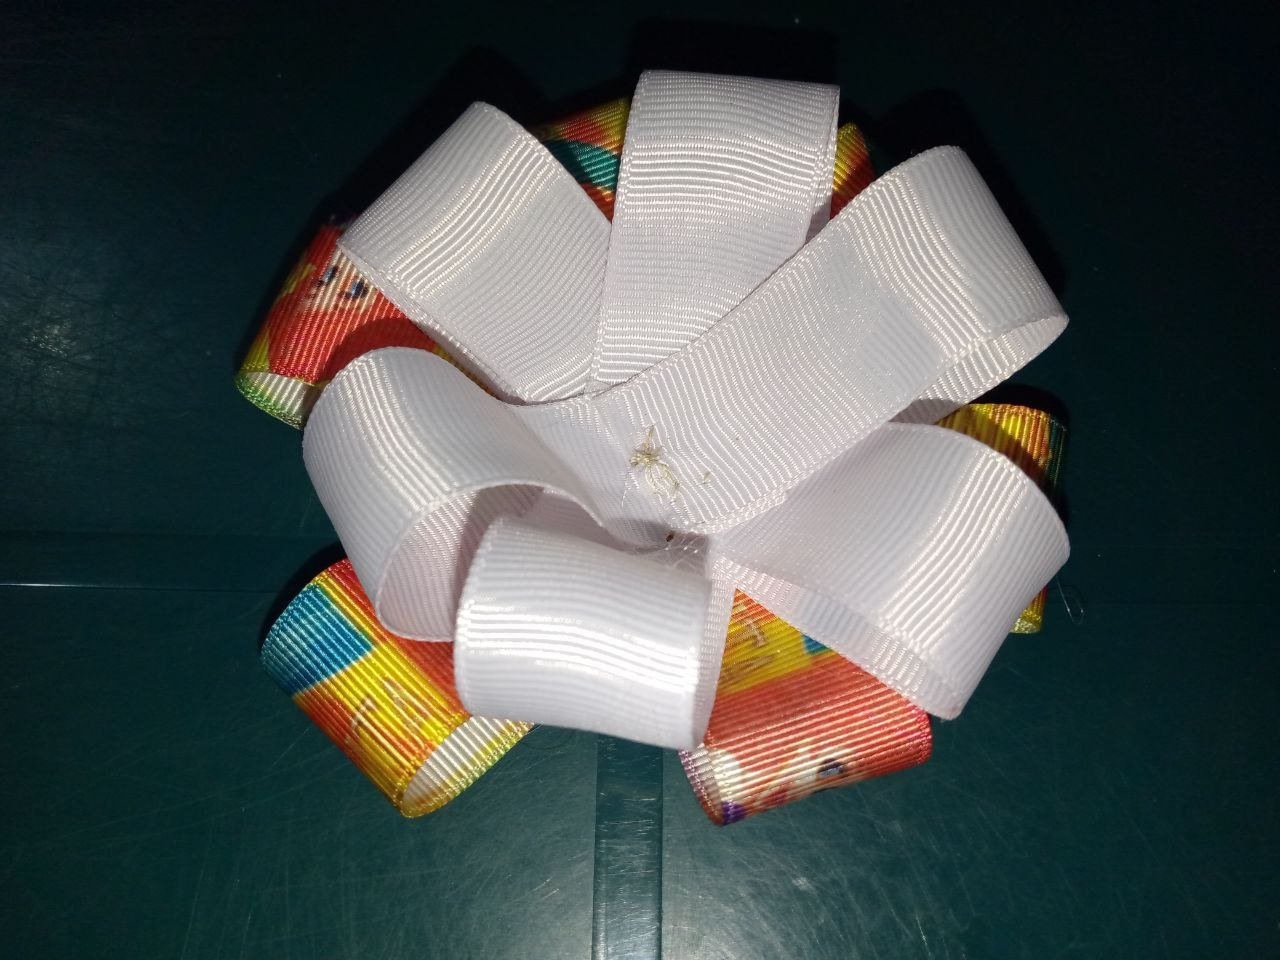
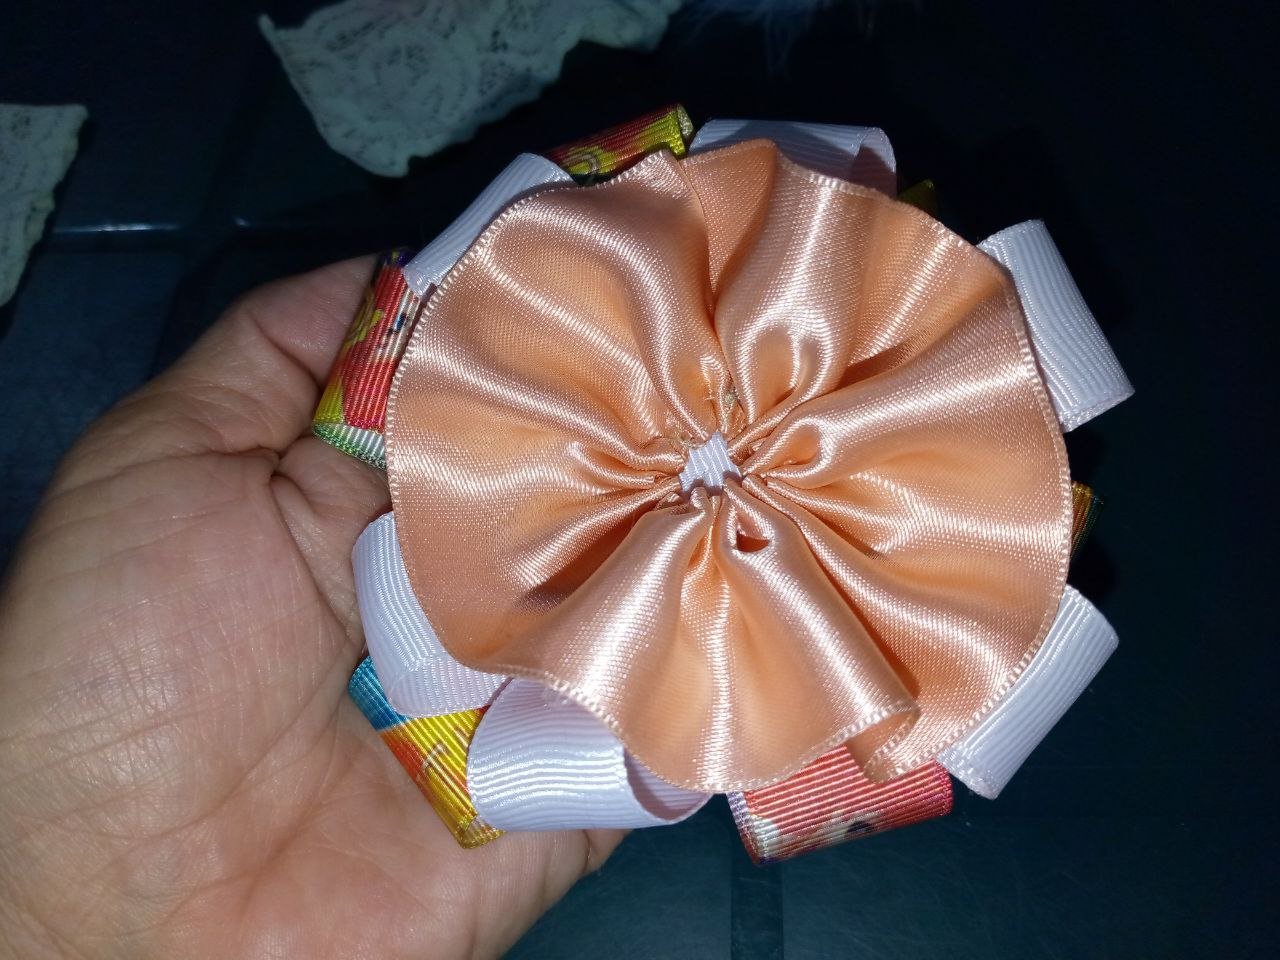
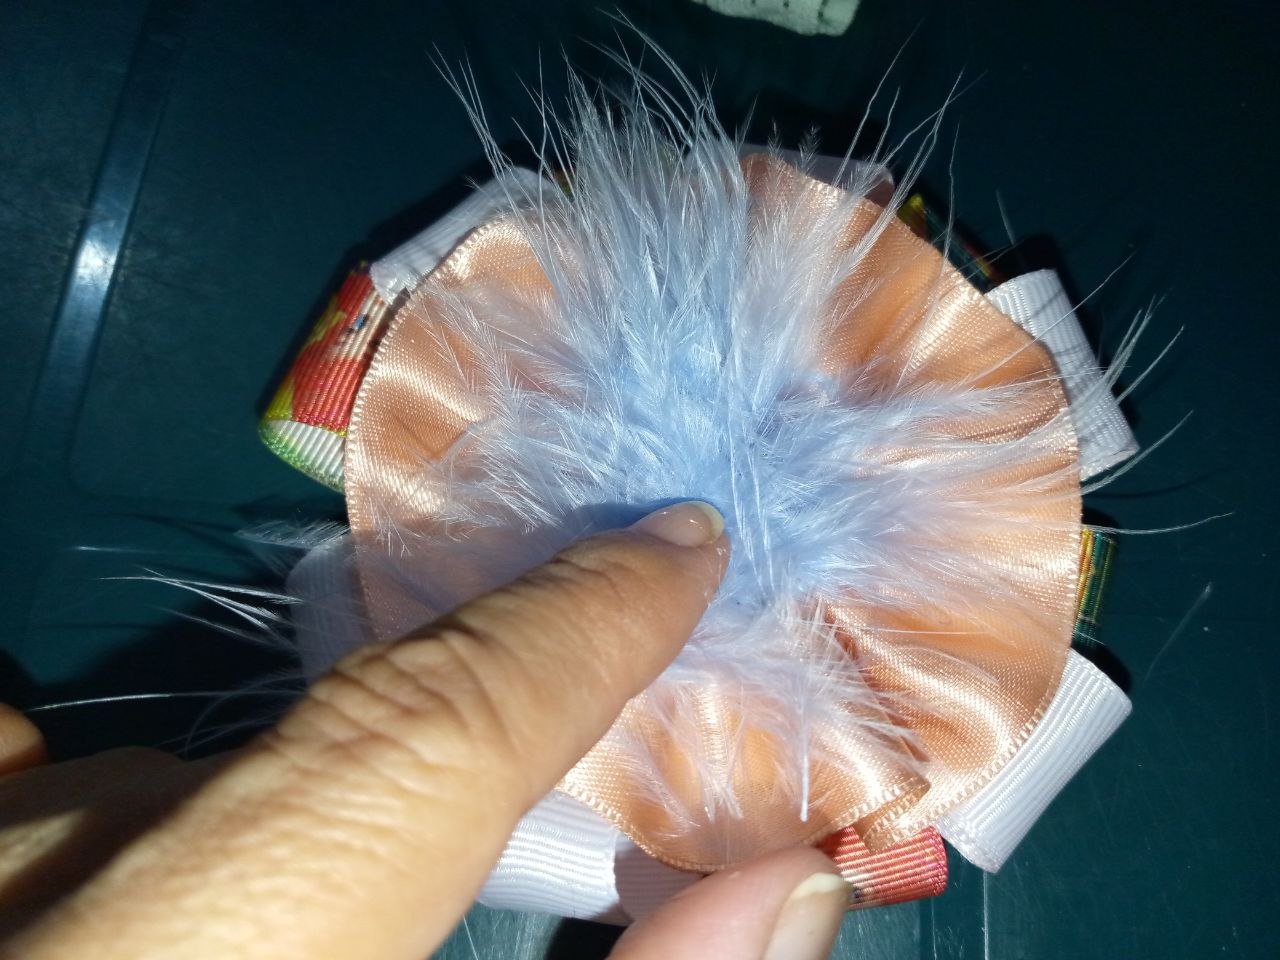
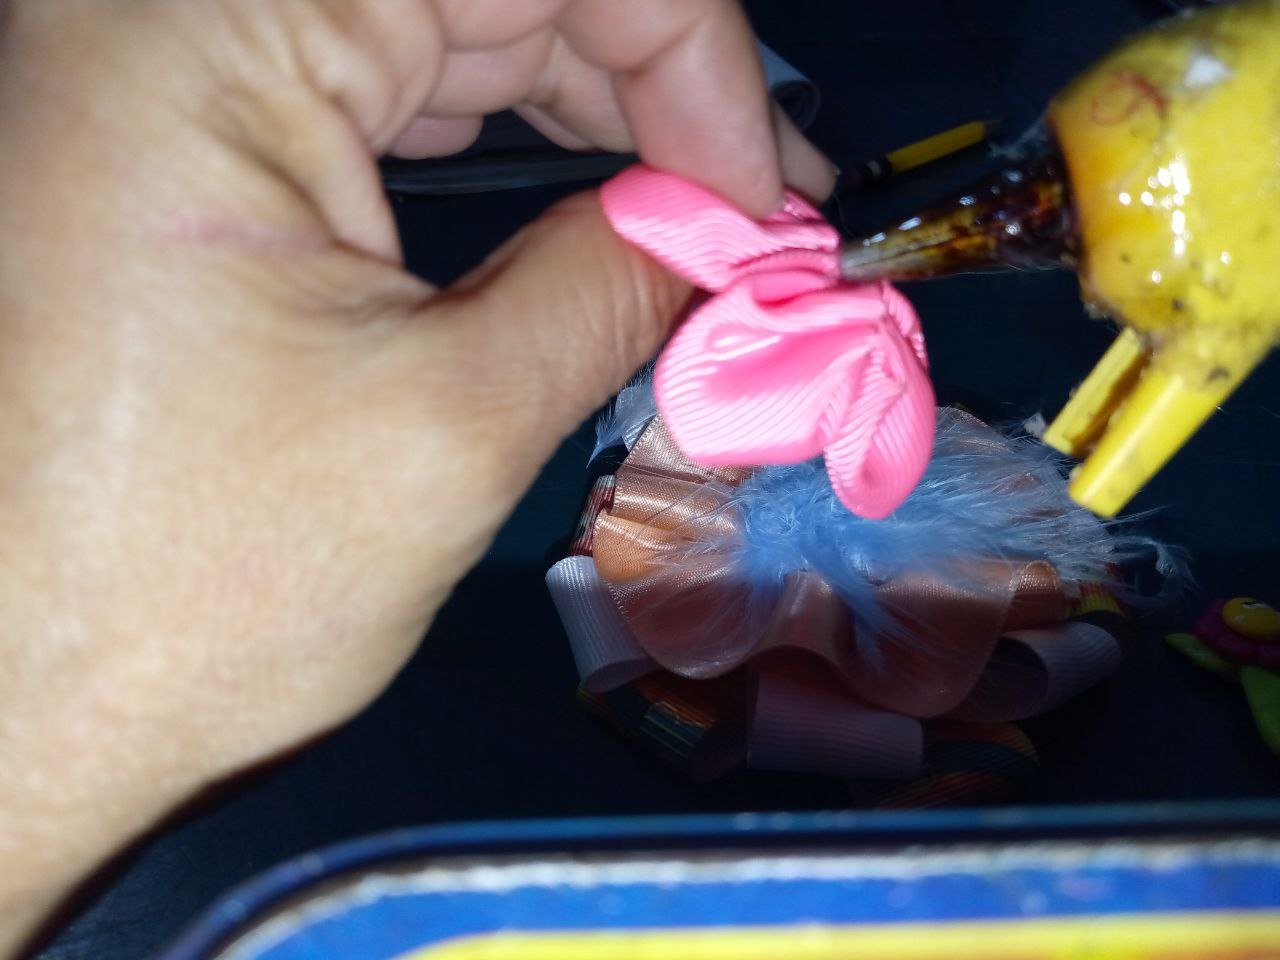
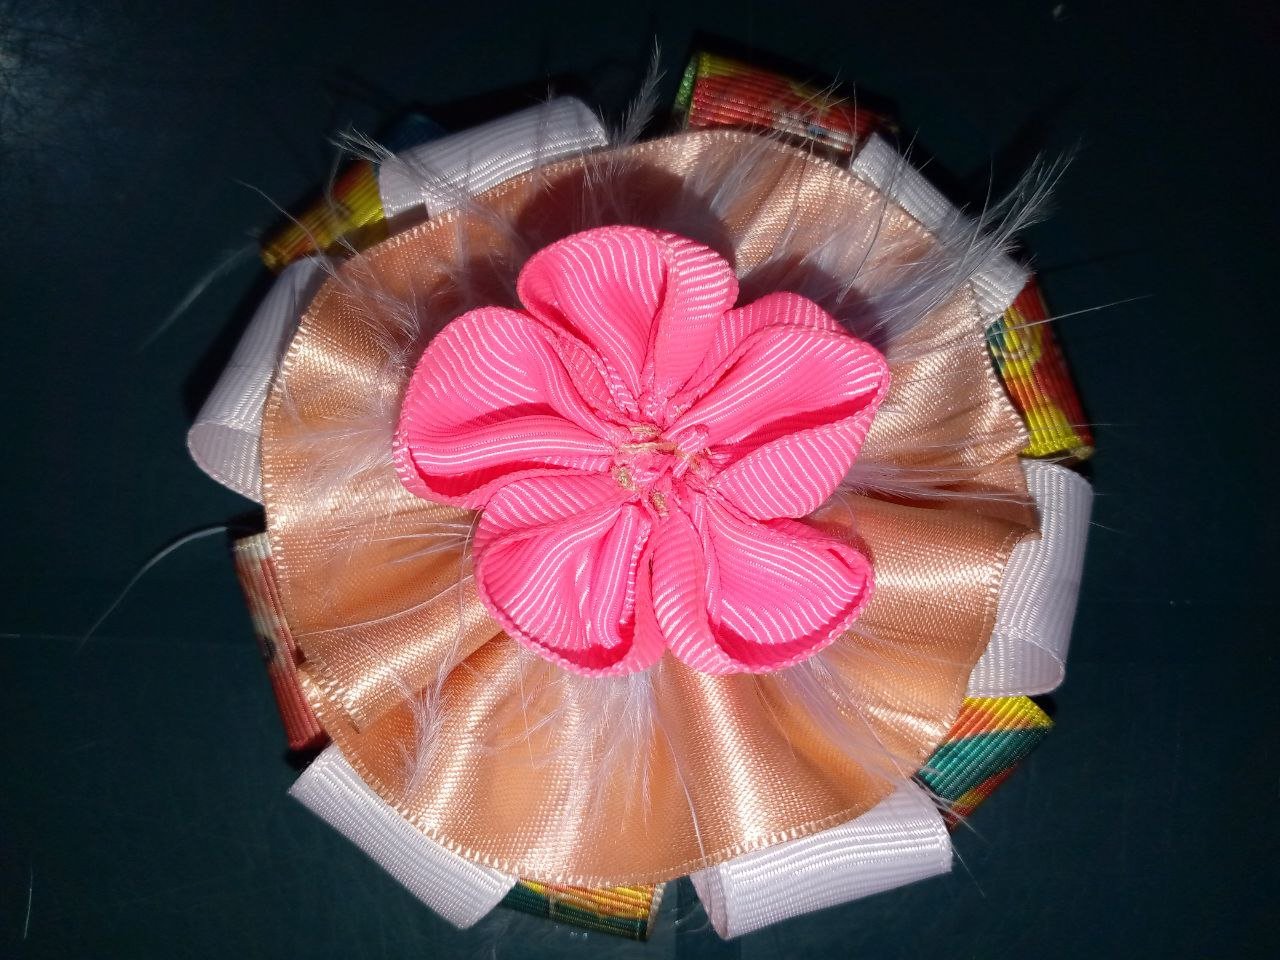
Armamos el lazo, colocamos la pieza estampada de base y encima la pieza unicolor, damos puntadas con hilo y aguja para unir, luego ponemos la pieza de raso y damos otras puntadas más .Tomamos el marabú y pegamos con silicón .
Pegamos la flor de cinco pétalos color fucsia, esta pieza ya la tenía lista. Te dejo el enlace de otra publicación donde te enseño a realizarla:
Click aquí
Y pegamos el aplique de masa flexible.
We make the bow, we place the printed piece as a base and the unicolour piece on top, we stitch with thread and needle to join, then we place the satin piece and stitch some more stitches, we take the marabou and stick it with silicone.
We glue the fuchsia flower with five petals, I already had this piece ready. I leave you the link of another publication where I show you how to make it:
Click aquí
And we glue the flexible dough applique.
 |  |
|---|
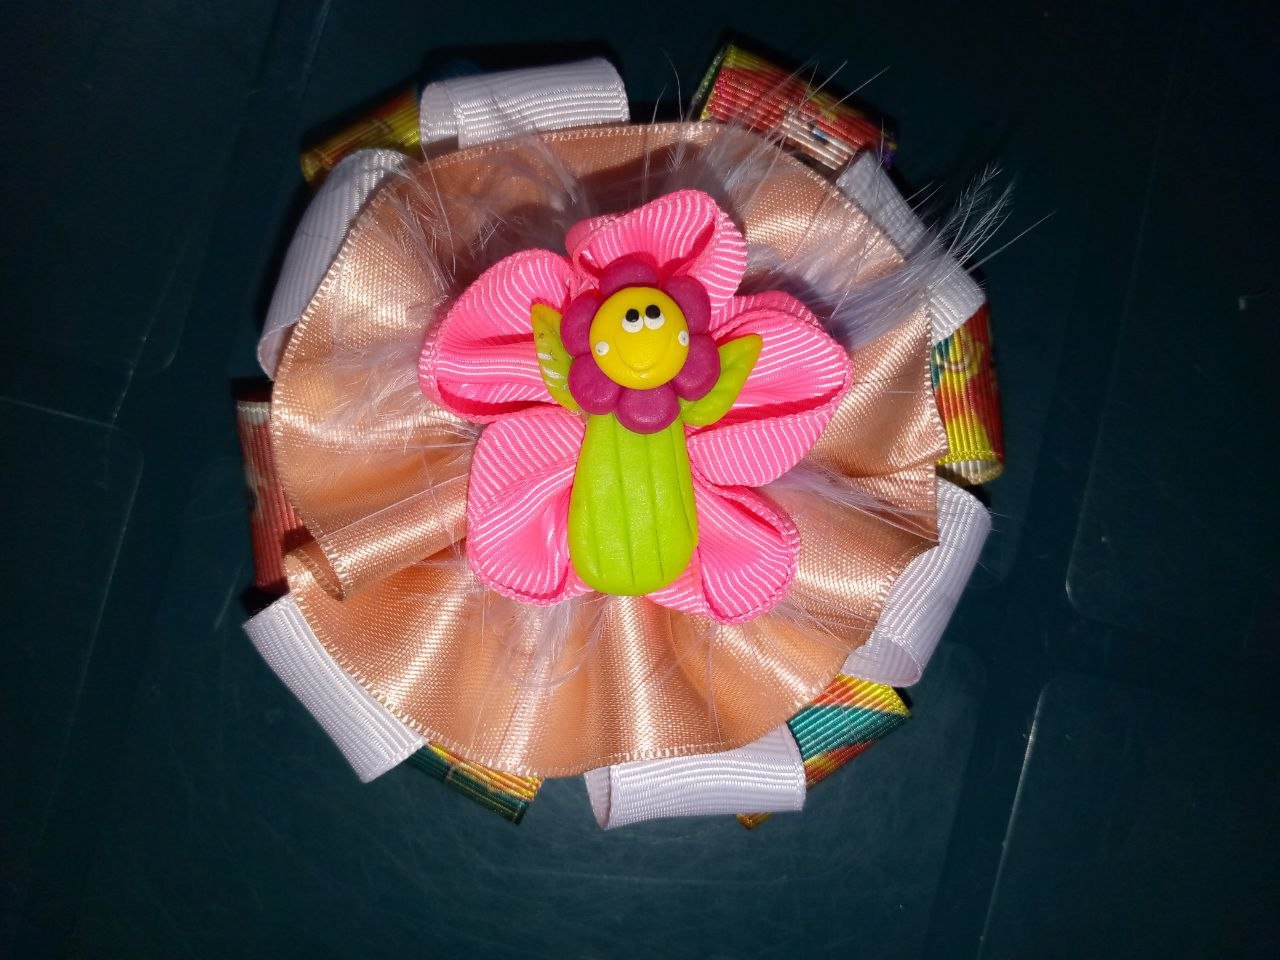
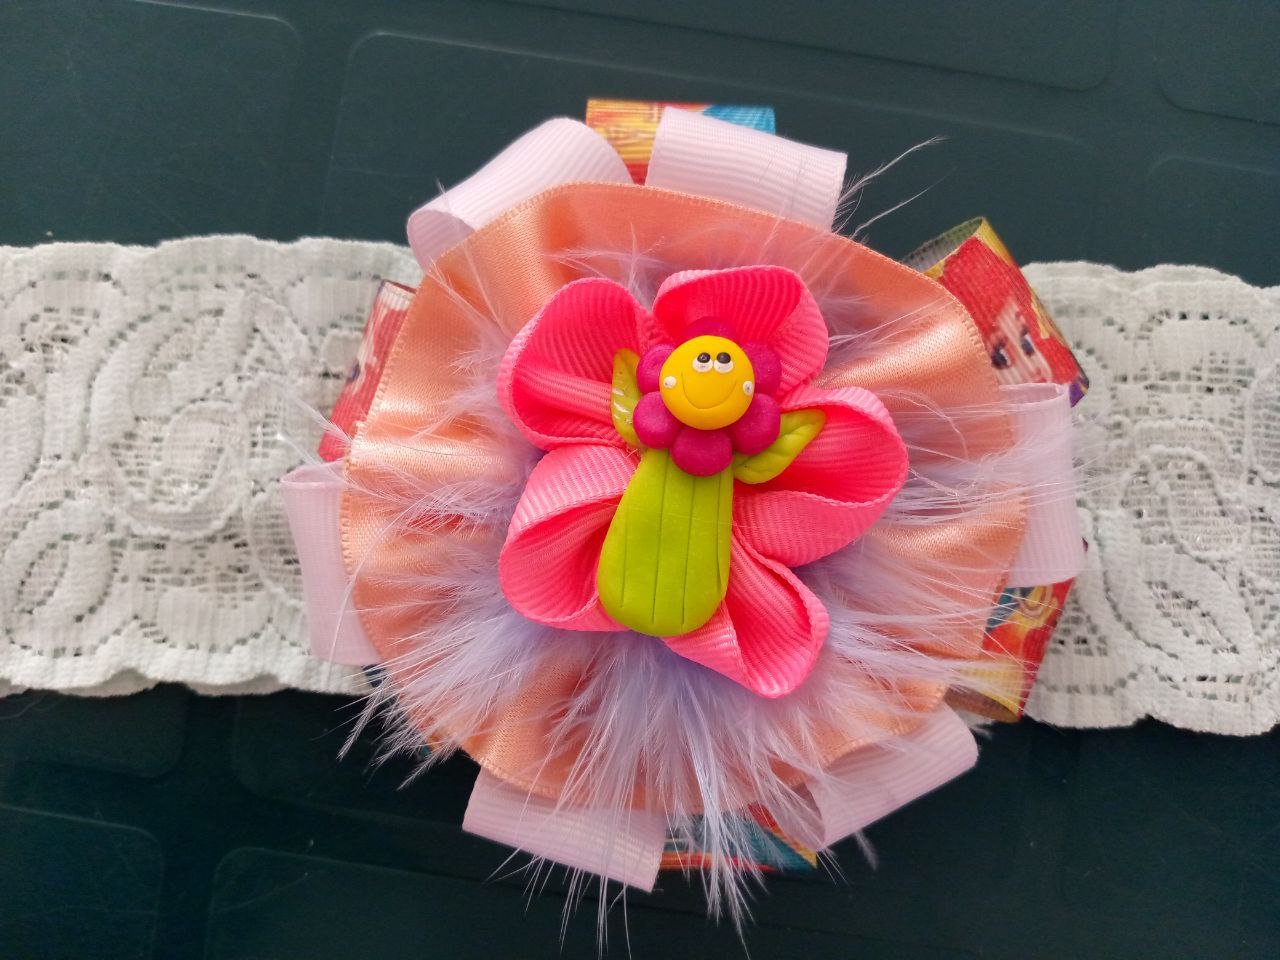
Y así pueden observar como quedó el lazo terminado, me gustó mucho como se mira el aplique de flor. En este punto me pareció que necesitaba un poco más de marabú, así que añadí más.
And here you can see how the finished bow looks, I really like the way the flower applique looks. At this point I thought it needed a bit more marabou, so I added more.
Paso 6 - Step 6
 |  |
|---|
Por último pegamos con el silicón el lazo al encaje elástico justo por donde cosimos en el paso 1.
Y luego para que se sujete mejor el lazo y quede a prueba de movimientos y no se despegue le hago unas puntadas con hilo y aguja.
Finally we glue the loop to the elastic lace with the silicone just where we sewed in step 1.
And then, in order to make the ribbon hold better and to keep it movement-proof, I stitch a few stitches with thread and needle.
Finally we glue the loop to the elastic lace with the silicone just where we sewed in step 1.
And then, in order to make the ribbon hold better and to keep it movement-proof, I stitch a few stitches with thread and needle.
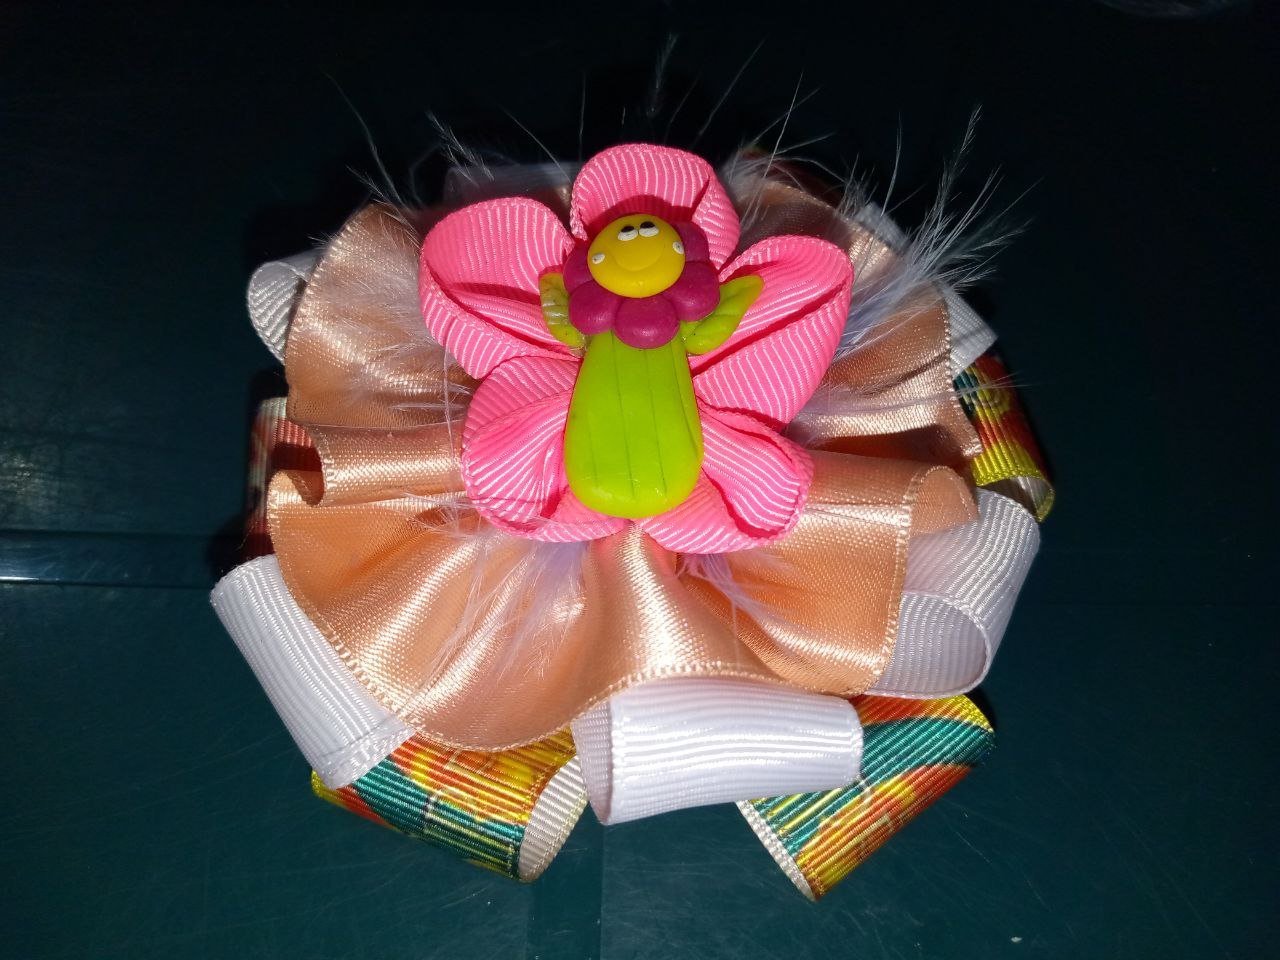
¡Y así quedó esta diadema !
And that's how this headband turned out!
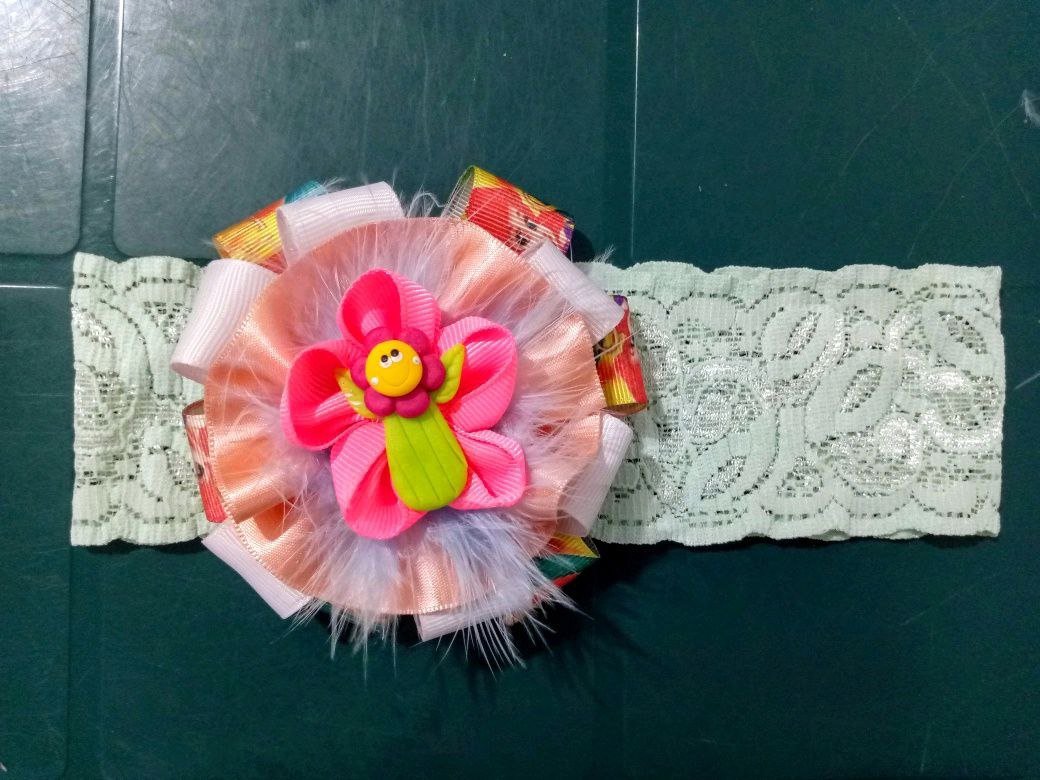
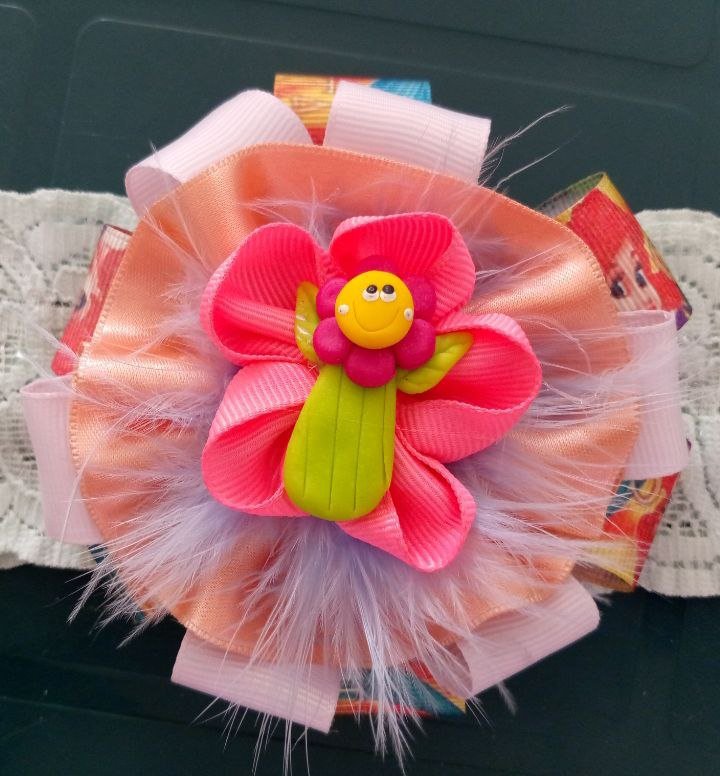
Espero les guste este modelo hermoso y muy colorido para combinar con los outfits de las pequeñas de la casa.
Como siempre fue un placer escribir y hacer esta manualidad para ustedes. Tus dudas y comentarios serán bienvenidos❤️
I hope you like this beautiful and very colourful model to combine with the outfits of the little ones at home.
As always it was a pleasure to write and make this craft for you. Your questions and comments are welcome bienvenidos❤️
Fotos hechas por mí - Photos made by me / Portada - Separadores y Banners realizados en Canva- Cover, Dividers y Banners created in Canva / Traducción realizada con www.DeepL.com - Translation made with www.deepl.com

Posted Using INLEO