Greetings, creative community of #DIYHub !!!
Maternity moves us in all possible areas and, as such, tests our ability to generate ideas for the development of our children.A few days ago I have seen myself wrapped in a project that has motivated me a lot;For this I have arranged my free time.It is a call that my three -year -old girl attends where you are attending a rustic toy with animal inspiration.
I put my inventiveness in it and as my little one loves giraffes that was the selected animal.I tried to build the toy, taking into account the level of cognitive development of the children at this age but that promoted a challenge in any way.In tune with this, I developed a simple puzzle, a disharmatable giraffe from assembly technique.
Then I will try to illustrate the necessary process and materials.
Materials
Rigid cardboard
watercolor
crayons
scissors
pencil
Steps
 |  |  |
|---|
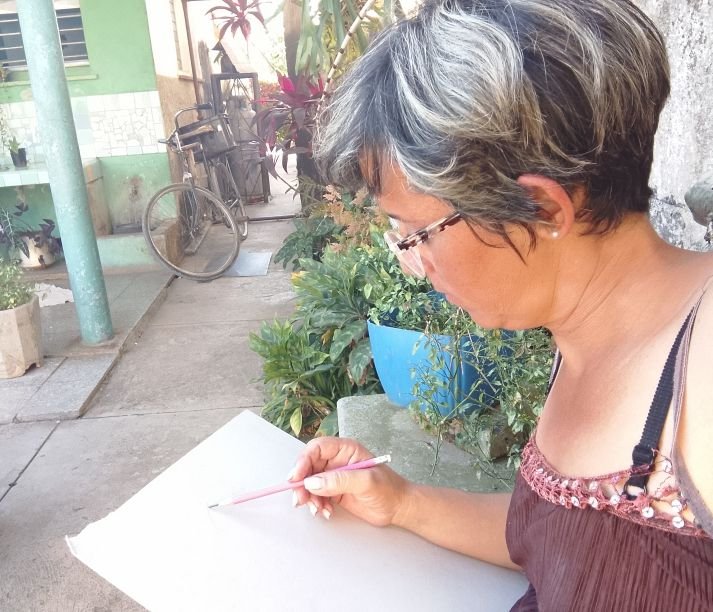
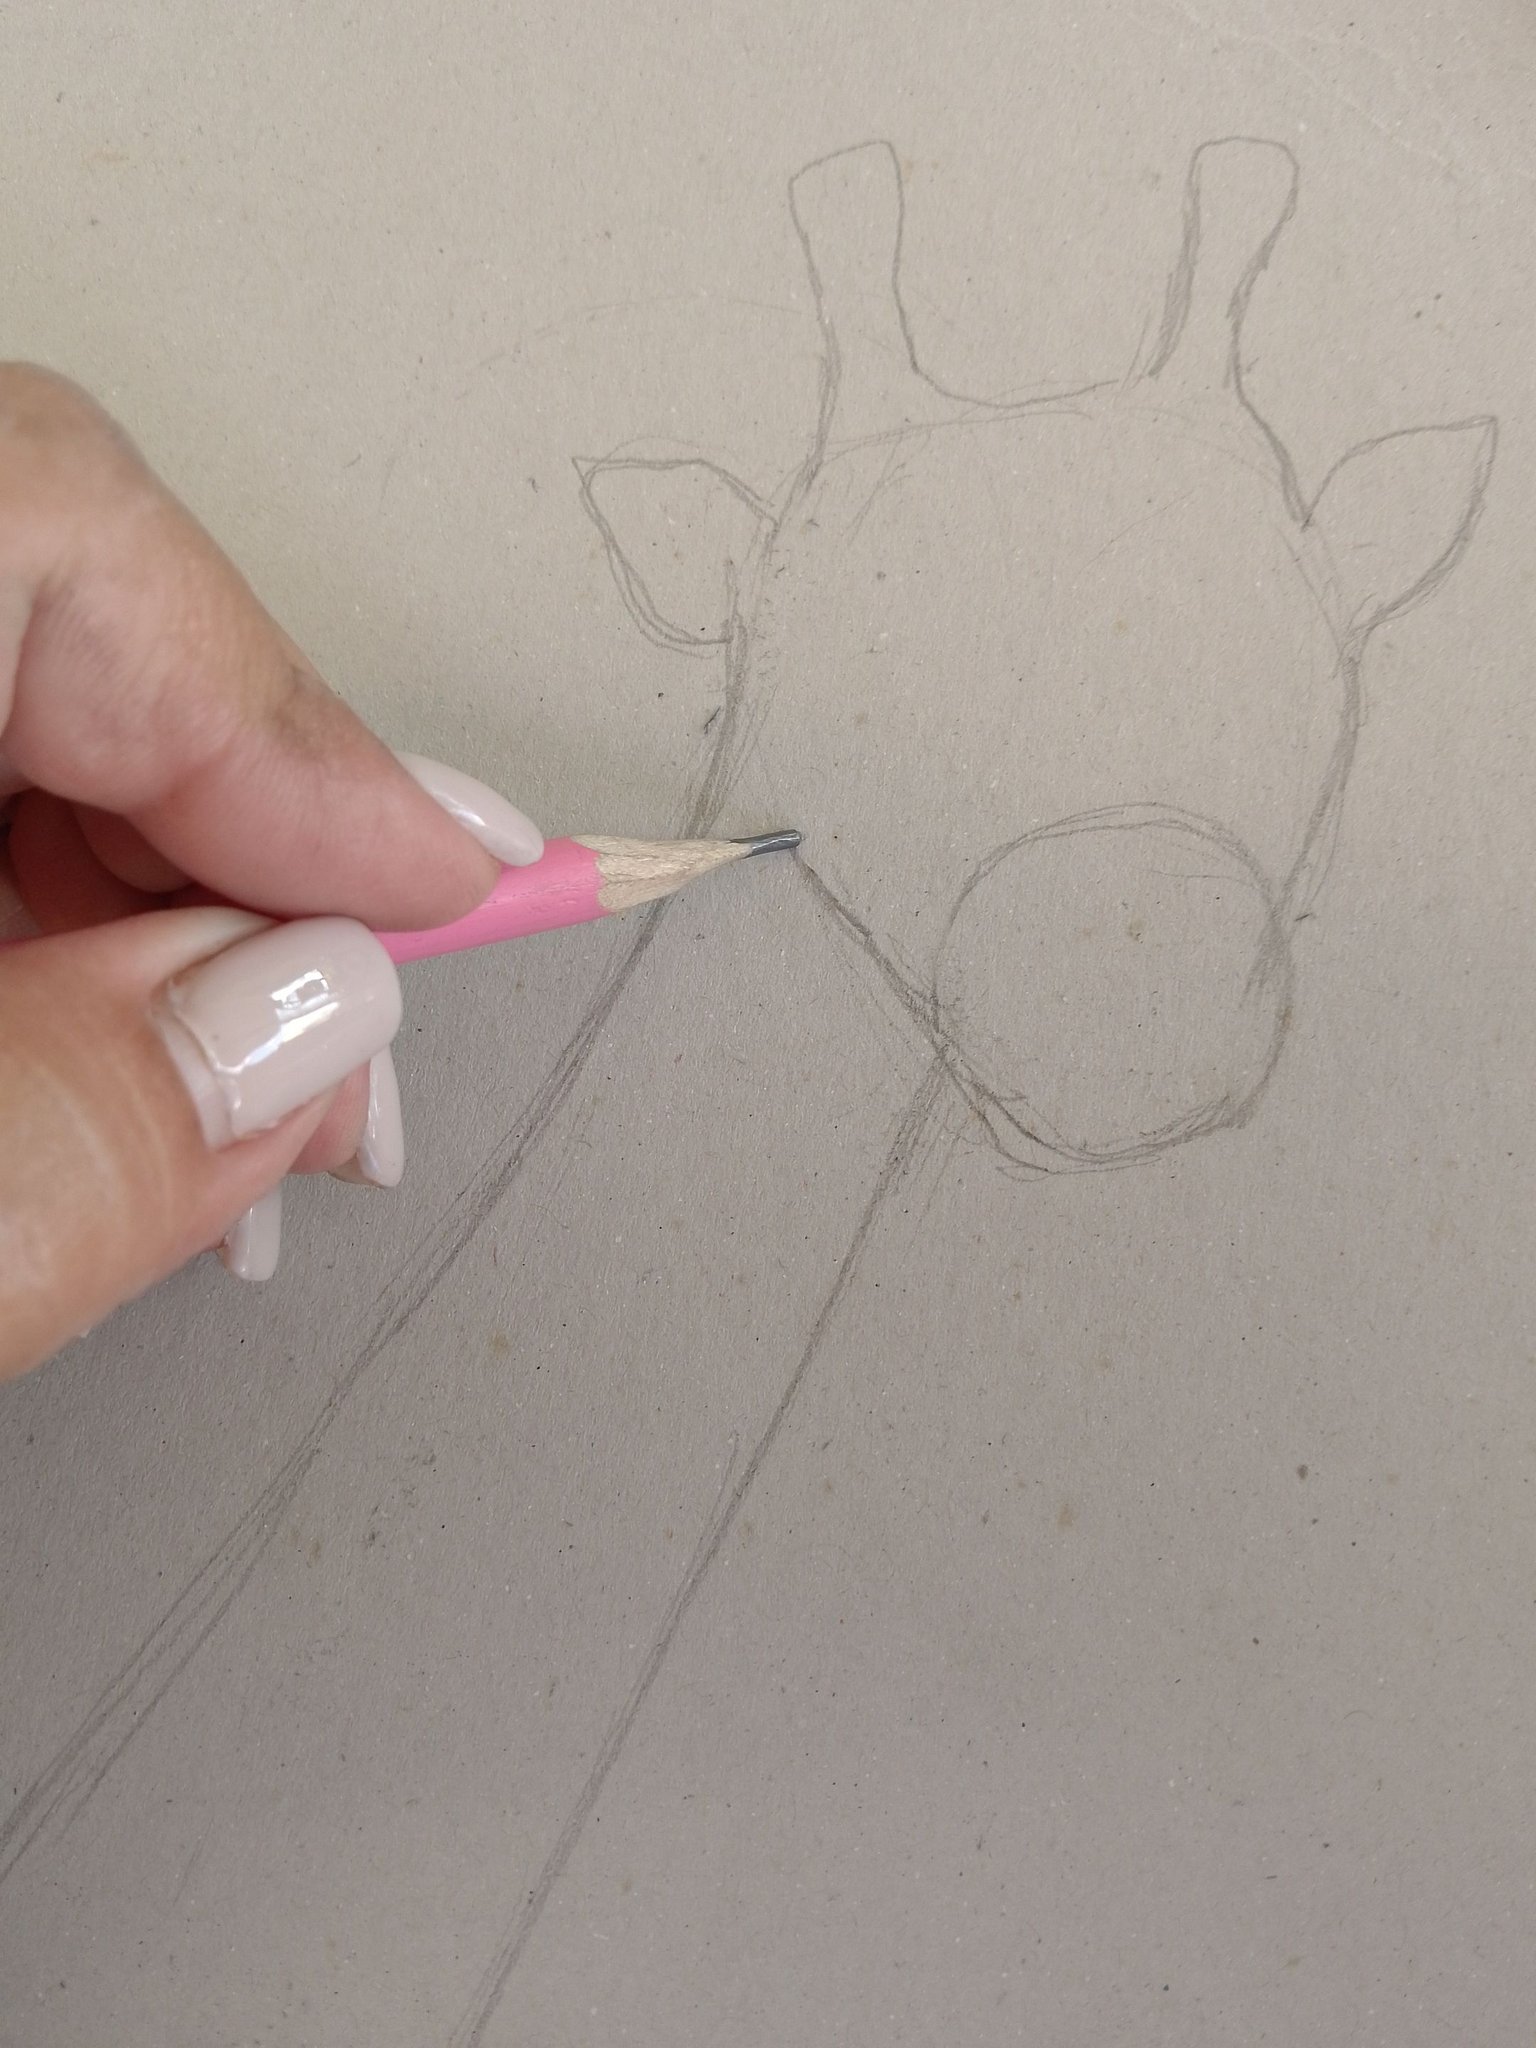
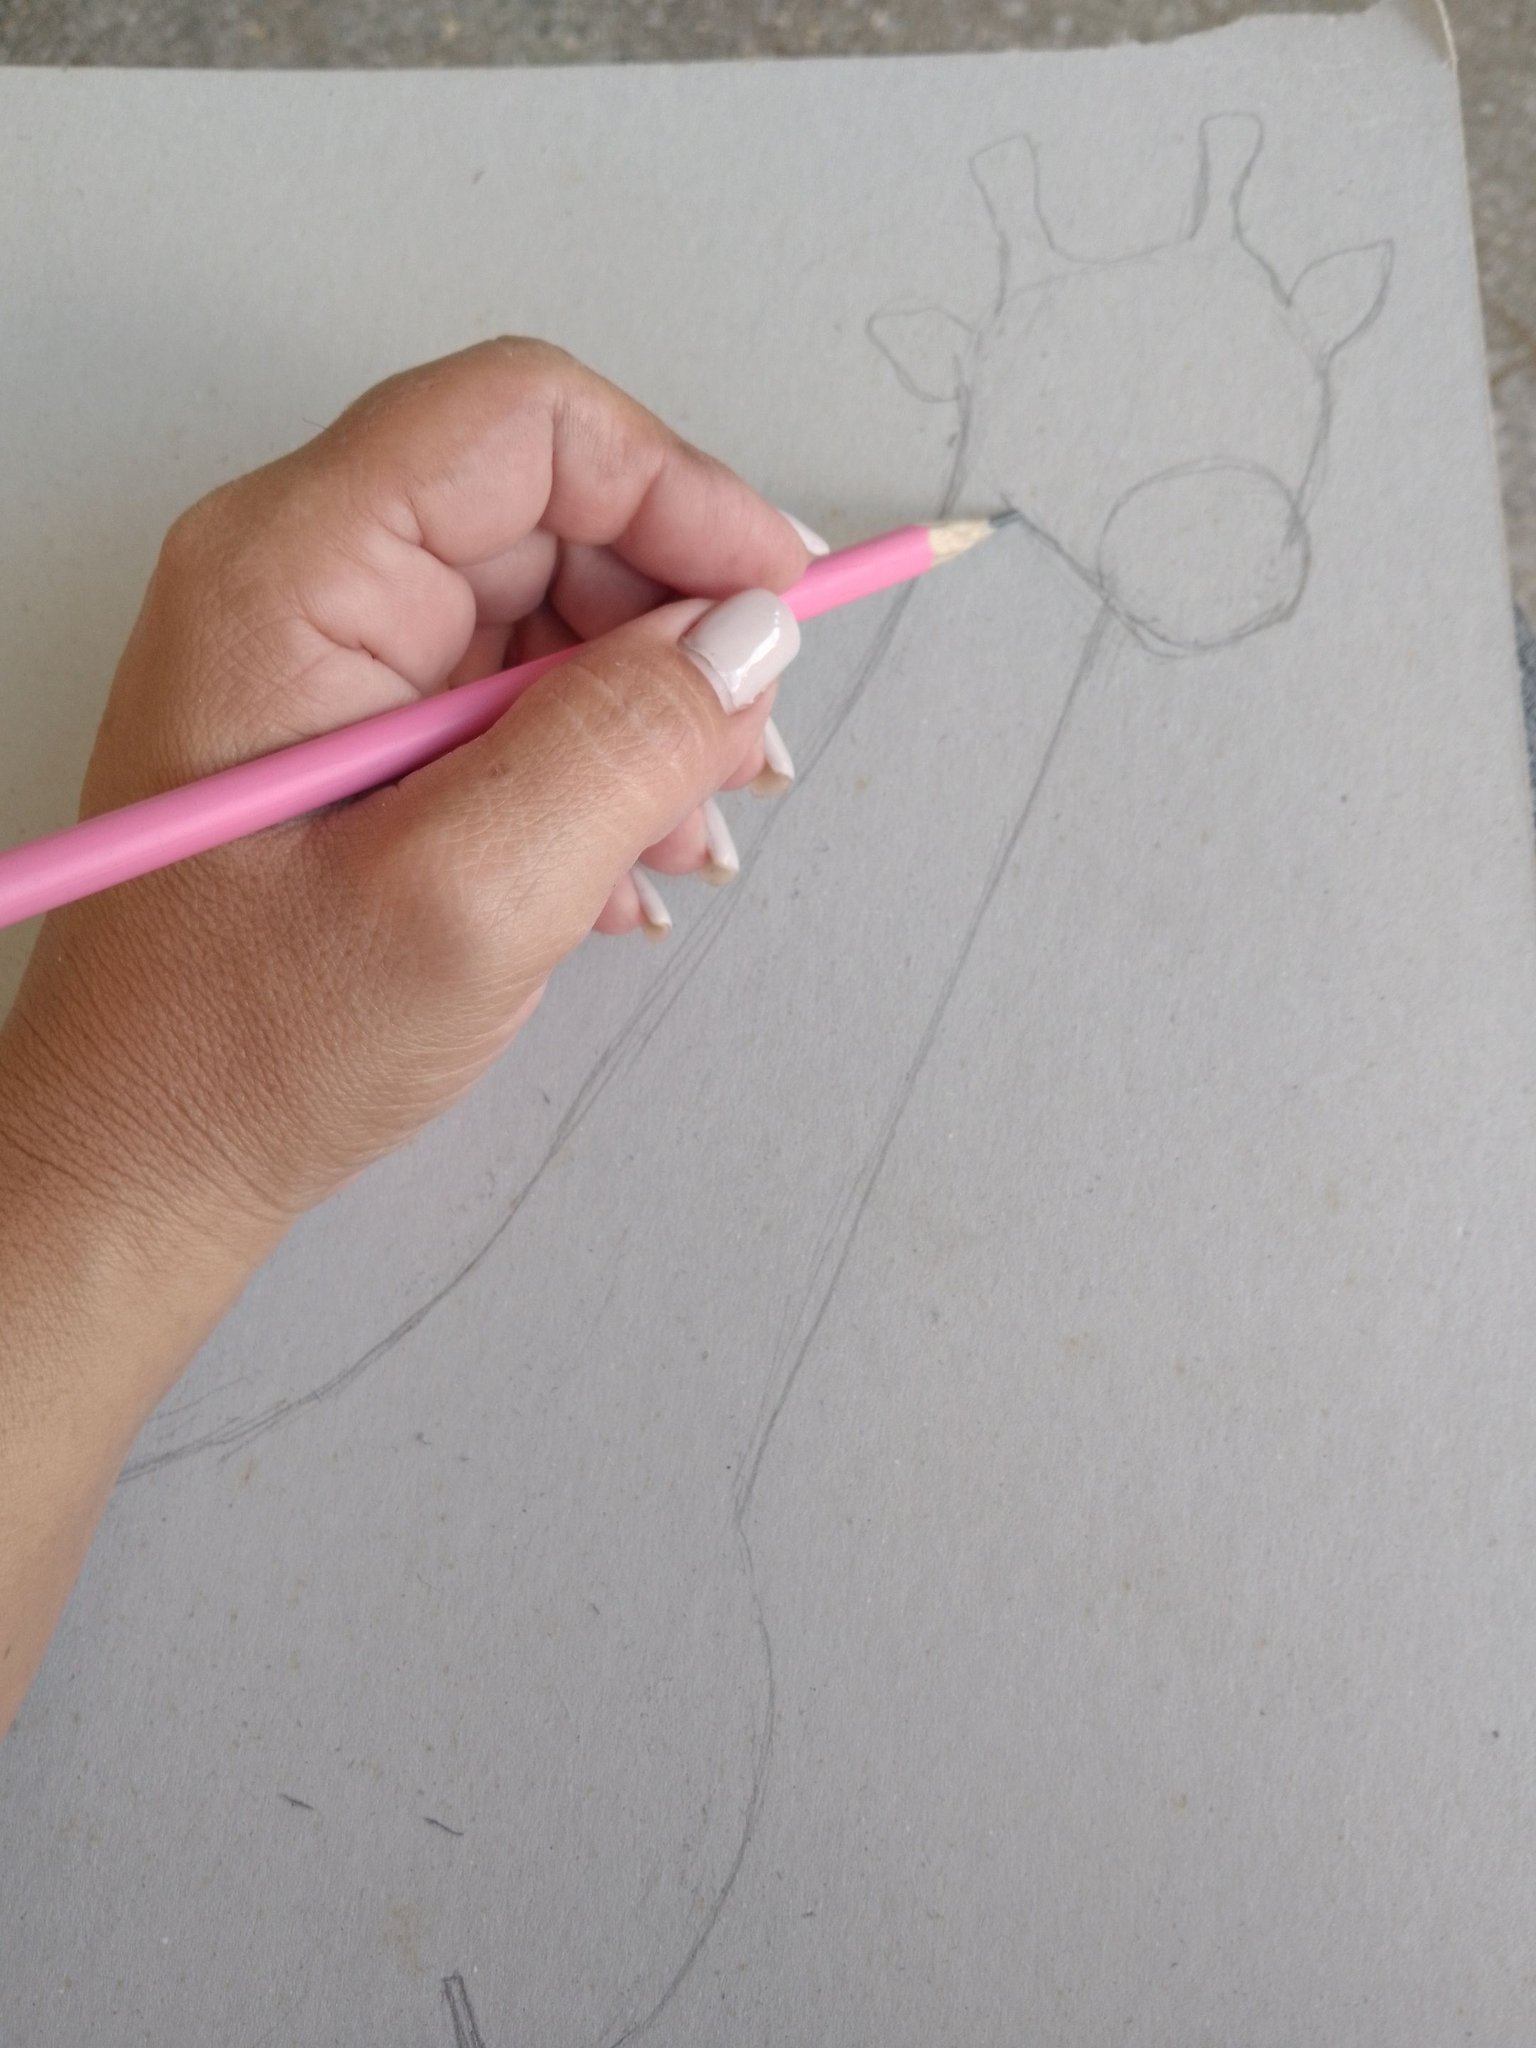
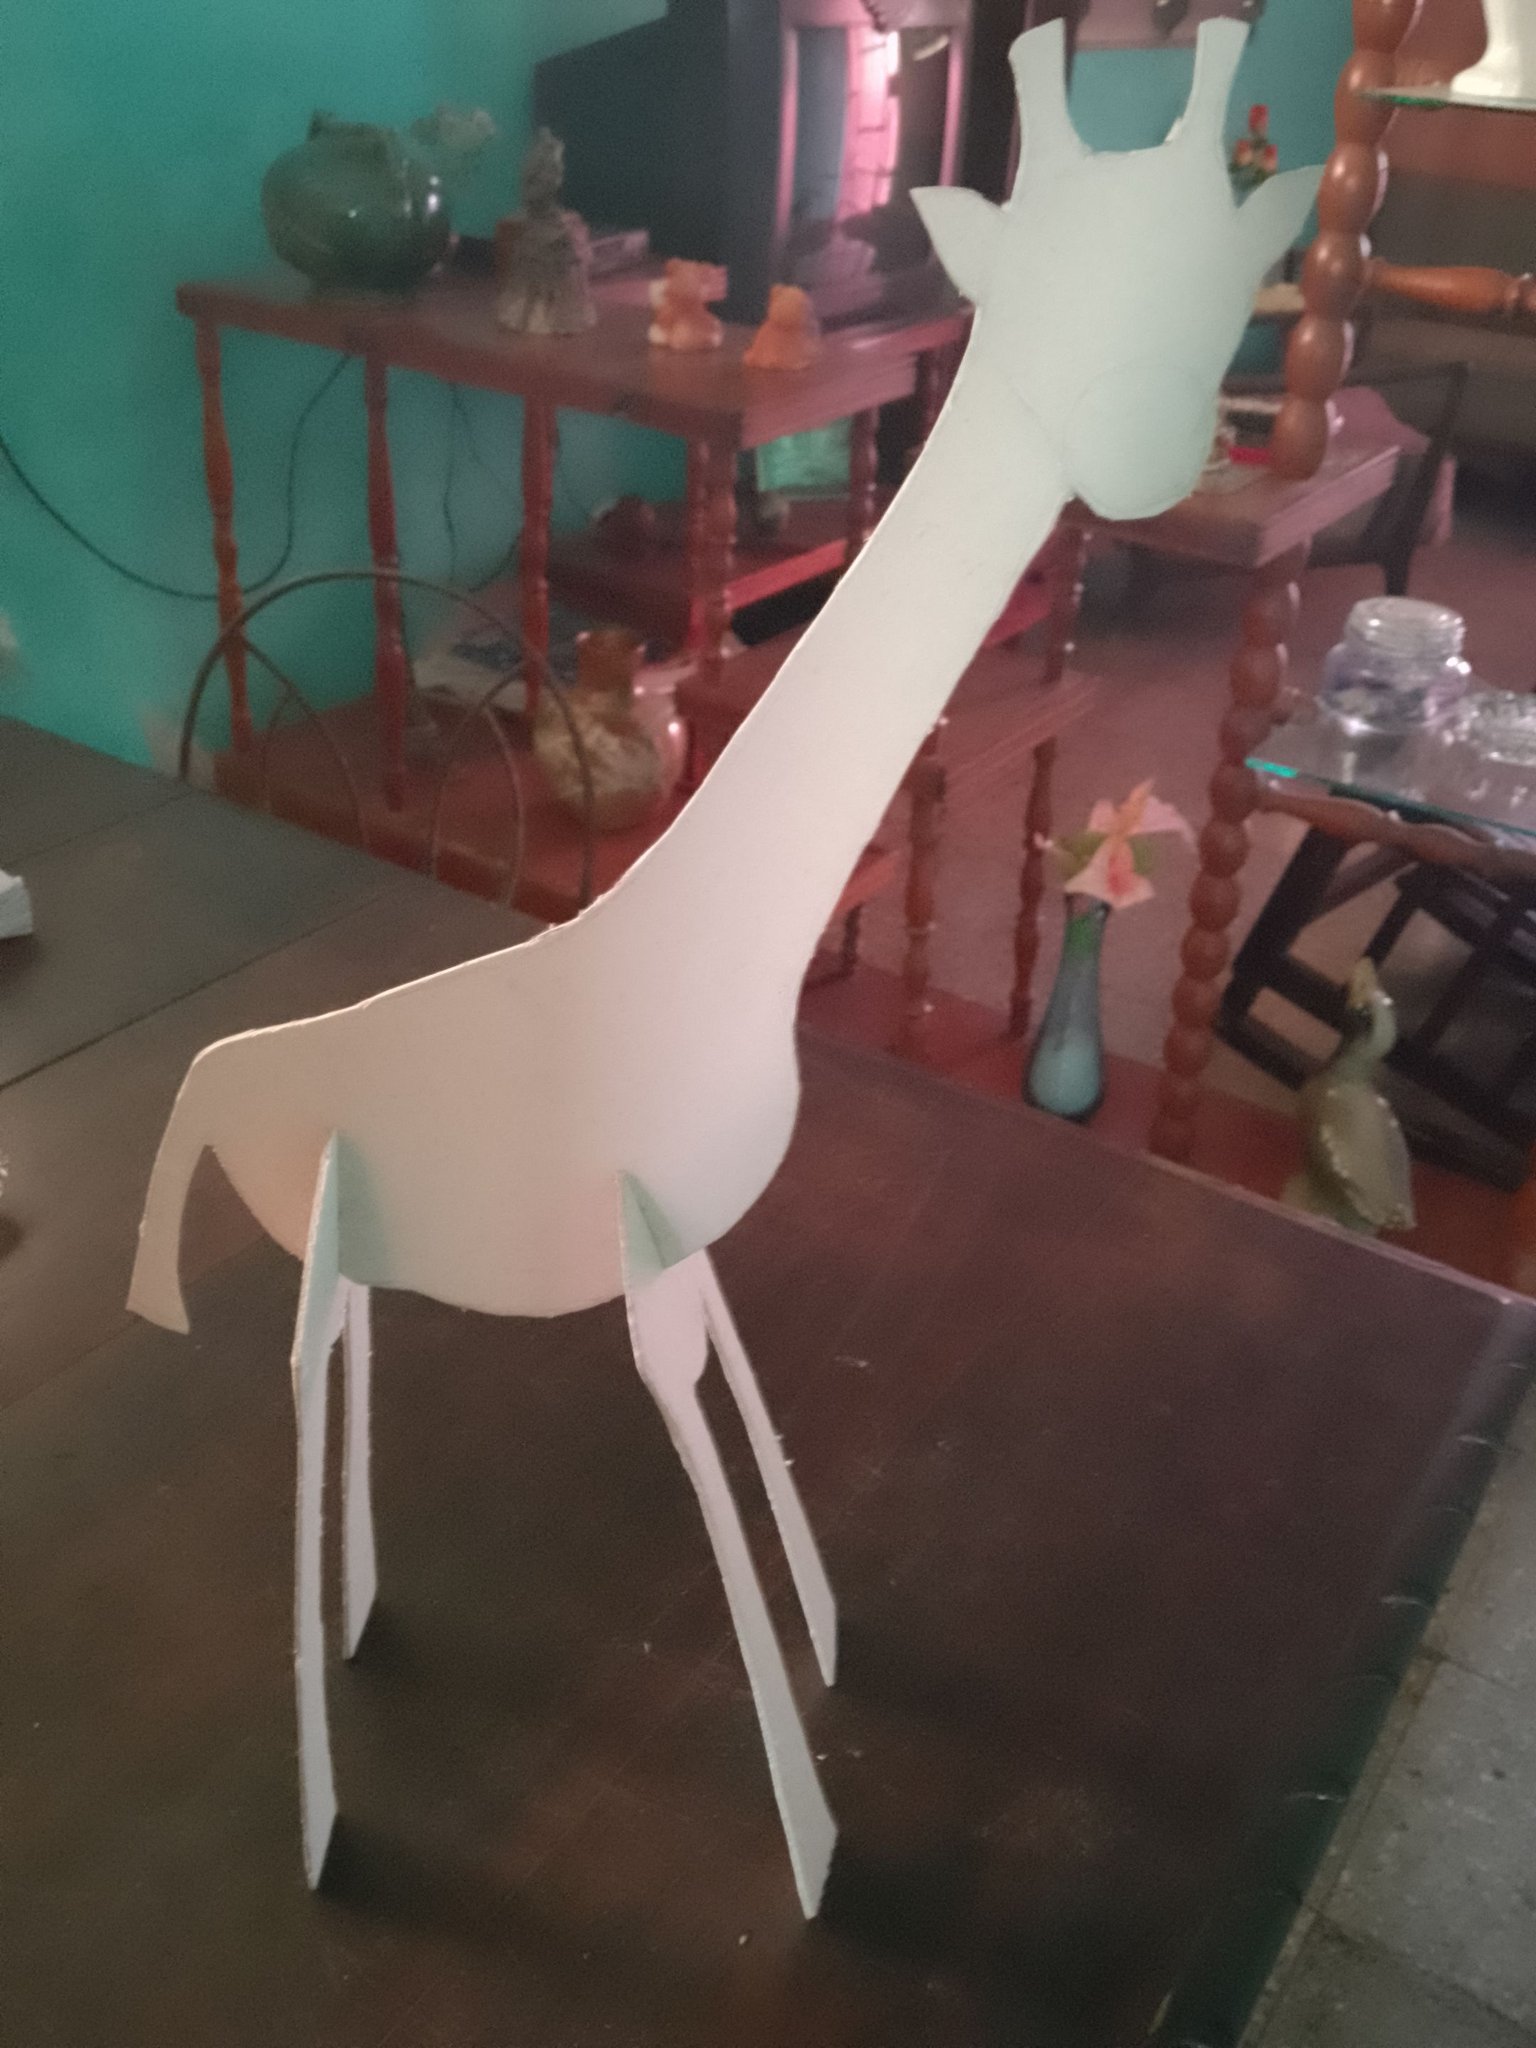
Drawing the silhouette of our animal's body in the cardboard (it can be the animal of your preference, this idea applies to any animal you select).Mark where the slot cut in which the pieces of the legs will be assembled should be made
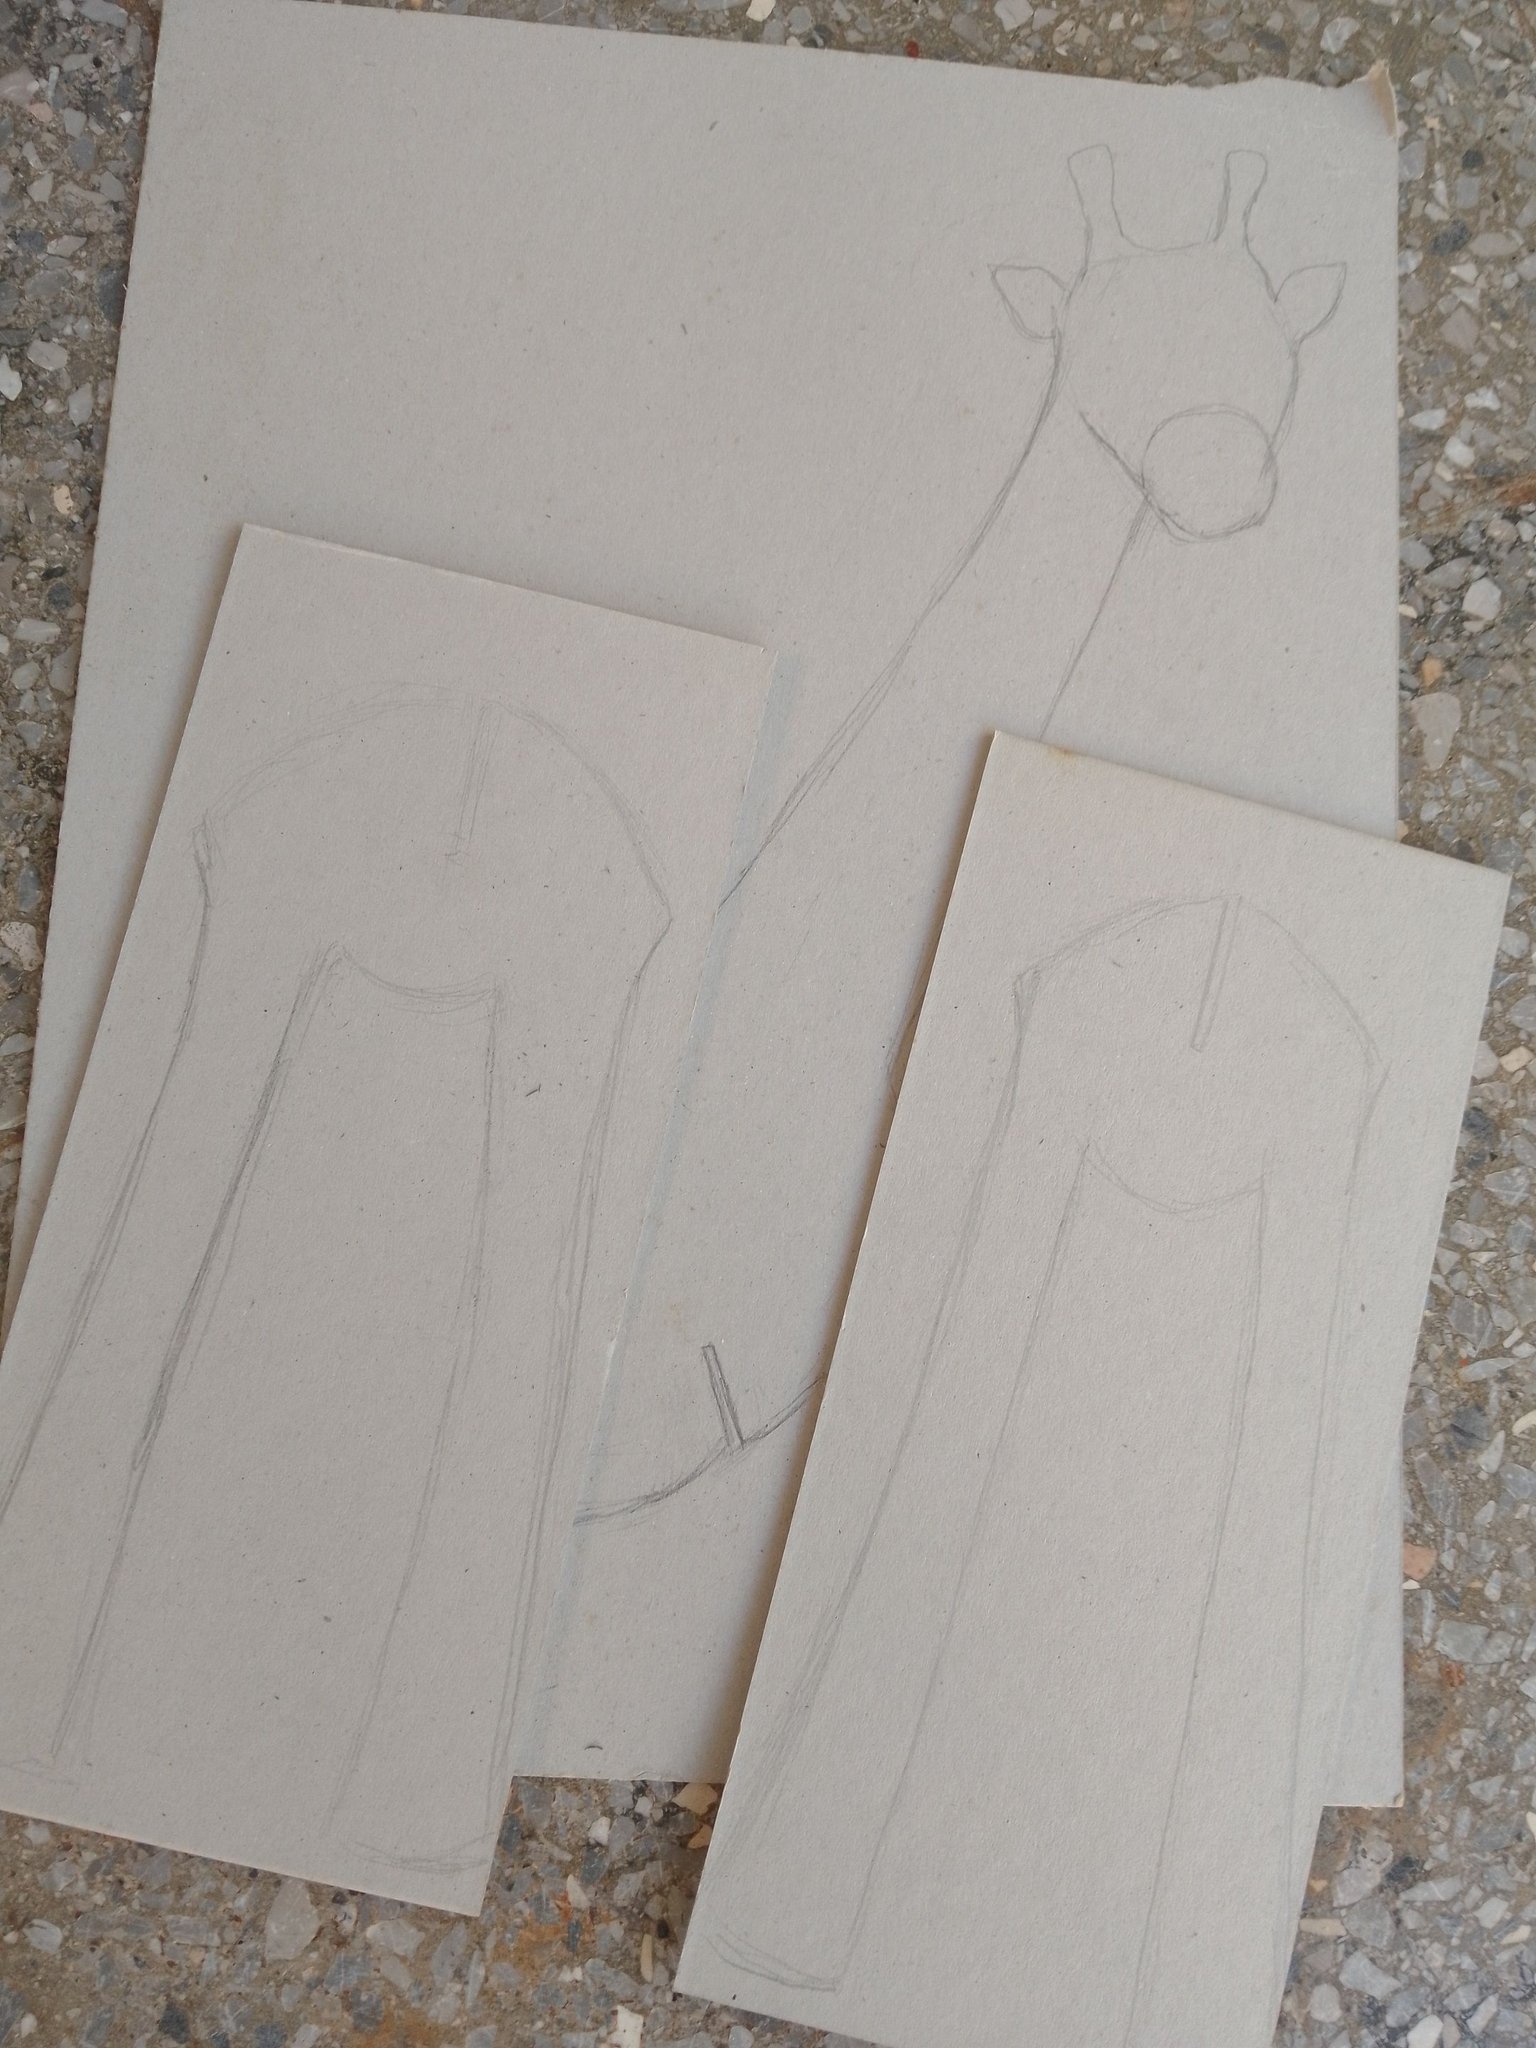
Draw the pieces of the legs and mark grooves at the top to center.
 |  |
|---|
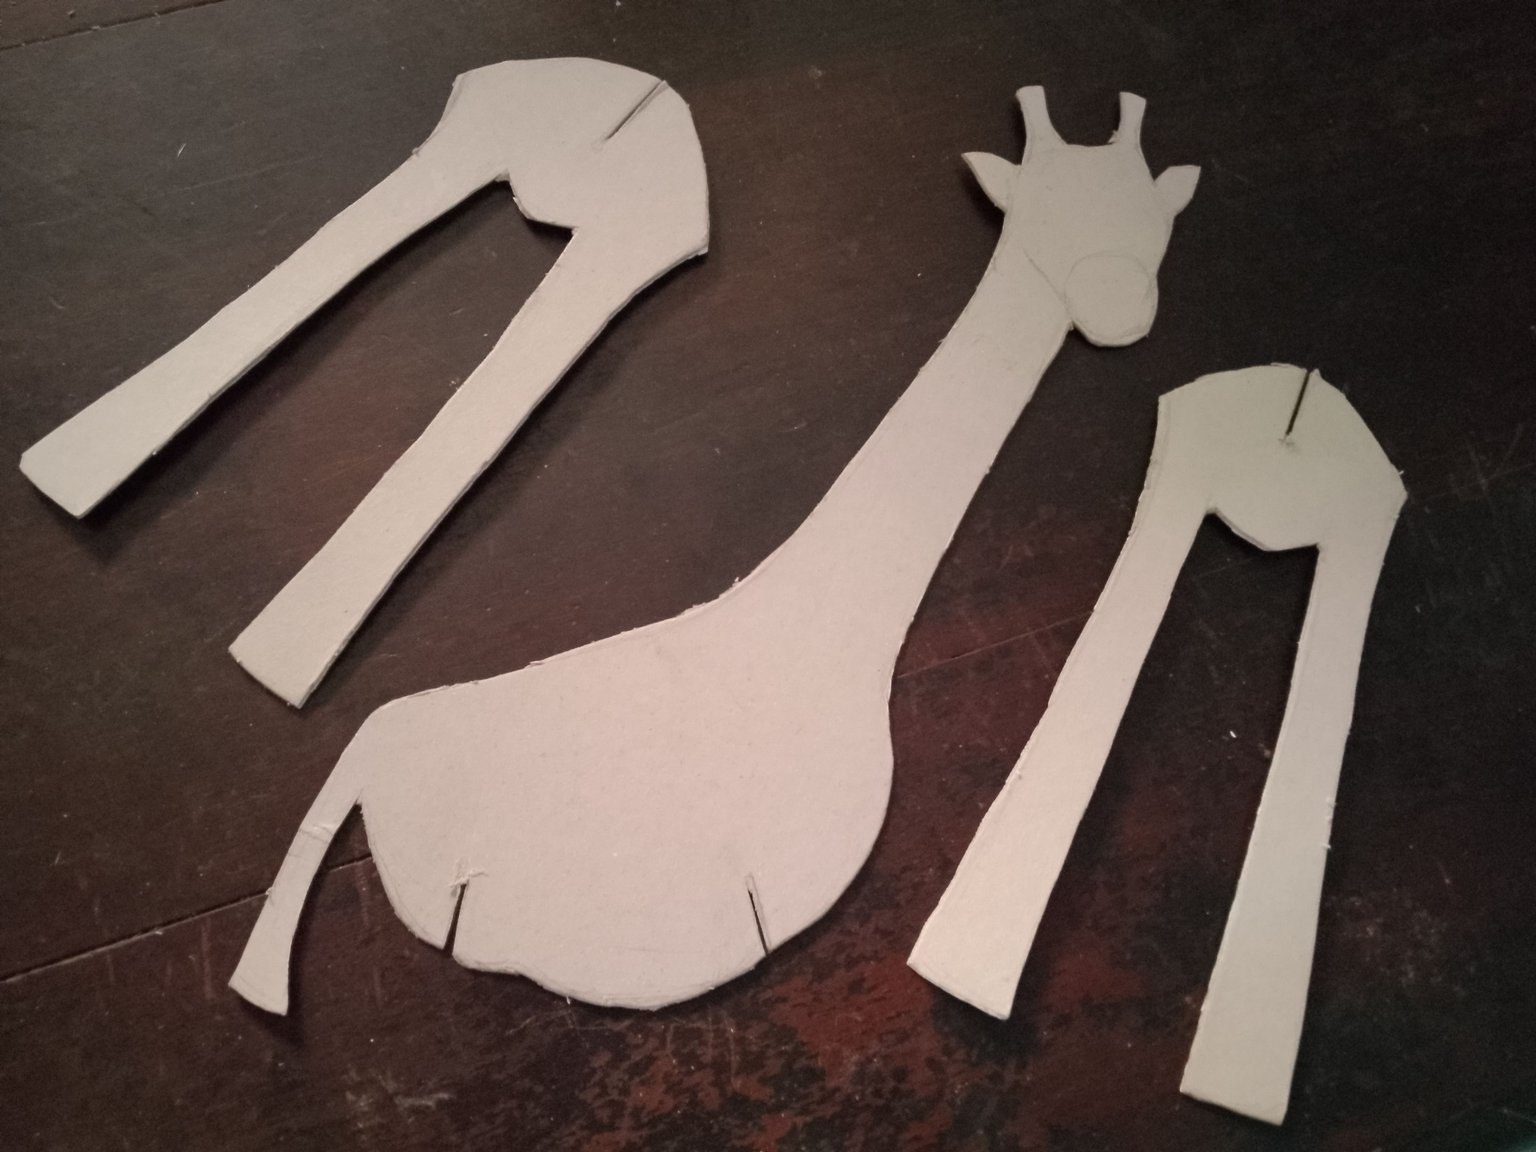
Top each piece and test its operation by assembling, so it will be known if any
adjustment.
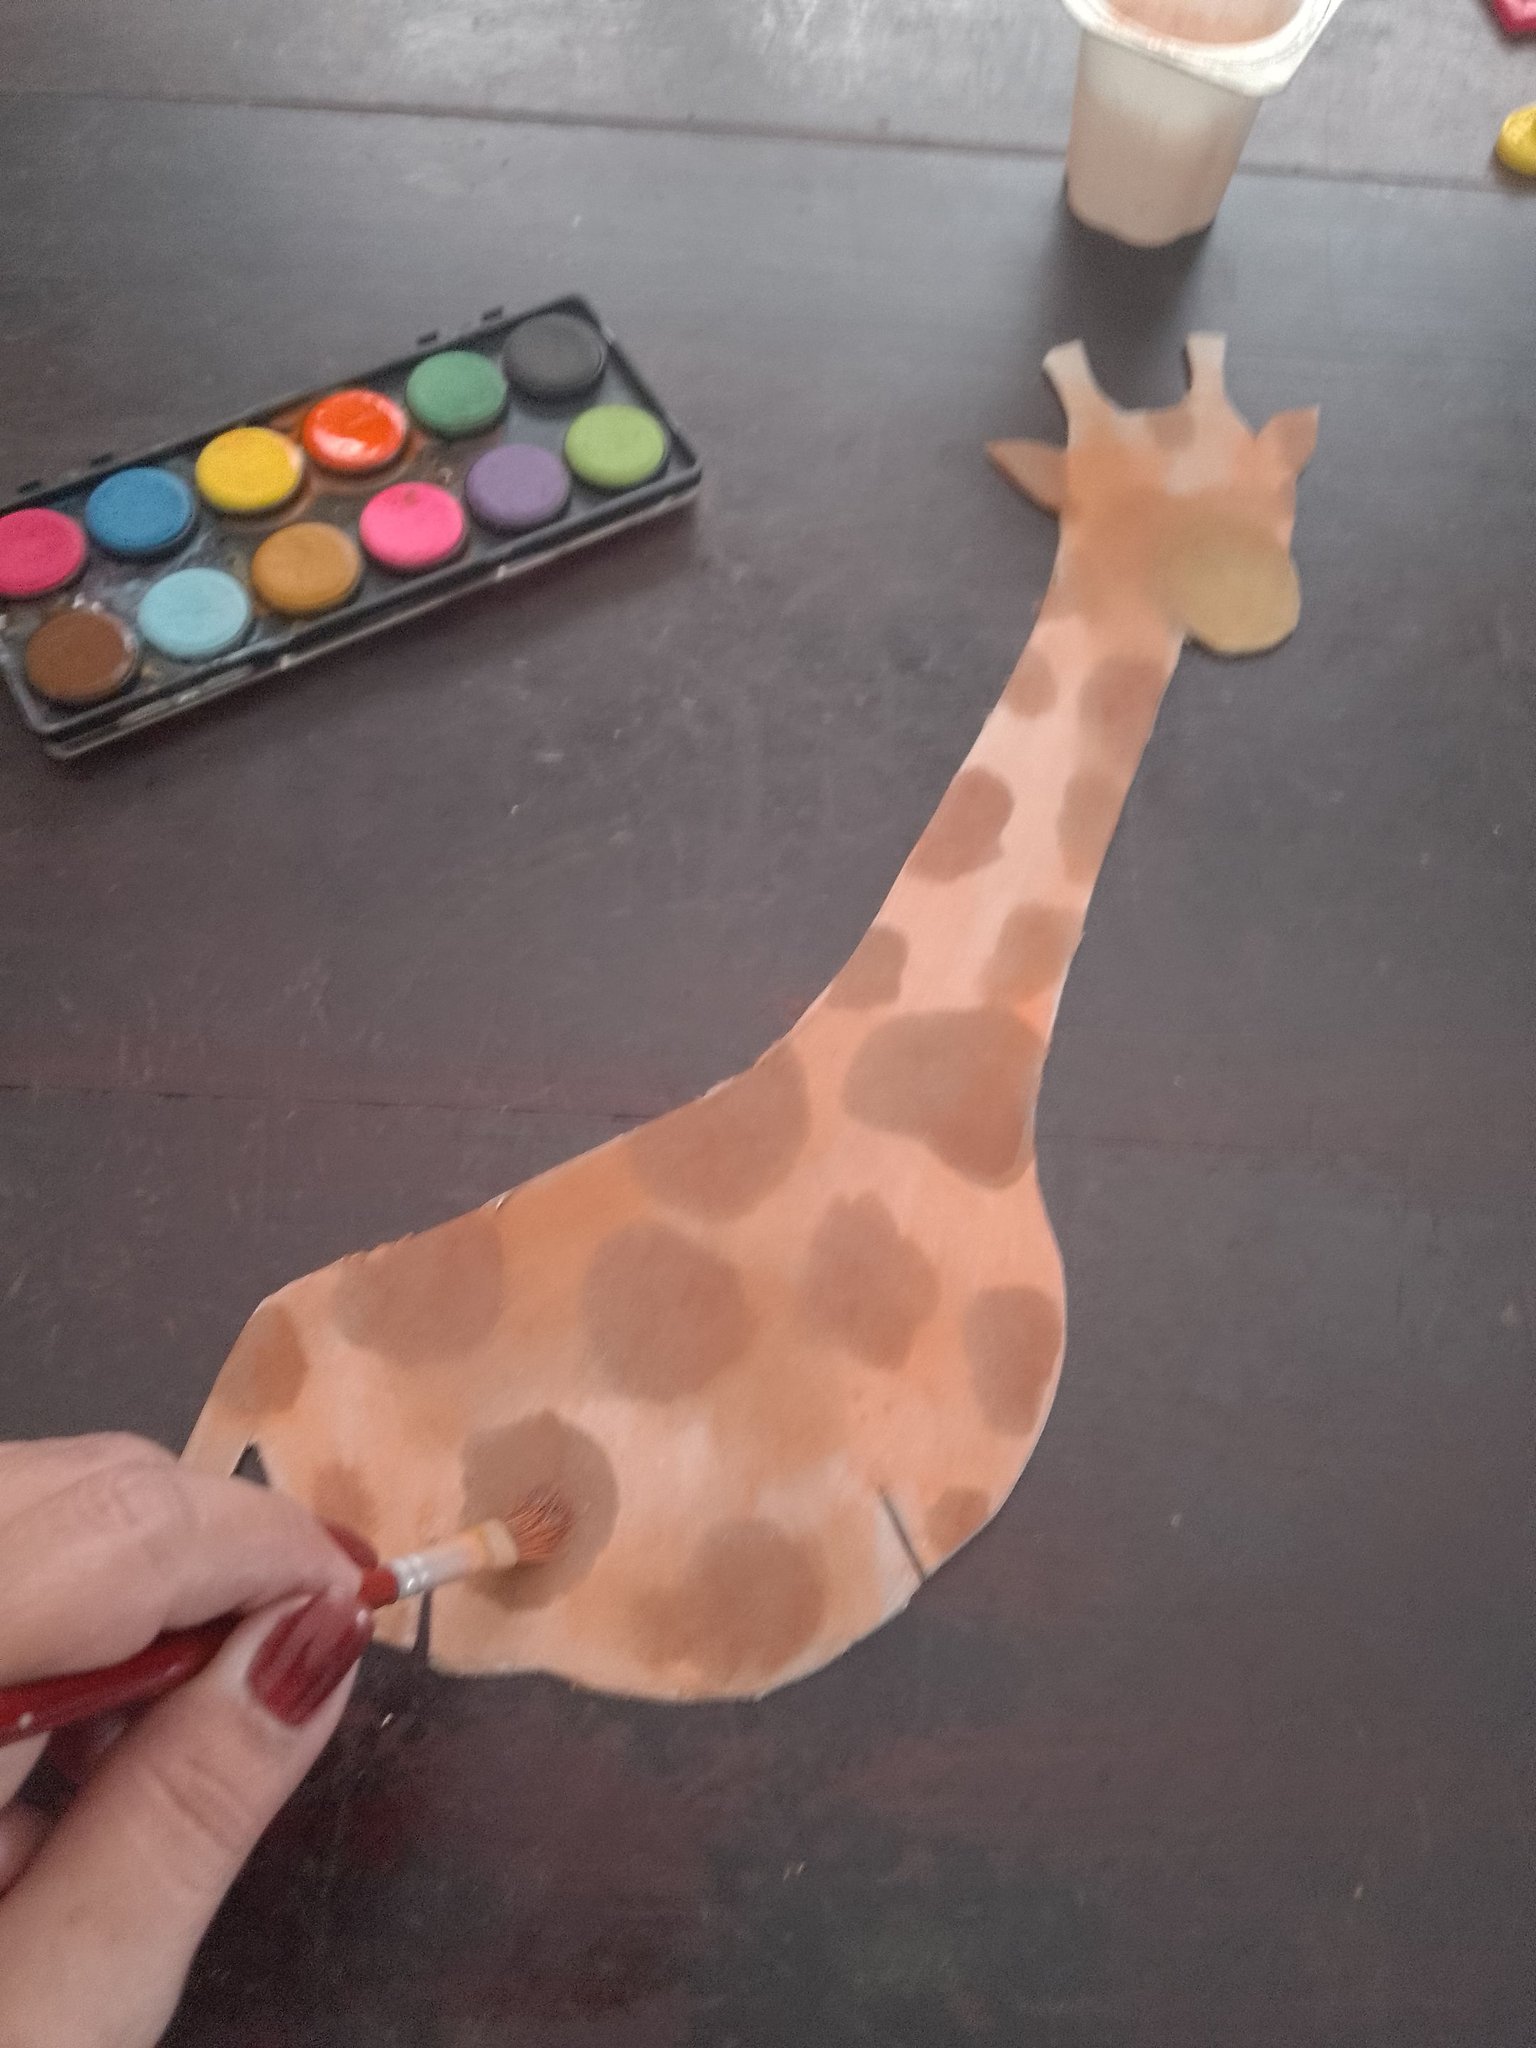
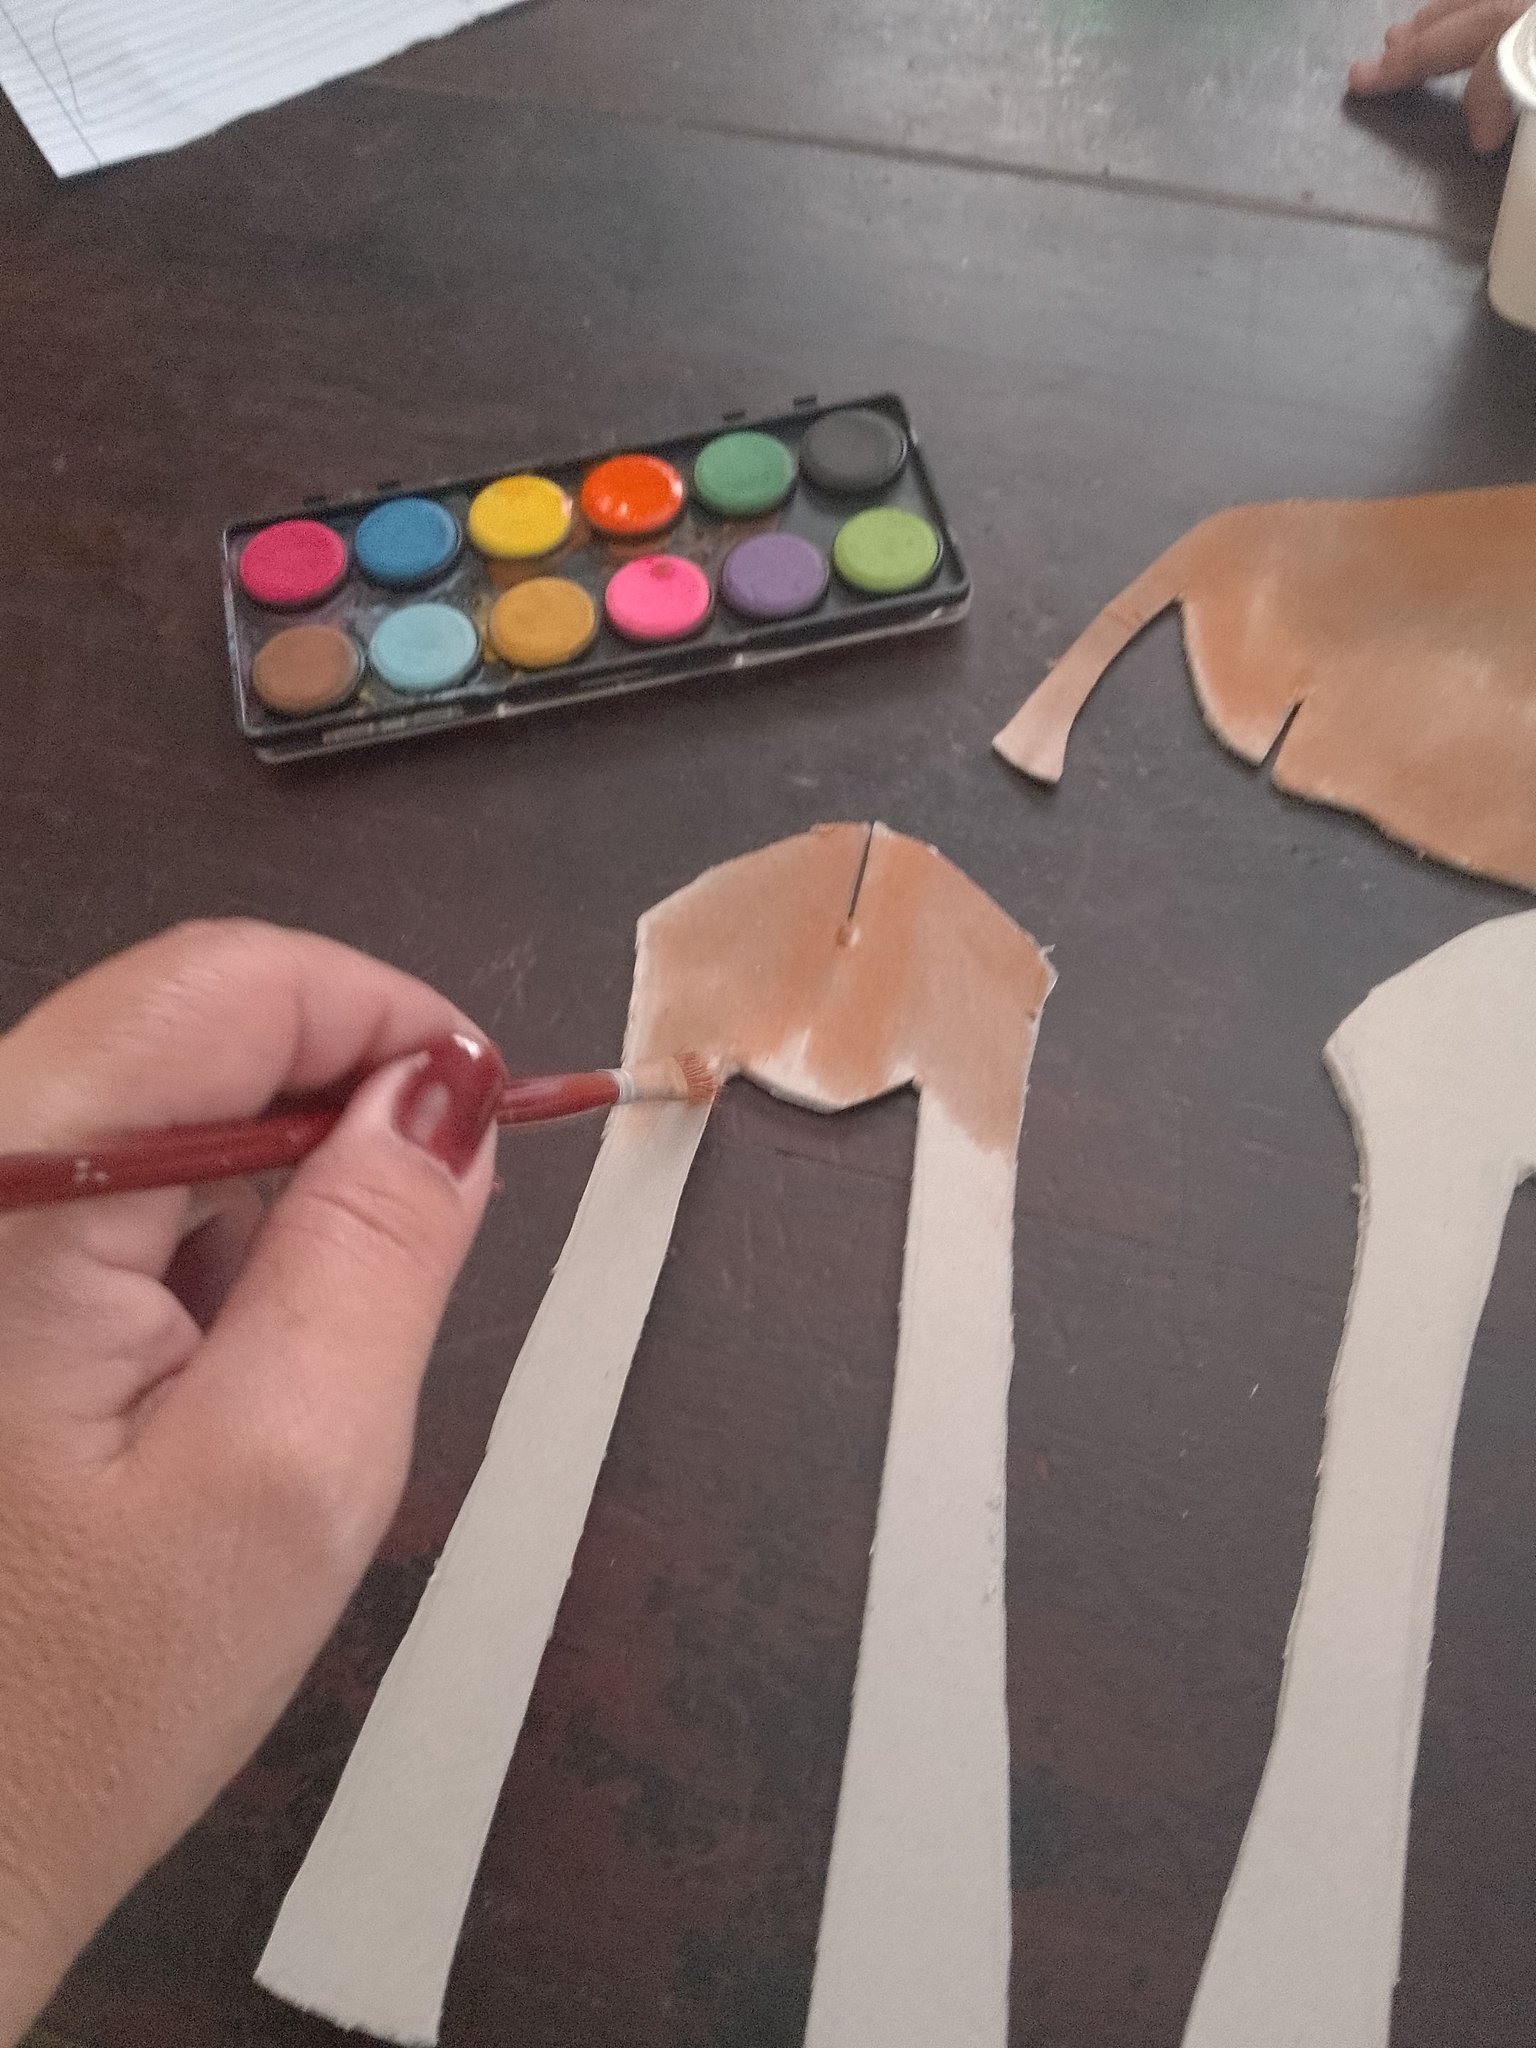
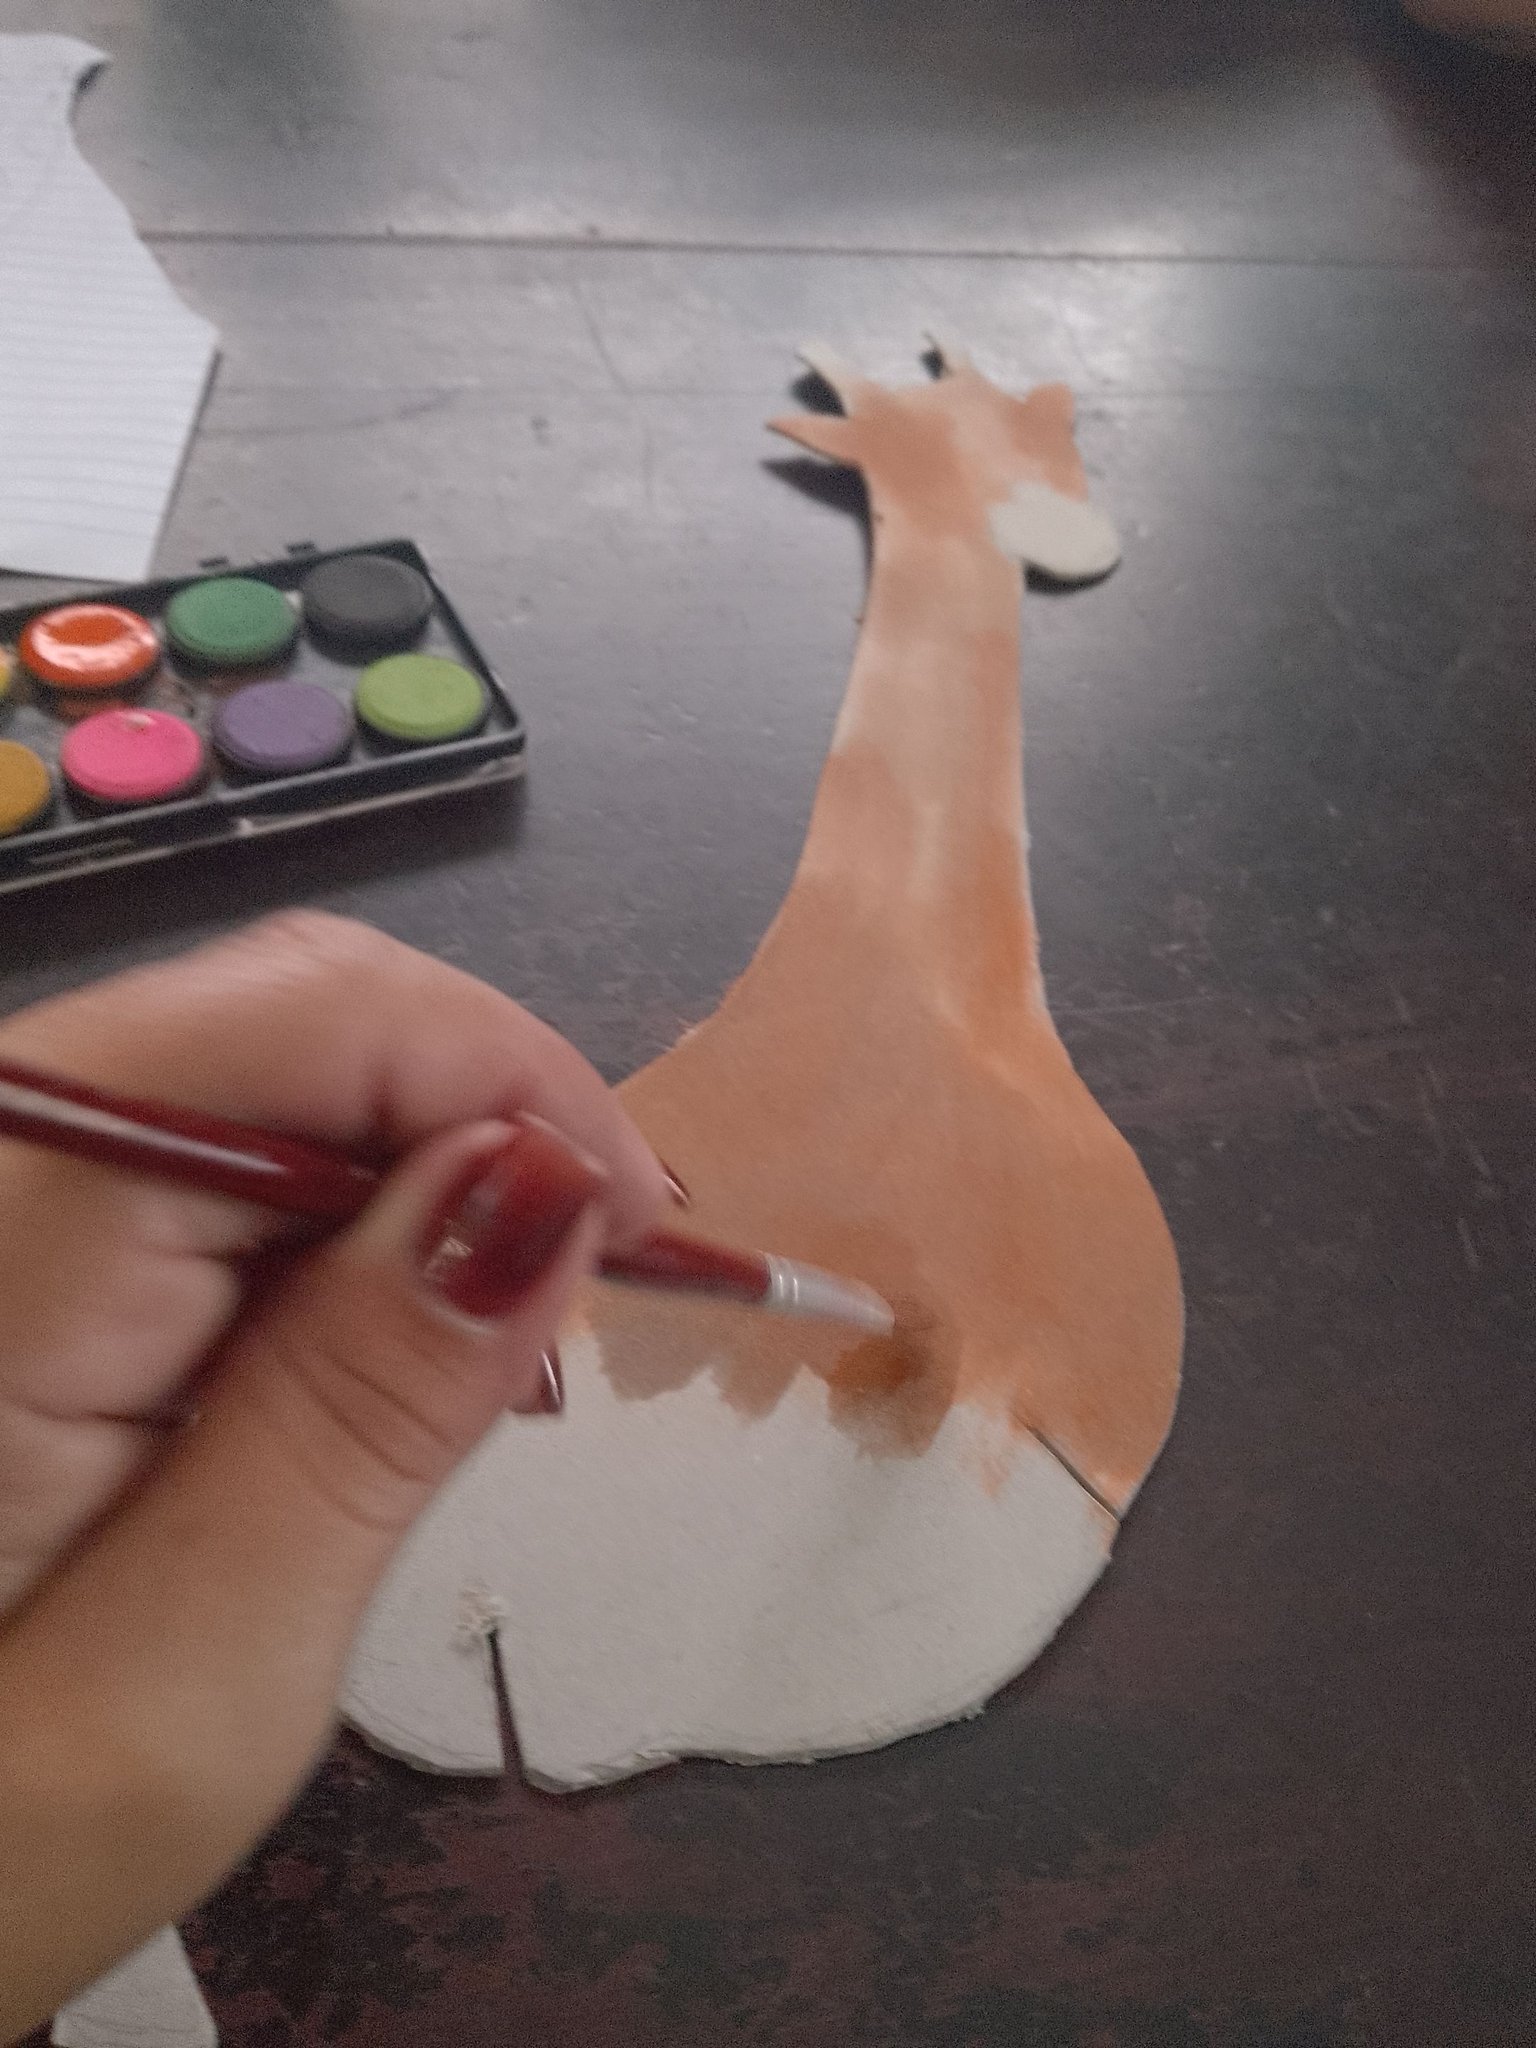
Once the pieces are cut, give color with watercolor or the pigment you have at home.It can be tempera, acrylics.
 |  |  |
|---|
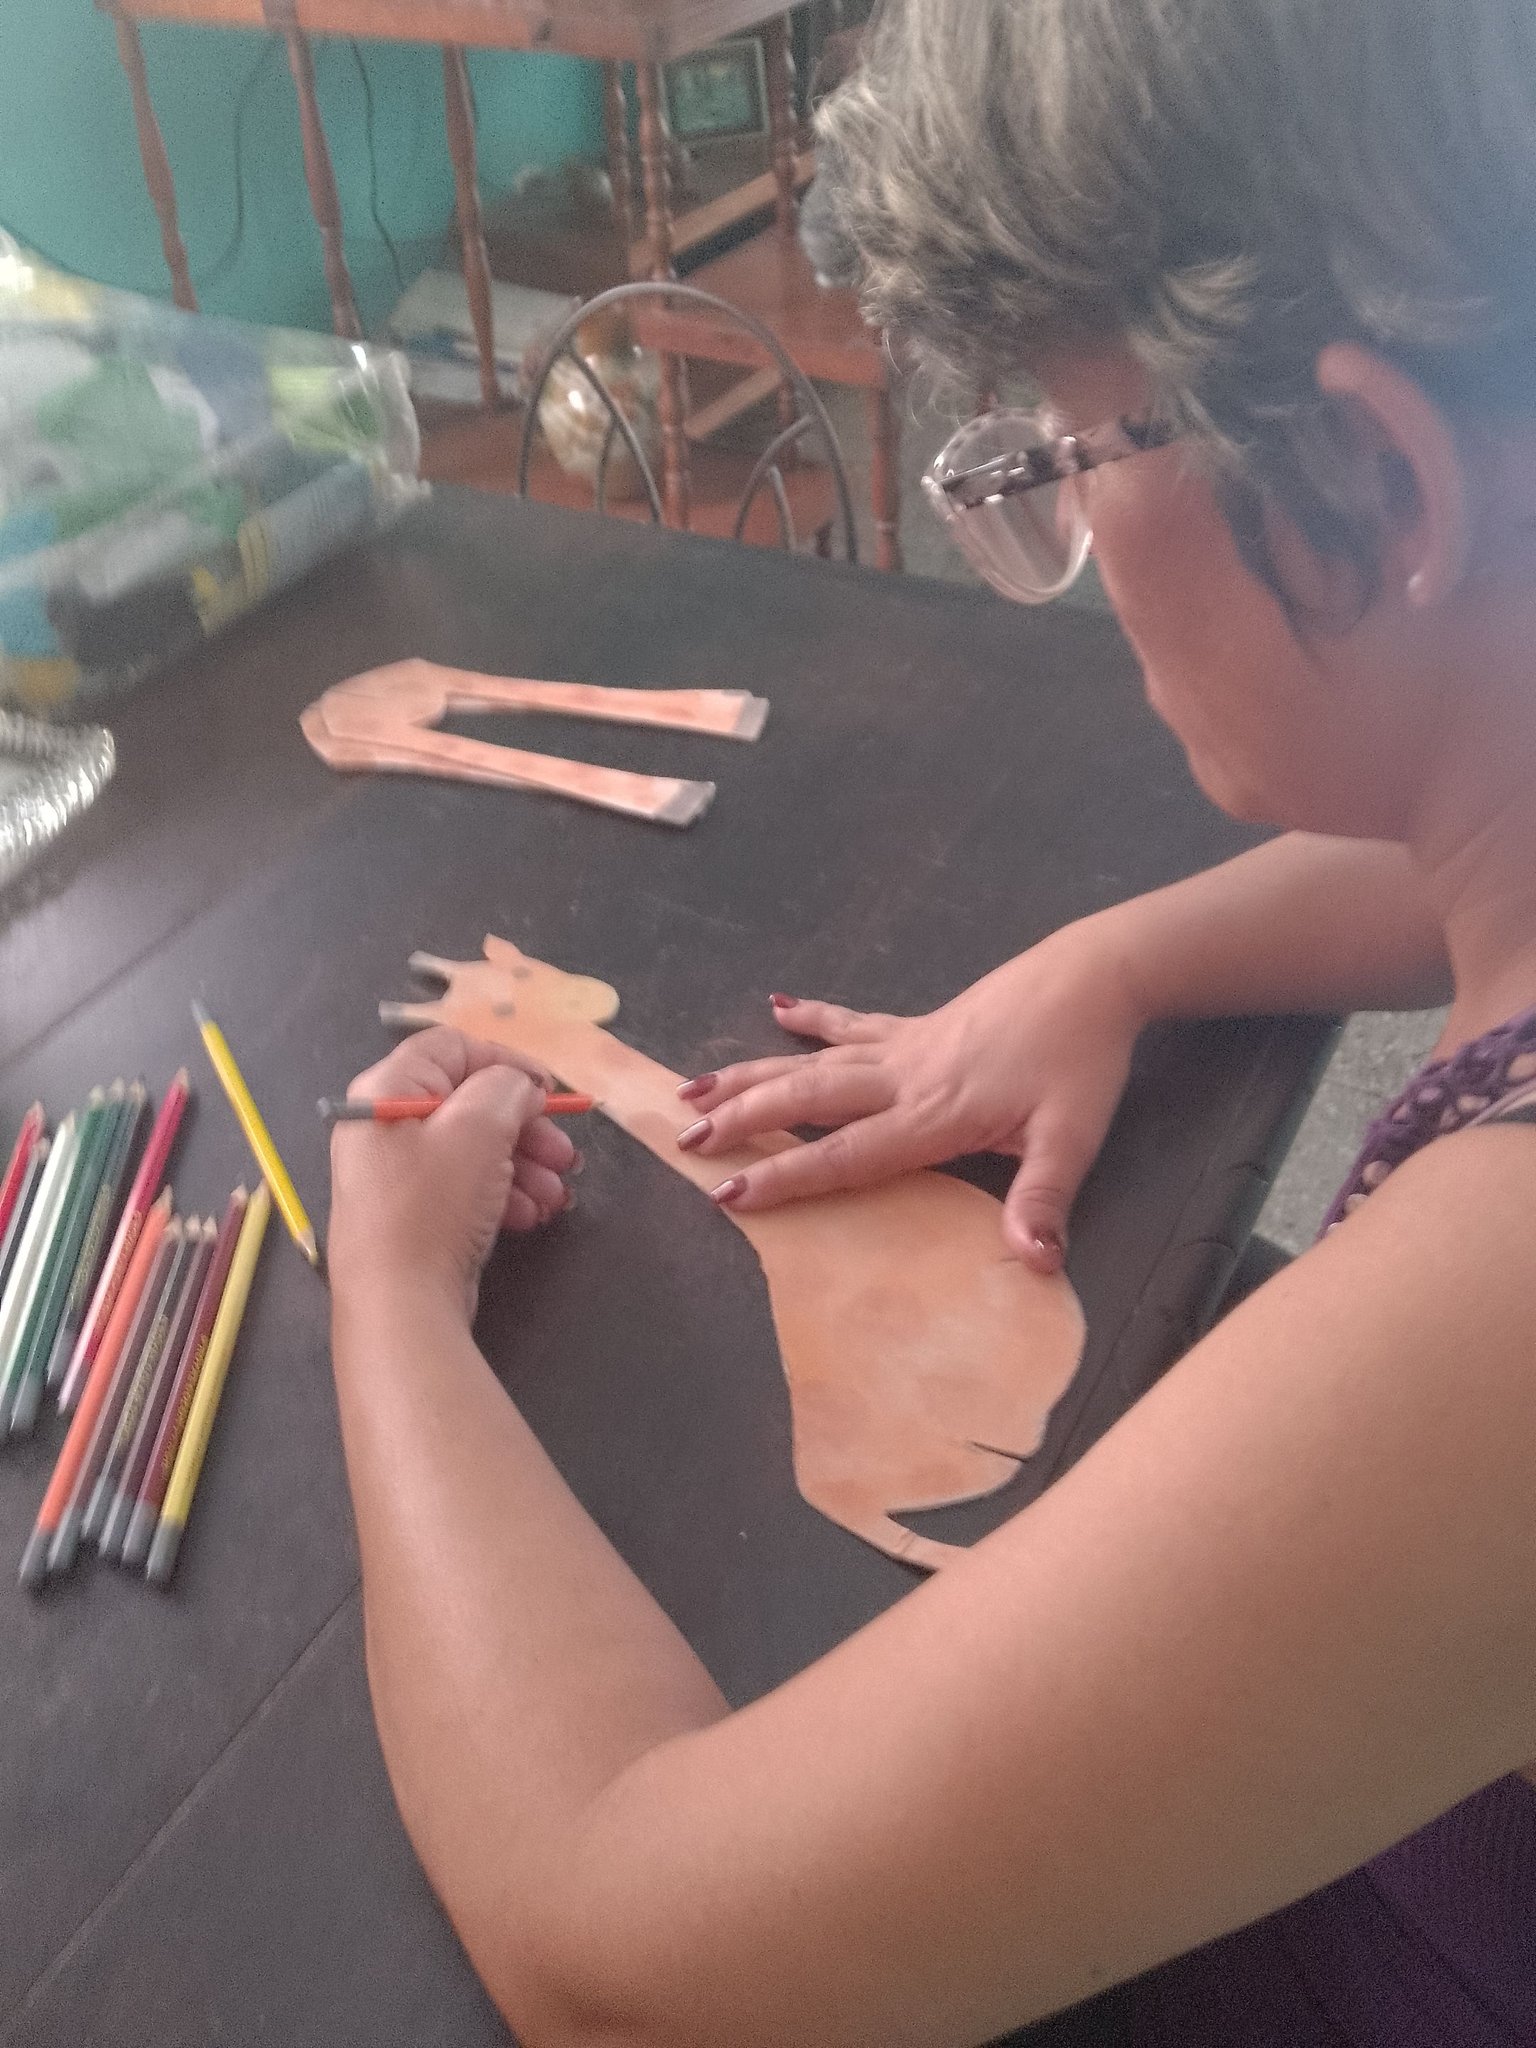
Strengthen the details with color pencil to generate visual texture effects.You can also use permanent markers.
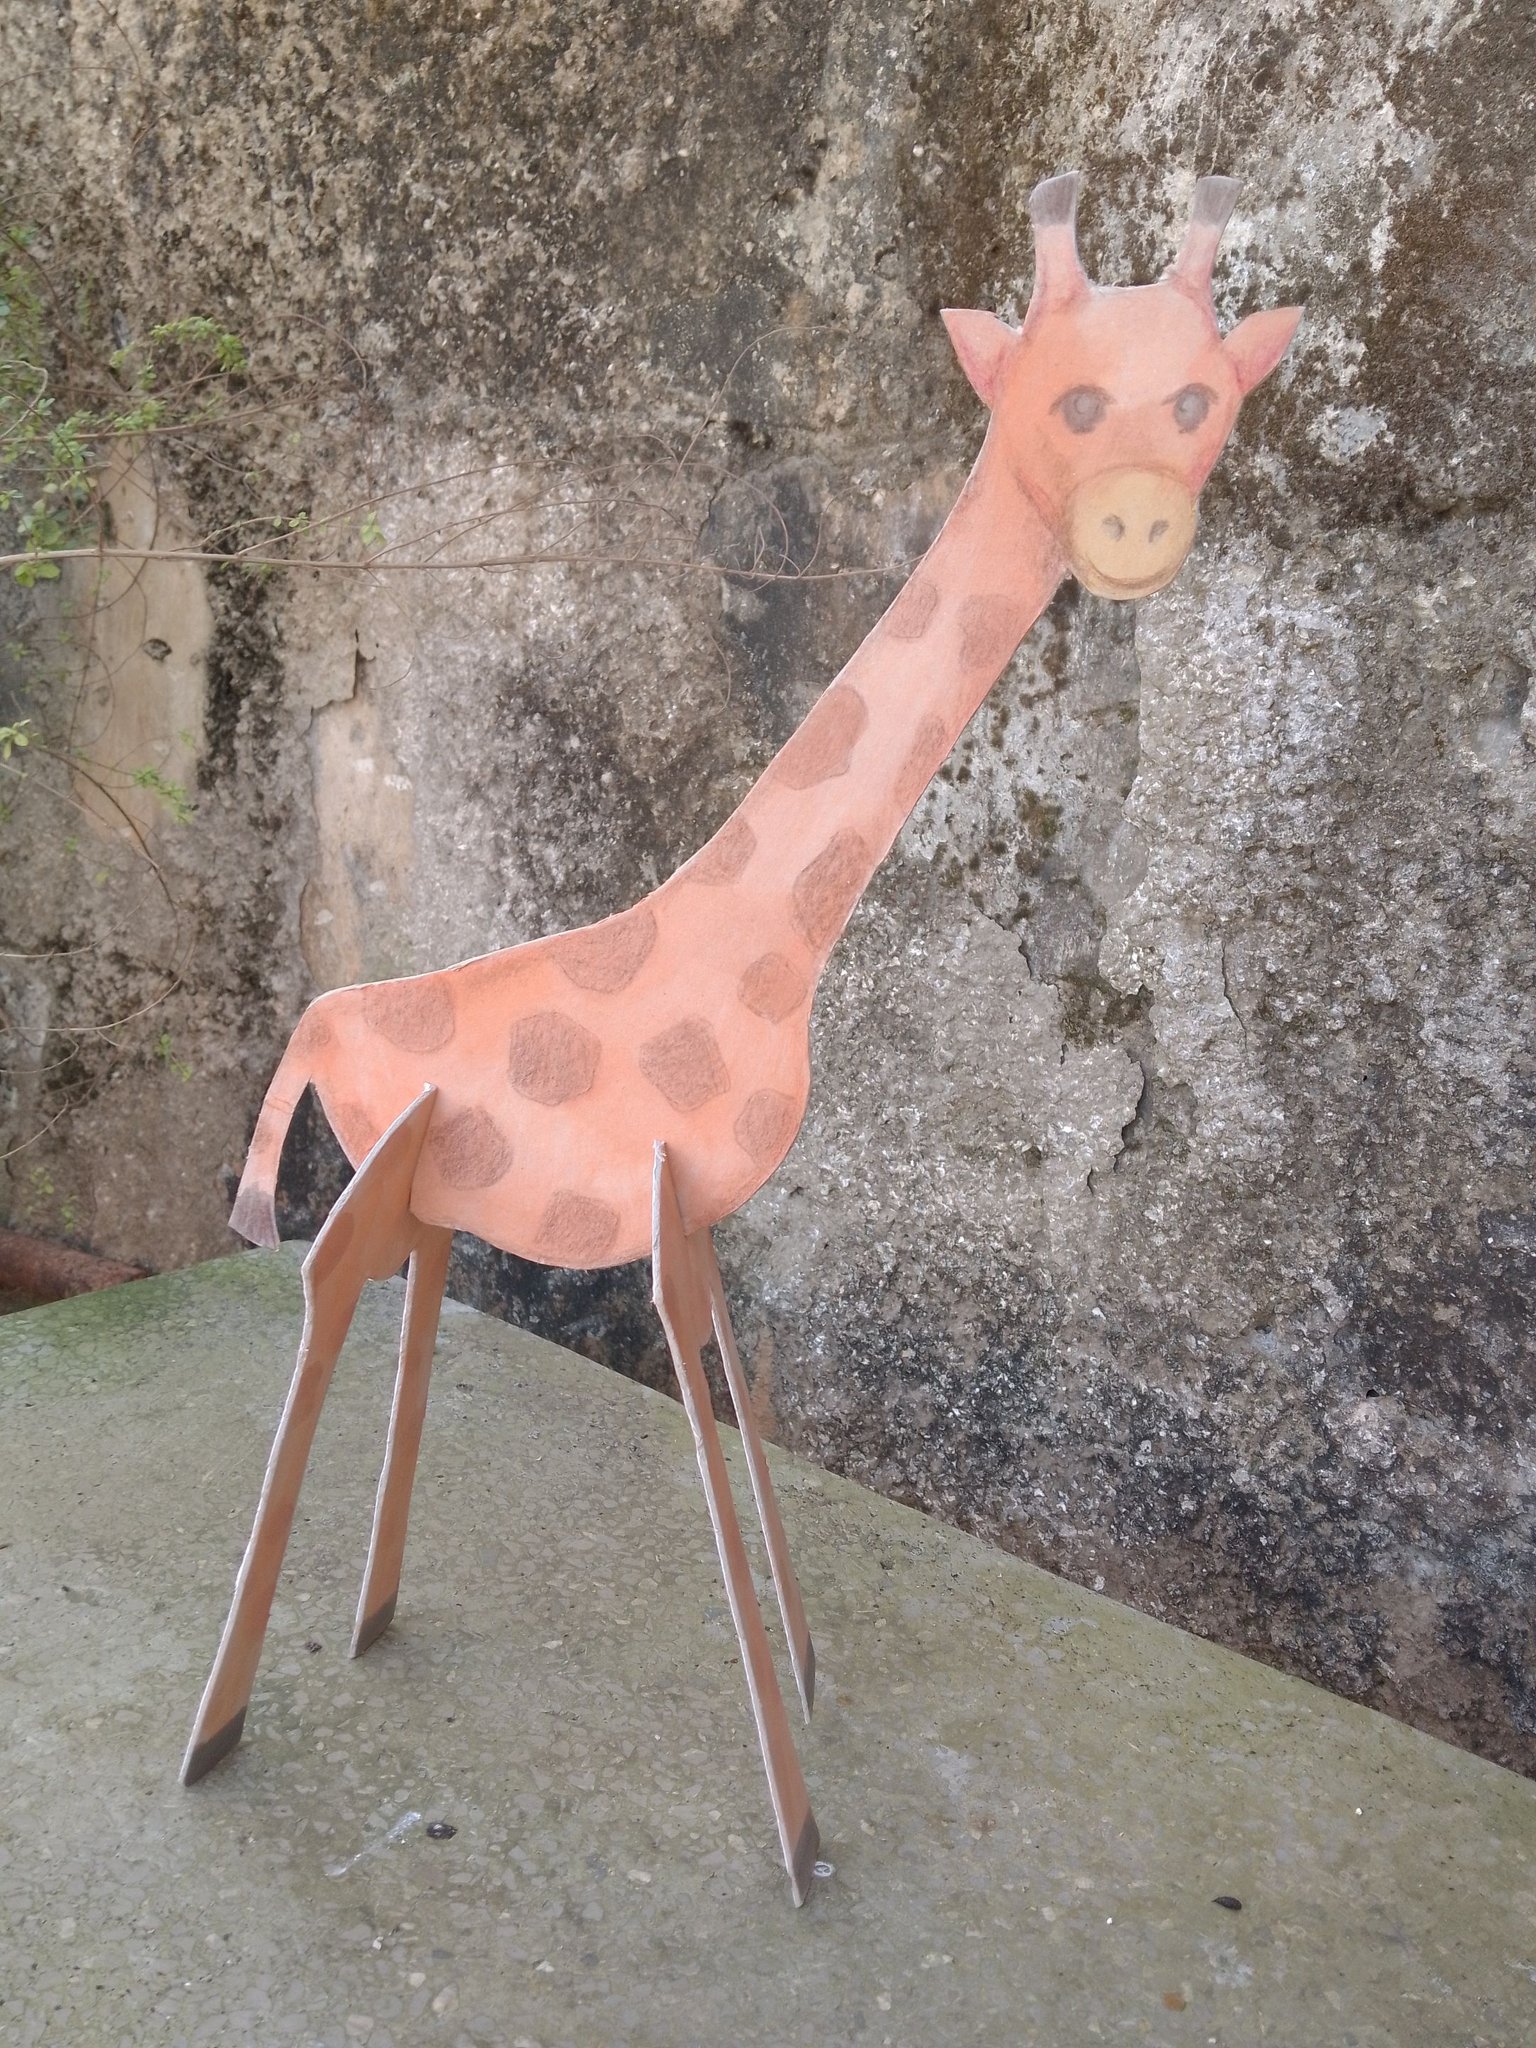
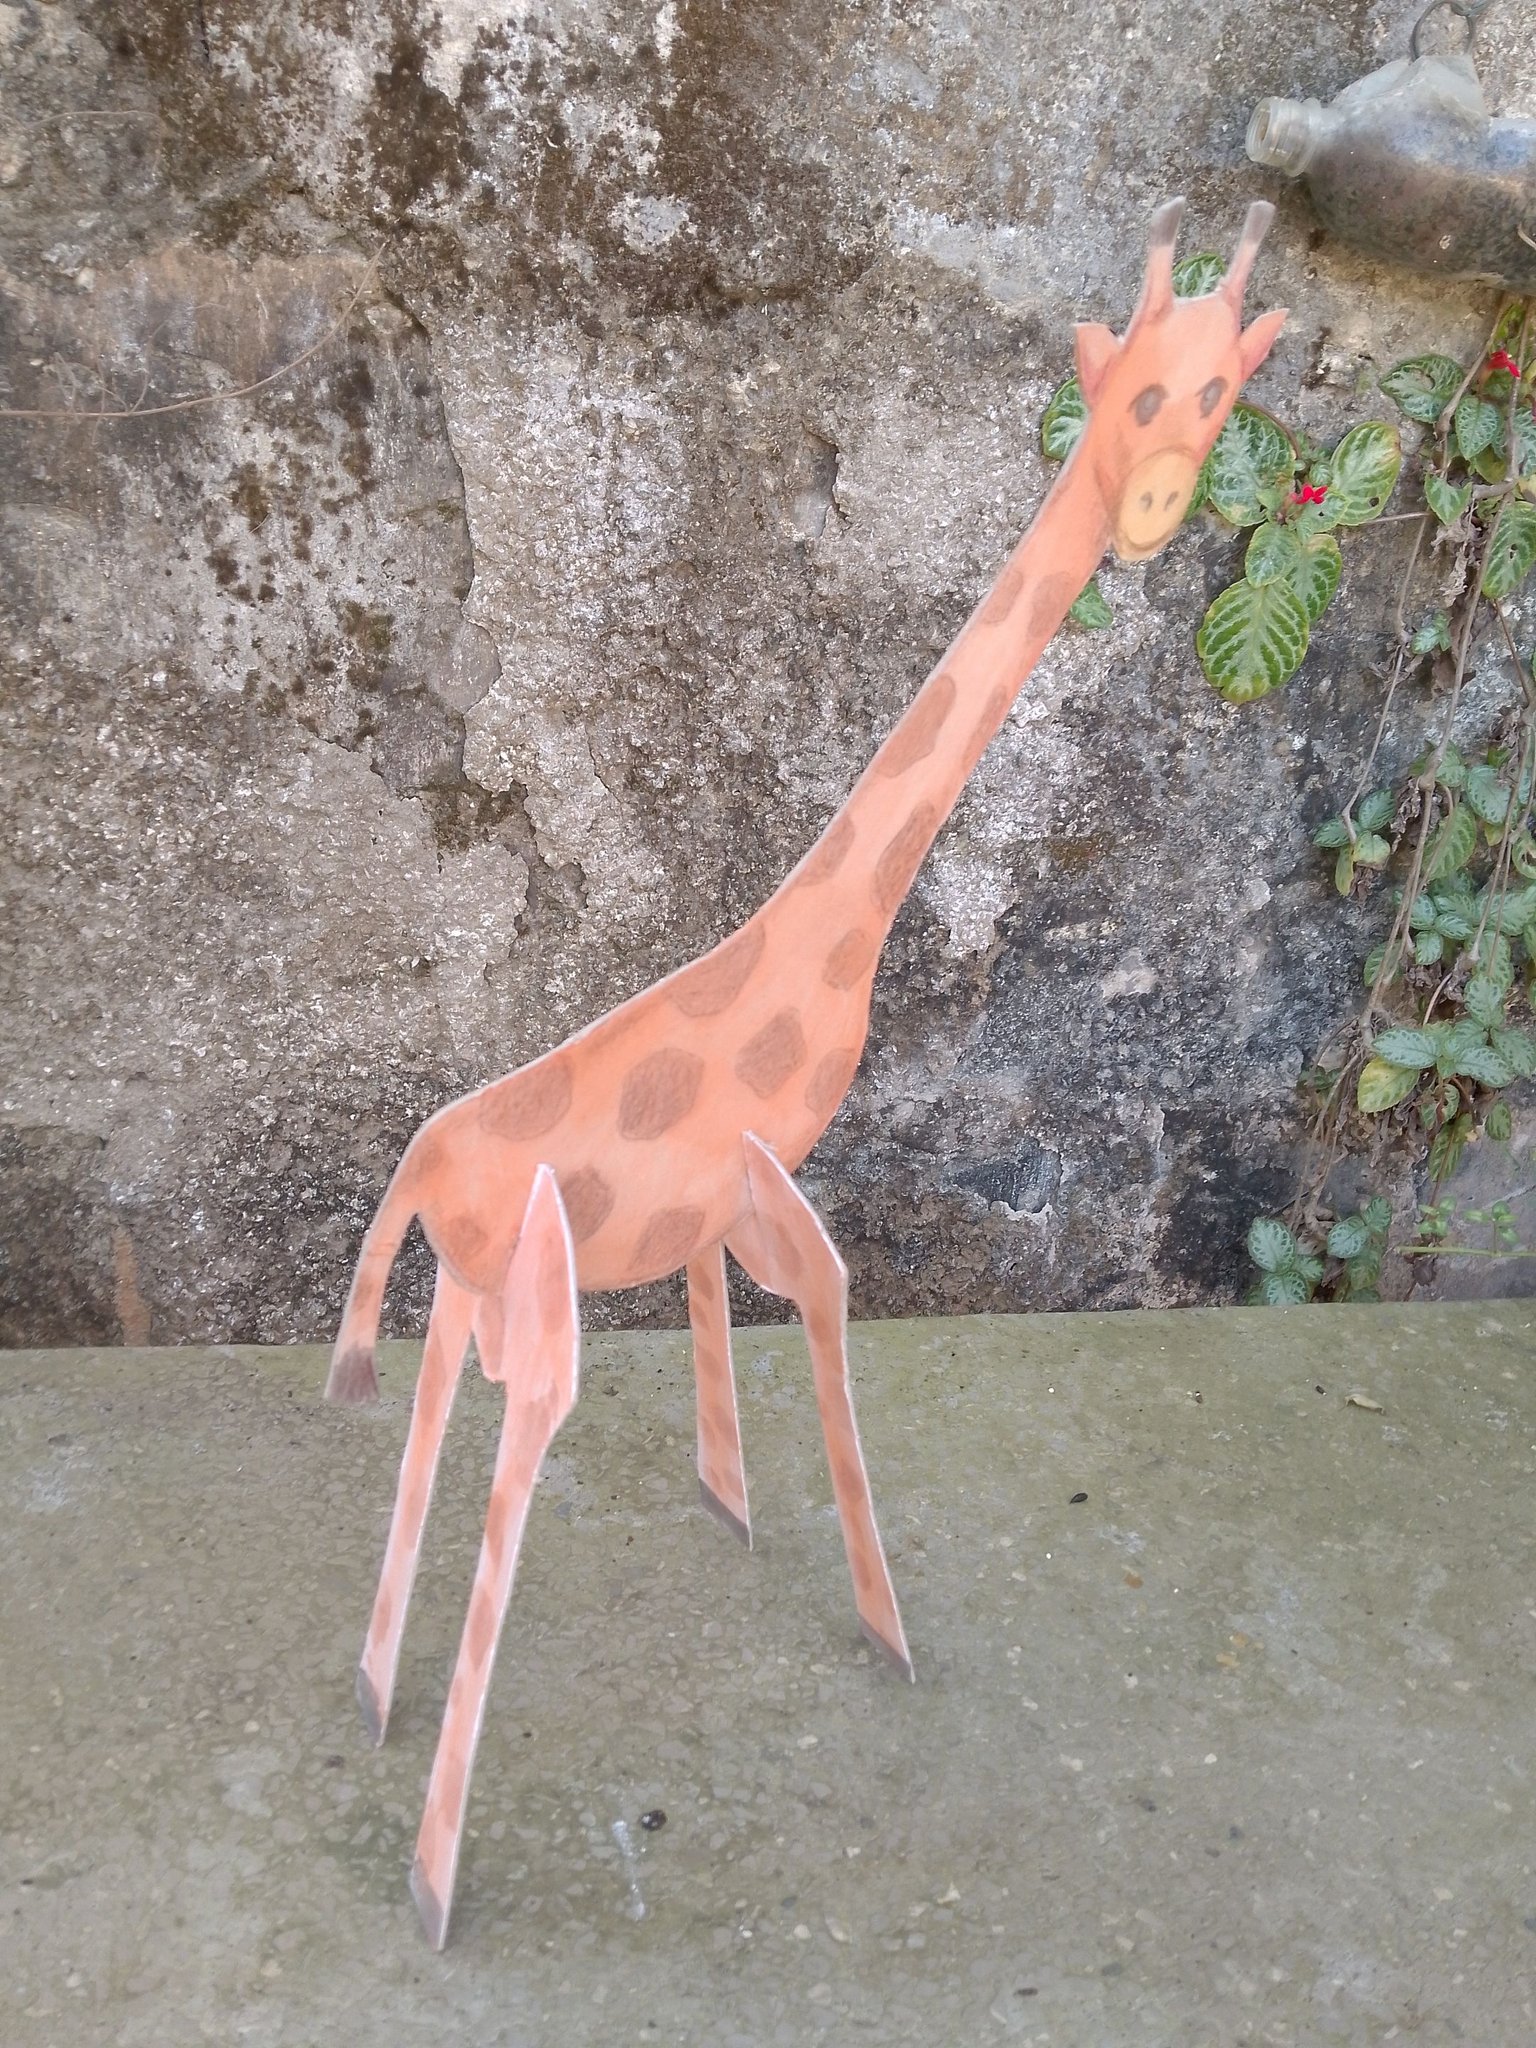
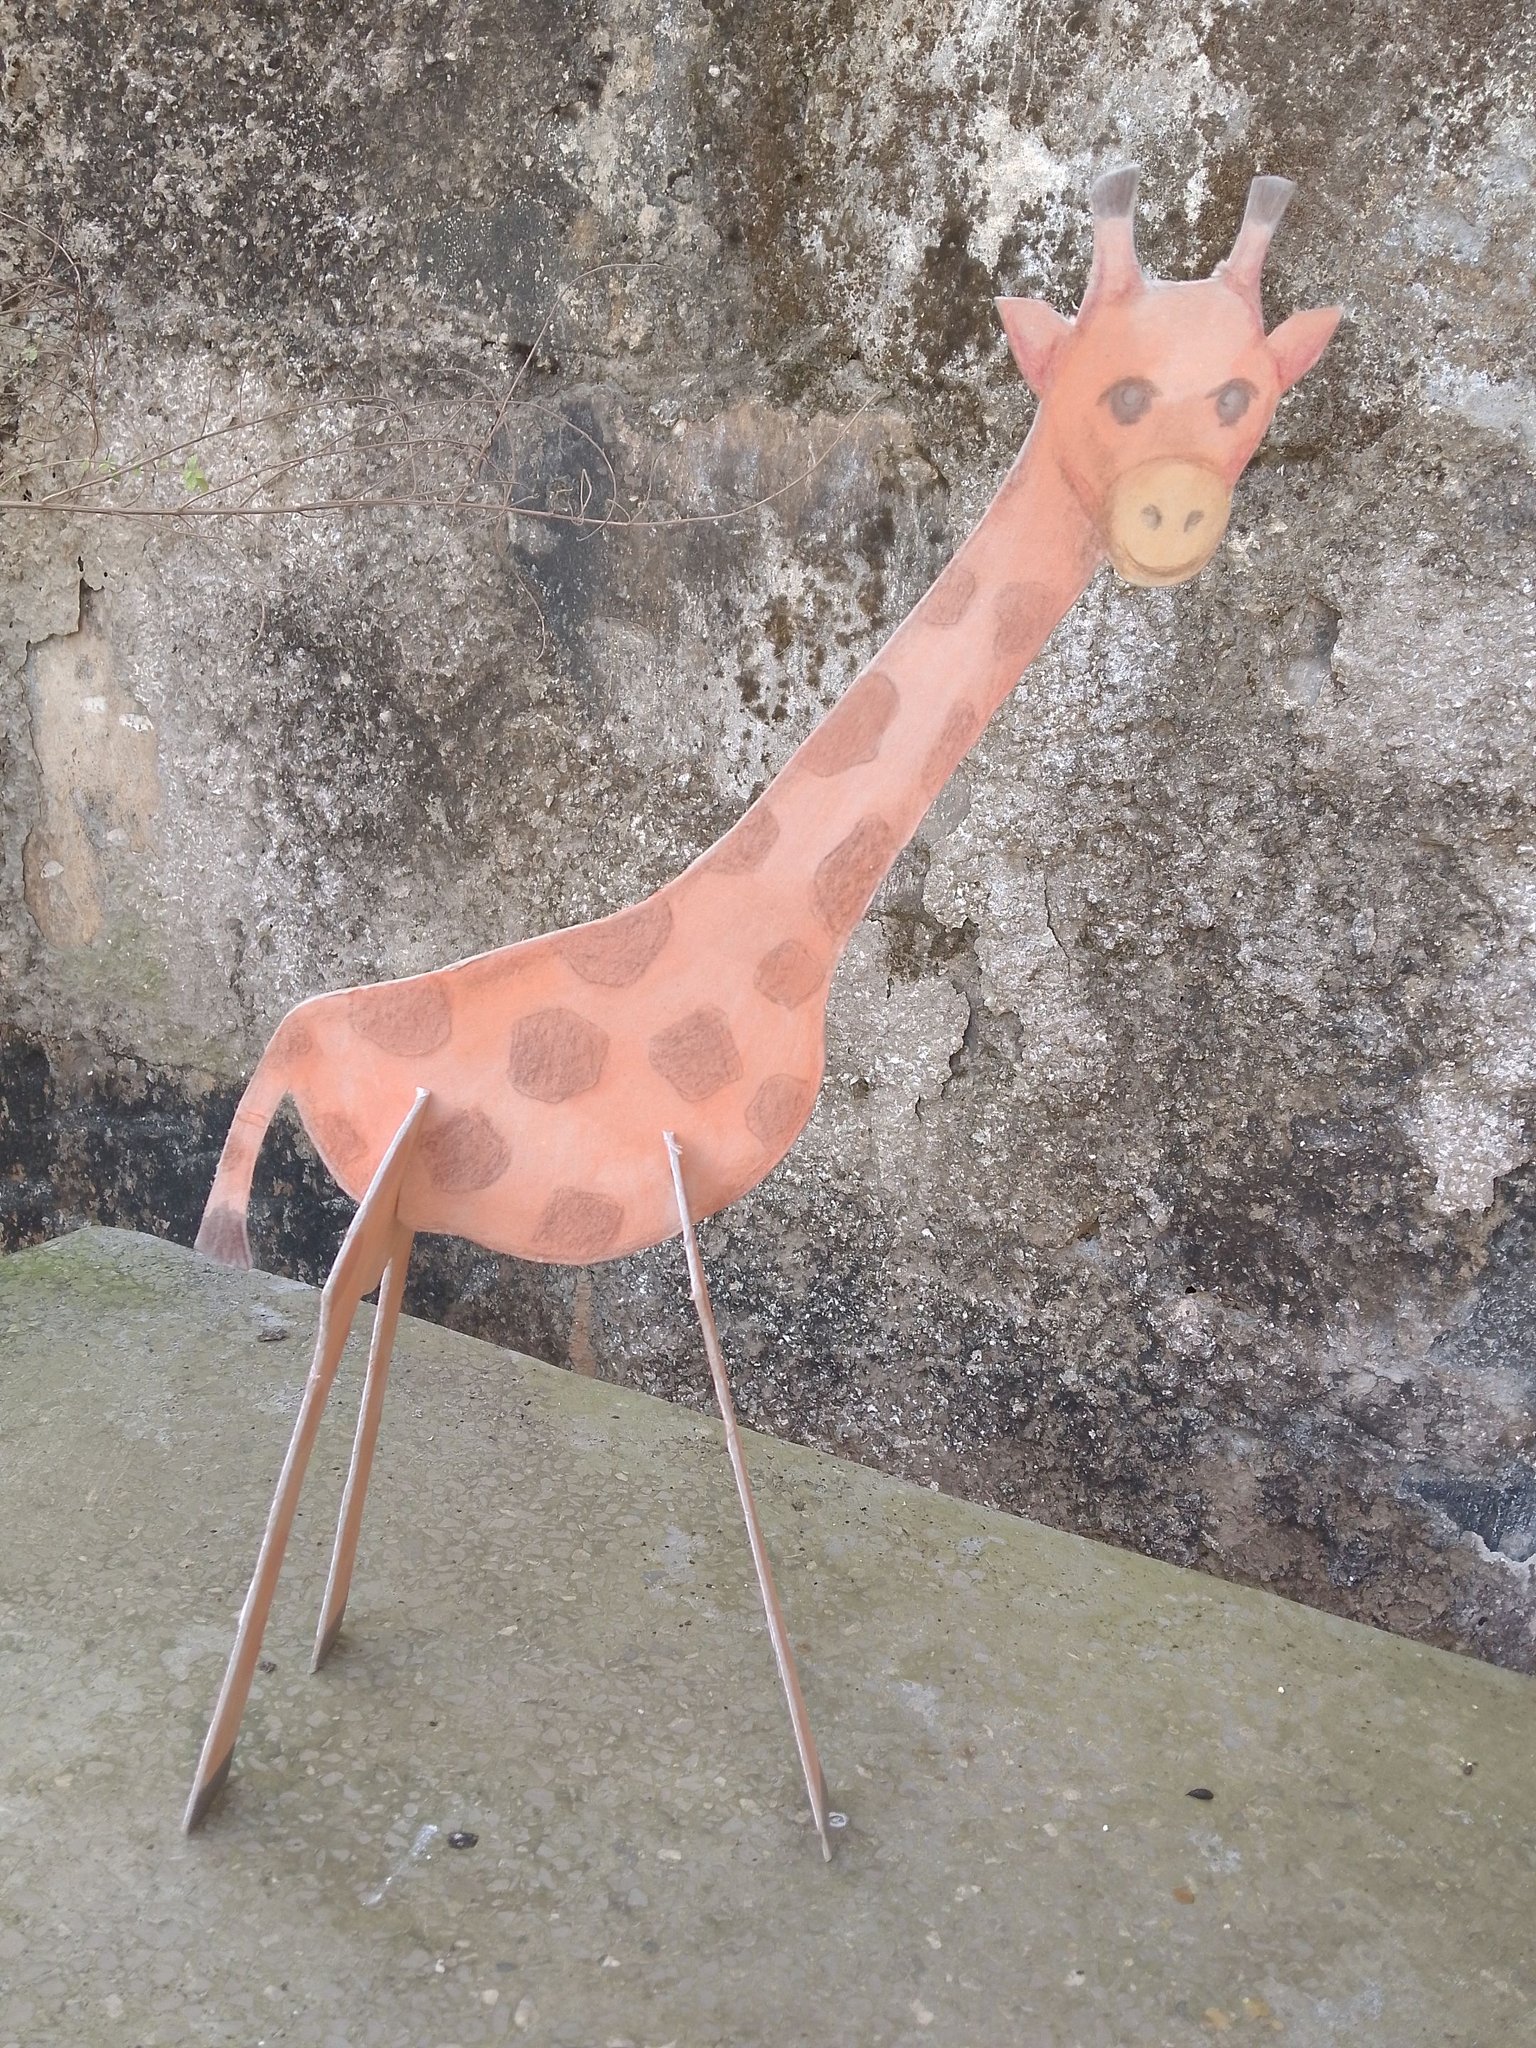
And that's it !!!Our giraffe has been ready to retrace the meadows of the imagination.
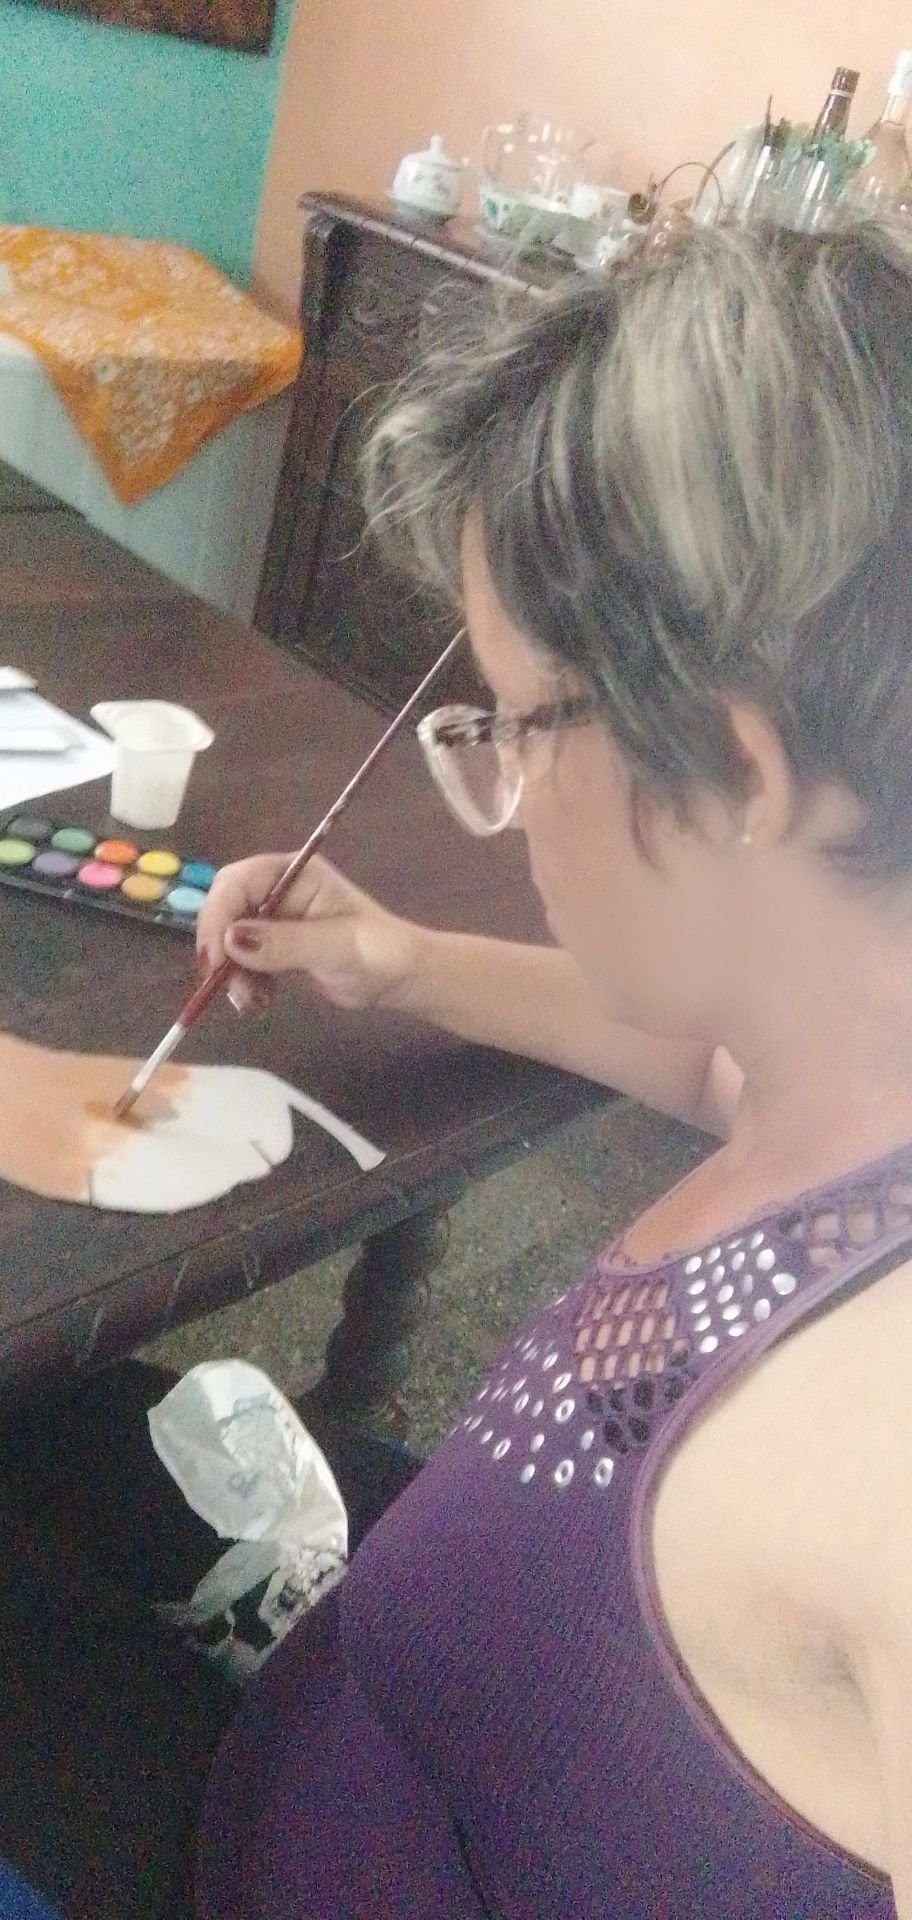
Performing this type of work not only implies the direct participation in the most “academic” education of our children, but also guarantees a level of creative dialogue with it, promoting their abilities and values.As you can see it is a simple and productive way to invest our free time and fill our spirit with the usefulness of working with our own hands.The sensation is very satisfactory.
I hope they are encouraged to try this type of techniques and, who knows, can even produce their own minizoological.I say goodbye to a new post.
Hugs of light !!!
All rights over text and photographs belong to me.
The banners were designed by me by Canva.

Saludos, comunidad creativa de #DIY Hub!!!
La maternidad nos mueve en todas las zonas posibles y, como tal, pone a prueba nuestra capacidad de generar ideas en pro del desarrollo de nuestros hijos. Hace algunos días me he visto envuelta en un proyecto que me ha motivado muchísimo; para ello he dispuesto mis ratos libres. Se trata de una convocatoria que lanzaron en el jardín de niños adonde asiste mi pequeño de tres años y que consiste en crear un juguete rústico con inspiración en animales.
Puse mi inventiva en ello y como a mi pequeño le encantan las jirafas esa fue el animal seleccionado. Traté de construir el juguete, teniendo en cuenta el nivel de desarrollo cognitivo de los nenes a esta edad pero que le propiciara un reto de cualquier manera. En sintonía con esto, elaboré un rompecabezas simple, una jirafa desarmable a partir de técnica de ensamble.
A continuación intentaré ilustrarles el proceso y los materiales necesarios.
Materiales
Cartón rígido
acuarela
lápices de color
tijeras
lápiz
Pasos
| | |
|---|
Dibujar la silueta del cuerpo de nuestro animal en el cartón (Puede ser el animal de su preferencia, esta idea aplica a cualquier animal que usted seleccione). Marcar donde se debe hacer el corte de la ranura en la que se ensamblarán las piezas de las patas
| |
|---|
Dibujar las piezas de las patas y marcar ranuras en la parte superior a centro.
Recortar cada pieza y probar su funcionamiento ensamblando, así se sabrá si se necesita algún
ajuste.
Una vez recortadas las piezas, dar color con acuarela o el pigmento que posea en casa. Puede ser temperas, acrílicos.
| | |
|---|
Reforzar los detalles con lápiz de color para generar efectos de textura visual. Puede emplear también marcadores permanentes.
Y ya está !!!. Nuestra jirafa ha quedado lista para desandar por las praderas de la imaginación.
Realizar este tipo de trabajos, no solo implica la participación directa en la educación más “académica” de nuestros hijos, sino que también garantiza un nivel de diálogo creativo con ello, potenciando sus capacidades y valores. Como ven se trata de una manera simple y productiva de invertir nuestros ratos libre y de llenar nuestro espíritu con la utilidad de trabajar con nuestras propias manos. Es bien satisfactoria la sensación.
Espero se animen a intentar este tipo de técnicas y, quién sabe, hasta puedan producir su propio minizoológico. Me despido hasta un nuevo post.
Abrazos de luz!!!
Todos los derechos sobre texto y fotografías me pertenecen.
Los banners fueron diseñados por mi mediante Canva.