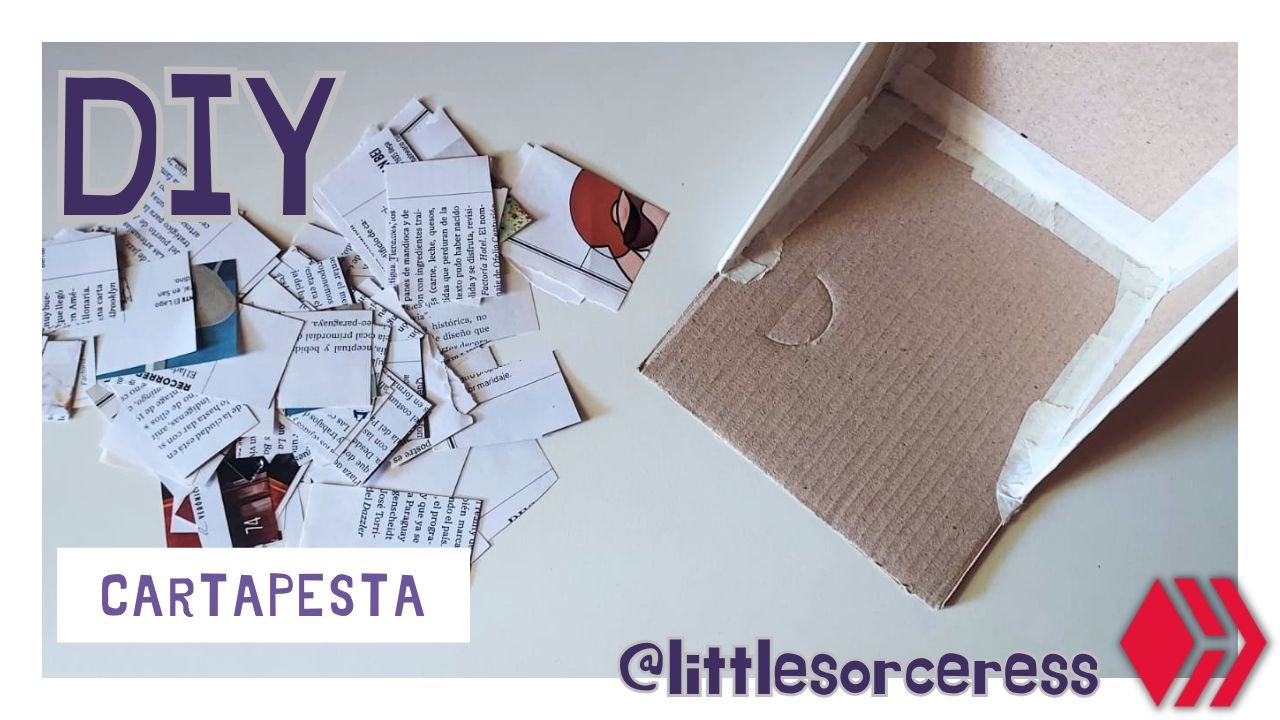
Good morning DIY Hub friends, I hope you are doing great today. I for my part, passing this heat of the end of summer, I dared to make this cartapesta technique to make this cardboard object something durable and beautiful, that would serve and decorate. I hope you like it and you can understand in the images what I have done.
VERSION EN ESPAÑOL (click aquí!)
Buen día amigos de DIY Hub, espero que estén genial hoy. Yo por mi parte, pasando este calor del fin de verano, me atreví a hacer esta técnica de cartapesta para hacer de este objeto de cartón algo duradero y bonito, que sirviera y decore. Ojalá les guste y se pueda comprender en las imágenes lo realizado.
 |  |
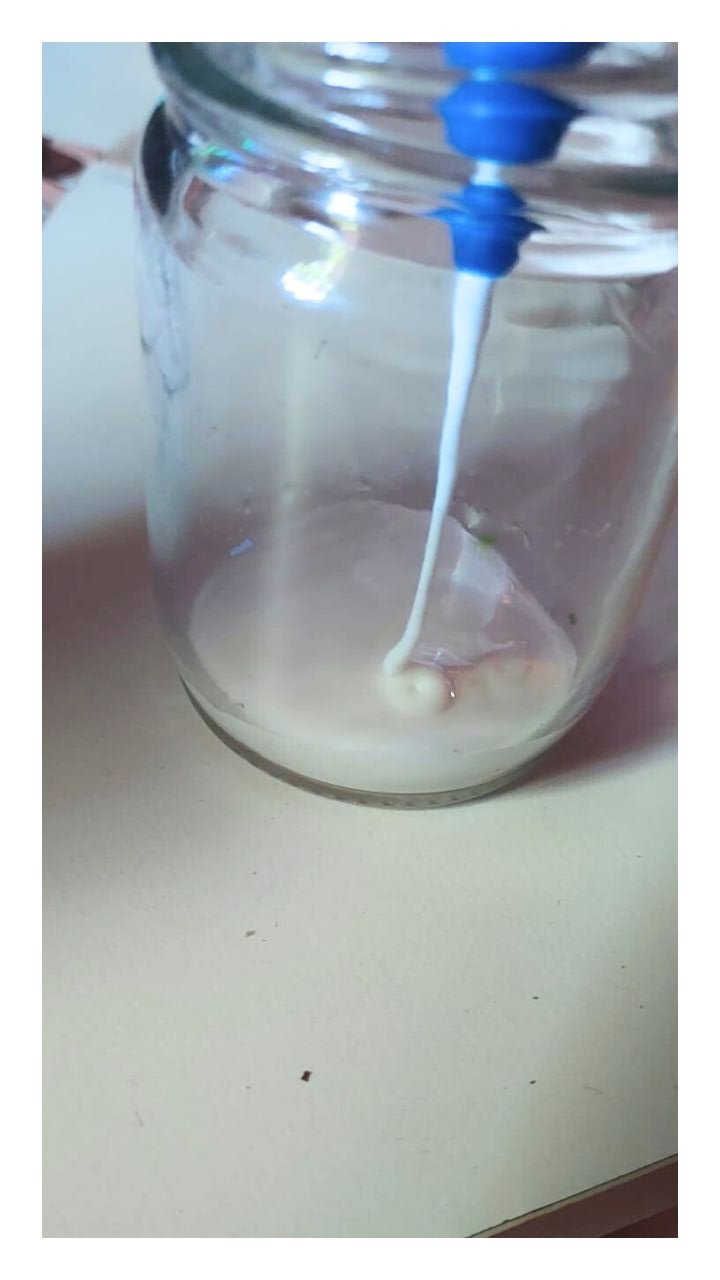
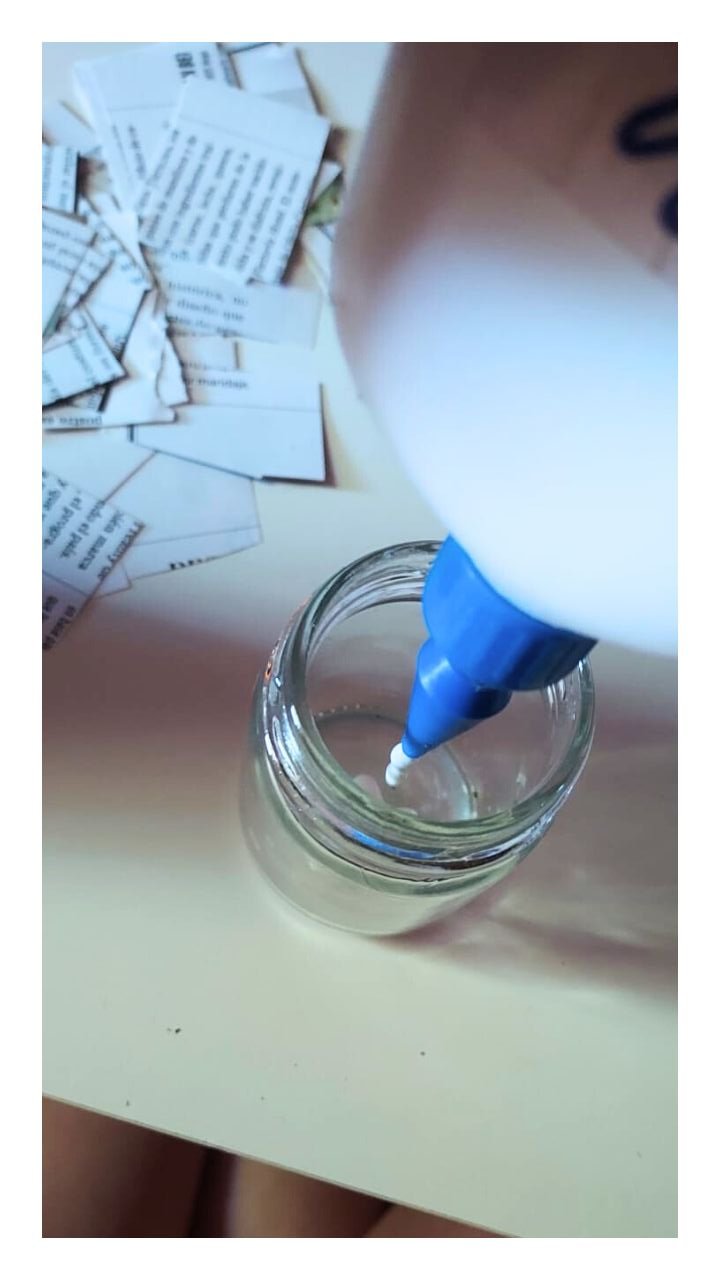
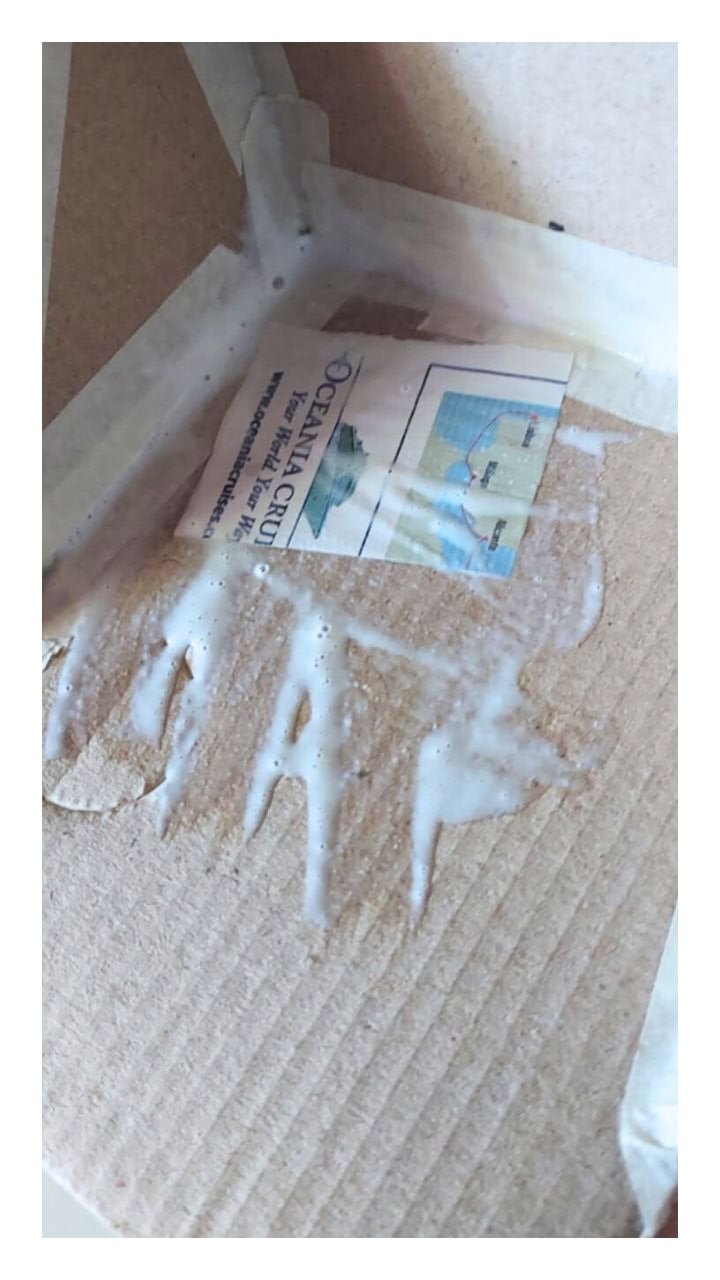
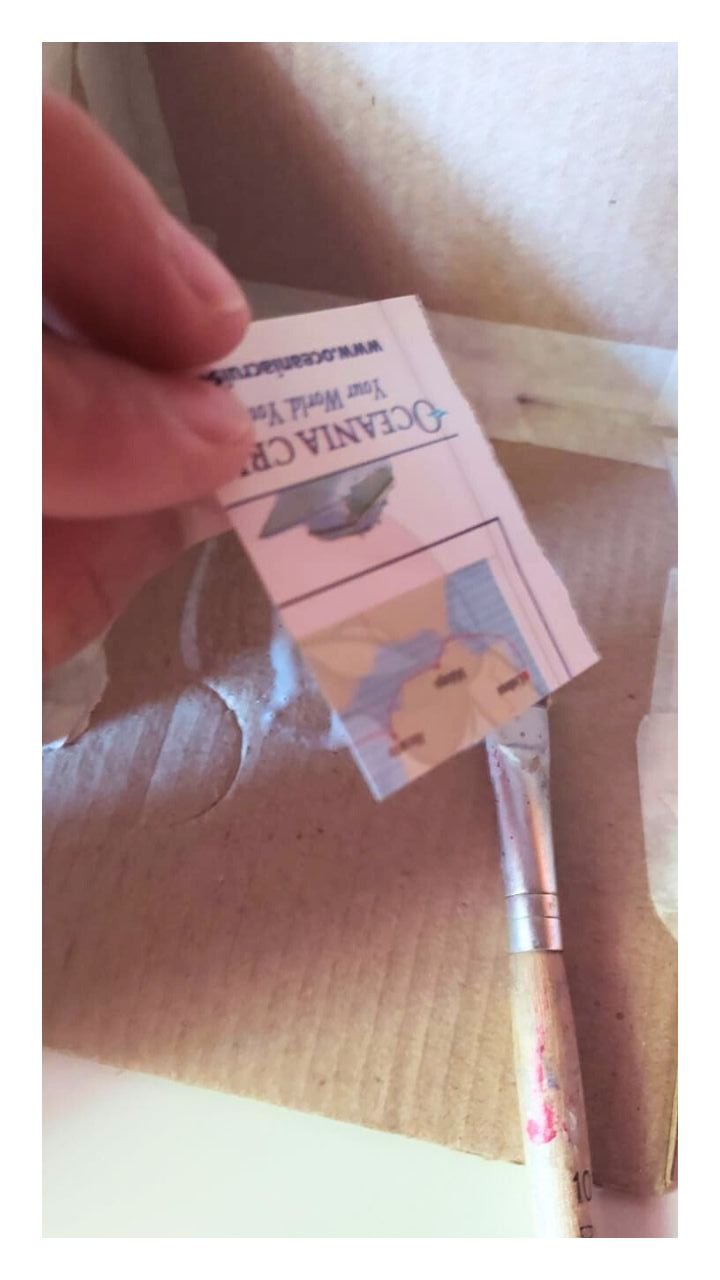
As for the step by step it is very intuitive and does not need much order. We cut pieces of paper first, and then we put in a jar, glass, container 50% water and 50% vinyl glue (or plasticola as it is called in Argentina), I helped me with a brush and started without hesitation, although I ended up making this craft, a mess with my hands haha.
VERSION EN ESPAÑOL (click aquí!)
En cuanto al paso a paso es muy intuitivo y no necesita mucho orden. Cortamos pedacitos de papel primero, y luego colocamos en un frasco, vaso, recipiente 50%de agua y 50% de cola vinílica (o plasticola como se llama en Argentina), yo me ayudé con un pincel y comencé sin dudar, aunque terminé haciendo de esta manualidad, un enchastre con mis manos jaja
 |  |
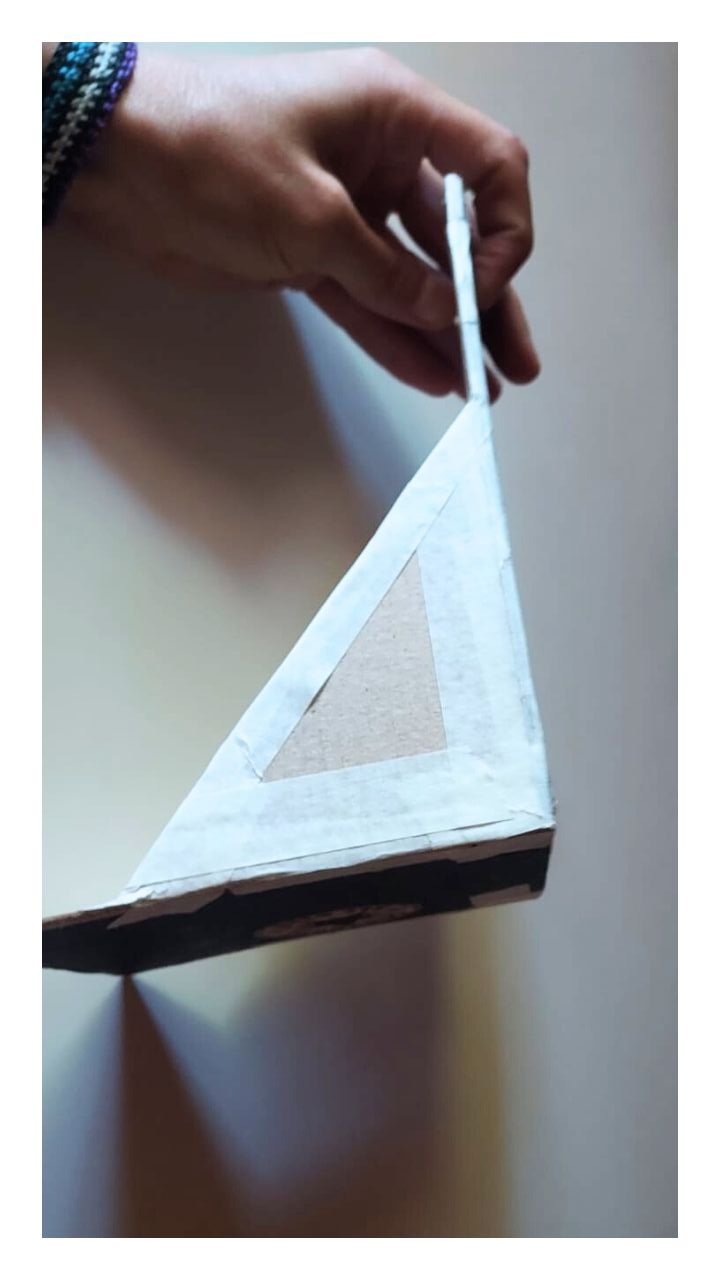
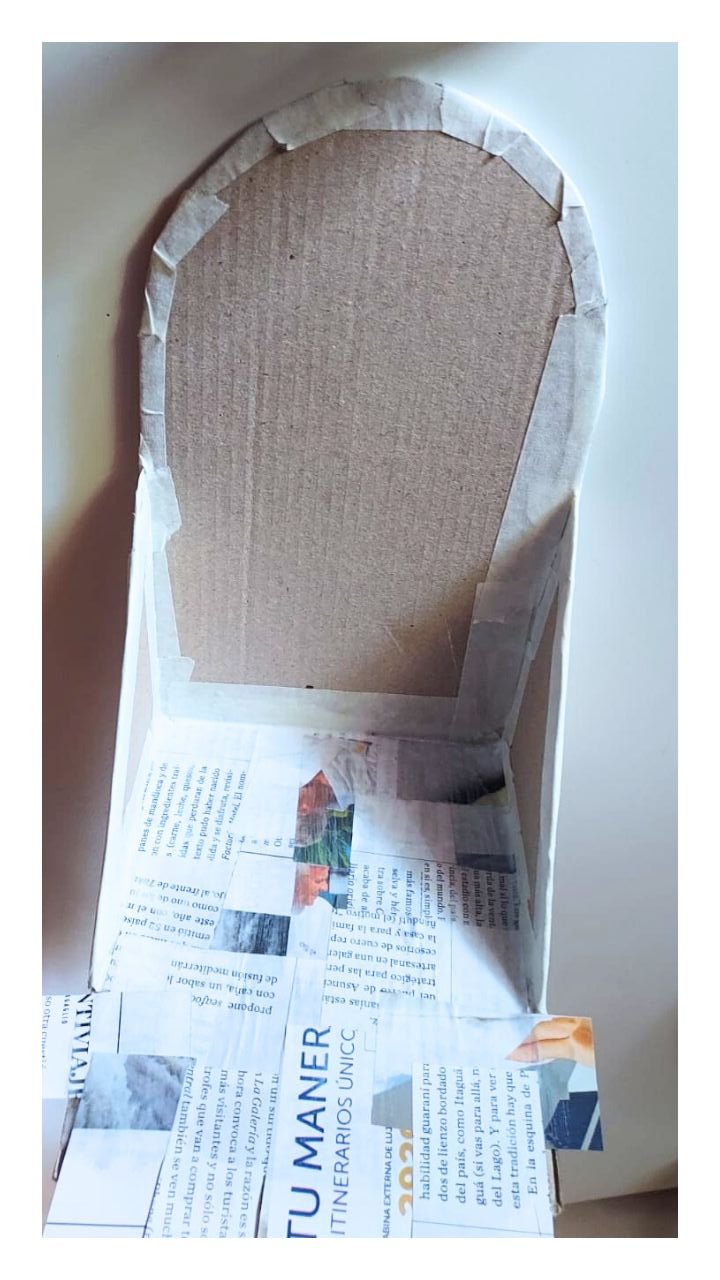
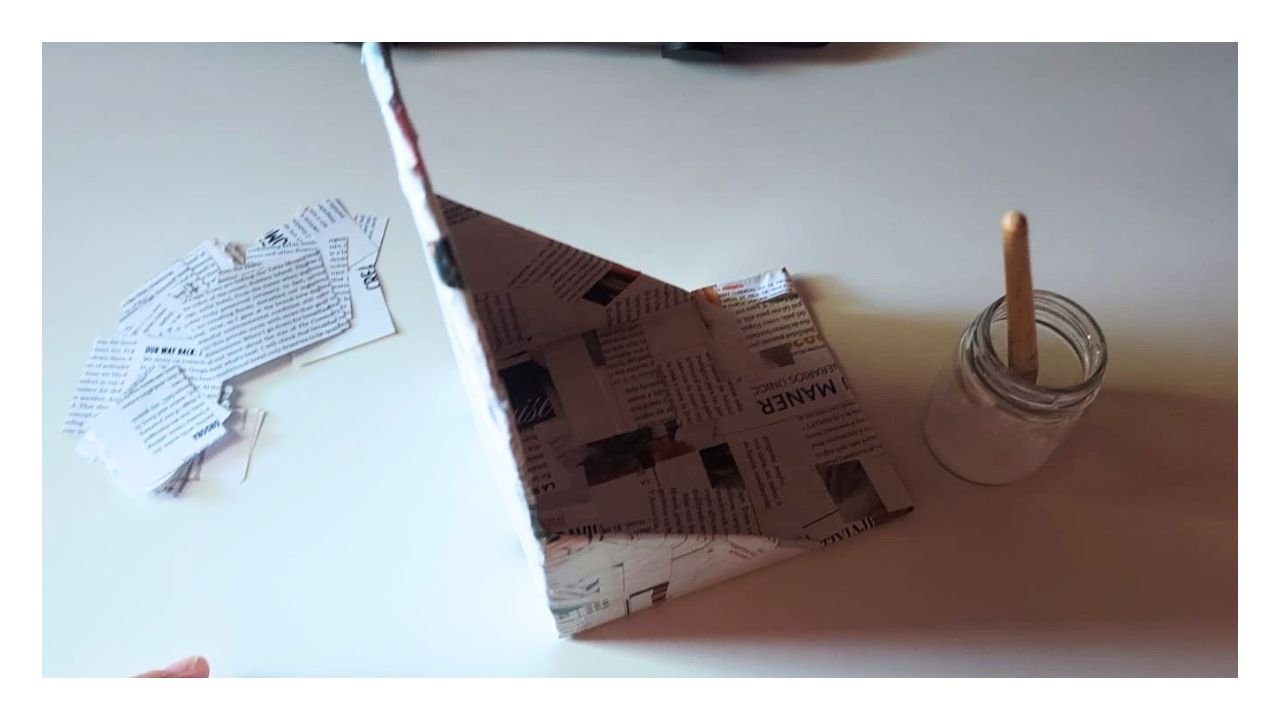
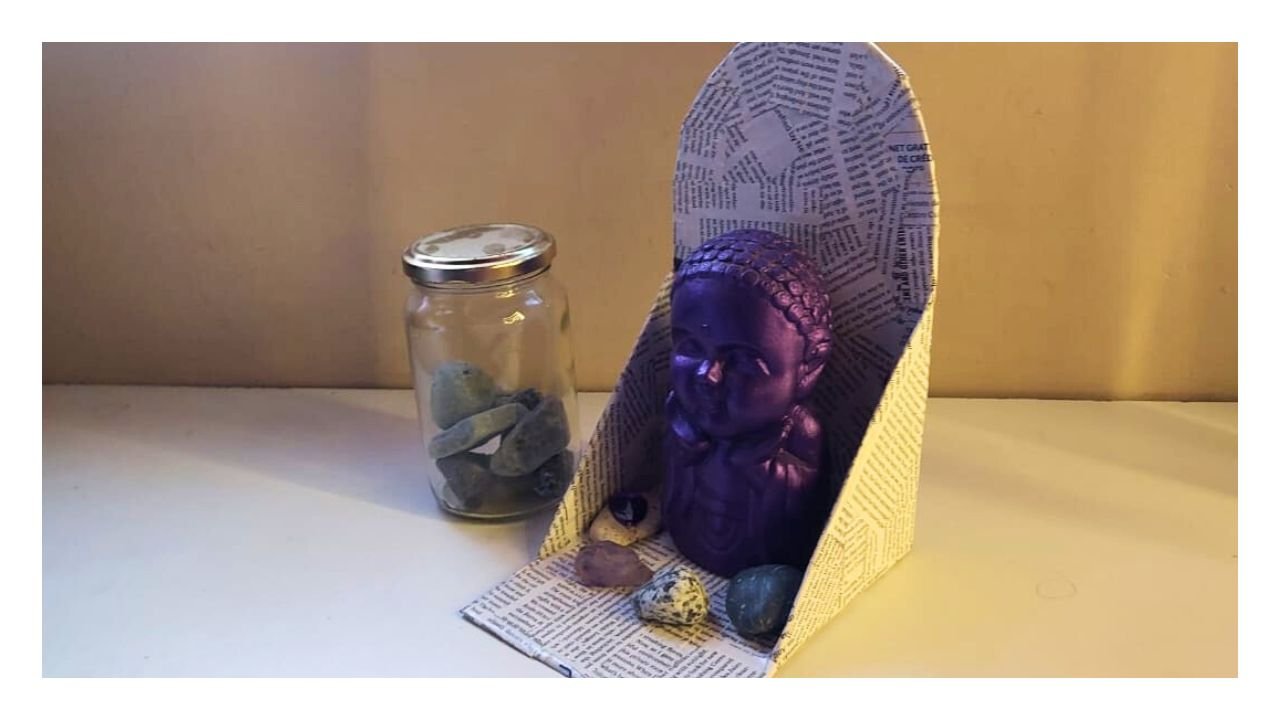
Before showing how it progresses, let me tell you about the object created in cardboard. At some point I saw it on Pinterest made with ceramic, and as I do not master that technique, but I loved the object, I decided to create it in cardboard, I cut out the pieces, I was gluing the parts and reinforced with more tape. For the use I was going to give it, it didn't need to be much more resistant, but it wasn't pretty, so I decided that this technique would be the ideal decoration.
VERSION EN ESPAÑOL (click aquí!)
Antes de mostrar cómo se avanza, déjenme contarles sobre el objeto creado en cartón. En algún momento lo vi en Pinterest hecho con cerámica, y como yo no domino esa técnica, pero me encantaba el objeto, decidí crearlo en cartón, recorté las piezas, fui pegando las partes y reforcé con más cinta. Para el uso que iba a darle no necesitaba ser mucho más resistente, pero no era bonito, así es que decidí que esta técnica sería la decoración idónea.
 |  |
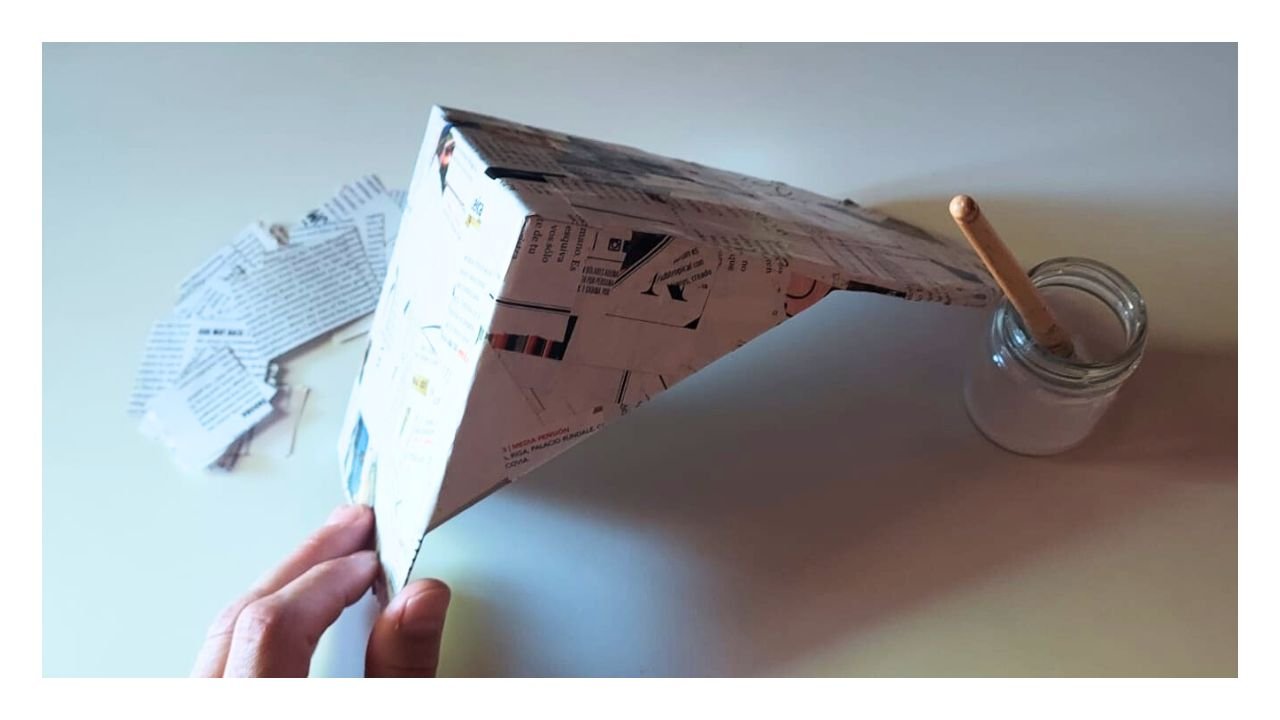
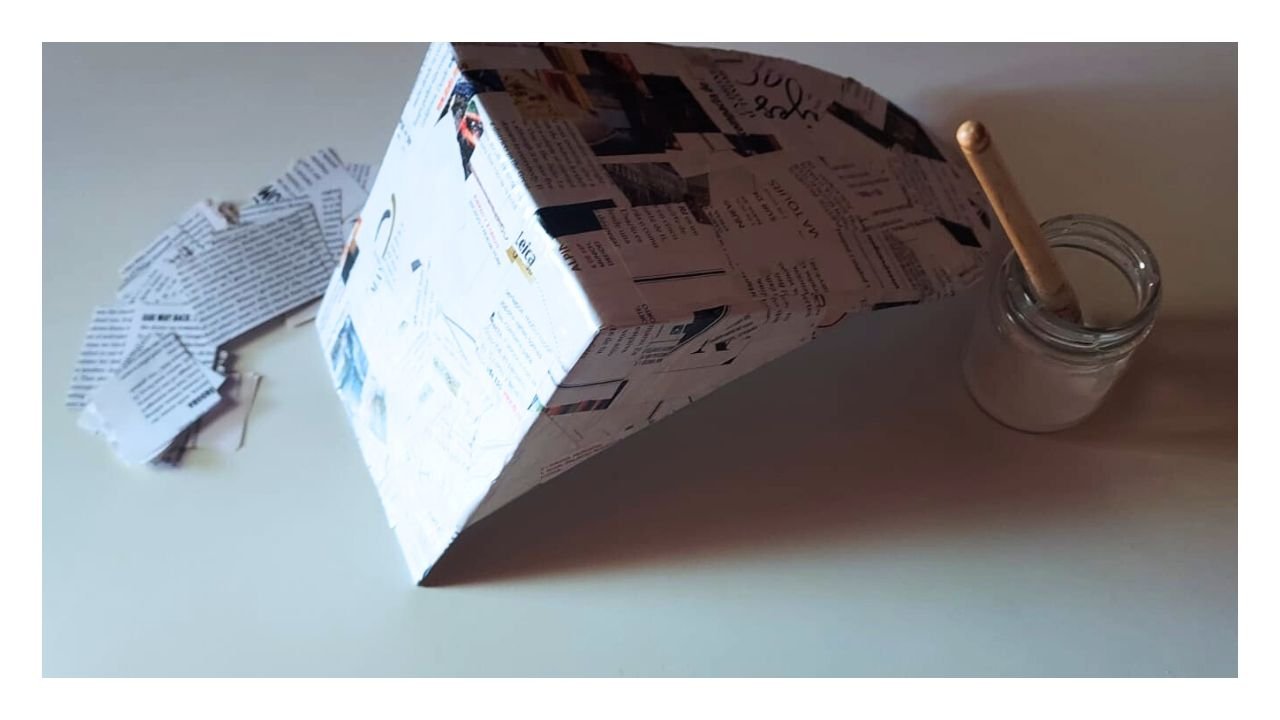
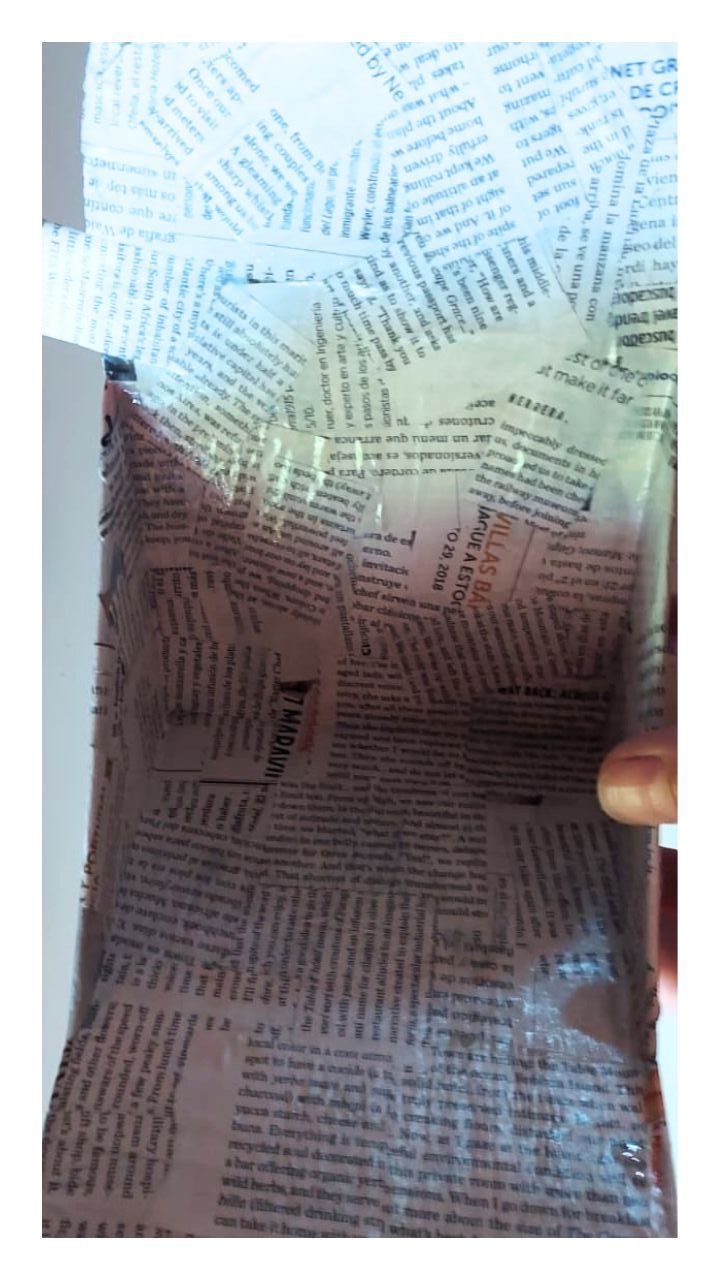
The idea is to cover in different layers, in two or three times, the whole object to achieve its resistance. For this I recommend two options, or use different papers (for example, a brown paper and a white paper) or as was my case, use either side of the paper, and then give a layer of sheets only with letters, to make it monothematic, without blanks or photos.
VERSION EN ESPAÑOL (click aquí!)
La idea es cubrir en distintas capas, en dos o tres veces, todo el objeto para lograr su resistencia. Para esto recomiendo dos opciones, o usar distintos papeles (por ejemplo, un papel marrón y un papel blanco) o como fue mi caso, usar cualquier lado del papel, y luego dar una capa de hojas solo con letras, para que quede monotemático, sin espacios en blanco o con fotos.
 |  |
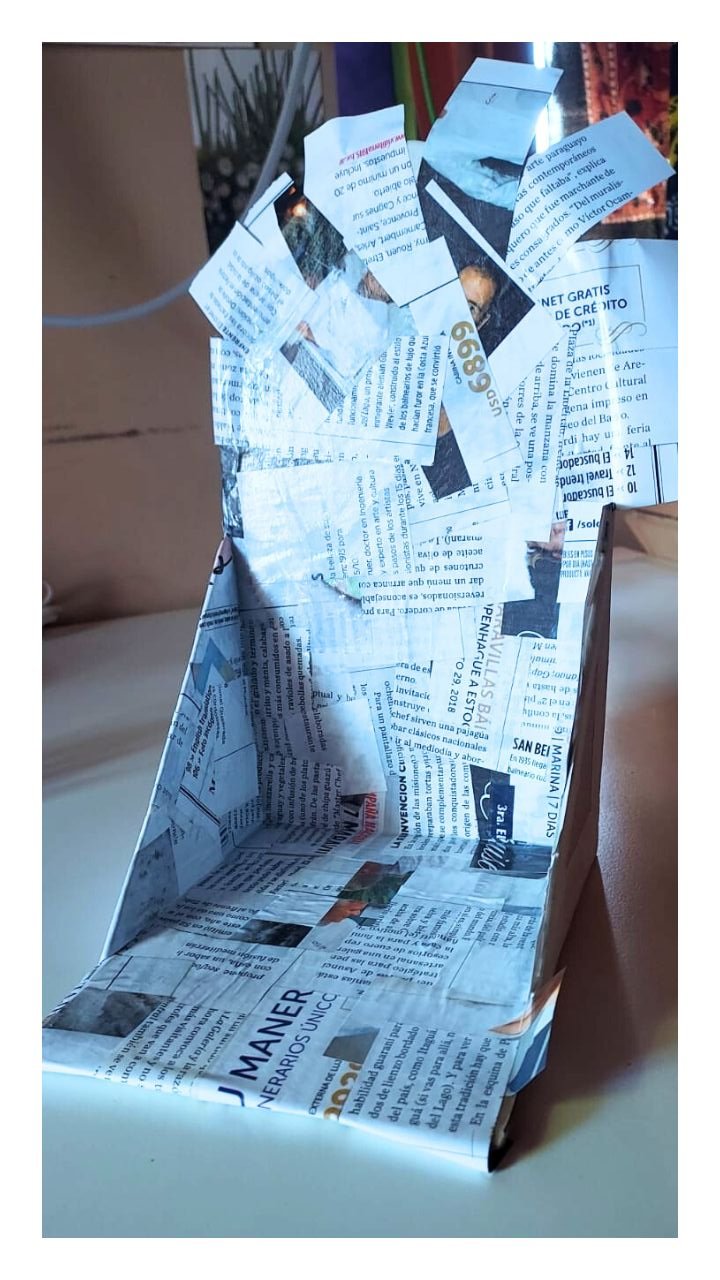
I moved on, I thought something had changed in me as I was being very neat, layer of glue, paper, and more glue. Interspersing the papers, covering the edges and the nooks and crannies.I like to give the edges this width, and when I flip the object over, continue from there, with the excess paper, to prevent it from opening in this part, or peeling off easily. I was clearly achieving the goal, I waited for it to dry on one side to flip it over and continue, once the first layer was finished, I waited.
VERSION EN ESPAÑOL (click aquí!)
Avancé, pensé que había cambiado algo en mi ya que estaba siendo muy prolija, capa de pegamento, papel, y más pegamento. Intercalando los papelitos, cubriendo los bordes y los recovecos. A mi me gusta darle a los bordes esta amplitud, y al voltear el objeto, continuar desde allí, con el sobrante de papel, para evitar que se abra en esta parte, o se despegue con facilidad. Estaba logrando el objetivo con claridad, esperé que seque un lado para voltearlo y continuar, una vez terminada la primera capa, esperé.
Luckily it did not take long to dry and I could return to my walk, I only did two layers of paper because it was quite resistant, and I still had to make it uniform, it was the only clear idea I had, because I still doubt whether to make a drawing in black marker, but I can not decide.
VERSION EN ESPAÑOL (click aquí!)
Por suerte no tardó mucho en secar y pude volver a mi andanza, solo hice dos capas de papel porque estaba bastante resistente, y me restaba lograr que quedase uniforme, era la unica idea clara que tenía, porque aún dudo si hacerle algun dibujo en rotulador negro, pero no me decido.
The idea is to cover in different layers, in two or three times, the whole object to achieve its resistance. For this I recommend two options, or use different papers (for example, a brown paper and a white paper) or as was my case, use either side of the paper, and then give a layer of sheets only with letters, to make it monothematic, without blanks or photos.
VERSION EN ESPAÑOL (click aquí!)
La verdad es que estoy feliz, porque se ve bonito y es útil, en primer lugar lo quería para colocar mis velitas cuando prendo una para iluminar levemente, pero también mi pequeño Buda violeta, mis piedras, o las cartas de tarot van bien aquí, como si fuese un pequeño altar para cosas varias.
 | 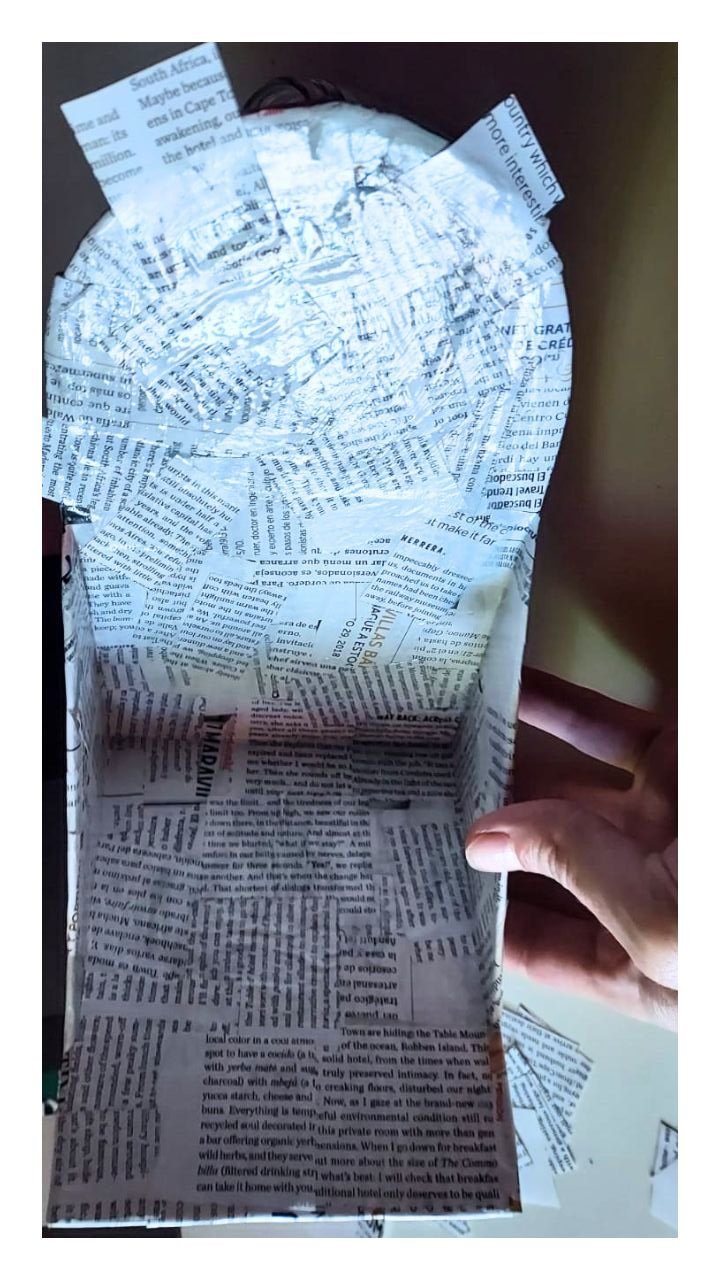 |  |
I don't know if the object itself makes sense to you, but this cartapesta technique is useful for anything in cardboard, for example a frame for photographs, an inflated balloon from which to obtain the circular mold as a bowl or a lamp holder, also to reinforce cardboard boxes, it can also be used on styrofoam or wood, for example on a piece of furniture, in short, the utilities of the technique are varied and multiple. Surely you have tried it, but I always use it whenever I have the opportunity, as a decorative decoupage. Although I don't always have the time, this case was quite fast. It took about an hour and a half, and when I finished I let it dry completely overnight, and it was ready to be used.
VERSION EN ESPAÑOL (click aquí!)
No sé si el objeto en sí tenga sentido para ustedes, pero esta técnica de cartapesta es útil para cualquier cosa en cartón, por ejemplo un marco para fotografías, un globo inflado del cual obtener el molde circular como un bowl o un portalámparas, también para reforzar cajas de cartón, se puede usar sobre telgopor o madera también, por ejemplo sobre un mueble, en fin, son variadas y múltiples las utilidades de la técnica. Seguro la han probado, pero yo siempre que tengo la oportunidad la utilizo, como un decoupage decorativo. Aunque no siempre tengo el tiempo, este caso fue bastante veloz. Tardé cerca de una hora y media, y al terminar dejé secar completamente de un día para el otro, y ya estaba listo para ser usado.
So far I have come today, I send you a greeting and a big hug, I hope you liked it and if you have tried (or plan to try) this technique let me know. Happy day DIY Hub friends <3
VERSION EN ESPAÑOL (click aquí!)
Hasta aquí he llegado hoy, les envío un saludo y un abrazo grande, espero que les haya gustado y si han probado (o piensan probar) esta técnica me lo hagan saber. Feliz día amigos de DIY Hub <3
Thanks for reading me, Kiki✨
Gracias por leerme, Kiki ✨

Let's talk on Discord: littlesorceress #8877
I own the rights to all the photos I used in this post, unless otherwise indicated
Pictures taken with a Samsung A42 📷
I use
DeepLearning for translations
&
Canva for editions
I use
DeepLearning for translations
&
Canva for editions