Today i have decided to make something creative out of clay for this sunday, i have looked for ideas and ended up finding a cute rabbit pair, ( Inspiration here )
So i have decided to make this beautiful rabbit for my art gallery, i have changed colors a little bit according to my choice.
So let's start making this with a step by step Procedure...,
Procedure
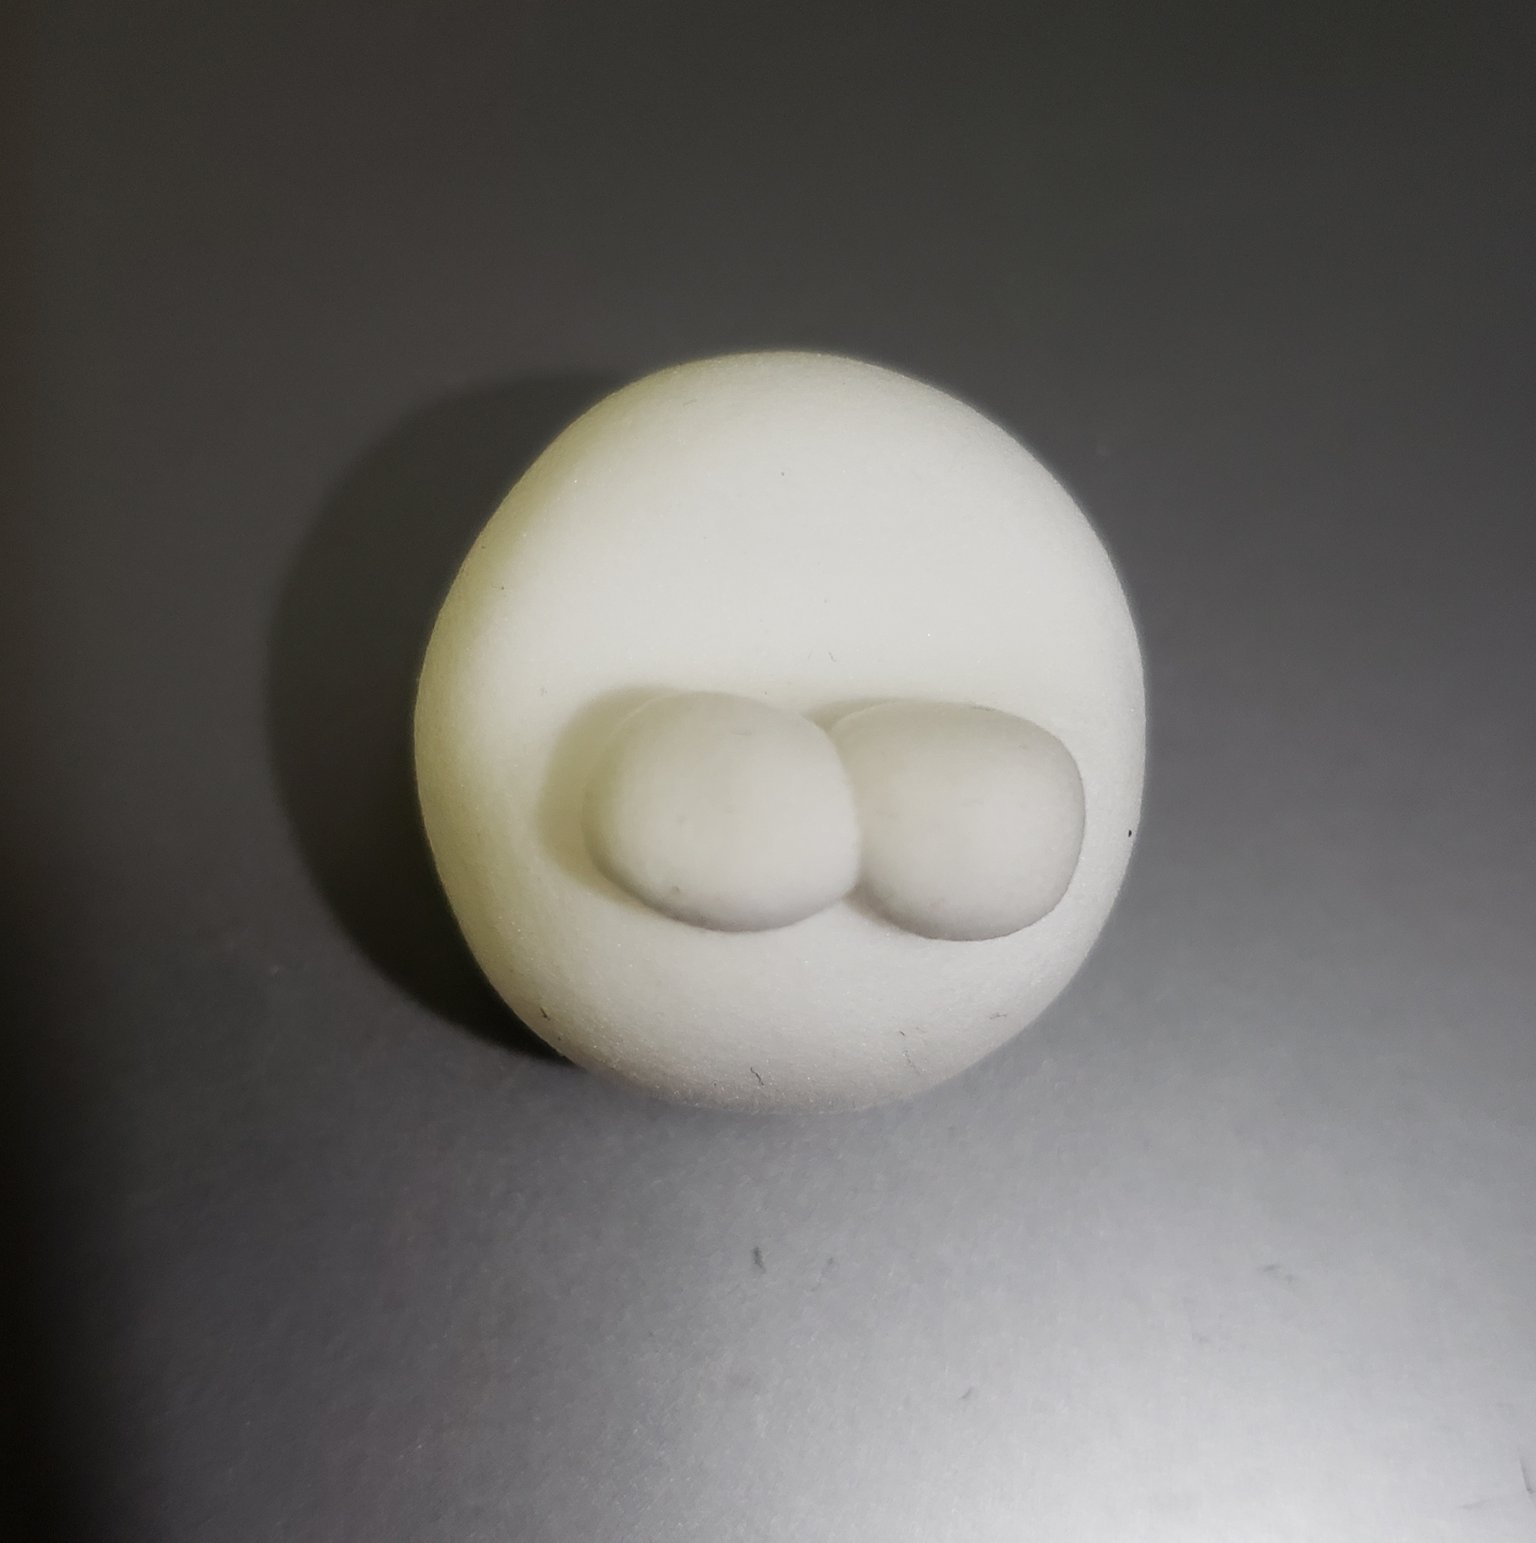
I have started making this cute rabbit by first molding white clay into the shape of a circle and then made the attaching little two balls of white clay on it.
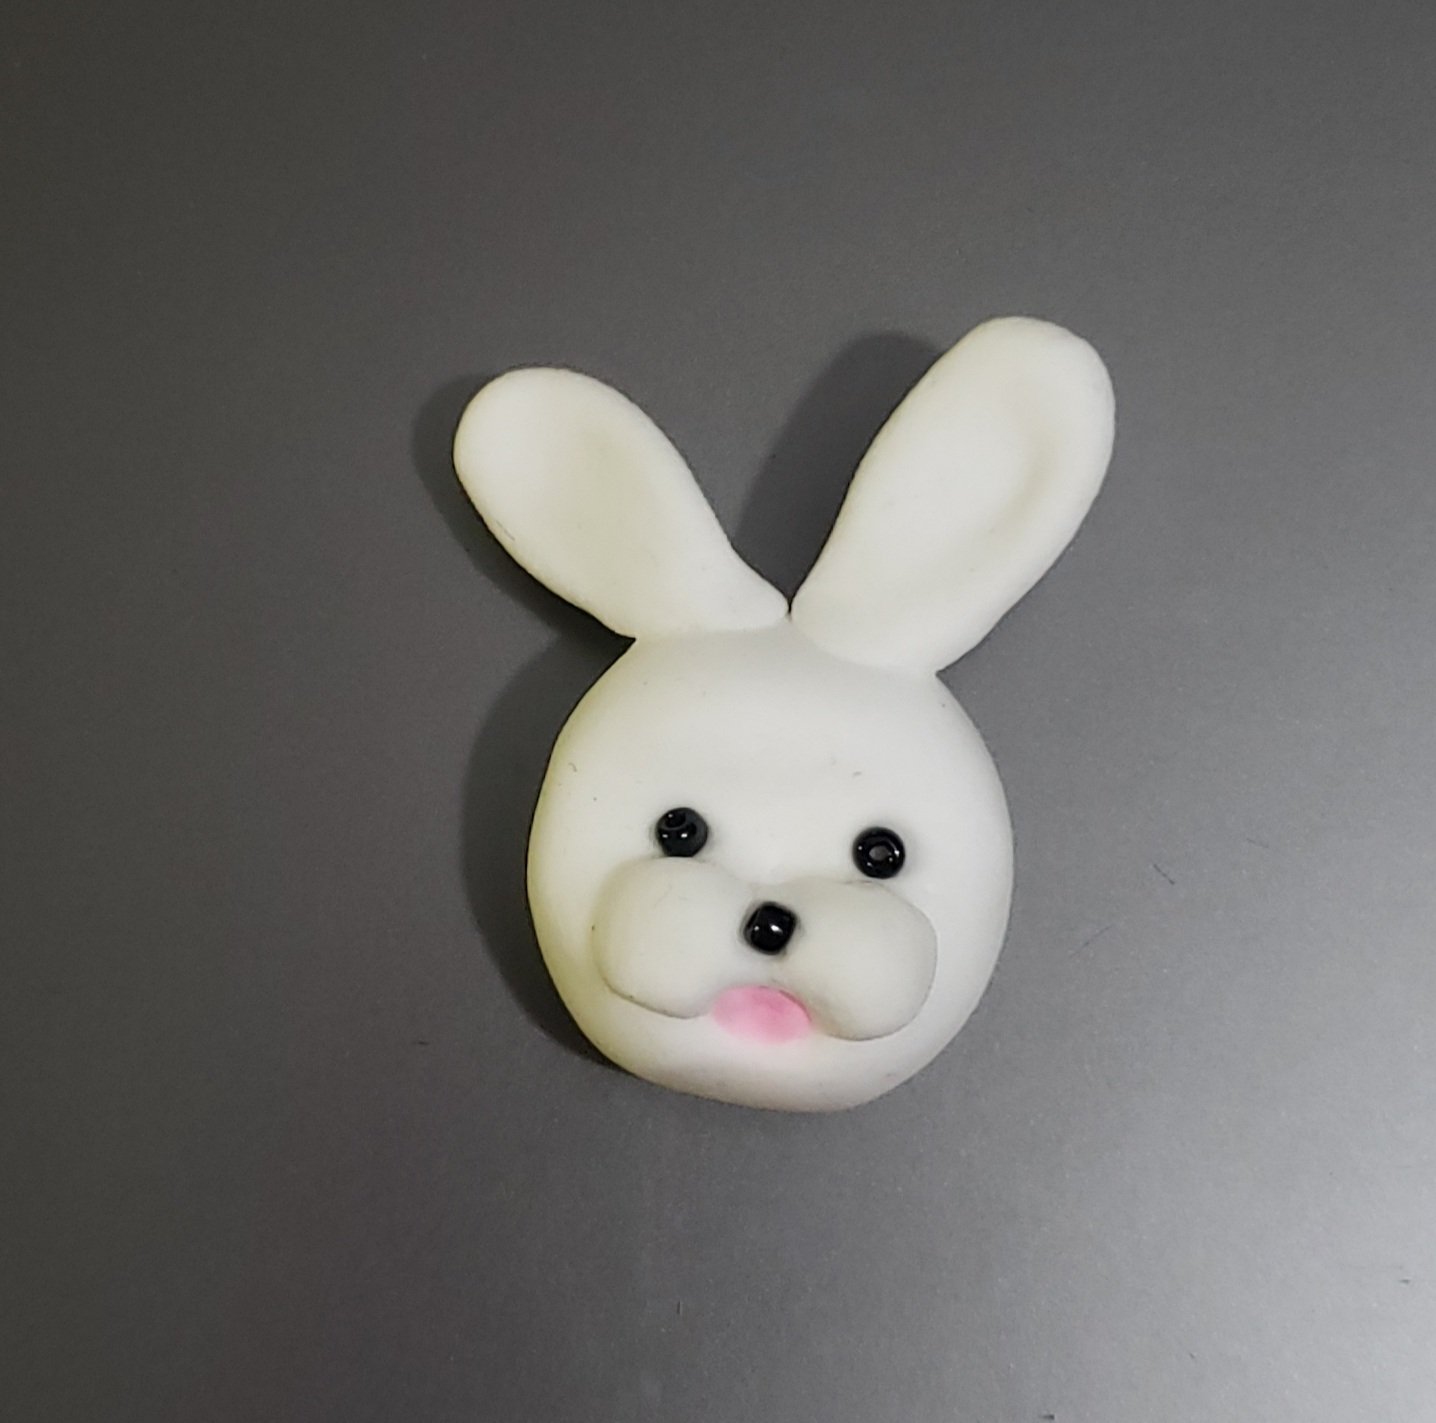
After that i have attached some black beads over the face for completing the face look, and also attaçhed pink clay over some areas on the face and ears.
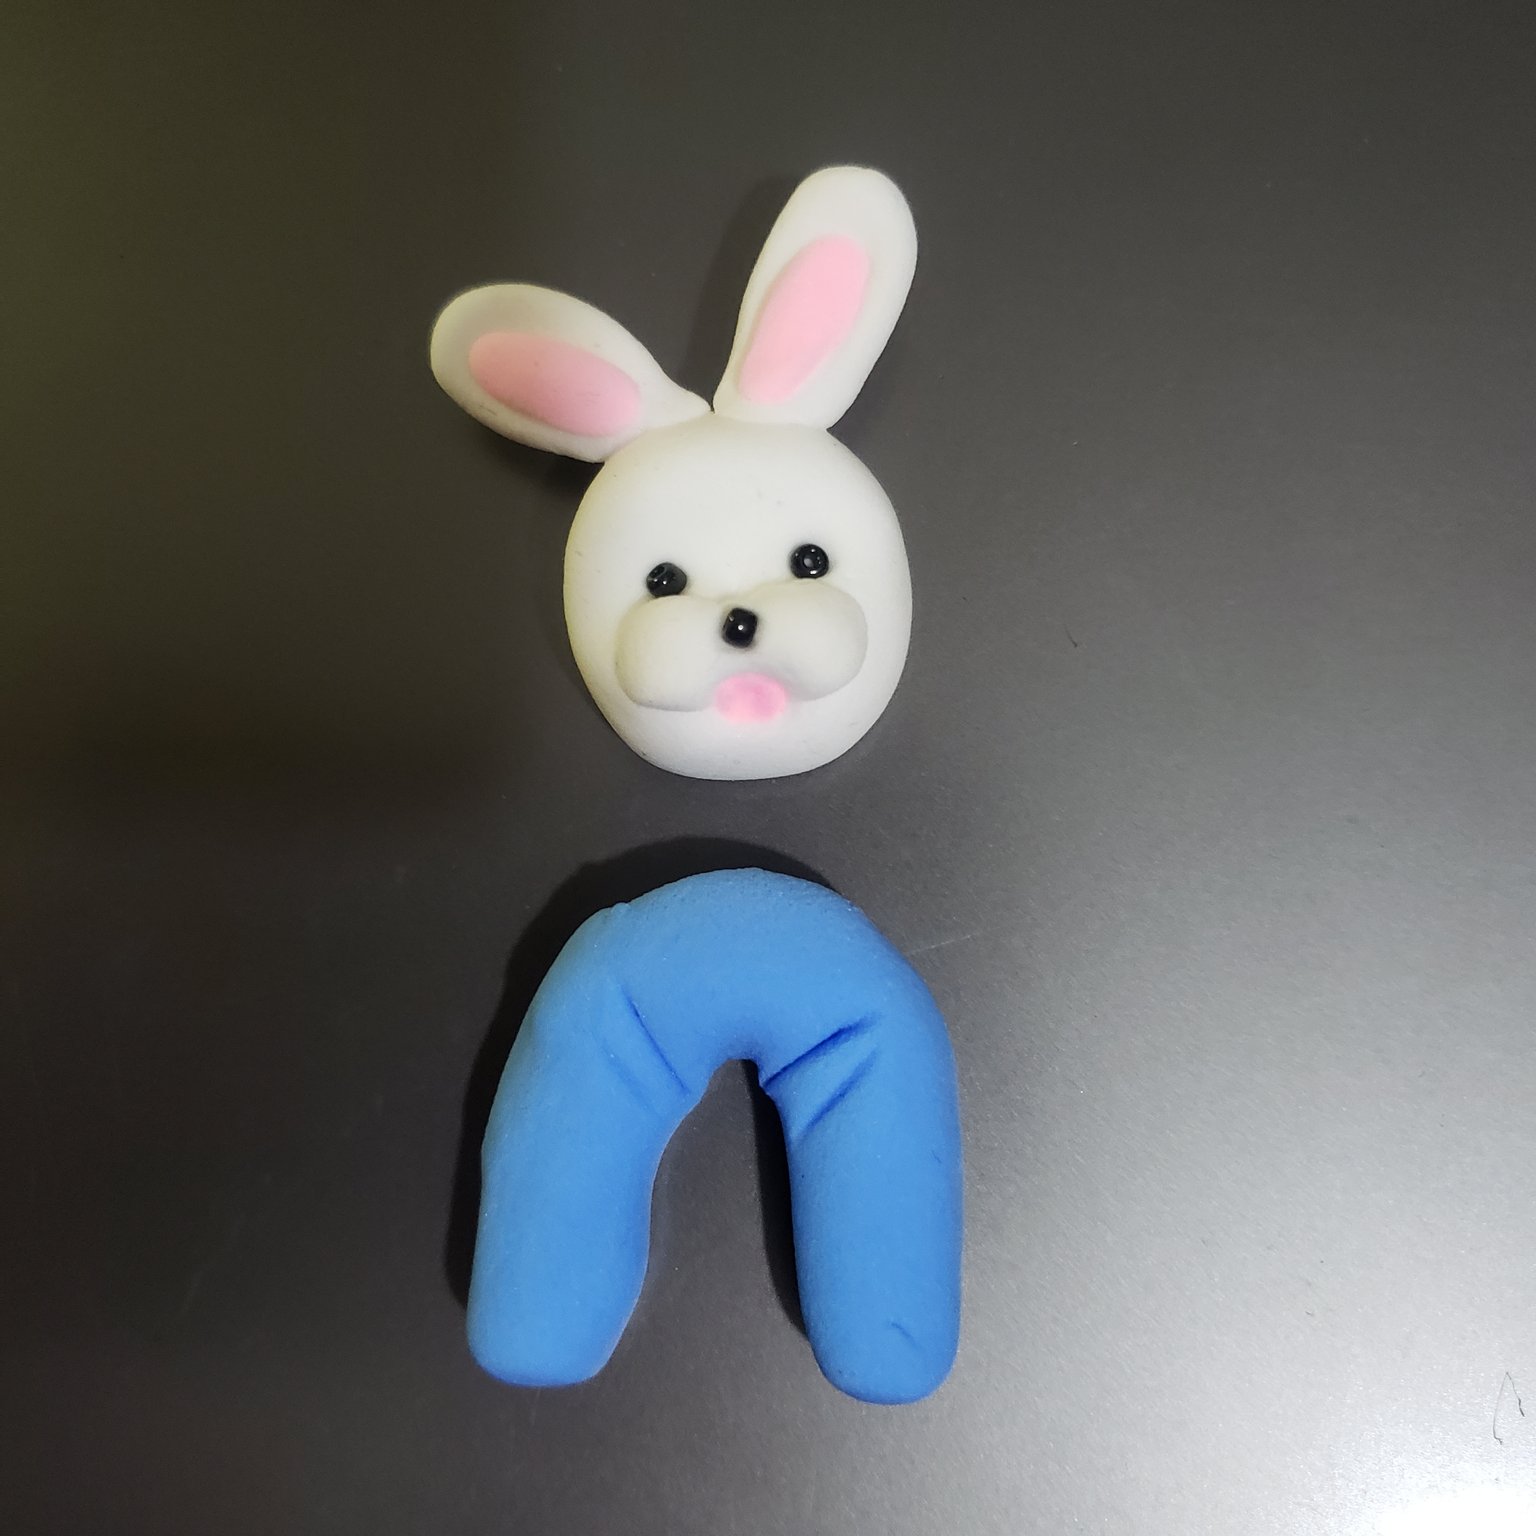
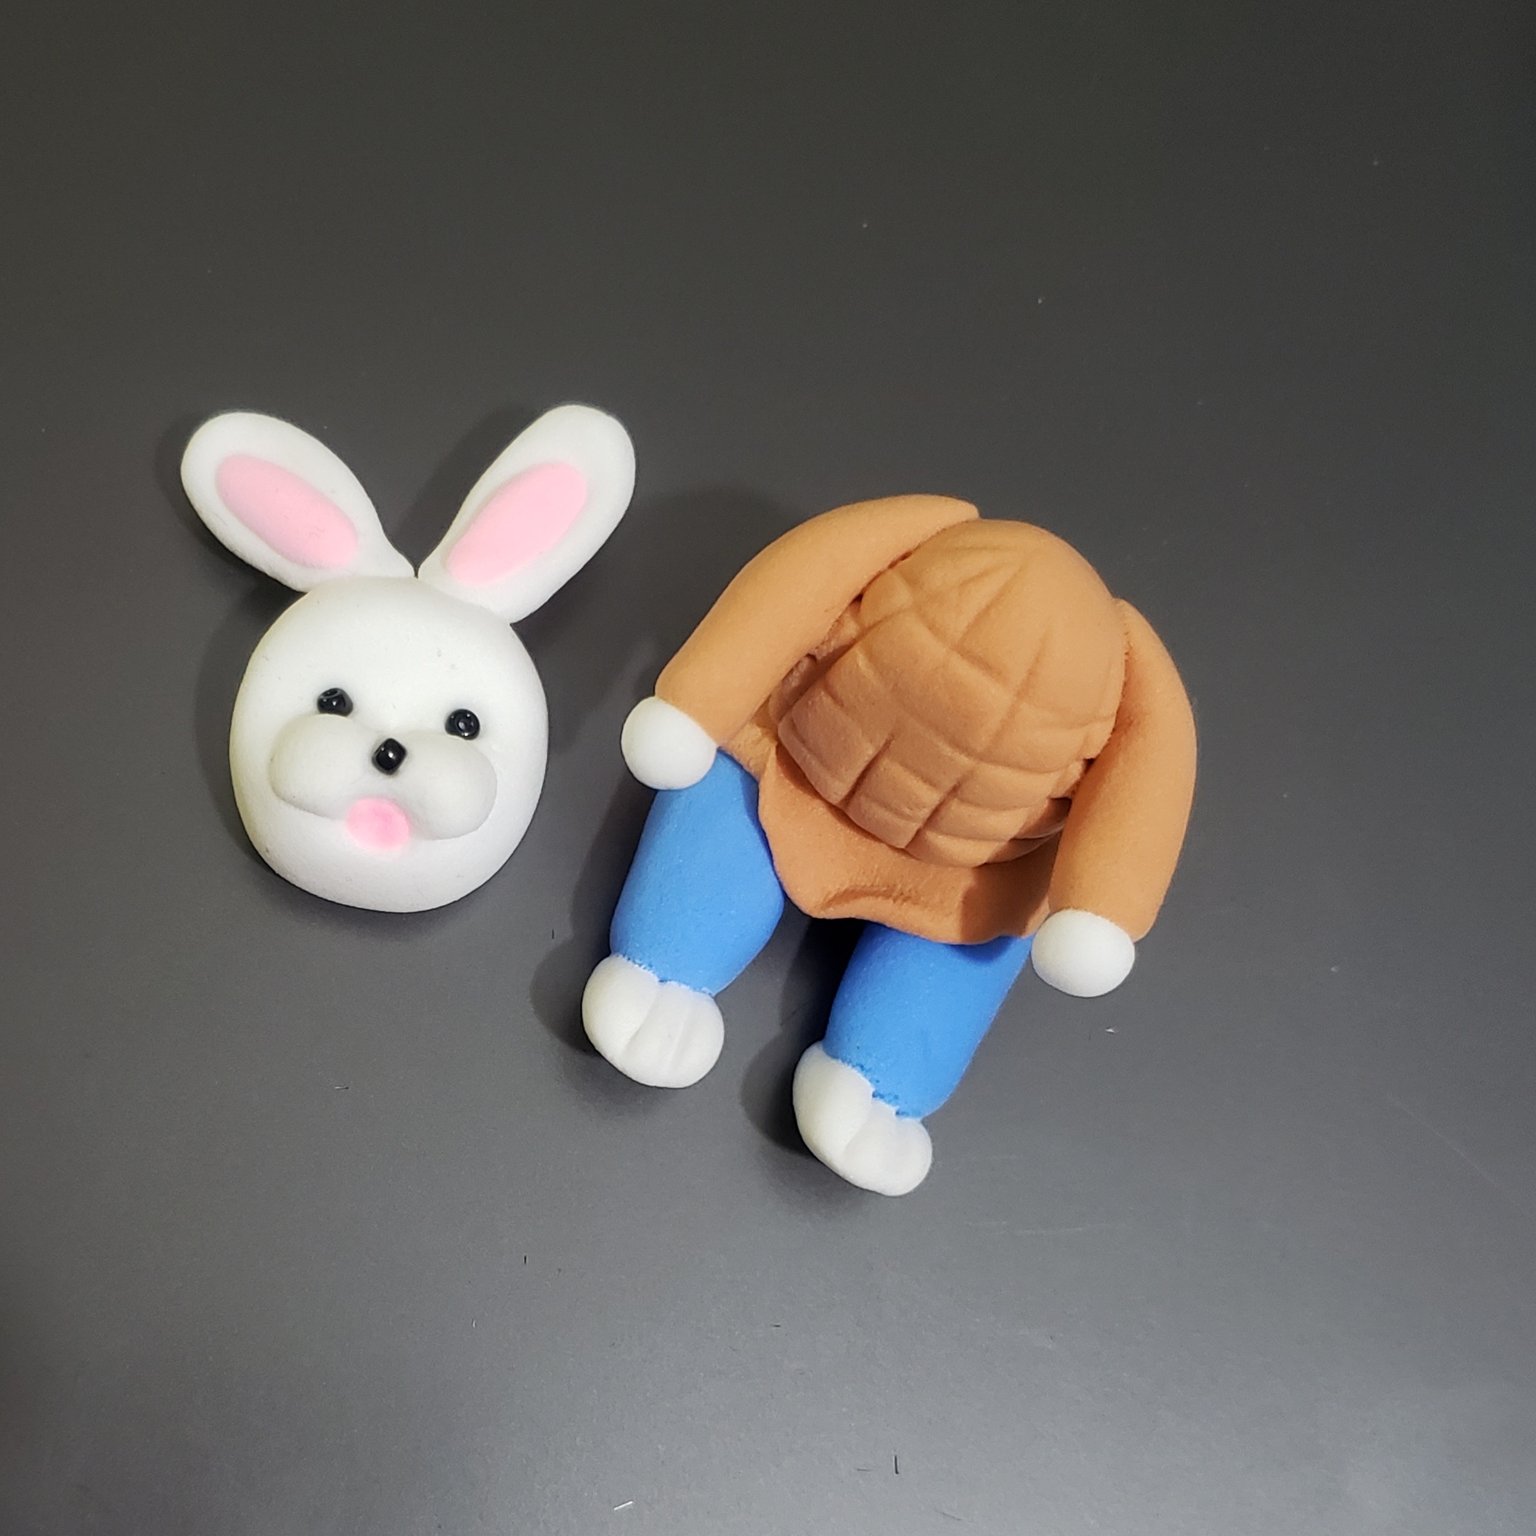
After finishing the details in the face i have moved towards the lower body where first i have made the legs of the rabbit with blue clay, i have just made the cylindrical shape and then with the help of clay tools i have made some bends in that cylindrical clay.
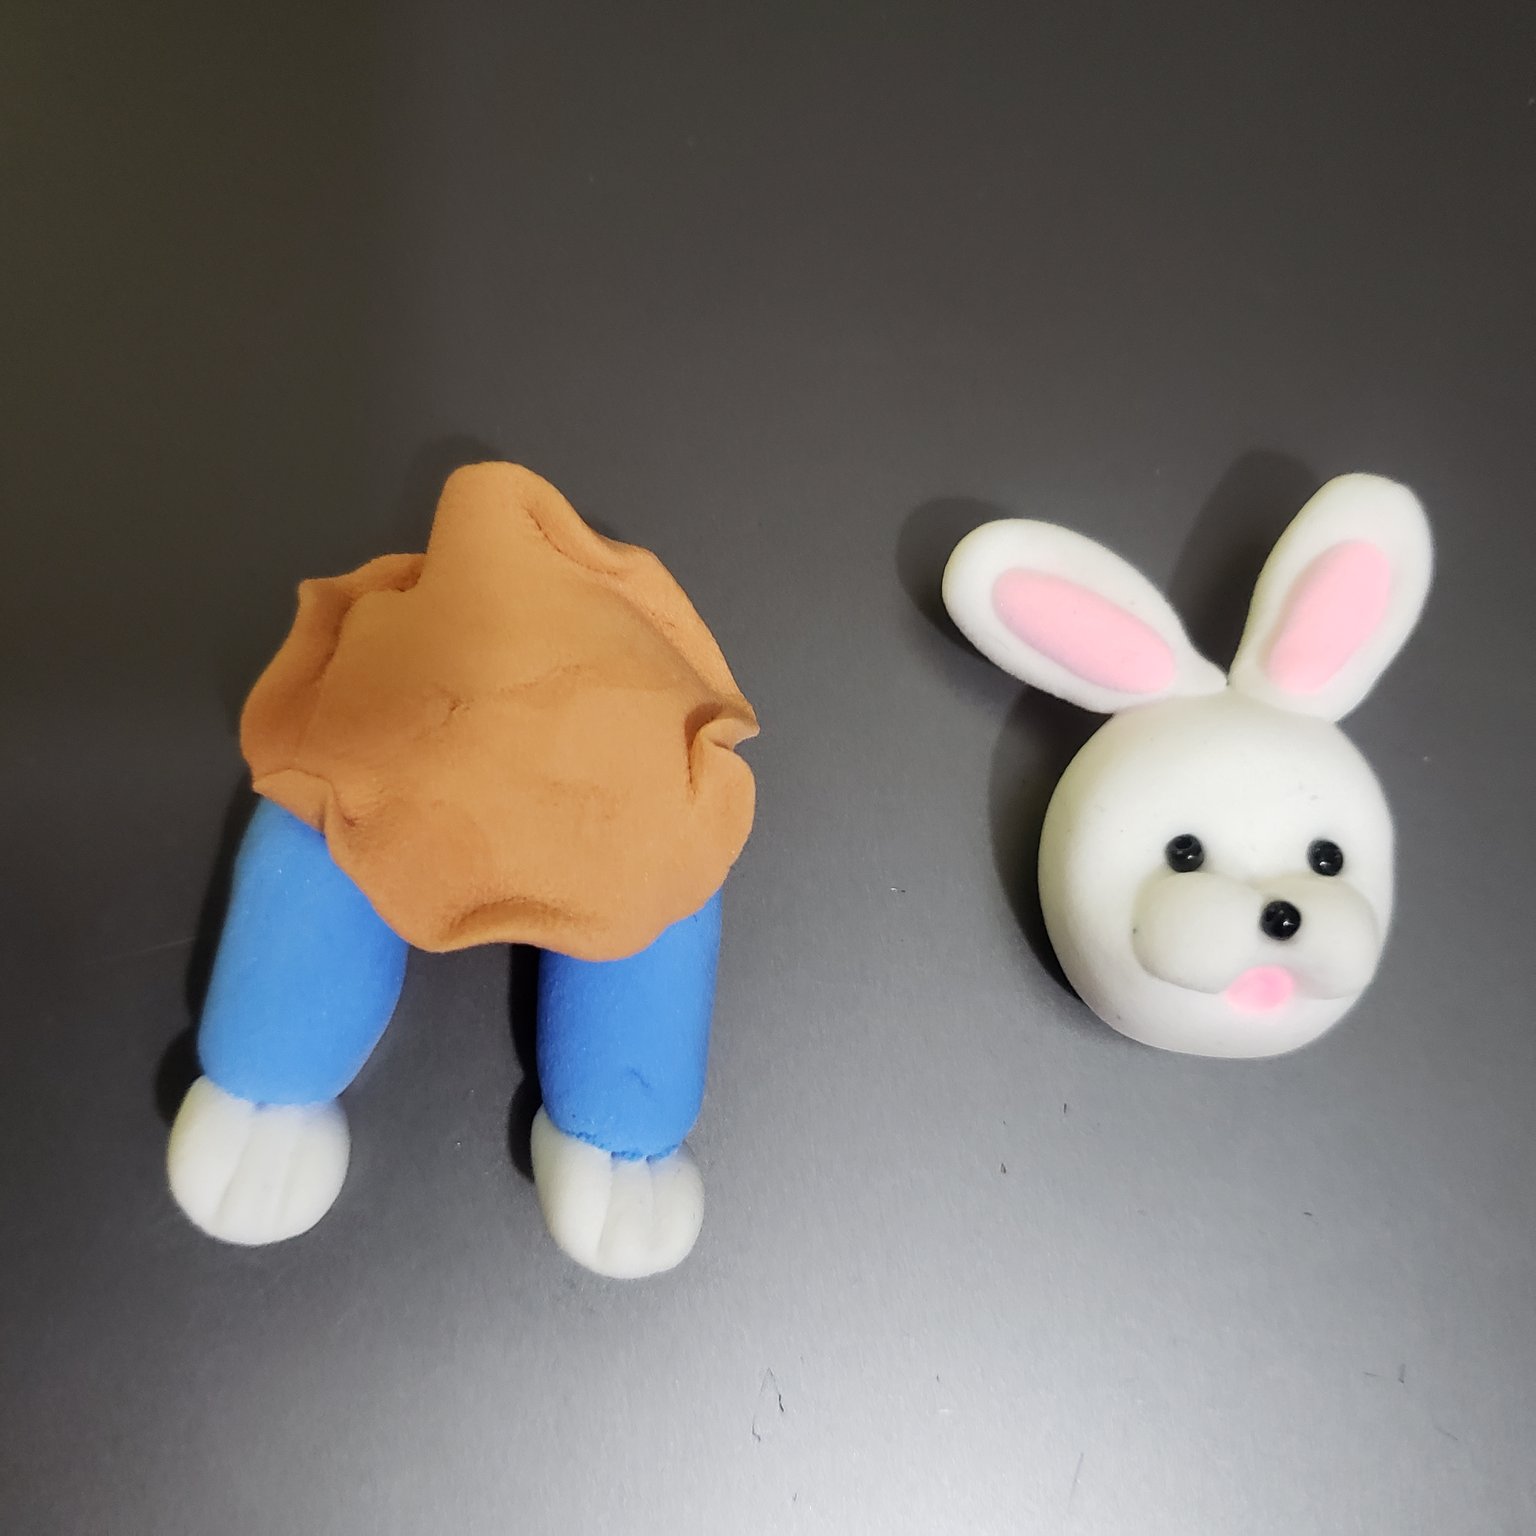
After that i have made the feet of the rabbit and also made a circle out of brown clay that i have attached over the legs i have made before.
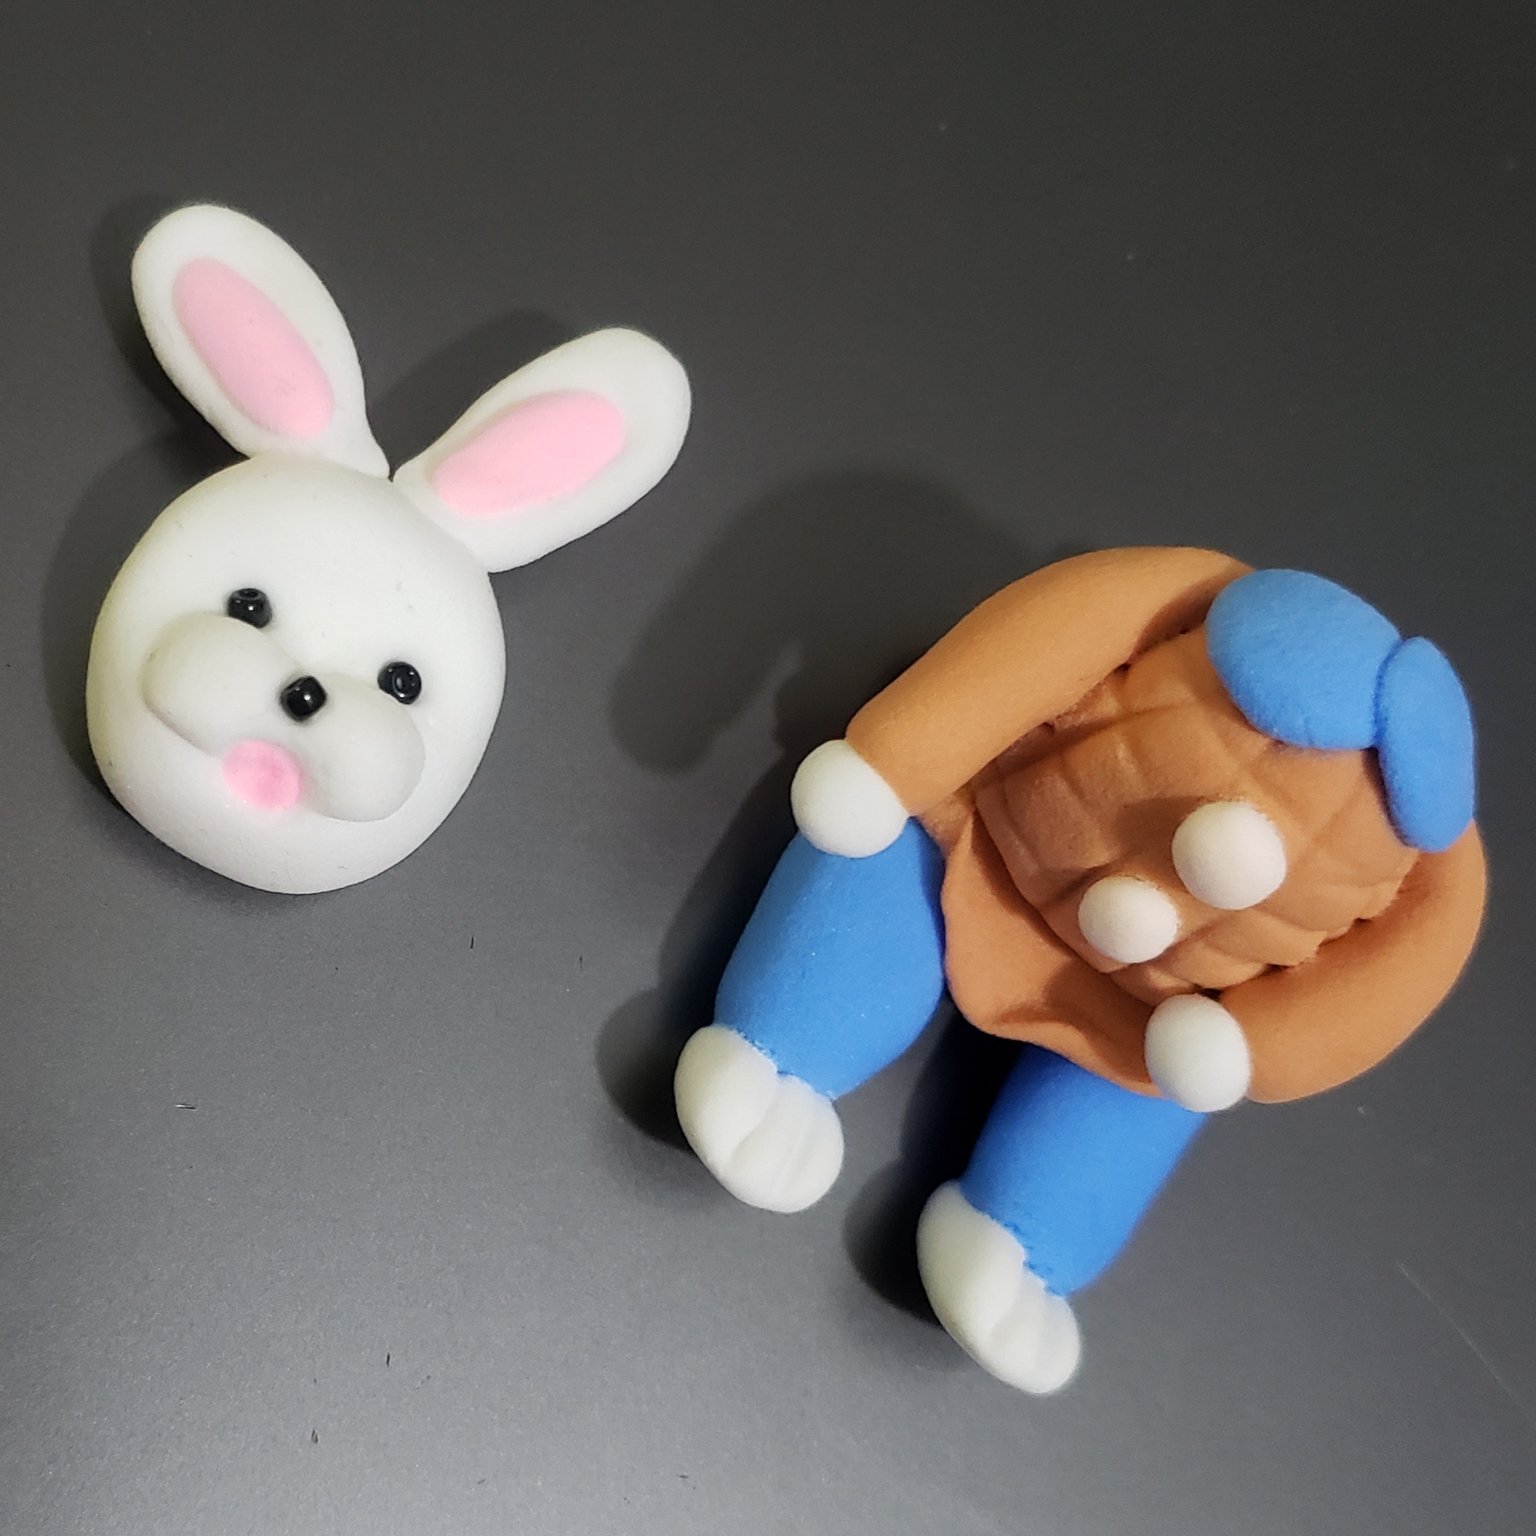
After that i have made the upper body of the rabbit with brown clay that i have attached over the brown circle i have attached before and also made arms of the rabbit.
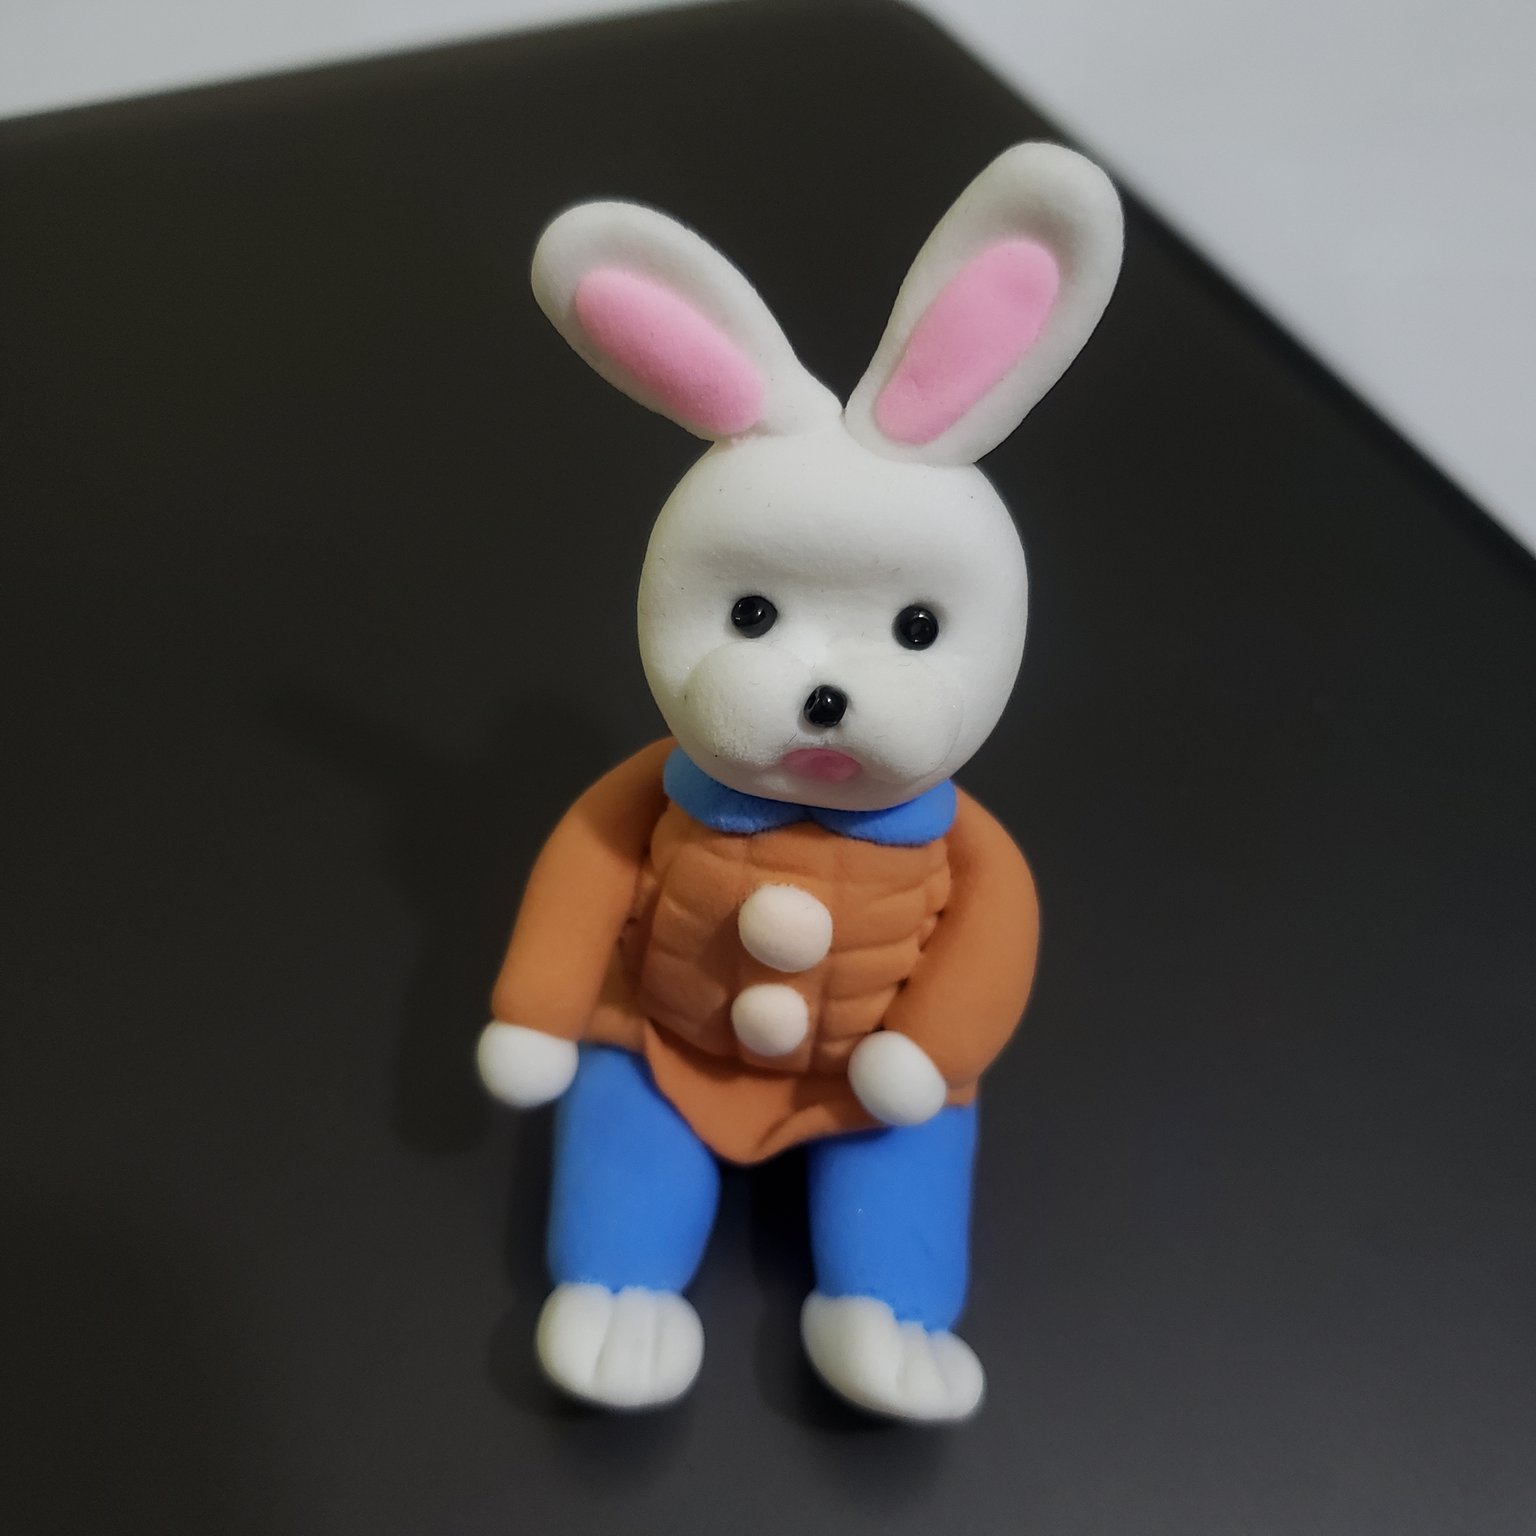
Lastly i have attached a blue collar and white buttons to the shirt for making it look more beautiful and attractive.
After that i have attached the head of the rabbit to the body with the help of a silver pin, you can also use a thin stick for this purpose. It helps to make character more stronger from the joints.
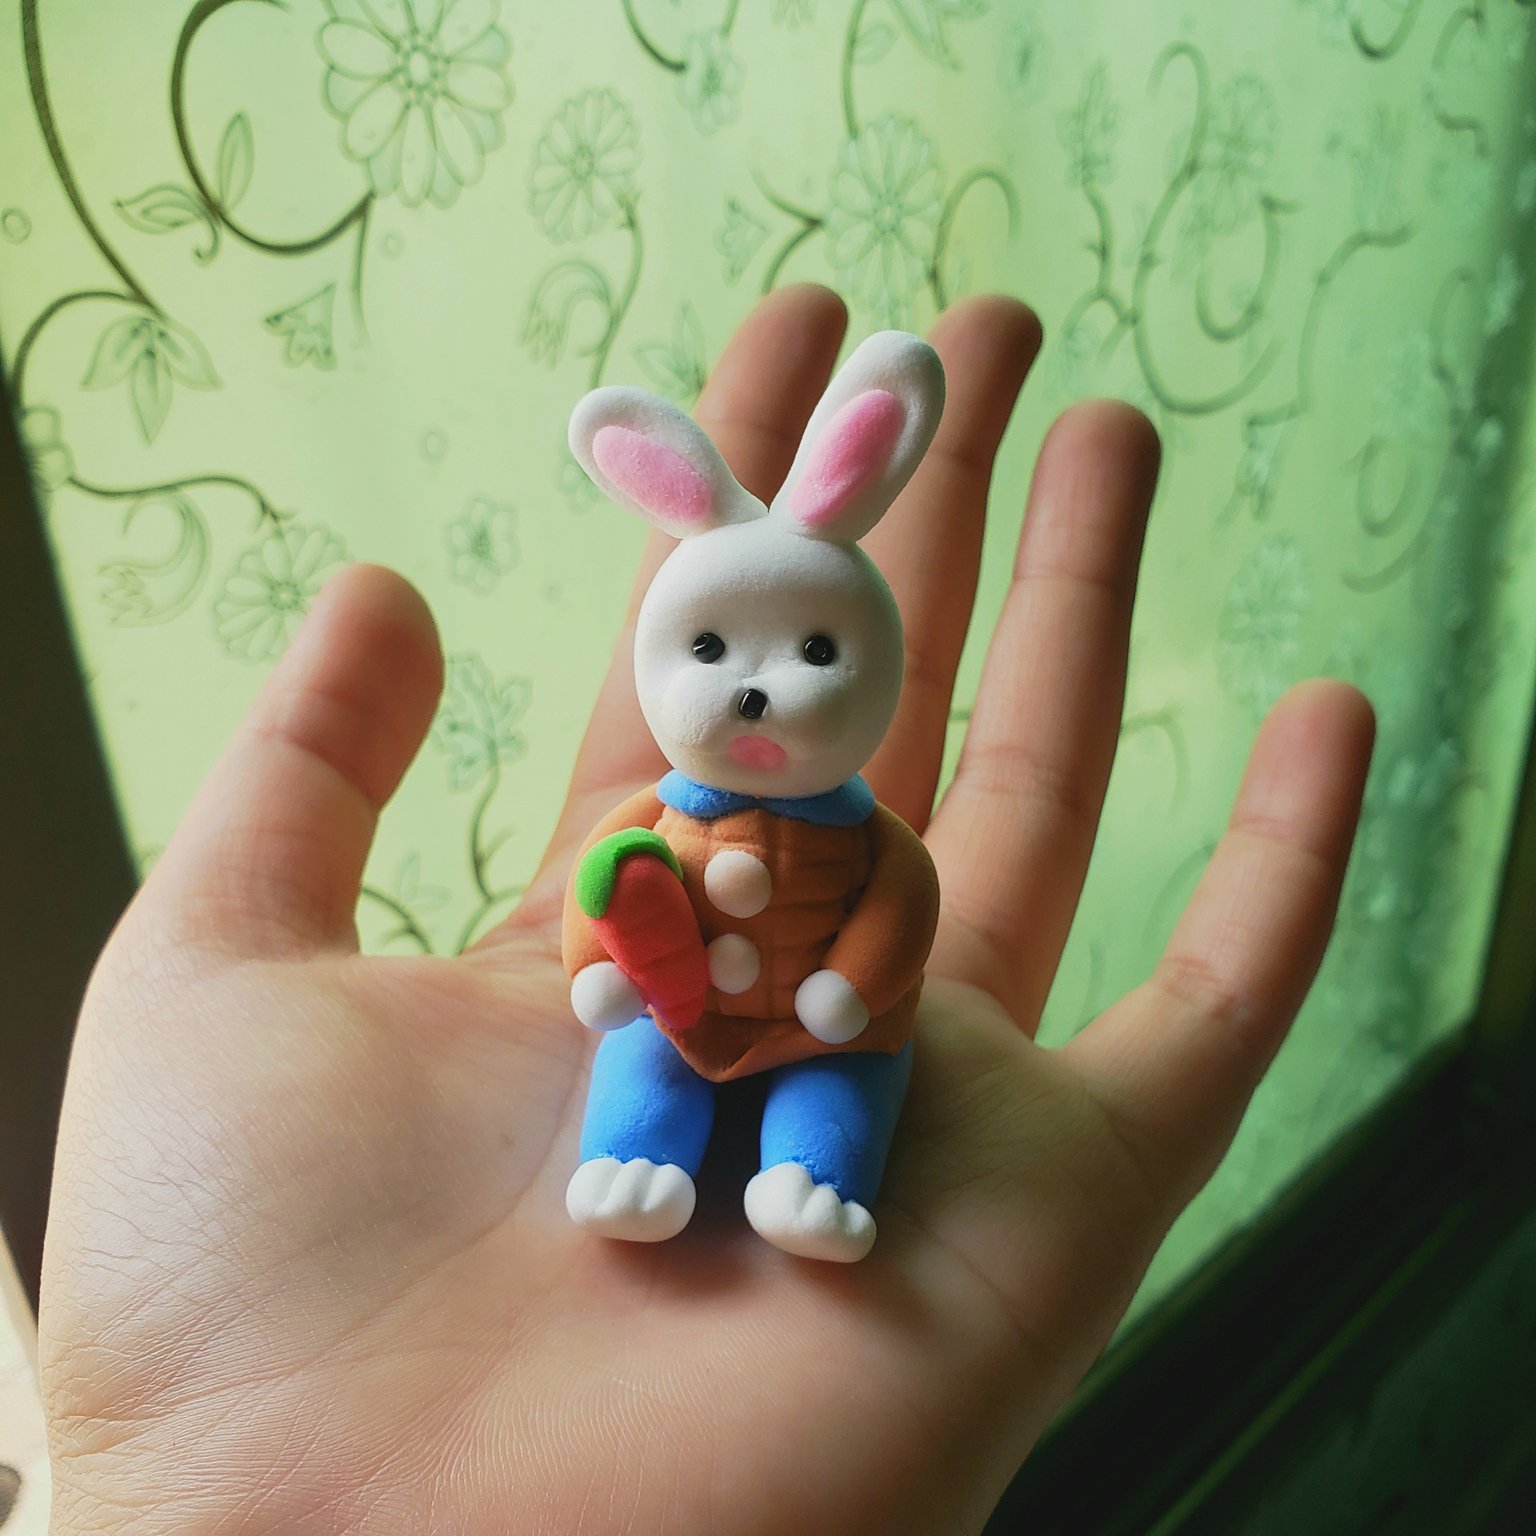
My rabbit was done but it seems like there's something missing in this rabbit so i have made a rabbit in his one arm.
And here's the final results of this beautiful rabbit 👇
That's it for today will be back with another exciting idea soon bye bye 😁 👋