Saludos Amigos de la comunidad de Hive Diy.
Ya entramos en las celebraciones de carnaval, así que en esta ocasión les compartiré un breve tutorial para hacer una máscara con temática de ave, que suelen coloridas. En estas fechas se suele usar estas máscaras para celebraciones o para decoraciones, y esta que haré funciona para ambos casos.
¡Espero les guste!

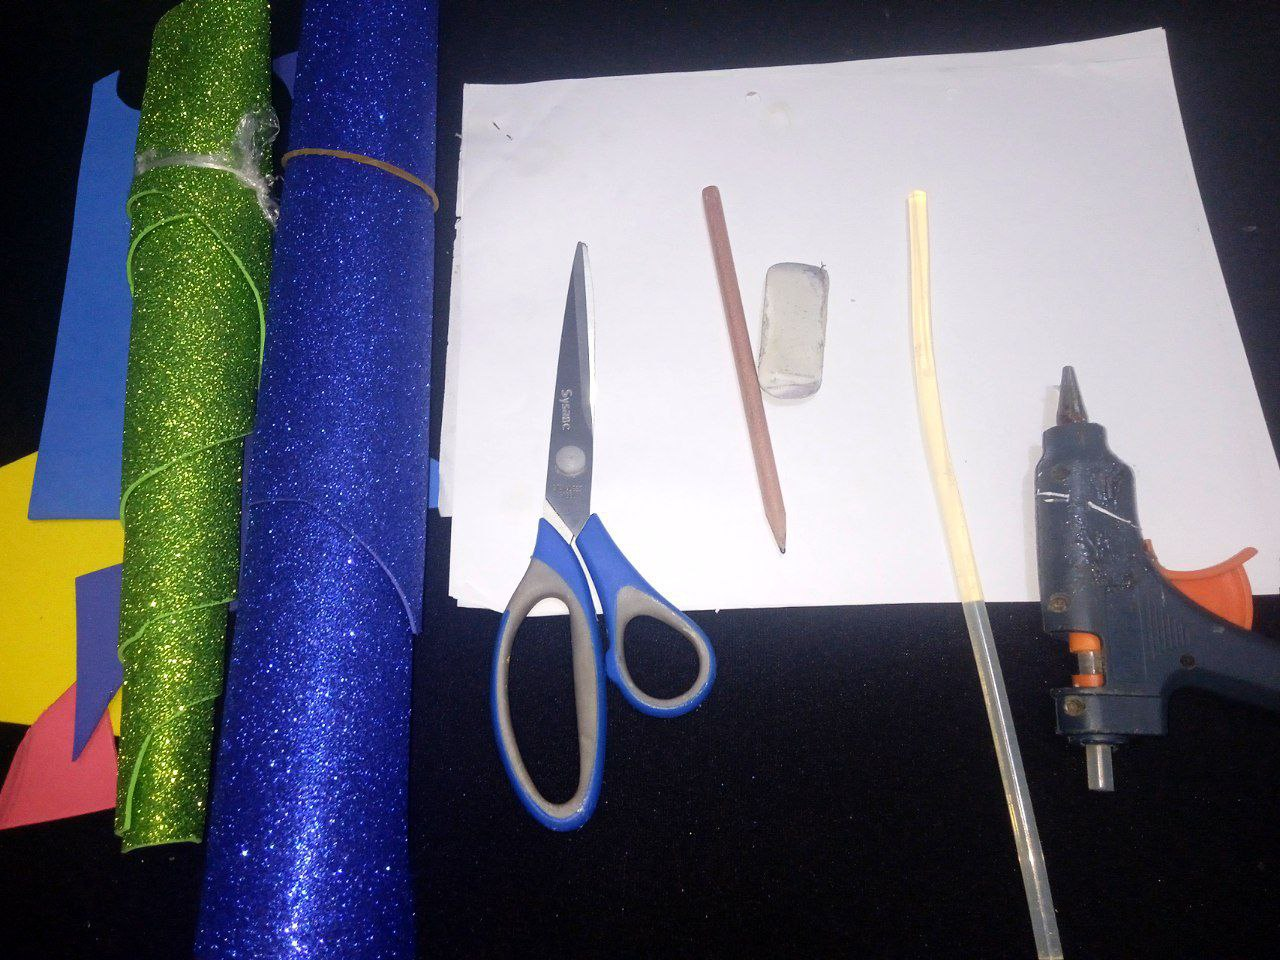
Materiales:
- Hoja de máquina reutilizable.
- Lápiz y goma de borrar.
- Foami de diferentes colores brillantes (azul, verde, amarillo, blanco y rojo).
- Tijeras.
- Pistola de silicón.
Procedimiento
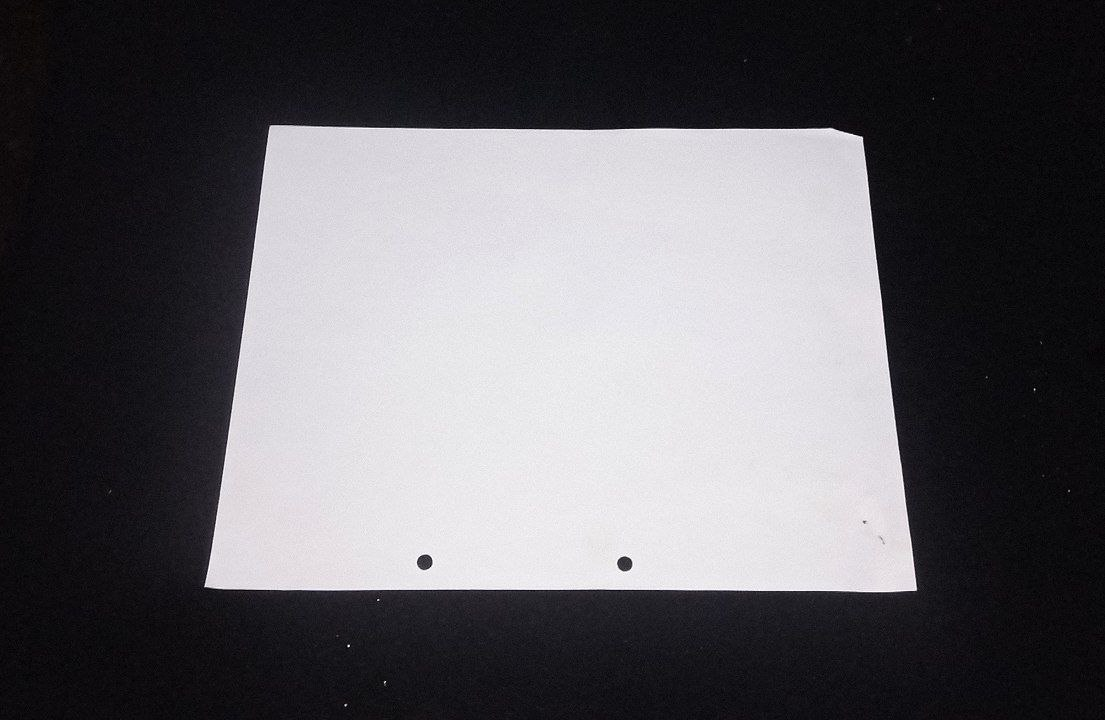
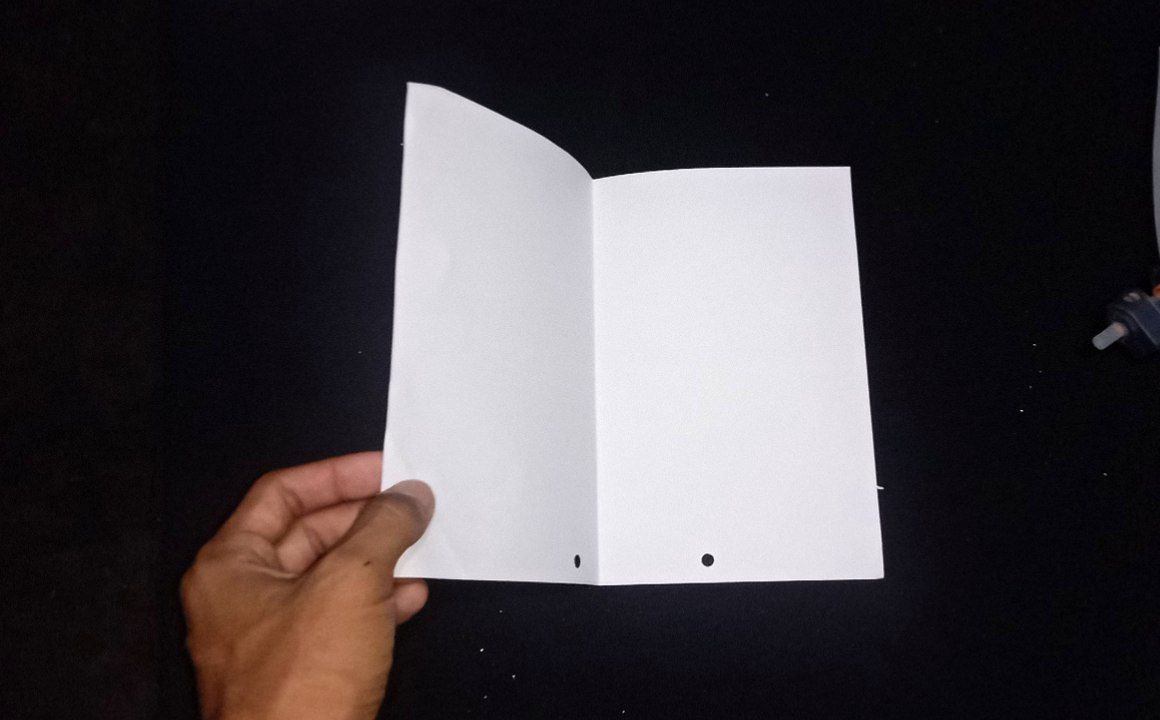
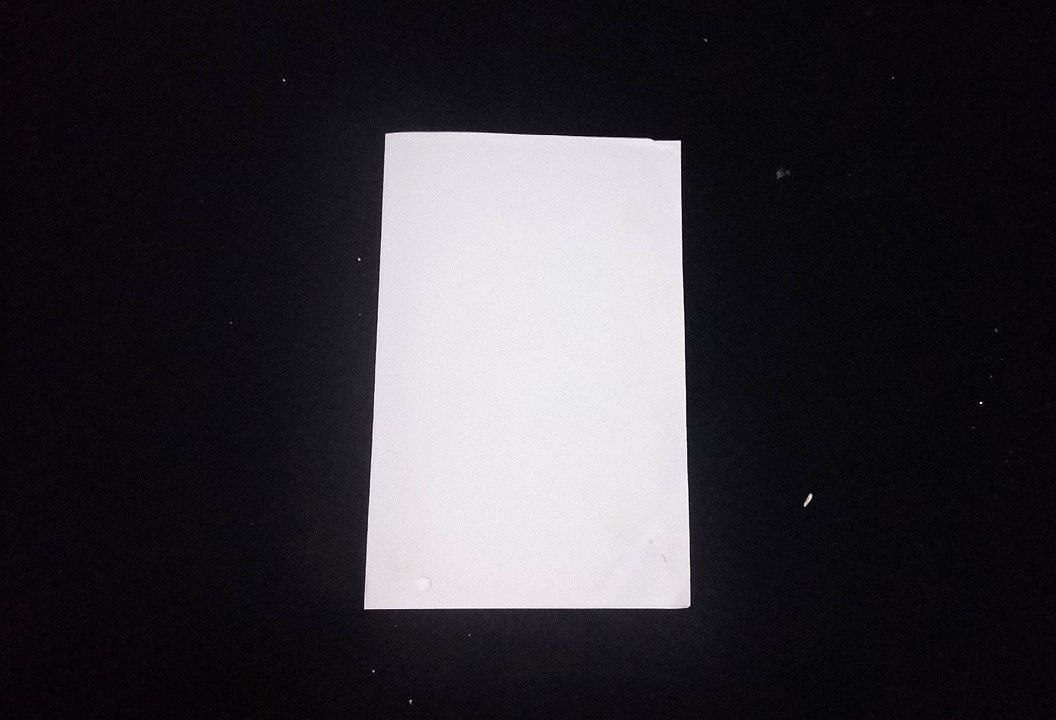
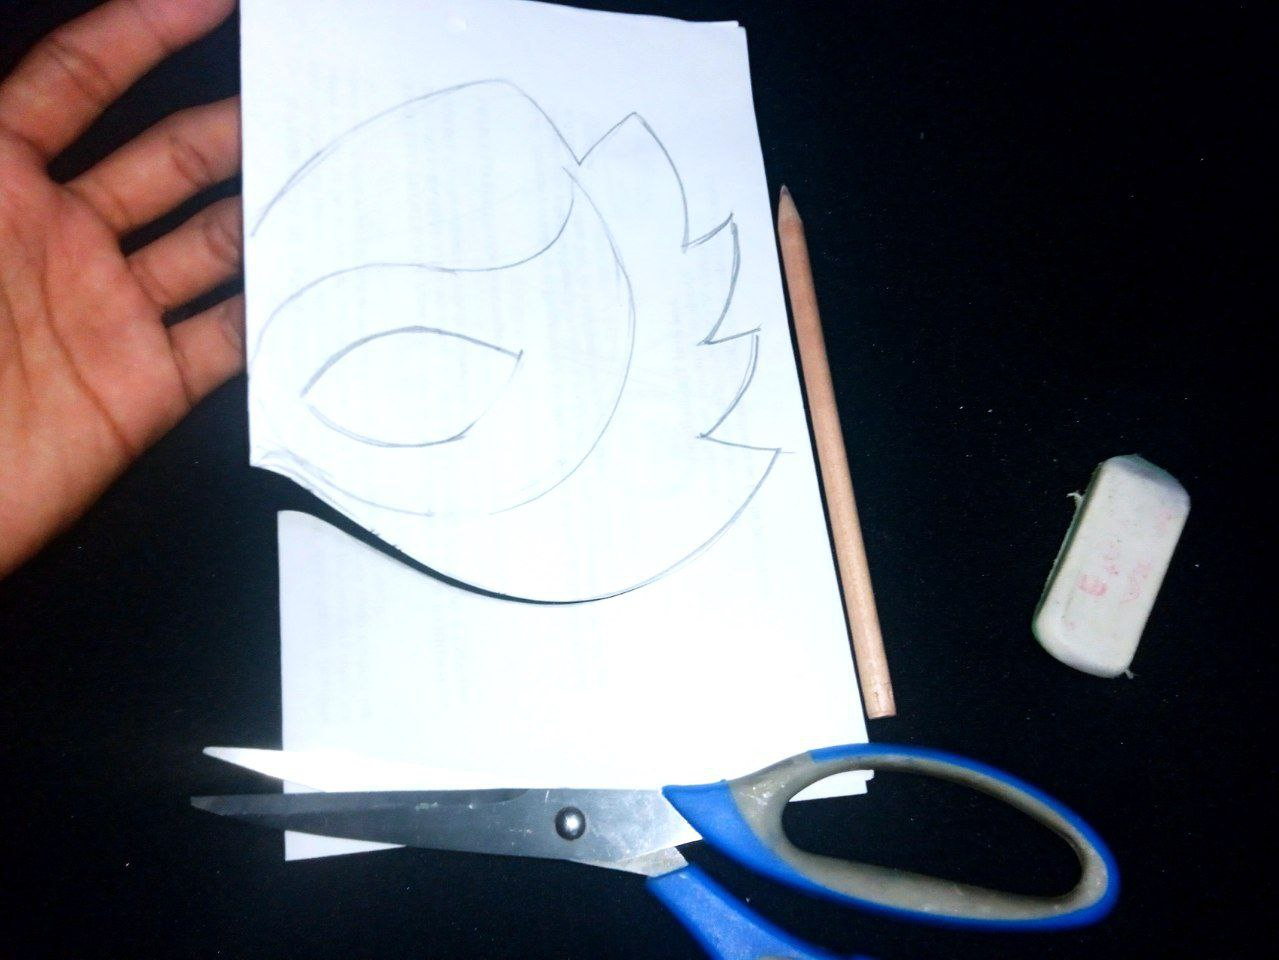
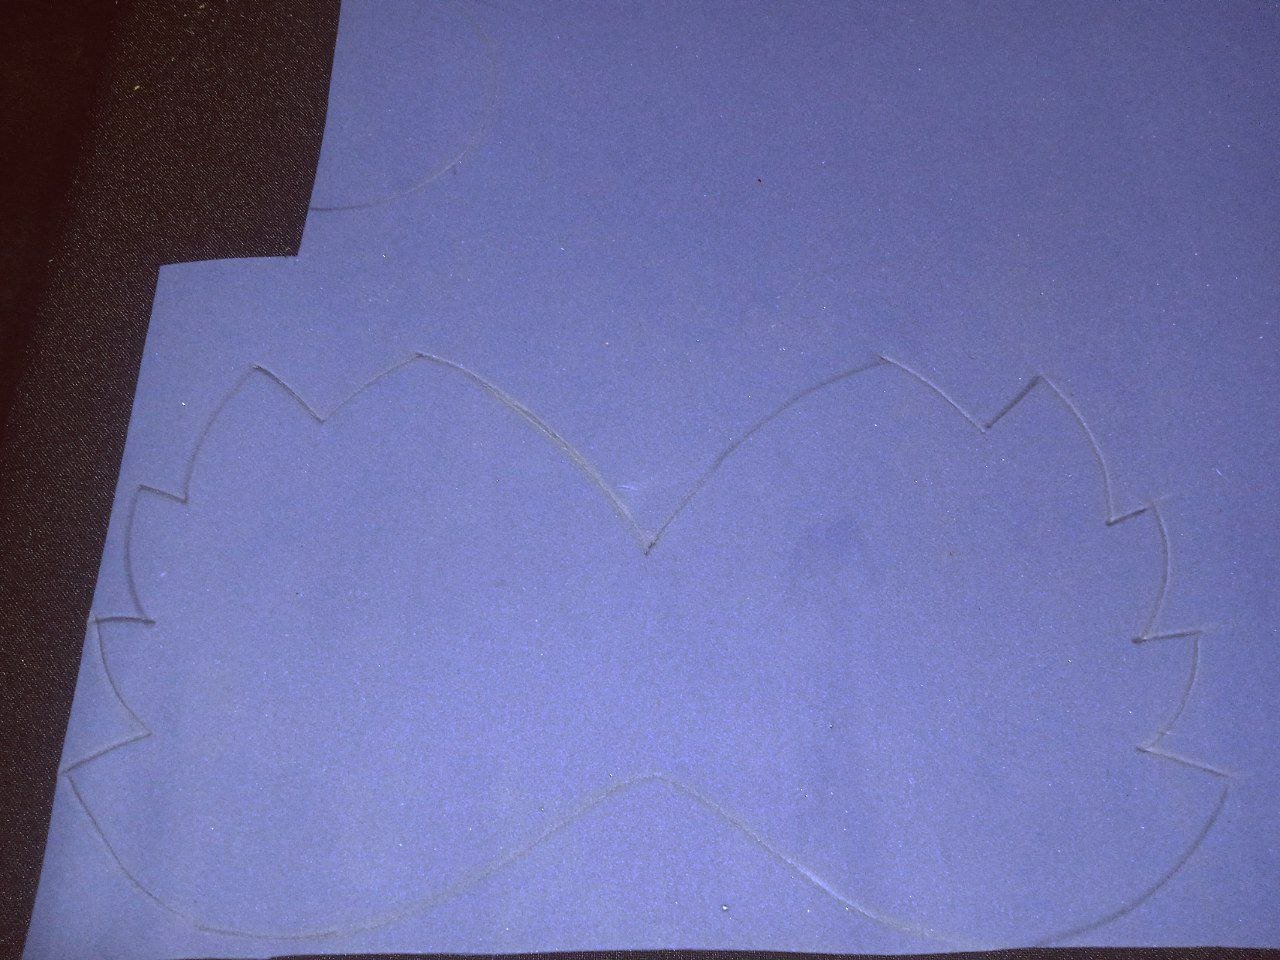
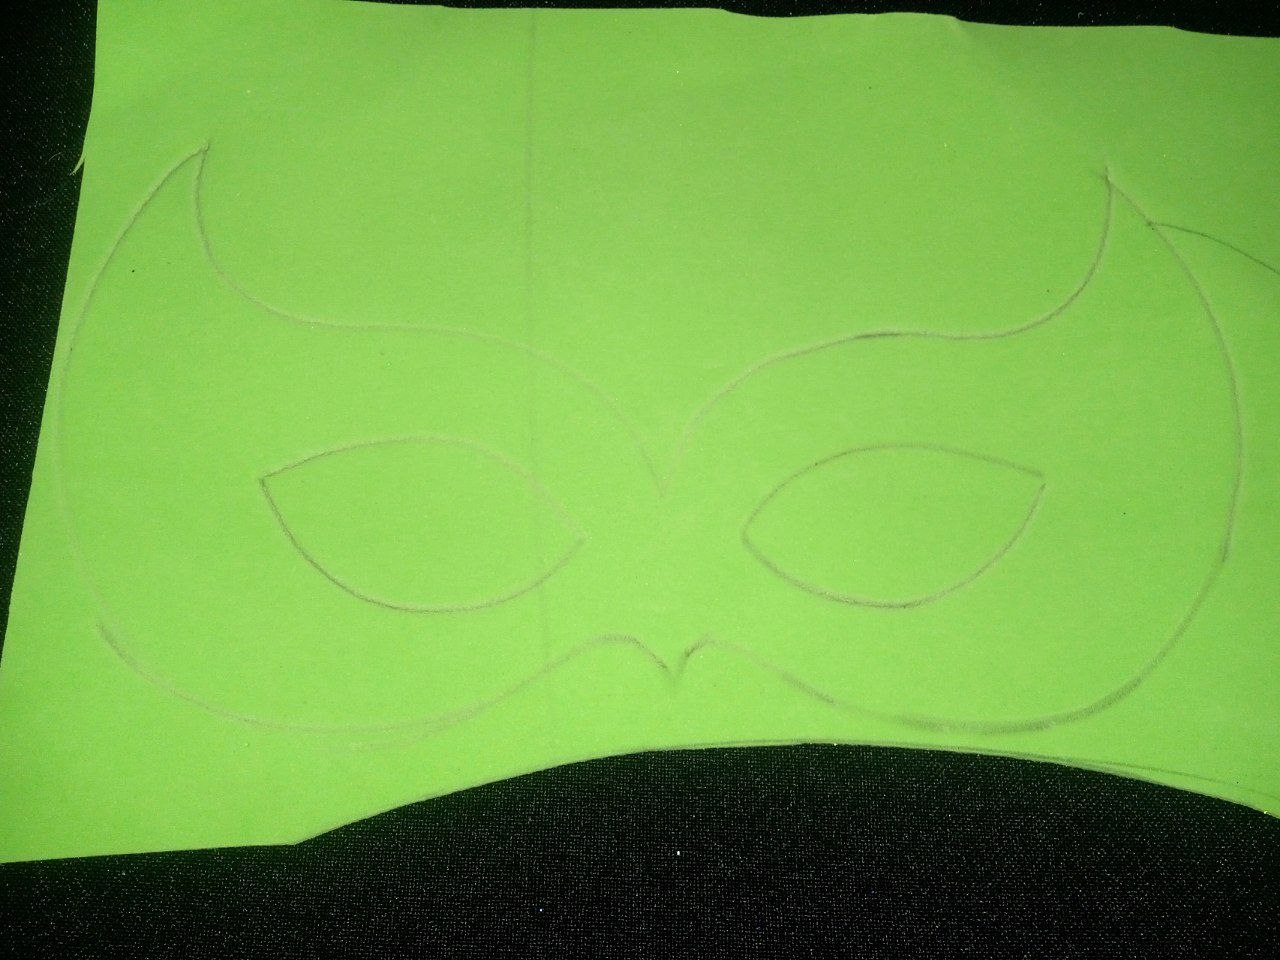
Seleccioné una hoja de papel de máquina estándar, ya que quiero que mi máscara tenga las proporciones adecuadas. Doblé la hoja por la mitad, creando un eje de simetría para que la máscara sea uniforme. Tras esto, empecé a dibujar el boceto de mi máscara sobre la mitad doblada de la hoja, asegurándome de dibujar al comienzo del doblez. Se puede hacer un diseño original o usar una imagen de referencia que encuentres en internet, para este caso, me inspiré de Pinterest.
 |  |
|---|---|
 |  |
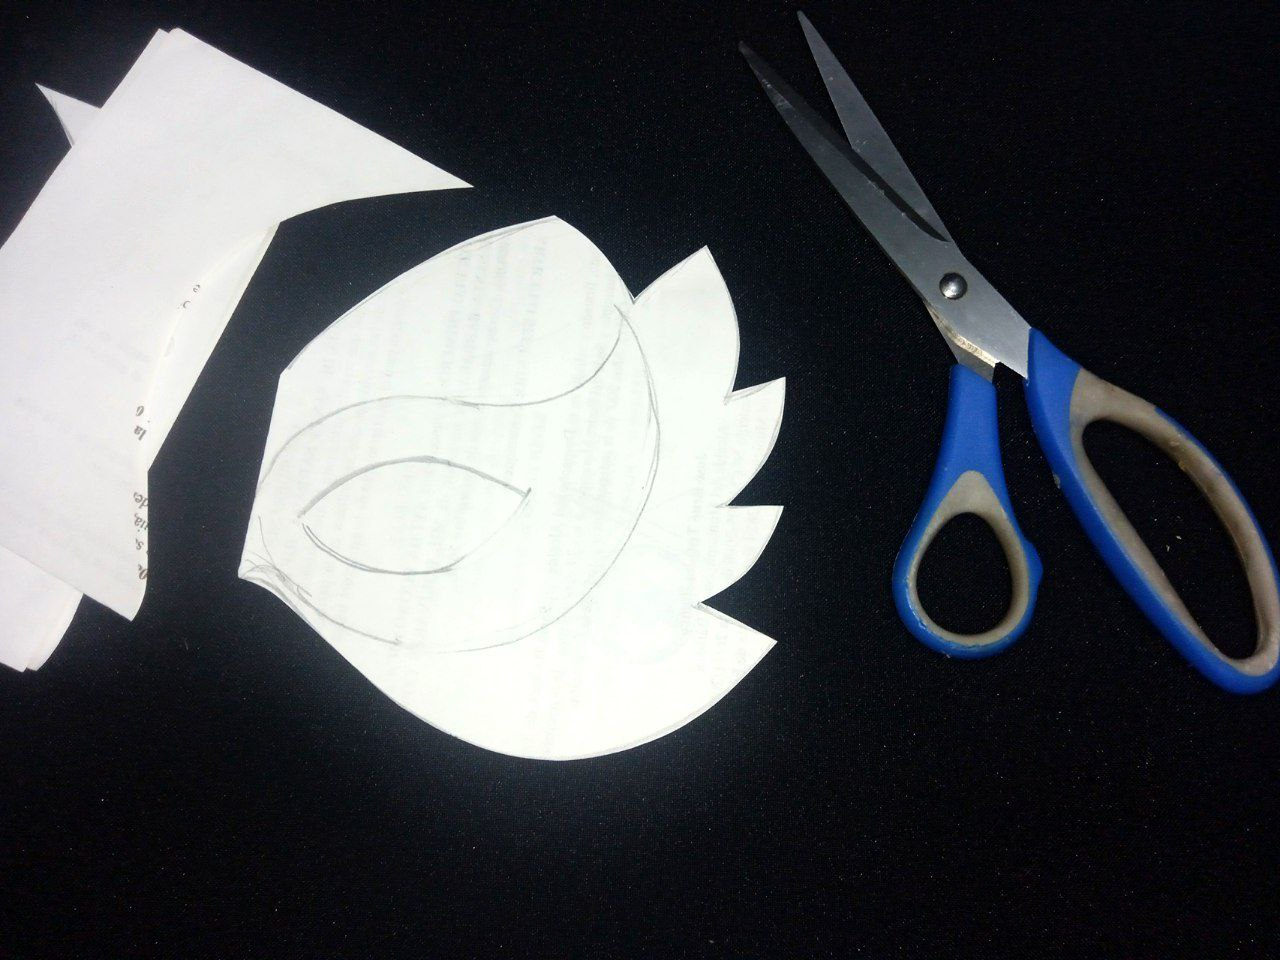
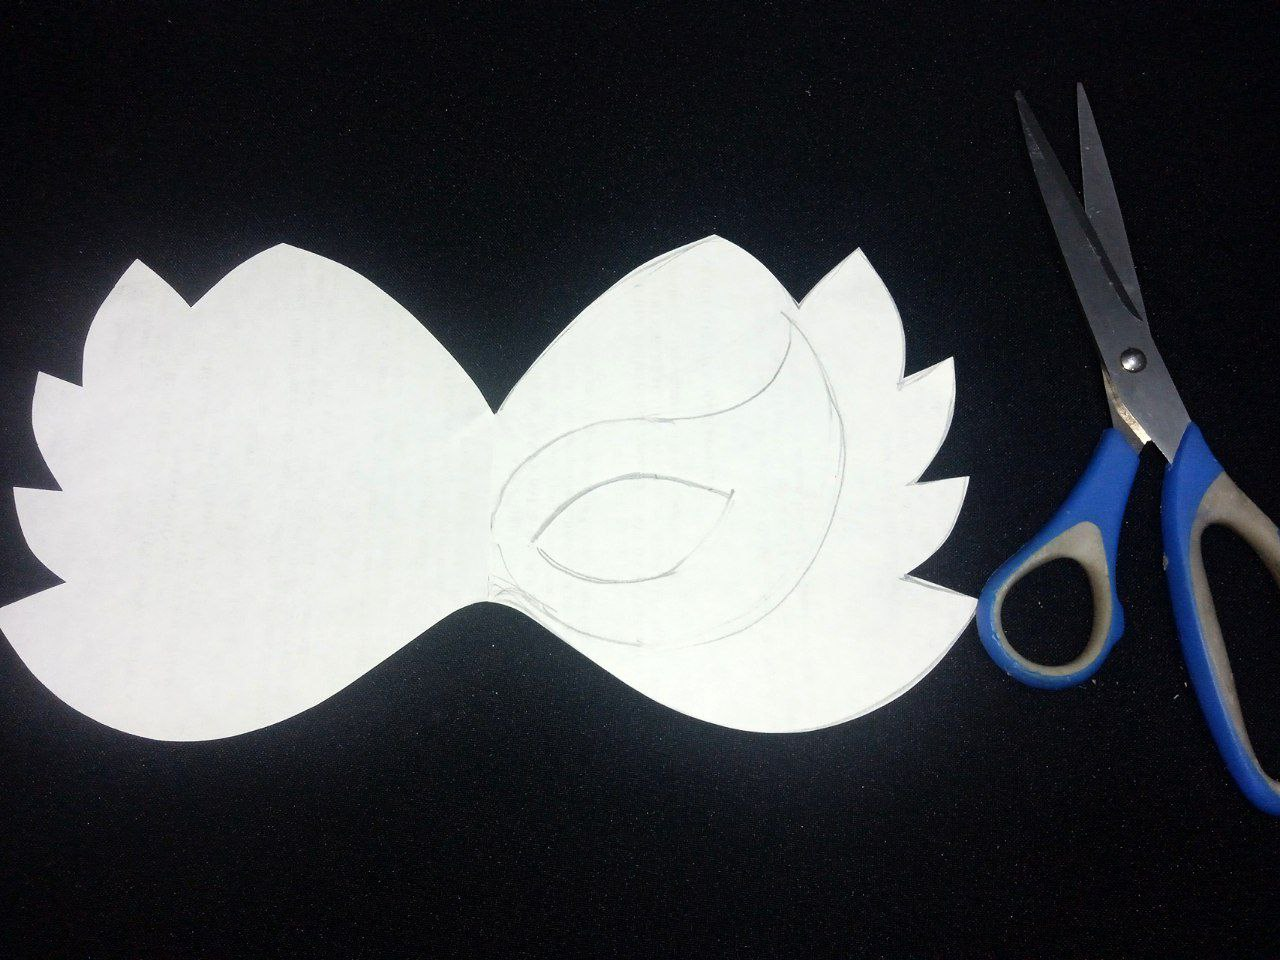
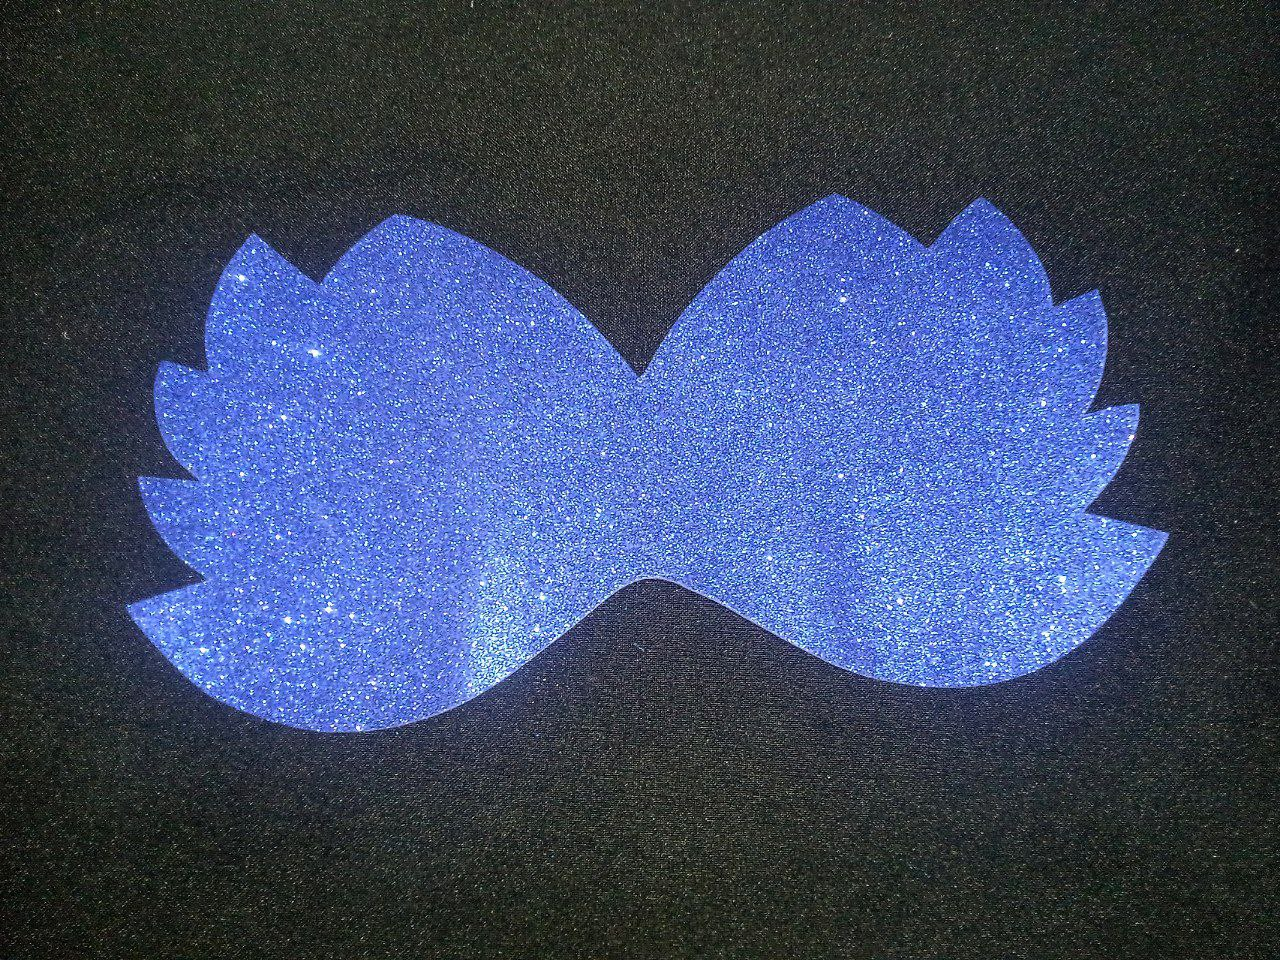
Tomé las tijeras y empecé a cortar el boceto que dibujé, siguiendo las líneas del diseño. De esta manera puedes obtener tu plantilla, la cual te servirá de guía para el acabado de la máscara de carnaval. Una vez hecho esto, Coloqué la plantilla sobre el foami azul brillante, ya que será la base de mi máscara; y tracé todo el contorno. Luego, con mucha precisión, recorté la pieza de foami, siguiendo las líneas que marqué con la plantilla.
 |  |  |
|---|---|---|
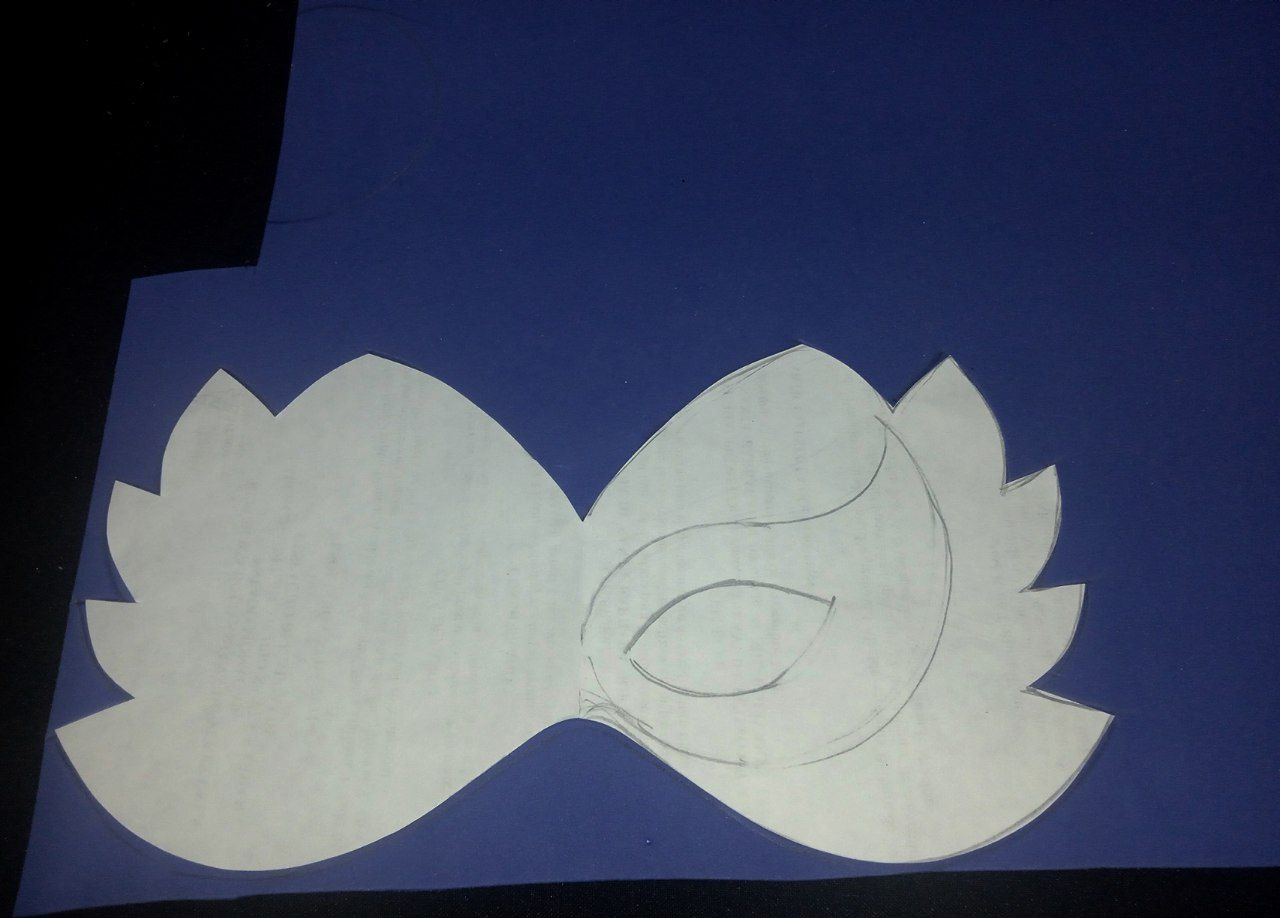 |  |  |
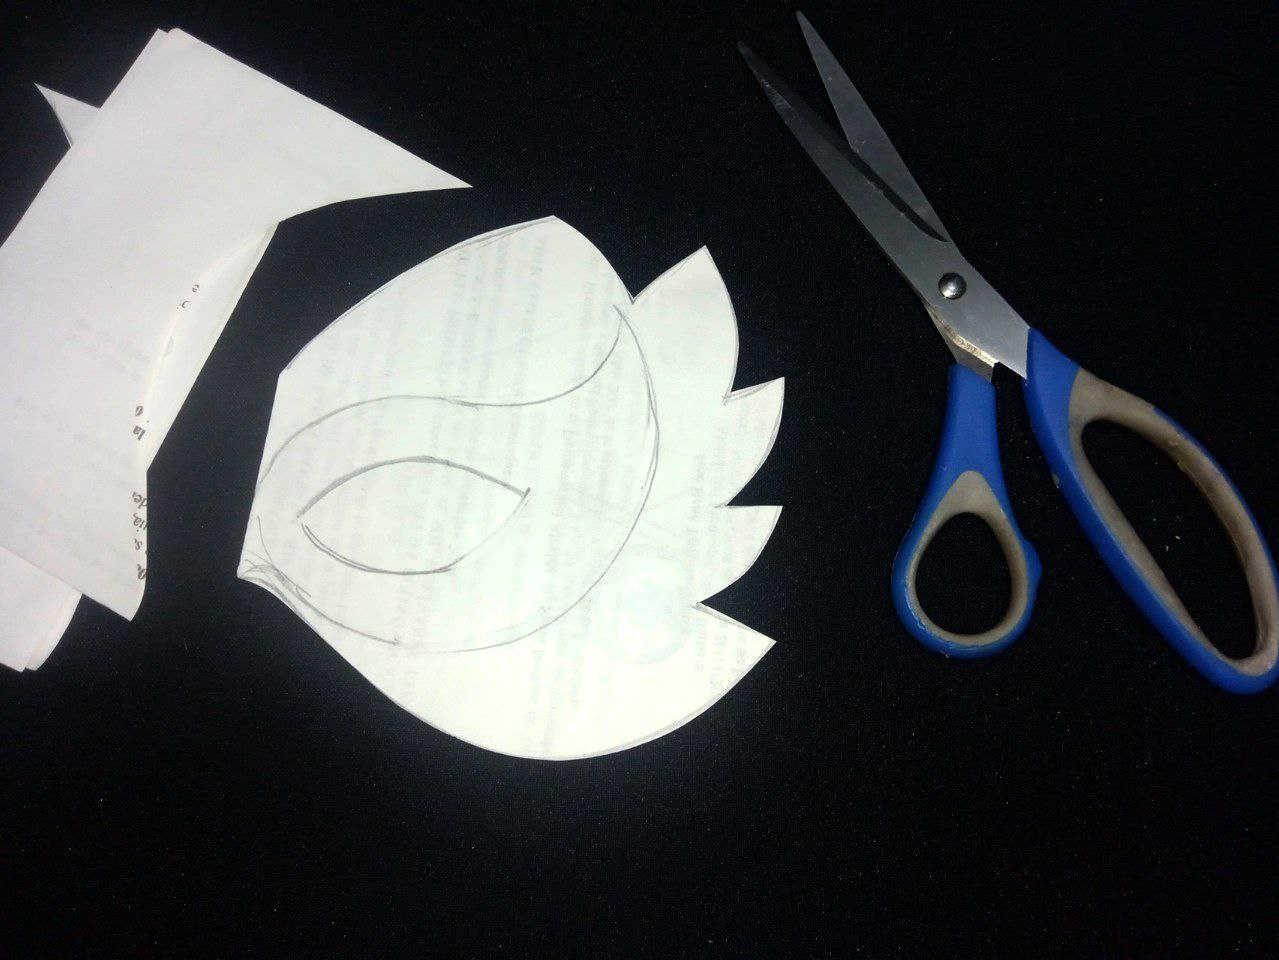
Como habrás notado, el recorte de la plantilla que nos sirvió de base tiene un dibujo interno, que es la segunda capa de la máscara. Dobla la plantilla y, con las tijeras, se recorta la pieza que se encuentra dentro, siguiendo las líneas con precisión.
De esta manera obtuve mi segunda plantilla.
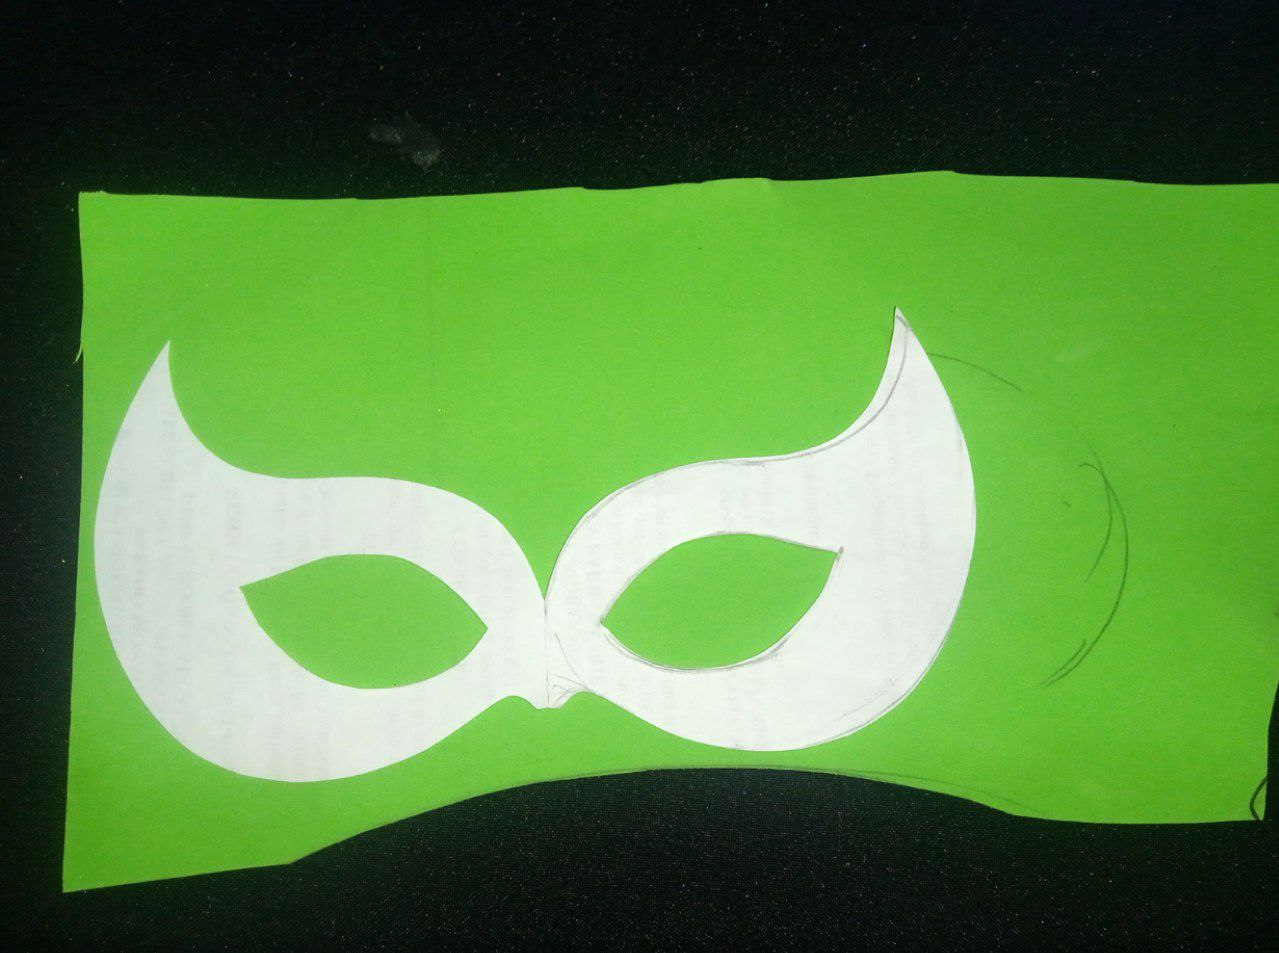
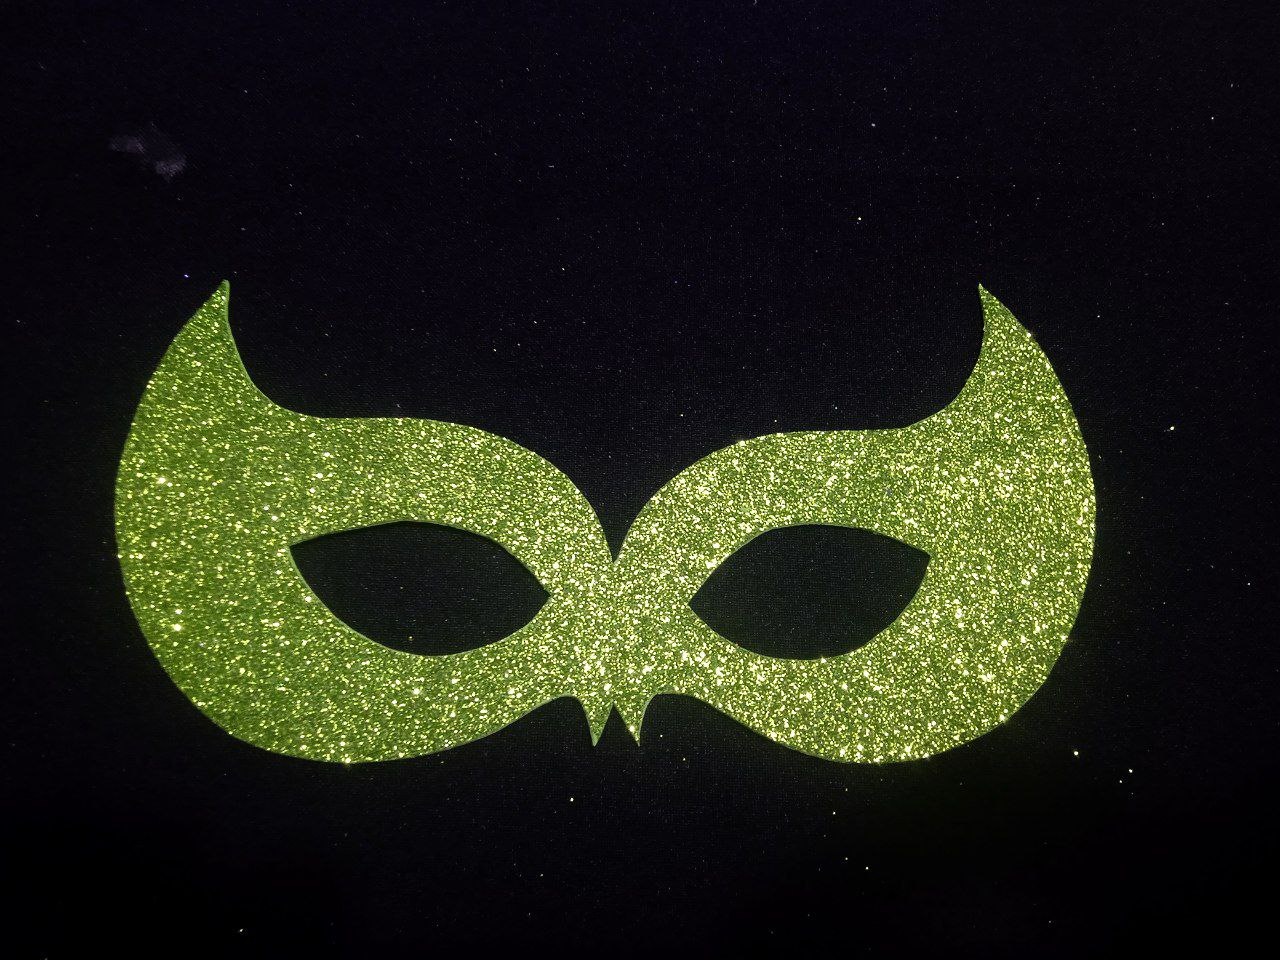
Ahora, nuestra nueva plantilla se coloca sobre el siguiente foamis, el cual es de color verde brillante. Calcamos el borde y los ojos. Tras esto, cortamos la figura que calcamos en el foamis, incluyendo los ojos.
 | |  |
|---|
 |  |
|---|
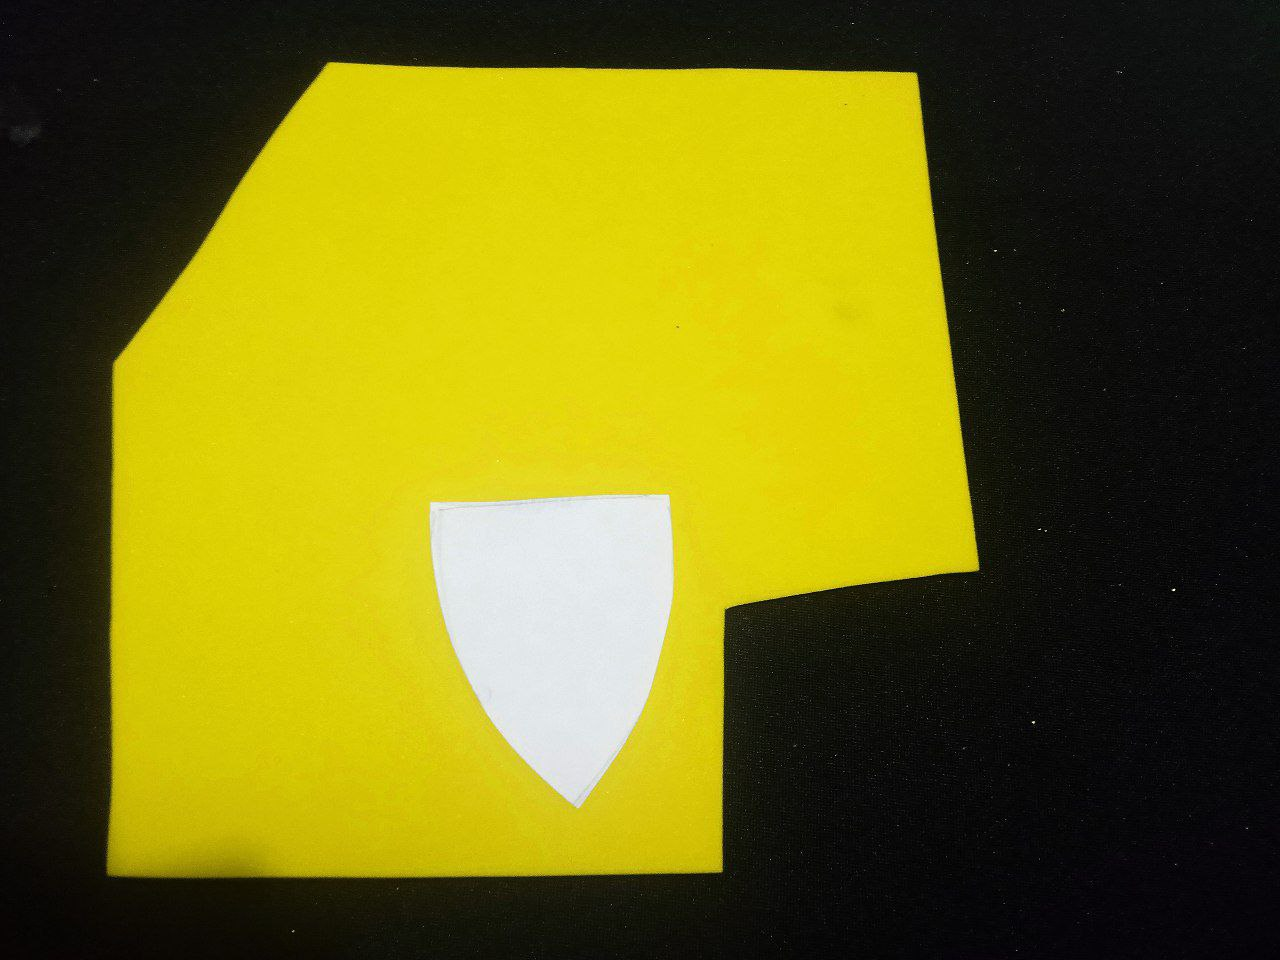
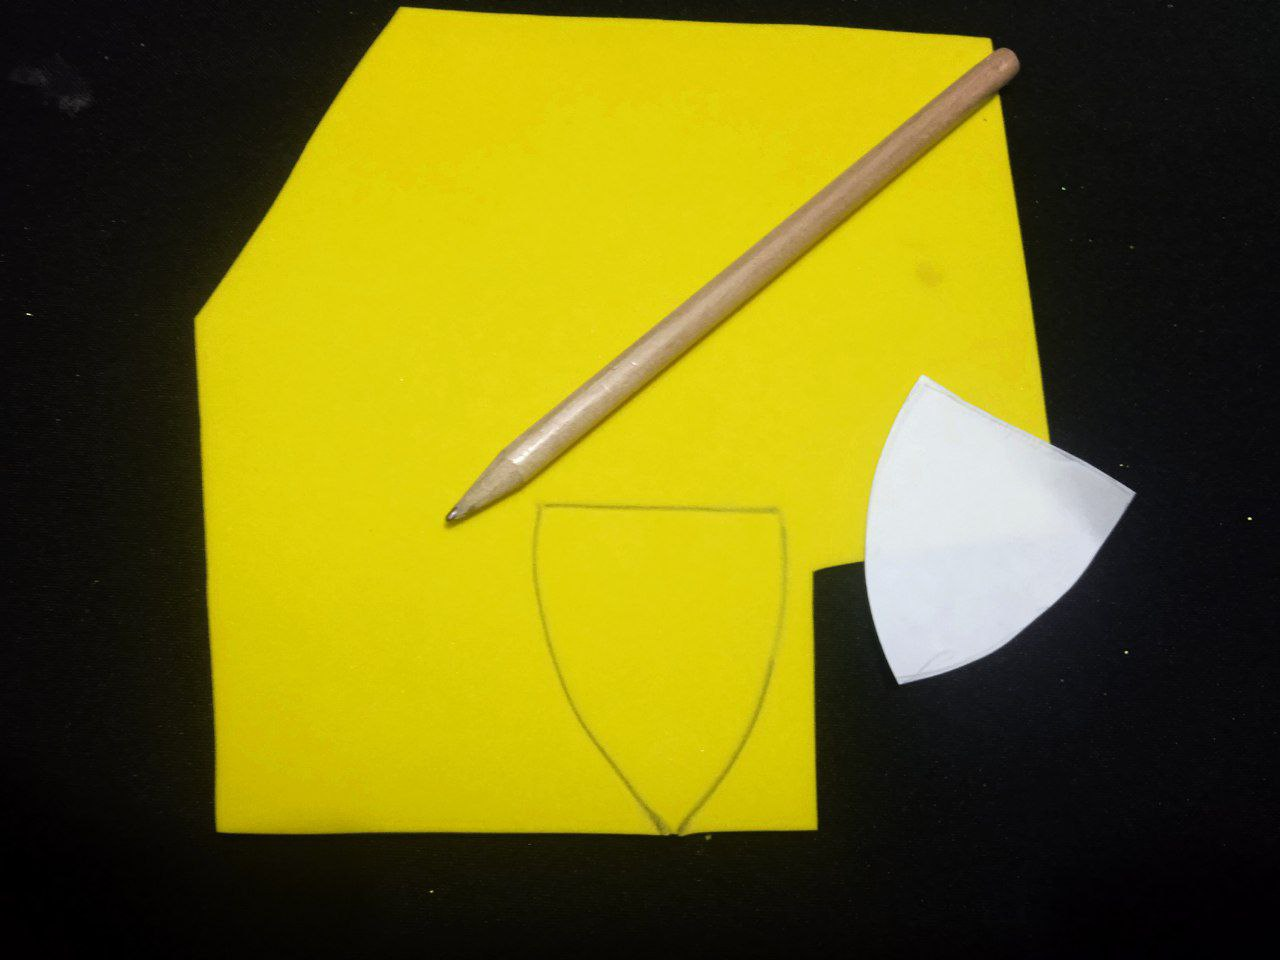
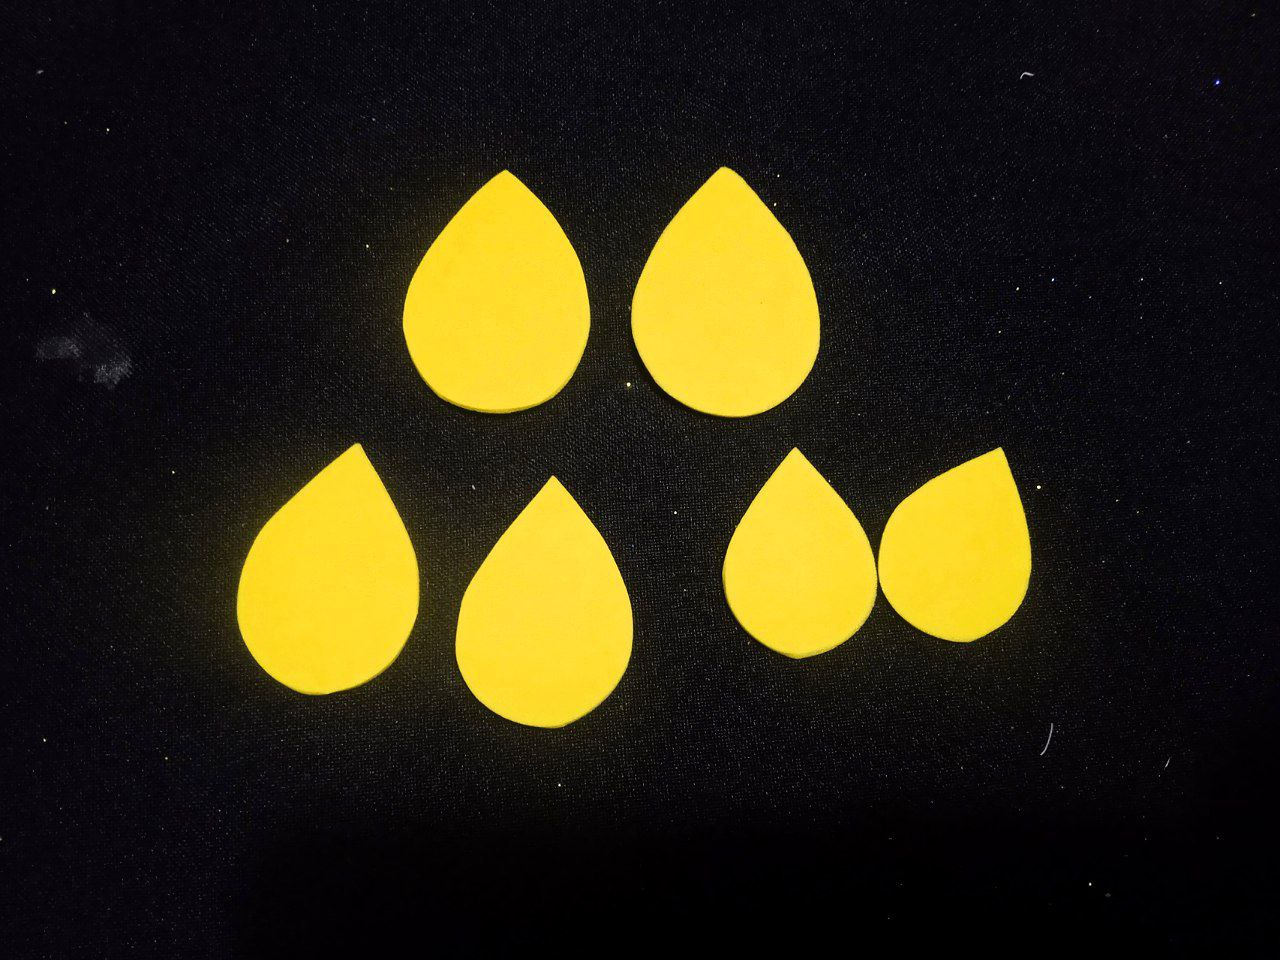
Para realizar el pico de la máscara, dibujé un triángulo en un trozo de hoja de papel. Lo corté cuidadosamente, para así obtener la pieza que luego coloqué en el foamis amarillo; se calca nuevamente y se recorta la pieza.
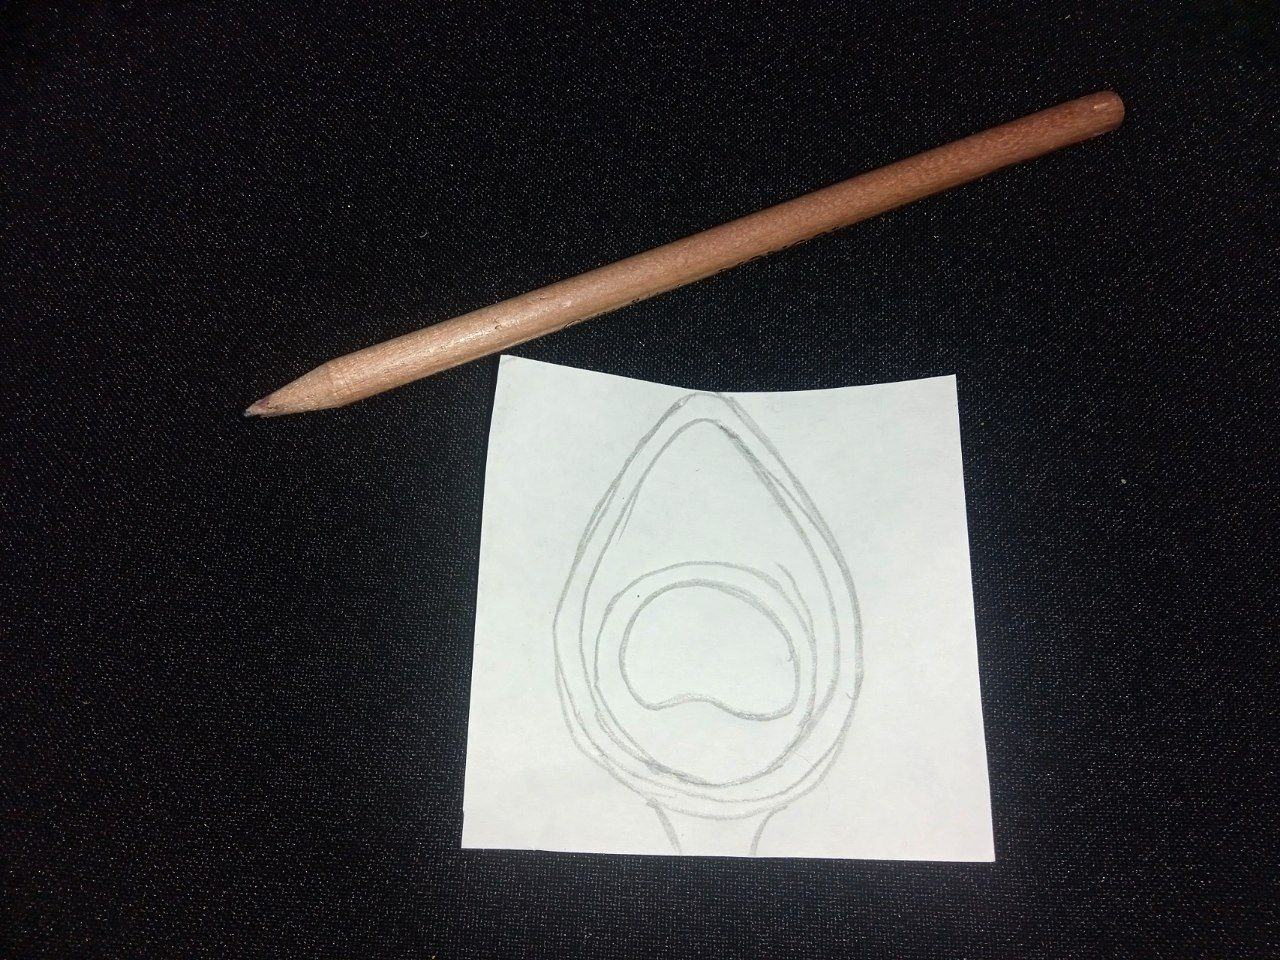
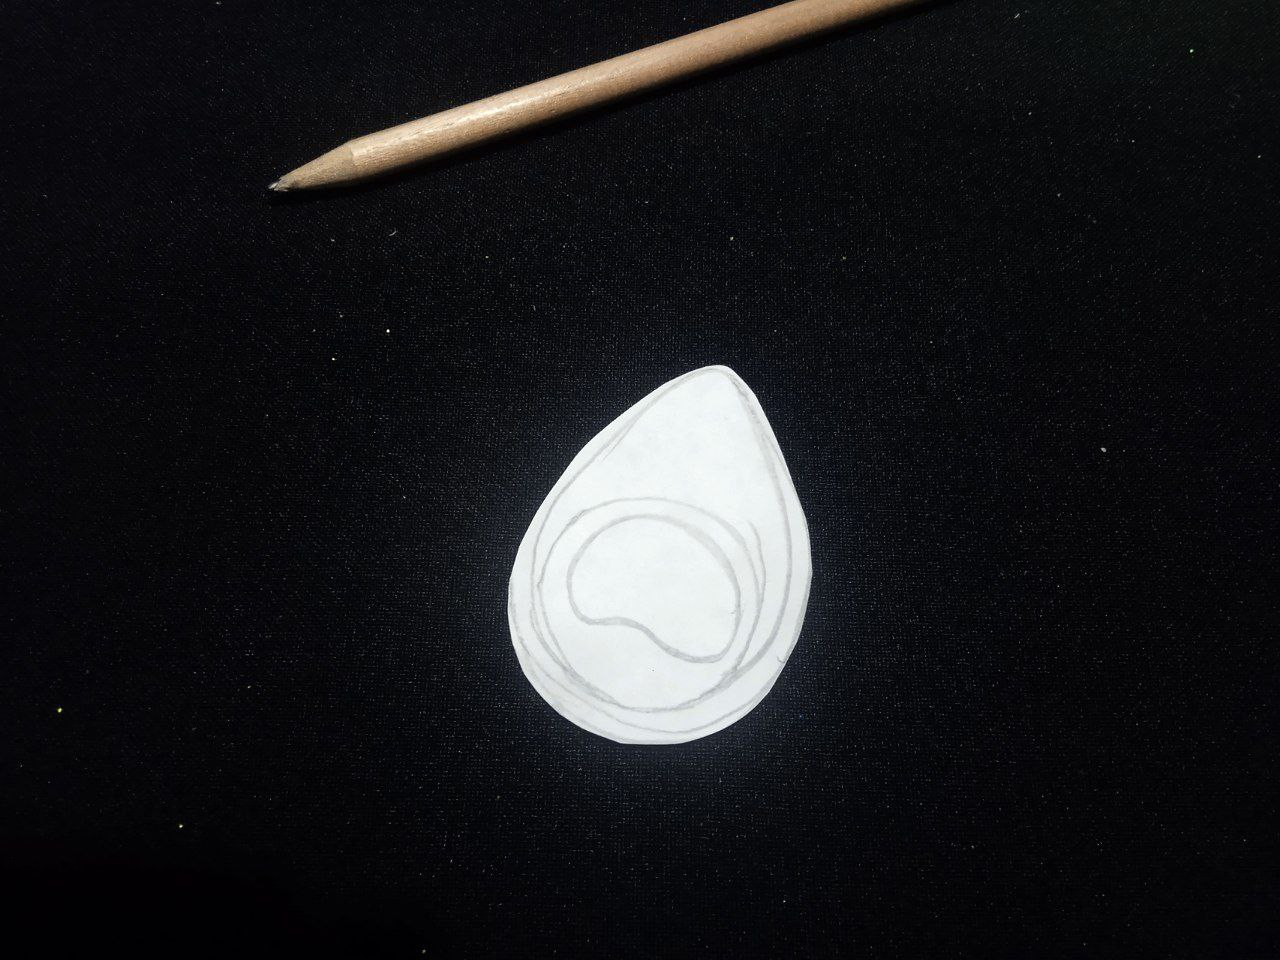
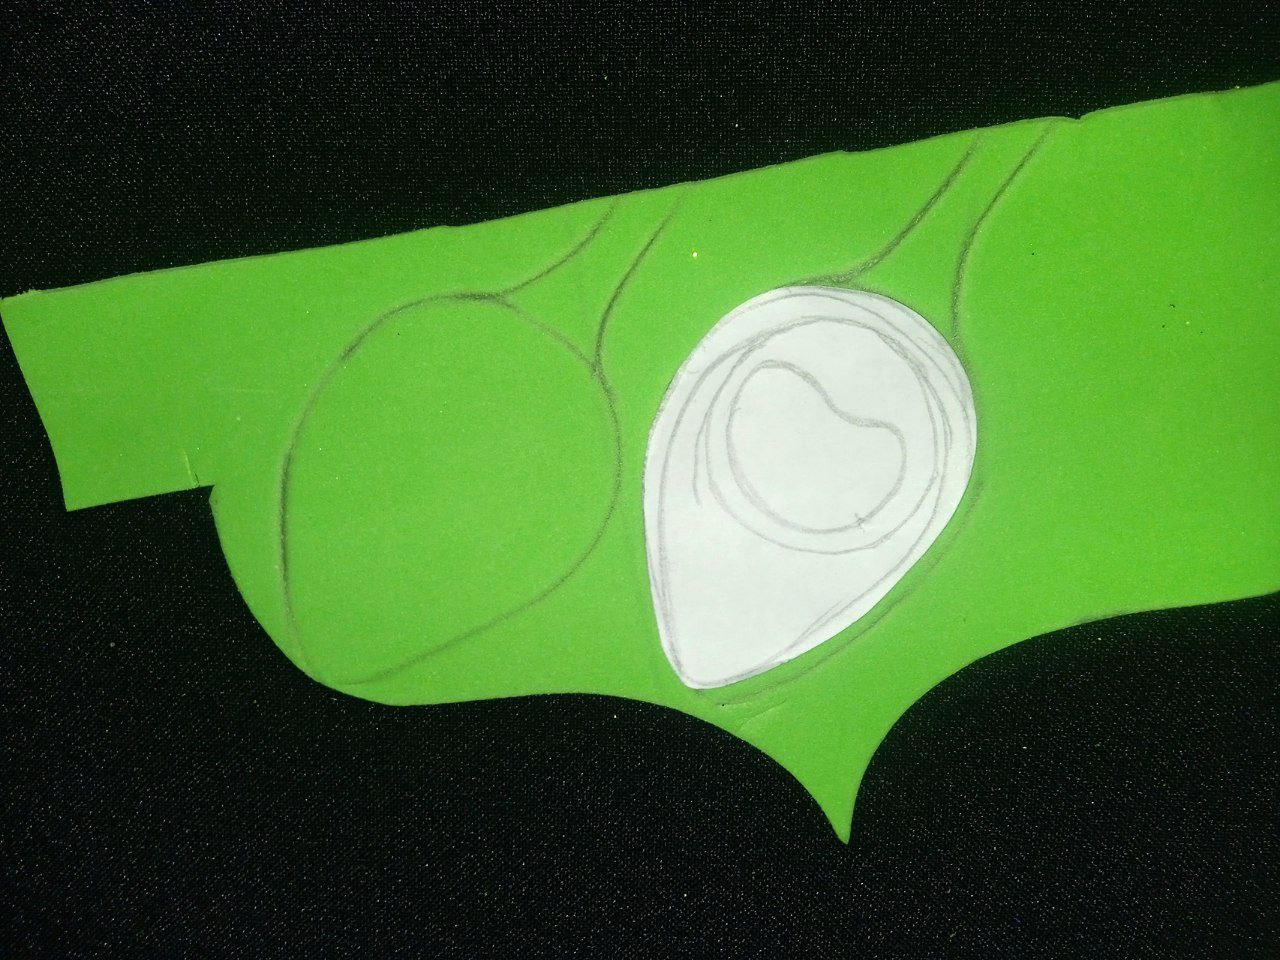
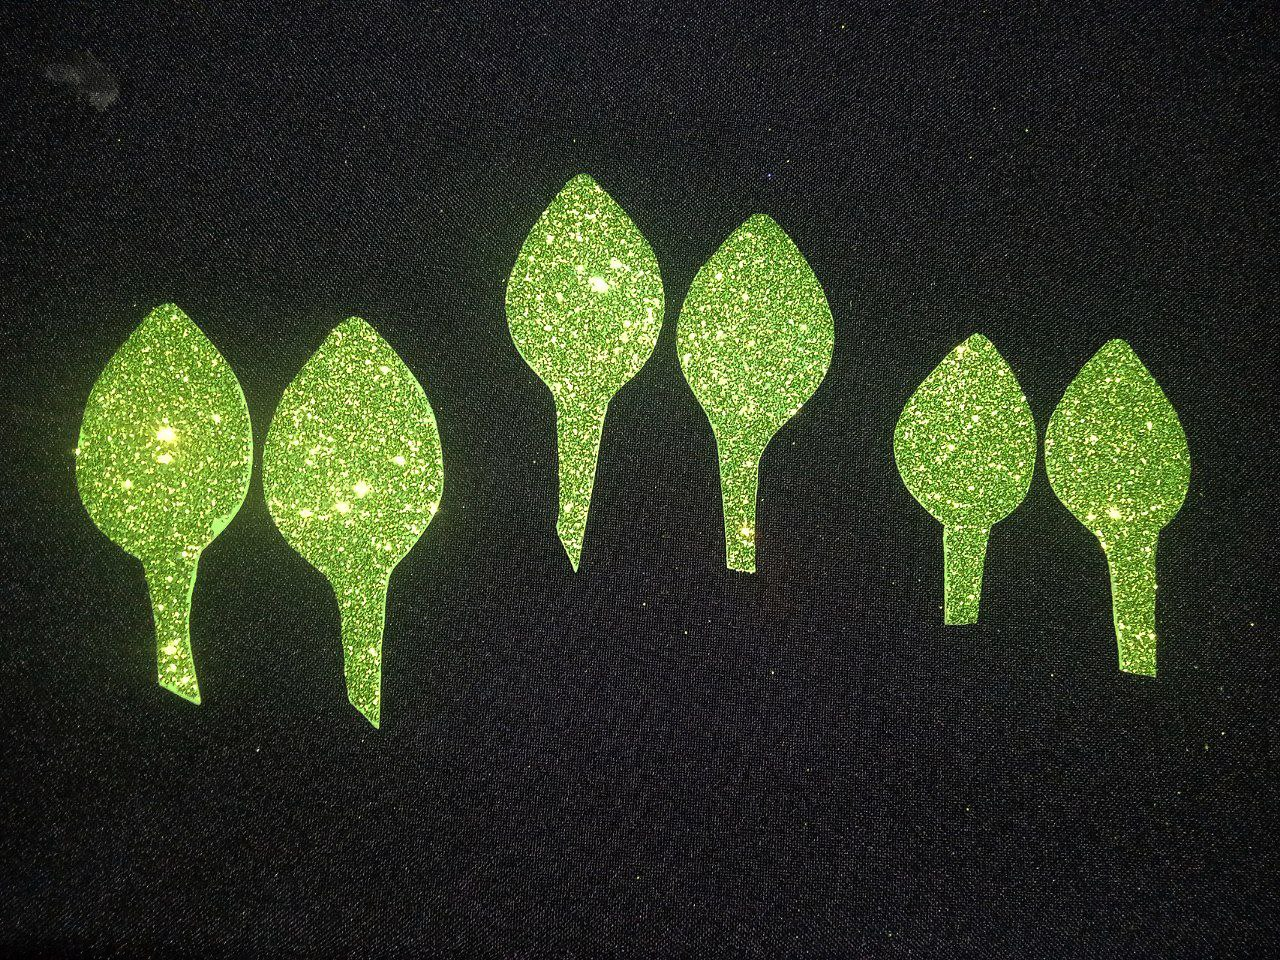
Para las plumas se hace el mismo procedimiento. Dibujamos el boceto en un trozo de papel de maquillaje, más precisamente unos óvalos en forma de huevo. Cortamos y calcamos la pieza unas seis veces, haciendo de diferentes tamaños como lo require el diseño, en este caso en el foamis verde brillante y luego, cortamos las piezas.
 |  |  |
|---|
 |  |  |  |
|---|
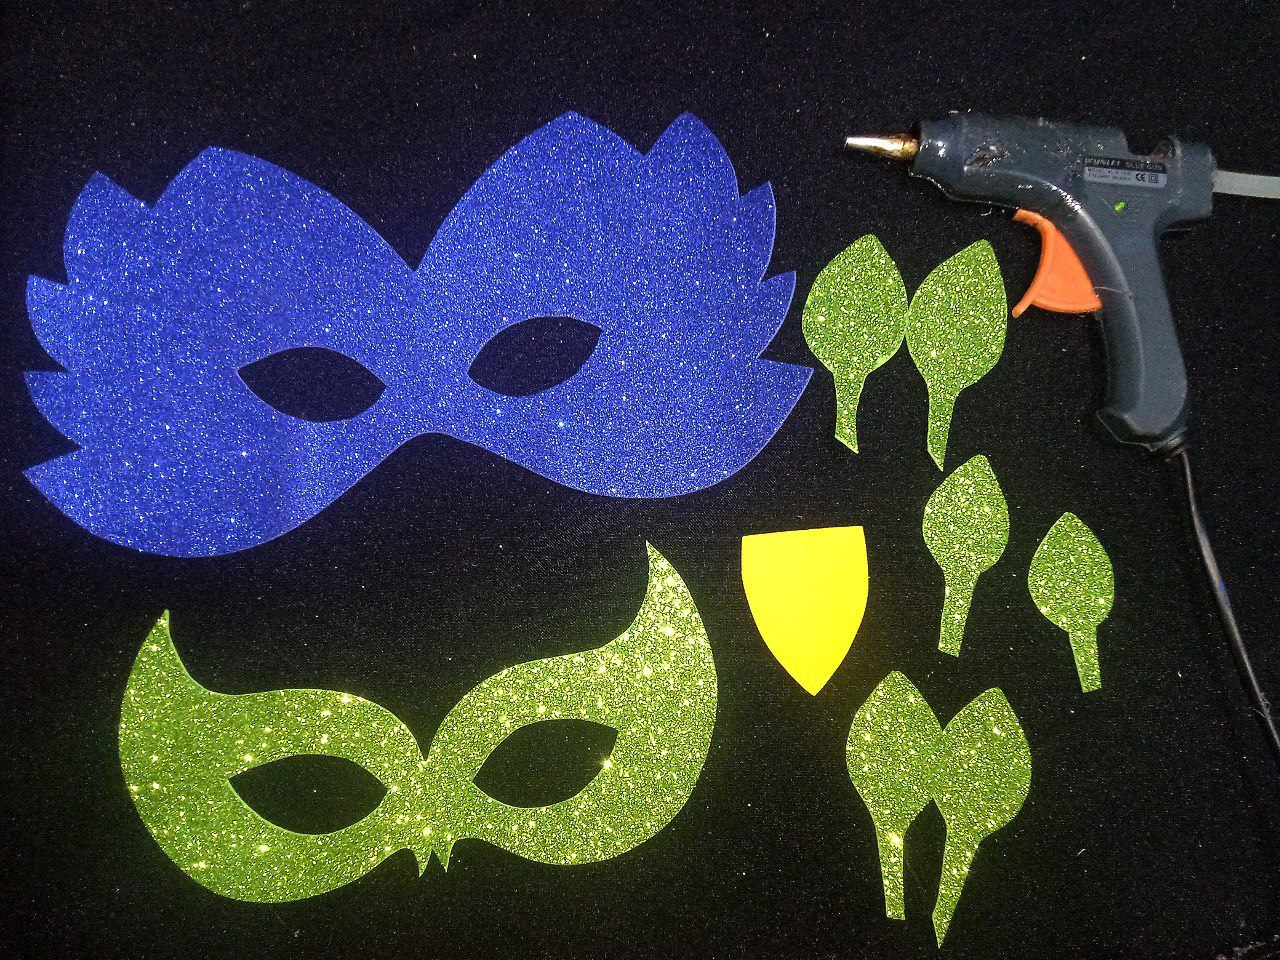
Para el montaje de la máscara primero tomé la base azul brillante, y con la pistola de silicón le pegué las seis piezas que forman las plumas. Las adherí cuidadosamente, asegurándome de que estuvieran simétricas, es decir, con tres plumas a cada lado de la máscara.
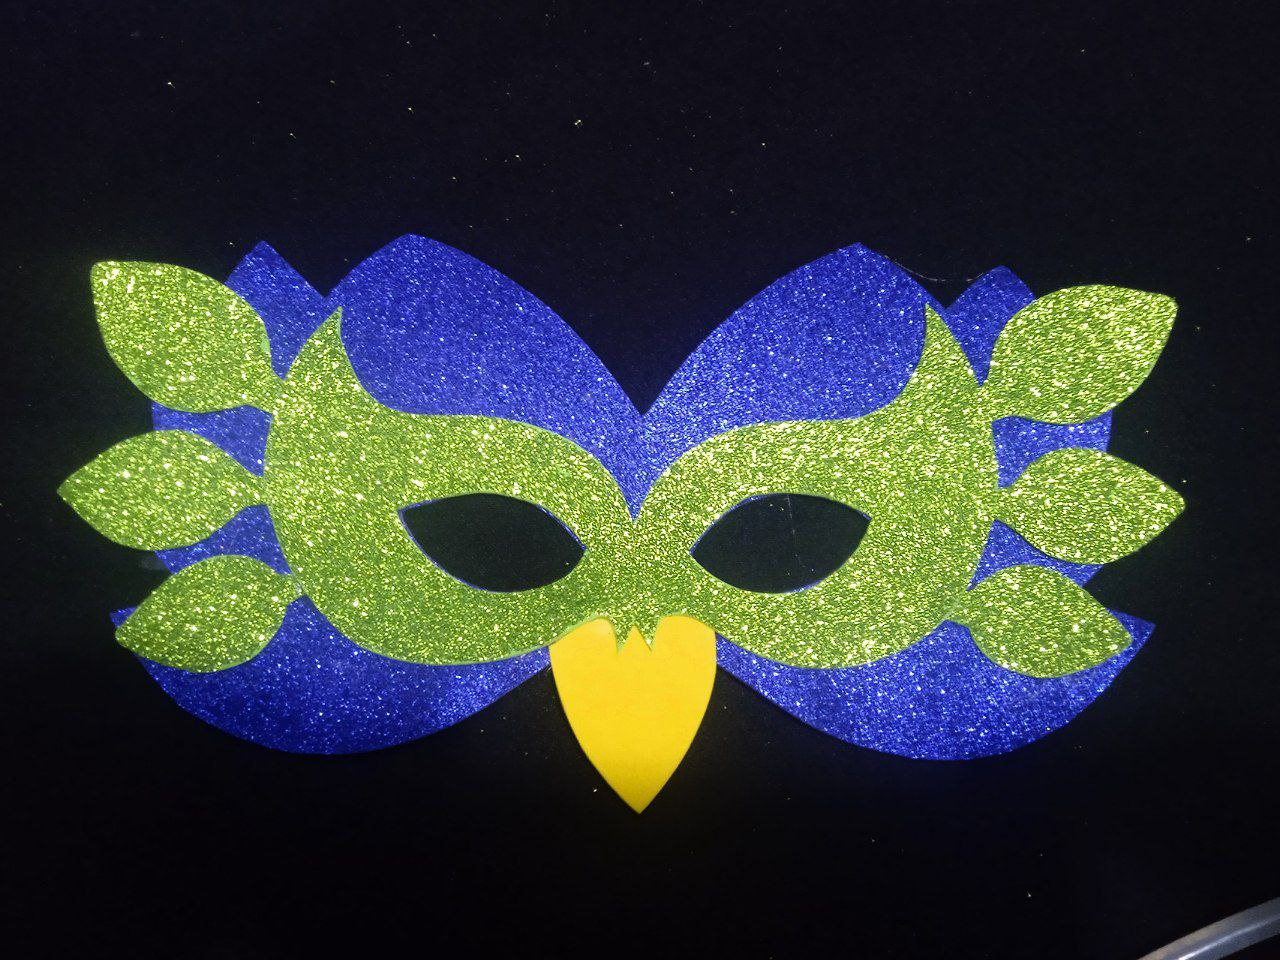
Luego, agarré la siguiente pieza y la pegué sobre la base azul, justo encima de donde coloqué las plumas; el pico lo pego debajo, justo al medio de la pieza verde. De esta manera la máscara comenzó a tomar forma.
 |  |
|---|
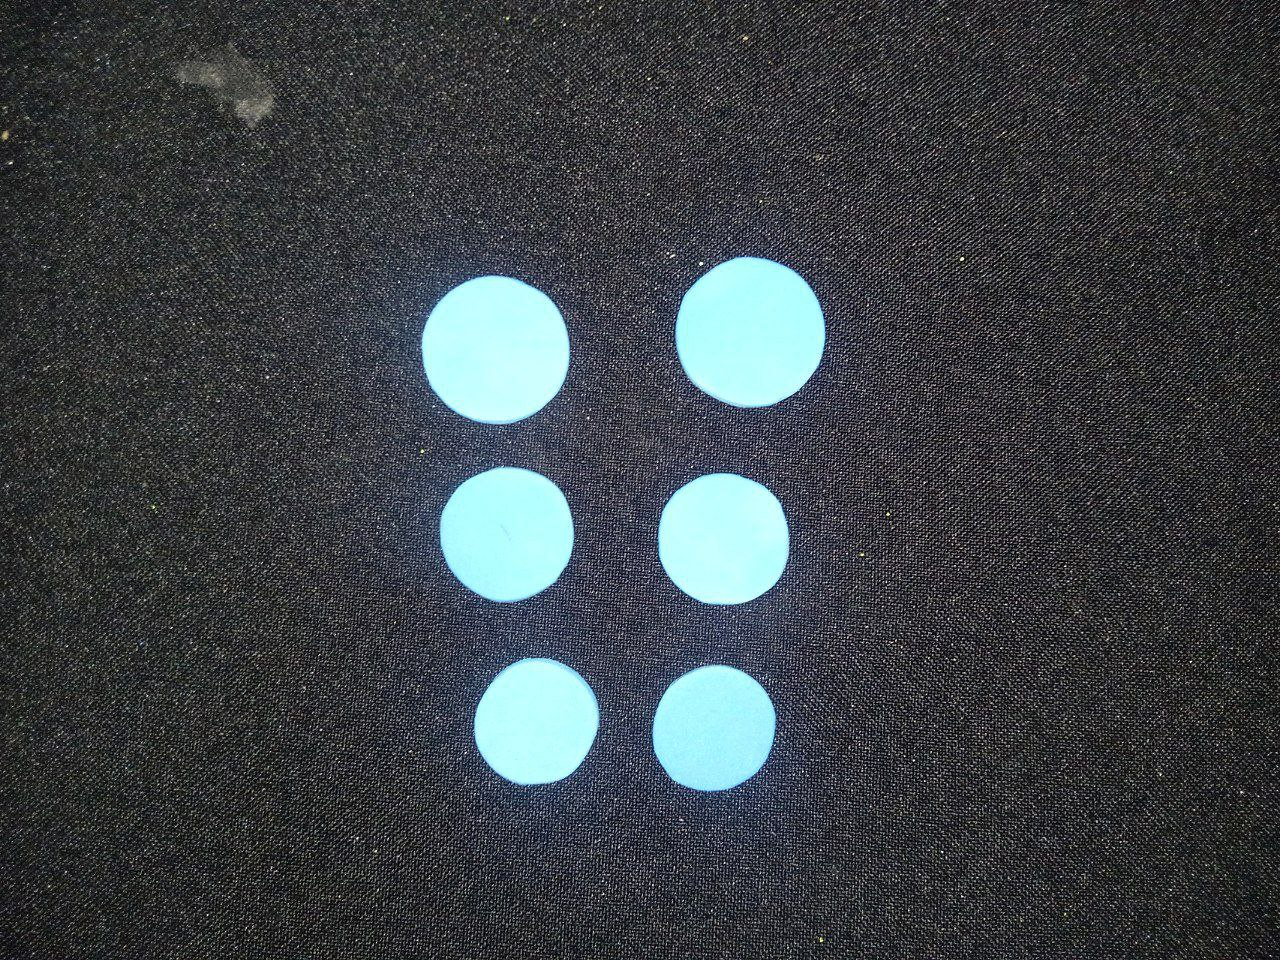
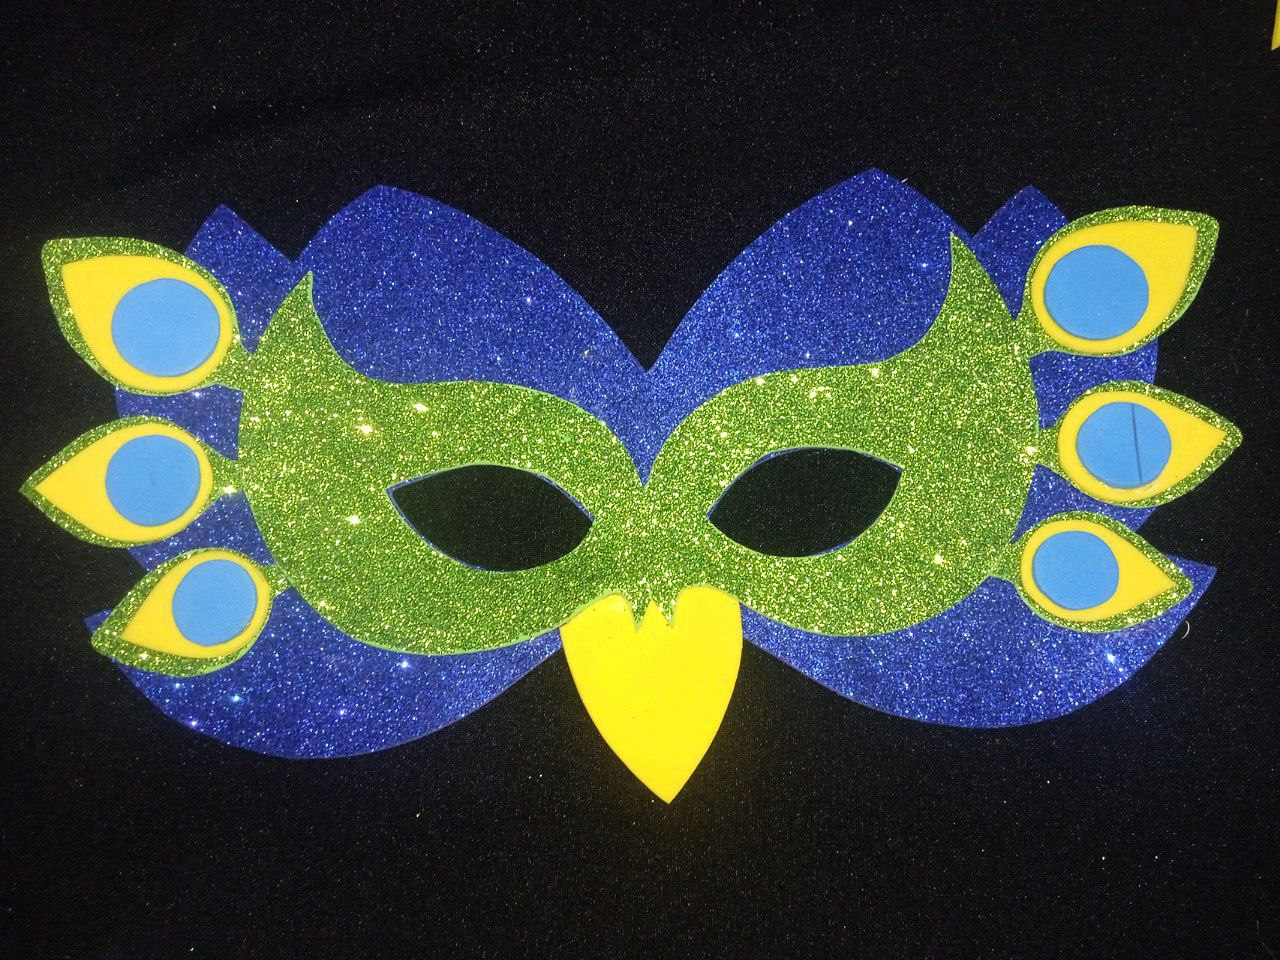
Siguiendo el diseño de las plumas, corté seis pequeñas hojas de foami amarillo de diferentes tamaños y seis círculos de foami azul claro, también de distintos tamaños. Luego, con cuidado, pegué estas piezas a las plumas. Primero, coloqué las hojas amarillas, y después añadí los círculos azules, creando un efecto visual a las plumas de un pavo real. Finalmente, recorté una pequeña gota de foami rojo y la pegué al pico amarillo.
 |  |  |
|---|
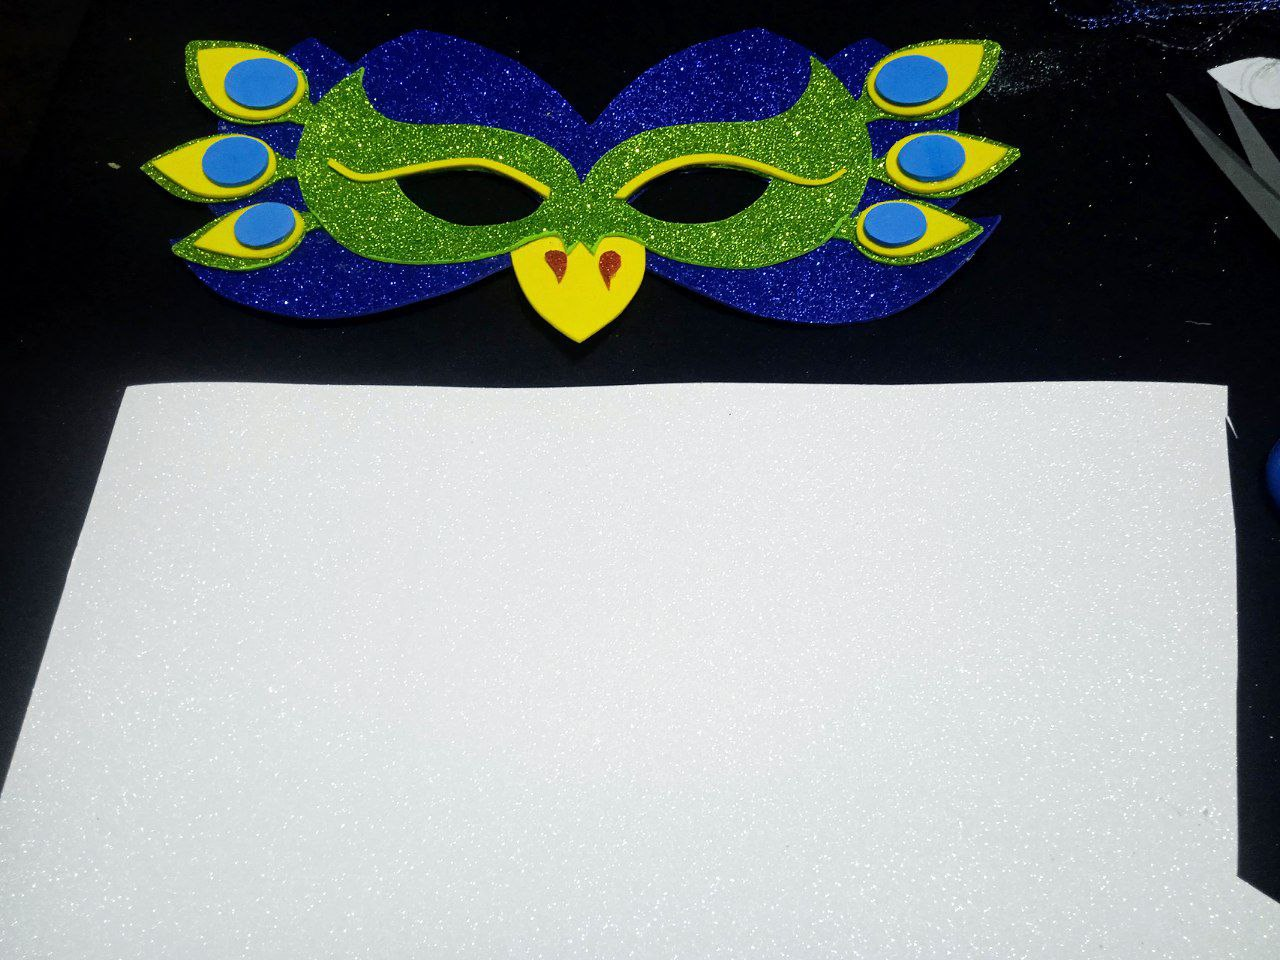
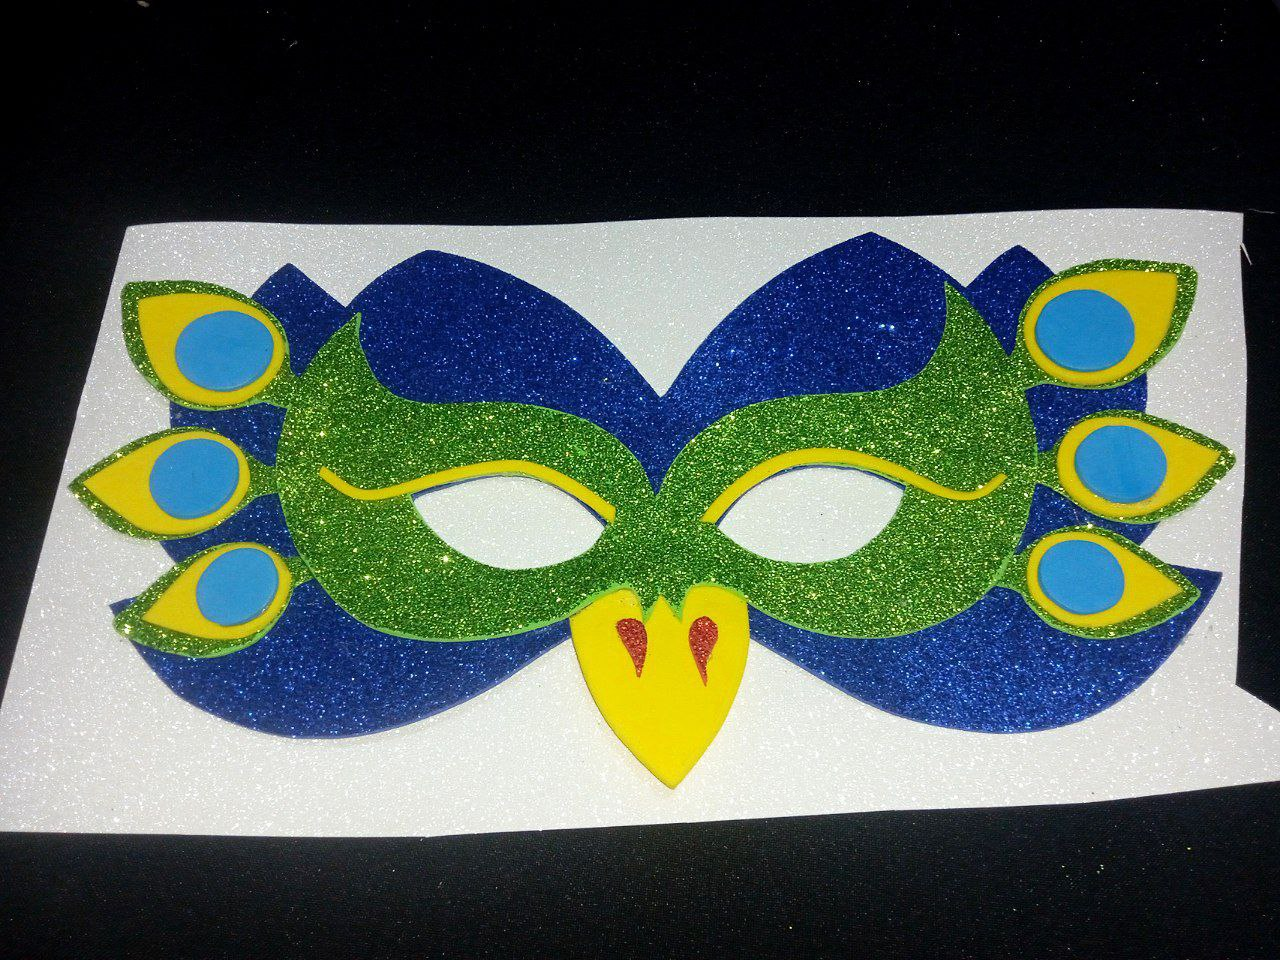
Para terminar mi máscara, tomé un pedazo de foami blanco y coloqué la máscara encima. Con cuidado, usé la pistola de silicón para pegarla al foami blanco, asegurándome de que quedara bien adherida. Luego, con las tijeras, recorté dejando un pequeño borde alrededor de la máscara. Este borde blanco hace que la máscara resalte aún más y le da un acabado limpio.
 |  |
|---|
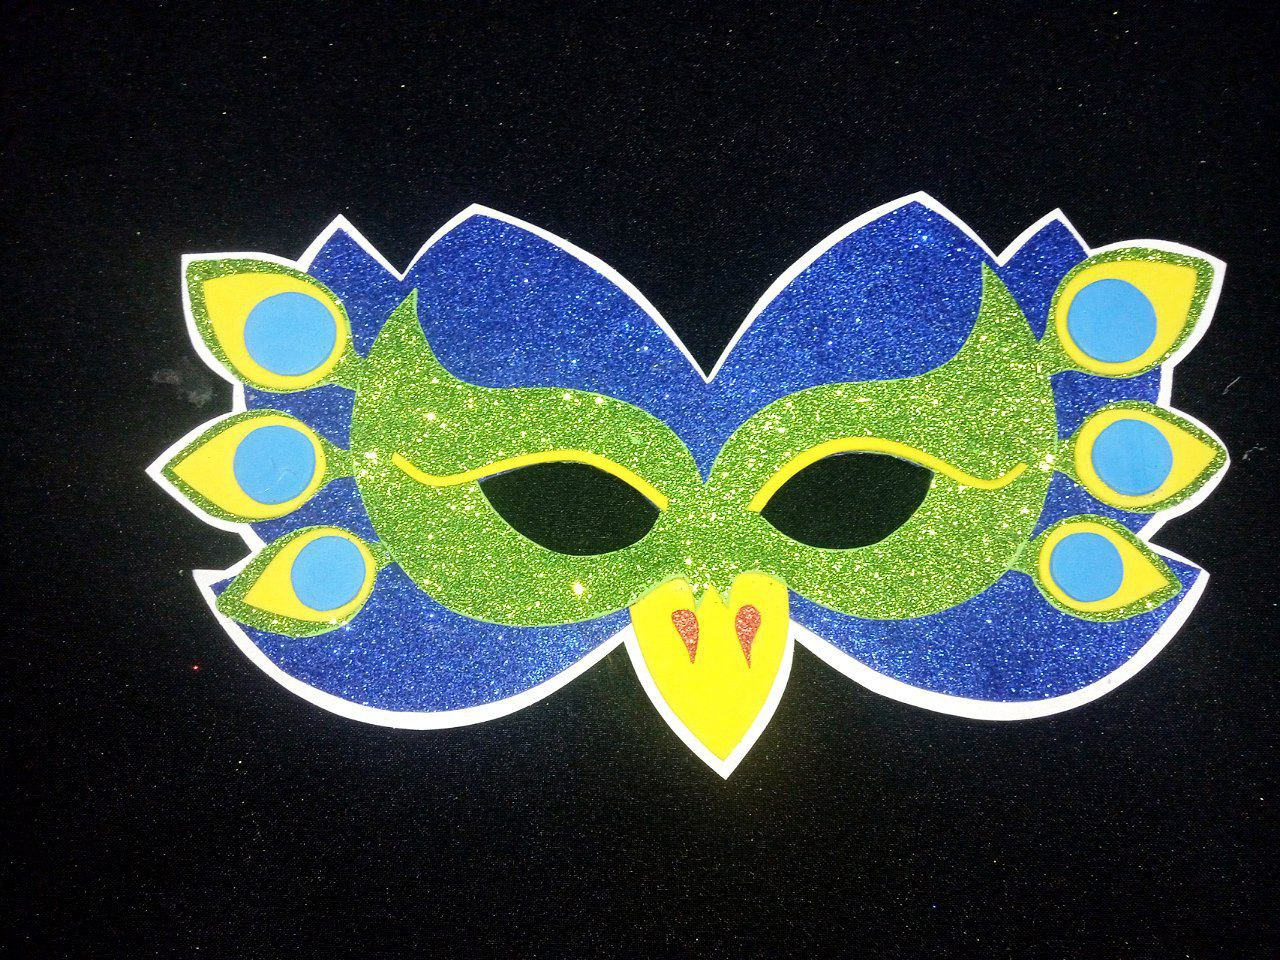
De esta forma obtienes una máscara colorida y atractiva para que seas la envidia en las fiestas de carnaval; el resultado me gustó mucho, pues se ve bastante colorido. Para usarla, puedes agregarle cordón elástico, aunque esta que hice fue para decorar una puerta.
¡Espero se animen a hacerla!
Nos vemos en el próximo tutorial ;-).
Posted Using INLEO
English
Click Here
Greetings Friends of the Hive Diy community.
We are already entering the carnival celebrations, so this time I will share with you a brief tutorial to make a bird-themed mask, which are usually colorful. On these dates these masks are usually used for celebrations or for decorations, and this one that I will make works for both cases.
I hope you like it!
Materials:
- Reusable machine sheet.
- Pencil and eraser.
- Foami of different bright colors (blue, green, yellow, white and red).
- Scissors.
- Silicone gun.
Procedure
I selected a standard sheet of machine paper, as I want my mask to have the proper proportions. I folded the sheet in half, creating an axis of symmetry to make the mask uniform. After this, I started drawing the sketch of my mask on the folded half of the sheet, making sure to draw at the beginning of the fold. You can make an original design or use a reference image you find on the internet, for this case, I got my inspiration from Pinterest.
| |
|---|---|
| |
I took the scissors and started cutting the sketch I drew, following the lines of the design. This way you can get your template, which will serve as a guide for the finishing of the carnival mask. Once this was done, I placed the template on the bright blue foami, since it will be the base of my mask; and I traced all the outline. Then, very precisely, I cut out the piece of foami, following the lines I marked with the template.
| | |
|---|---|---|
| | |
As you may have noticed, the cutout of the template we used as a base has an internal drawing, which is the second layer of the mask. Fold the template and, using the scissors, cut out the piece inside, following the lines precisely.
This is how I got my second template.
Now, our new template is placed on the next foamis, which is bright green. We trace the border and the eyes. After this, we cut out the figure we traced on the foamis, including the eyes.
| | |
|---|
| |
|---|
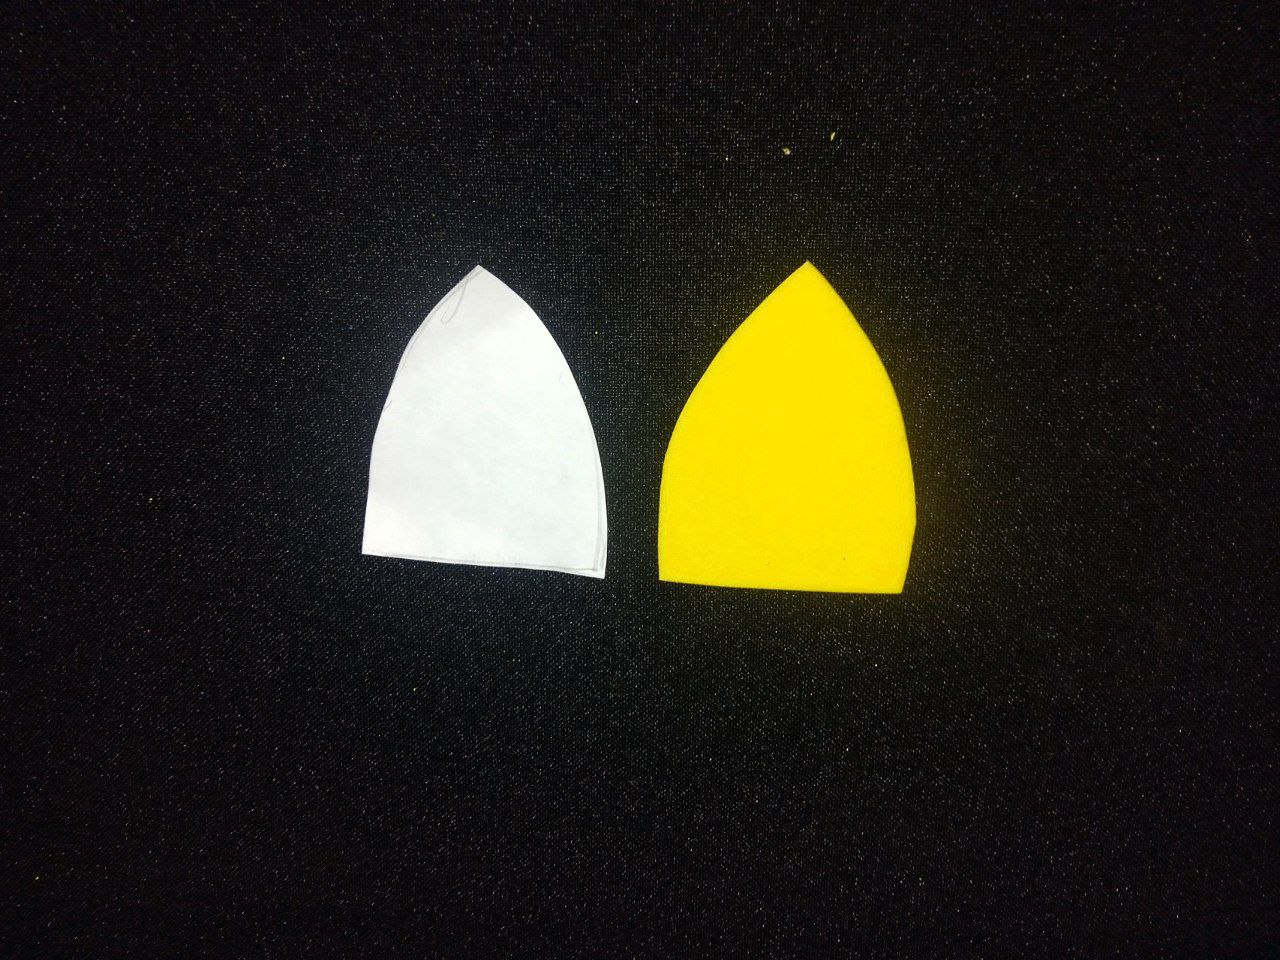
To make the mask's beak, I drew a triangle on a piece of paper. I cut it carefully to obtain the piece that I then placed on the yellow foamis; it is traced again and the piece is cut out.
The same procedure is used for the feathers. We draw the sketch on a piece of makeup paper, more precisely some egg-shaped ovals. We cut and trace the piece about six times, making different sizes as required by the design, in this case on the bright green foamis and then, we cut the pieces.
| | |
|---|
| | | |
|---|
To assemble the mask I first took the bright blue base, and with the silicone gun I glued the six pieces that form the feathers. I carefully adhered them, making sure they were symmetrical, that is, with three feathers on each side of the mask.
Then, I took the next piece and glued it on the blue base, just above where I placed the feathers; the beak I glued it underneath, right in the middle of the green piece. In this way the mask began to take shape.
| |
|---|
Following the design of the feathers, I cut six small sheets of yellow foami of different sizes and six circles of light blue foami, also of different sizes. Then, carefully, I glued these pieces to the feathers. First, I attached the yellow leaves, and then added the blue circles, creating a visual effect of peacock feathers. Finally, I cut out a small drop of red foami and glued it to the yellow beak.
| | |
|---|
To finish my mask, I took a piece of white foami and placed the mask on top. Carefully, I used the silicone gun to glue it to the white foami, making sure it was well adhered. Then, with the scissors, I cut out a small border around the mask. This white border makes the mask stand out even more and gives it a clean finish.
| |
|---|
This way you get a colorful and attractive mask for you to be the envy at carnival parties; I really liked the result, as it looks quite colorful. To use it, you can add elastic cord, although this one I made was to decorate a door.
I hope you are encouraged to make it!
See you in the next tutorial ;-).
Posted Using INLEO