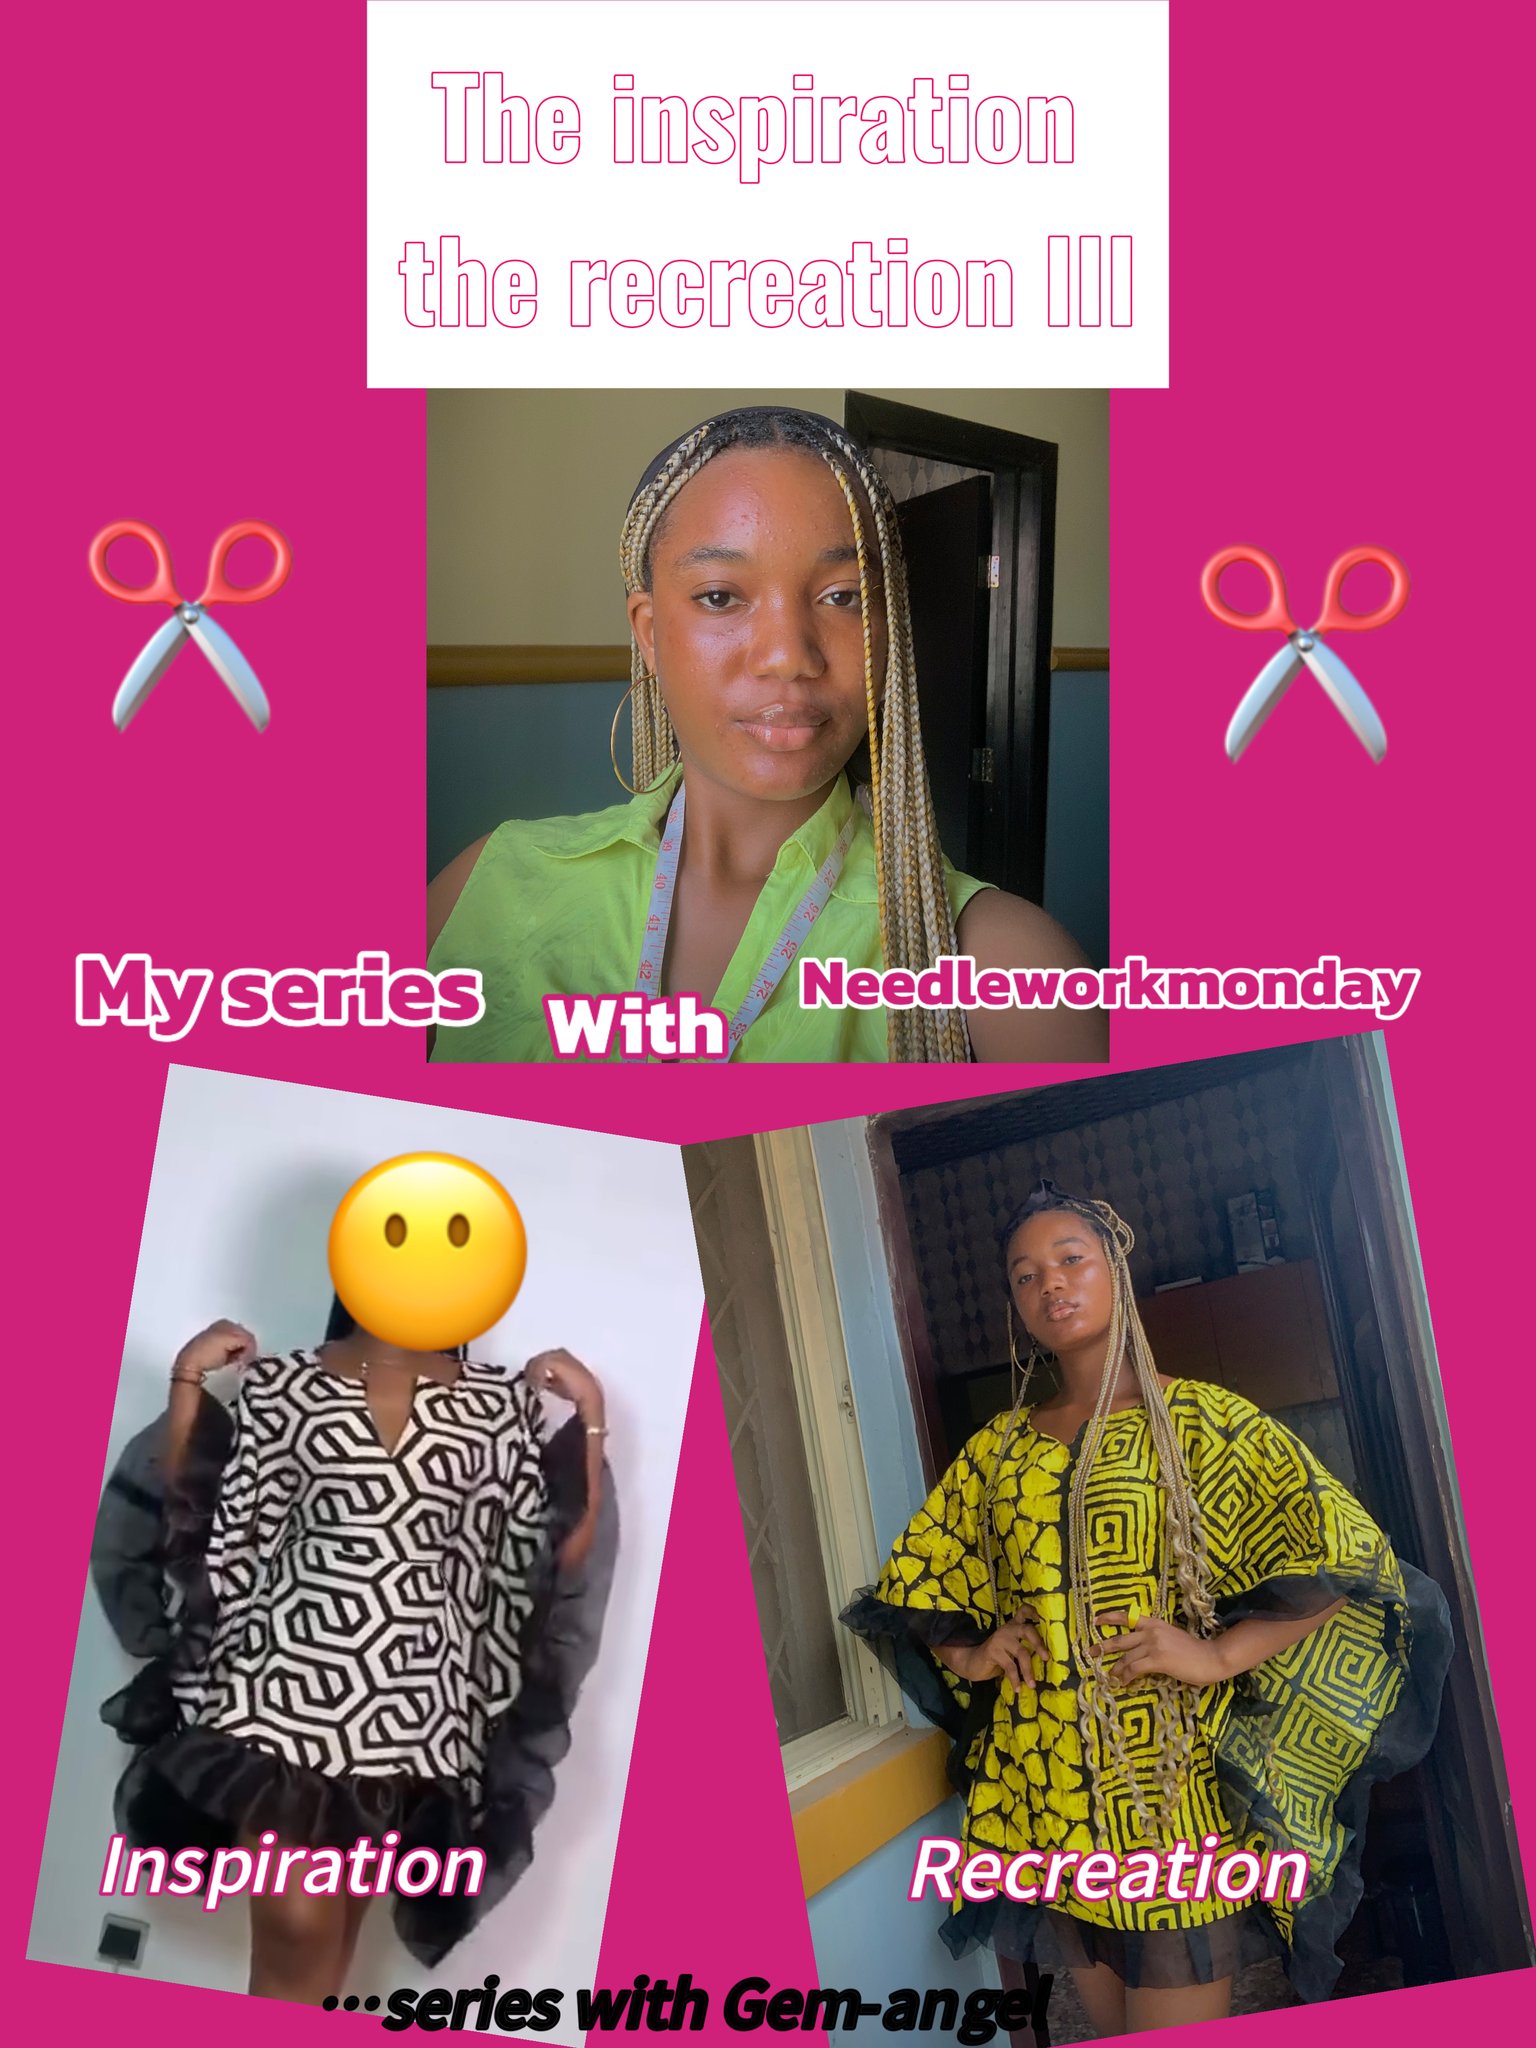
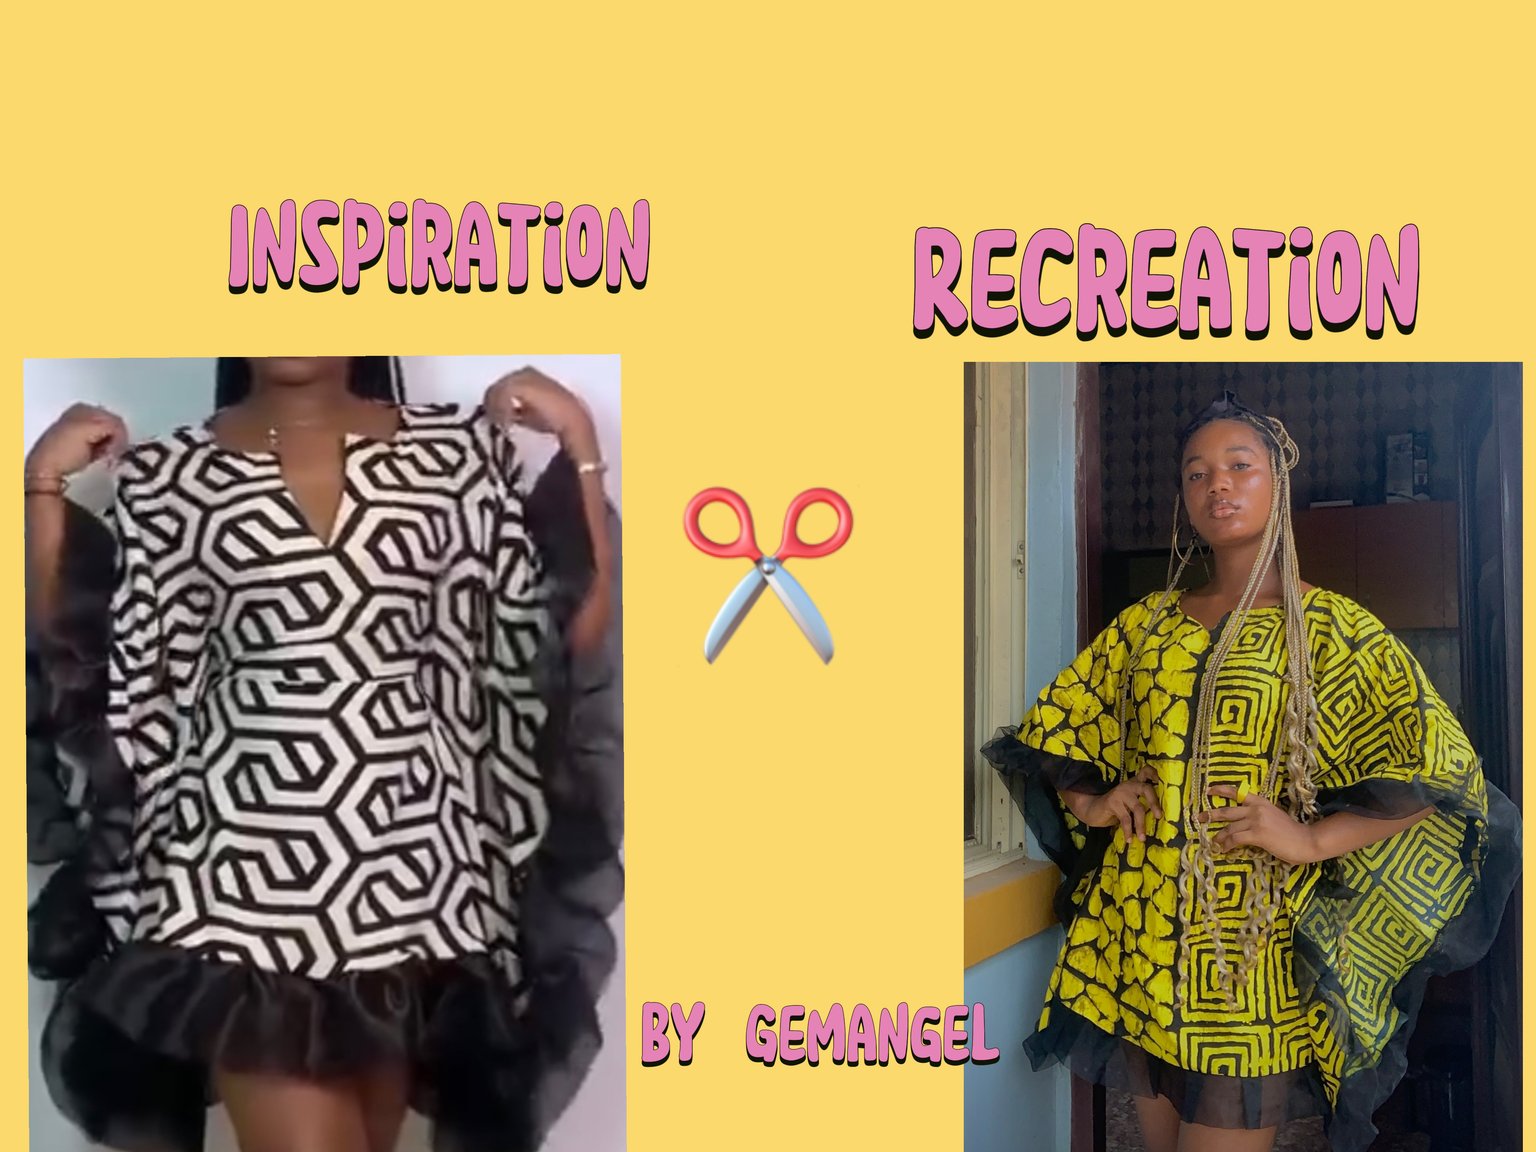
Hello wonderful people of Needlework Monday and welcome to yet again another recreating episode with Gemangel. Today, I will be recreating a short bulbul dress with organza material at the ends.
I must say, this is seemly the most easiest style I thought I would ever have to recreate. Never the less, I intend on making things more challenging as i advance.
Before I move on to the main article, a quick flash back on my previous recreations shall we.
- Recreating an A cut dress with net sleeves. Challenges I encounter, achieving the exaggerated hips.
- Recreating; A Val dress. Challenges I encountered, achieving a snatched waist.
- And now, recreating a short bulbul dress.
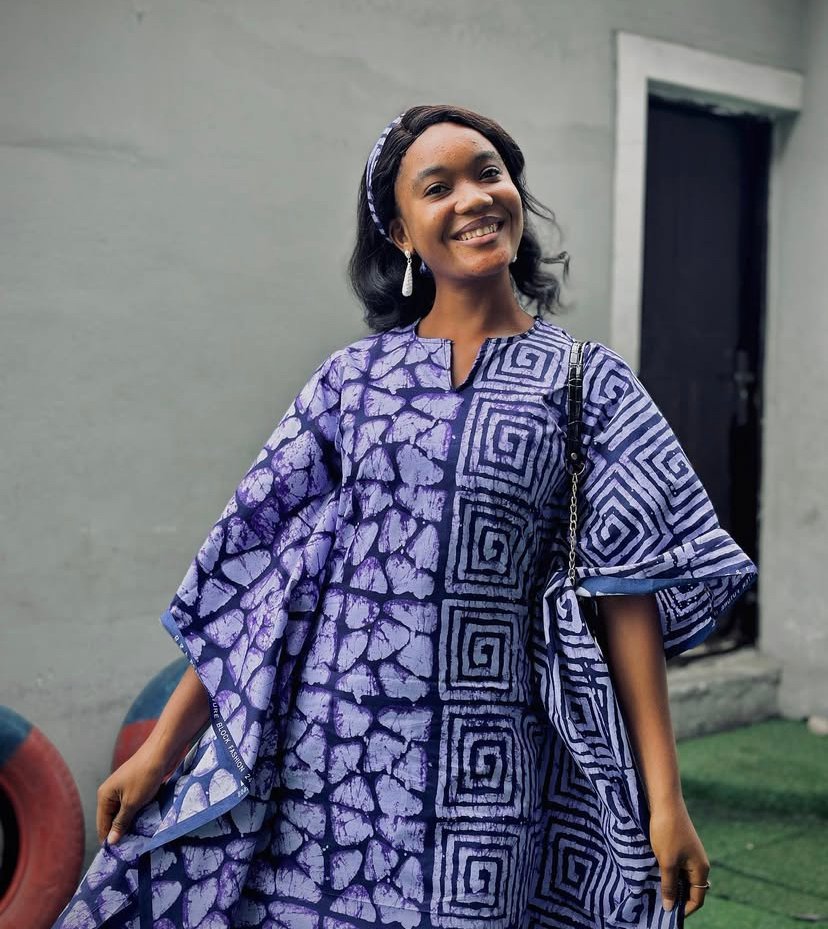
the first bulbul dress i ever made
This style was already destined to be easy because I have already sewed a bulbul dress before and it turned out great just at my first trial the only difference is that this new style I would be trying, had a little bit of extra to it but I’m sure it wasn’t going to be a hard.
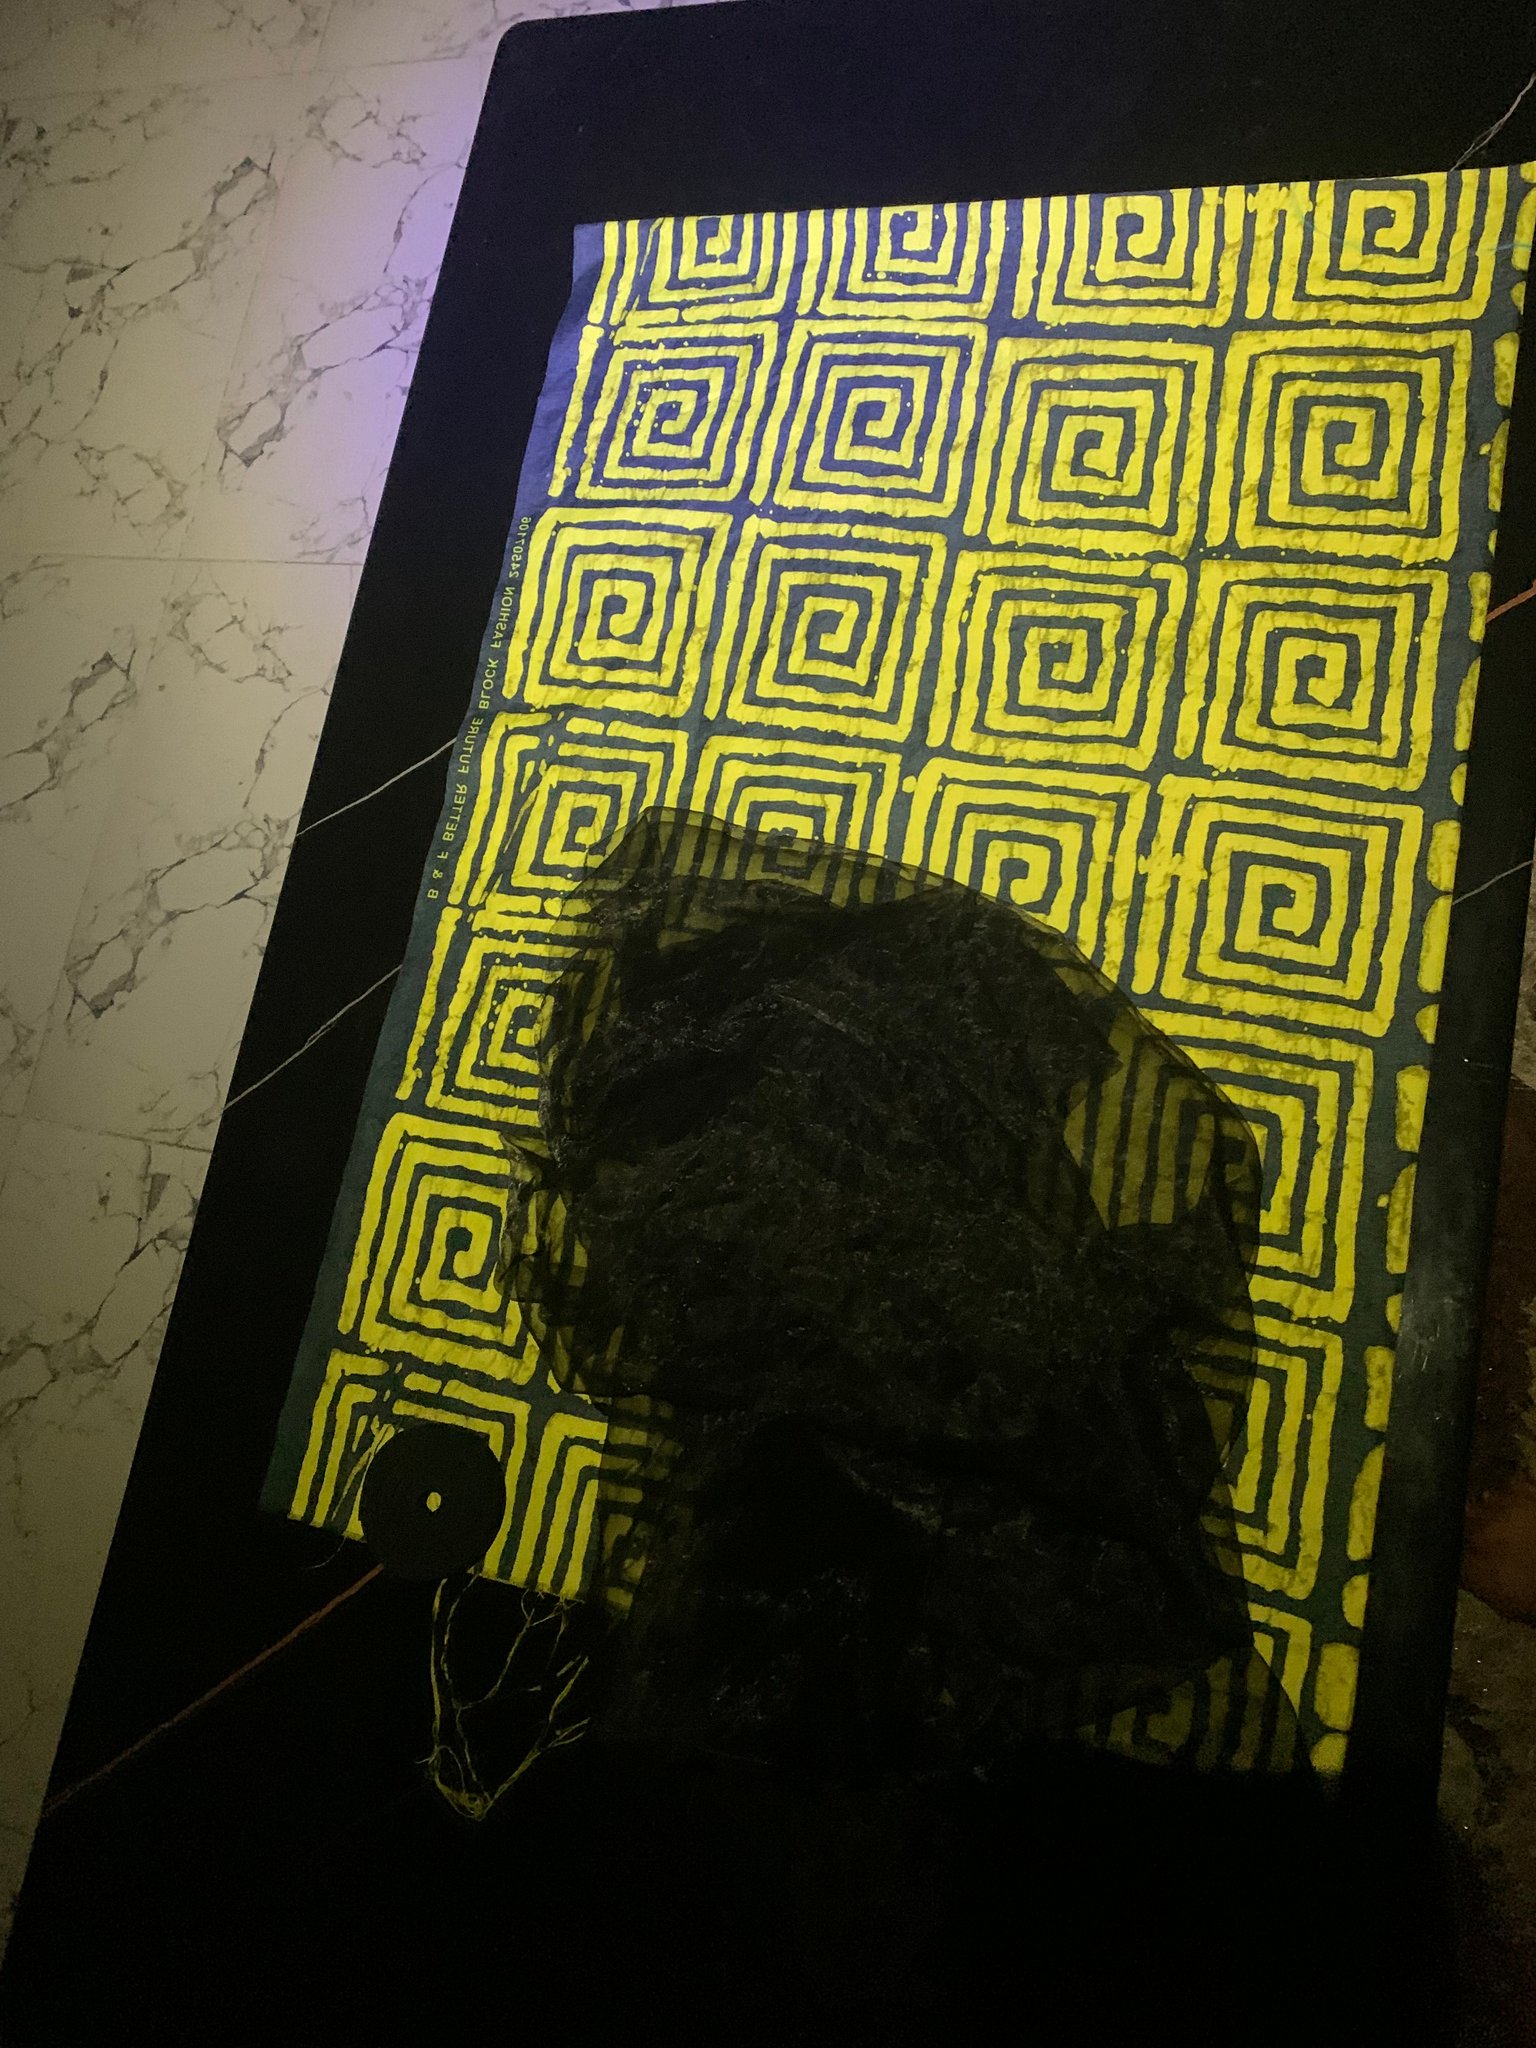
In making tis dress all I used were:
i. A yard of Ankara print fabric
ii. Bias
iii. One and a half yards of organza
iv. A thread
v. And of cause my basic sewing kit (curve ruler, chuck….etc.)
For this dress the basic body measurement I used includes:
i. Shoulder of 16
ii. Bust of 35
iii. Waist of 29
iv. Hips of 40
v. Length of 32
Note that for this dress I added seam allowance to the sides for ease and also because there would be no zipper.
The process
I started by folding my fabric into four. I folded it into two equal half, then folded it again but this time the opposite direction. This is because I was cutting the back and front together.
The next thing I did you take out my shoulder slant from the top. Fir this I placed my shoulder measurement divided by two at the top of my fabric. I then came down by an inch at the edge.
I went on and measured out my neckline and went straight to drafting out my basic bodies.
I went ahead to cut out the shoulder slant I made out and open up the dress.
I then measured my basic measurements divided by four on my fabric and opened it up.Using the previous line as a guide line, after I opened up the dress and i began to draw the body measurement to match so i can follow the line whiles sewing.
When I was done with all this, I joined the shoulders together and the sides. (Also note that for this dress I had to sew on the front part of the fabric).
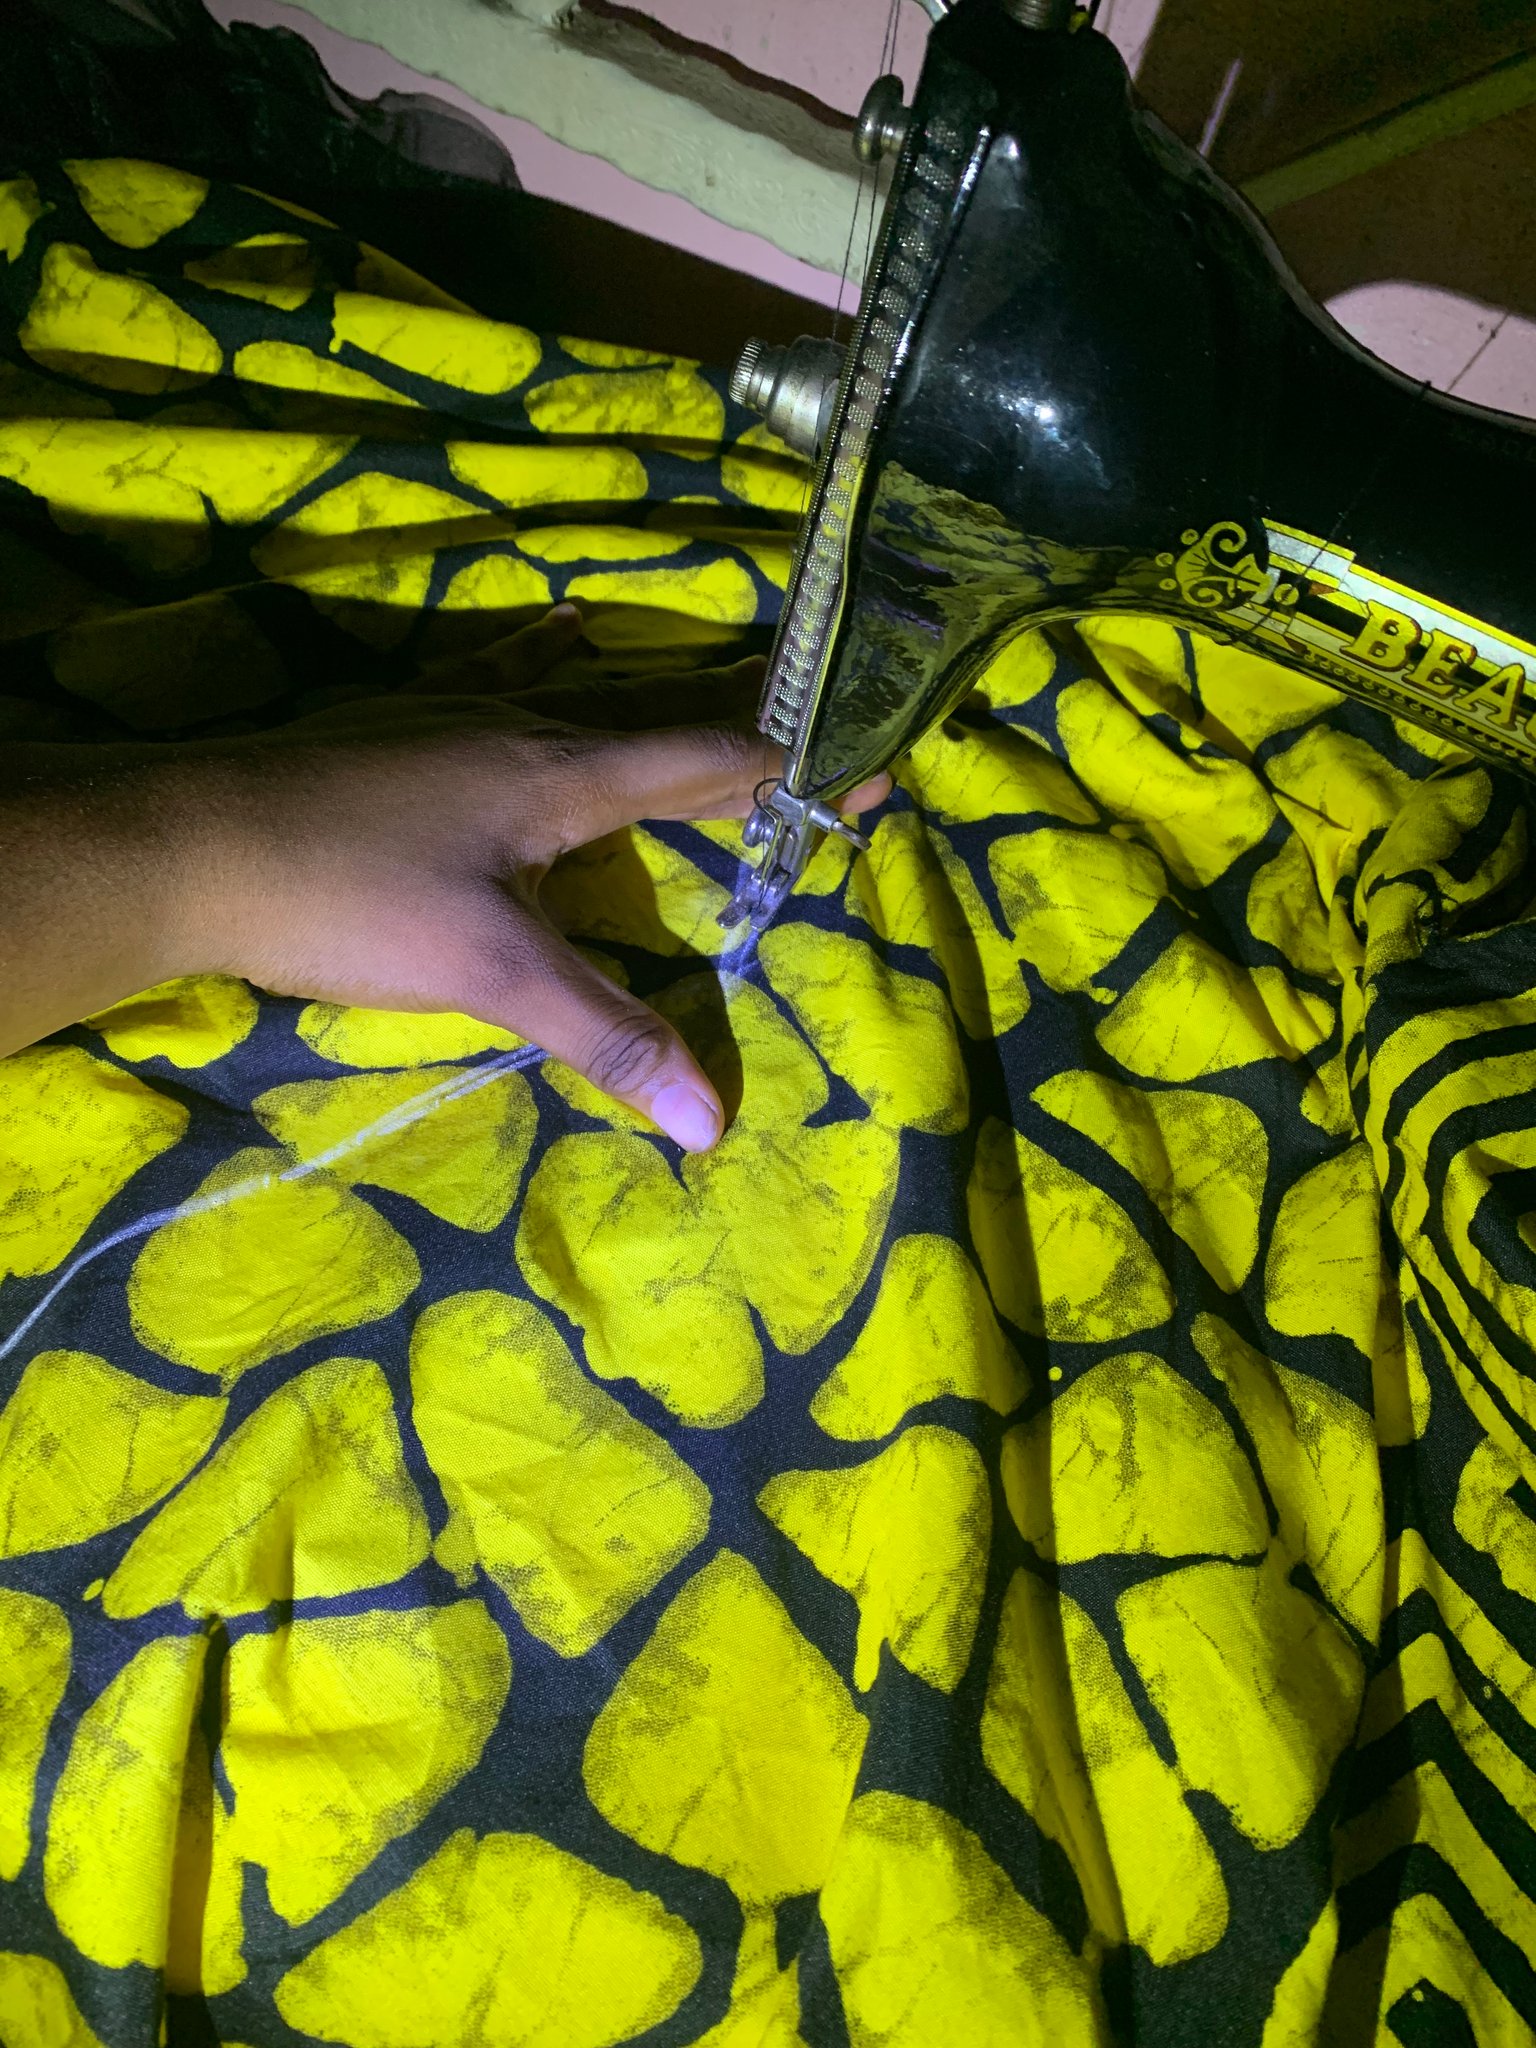
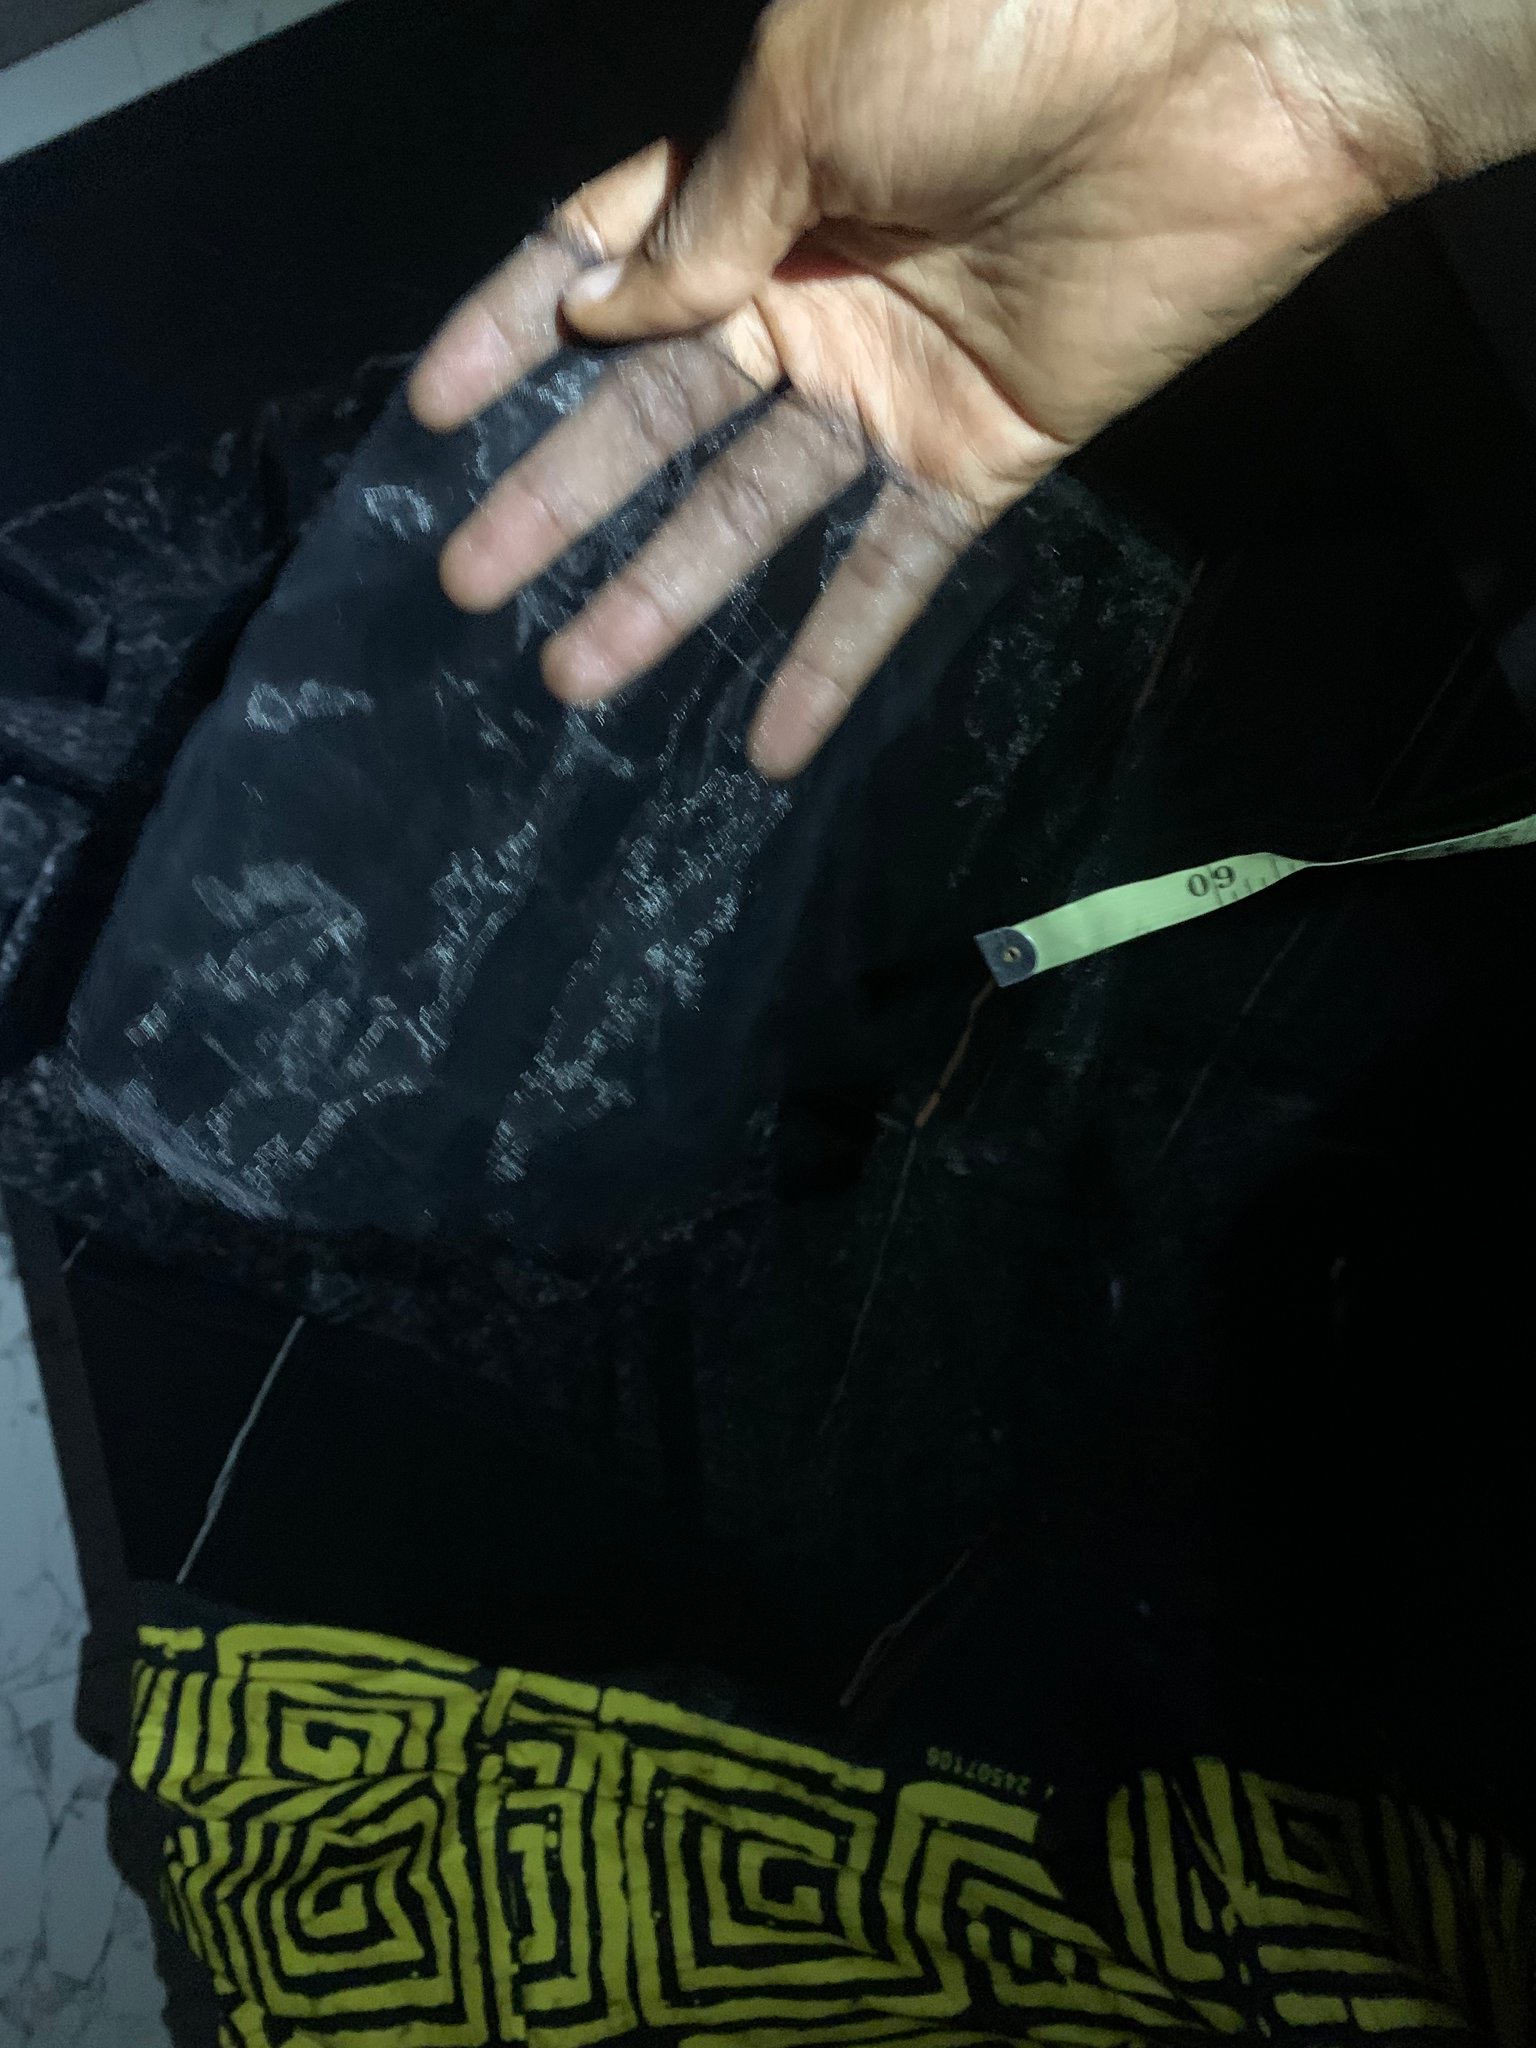
Adding the orgaza to the end was one of the last thing i did.
Honestly this style wasn’t much of a hassle although some things i wish i did was.
- Buy more organza to get a more full look
- Made the dress longer than the inspiration so I wouldn’t have to wear other clothes underneath.

*how i had to style it for church *
- I should have considered making the waistline as snatch like the inspiration, I thought it would cause me discomfort.
Nevertheless, I think I am ready to advance to the next step. I am ready to start something fresh, leaving my comfort zone and I can’t wait to share it with you guys next week.
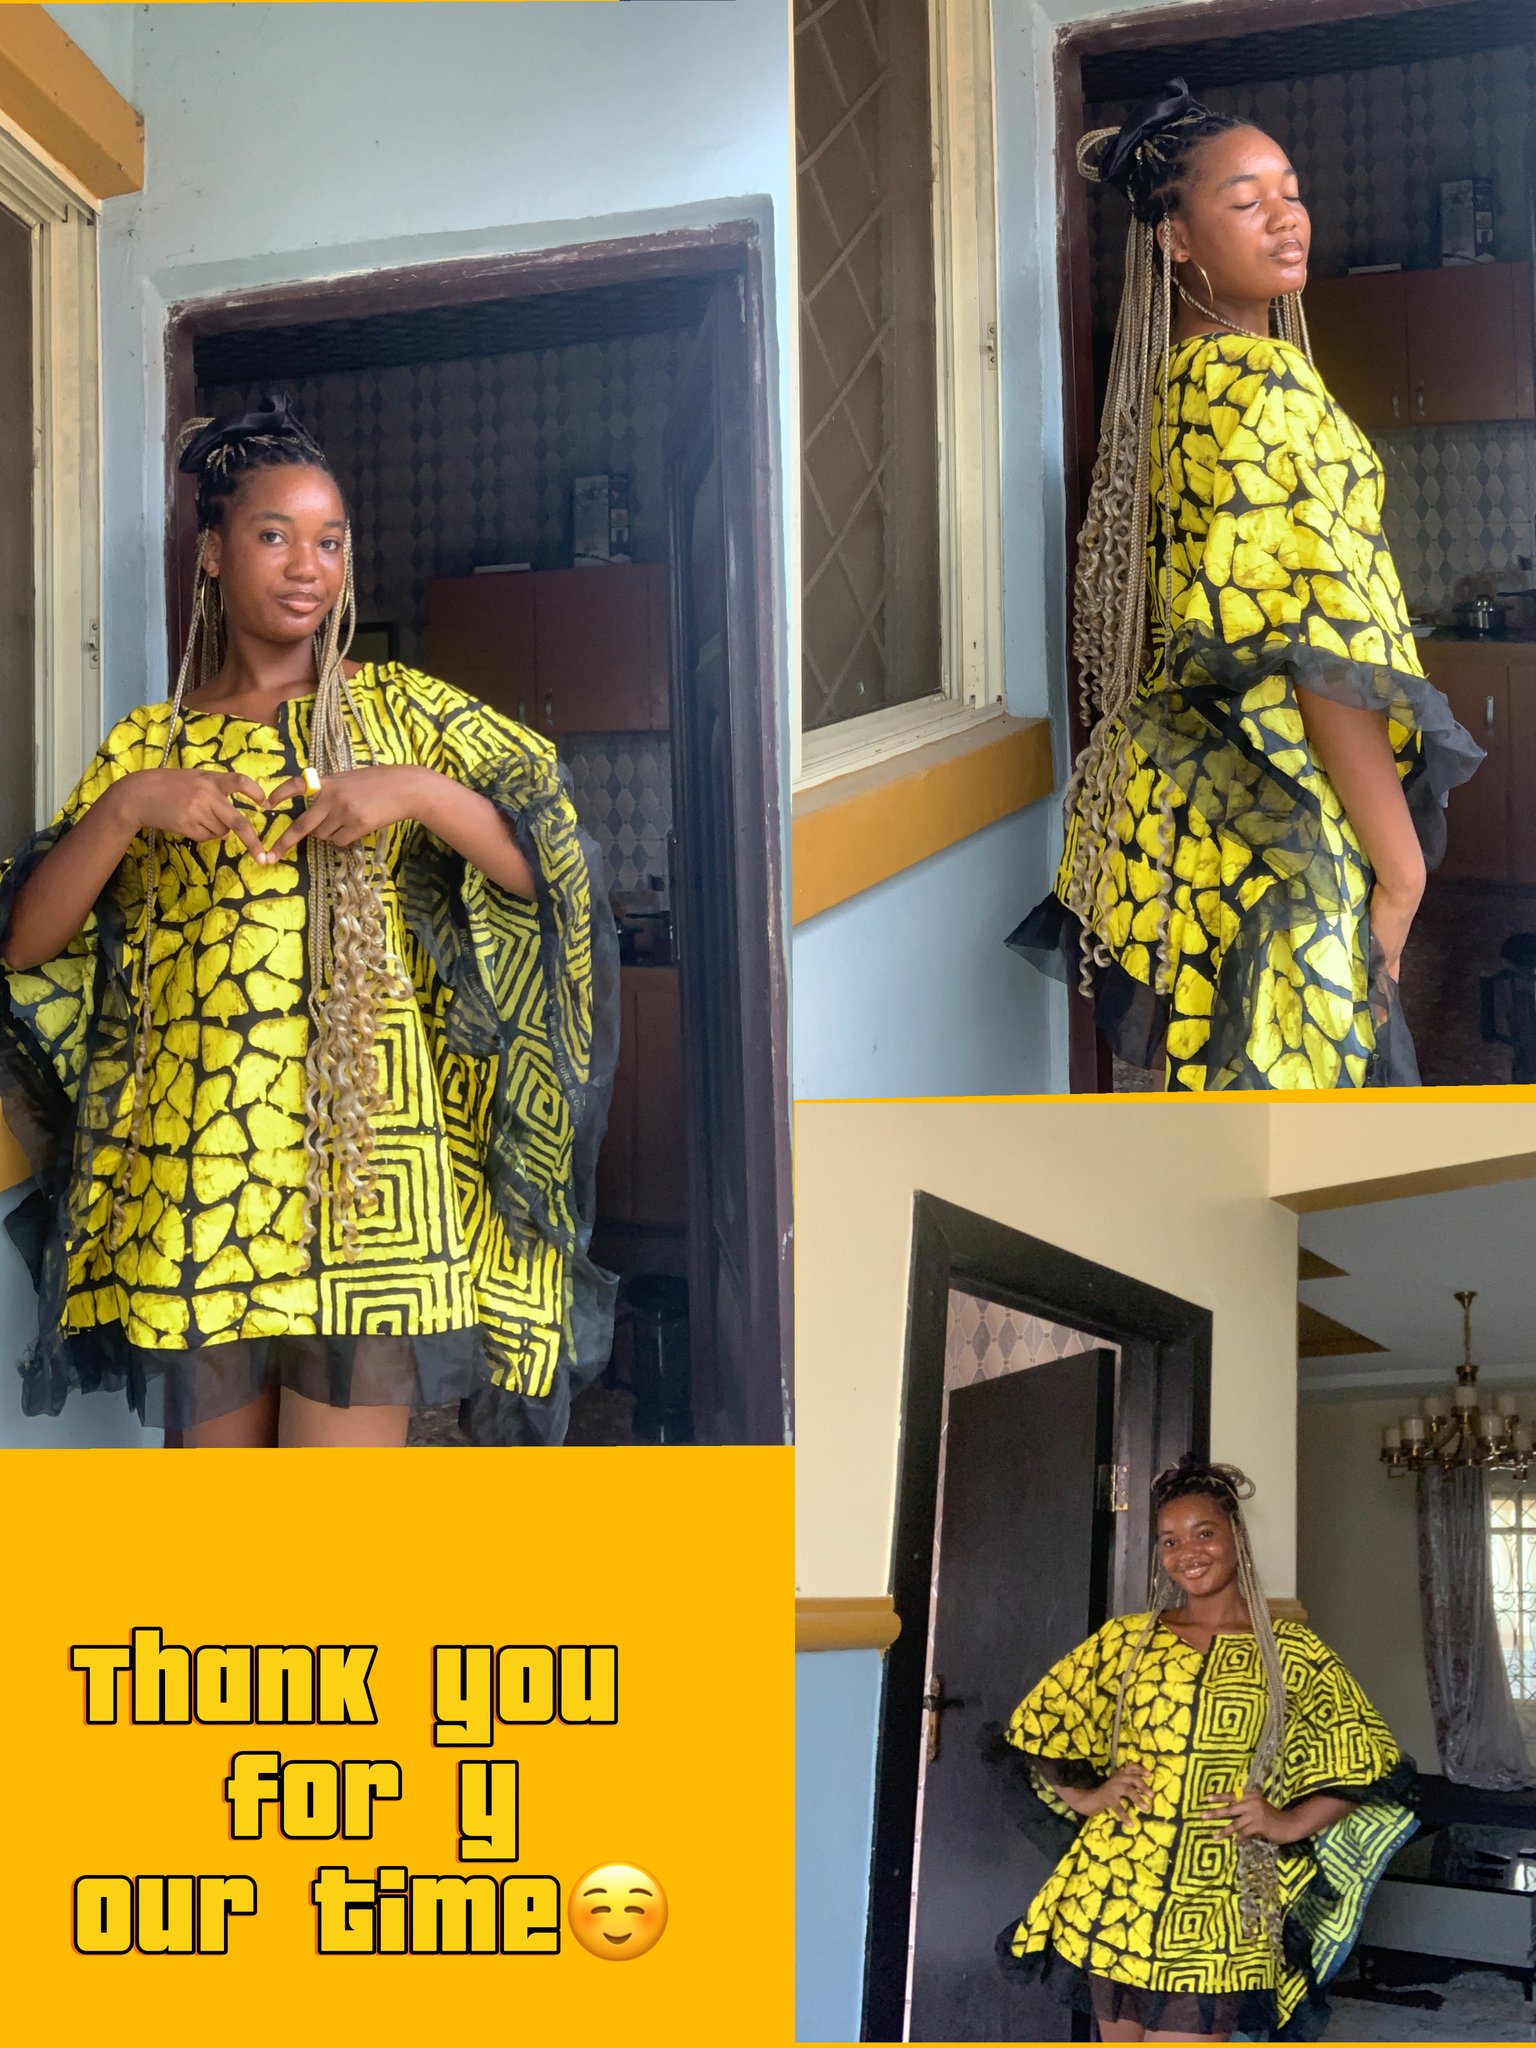
Thank you for reading through. Till next time, I still remain your very enthusiastic designer @gemanel.