Un saludos a todos nuestros amigos que nos visitan en esta maravillosa comunidad de Hive Motors, está vez vengo a compartir una alternativa que implemente en casa para evitar problemas a la hora de cocinar, es que estoy seguro que muchos pasan por lo mismo, si se acaba el gas, deben estar sacando esas horribles cocinas electricas y colocando sobre las hornillas, haciendo que la casa esté algo poca estética.
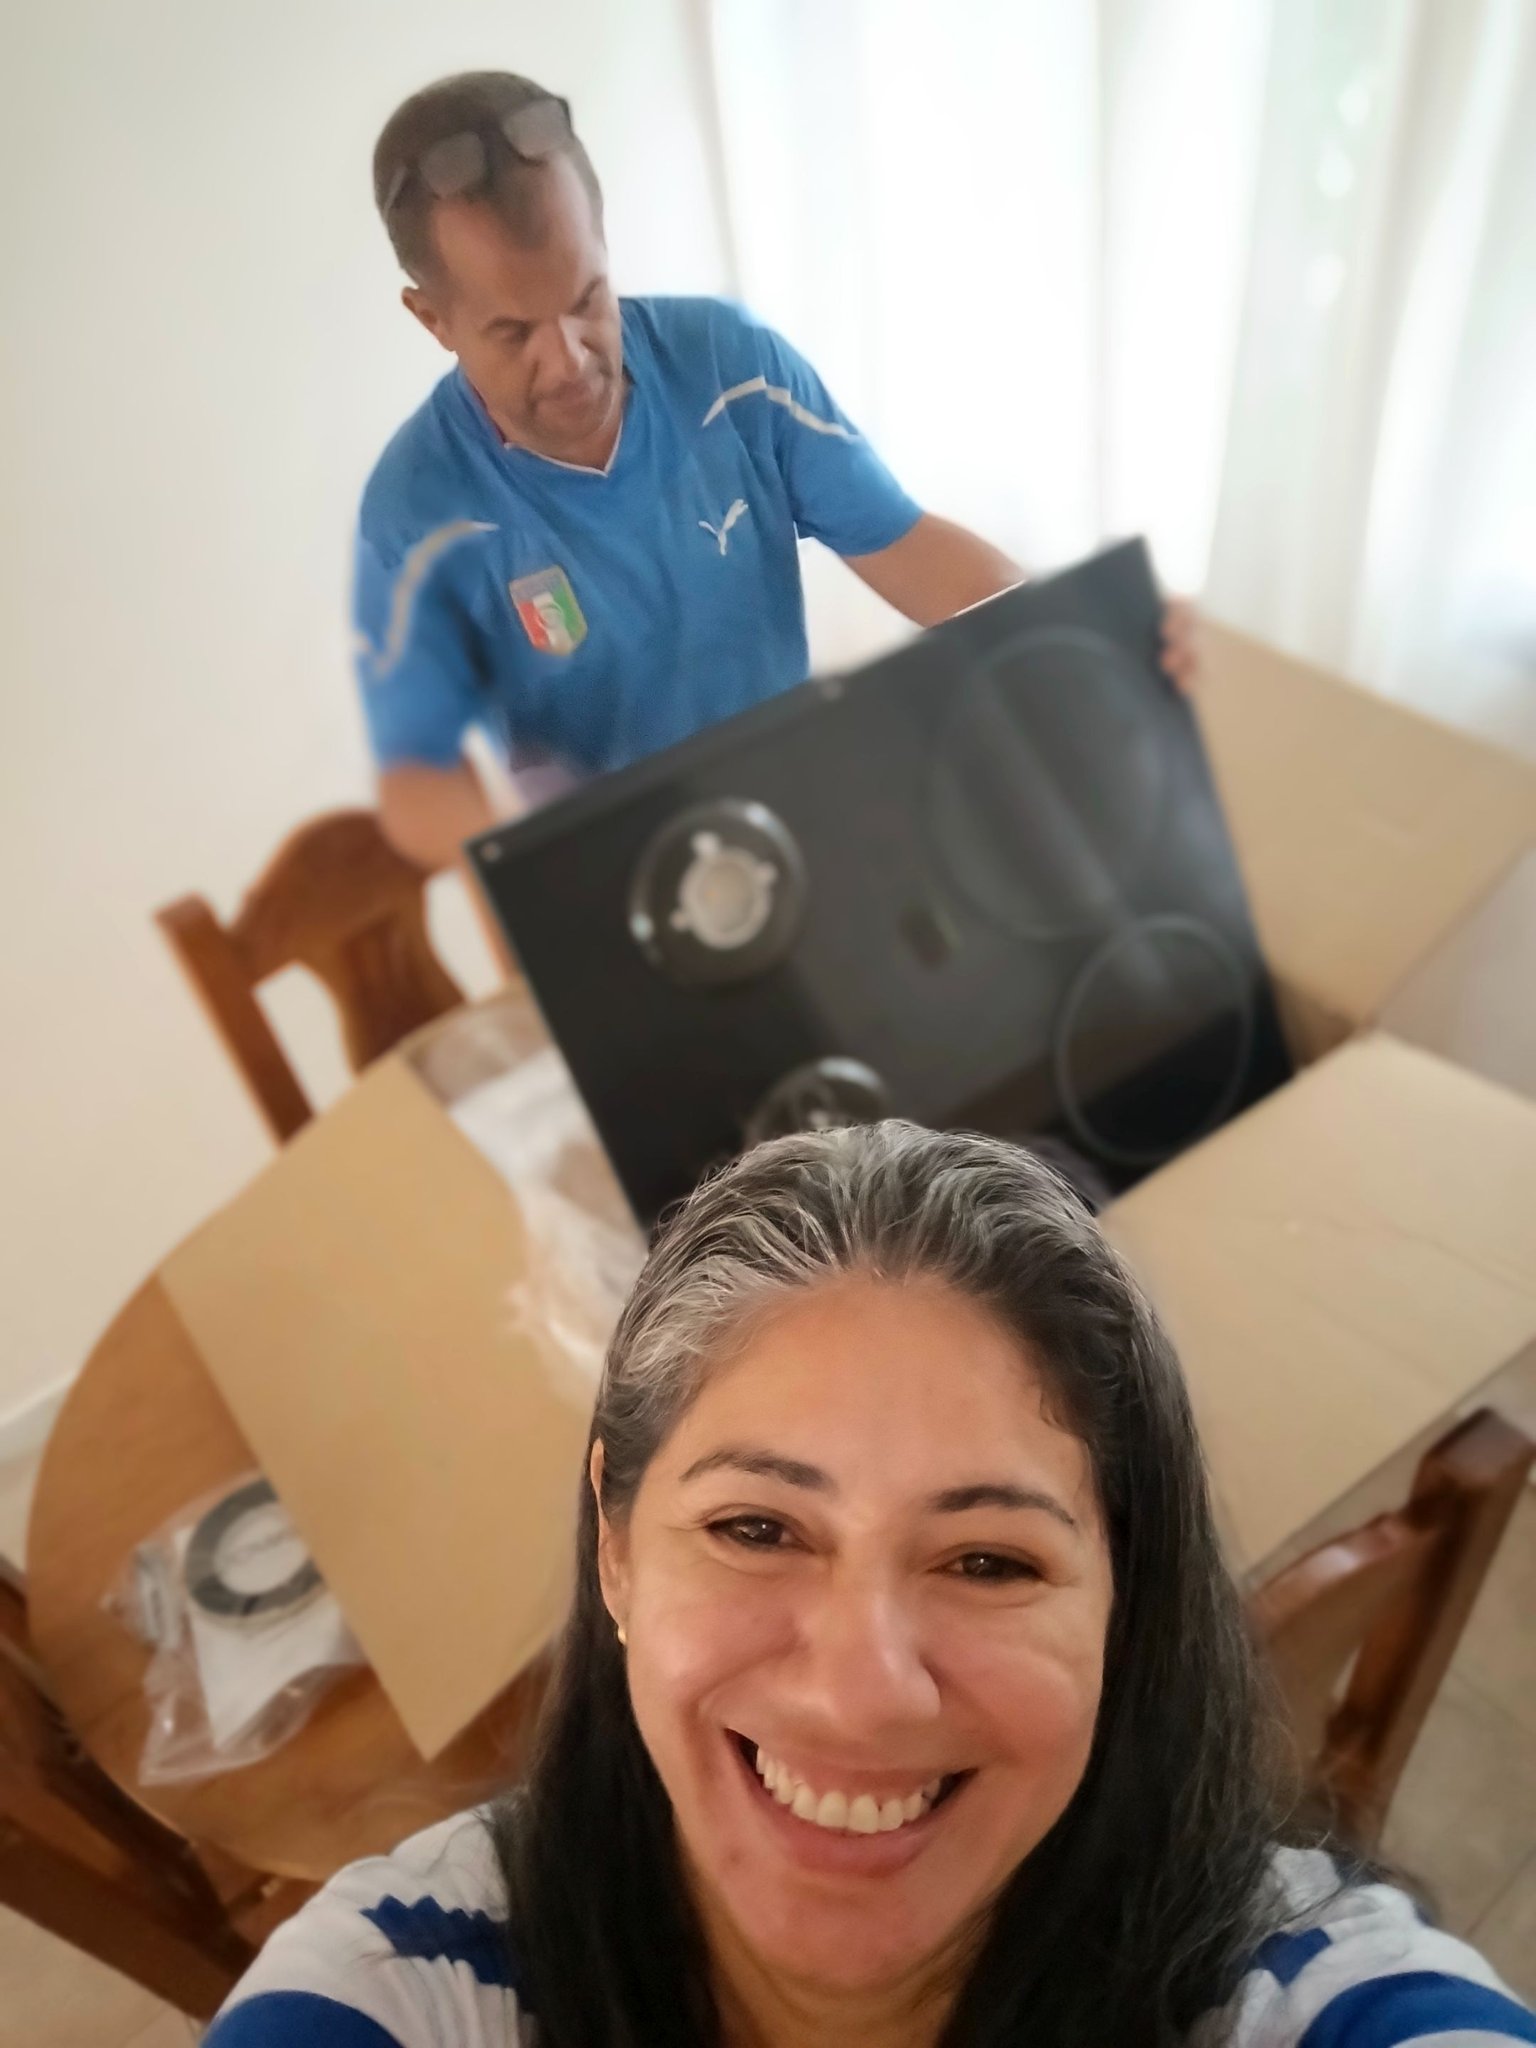
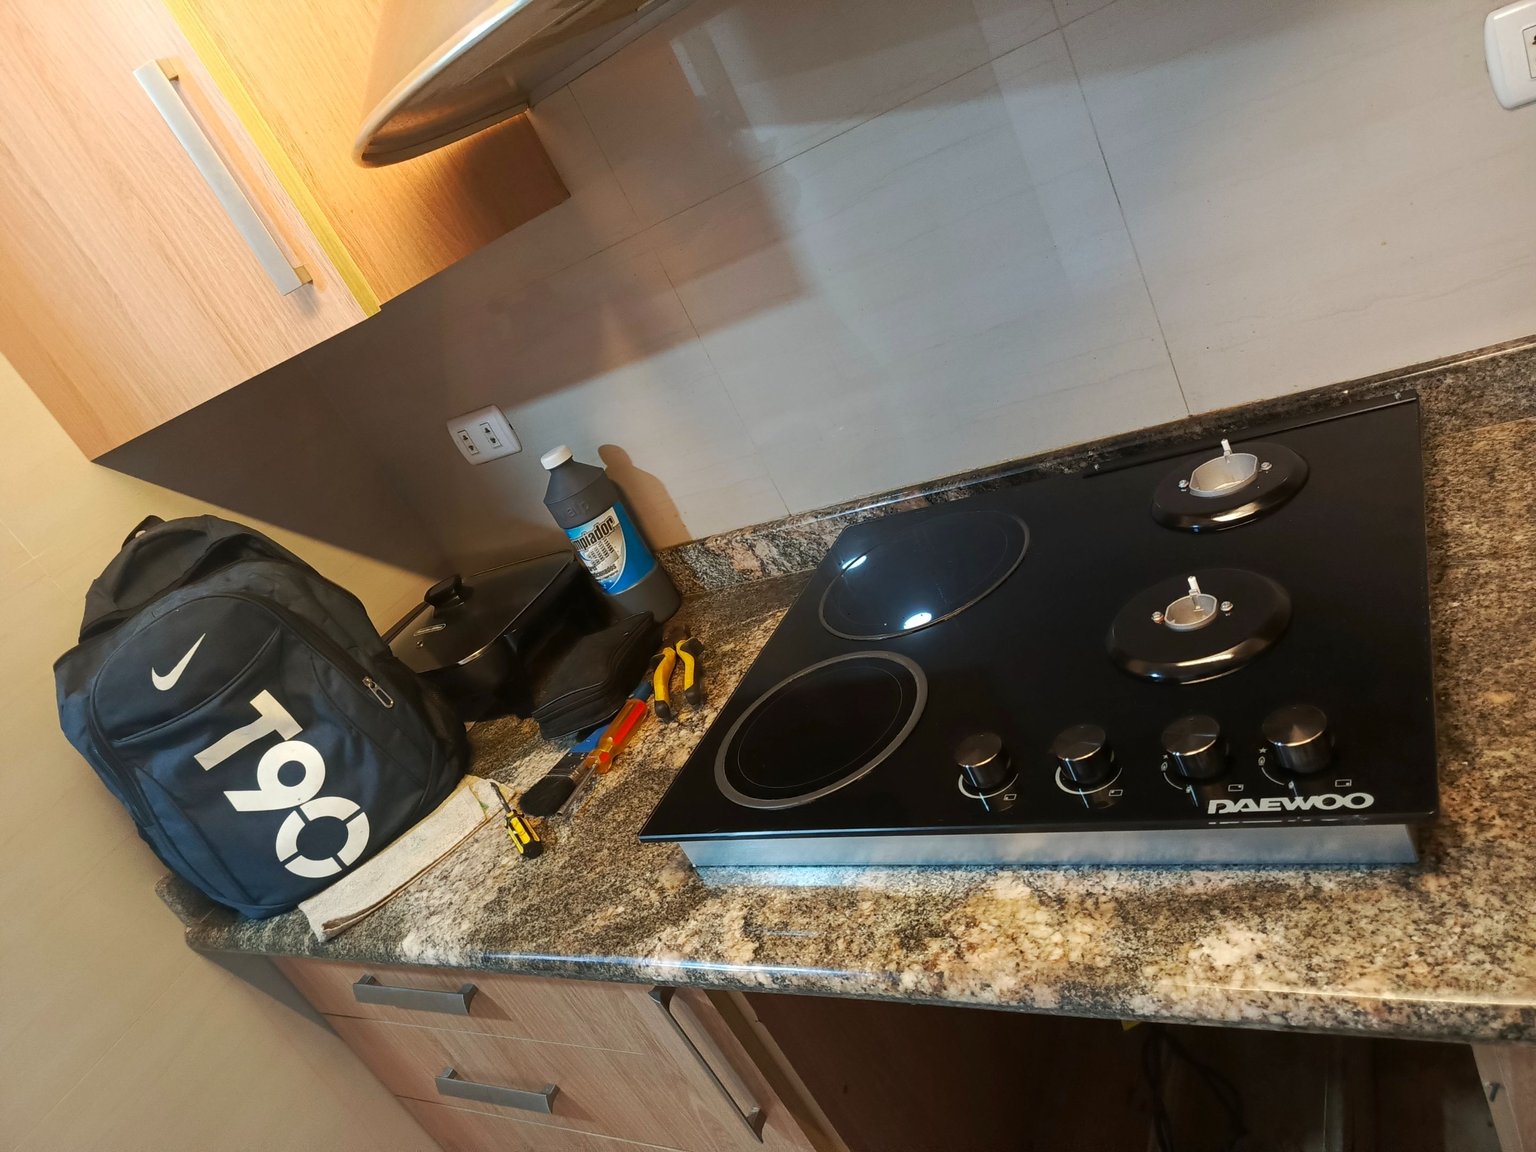
Encontre al fin una hermosa cocina de tope con dos hornillas electricas y dos de gas para usar de acuerdo a la conveniencia, así que guarde todos los horribles aparatos eléctricos adicionales que solo ocupan espacio en el tope de cocina.
Todo parecía muy sencillo cambiar las cocinas y ven si coincidían con el hueco existente, aunque esta tiene doble función sirve para empotrar o puede usarse sobre el tope porque así se diseño.
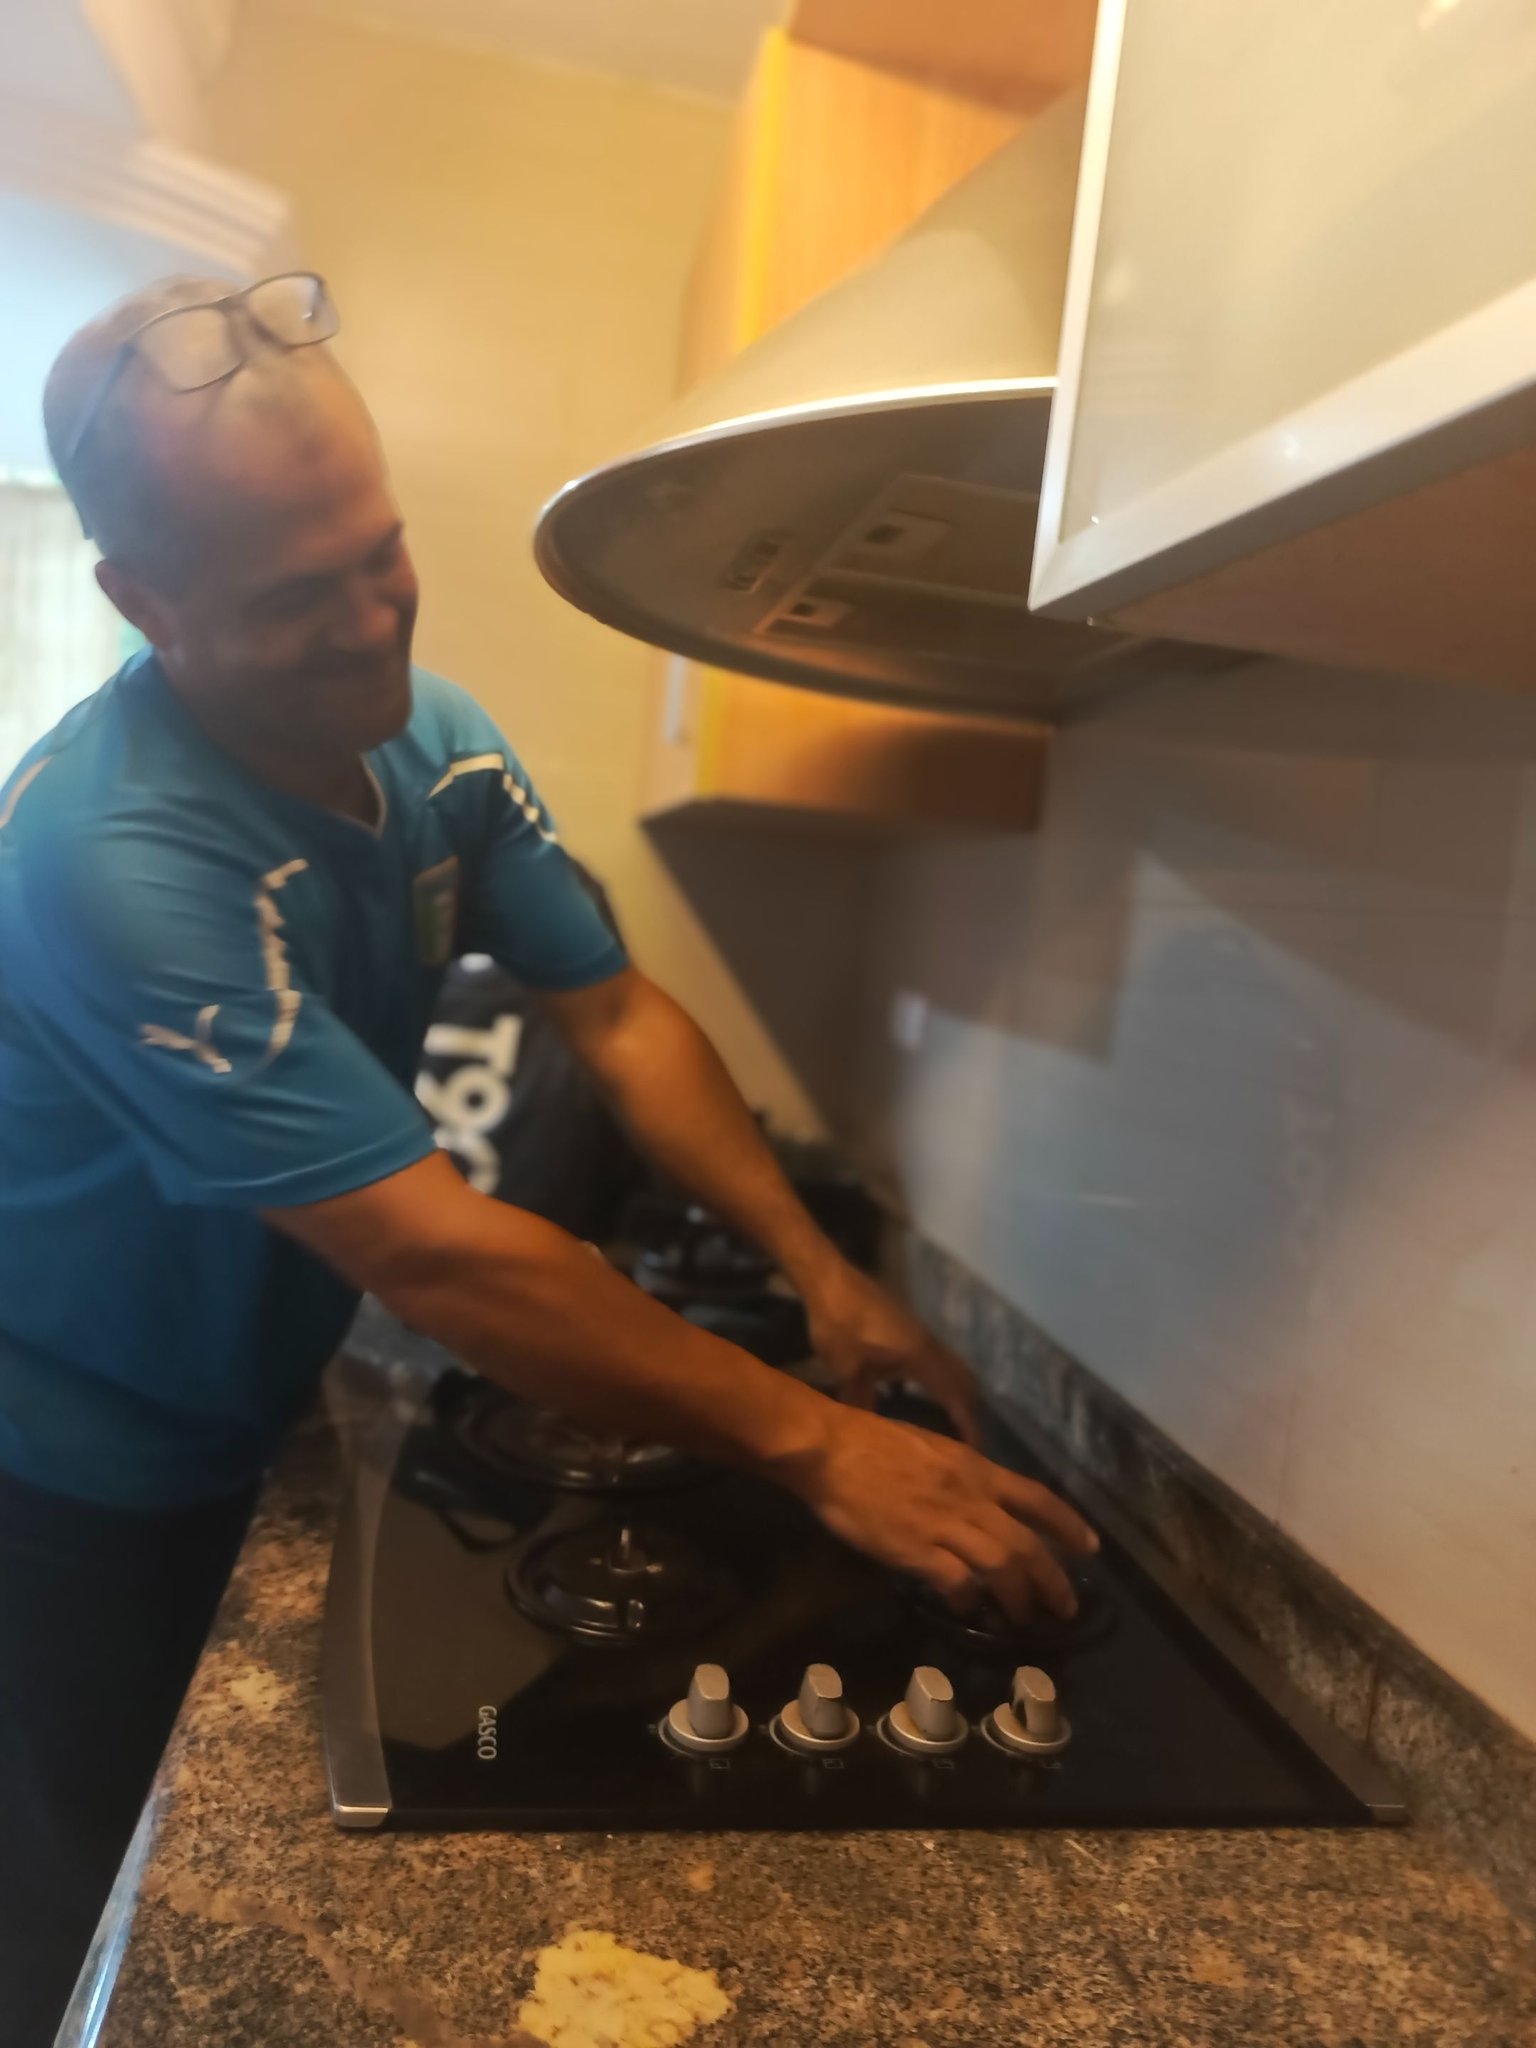
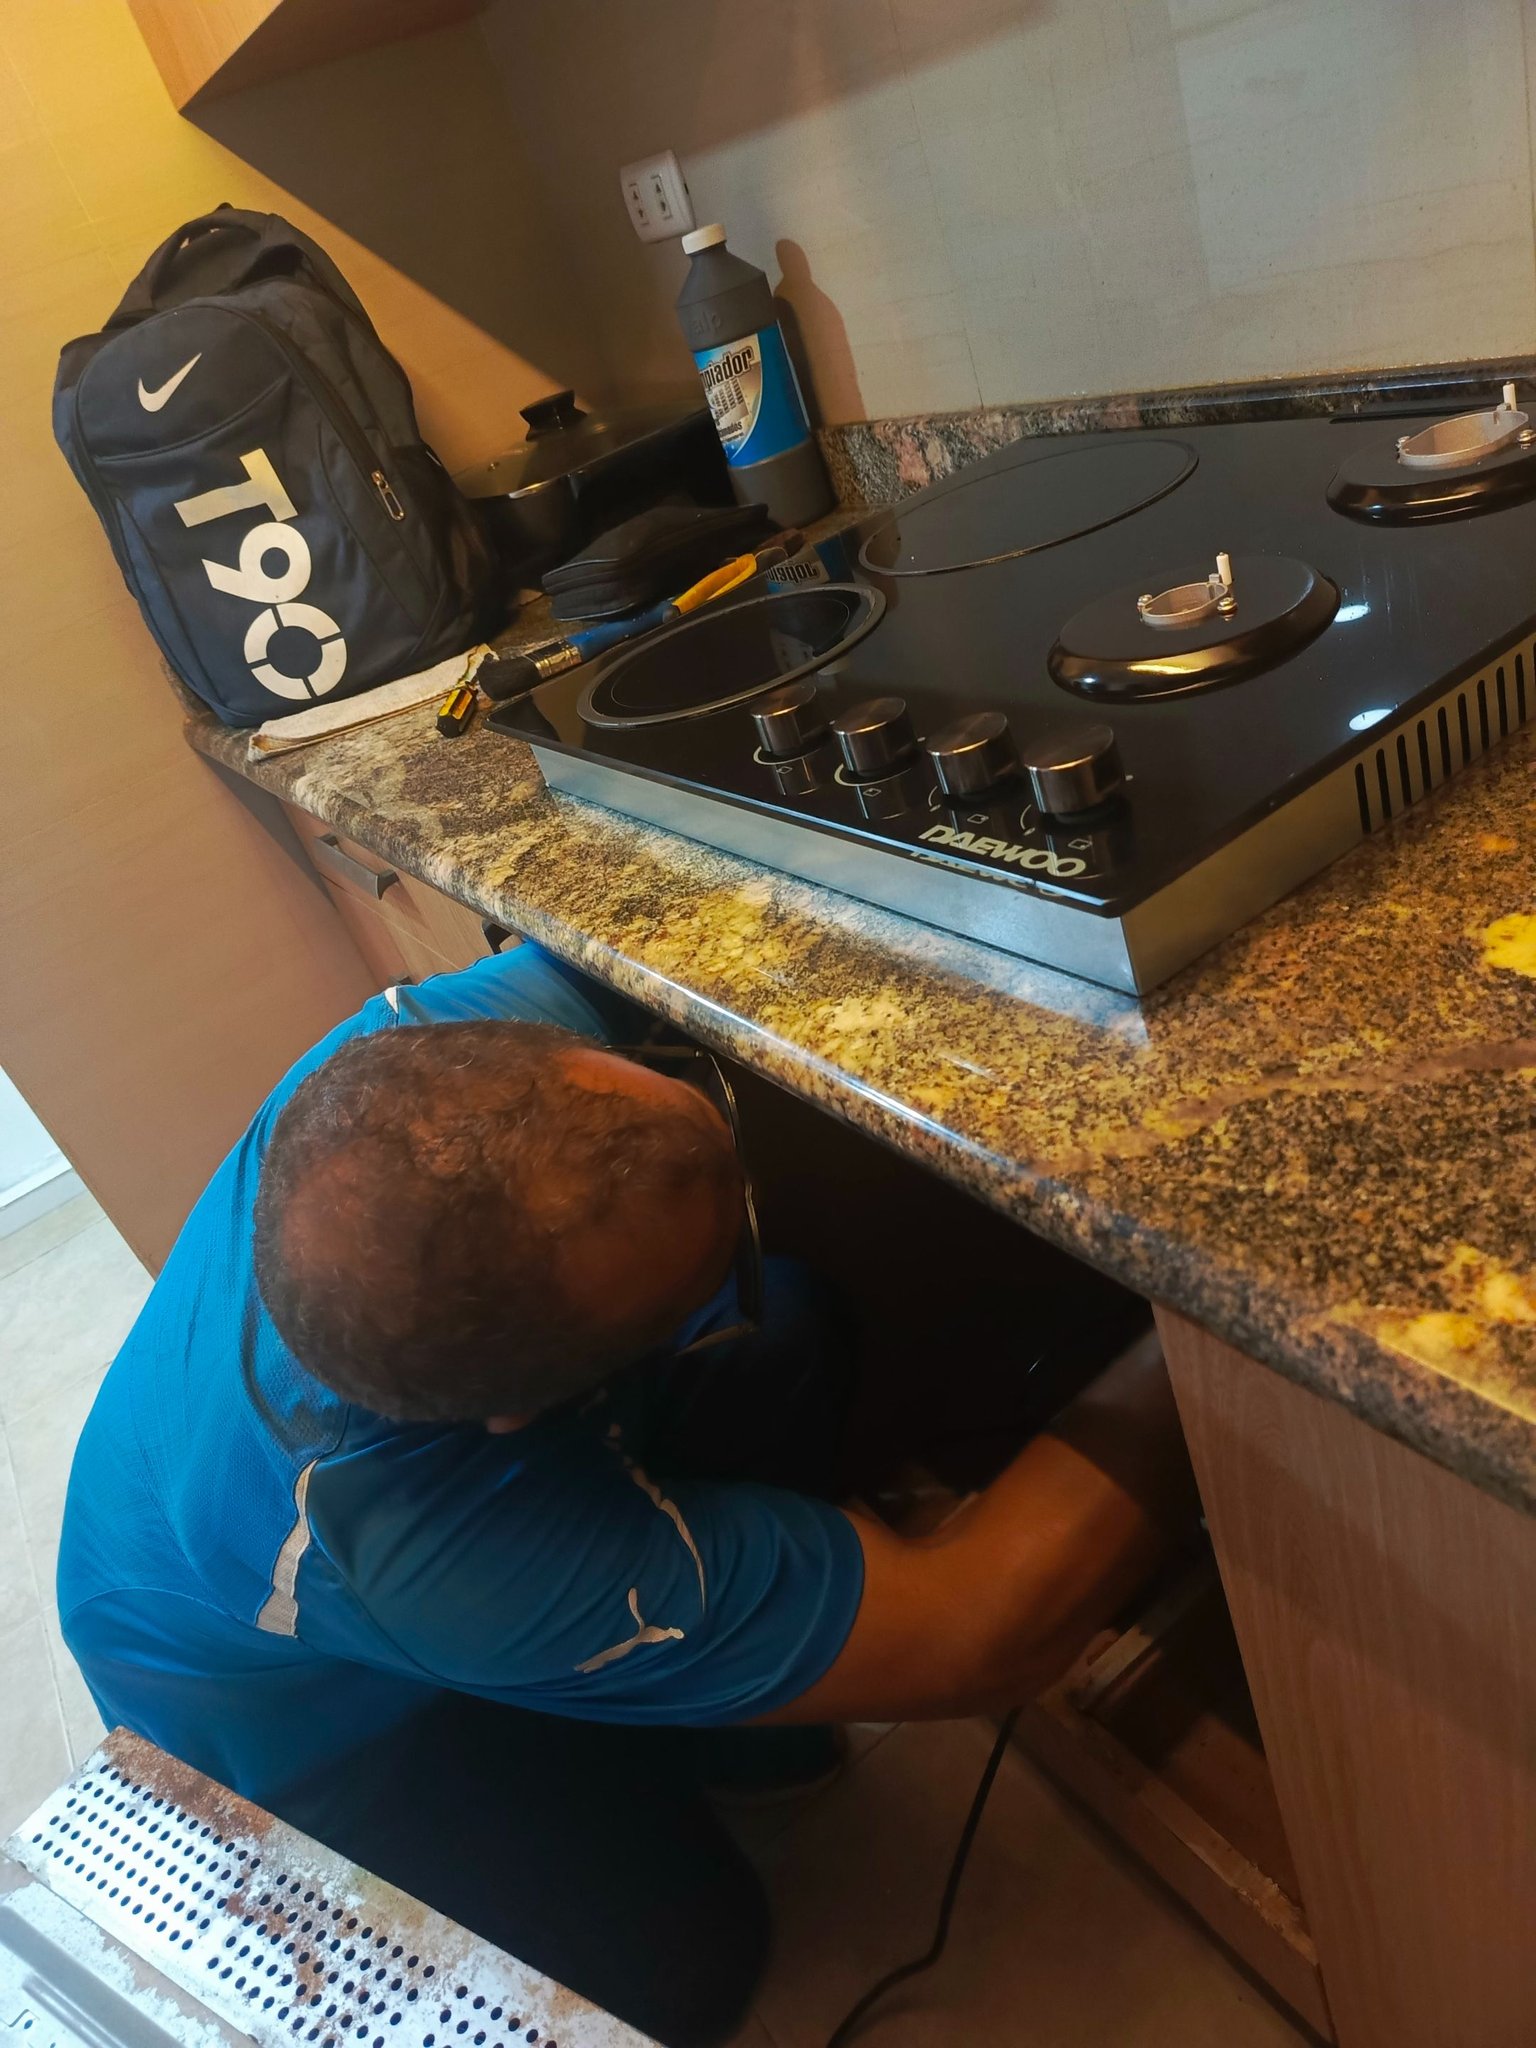
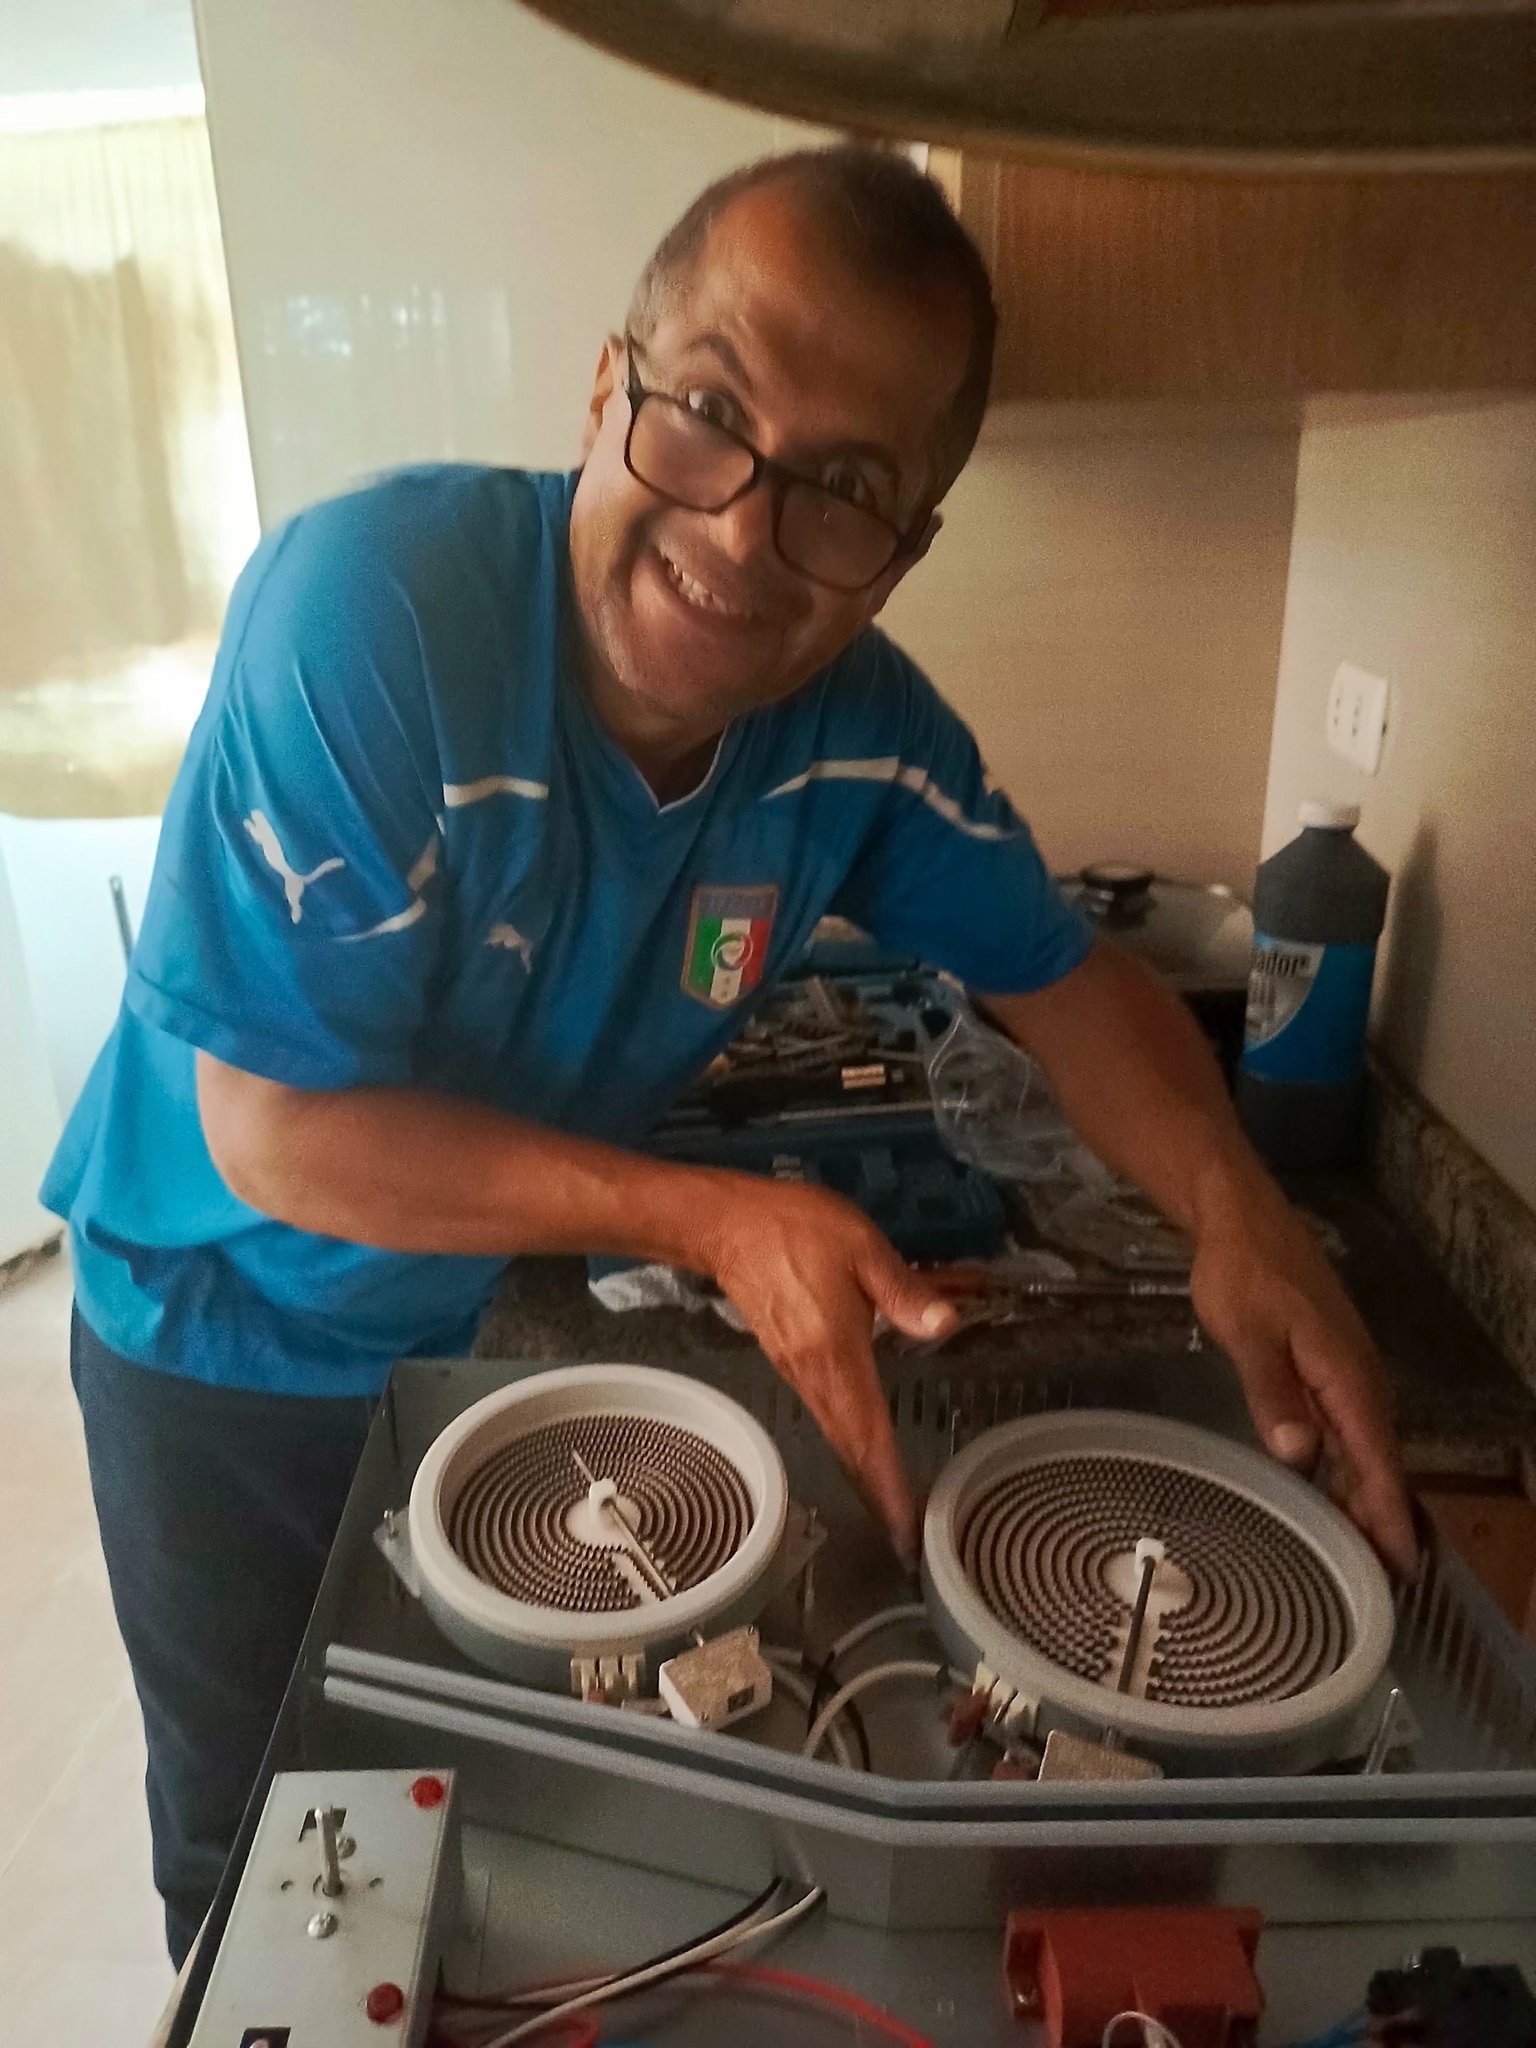
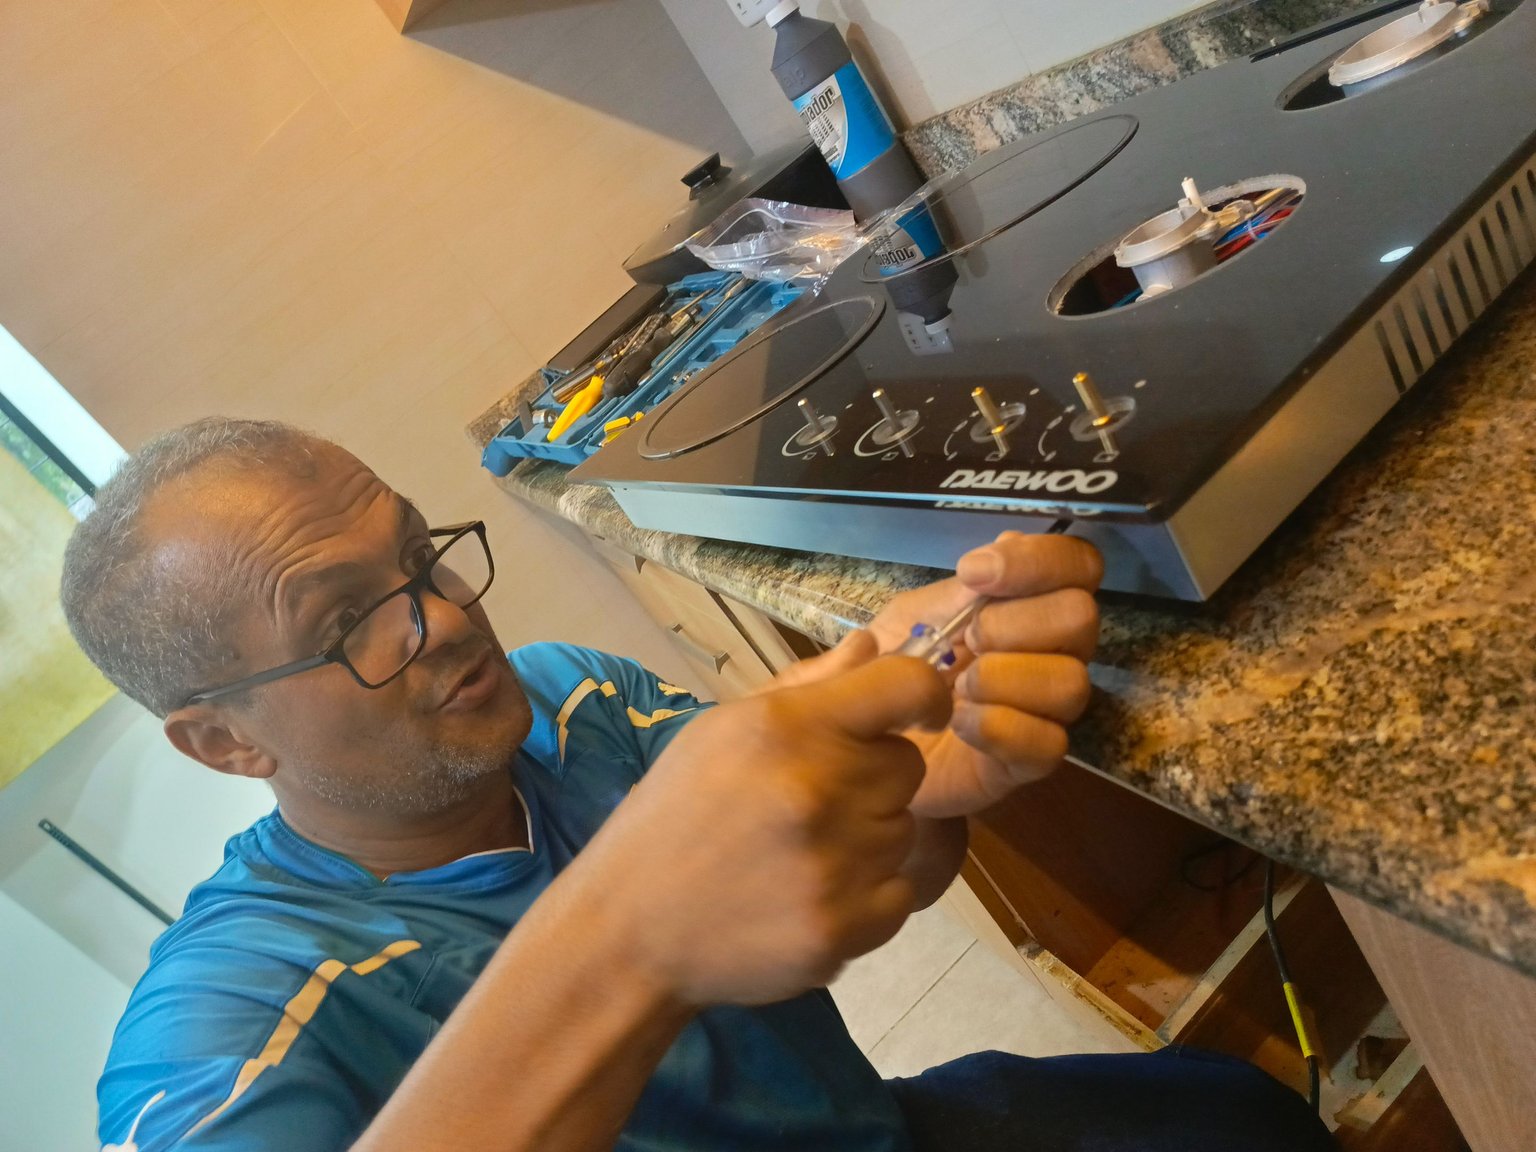
El Señor José es nuestro hombre de confianza, a la hora de hacer arreglos técnicos en nuestro hogar, así que de seguro lo seguirán viendo en mis publicaciones.
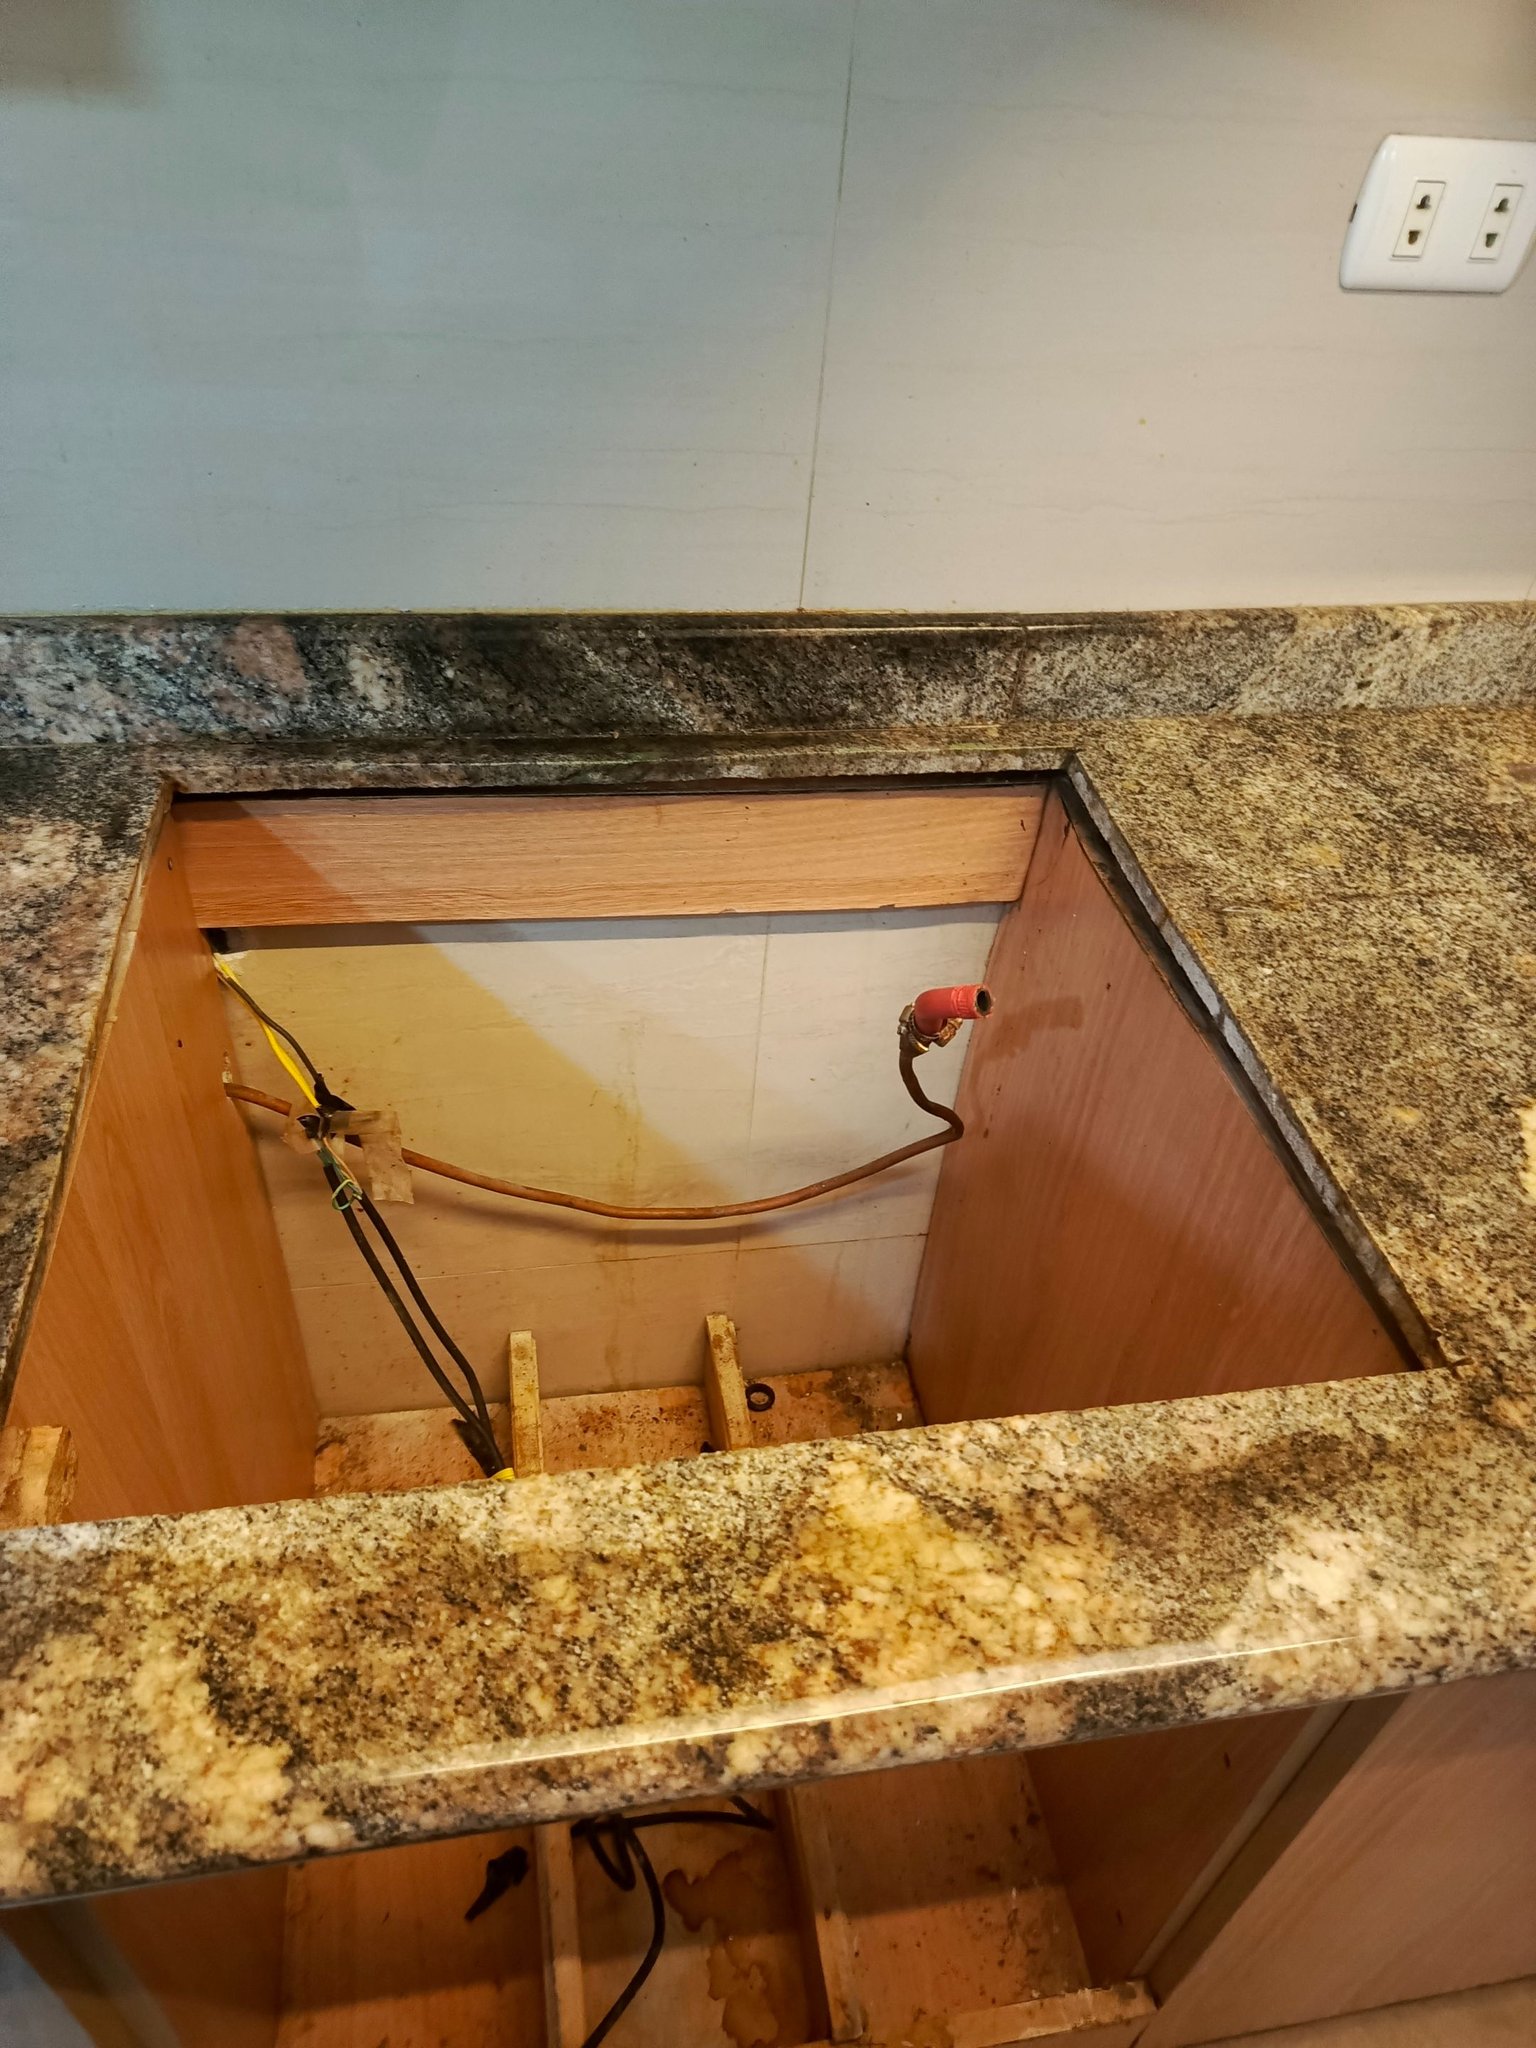
El asunto parecía muy sencillo, desinstalar la toma de gas, para luego sacar el tope, pero también tuvimos que sacar el horno eléctrico, por supuesto que uno aprovecha limpiar esos lugares que normalmente no llegamos.
La cocina no encaja con el hueco perfectamente, pero decidimos dejarlo así, por dos razones:
1.- Sigue funcionando aún cuando no encaja.
2.- Como se guardo la cocina anterior, si se abre el hueco ya está no servirá si se quiere instalar nuevamente la otra, recuerden que yo estoy en busca de un lugar propio y no se con que tipo de cocina nos encontraremos.
 |  |
|---|
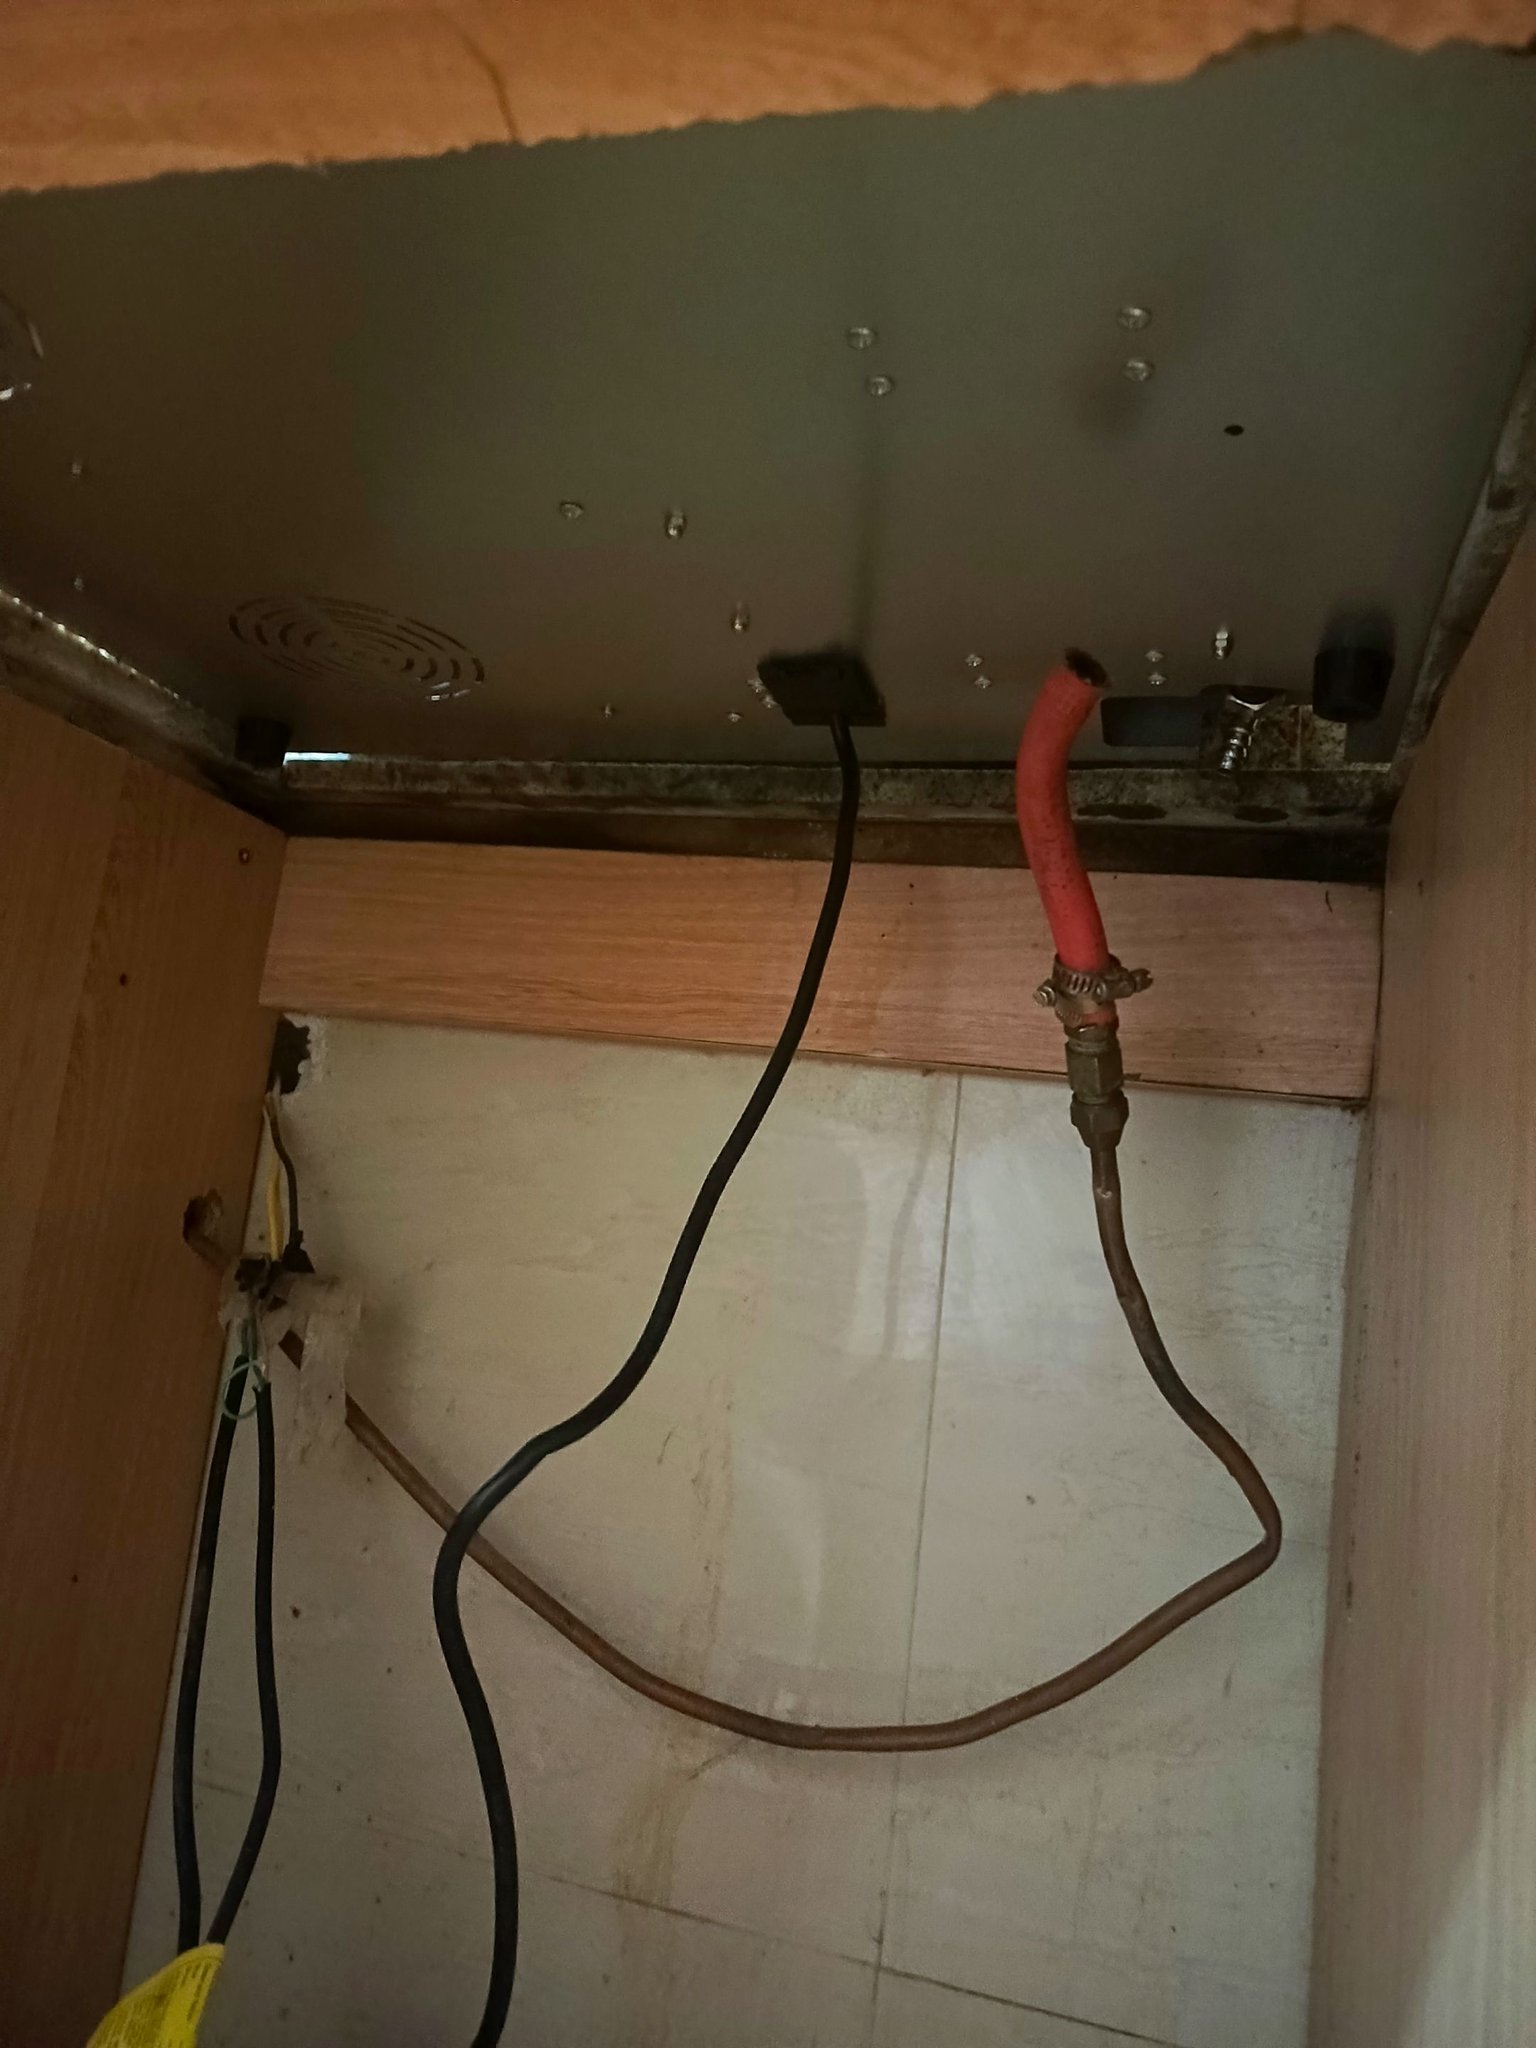
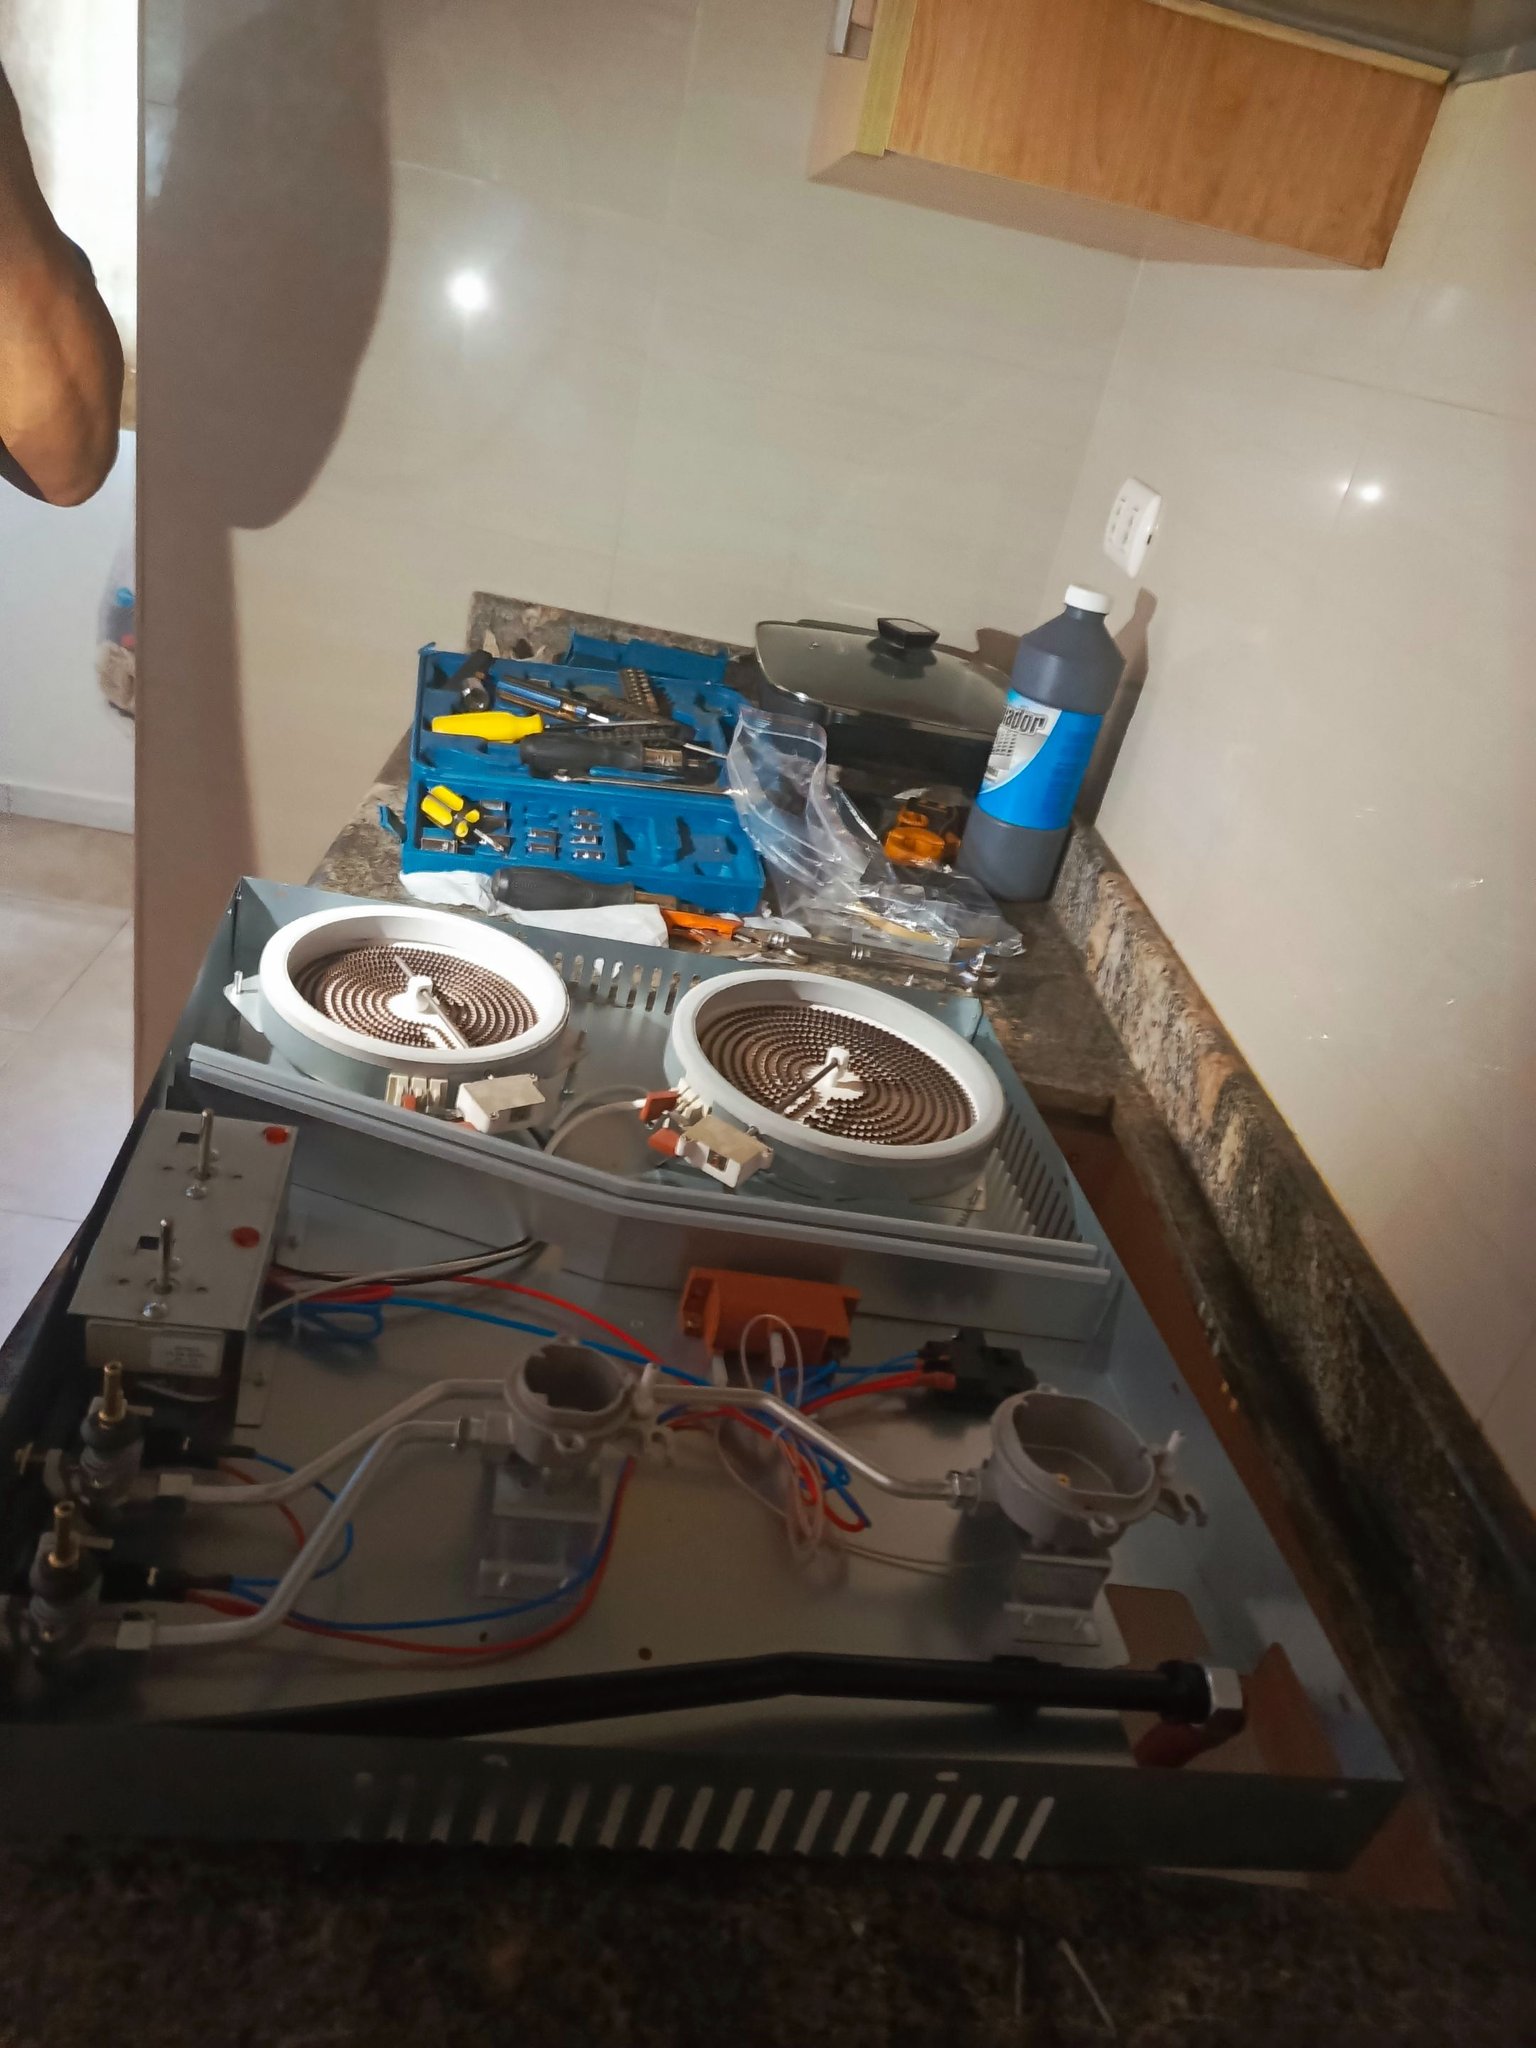
Se hace primero la instalación de la toma de gas, aunque este lado no se pudo probar porque no han surtido en el edificio.
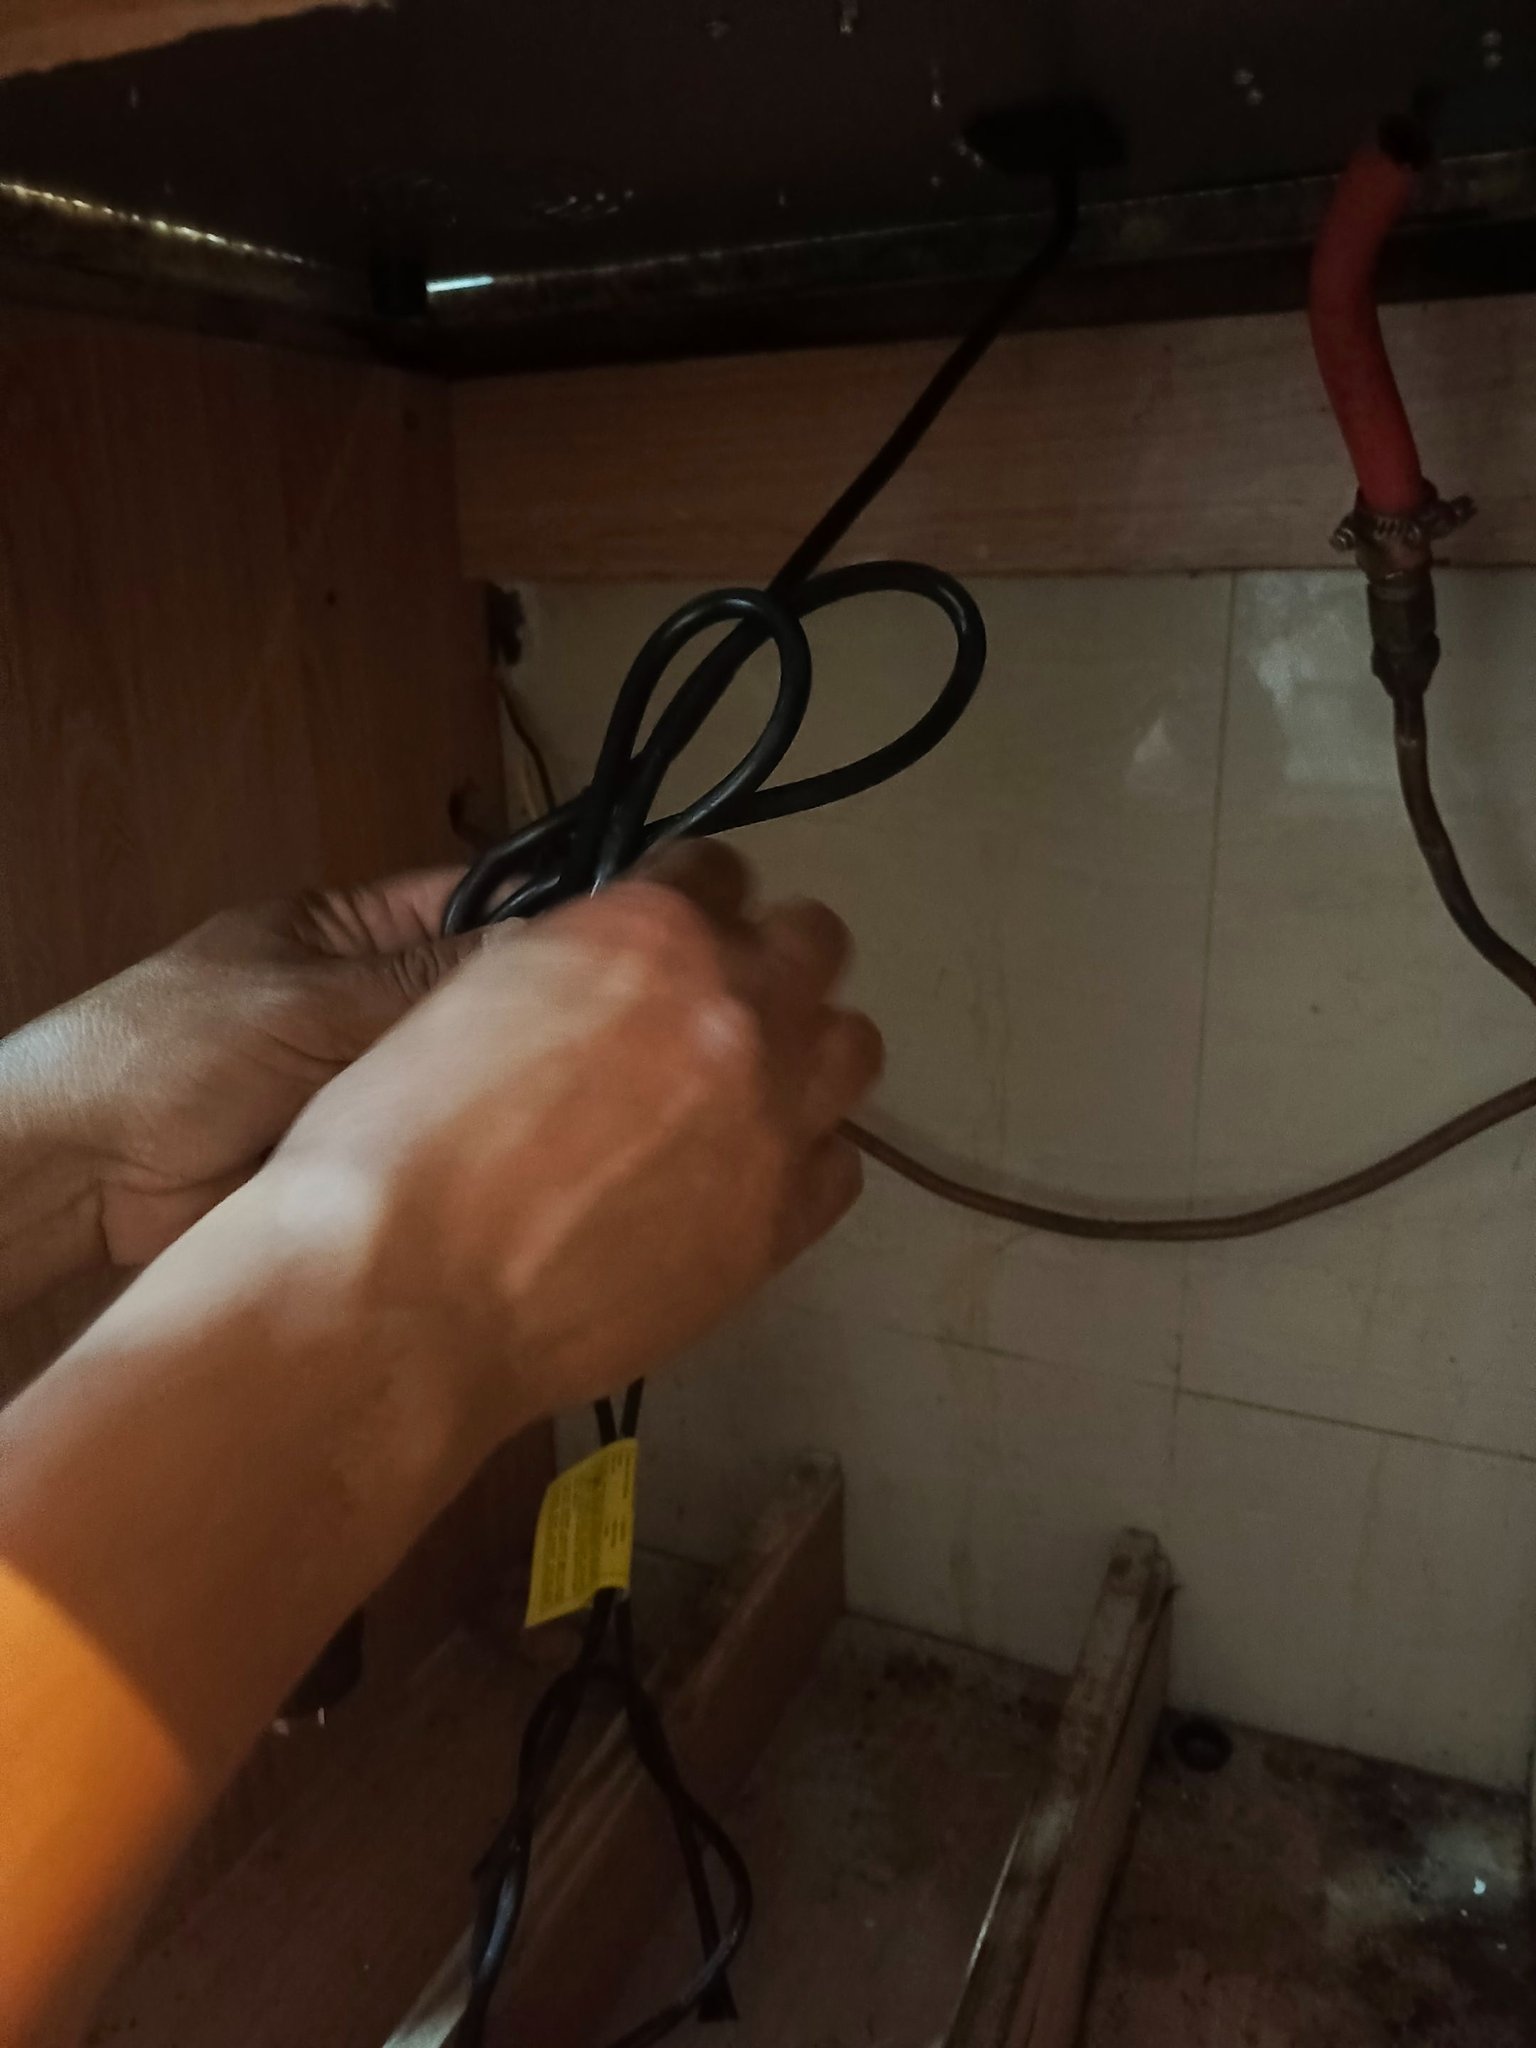
La parte eléctrica, ya tenía los cables, solo que se cortó el cable, para luego unirse, les cuento que bajando breakers para quitar la electricidad, no fue sencillo, haciendo que el Señor José recibiera descargas electricas leves, no se preocupen, creo que está acostumbrado por su trabajo.
 | |  |
|---|
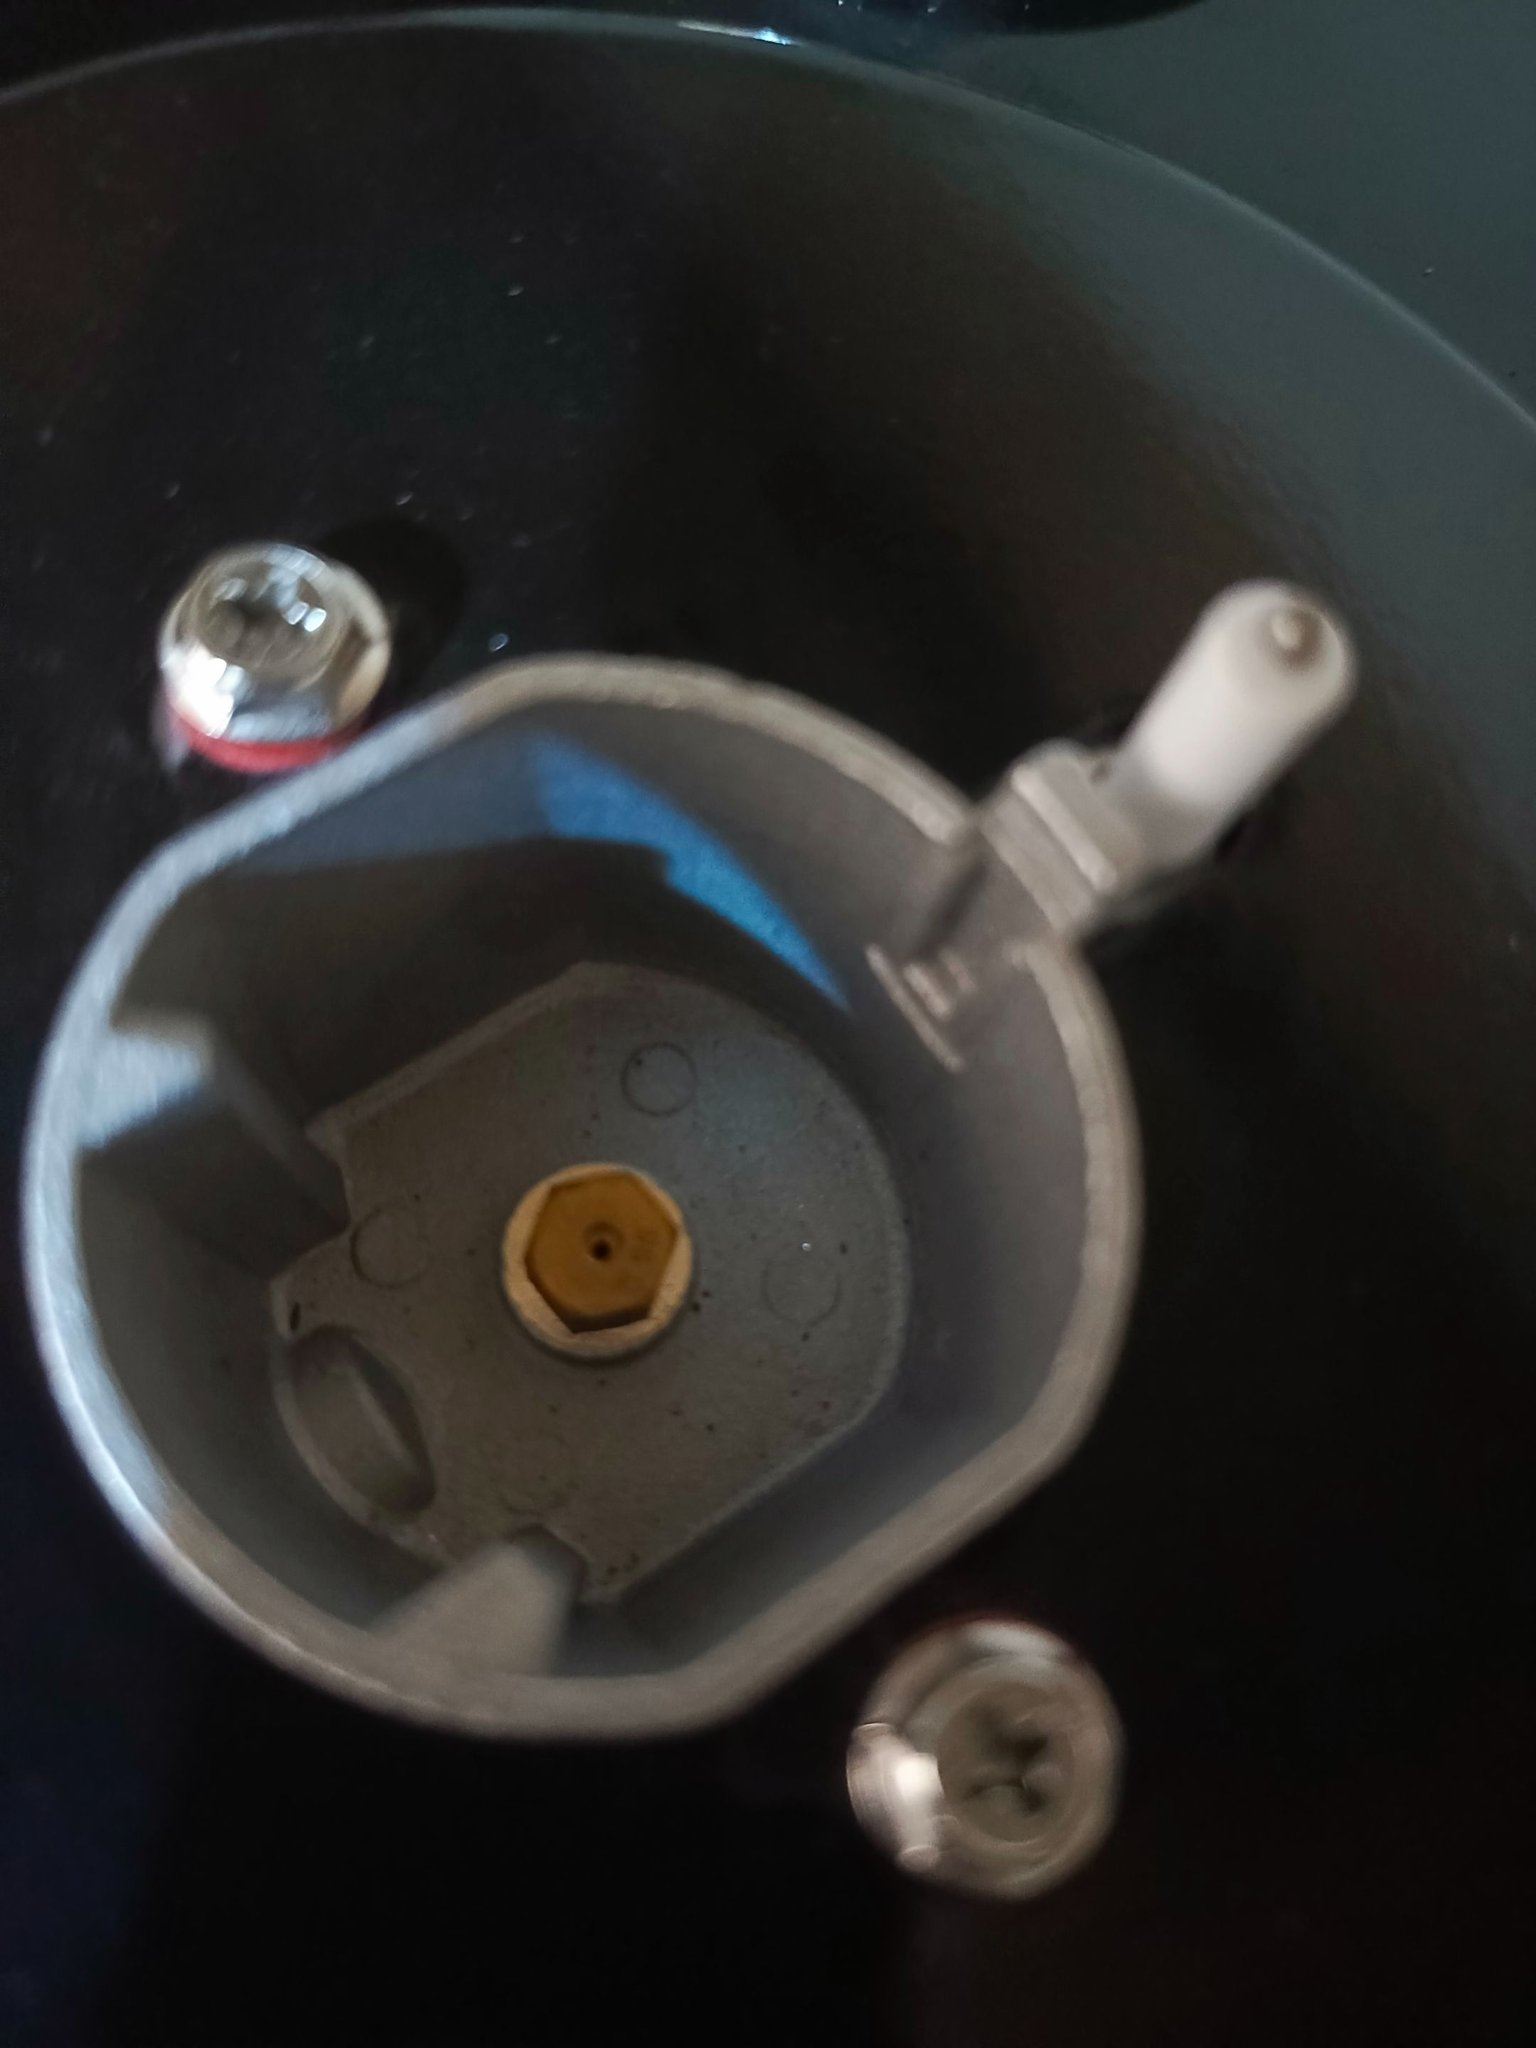
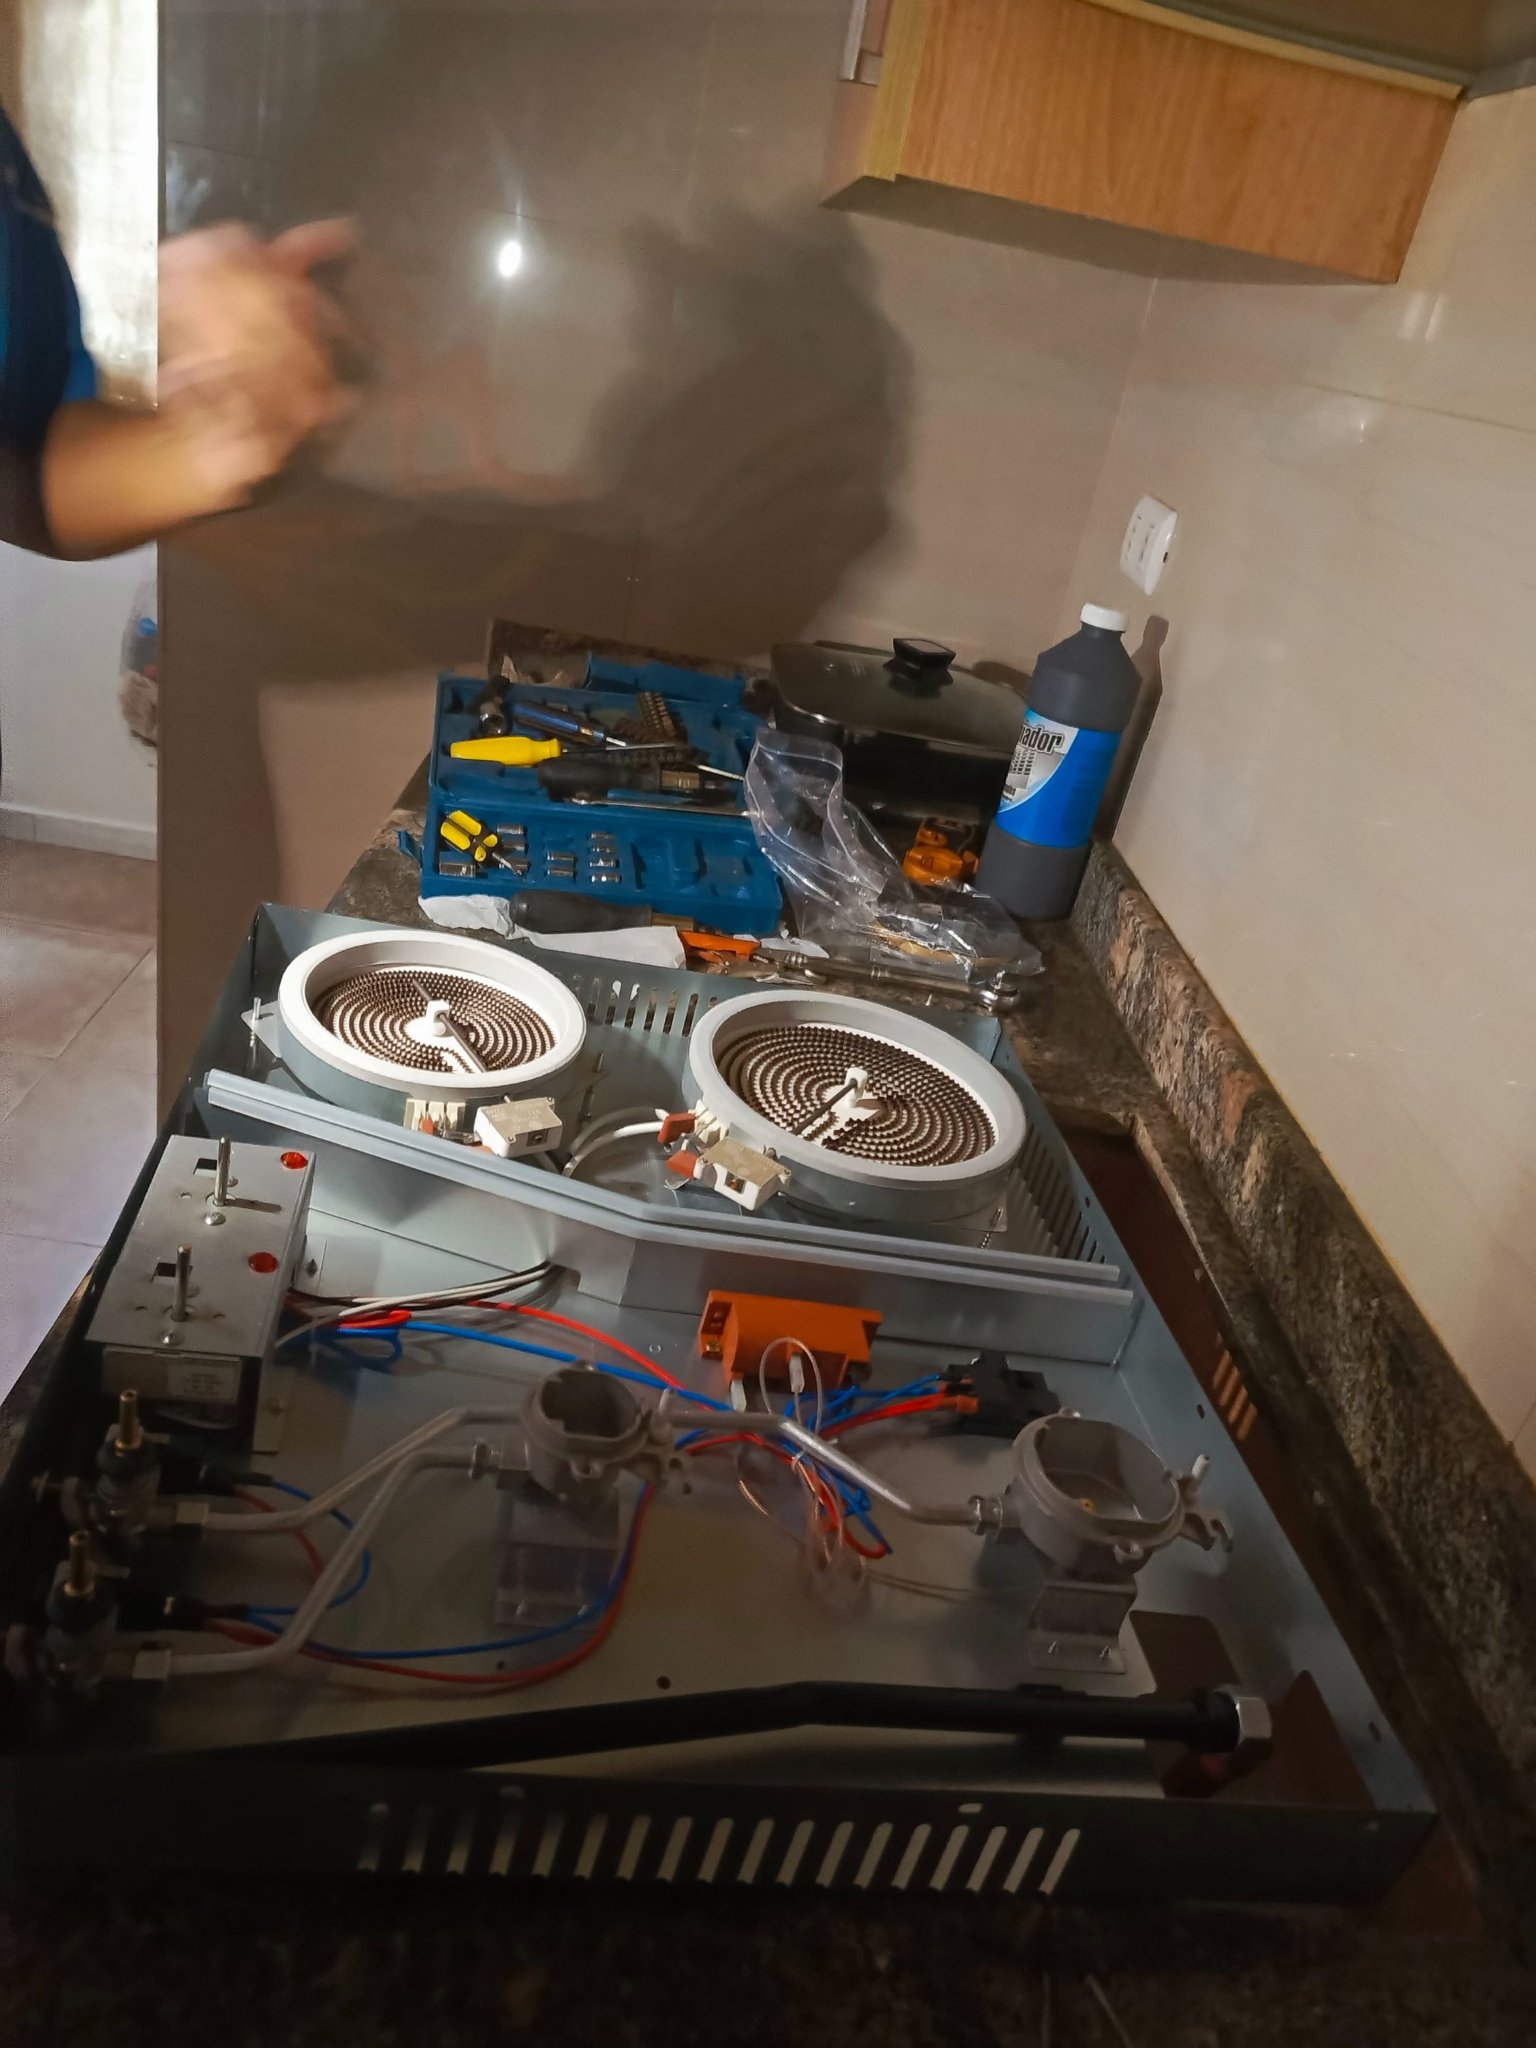
Se le ajustaron los quemadores por dónde sale gas, ya que la cocina trae dos tipos, unos pequeños y otros grandes, es así que deje los originales, ya que debo esperar que haya gas para probarlos.
 |  |
|---|
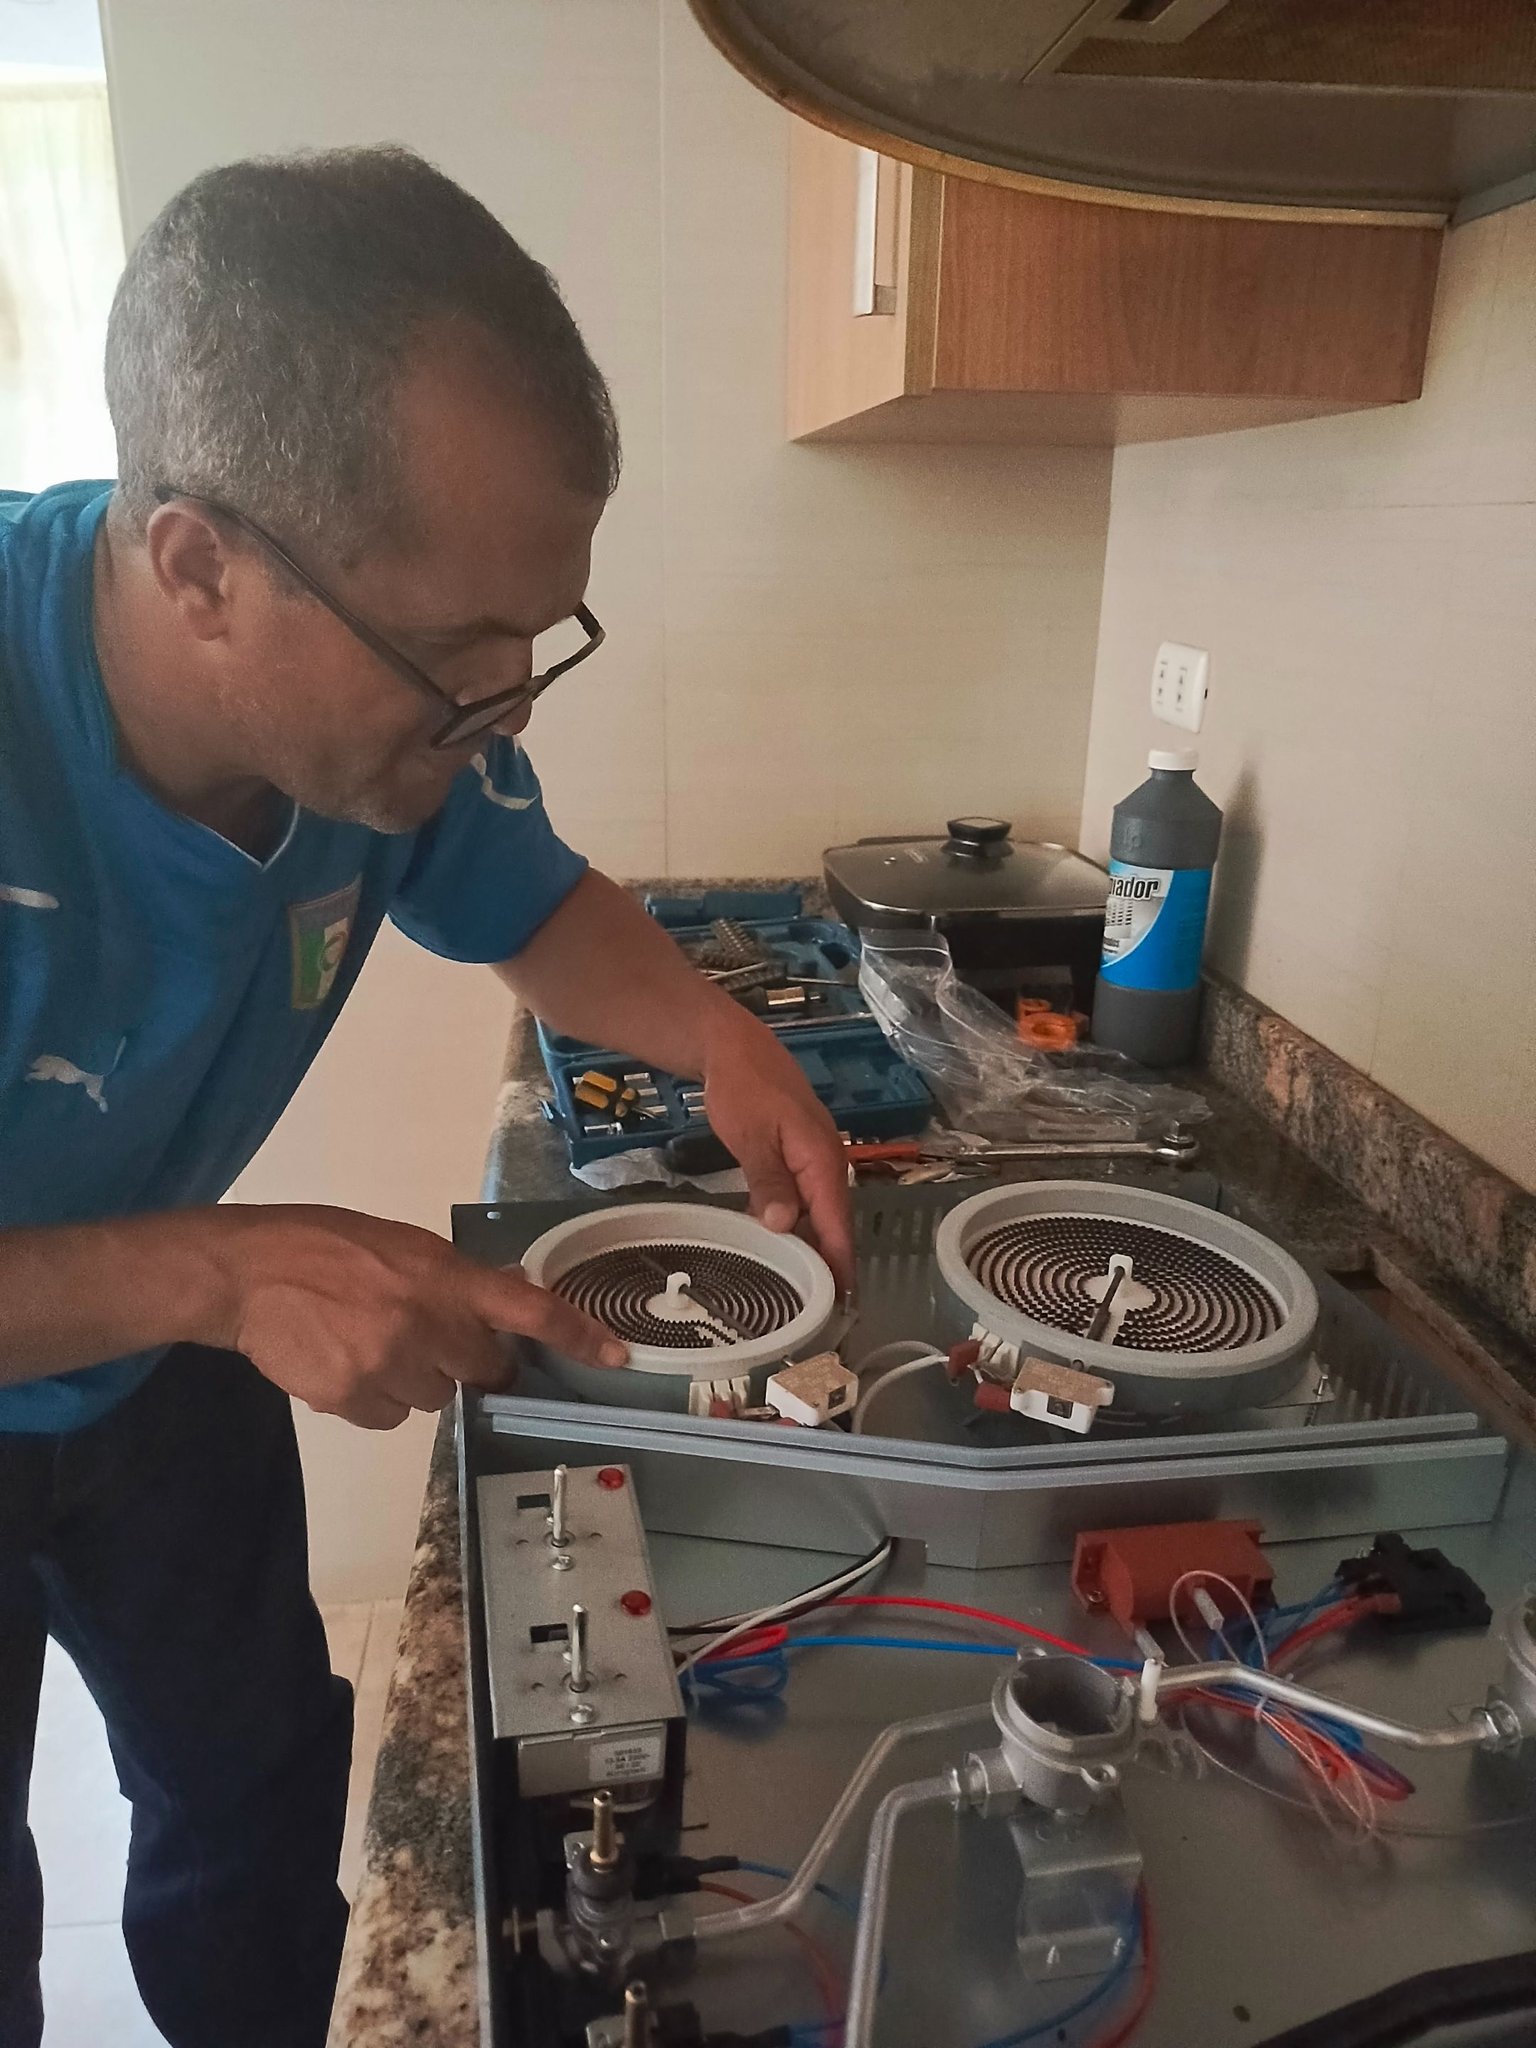
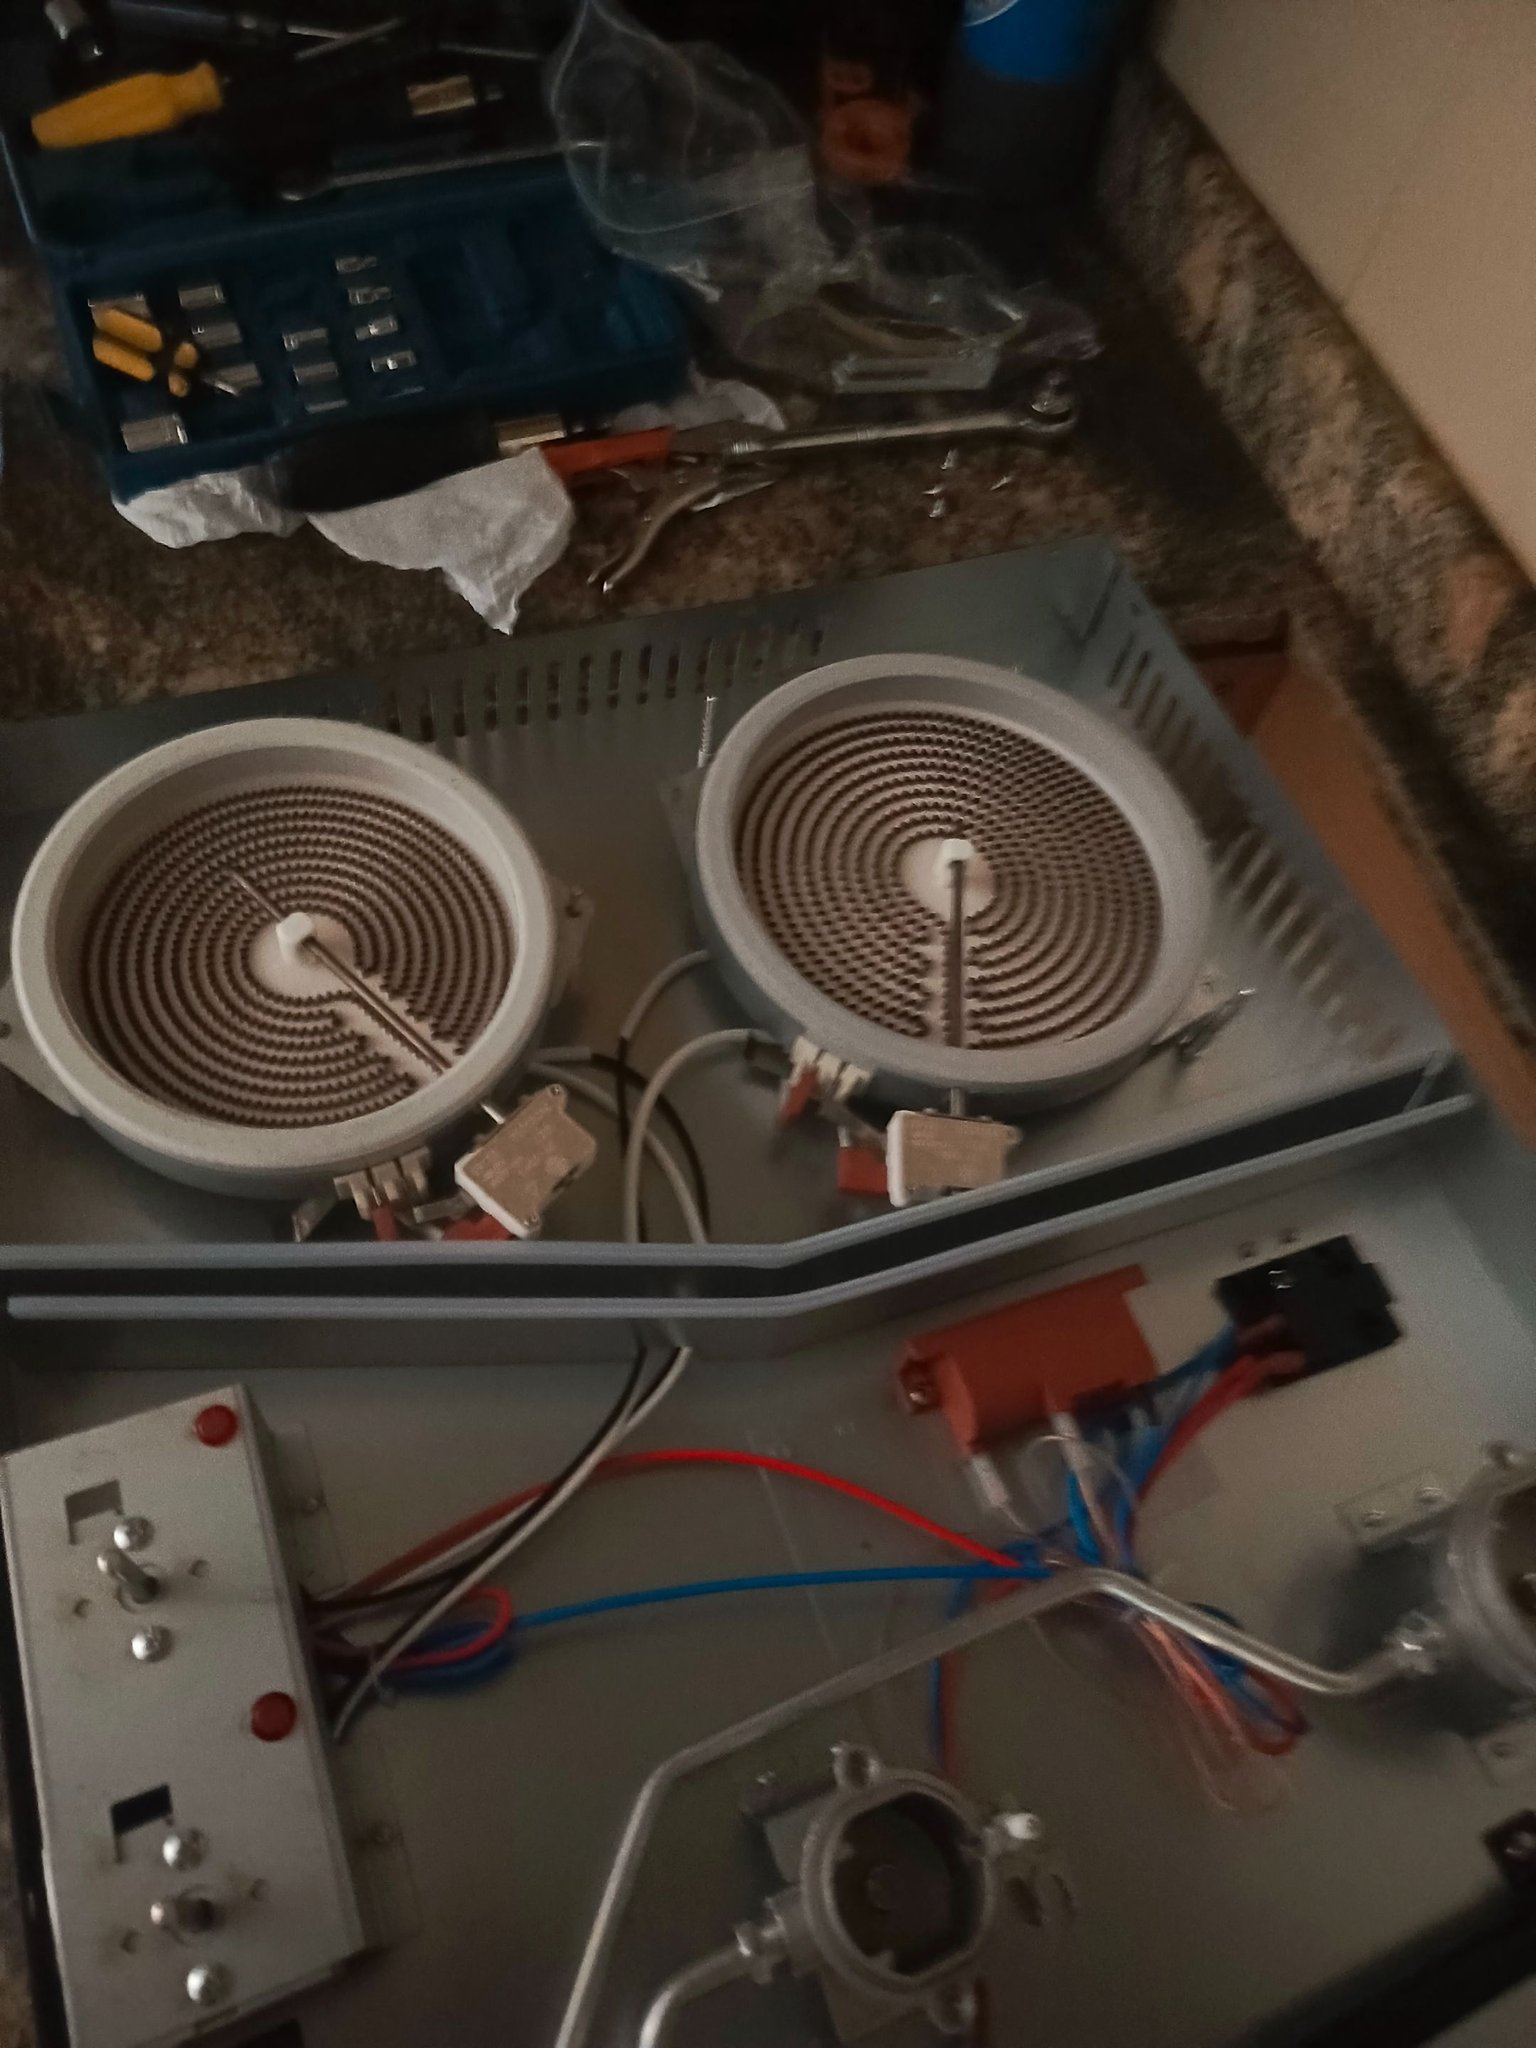
La parte eléctrica si fue algo complicada, hasta llegue a pensar que estaba dañada la cocina, pero como los quemadores no estaban ubicados en el lugar correcto, seguro se rifaron durante el traslado a casa se abrió la cocina.
 |  |  |
|---|
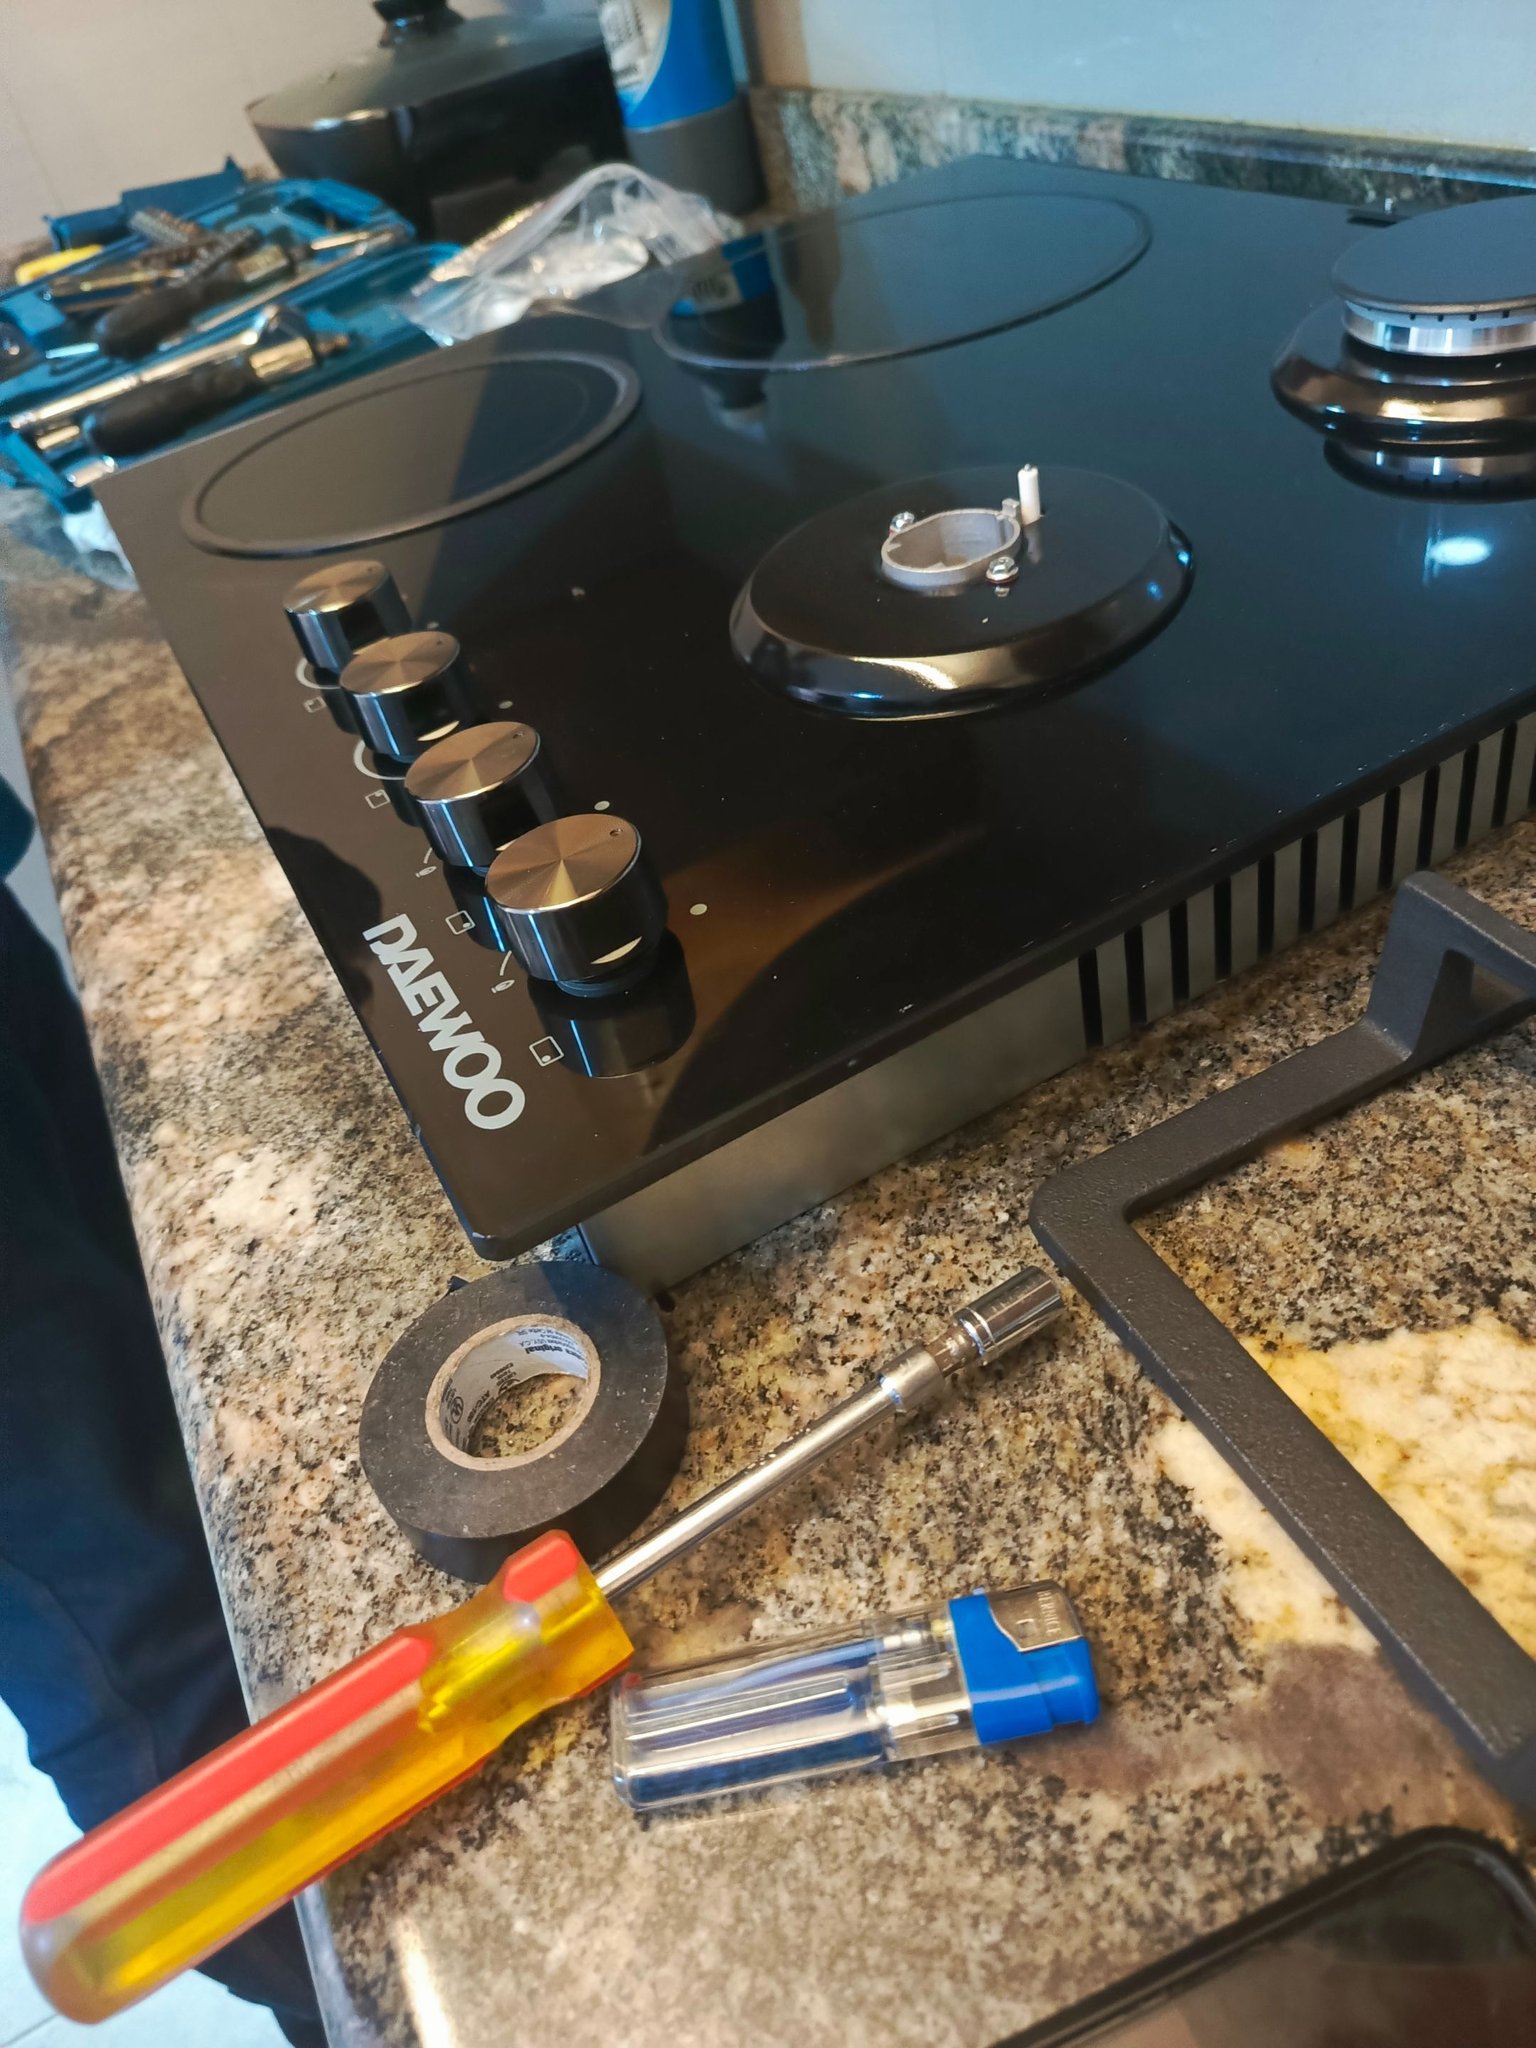
Pero fue sencillo solo ajustar una pestaña y encajar las hornillas electricas en el lugar correcto para tener la altura y el lugar, otorgándole la funcionabilidad.
 |  |
|---|
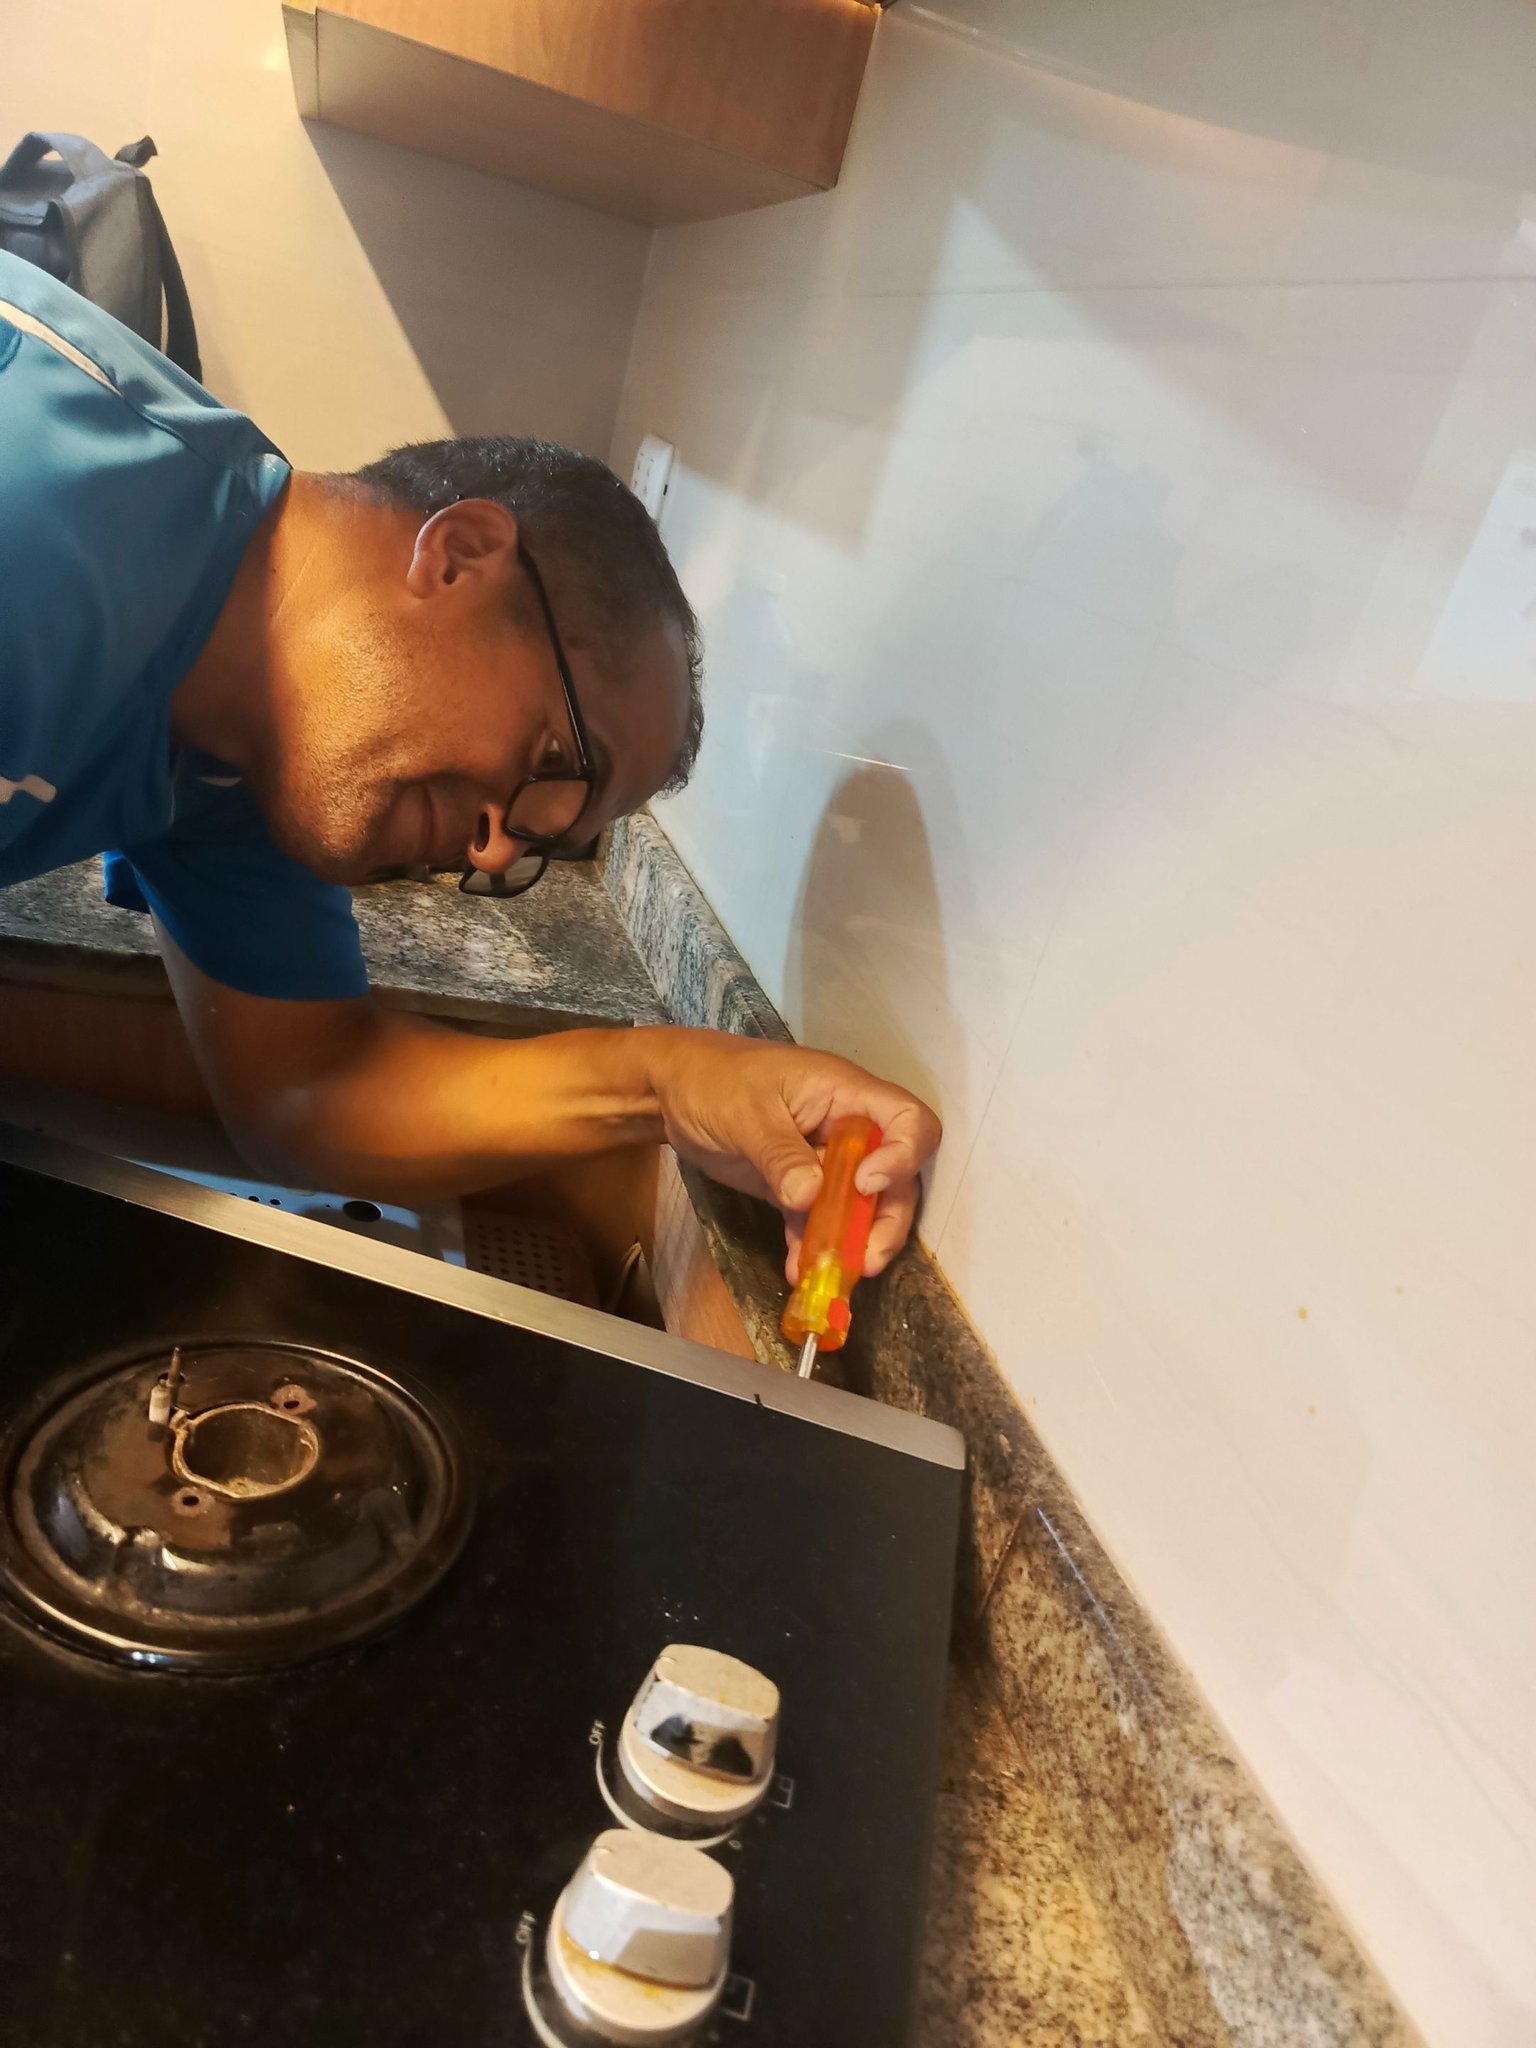
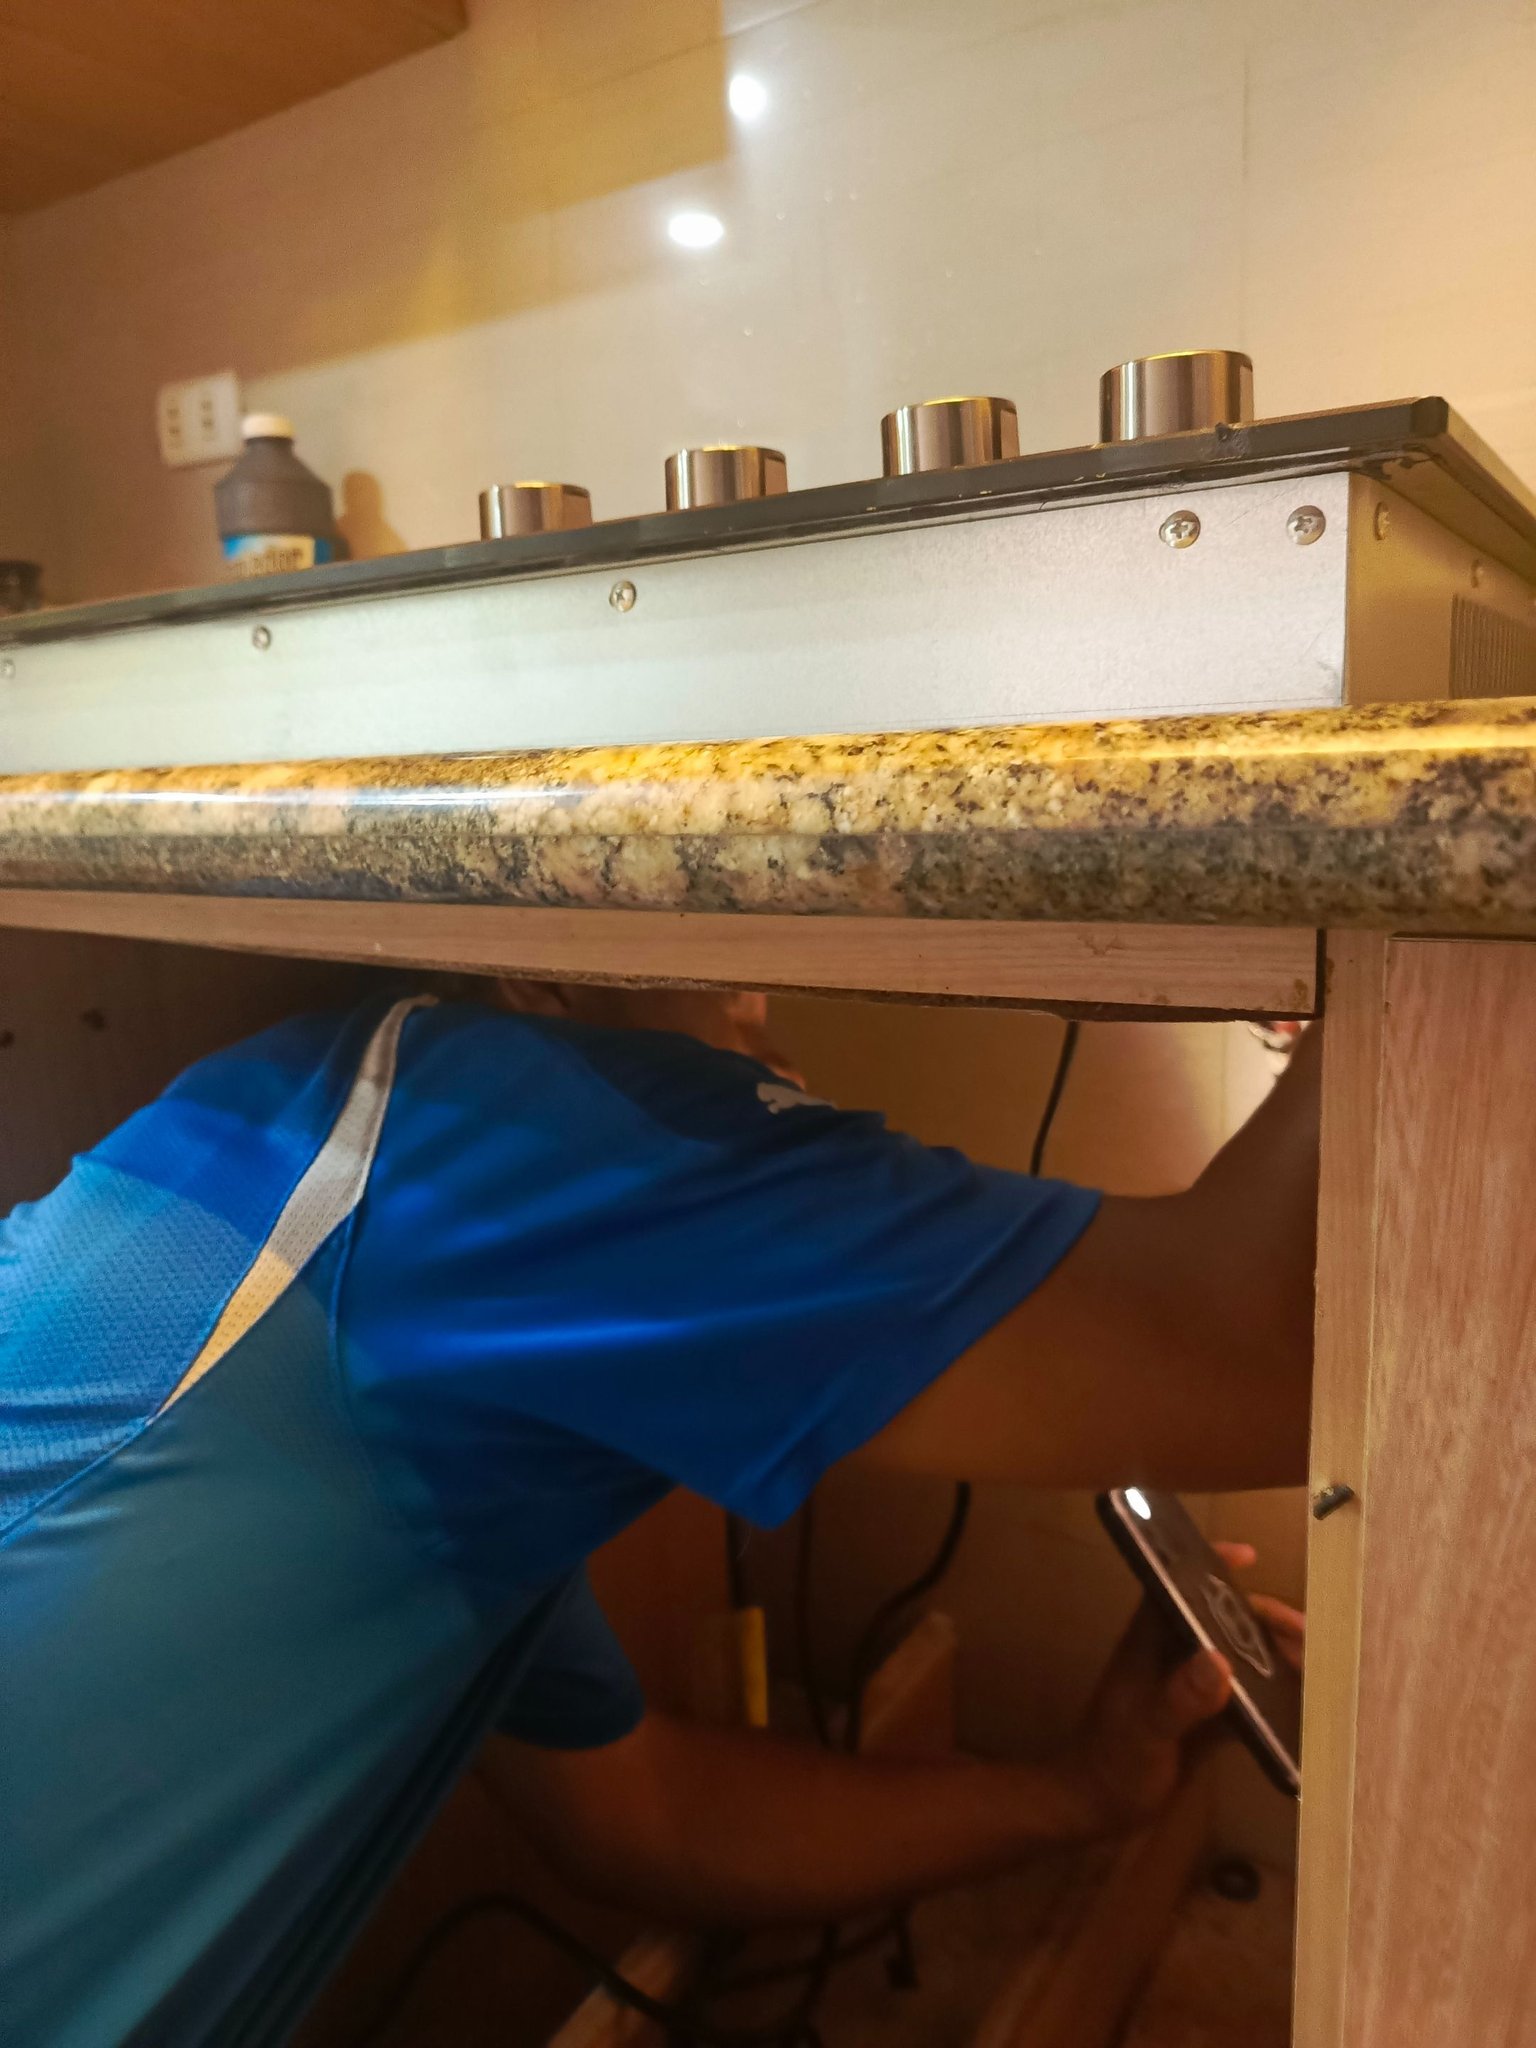
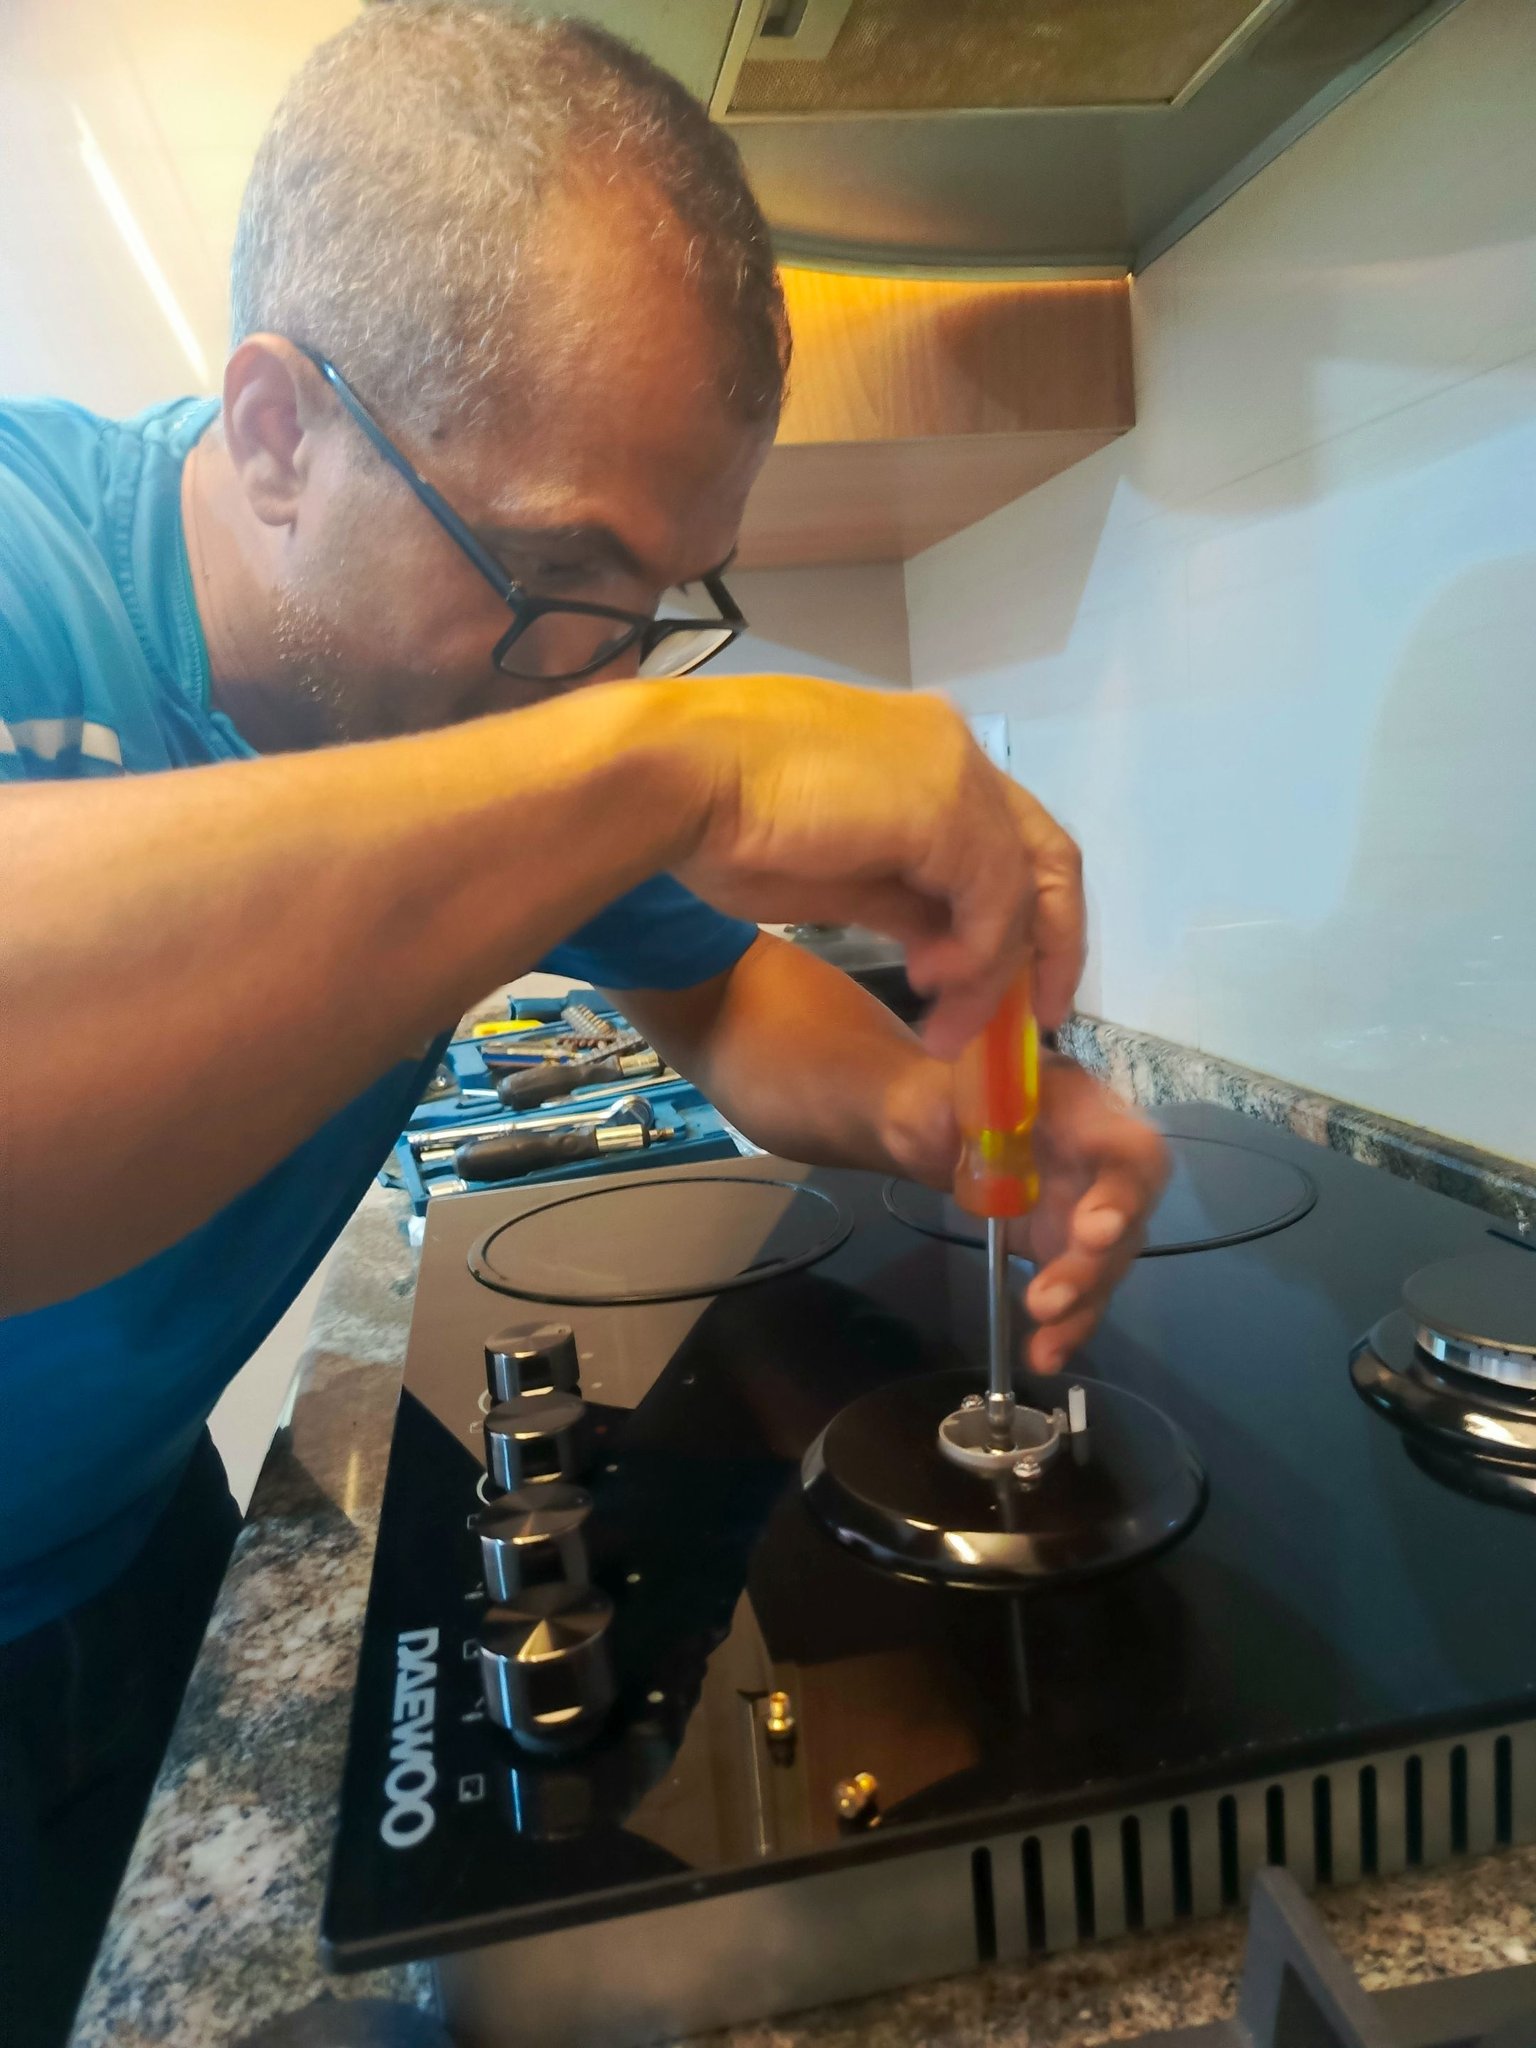
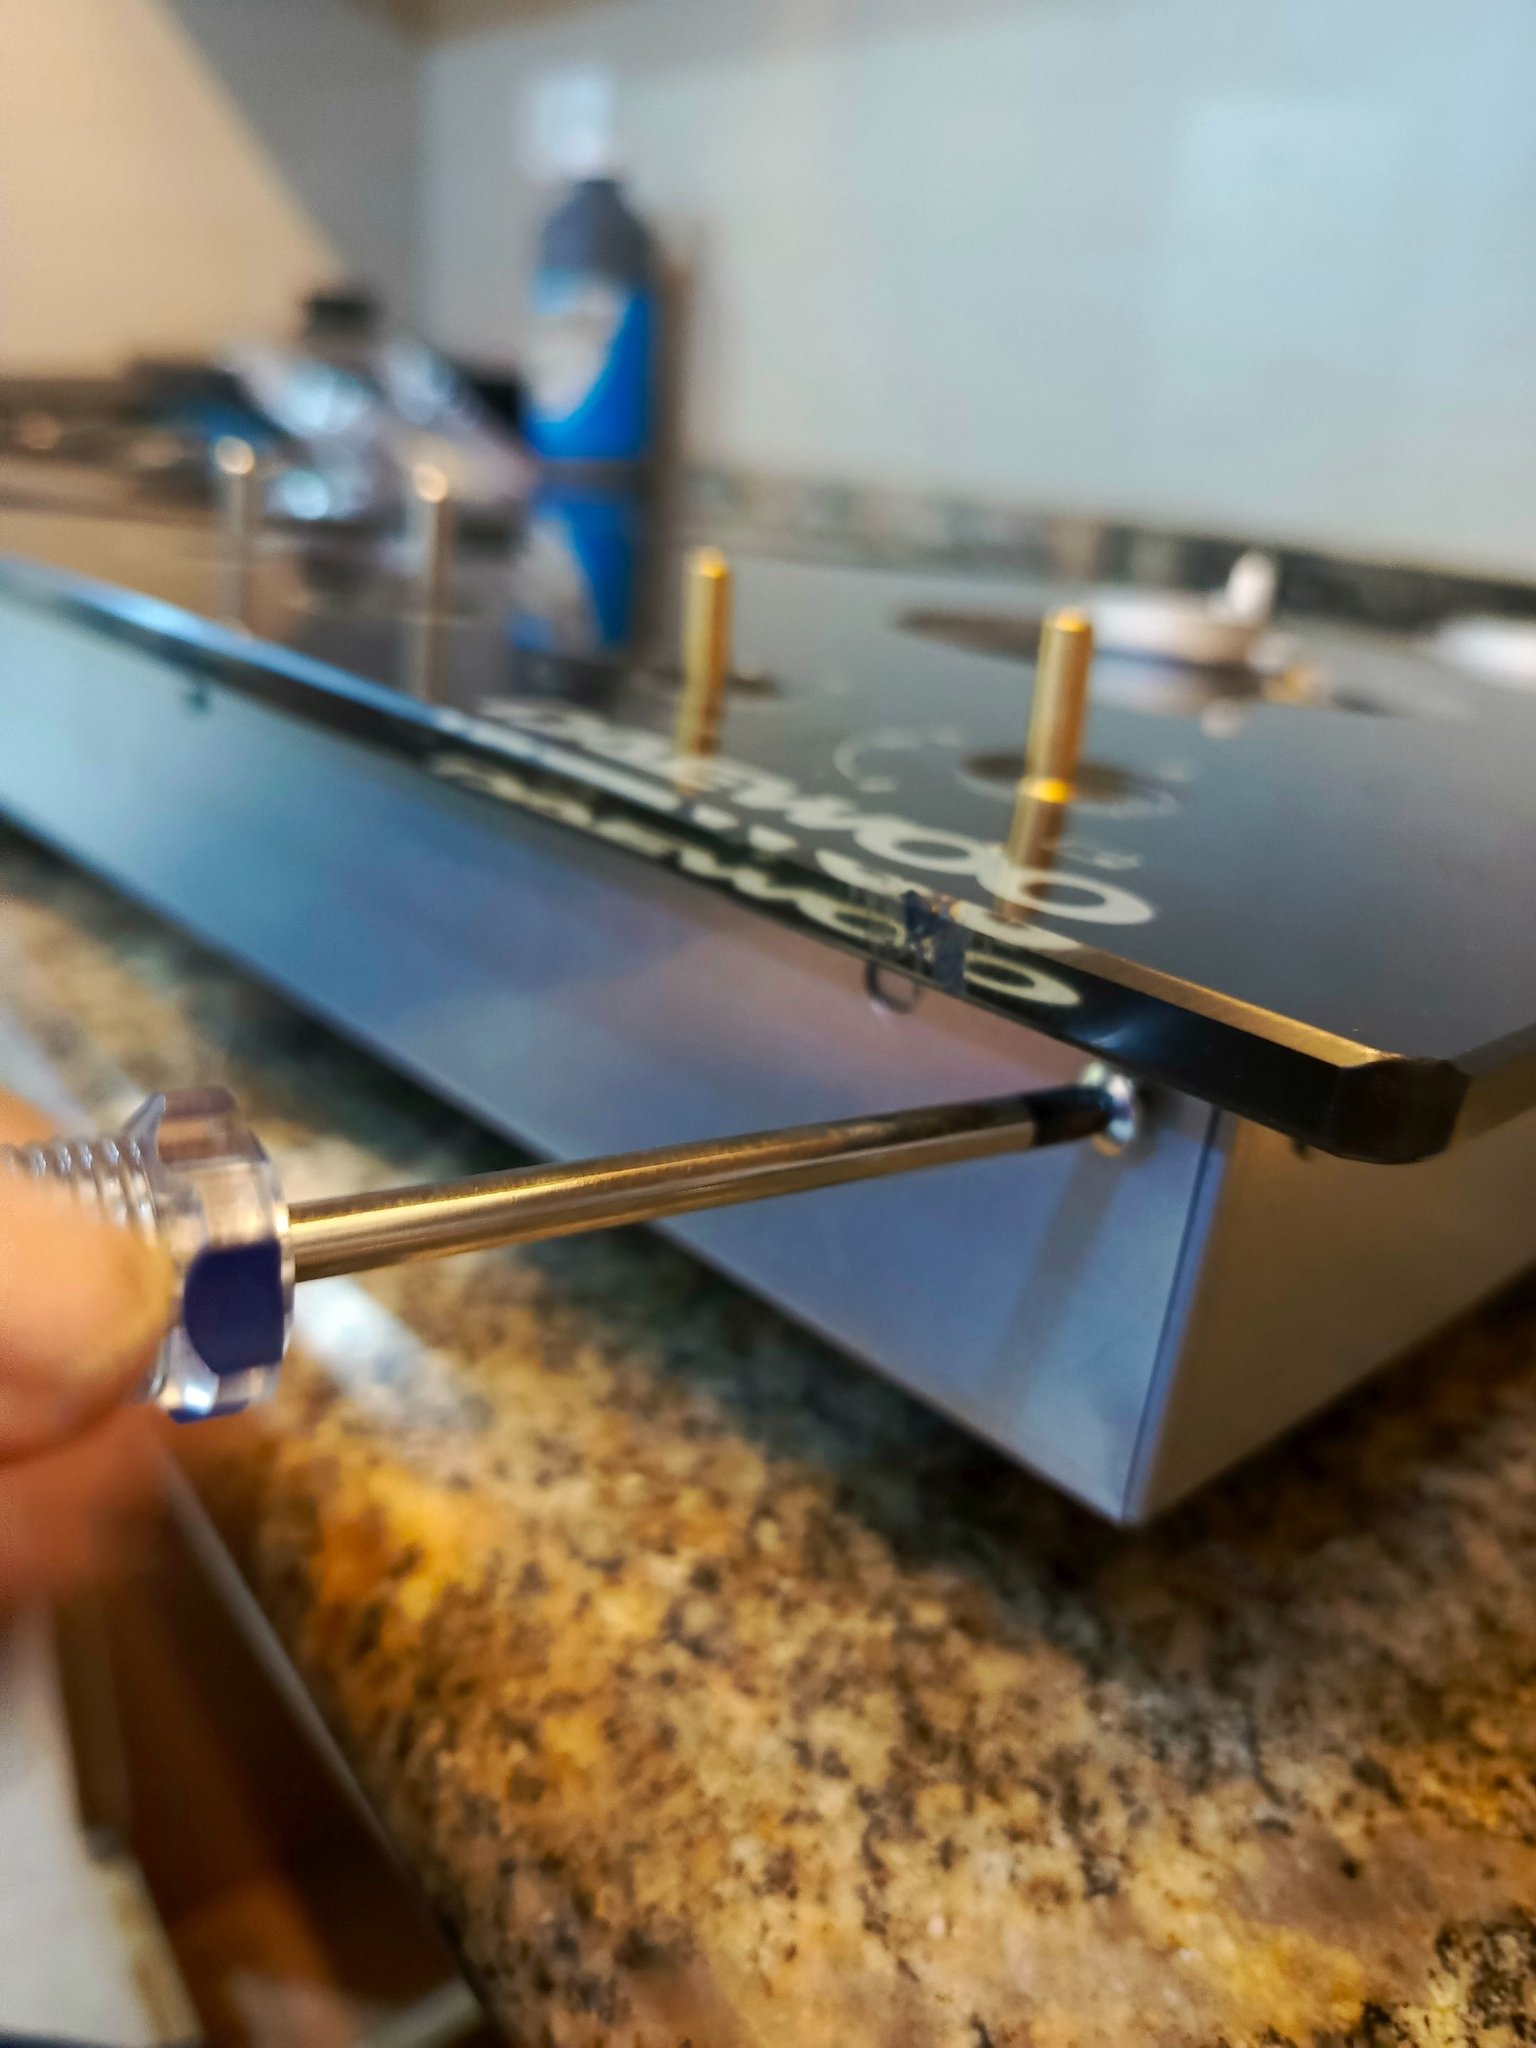
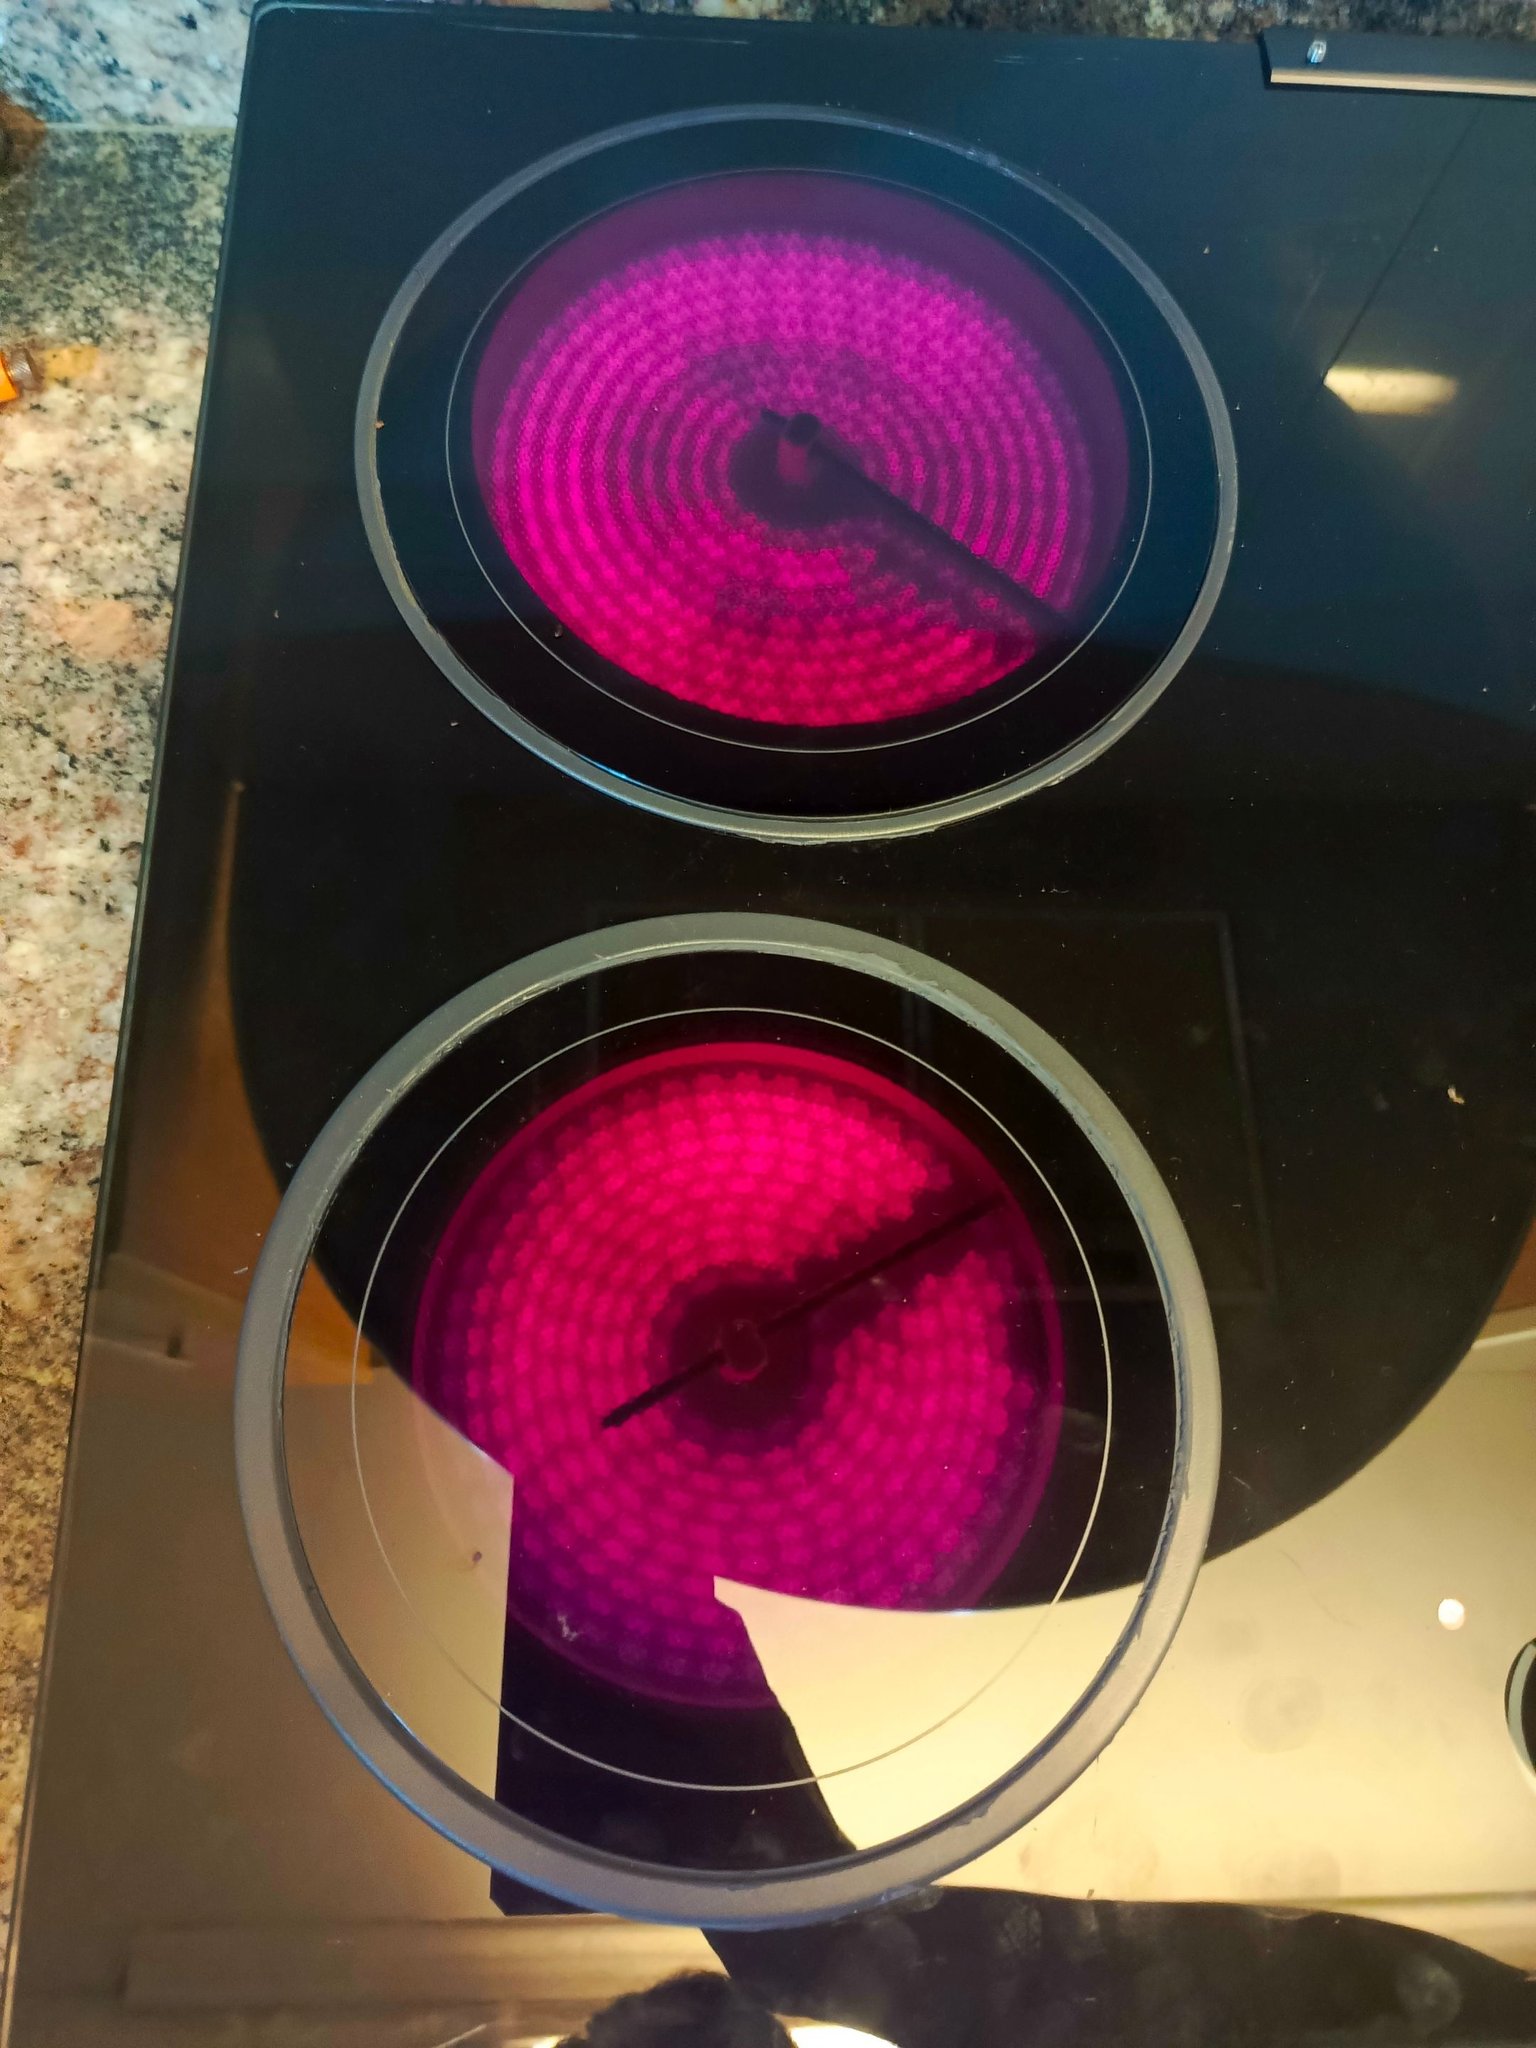
Al finalizar toca armar el tope y ajustar los tornillos uno a uno, espero que al probar funcione, porque será difícil la garantía luego de destaparla y cortar el cable eléctrico, así que gire la perilla de ambas hornillas y si funcionó, es todo un exito la instalación de nuestra nueva cocina.
Me despido de todos ustedes, deseándole un grandioso día, por mi parte espero preparar muchas delicias con mi cocina nueva según los requerimientos, se les quiere mucho.
ENGLISH (click here!)
Greetings to all our friends who visit us in this wonderful community of Hive Motors, this time I come to share an alternative to implement at home to avoid problems when cooking, I'm sure many go through the same thing, if the gas runs out, they must be taking out those horrible electric stoves and placing on the stoves, making the house is something little aesthetic.
I finally found a beautiful stove top with two electric and two gas burners to use according to convenience, so I put away all the ugly extra electric appliances that just take up space on the stove top.
It all seemed very simple to change the cooktops and see if they matched the existing recess, although this one has a dual function it can be recessed or used over the top because it was designed that way.
Mr. Jose is our man of confidence, when it comes to make technical arrangements in our home, so for sure you will continue to see him in my publications.
The matter seemed very simple, to uninstall the gas socket, to then remove the top, but we also had to remove the electric oven, of course one takes advantage of cleaning those places that we normally don't get to.
The stove does not fit the recess perfectly, but we decided to leave it that way, for two reasons:
1.- It still works even when it doesn't fit.
2.- As we kept the previous kitchen, if we open the hole it will not work if we want to install the other one again, remember that I am looking for a place of my own and I don't know what kind of kitchen we will find.
| |
|---|
The installation of the gas connection is done first, although this side could not be tested because there is no gas supply in the building.
The electrical part, already had the cables, only that the cable was cut, to join later, I tell you that lowering breakers to remove the electricity, was not easy, causing Mr. José to receive light electric shocks, do not worry, I think he is used to it because of his work.
| | |
|---|
The burners where the gas comes out were adjusted, since the stove has two types, one small and the other large, so I left the original ones, since I have to wait for gas to test them.
| |
|---|
The electrical part was a bit complicated, I even thought that the stove was damaged, but as the burners were not located in the right place, surely they were damaged during the transfer to the house and the stove was opened.
| | |
|---|
But it was easy to just adjust a tab and fit the electric burners in the right place to get the height and location, giving it the functionality.
| |
|---|
At the end it's time to assemble the top and adjust the screws one by one, I hope that when testing it works, because it will be difficult the warranty after uncovering it and cut the electric cable, so turn the knob of both burners and if it worked, it is a success the installation of our new kitchen.
I bid you all farewell, wishing you a great day, for my part I hope to prepare many delicacies with my new stove according to your requirements, you are very much loved.
The photos are our own, taken with the Note INFINITY 30 PRO phone, Canvas to edit the cover and the banner.
Las fotos son propias, tomadas con el teléfono NOTE INFINITY 30 PRO, Canvas para editar la portada y el banner.
This story is original created by @crisch23, exclusively for the Hive Motors community, deepl was used as translator.
This story is original created by @crisch23, exclusively for the Hive Motors community, deepl was used as translator.
Esta historia es original creada por @crisch23, exclusivamente para la comunidad de Hive Motors, se usó deepl como traductor.
Esta historia es original creada por @crisch23, exclusivamente para la comunidad de Hive Motors, se usó deepl como traductor.