Mi versión española.
¡Bienvenido a mi blog!
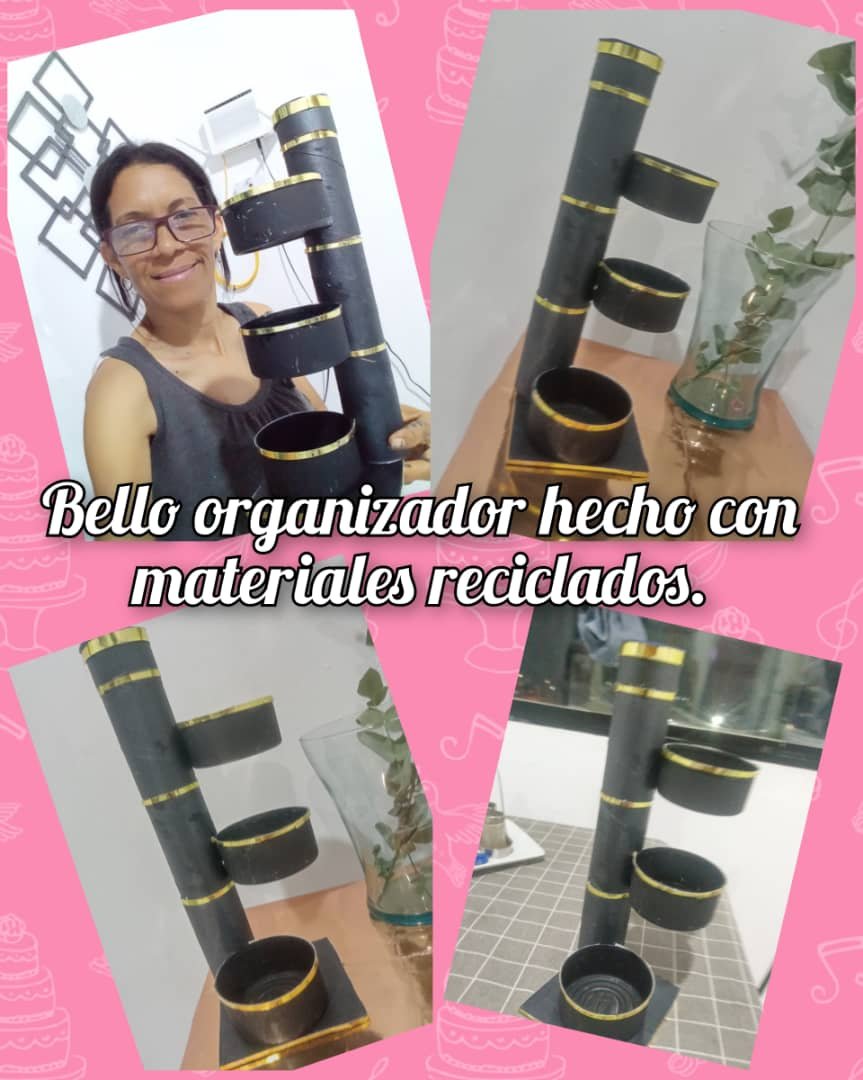
Hola a toda mi gente de esta comunidad, @DIYHub, es un placer regresar a esta linda comunidad, hoy le diseñe un bello organizador hecho con materiales reciclajes, es un bello adorno que lo puede usar para guardar tus joyas, maquillajes o colocarlo de adorno en la sala donde usted lo quiero tener, para realizar este bello organizador utilizamos cartón, latas de atún, tubo de papel higiénico y tubo de papel de cocina. Espero que le guste mi bella creatividad que lo hago con mucho cariño para la comunidad.
Materiales.
- 3 latas de atún medianas.
- 3 tubos papel higiénico.
- 1 tubo de papel de cocina.
- 1 tijera,
- 1 silicona.
- 1 pedazo de cartulina dorada.
- 1 lápiz
- 1 pedazo de cartón de 12 x 12.
- 2 pinturas de color negra.

Paso.
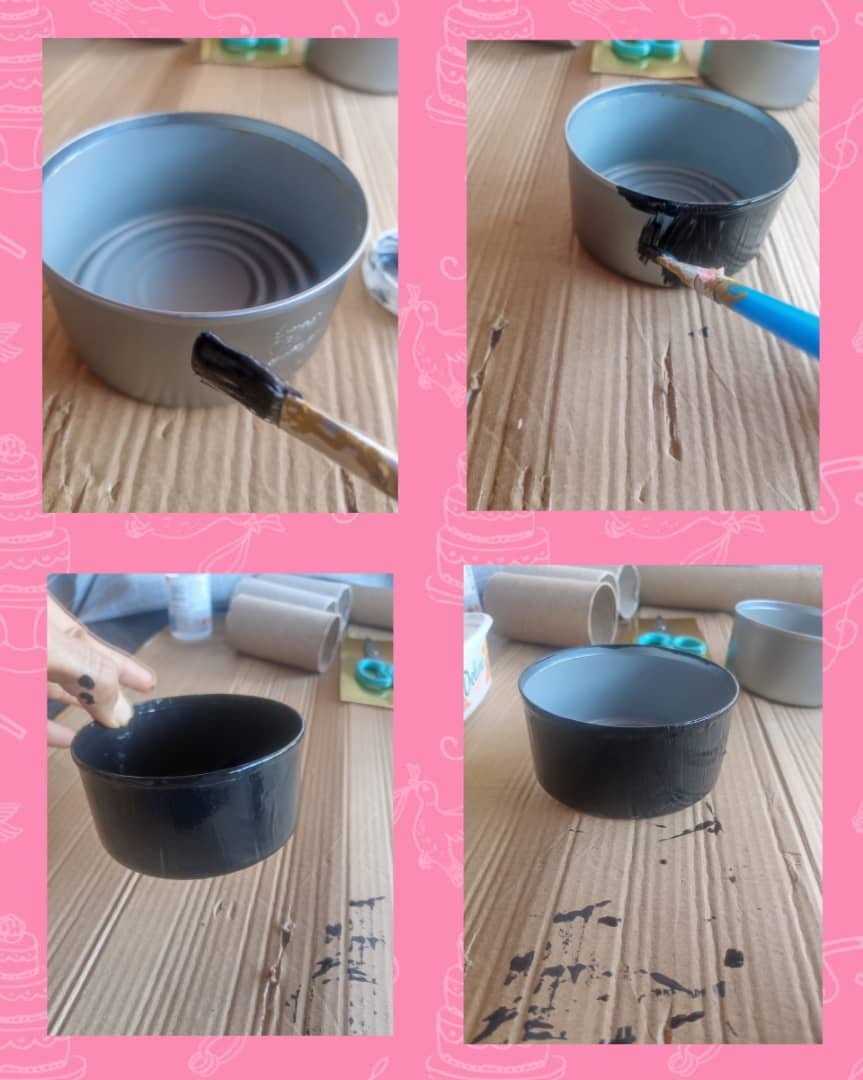
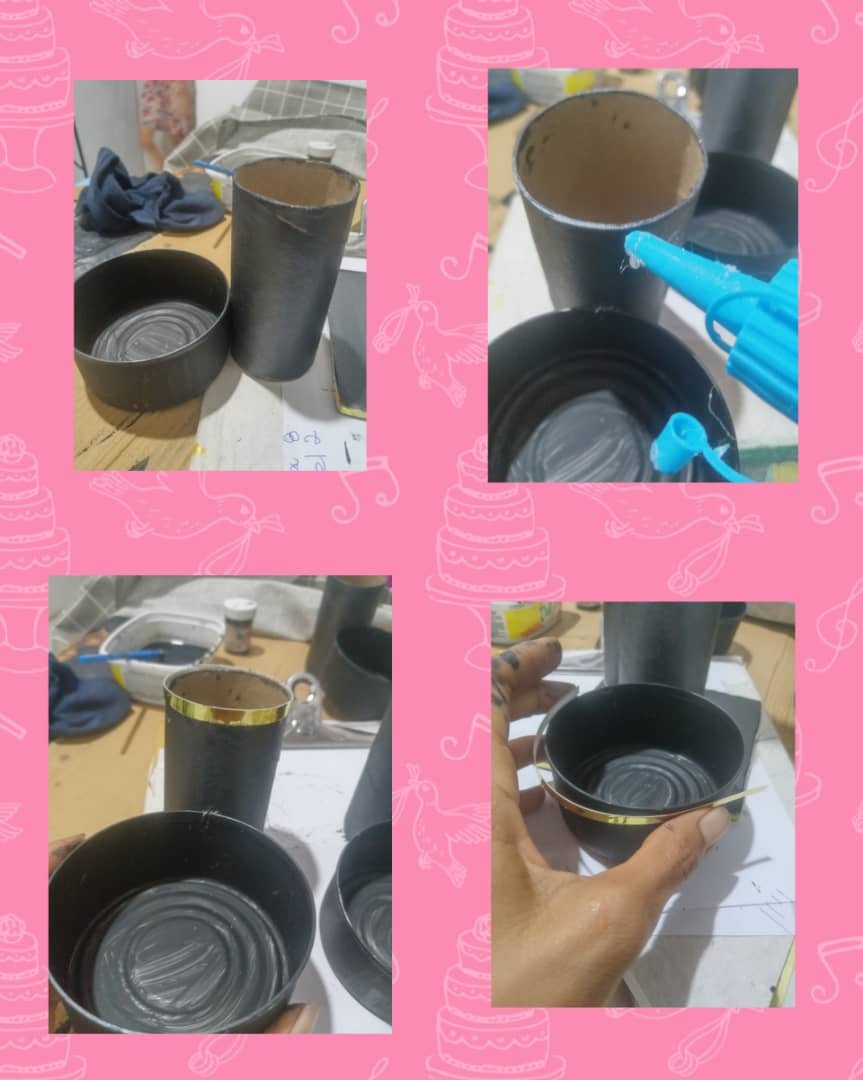
Primero empezamos pintando las tres latas y lo pongo a secar.
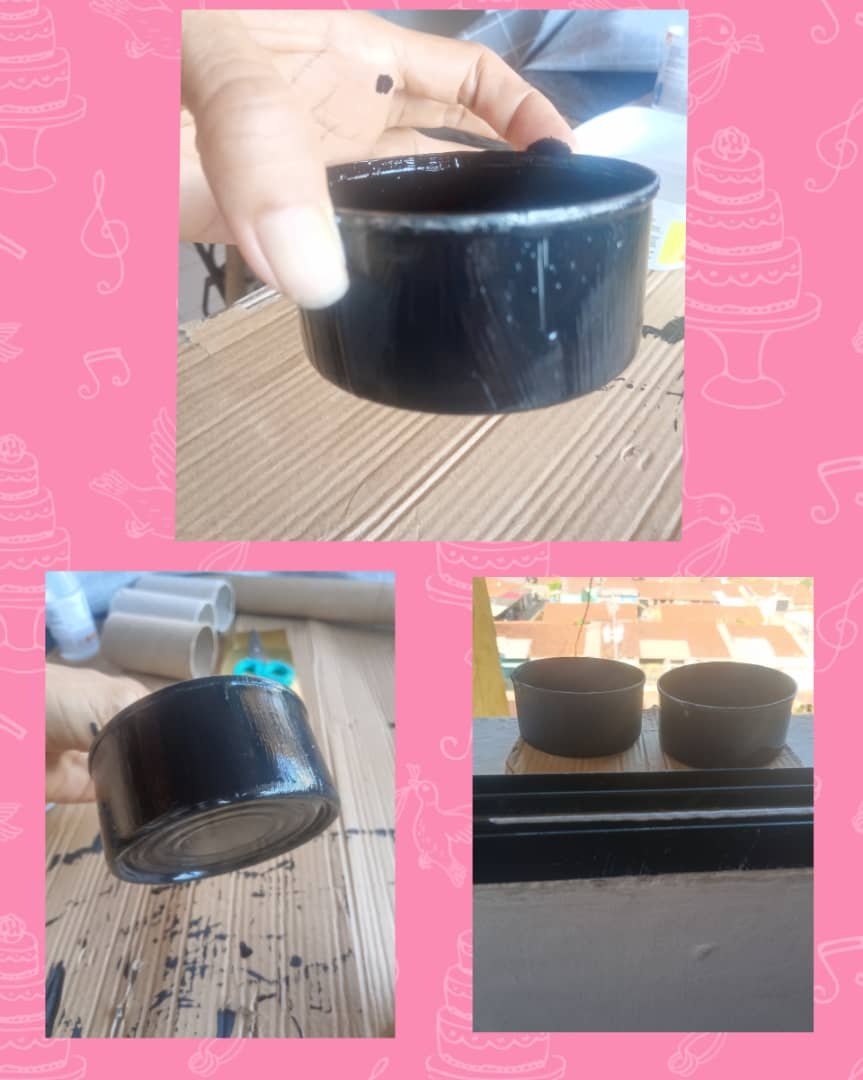
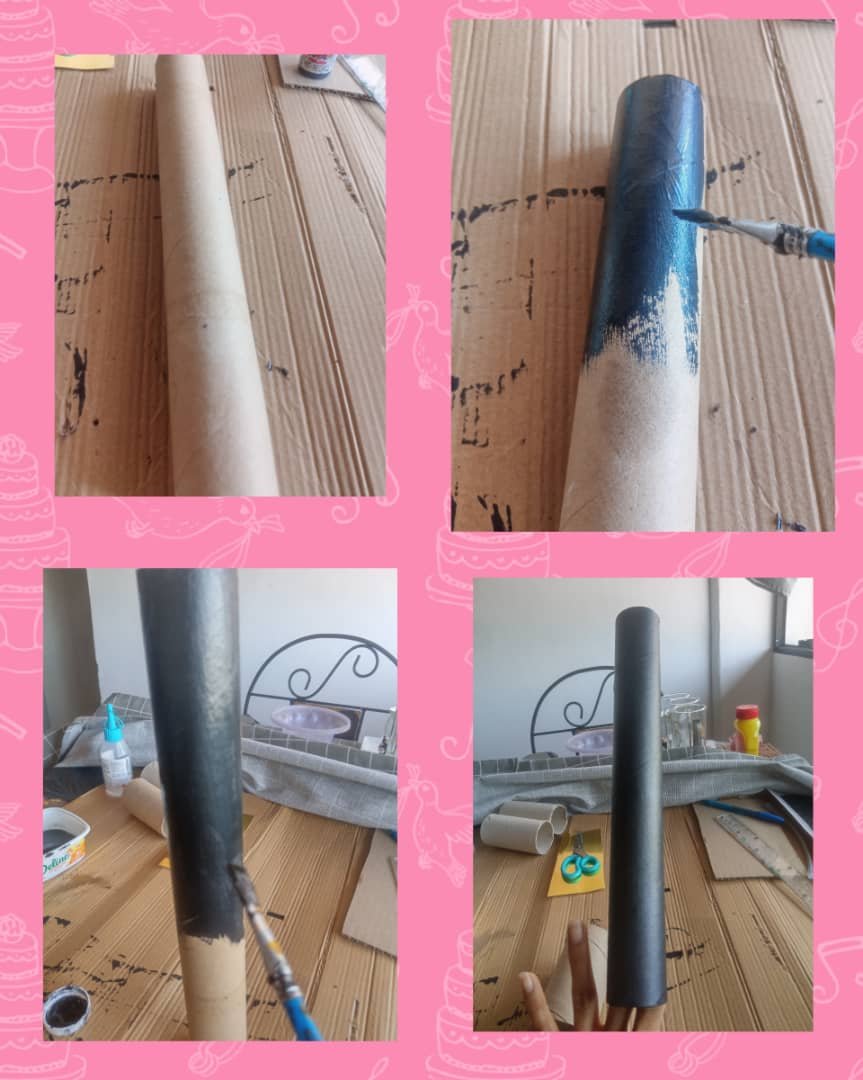
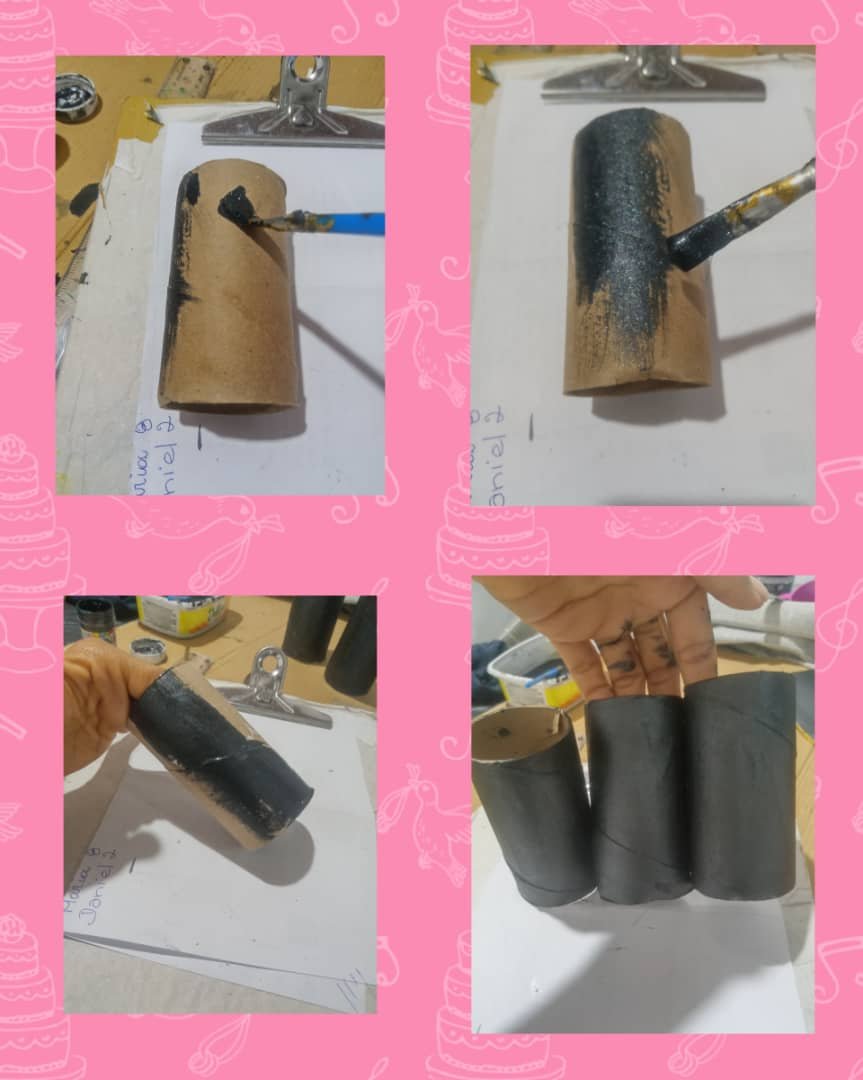
Ahora pintamos el tubo de papel de cocina que va a hacer la base del organizador, después pintamos los 3 tubos de papel higiénico.
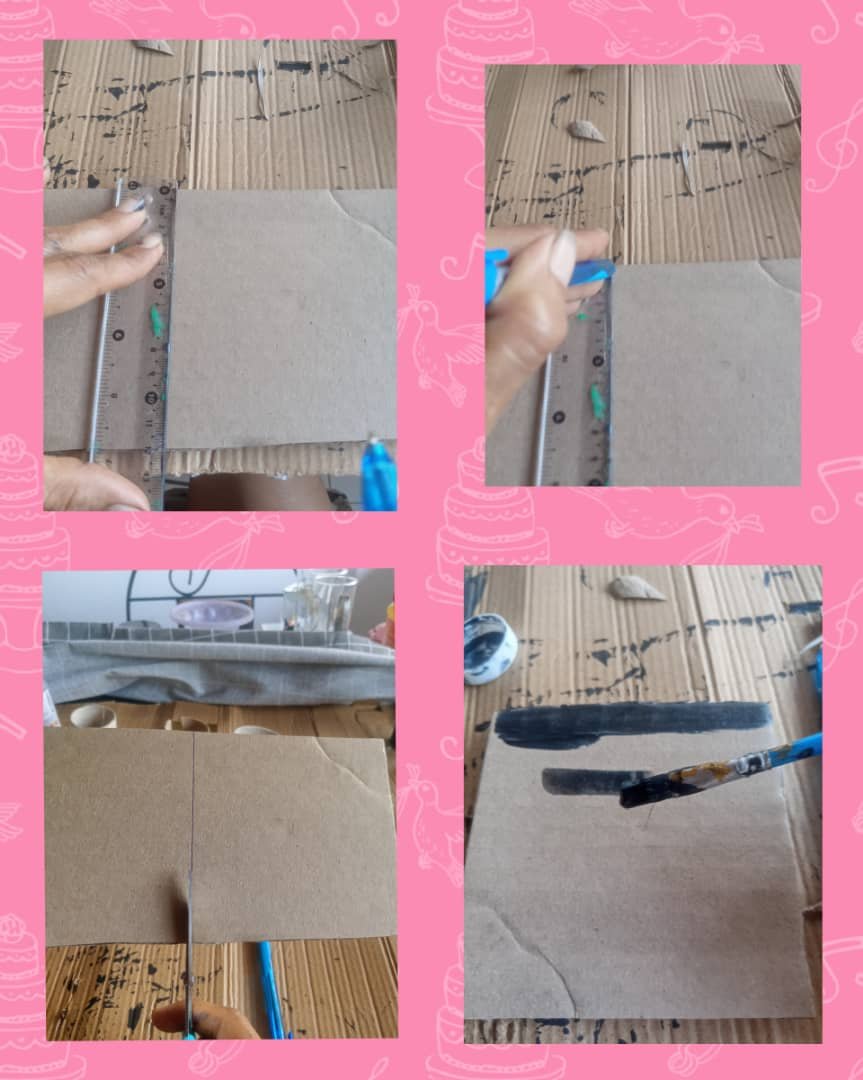
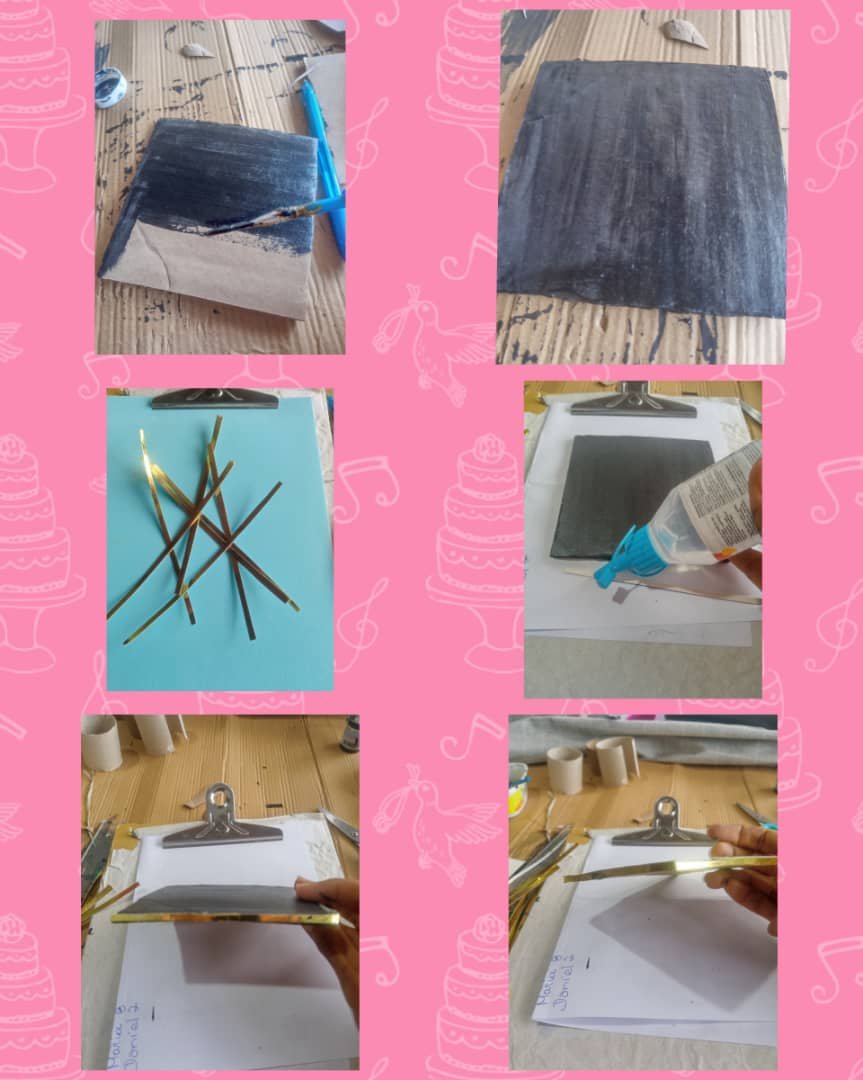
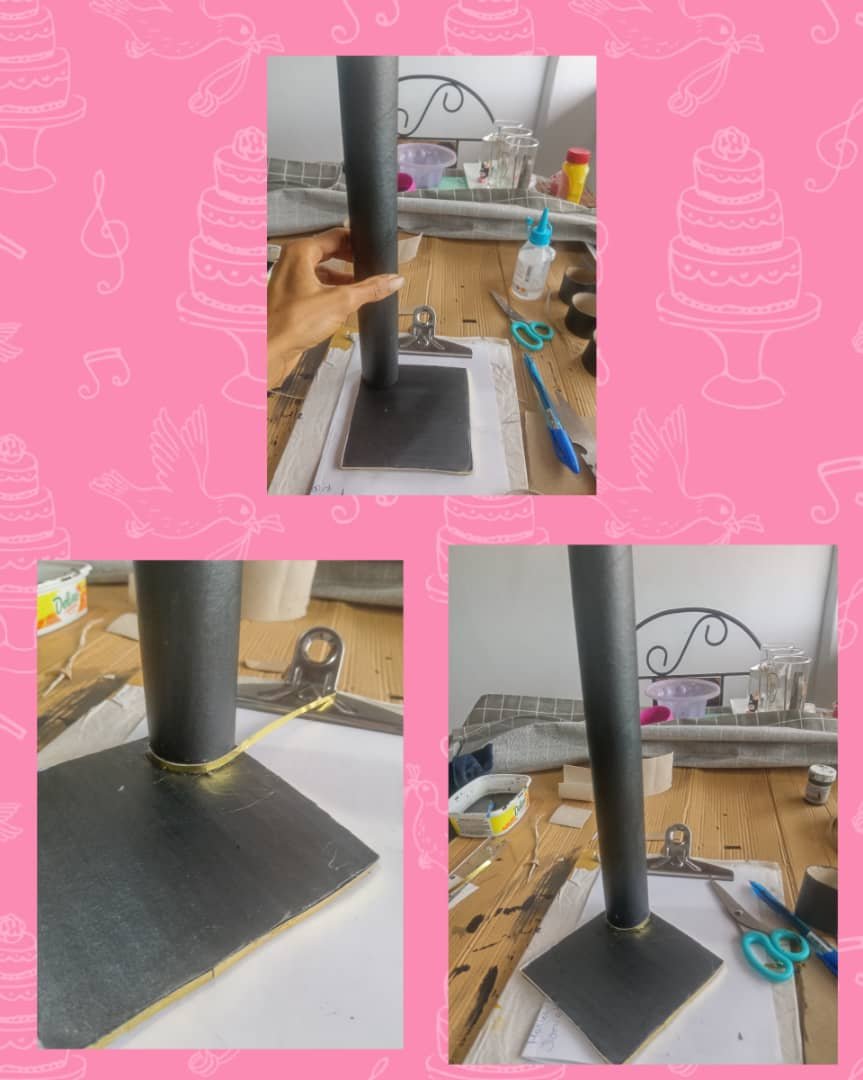
Luego cortamos la base, medimos 12 x 12, la recortamos y la pintamos de color negro.
Picamos varias tiras de la cartulina dorada y la pegamos por la orilla del cartón de la base vea como se ve.
Ahora pegamos el tubo largo en la base por la esquina del cartón.
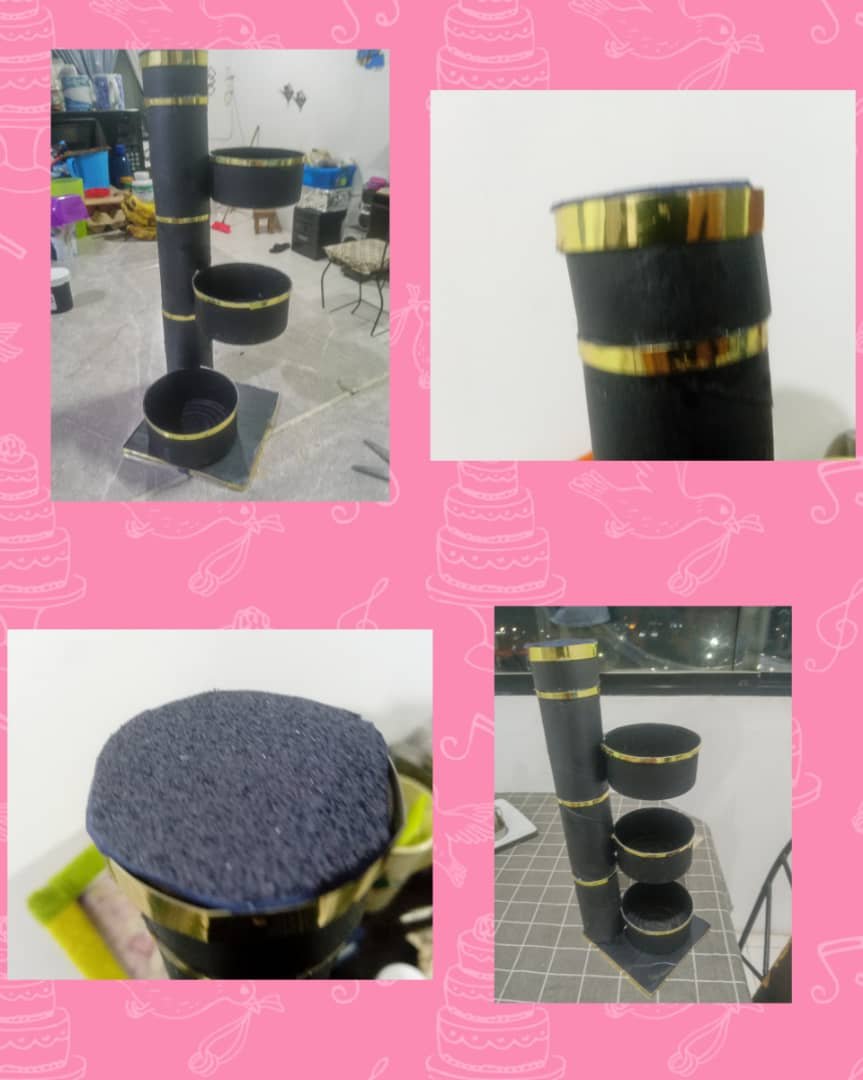
Tomo la lata y la pegamos en el papel higiénico en cada uno, dejando una separación de 7 centímetros entre cada una de la lata.
Luego le coloco una tira de color dorada en la orilla de los tubos y las latas.
Por último metemos los tubos de papel higiénico por la base del tubo hasta tener los tres envases, listo le podemos hacer movimiento y lo ponemos la manera que no guste de forma espiral o lineal, arriba le coloco una cinta dorada y una tapita tenemos listo mi organizador.
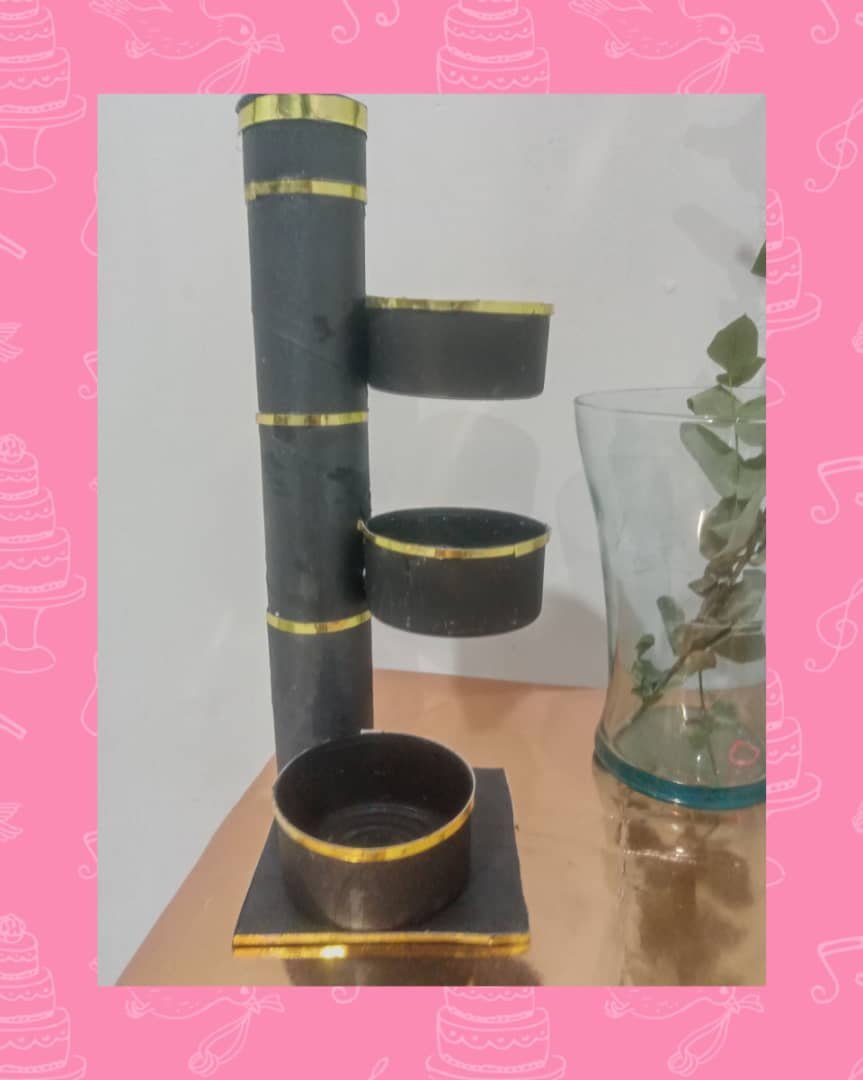
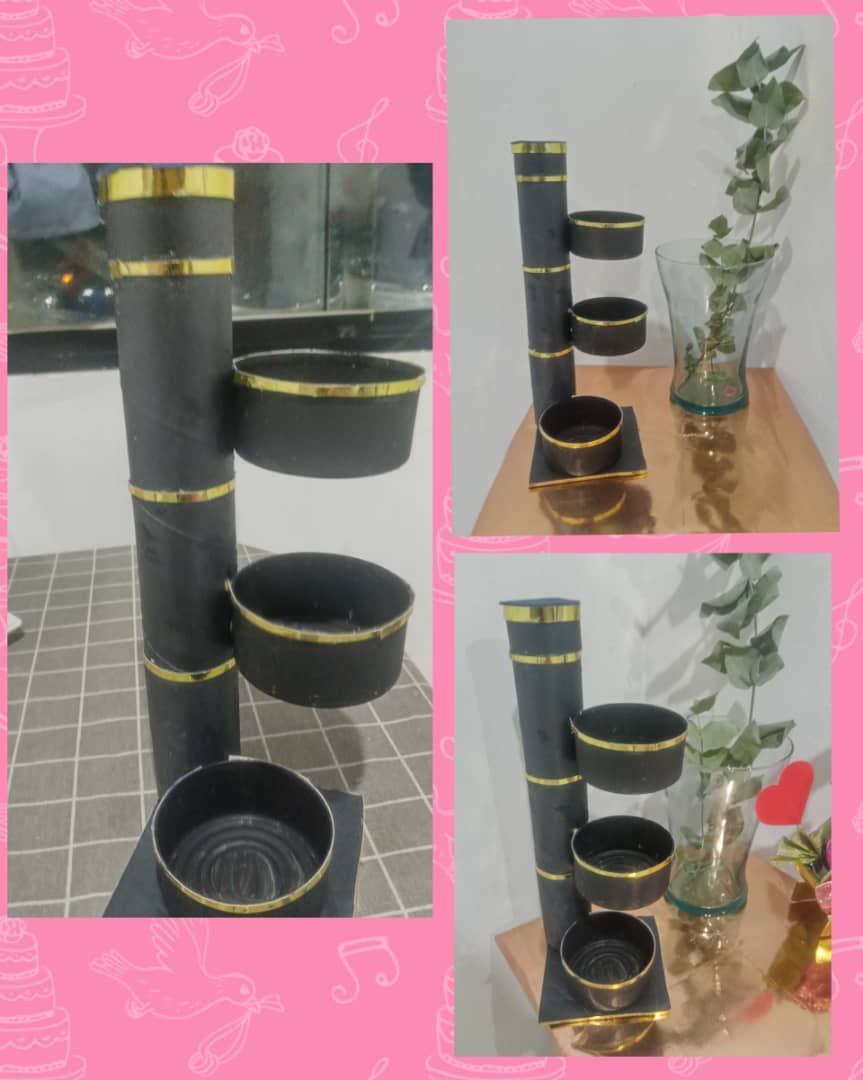
Vea el proceso final, de mi bello organizador hecho con materiales reciclados, lo podemos colocar en el cuarto para guarda joyas, en la sala para adorno y donde tú lo quieras usar, además son fácil y sencillo de hacer.
Tenga un feliz días y bendecidos para todos, muchas gracias por leer mi post.

Las fotos son mías, tomadas con teléfono, Alcatel, editadas con incollage y traducidas con DeepL.
Mi versión inglesa.
Welcome to my blog!
Hello to all my people of this community, @DIYHub, it is a pleasure to return to this nice community, today I design you a beautiful organizer made with recycled materials, it is a beautiful ornament that you can use it to keep your jewelry, makeup or place it as an ornament in the room where you want to have it, to make this beautiful organizer we use cardboard, tuna cans, toilet paper tube and paper towel tube. I hope you like my beautiful creativity that I do it with much affection for the community.
Materials.
- 3 medium tuna cans.
- 3 tubes toilet paper.
- 1 tube of kitchen paper.
- 1 scissors,
- 1 silicone.
- 1 piece of gold cardboard.
- 1 pencil
- 1 piece of cardboard of 12 x 12.
- 2 black paints.
Step.
First we start by painting the three cans and I put it to dry.
Now we paint the paper towel tube that is going to make the base of the organizer, then we paint the 3 toilet paper tubes.
Then we cut the base, measured 12 x 12, cut it out and painted it black.
We chopped several strips of the gold cardboard and glued it along the edge of the cardboard base see how it looks.
Now we glue the long tube to the base by the corner of the cardboard.
I take the can and we glue it on the toilet paper on each, leaving a separation of 7 centimeters between each of the can.
Then I attach a strip of gold color on the edge of the tubes and cans.
Finally we put the toilet paper tubes through the base of the tube until we have the three containers, ready we can make movement and we put it the way we do not like spiral or linear, above I place a gold ribbon and a cap we have ready my organizer.
See the final process, of my beautiful organizer made with recycled materials, we can place it in the room to keep jewelry, in the living room for decoration and where you want to use it, they are also easy and simple to make.
Have a happy day and blessed to all, thank you very much for reading my post.
The photos are mine, taken with phone, Alcatel, edited with incollage and translated with DeepL.